Tatertots and Jello

COLORFUL HAPPY HOME -- Daily DIY, Decor, Craft and Recipe Tutorial

  • My Home
    • 1905 Cottage
    • Daybreak House
  • DIY
    • DIY Projects and Ideas
    • Organizing
    • Tutorials
    • Printables
  • Decor
    • Spring Projects
    • Summer Projects
    • Fall Projects
  • Crafts
    • Kids Crafts
    • Painting Projects
    • Paper Projects
    • Sewing
    • Wreaths
  • Holidays
    • Valentines Day
    • Easter
    • Halloween
    • Thanksgiving
    • Christmas
    • HAPPY Holidays Series!
  • Recipes

Explore

  • my home
  • diy
  • decor
  • crafts
  • holiday
  • printables
  • recipes

Connect

Home » halloween » It’s Pumpkin Week — Make No Sew Fabric Pumpkins!

halloween, holiday, pumpkins · September 11, 2012

It’s Pumpkin Week — Make No Sew Fabric Pumpkins!

Tatertots & Jello is a participant in the Amazon Services LLC Associates Program, an affiliate advertising program designed to provide a means for sites to earn advertising fees by advertising and linking to amazon.com.
1
1Share
Hello TT&J readers, Jen here visiting again. I want to share no sew pumpkin tutorial.
It’s always a delight to be here on one of my favorite blogs. 

So today I am sharing with you my
 “NO SEW Fabric Pumpkins!”
 
They are easy and oh’ so cute.
You can pick any fabrics you want for this project. I think that this project cost around $12.00 – 14.00 dollars.
However, if you have fabric on hand, a glue gun, some ribbon some polly fill, garbage bags, scissors, and rubber bands then this project will cost you nothing. 

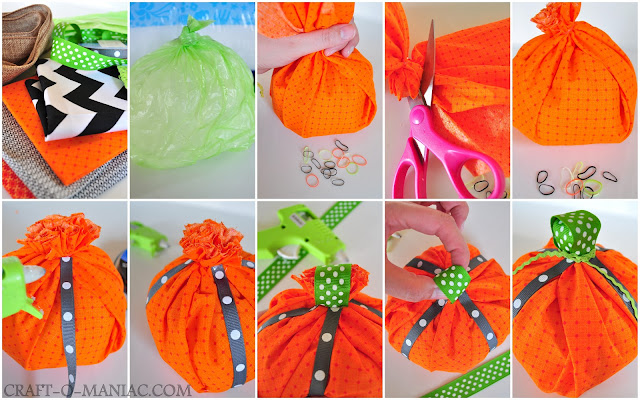
Here is a tutorial from TOP left to BOTTOM right image:

  • First take your bag/grocery store (I used doggie disposal bags, or diaper disposal bags would work great too) and I filled it with poly-fil to my desired amount.
  •  Next I pushed out some air and tied a small rubber band around the bag. I clipped off the extra un-needed bag. Then I placed the bag in the center of my fabric square, I gathered all corners, tucking were needed and pulled everything to the top center.
  • I again wrapped the pulled fabric in some more rubber bands, and too cut off the extra un-needed fabric.
  • To embellish the fabric pumpkin I then hot glued some ribbon around the pumpkin two pieces connecting from one end to another. Lastly I moved onto the stem. I took some cut green polka dot ribbon and hot glued them from one end to the other. 
  • TIP: for the second piece of hot glued ribbon I made sure I tucked in any extra sticking out fabric by pinching it into the first piece of glued ribbon.
  • I finished the pumpkin stem with some rick rack and some jute. You can add your favorite ribbon trims. 

This project was super easy to do, I probably spent around 30 minutes total making these.  
***
Thank you so much jen for the opportunity to 
post here again.
***
I also love meeting new people, and would love to see you stop by COM
Thanks Jen!!!
Those pumpkins are so fun. Thanks for sharing them with us for Pumpkin Week!
Here are a few other awesome things happening at Craft-O-Maniac
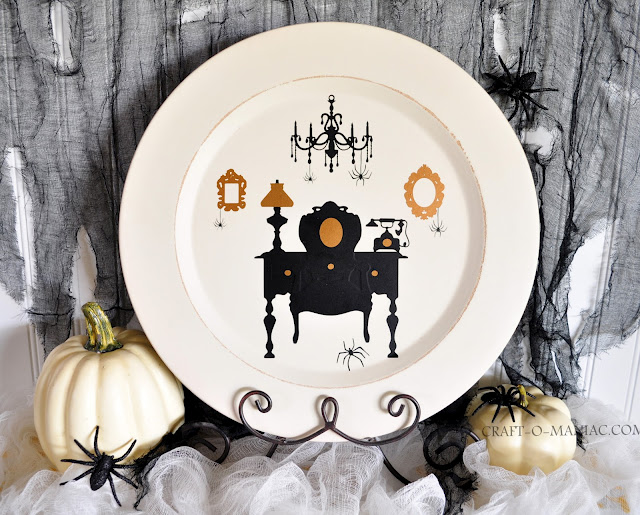
Tower of Terror Halloween Plate
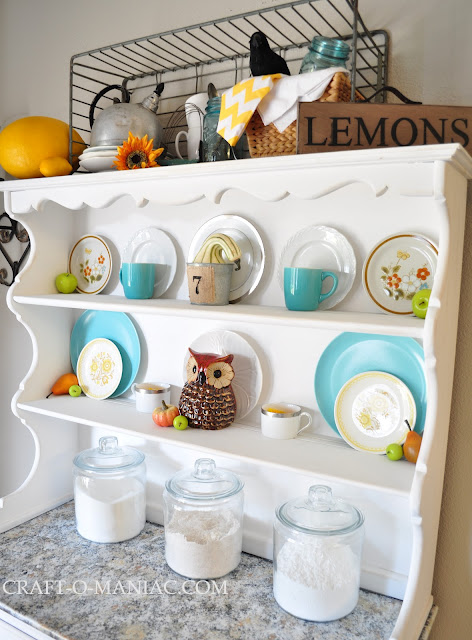
I love the way Jen decorates her hutch for the seasons — Vintage Fall Hutch
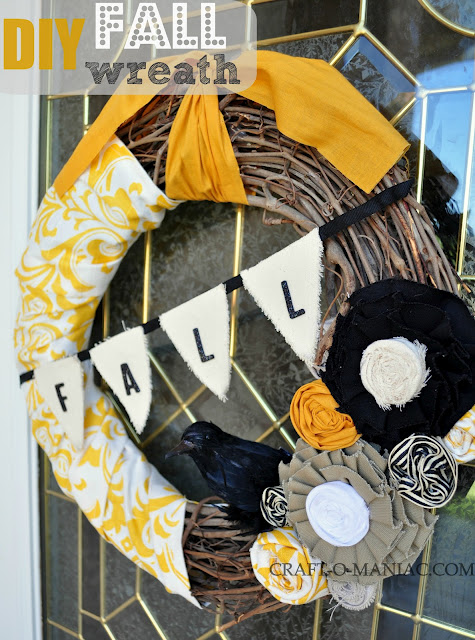
Such a pretty – Fall Wreath
Be sure to check out Jen’s ideas at Craft-O-Maniac.
I love her projects and HUGE heart. She is so sweet!!
xoxo
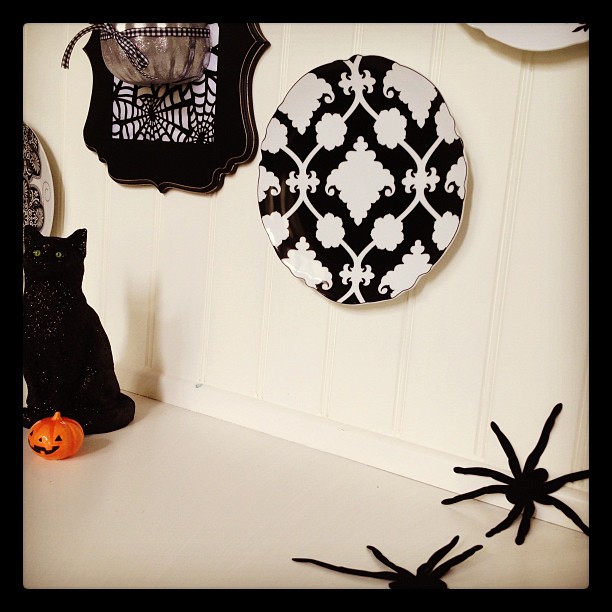
PS — My Halloween Plate wall is coming up tomorrow for Pumpkin Week!

1
1Share

Posted By: Jen · In: halloween, holiday, pumpkins

It’s Pumpkin Week — 3-D Pumpkin Art Wall!
It’s Pumpkin Week — DIY Halloween Plate Wall

You’ll Also Love

DIY Disco Ball Halloween Art
15 Spooky Halloween Sweets!
Welcome Home Saturday – October Favorites!

Comments

  1. how2home says

    September 13, 2012 at 11:12 AM

    This is perfect for me since im don’t know how to use a sewing machine! Thanks for sharing this with us

  2. buttercream bakehouse says

    September 12, 2012 at 10:27 AM

    great Halloween ideas. My daughter loves no sew fabric projects. Thanks for sharing.

  3. Leslie says

    September 12, 2012 at 10:18 AM

    Too cute! I think I may have just found what I’m going to do with all my leftover fabric scraps!

  4. Jen says

    September 12, 2012 at 8:58 AM

    Thanks for the amazing visit, its always a pleasure. Lots and lots of love, and fun pumpkin making. XO, jen

  5. Gina (aka East Coast Mommy) says

    September 12, 2012 at 8:58 AM

    These pumpkins are so fun! I love a simple “no sew” project.

    Check out my cute little felt pumpkins. So easy, you could make a bunch in no time. 🙂 http://eastcoastmommyblog.blogspot.ca/2011/10/purple-halloween-plaque.html

  6. Tausha says

    September 12, 2012 at 8:57 AM

    Super cute Jen! I would have never thought to do this! I would say that you are a genius! Thanks for being awesome! I heart you!!

  7. Jen says

    September 12, 2012 at 8:15 AM

    Thanks for the fun tutorial Jen. You are the best. I am excited to make some pumpkins!!

    xoxoxoxo

  8. lindalou says

    September 12, 2012 at 8:00 AM

    These are so cute. Hope I get a chance to make these.

Hi! I'm Jen Hadfield. I'm a mom of 5 restoring an 1891 home in the heart of Salt Lake City. I love being creative and sharing simple ideas to make your life easier and more beautiful!

Receive the Latest Crafts, DIY, Recipes and More in your INBOX!

Follow us on Pinterest! It's awesome!

Top Posts & Pages

Spruce up Your Outdoor Space with a DIY Recirculating Fountain! (tutorial)
A New Deck in Under 30 Minutes!
DIY Secret: How to Print on Post-It Notes (and Free Printable Template)
12 Must-Have Items to Pack on an Alaskan Cruise!
Copycat Panera Spinach and Artichoke Egg Soufflés - SO good!
How to Change a Recessed Can Light into a Pendant Light with No Remodeling!


Popular Posts

  • Spruce up Your Outdoor Space with a DIY Recirculating Fountain! (tutorial)
    Spruce up Your Outdoor Space with a DIY Recirculating Fountain! (tutorial)
  • A New Deck in Under 30 Minutes!
    A New Deck in Under 30 Minutes!
  • DIY Secret: How to Print on Post-It Notes (and Free Printable Template)
    DIY Secret: How to Print on Post-It Notes (and Free Printable Template)
  • 12 Must-Have Items to Pack on an Alaskan Cruise!
    12 Must-Have Items to Pack on an Alaskan Cruise!
  • Copycat Panera Spinach and Artichoke Egg Soufflés - SO good!
    Copycat Panera Spinach and Artichoke Egg Soufflés - SO good!
  • How to Change a Recessed Can Light into a Pendant Light with No Remodeling!
    How to Change a Recessed Can Light into a Pendant Light with No Remodeling!
  • Mother's Day Cup Holder Gift Basket
    Mother's Day Cup Holder Gift Basket

As seen in


Amazon Affiliate

Tatertots & Jello is a participant in the Amazon Services LLC Associates Program, an affiliate advertising program designed to provide a means for sites to earn advertising fees by advertising and linking to amazon.com.
  • About Me
  • Advertising
  • Get Featured

Copyright © 2025 Tatertots and Jello · Privacy
This site is a place for positive discussion and ideas. Negative talk, comments that disparage others, and similar are not welcome and may be removed.

1