Just A Girl is having a really fun party today. She has asked people to come up with fun, handmade ideas for gift giving this year.
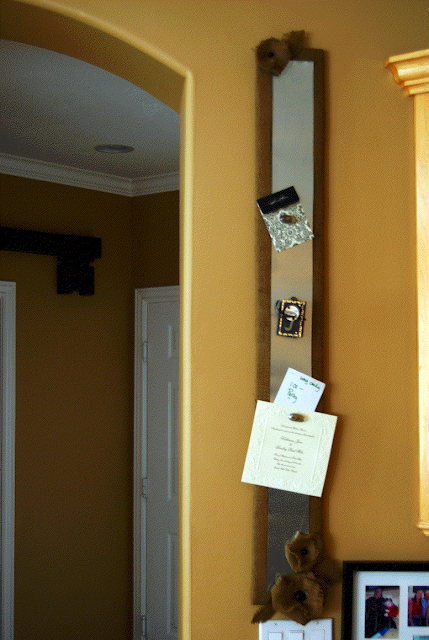
I made these burlap magnet boards. You can make them in any size or shape.
If you would like to make one, this is how:
- Go down to Home Depot or your local hardware store. Pick out some plywood. I had the guys down there cut it to the lengths I wanted. And guess what? They did it for FREE!
- Go into the roofing department of that store and get some sheet metal. Mine came in a huge roll, but you can buy smaller portions. Make sure that you have some metal scissors. You can also get these at the hardware store.
- Take your cut plywood and wrap some batting around it. Now cut your burlap to wrap around the board. I made mine so that it would cover the entire board – front and back.
- Take your heavy duty staple gun and stretch the burlap tightly over the board – staple it together. I folded the seams under so the back has a finished look.
- Get out your measuring stick, measure around the outside of your board 1/2 inch (or whatever you like). Make a line all the way around with a pencil. This will make your upholstery tacks straight all the way around. Now go back around and mark off the spacing of where your tacks are going to go. On one of the boards I did 1 inch apart and the other I did 2 inches apart. I think they both look good.
- Now you need to measure the sheet metal. I used a t-square to make sure it was completely straight. You want a little space for your burlap to show and also leave room for the upholstery tacks that go around the whole thing. Figure out what that measurement is and then make a line with pencil on the metal. Cut along that line with your metal shears – make sure to keep a steady pressure on the scissors so the metal doesn’t ripple.
- Now pound in the upholstery tacks with a hammer.
- Now hot glue the sheet metal onto your board. Make sure to use plenty of glue. One nice thing is that the burlap holds the glue really well. You also want to be sure to get the edges really well so the edges are glued down.
- Now take some ribbon or whatever you have to cover up the edges. And actually, if you cut straight and the edges look good you may not have to do this step. Hot glue the ribbon on to the center of the edge of the metal. Try to make it as straight as you can. I put a dot of glue at the top of each side and then put a line of glue all the way down the side and then quickly stretched the ribbon all the way over the top so it was straight and then put it down onto the glue. This way there were no gaps.
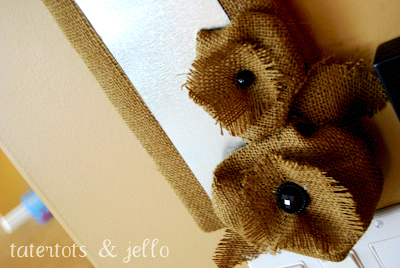
- Now you can make your embellishment on the top. On one of the boards I made a big flower and glued the edges under. The other board I cut a long strip of skinny burlap and then wrapped that around to make flowers. I finished it off by adding a special button to the center of each flower.
- And you are done!
Go on over to Just A Girl and see all of the fun Christmas gift ideas that people come up with — it’s amazing!
Have a Wonderful Day!
XOXO


