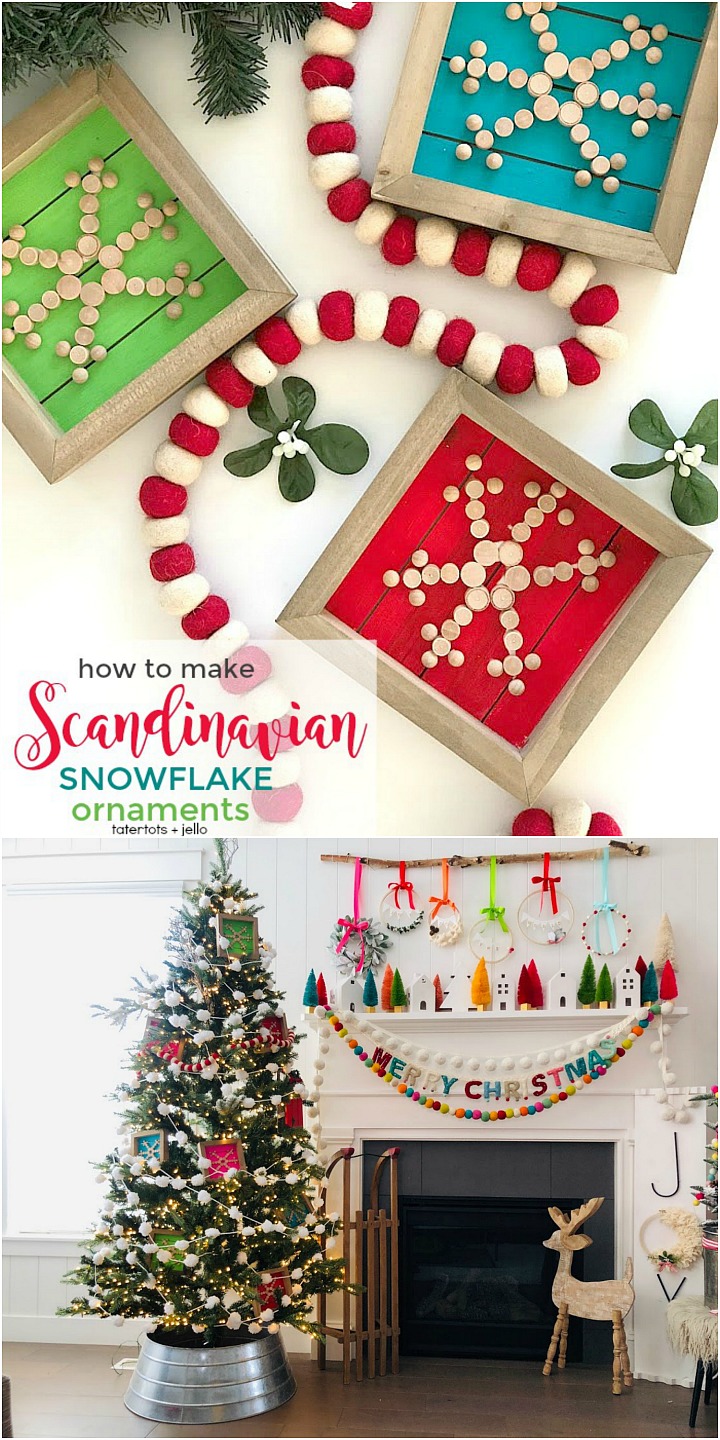
How to make holiday Scandinavian wood snowflake ornaments. These simple wood plaque ornaments are easy to make, paint or stain the wood whatever color goes with YOUR holiday decor!
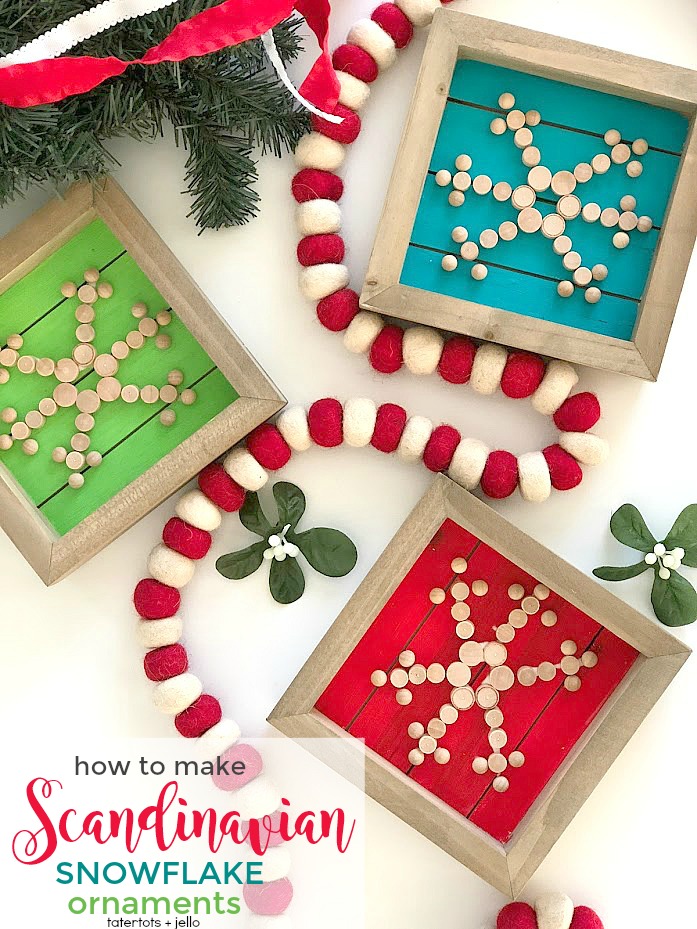

Colorful DIY Scandinavian Ornaments
I LOVE decorate our home for the holidays! And I love creating new things. My favorite thing to do is create handmade holiday ideas for our home. This year I wanted to combine my love of COLOR with my love of simplicity and I love the feeling of Scandinavian decor. It’s so clean and I adore how they incorporate wood tones in their decorating style!
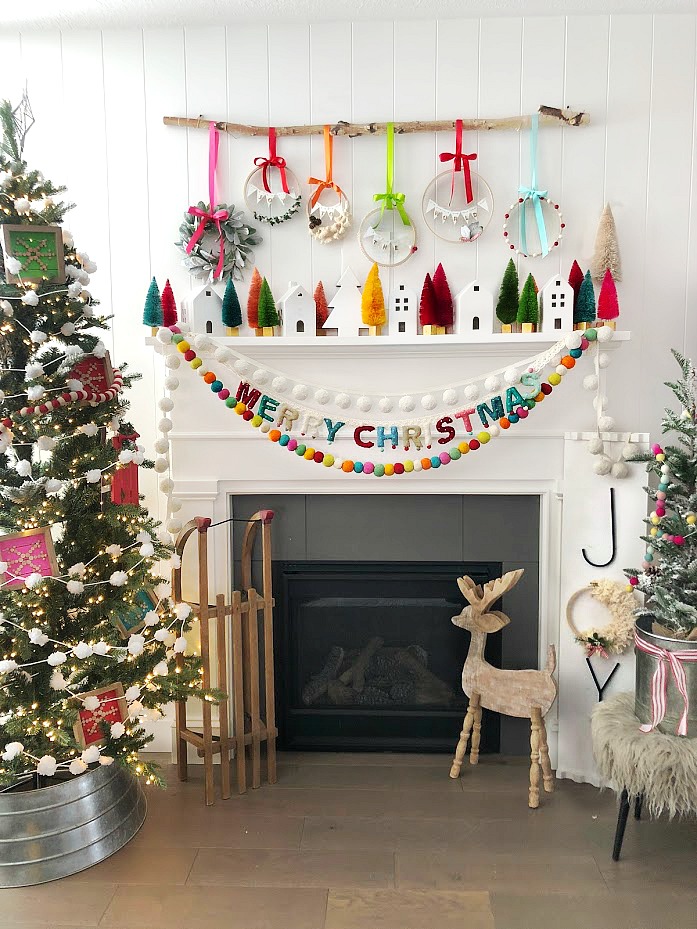
Make Bigger Ornaments to Make a Statement
So I thought I could create some Scandinavian-inspired ornaments. And everything is cuter when it’s either TINY or BIG? Don’t you think? So I made some big Scandinavian Snowflake Ornaments. I love seeing big ornaments on a tree. They really make a statement and stand out.
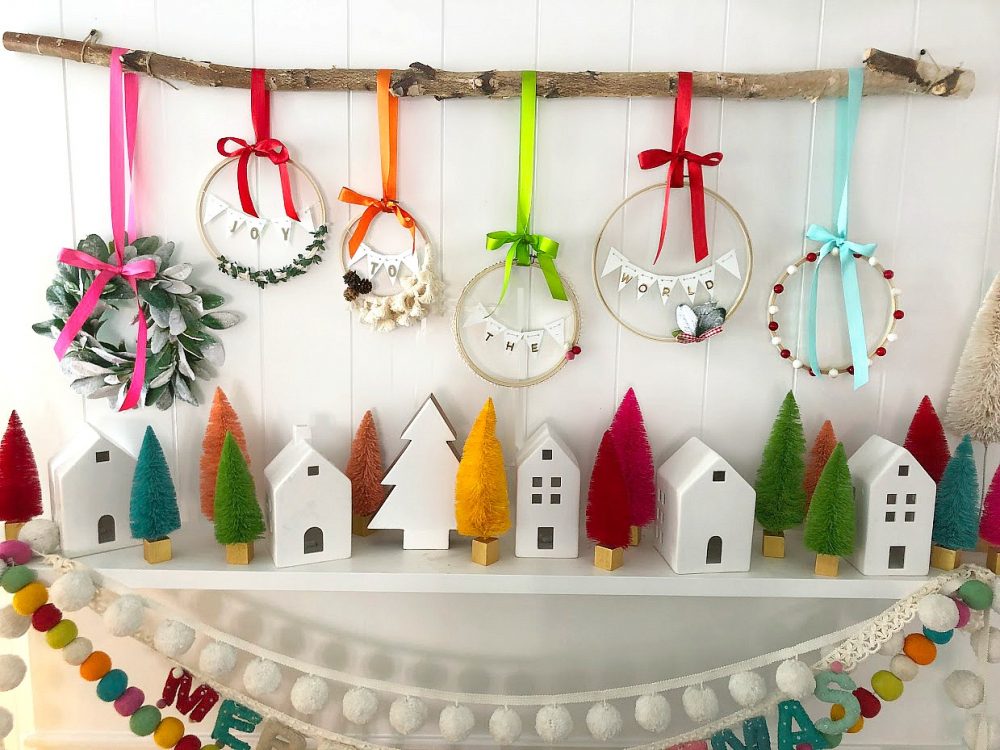
Scandinavian holiday decor. I plan to make more ornaments using small embroidery hoops and they will mirror the embroidery hoops that I have hanging over my fireplace! I am so excited!!
How to Make Scandinavian Snowflake Ornaments
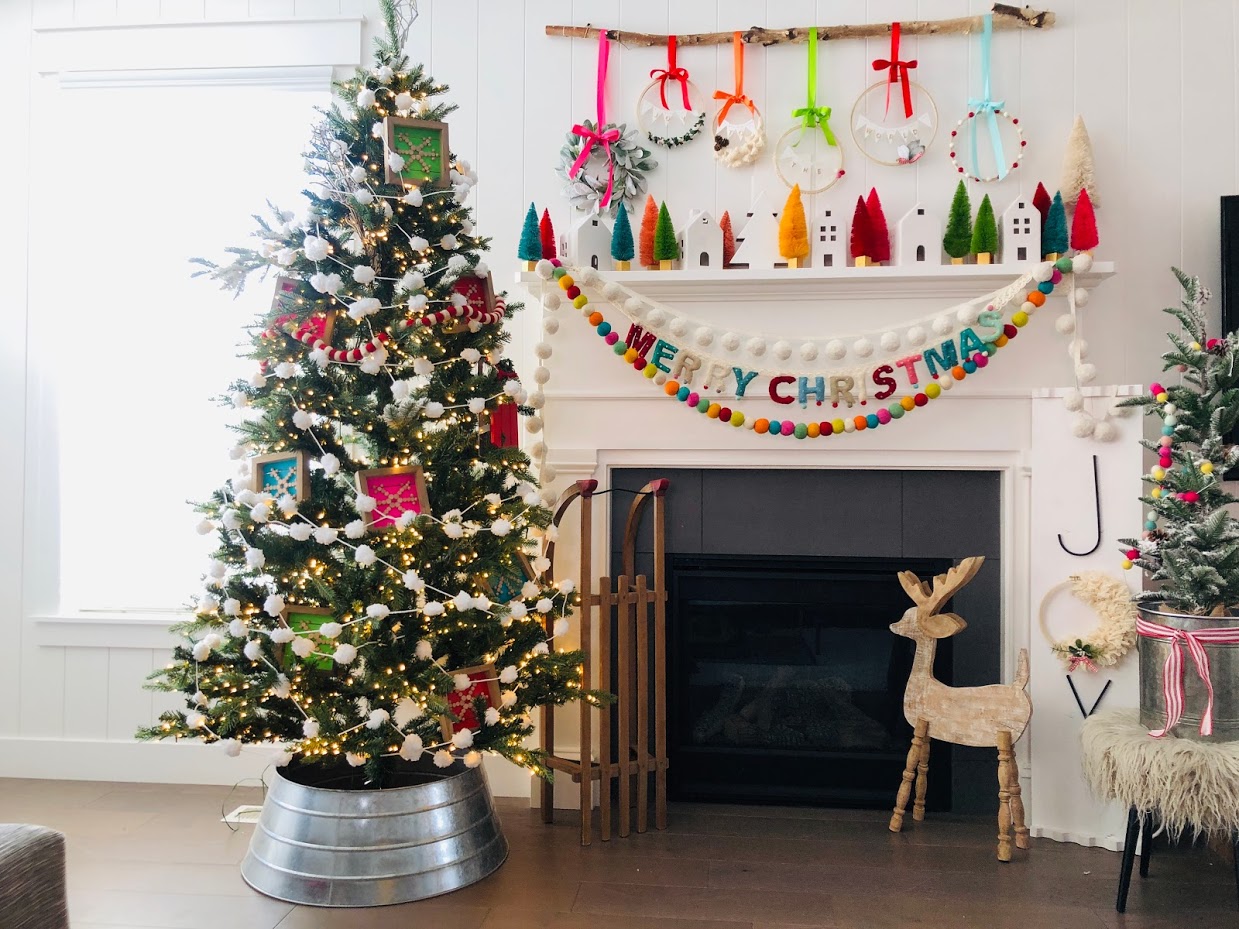
Keep them out all Winter!
Make some for YOUR home! You can create any pattern that you want. I used a simple snowflake pattern and I thought they would look really pretty on my mantel after the holidays are over. I think snowflakes are the perfect winter decorations too!!
Paint the background ANY color
I also love that you can paint the background of the frame whatever color goes in YOUR home! They would look amazing in ALL black and white, don’t you think??

Supplies
You need frames or plaques for this project. You could also use a flat piece of wood and that would be SUPER inexpensive. Here’s what I used.
- Planked Frames (I found mine at hobby lobby. I tried to find a link online but I can’t find it. They are in the unfinished wood aisle and there are several different sizes)
- Craft Paint ( I painted mine 4 different colors. red, turquoise, pink and green)
- White Glue or Clear Glue
- Stain (optional)
- THREE different sizes of wood circles.
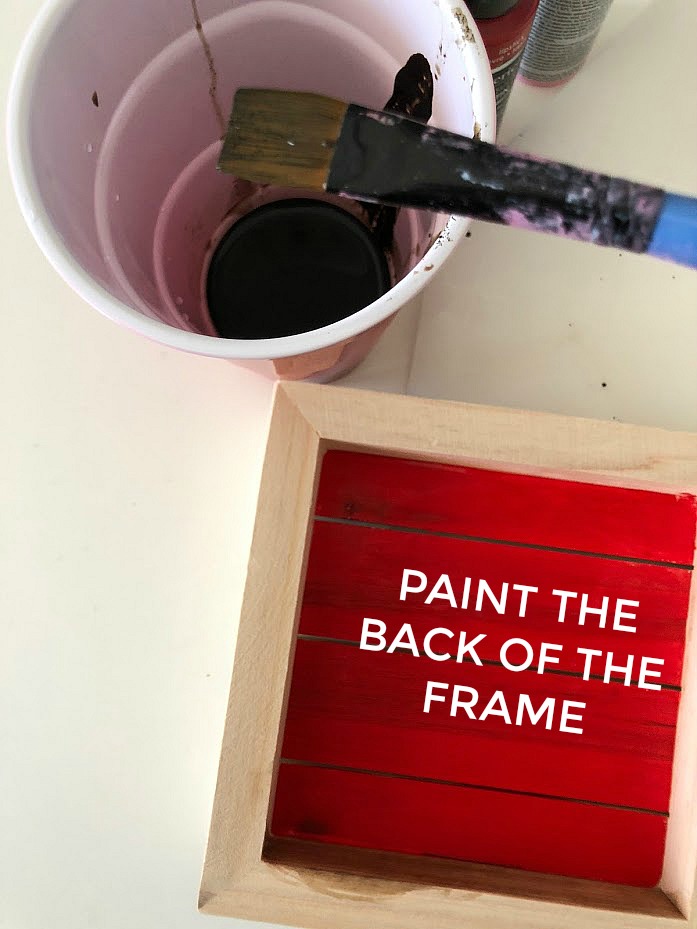
Paint the back of the frame
Whatever color you want! I painted 8 frames and by the time I was done painting all of them, the first one was dry so I went right to staining them.
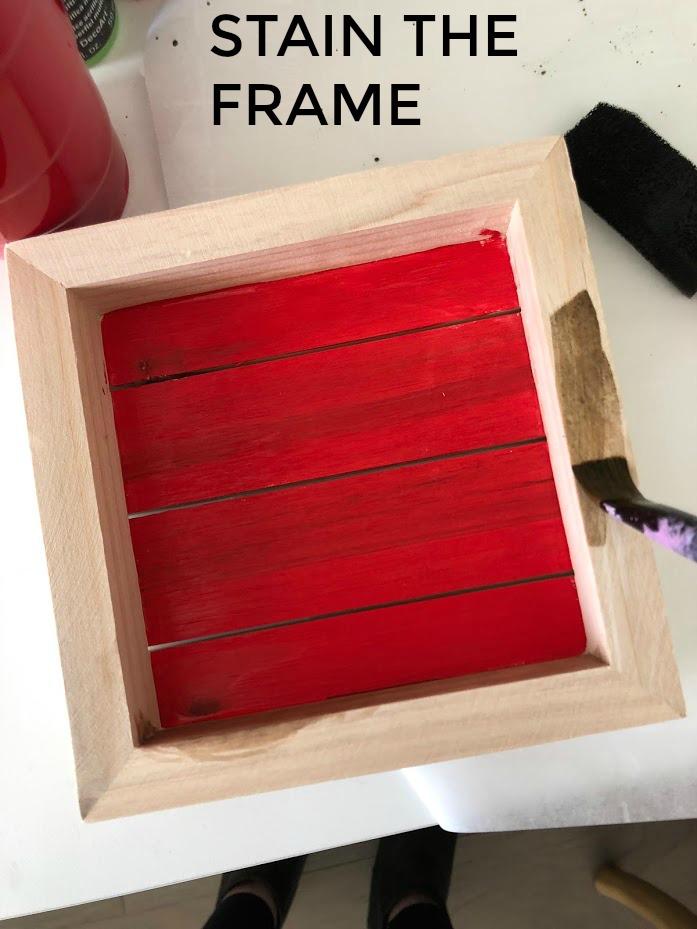
Stain the front and sides of the frame
Mix stain with water to get a lighter stain color. I put 2 tablespoons of stain and mixed it with 1/2 cup of water. I used a walnut stain color.
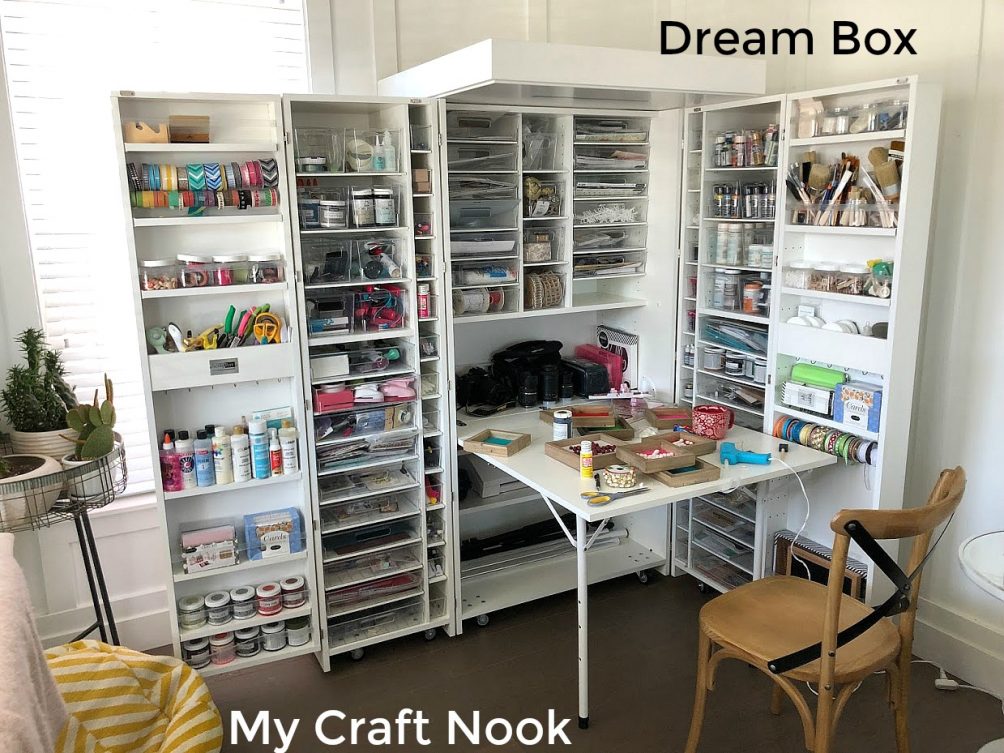
Making the ornaments. This is my craft corner. I have all of my supplies organized in my new Dream Box Organizer. It’s so great to be able to find everything!
Lay out your pattern
Put your wood circles in the pattern you want. I laid them out on one first so I could make sure of the placement.
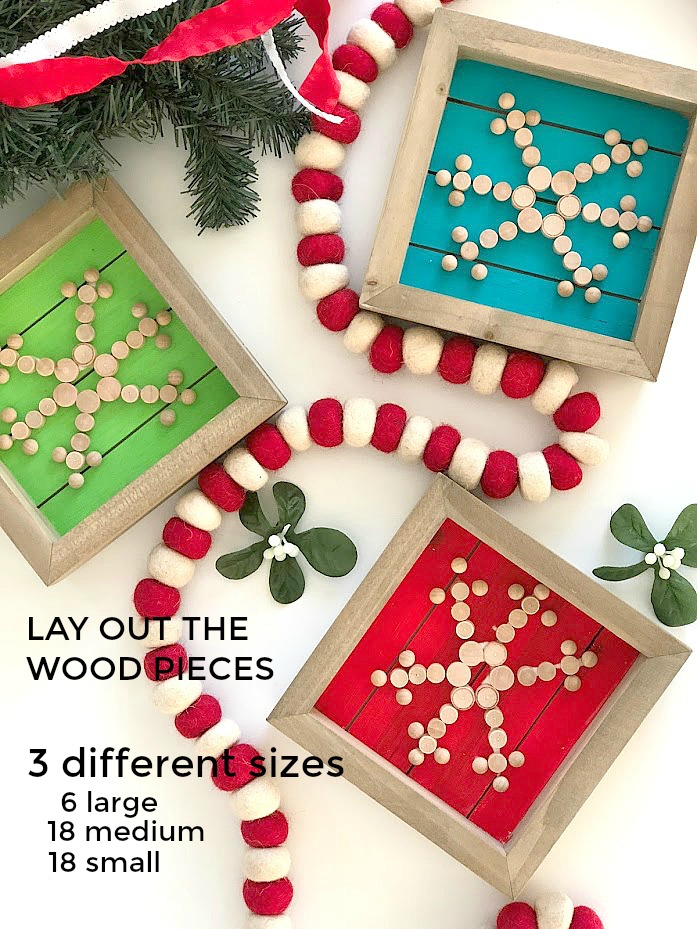
Glue the circles
I made a circle in the center of the frame then six lines coming out from that and the pattern has an x at the bottom of each of the lines. I used white glue which dries clear and it takes a little bit of time to dry. So I had enough time to get the tiles on before the glue dried. You can do it this way or you can do each line separately if you want.
Hang on tree
I just placed my ornaments in the tree and the branches hold them in place because they are so big. But you can also add a loop of ribbon to the top back of the plaque if you want to hang them up.
I can’t wait to show you the tree once it is all decorated. I think it’s going to be so cute. And I love using new and old elements every year to create something different.
Code for Ornament Hop:


The Happy Housie // The Turquoise Home // Lolly Jane // tatertots and jello // Clean and Scentsible

Place of My Taste // The DIY Mommy // Tauni Everett // Life is a Party // Taryn Whiteaker

Home Made Lovely // Town and Country Living // Sincerely, Marie Designs // Grace Gathered Home // Deeply Southern Home

Finding Silver Pennies // Heathered Nest // Jenna Kate at Home // All Things With Purpose
Summer Adams
Be sure to head over and see all of the other ornament ideas!!

THREE Ingredient Baking Soda Ornaments are so fun to make with kids!!
Have a CREATIVE Day!
xoxo



I love the Scandinavian simplicity and how customizable these wood snowflake ornaments are. Perfect way to add a personal touch to holiday decor—definitely trying this out!
These are so darling, Jen! I love them!! SO happy I got to be part of this blog hop with you!
Jen these are so cute. Love your colourful Scandinavia vibe!
I love the bright colours and how customizable they are. These would be a lot of fun to make. Thanks for sharing and being a part of the blog hop Jen.
These are amazing!! I love your colorful Christmas decor!
Thanks Jenn! I love the bright colors!
xoxo
Jen I love these cute ornaments! It’s so important to incorporate both small and large details on a tree and you always knock it out of the park. Your colorful home is perfection.
I agree! I love BIG elements in a holiday tree! Your gnomes are adorable!
xoxo
These are adorable and so festive!
Thanks Danielle!!
They were fun to make!
xoxo
Jen, they are beautiful! And I’m LOVING all your non-traditional color! Makes my heart happy!!
Thanks Heather!!
I love all colors so it’s been fun incorporating them into our holiday decor this year!
xoxo
Okay WOW. that scrapbox thing is AMAZING! I never even knew it existed. now i’m lusting after it lol
It’s so amazing!! It’s the first time I’ve had ALL of my supplies in one place in years! I love it!
xoox