How to Make $2 Pottery Barn-Inspired Bats. Create budget-friendly Pottery Barn-inspired Halloween bats for just two dollars using Dollar Tree glitter bats, twine, and hot glue in this easy DIY tutorial.
How to Make $2 Pottery Barn-Inspired Bats
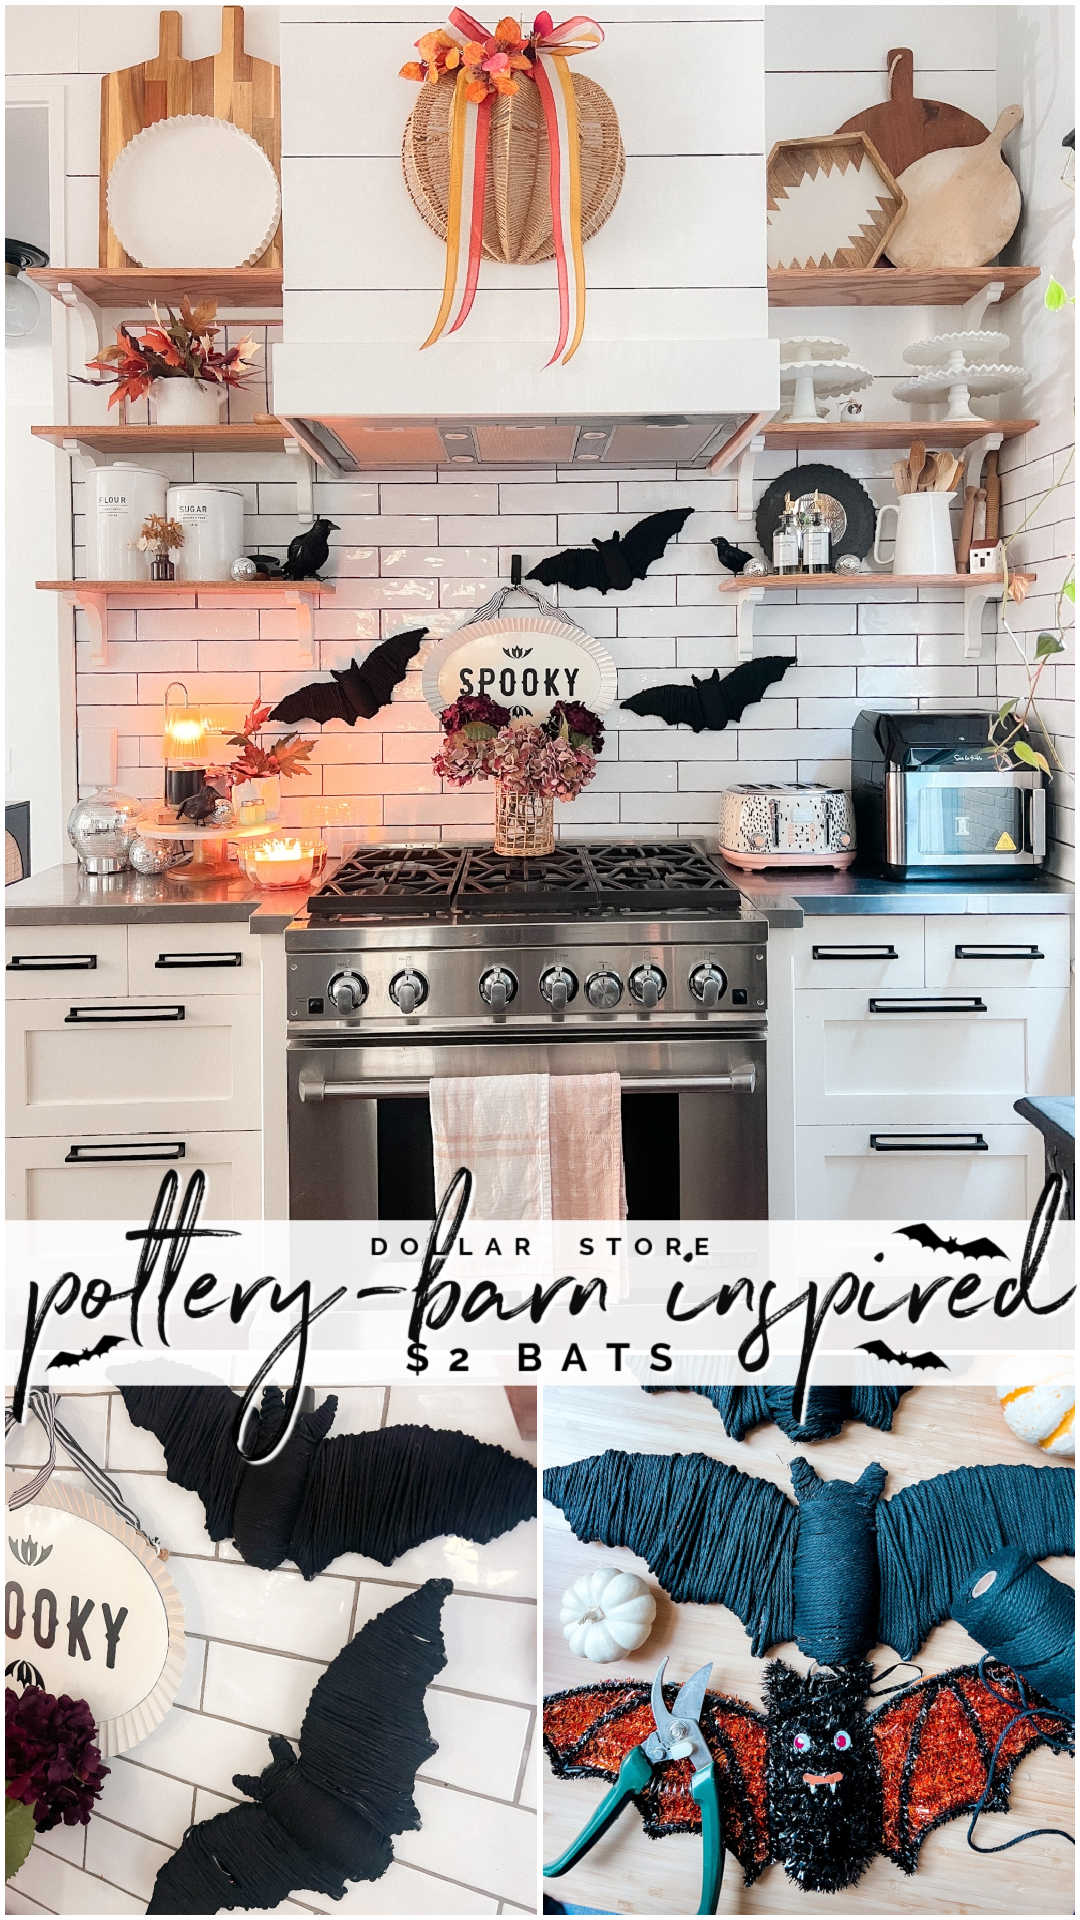
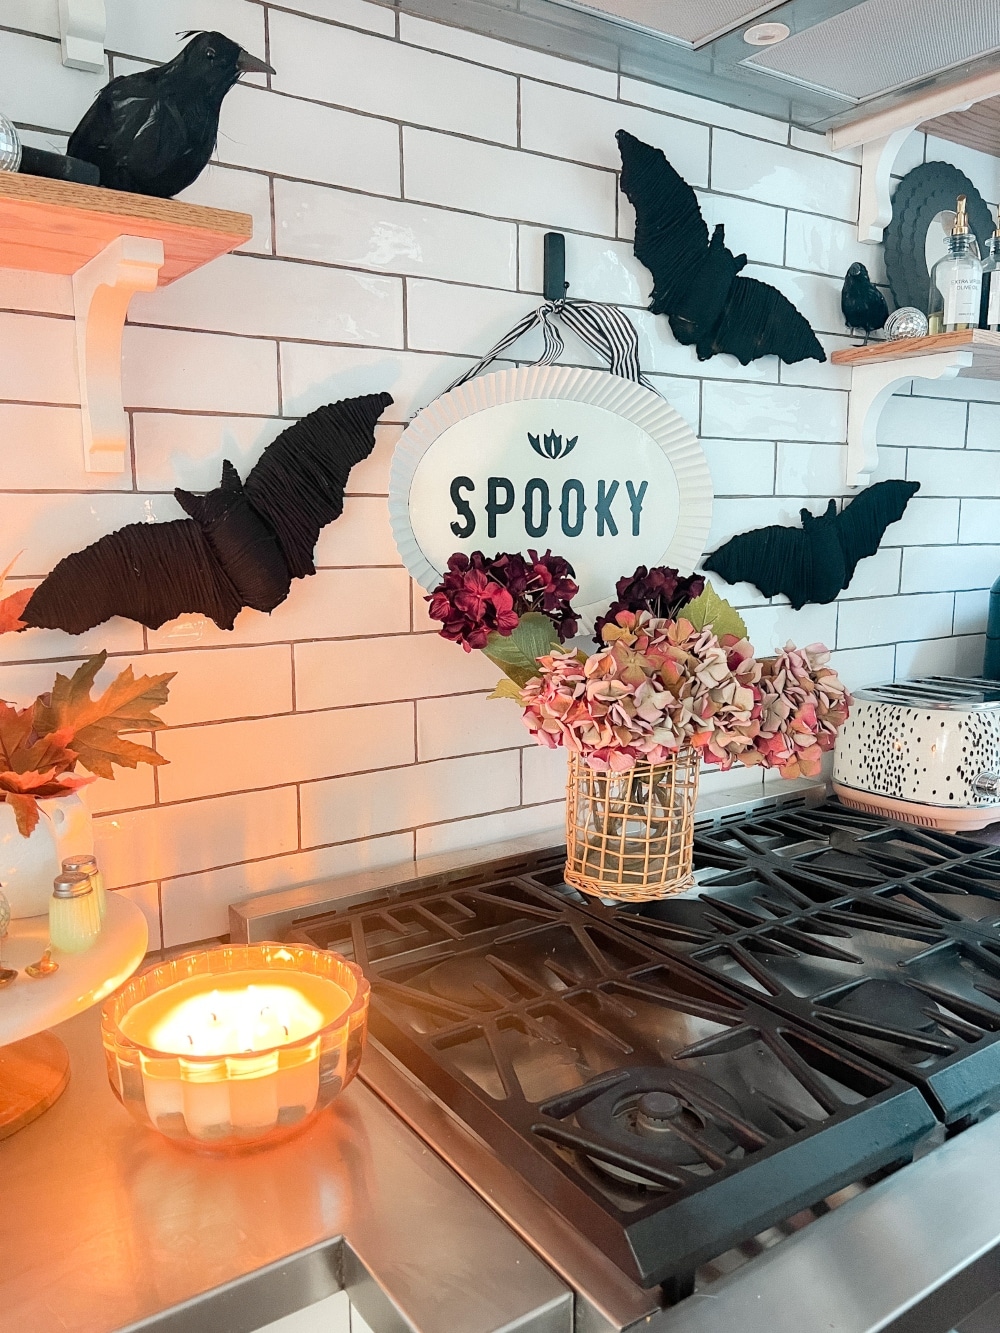
Halloween is just around the corner, and it’s the perfect time to start thinking about some fun DIY décor! If you love Pottery Barn’s stylish Halloween decorations but want a more budget-friendly option, I have the perfect solution for you: Pottery Barn-inspired bats that cost just two dollars to make. Not only are these bats chic and spooky, but they’re also super fun to make, and your kids will love joining in on the crafting fun!
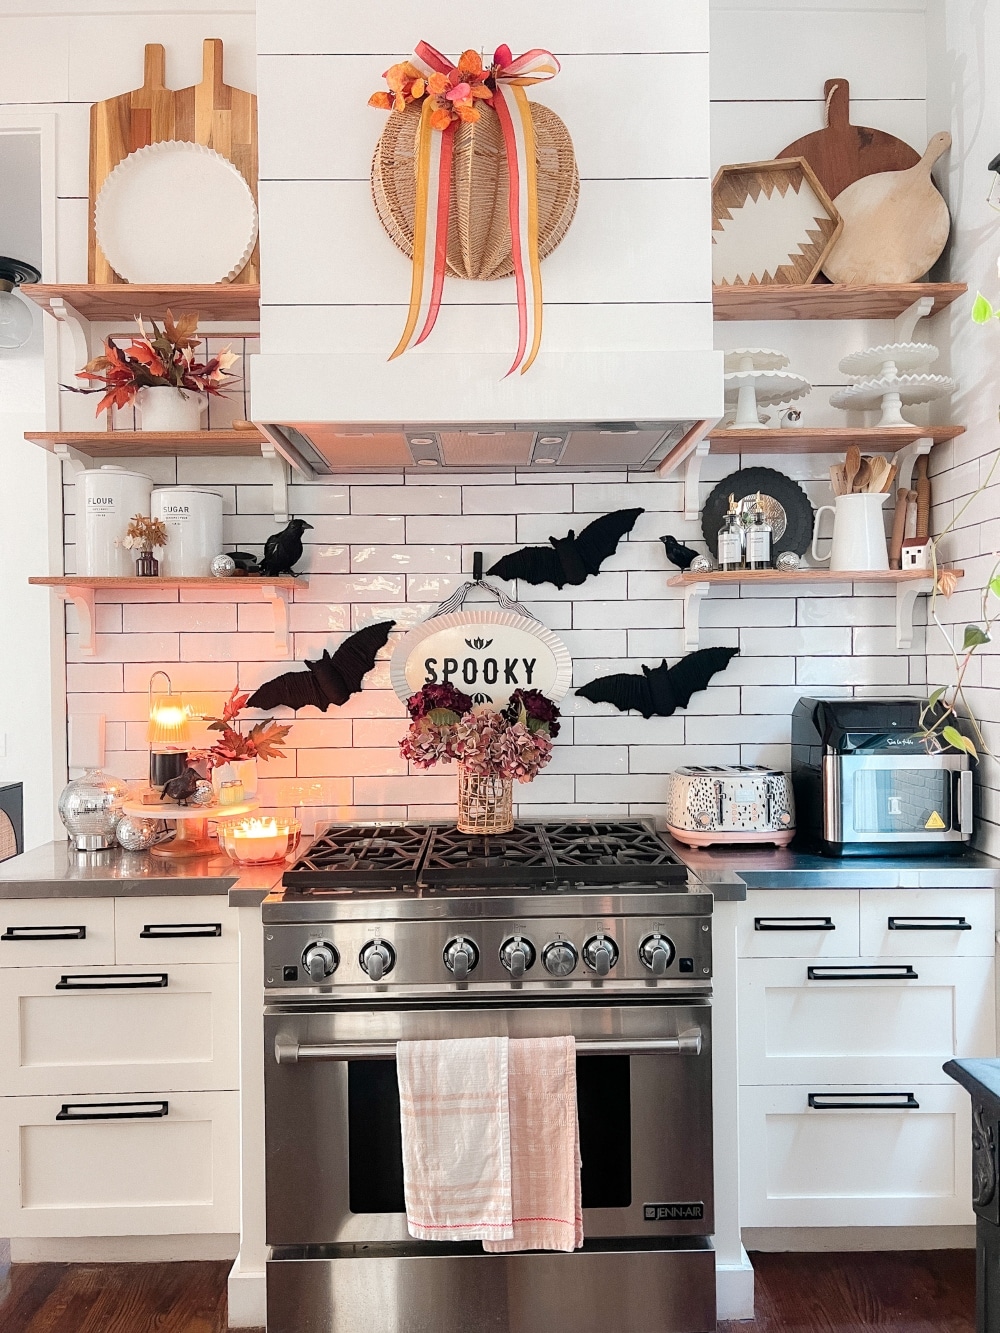
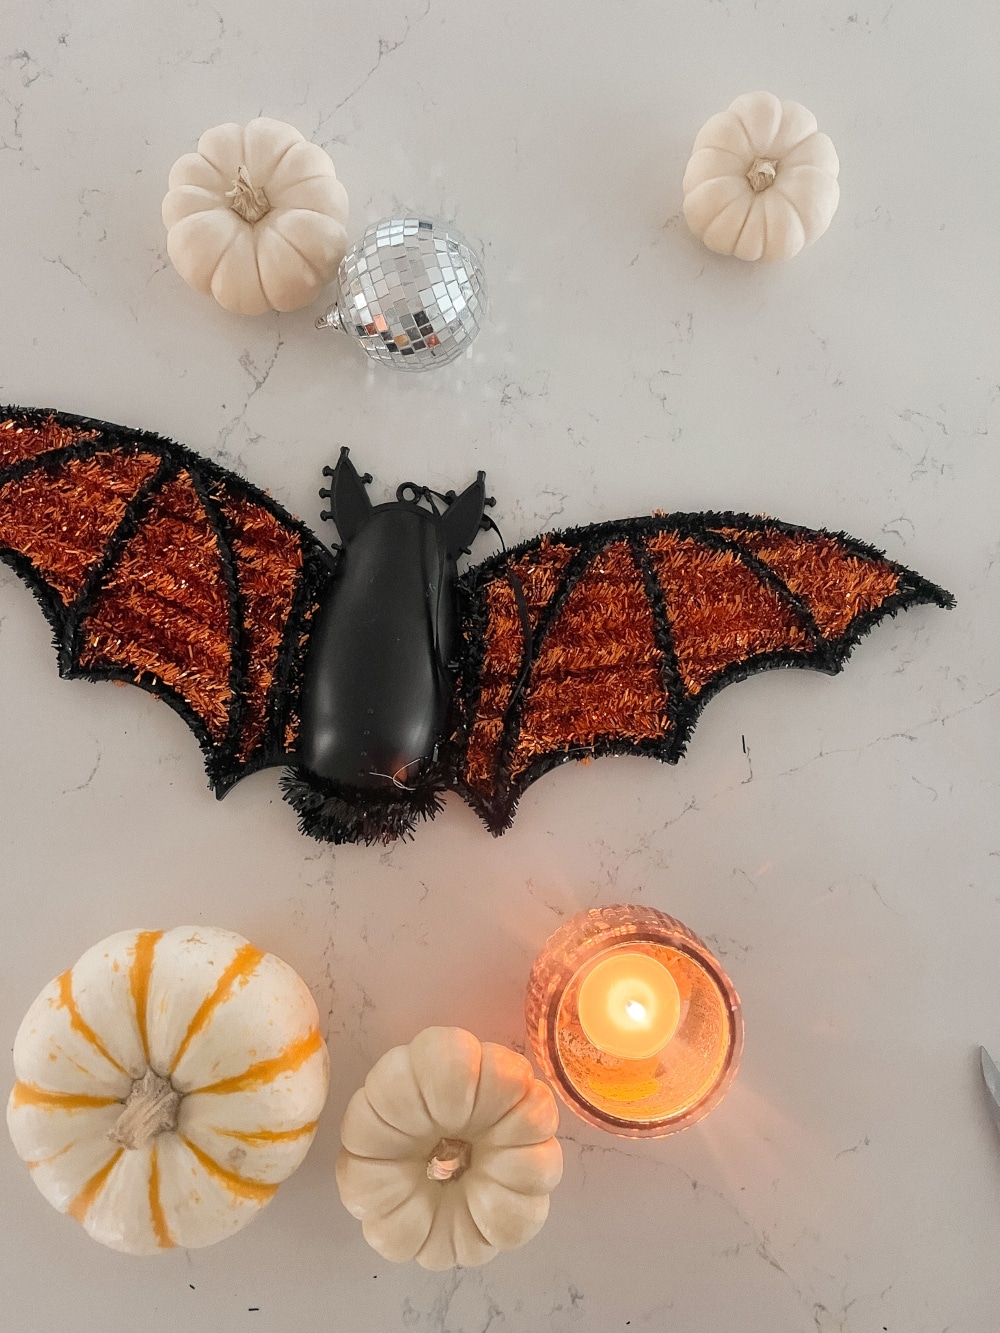
I found these large glitter bats at Dollar Tree, and while they come in bright colors like orange and purple, we’ll be transforming them into something that looks high-end and stylish. In this tutorial, I’ll walk you through how to strip the bats of their glittery exteriors and give them a fresh new look using just a bit of twine. The best part? The materials are incredibly affordable, so you can create a whole swarm of bats for just a few bucks. Let’s dive in!
$2 Pottery Barn-Inspired Bats Supplies

I’ll add links to the supplies here later.
Supplies to make $2 Pottery Barn-Inspired Bats:
- Glitter bats from Dollar Tree (any color, since we’ll be removing the glitter)
- Heavy-duty scissors or small, sharp pliers
- Twine (natural jute or any color of your choice)
- Hot glue gun and glue sticks
- Command hooks (for hanging)
- Optional: Micro lights (to wrap around the bats for added sparkle)
Step-by-Step Directions
1. Remove the Inner Bat Wings
First, let’s prep the bats. You’ll want to start by removing the wings. To do this, hold the bat upright and gently push the wings toward the back of the bat’s body. The wings should pop off easily. Go ahead and take off both wings and set them aside. You won’t need these glittery wings for the final look, so you can discard them or save them for another project.
2. Strip the Glitter Off
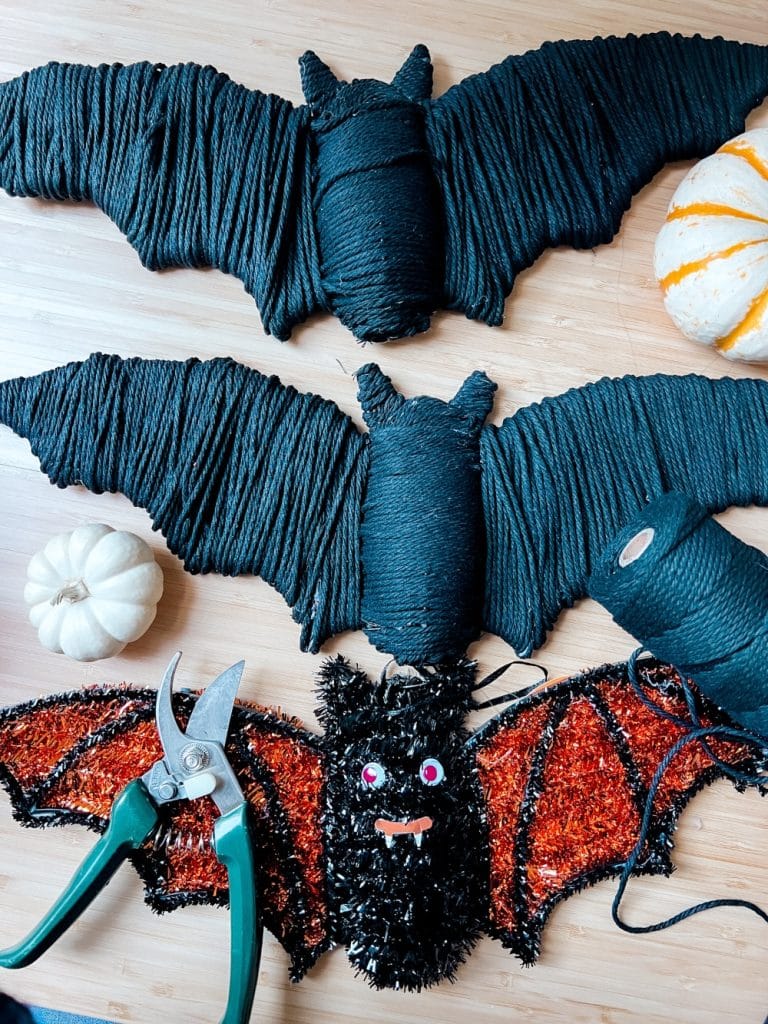
Now that you have just the bat’s body, it’s time to take off all the glitter strips. Start by pulling on the body of the bat, and you’ll notice that the glitter ribbon comes off quite easily. Pull the glitter ribbon from the edges and body until the bat is completely bare. It may take a few minutes, but it’s very satisfying to peel it all off!
3. Trim the Tabs
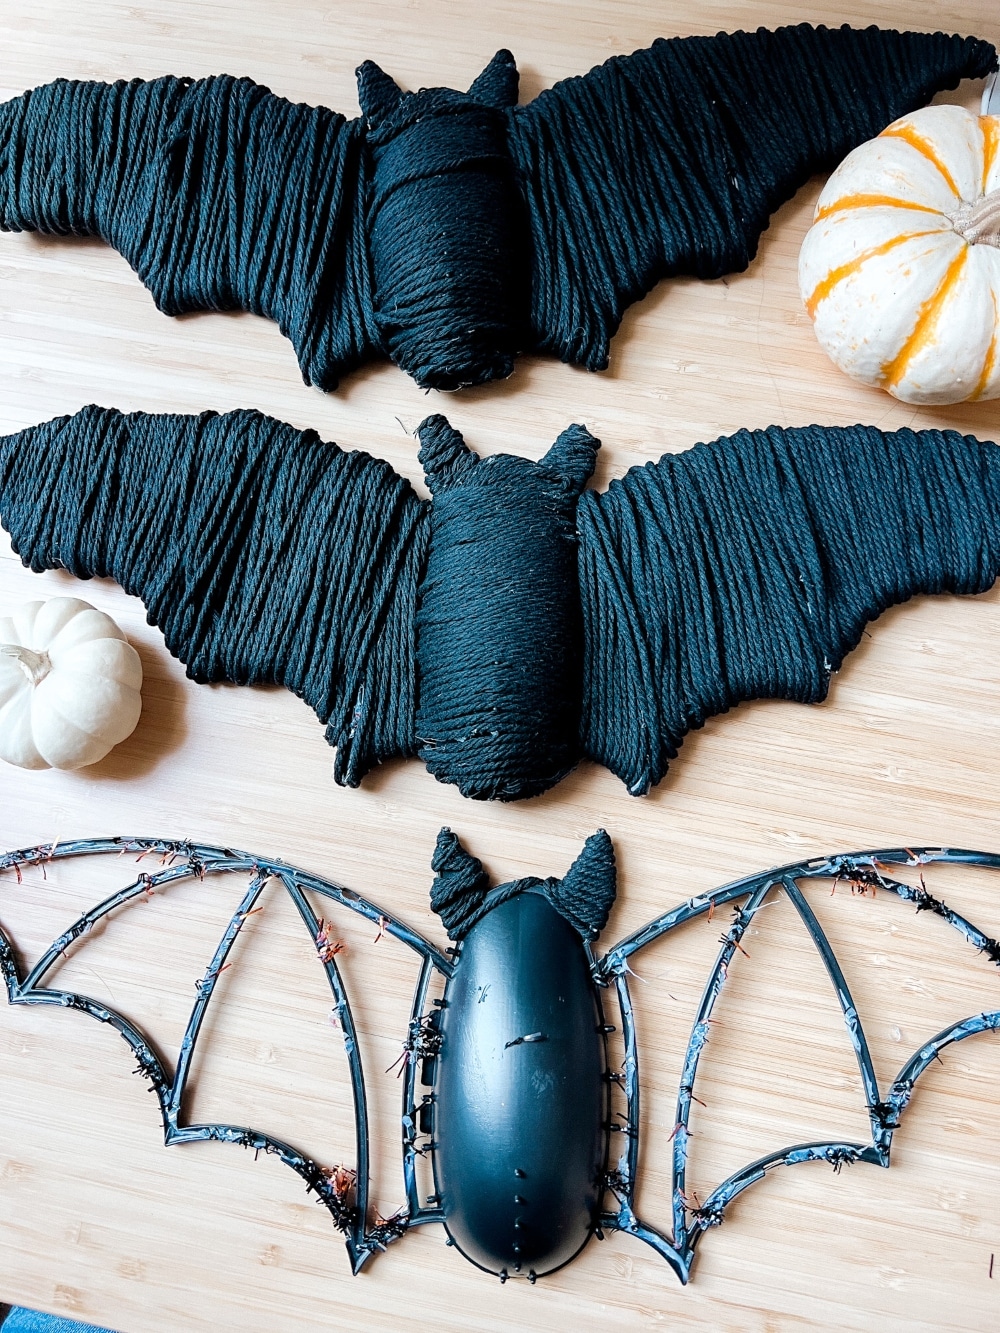
You’ll notice that there are small tabs around the bat’s body where the glitter strips were attached. Using a pair of heavy-duty scissors or sharp pliers, trim off these tabs to create a smooth surface. This will make it easier to wrap the bat with twine later and give the final product a cleaner look.
4. Start Wrapping the Bat’s Ears
Now for the fun part—wrapping the bat in twine! Start with one of the bat’s ears. Place a dab of hot glue behind the ear and press the end of the twine into the glue. Let it set for a moment. Once the glue has cooled and set, begin wrapping the twine around the ear until it’s completely covered. Repeat this step for the other ear.
5. Wrap the Bat’s Head and Body
Next, you’ll move on to wrapping the bat’s head. Start at the top of the head and run a line of hot glue along the edge. Press the twine onto the glue, making sure to create a neat, clean edge. After you’ve secured the twine at the edge, continue wrapping it back and forth to fill in the top of the head. Use your fingers to press the twine into place to make sure everything is nice and snug.
Once the head is done, it’s time to wrap the rest of the body. Apply a line of hot glue to hold the twine as you wrap it around the bat. Keep wrapping the twine evenly and tightly around the body until it’s fully covered. If you notice any gaps, add small dabs of glue to hold the twine in place. When the body is completely wrapped, cut the twine and secure the end to the back of the bat with a bit of hot glue.
6. Wrap the Bat’s Wings
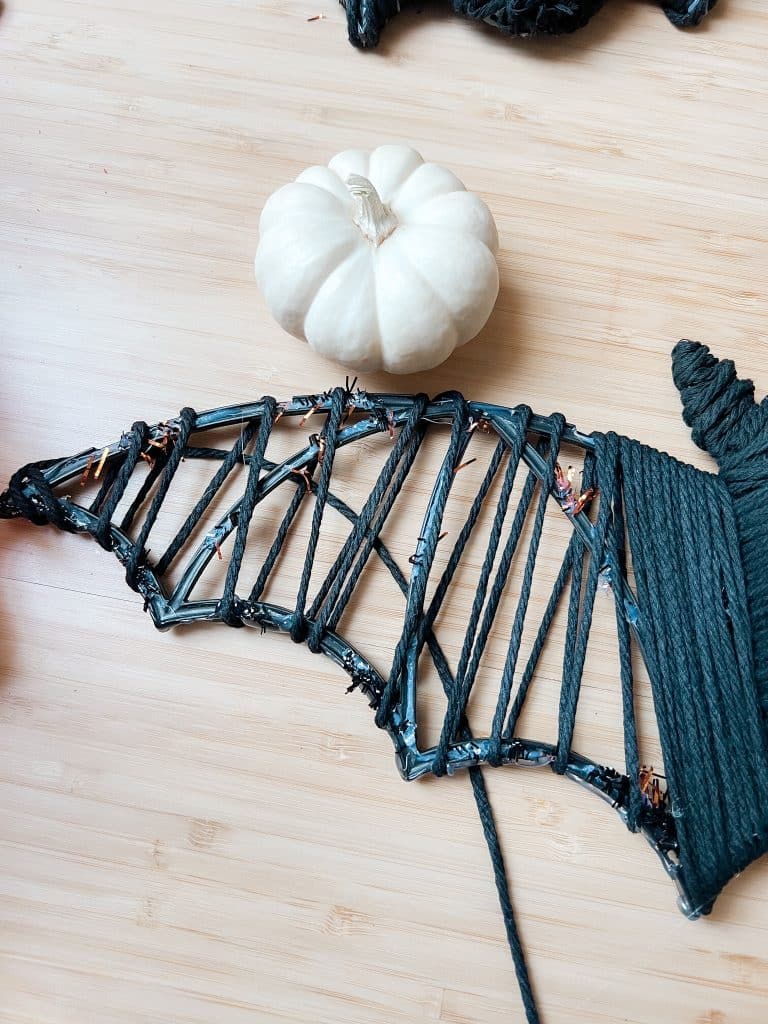
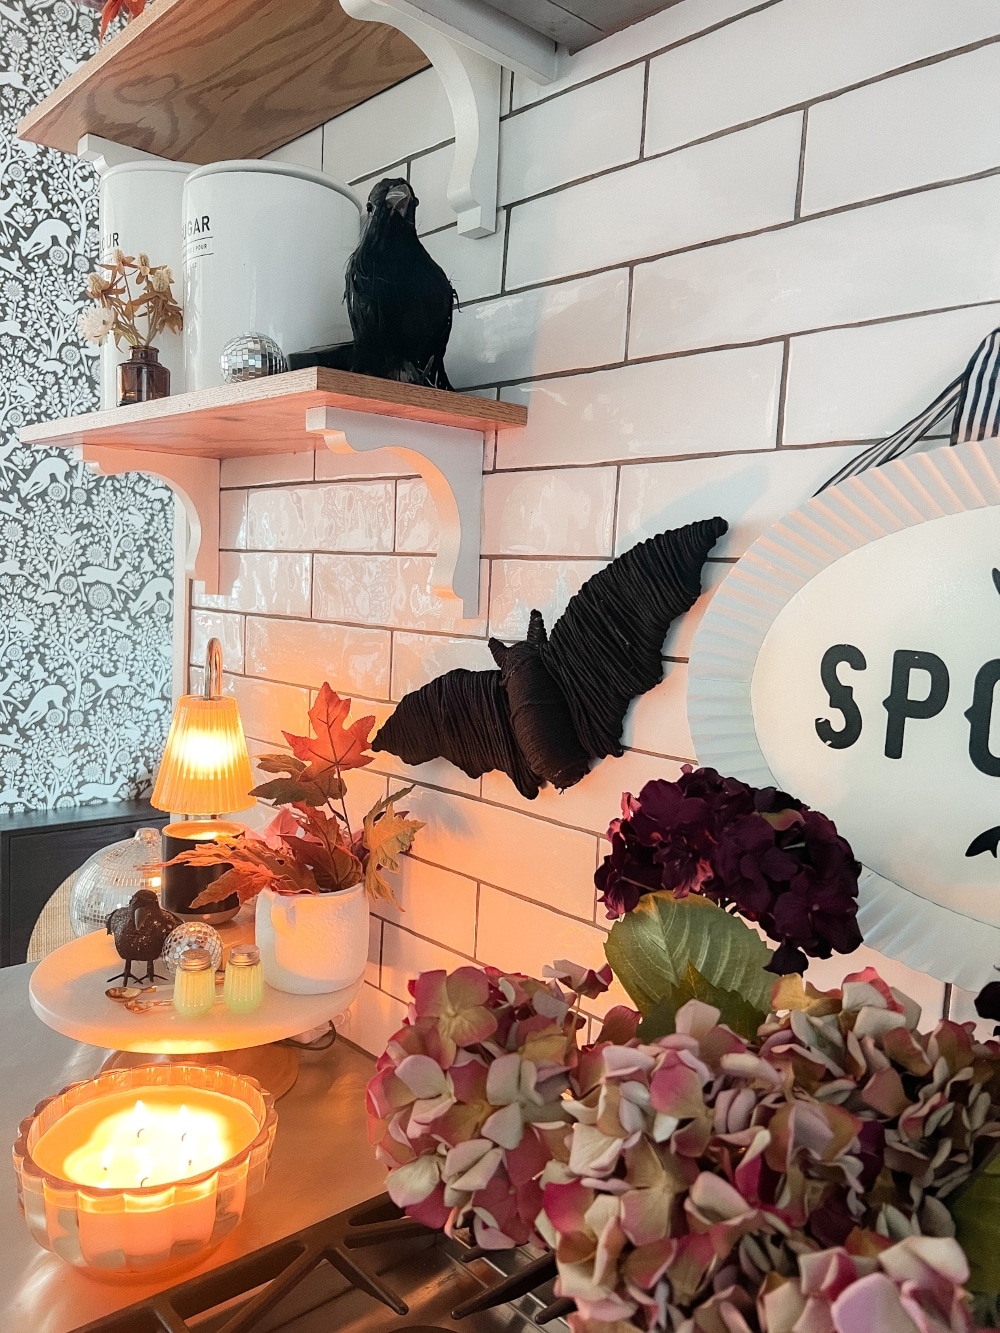
Now let’s move on to the wings! Start at the base of one wing, near where it attaches to the body, and begin wrapping the twine outward. As you wrap, add dabs of hot glue to ensure the twine stays in place. When you reach the scalloped edges of the wing, run a line of hot glue along the edge and wrap the twine a little more loosely until you get to the tip. Once the tip is wrapped, work your way back toward the body, this time wrapping the twine tightly.
Repeat the process for the other wing. You can wrap the wings as tightly or loosely as you prefer. Wrapping the wings loosely will create a more airy, decorative effect, while tighter wrapping will use more twine but give a cleaner, more polished look.
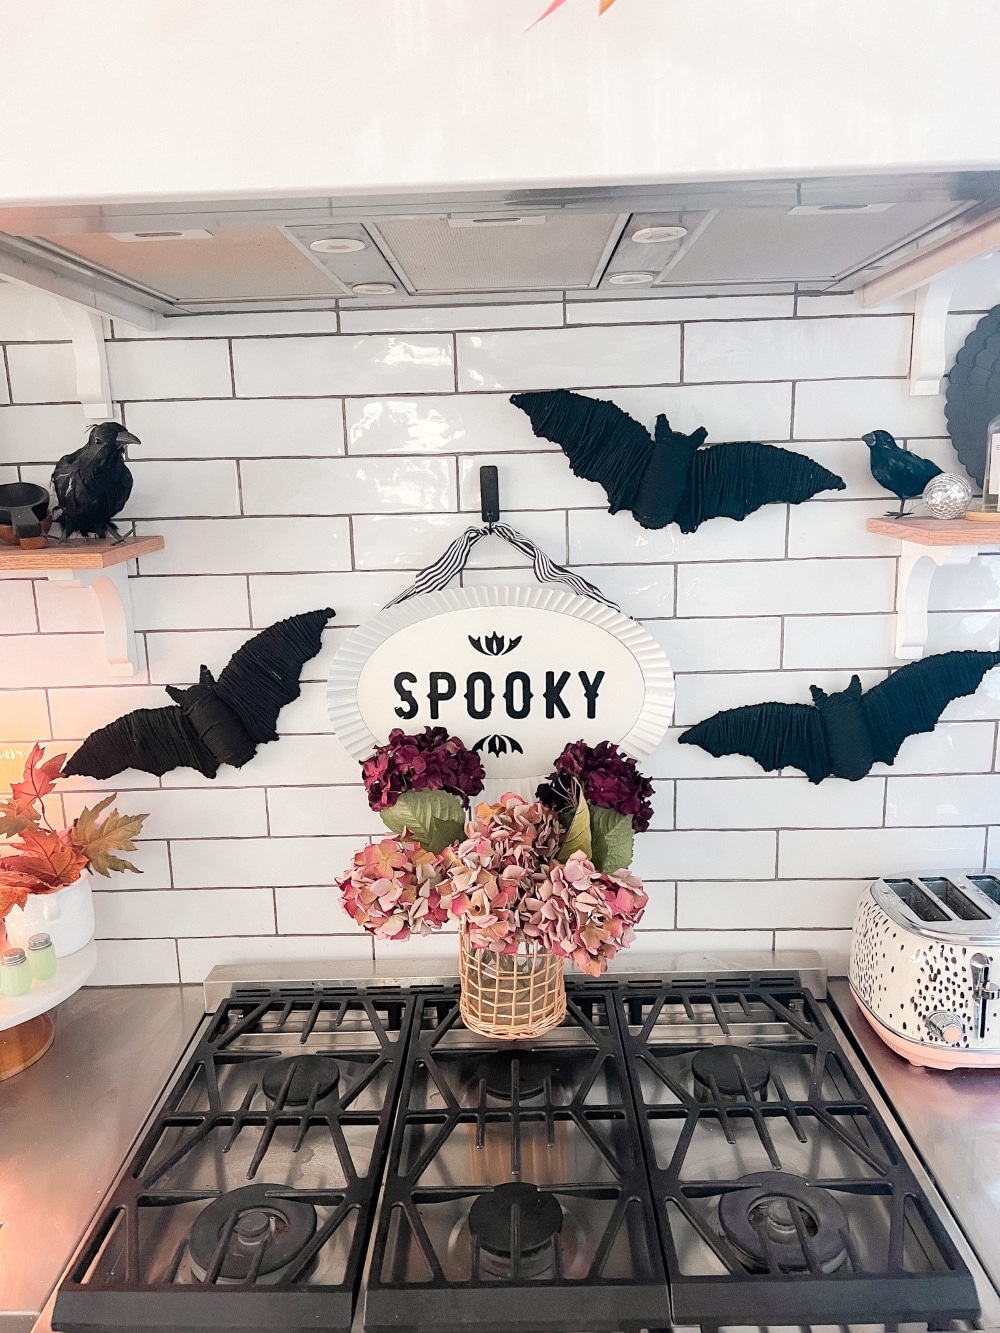
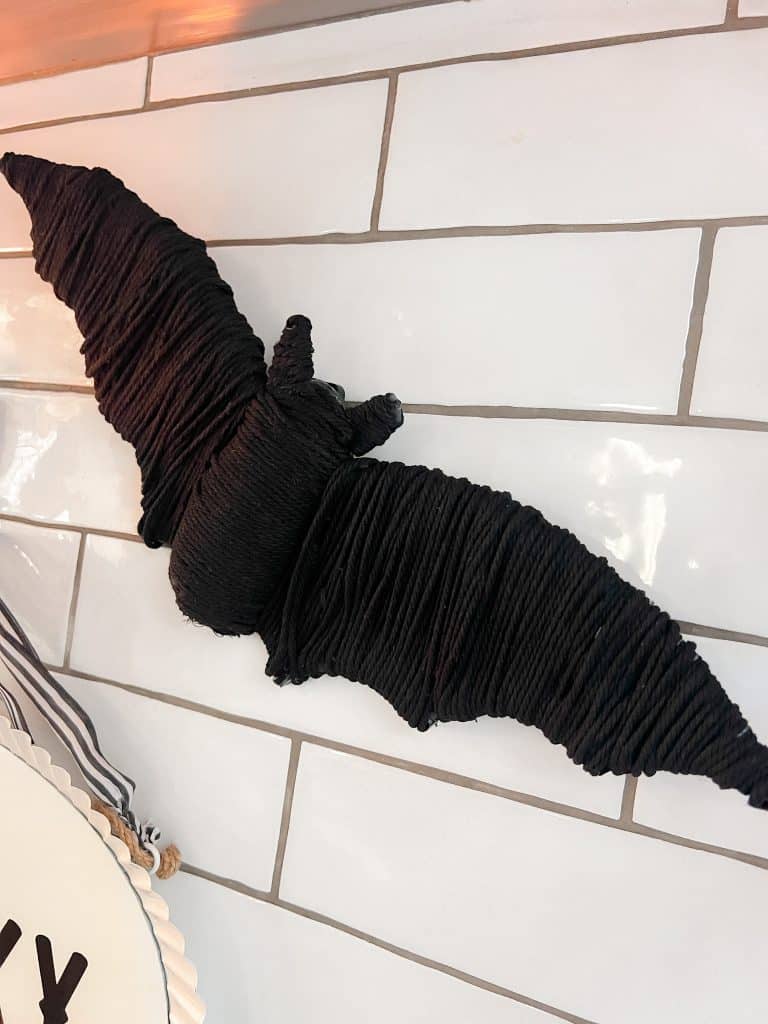
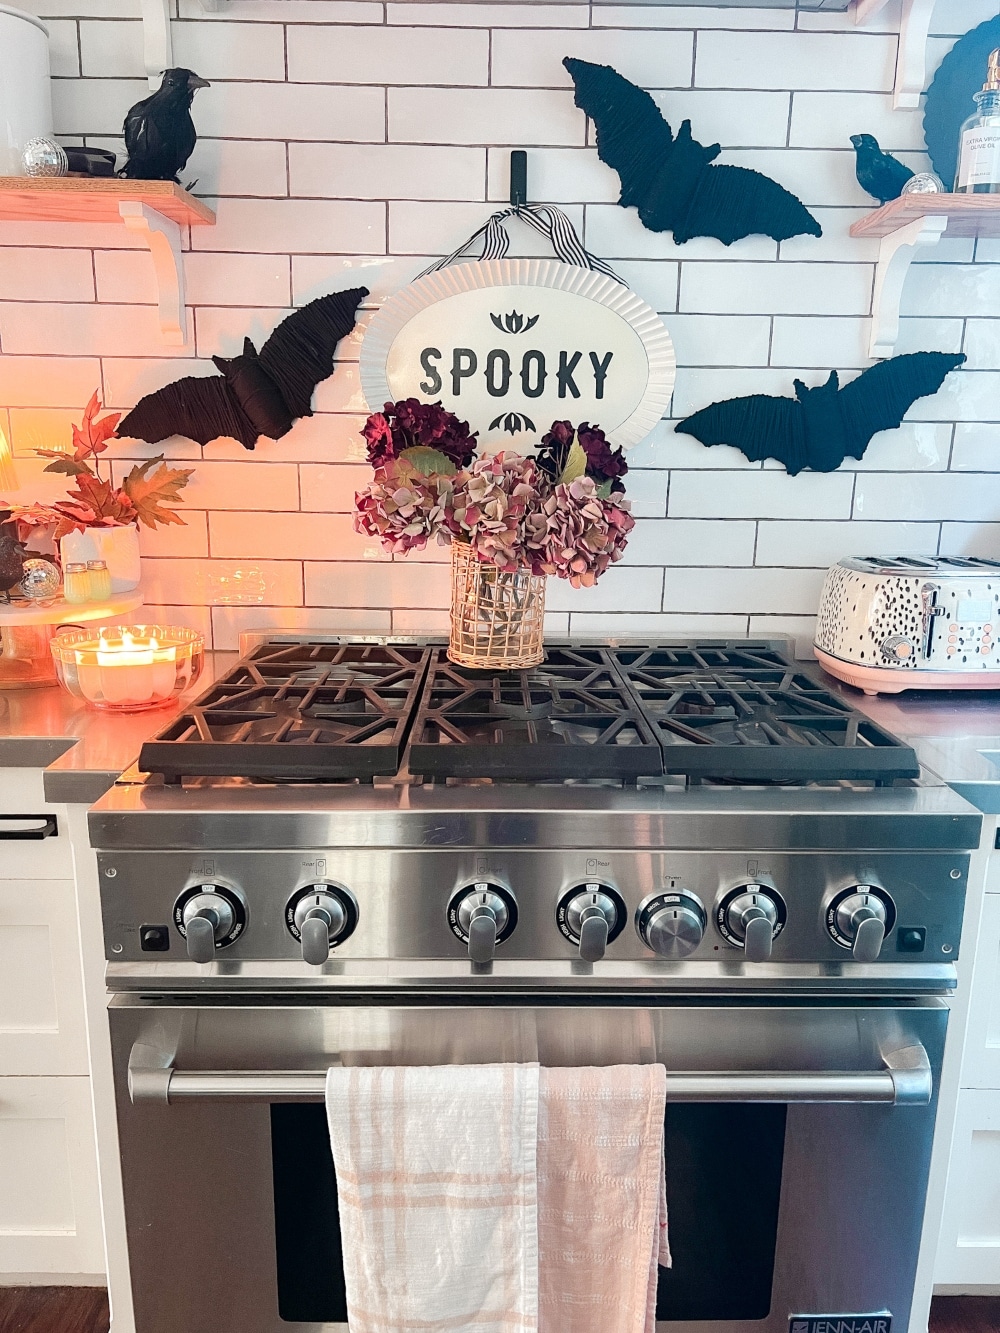
7. Hang Up Your Bats

Now that your bat is fully wrapped in twine, it’s time to display it! I recommend using Command hooks for easy hanging without damaging your walls. You can also get creative and hang these bats from your porch ceiling or trees for an outdoor Halloween display. If you plan to hang them where they’ll be seen from both sides, consider wrapping both the front and back of the bats to make them look good from every angle.
8. Add Micro Lights for a Magical Touch
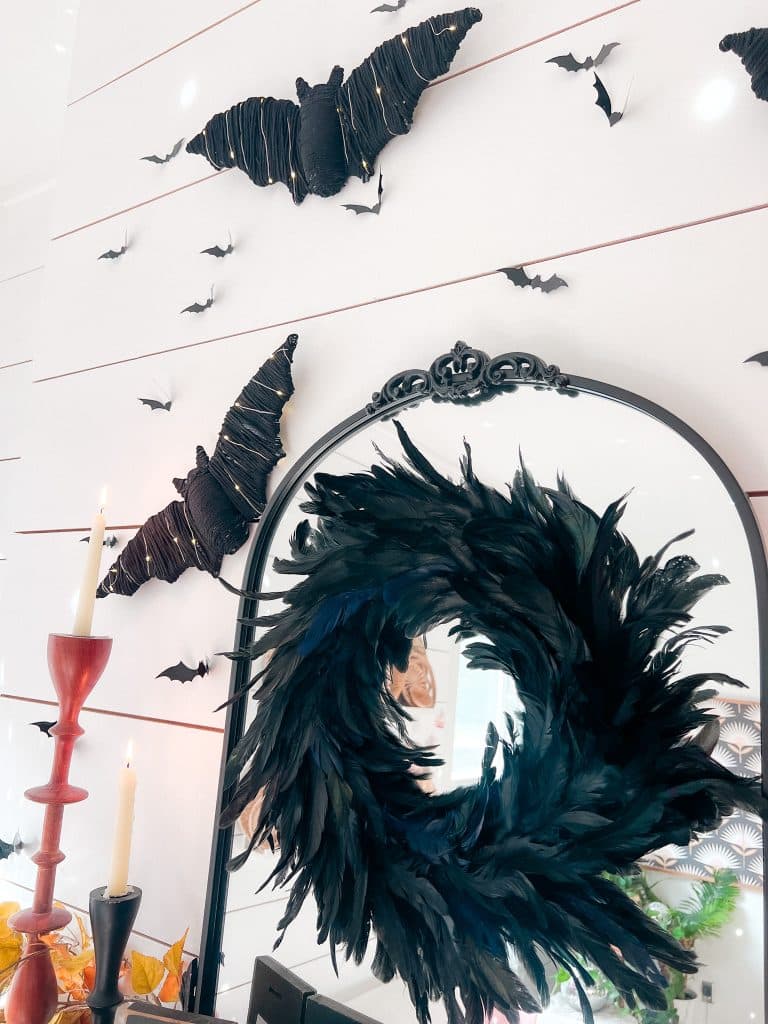
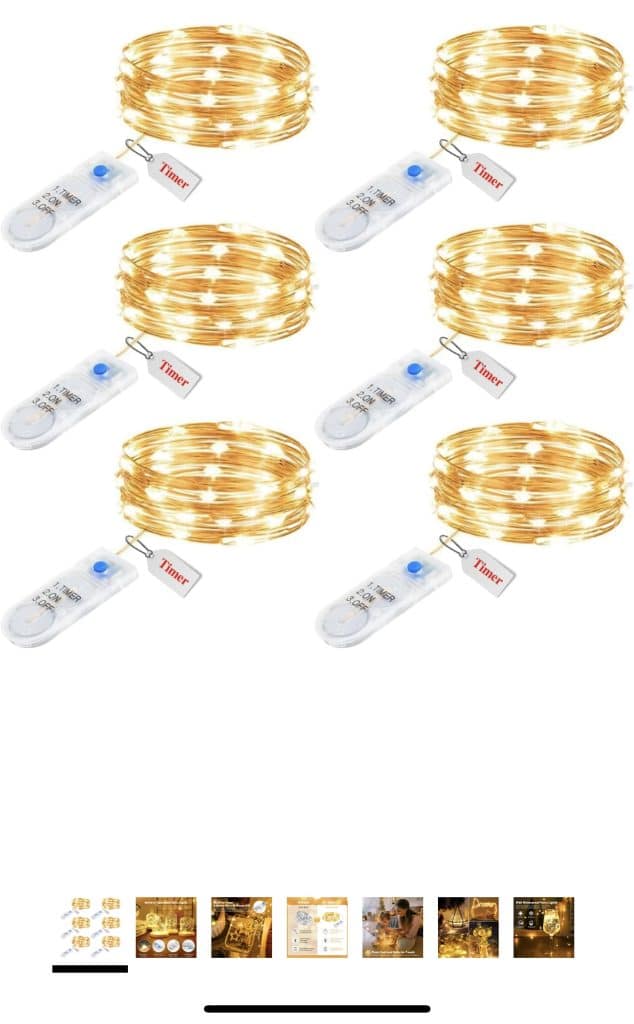
To take your Pottery Barn-inspired bats to the next level, consider adding some micro lights. These tiny micro lights are perfect for wrapping around the bats, and you can tuck the control pack into the back for easy access. These micro lights come with a timer feature, so they can turn on and off automatically, adding a fun and magical glow to your Halloween display.
Enjoy Your Pottery Barn-Inspired Bats!
I hope you enjoyed this tutorial! It’s an easy, affordable, and fun way to create stylish Halloween décor without breaking the bank. These bats are not only perfect for indoor or outdoor displays, but they also bring a bit of Pottery Barn elegance to your Halloween setup at a fraction of the cost.
Pin $2 Pottery Barn-Inspired Bats to Make Later!
For more fun DIYs and décor ideas, be sure to follow me on Instagram, TikTok, and Pinterest! Happy Halloween decorating!
More DIY Halloween Decor to Make!
Here are a few more DIY Halloween ideas to make:
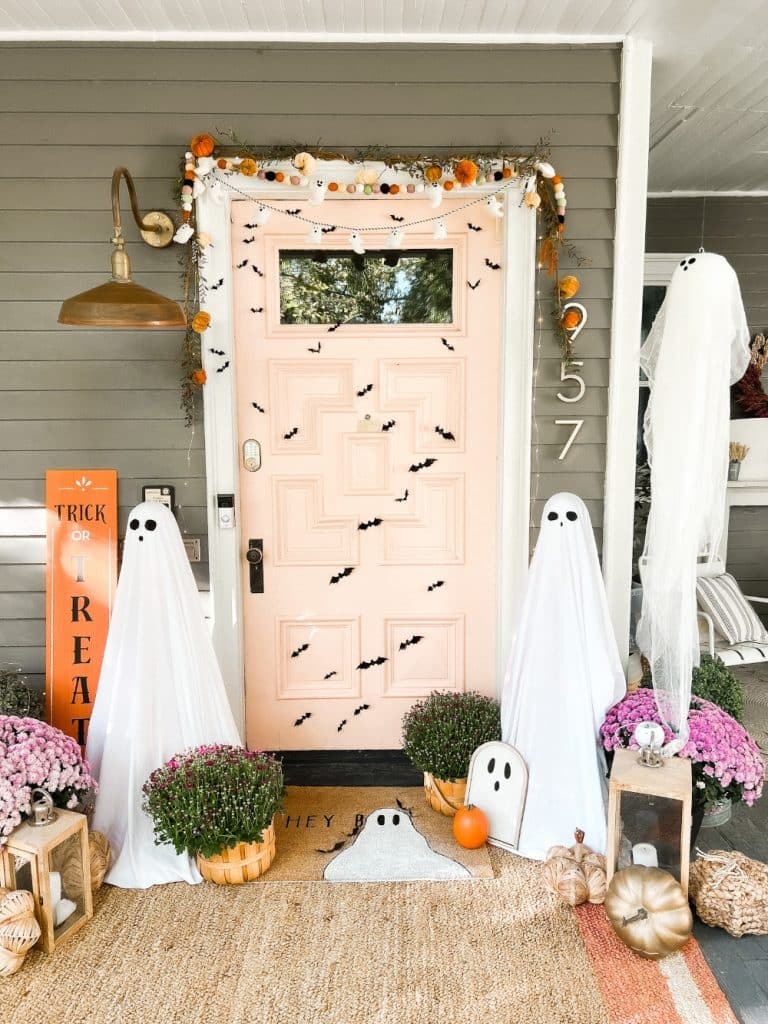
Easy Halloween Ghost Porch with Tomato Cage Ghosts
Easy Halloween Ghost Porch. Create tomato cage ghost luminaries, floating ghost luminaries and a ghost doormat for spooky fun!
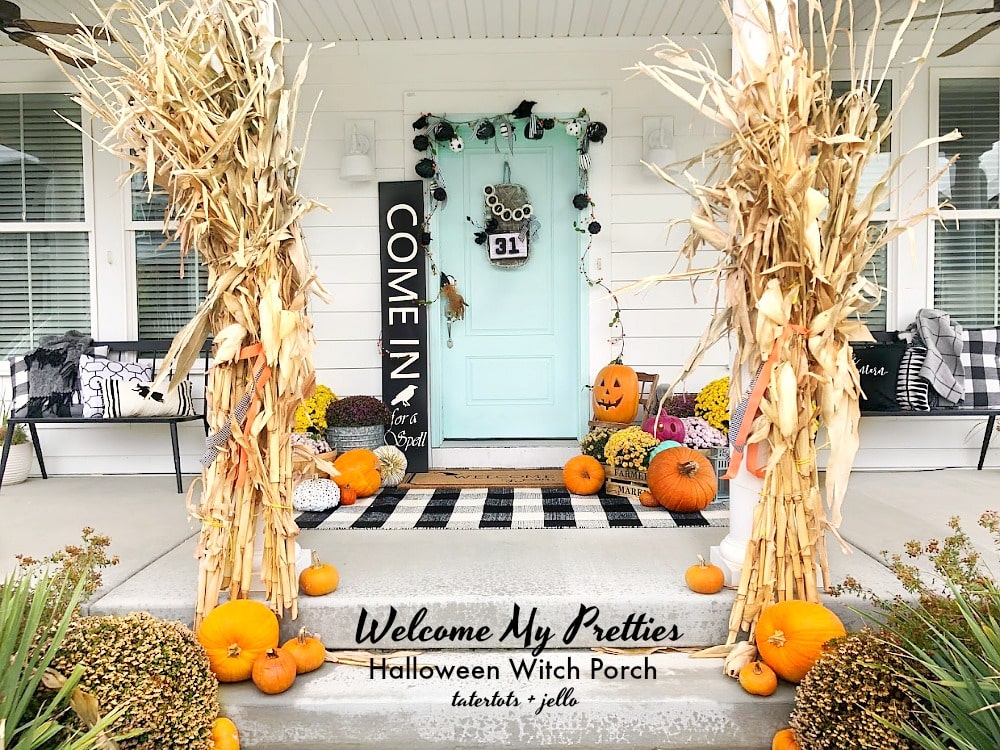
Welcome My Pretties Halloween Porch Ideas
Welcome My Pretties – how to create a Halloween Theme Porch with easy DIY projects. Wow your guests with a Halloween theme porch this year!
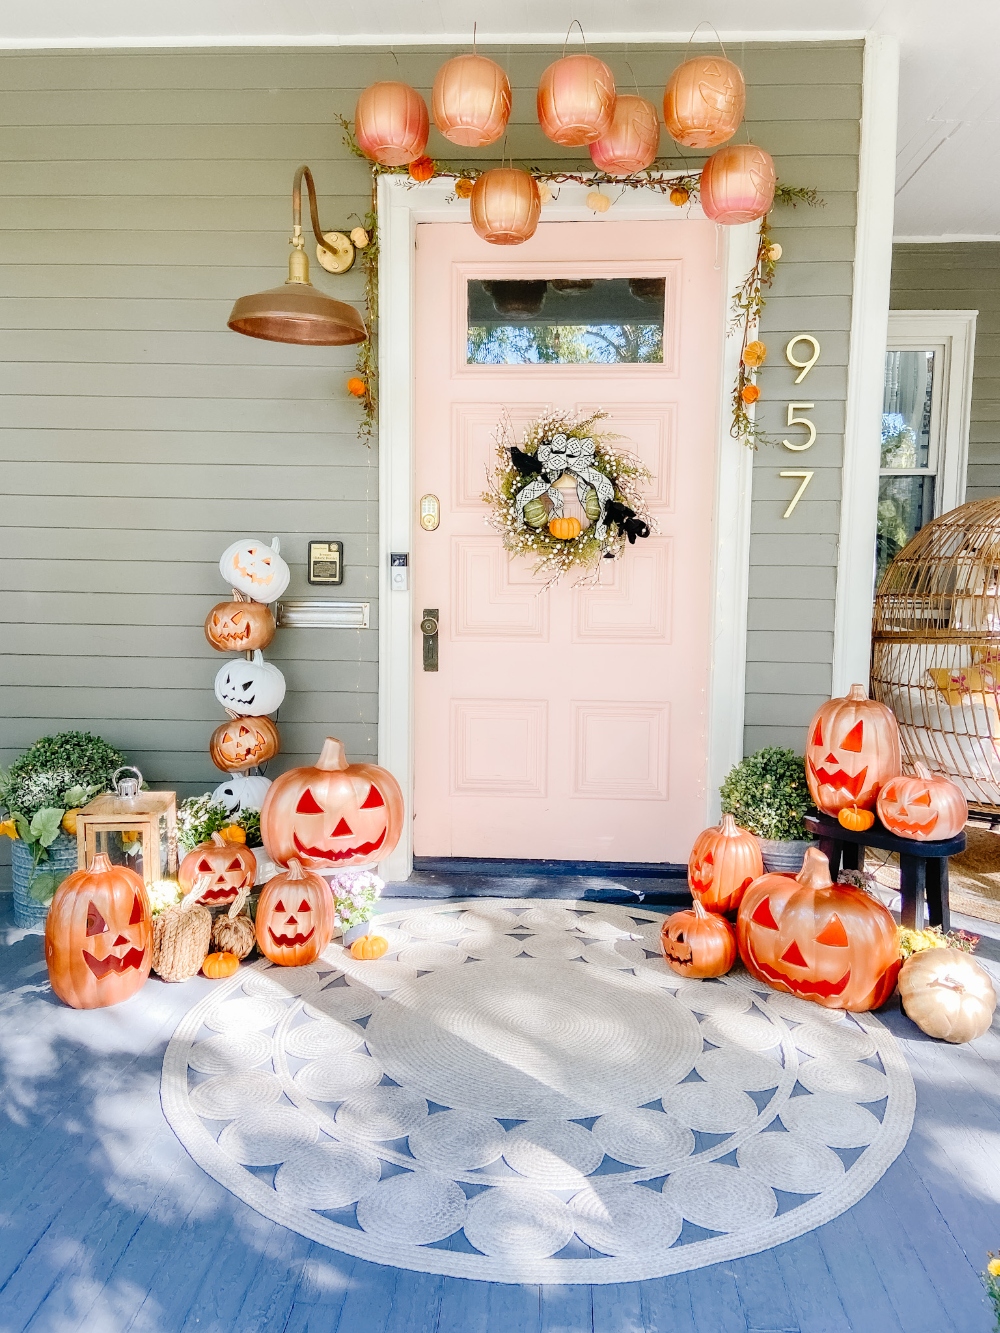
Great Pumpkin Porch
The Great Pumpkin Halloween Porch! Spray paint inexpensive jack-o-lanterns, pumpkin pails and make a jack-o-lantern topiary for a festive pumpkin porch!
What Halloween Projects are YOU working on?
Share them with us in the comments!
xoxo