How to Hang Peel and Stick Wallpaper. Peel and stick wallpaper can transform a wall in no time and to make it easier, I am sharing my favorite tips and tricks to make it even easier for you to do!
How to Hang Peel and Stick Wallpaper
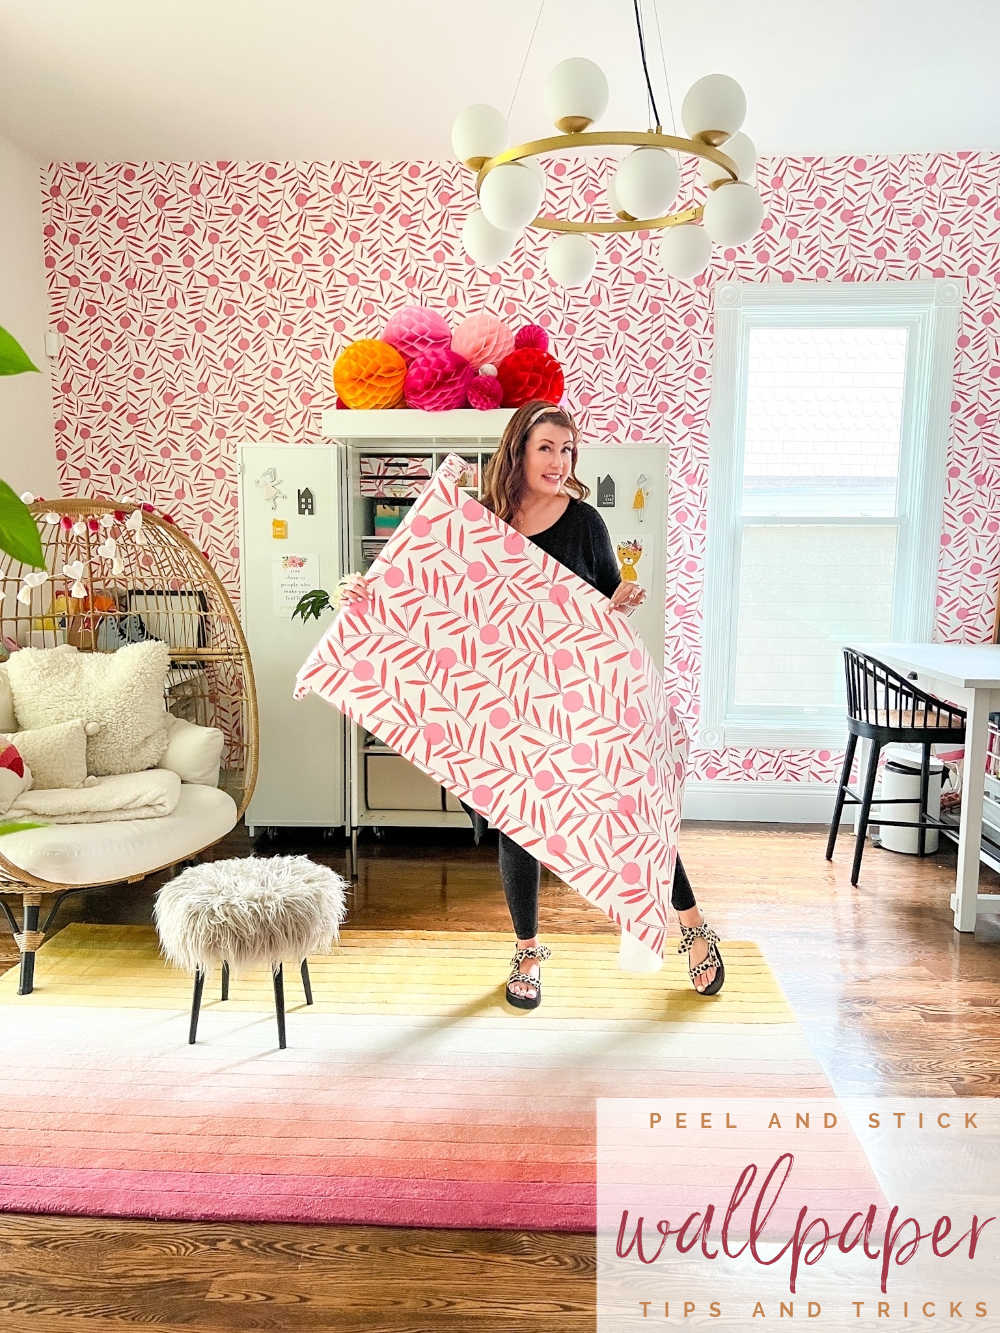
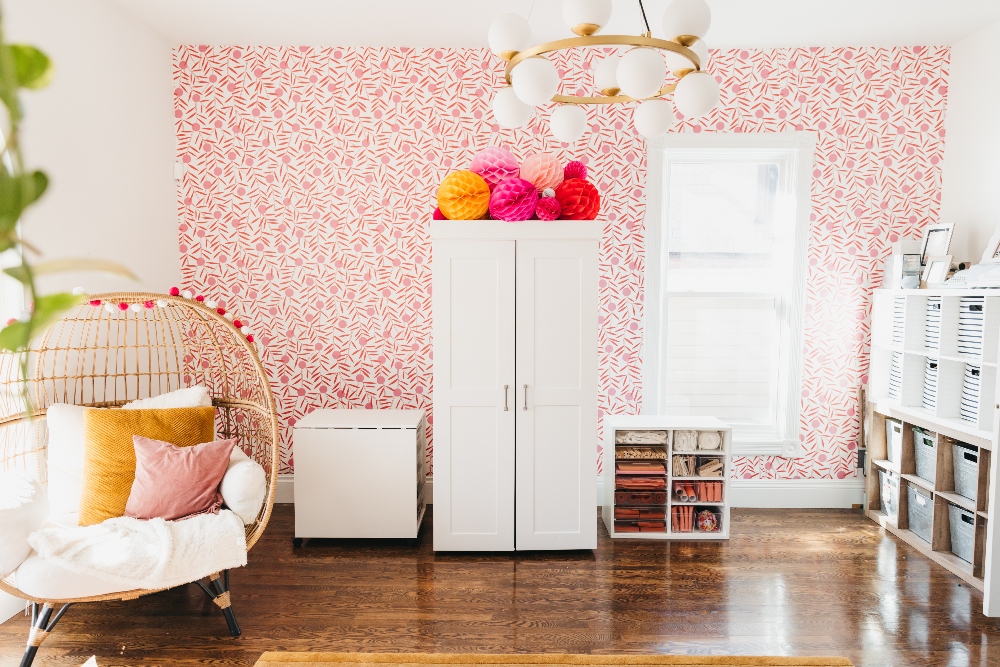
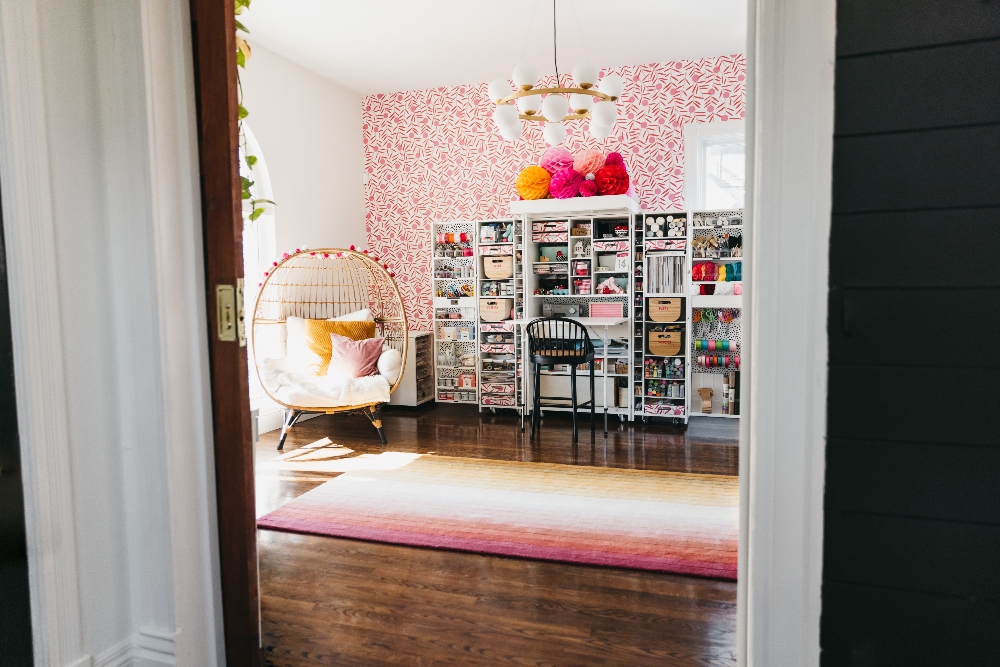
Hi, friends! My colorful office is done and I couldn’t love it more than I do! It’s absolutely my favorite place to create and relax. And the main reason it brings me so much joy is the bright and happy wallpaper! I teamed up with Hygge and West to use their Bloom wallpaper in my office remodel and share my favorite peel and stick wallpaper tips and tricks!
Hygge and West Bloom Wallpaper
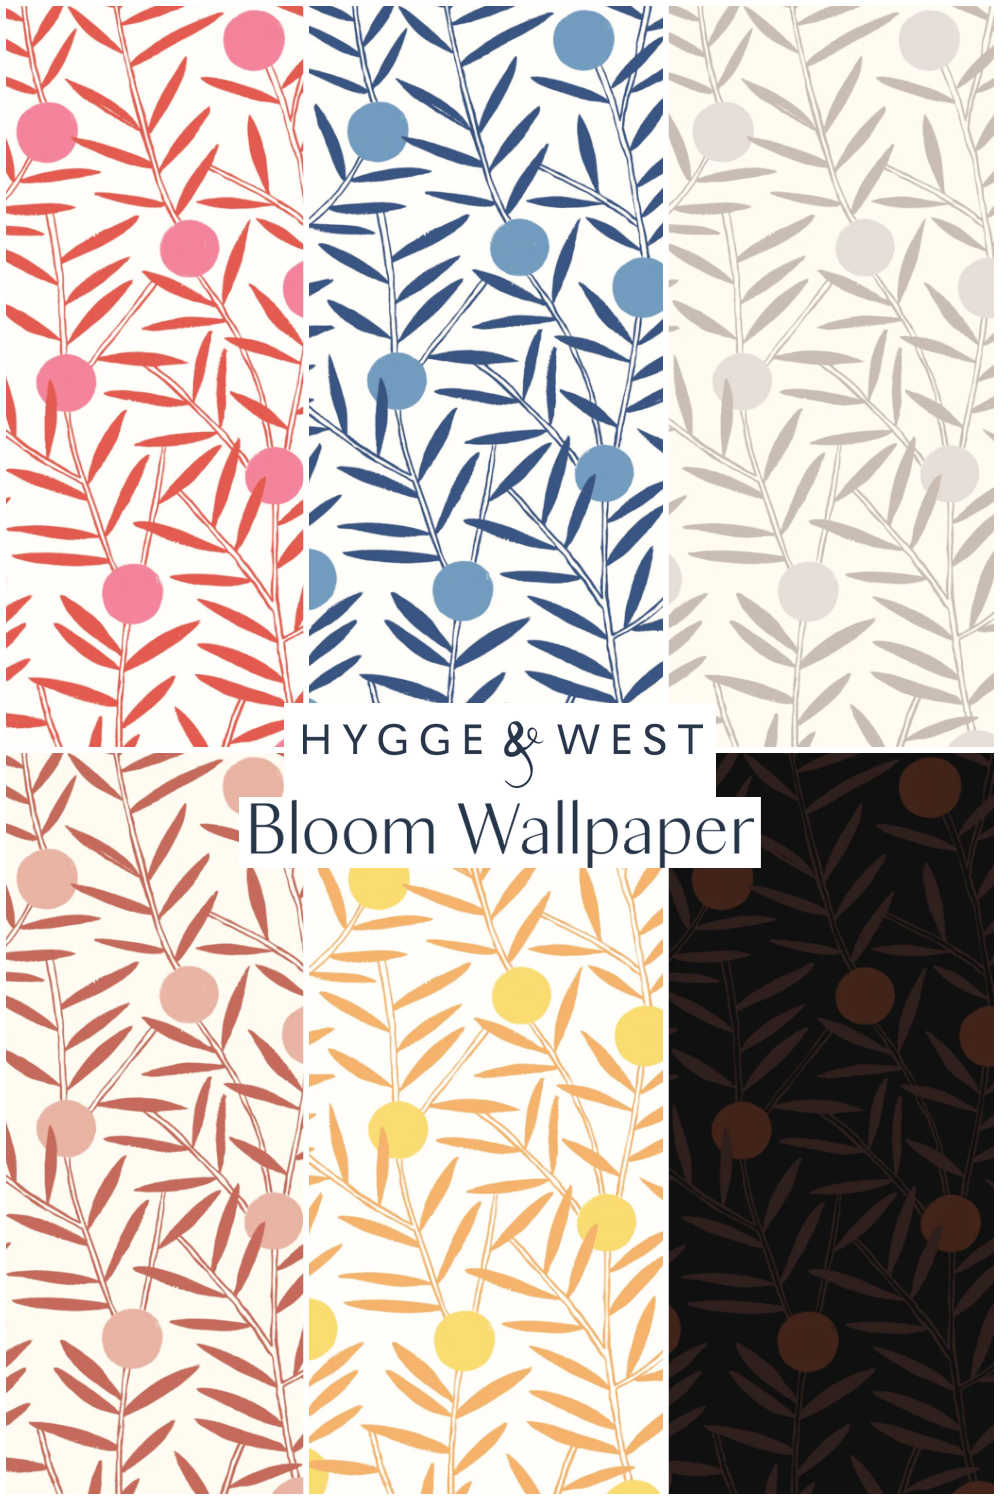
The entire project started when I found this GORGEOUS Bloom Wallpaper from my favorite wallpaper company, Hygge and West. If you are looking for high-quality wallpaper, you are going to love their patterns! I also love that they have their patterns and the colors are so beautiful! I love the pink and orange color combination in Bloom, Poppy variation. The combination of polka dot and florals, in a simple, playful style spoke to my color-loving heart.
My Favorite Hygge and West Bloom Wallpaper
There are so many beautiful patterns. I thought it would be fun to share a few of my favorites. But make sure to click over and see the whole range of wallpaper styles that Hygge and West offers! I also love that Hygge and West offers wallpaper in different types of wallpapers — traditional, pre-pasted and peel-and-stick.
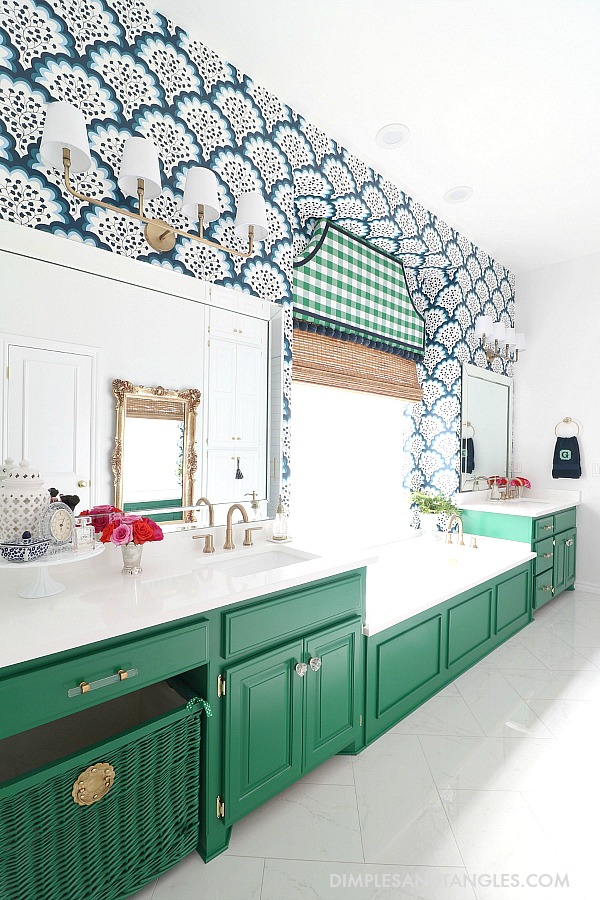
Hygge and West Angelina Wallpaper
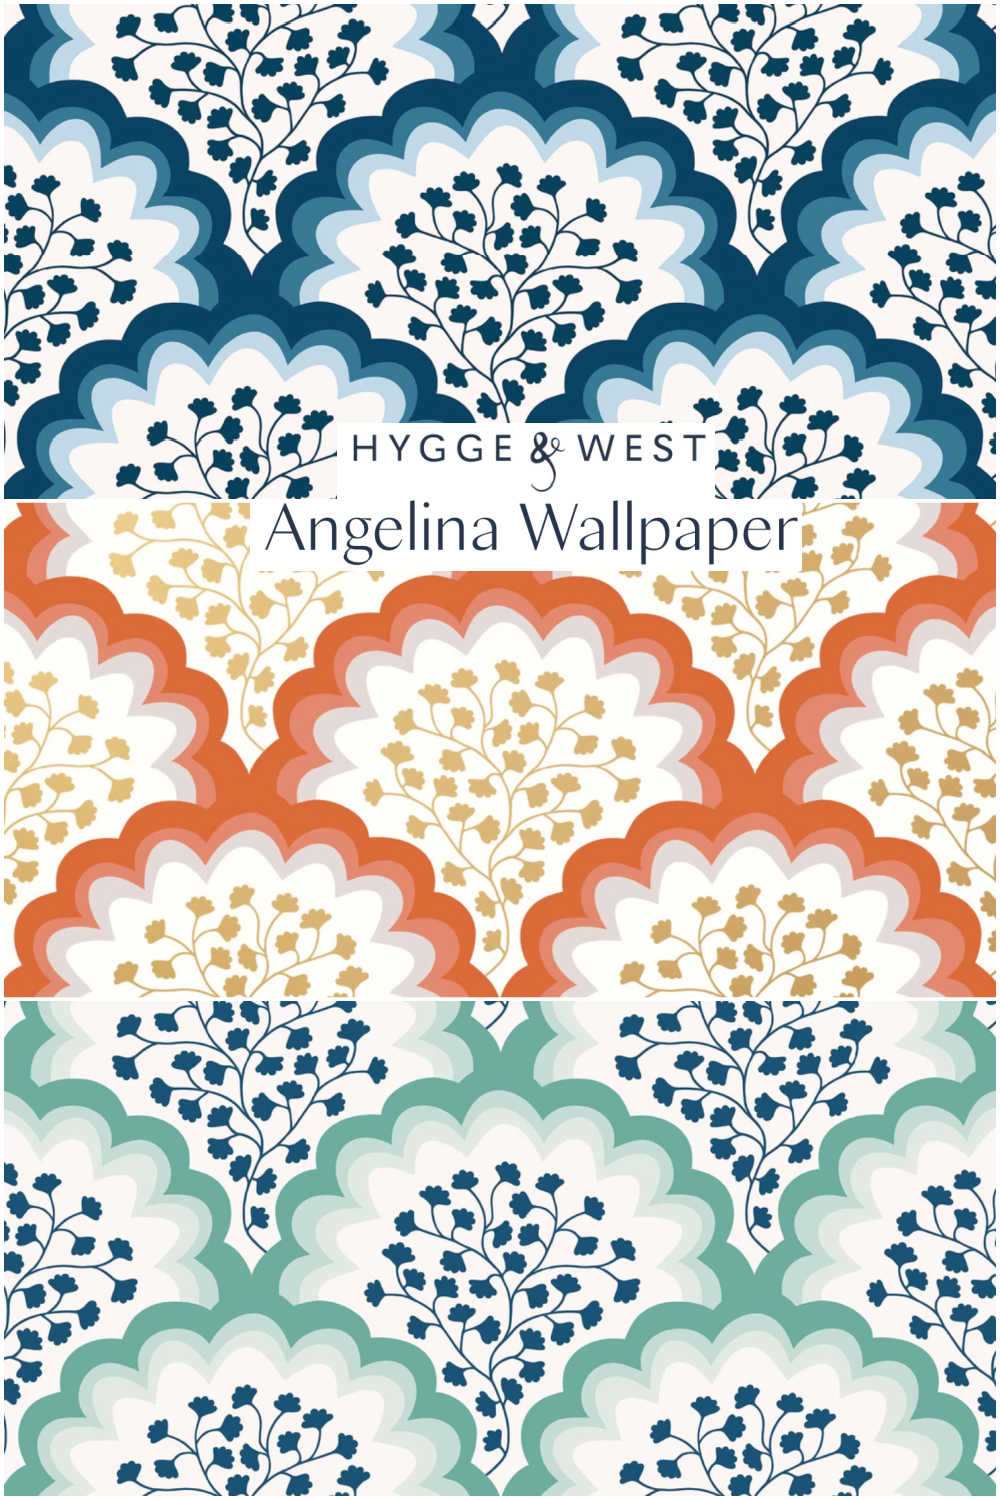
Aren’t the scallops on Hygge and West’s Angelina Wallpaper so beautiful! My friend Jennifer at Dimples and Tangles used this wallpaper in her bathroom and it brings so much color and a spin on traditional decor that I find so captivating.
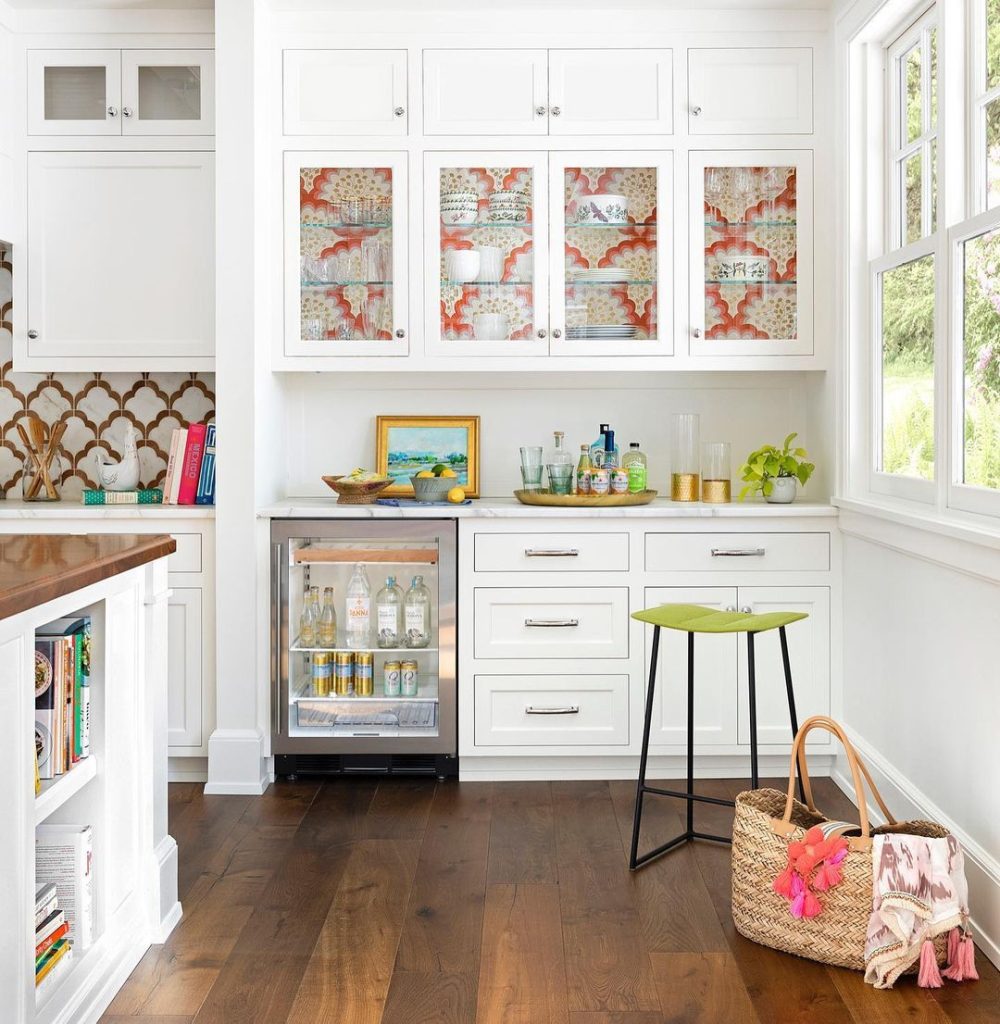
Another idea I love is wallpapering the back of a book case or cabinet like @lucyinteriordesign did in this gorgeous kitchen!
Hygge and West Daydream Wallpaper
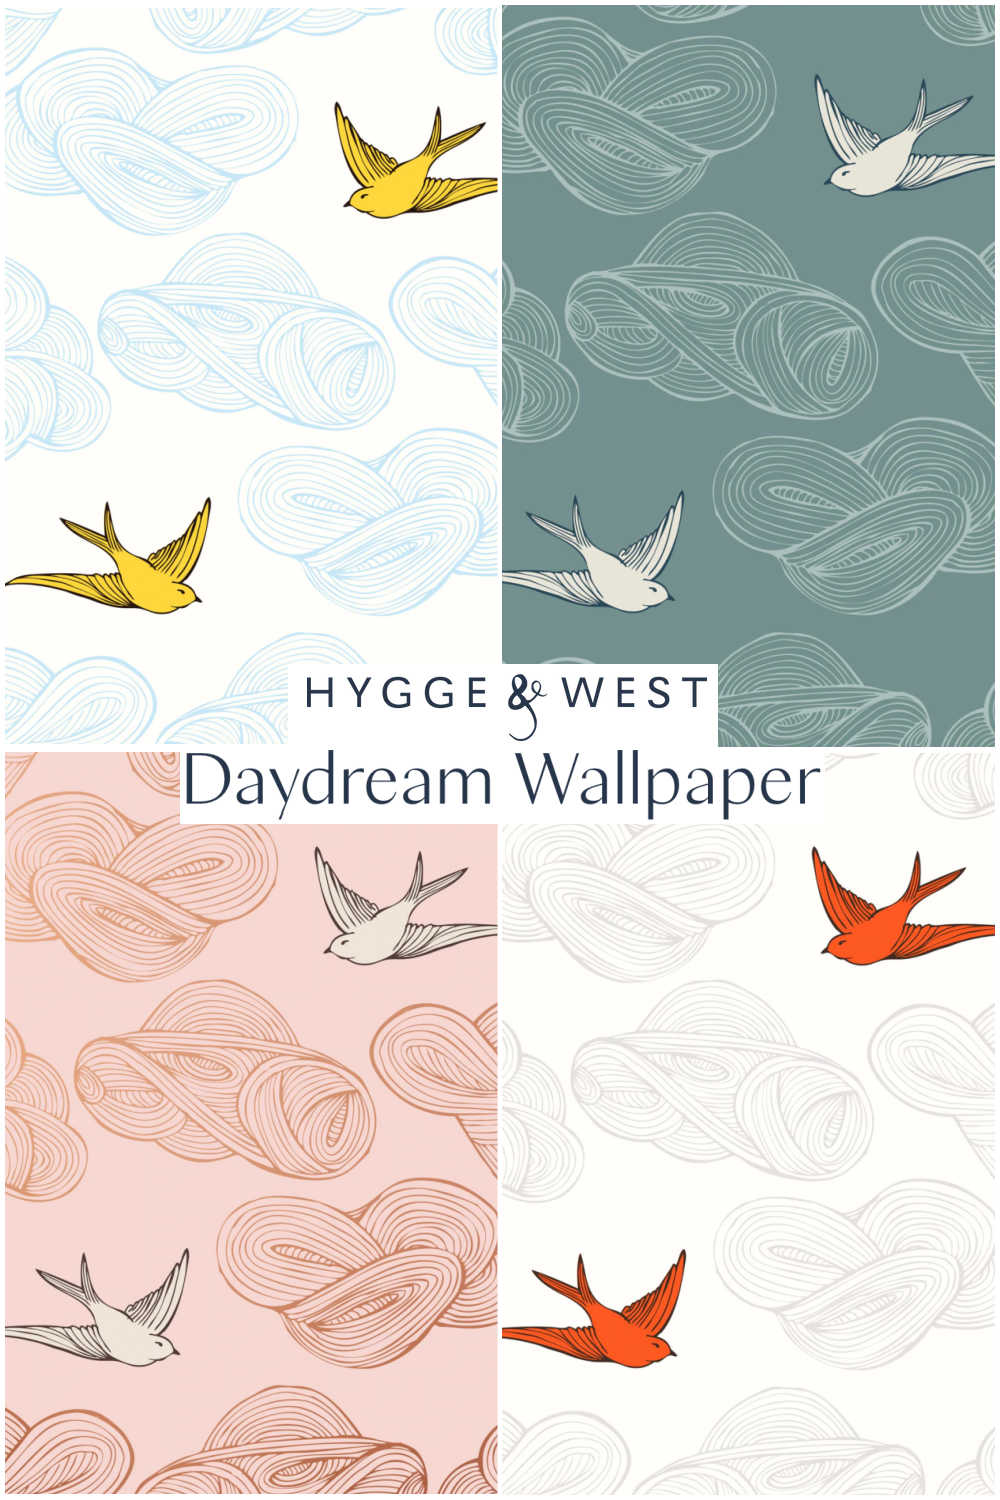
The hand drawn birds on Hygge and West’s Daydream paper feel so happy and full of hope. This wallpaper comes in 15 different color combinations and I feel like it would be beautiful in any room!
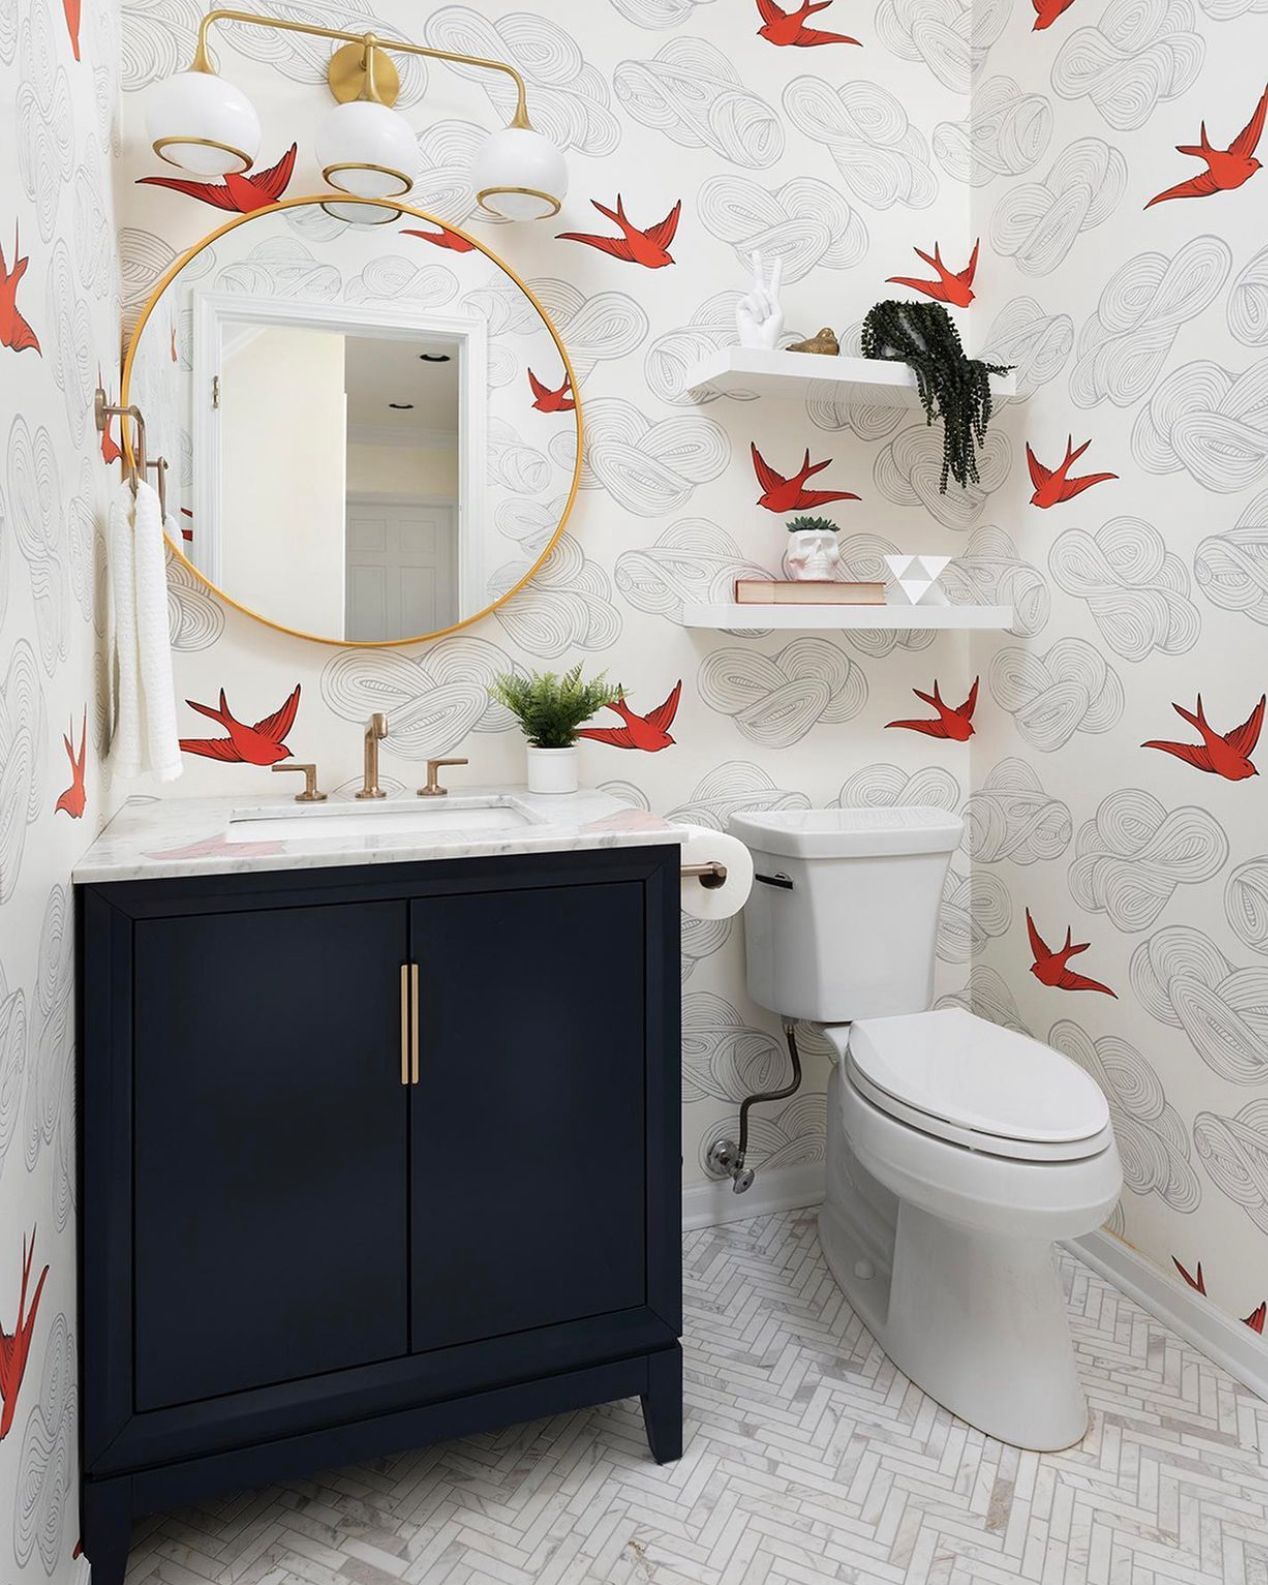
Here’s a beautiful example of the Daydream wallpaper in @pictureperfecthouse’s powder room. So gorgeous!
Peel and Stick Wallpaper Tips and Tricks
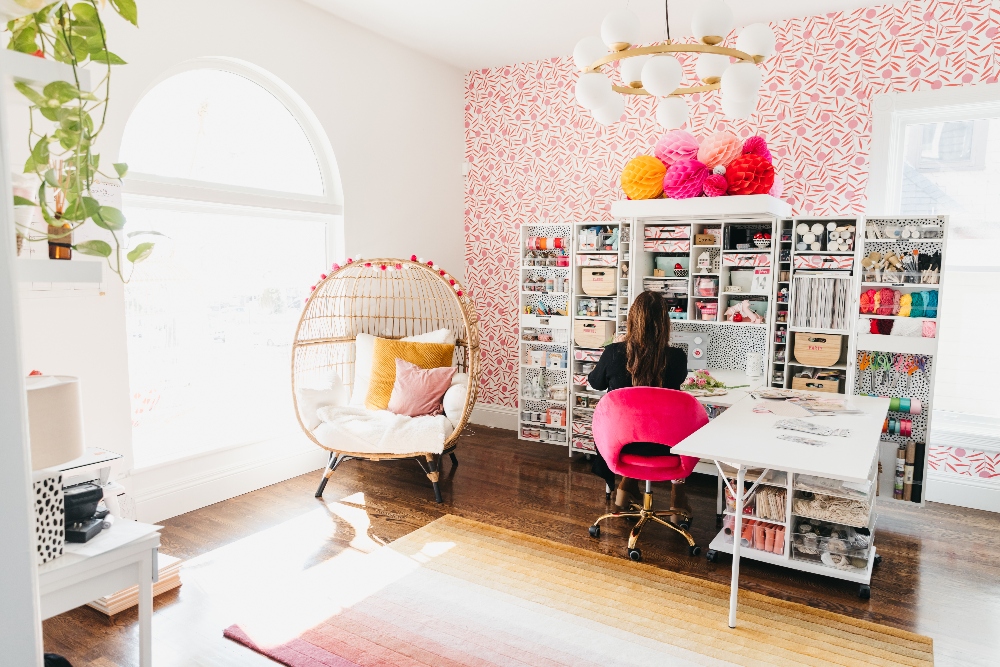
As I said before, peel and stick wallpaper is my favorite way to decorate a room! It gives INSTANT satisfaction and it’s perfect for renters too because the wallpaper can be taken off so easily with no. damage to your walls! I have been using it for a few years now and in that time I’ve discovered some tips that can save you a lot of time and effort!
Estimate How Much Wallpaper You Need
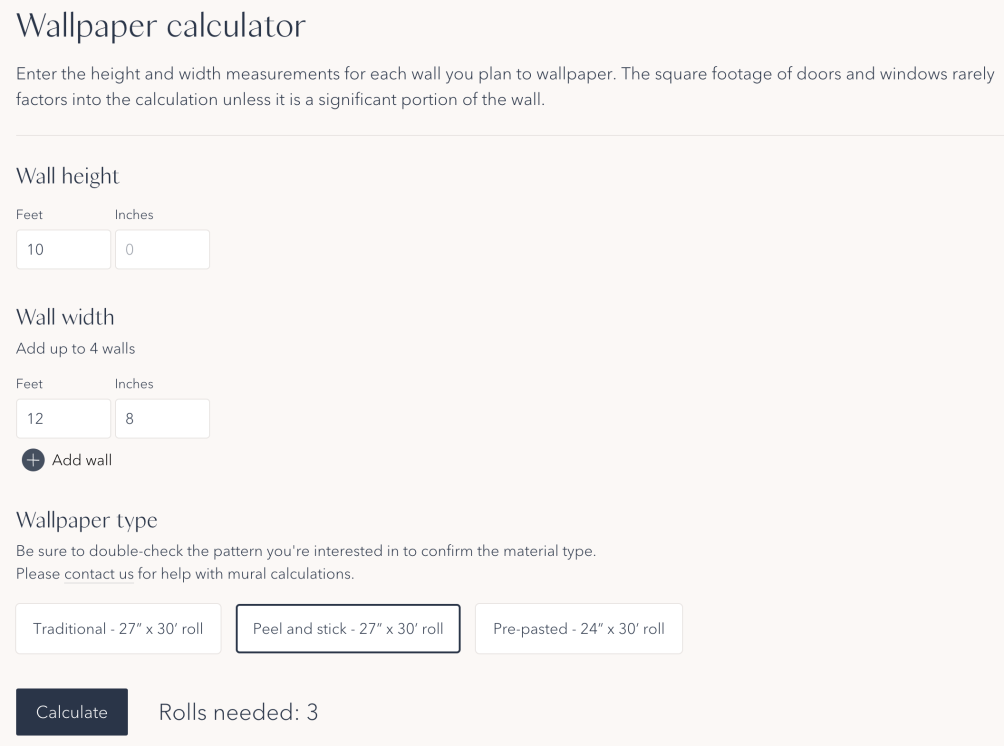
Hygge and West has a very handy Wallpaper Calculator on their site. It makes figuring out how many rolls of wallpaper you need a SNAP! Just enter your ceiling height and width of each wall and it will estimate the number of rolls needed!
Gather Your Wallpaper Tools
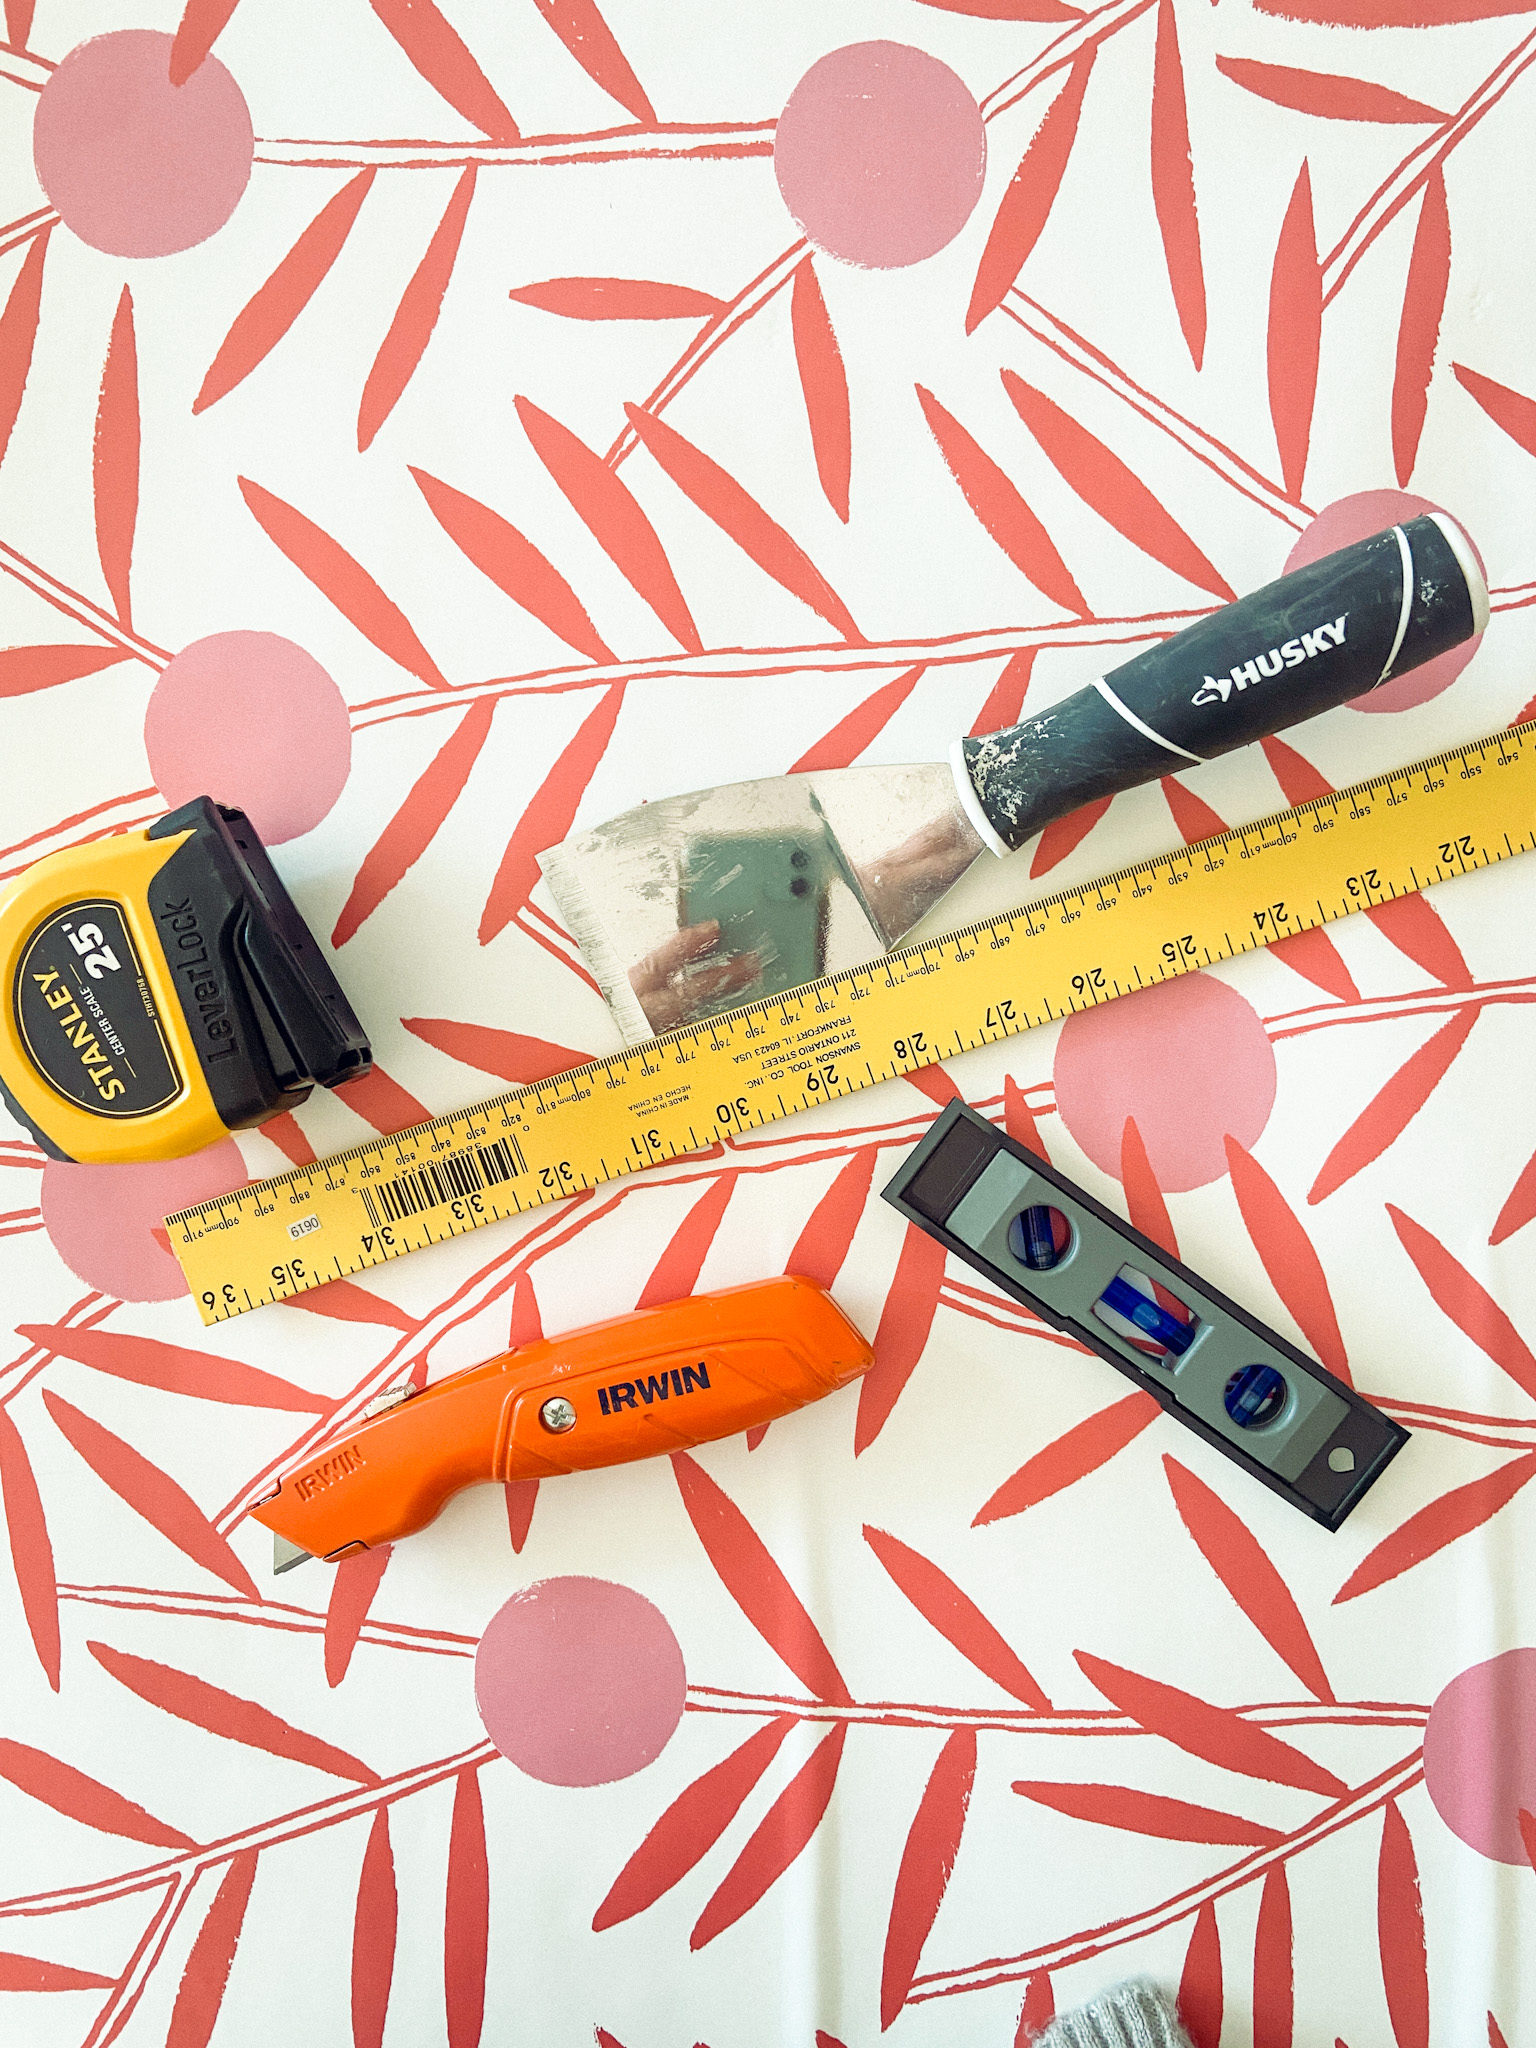
Wallpaper Tools
- Wallpaper
- Measuring tape
- Scissors
- Level & Straightedge ( I used a trowel to tuck the wallpaper against the wall)
- Pencil
- Craft knife with extra blades ( used a sharp box cutter)
- Smoothing tool ( you can use a credit card)
- Ladder
- It’s helpful to wear clothes with pockets or an apron to keep your tools handy while you are on the ladder.
Cut Wallpaper Panels to Length
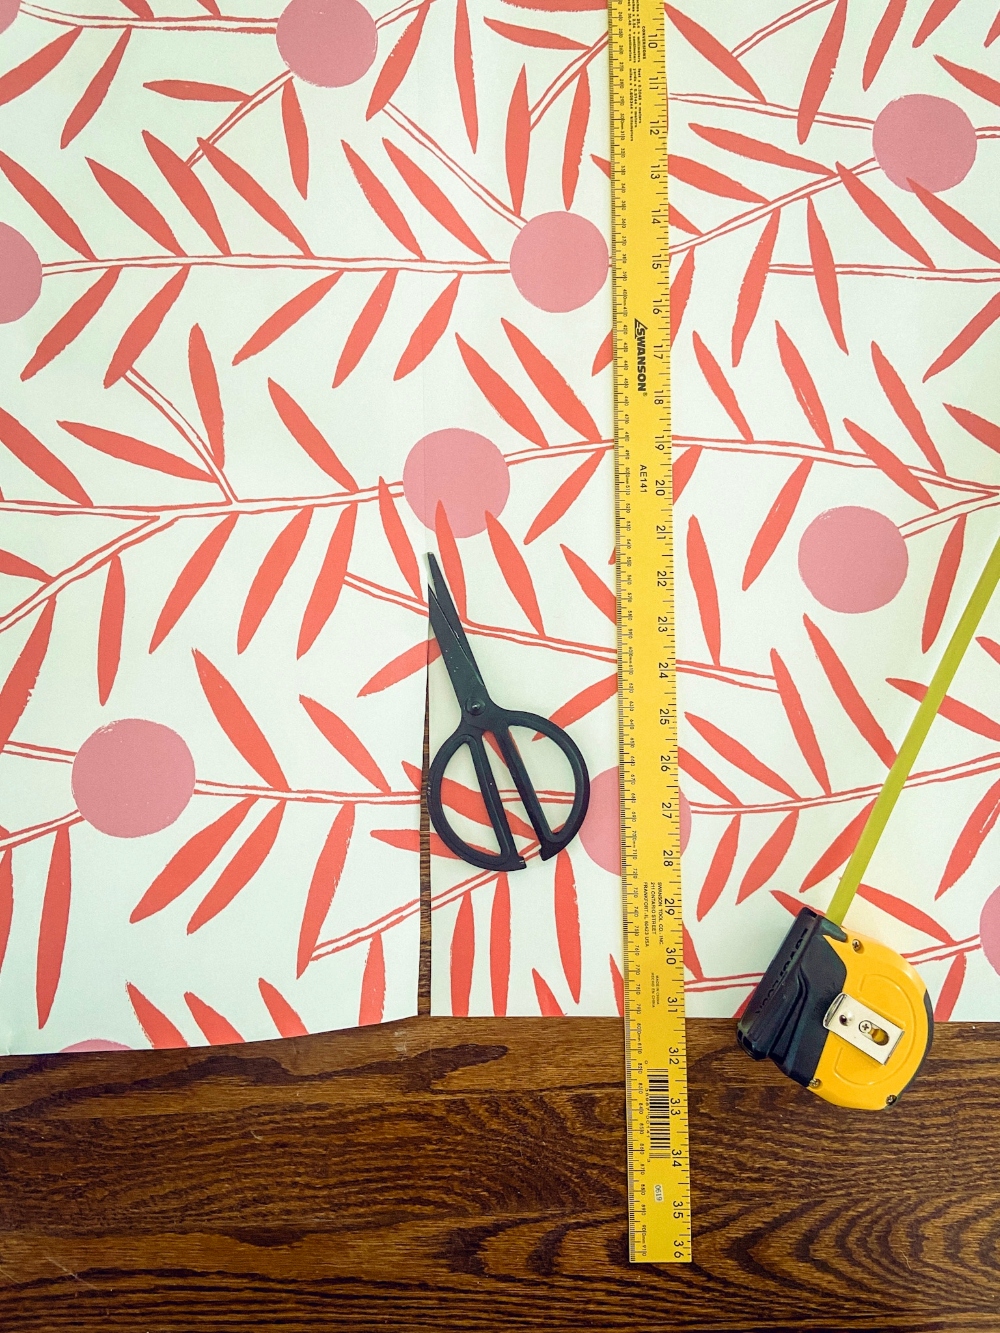
Measure your wall and cut the wallpaper panels about 4 inches longer than the length of your wall. This makes the wallpaper strips much more manageable than trying to hang wallpaper panels that are much longer than the wall and can get tangled up at the bottom of the wall more easily – which you don’t want!
Position the First Length Straight
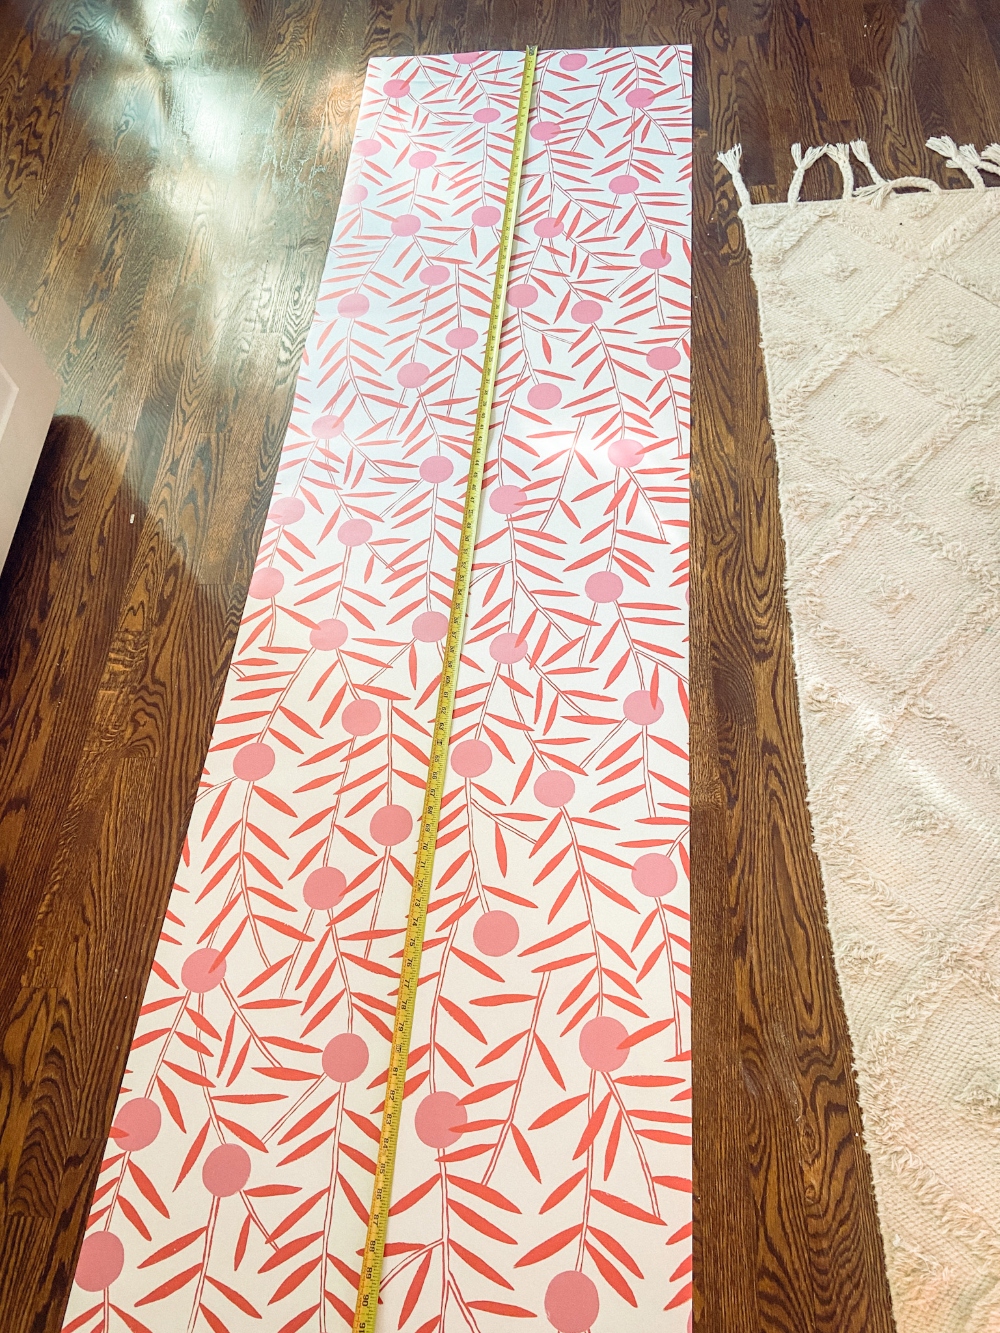
The first panel is the most crucial. I live in an 1891 home so none of my walls are plumb. You want the wallpaper to be plumb (straight and level), otherwise the pattern will not run straight across and it can start running up the wall at an angle which will not look good. There are more instructions on the Hygge and West installation page, so be sure to click over if this seems confusing. Each Hygge and West panel is 27 inches wide. You will subtract an inch so that each panel can overlap. Mark 26 inches over from the wall and draw a line that is plumb. This is the edge of the first panel. It’s ok if it overlaps onto the adjoining wall because you will trim that off at the edge to make it straight. The important thing is to get that first edge straight.
Lay the First Wallpaper Panel
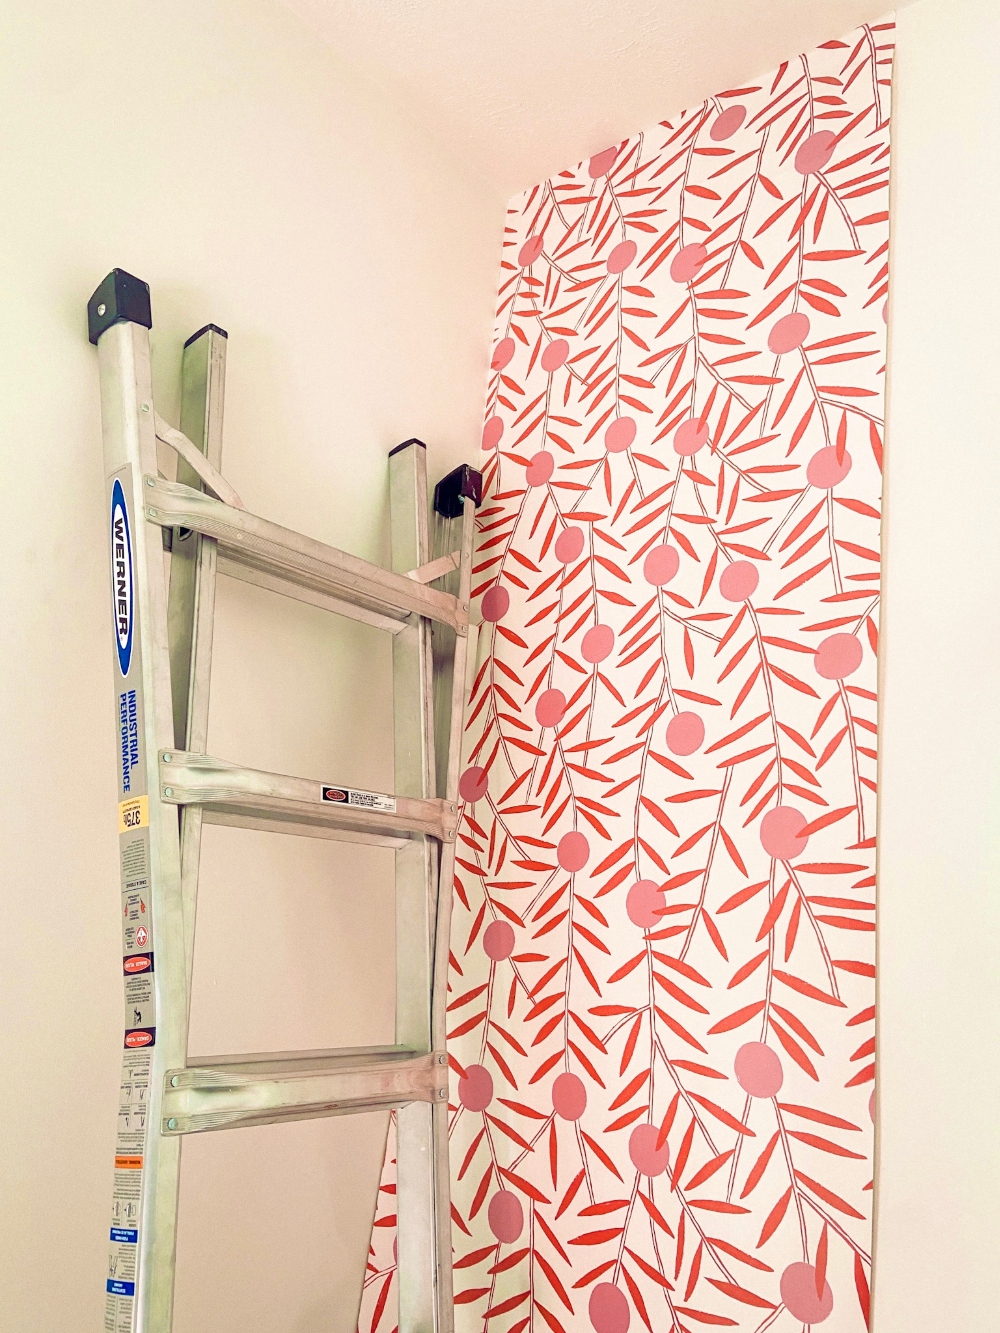
Now you are going to attach the first wallpaper panel to the wall, lining up that drawn edge as you go. I peel back about 12 inches of the backing and fold it so the panel is as smooth and close to the wall as possible. Line up the top of the panel and smooth the first 12 inches. I take my hand and run it down the center of the panel and then smooth each side out once the center is attached, smoothing the paper at each side and downward. Don’t worry if you get small bubbles.
Once the first 12 inches is attached, I use the smoother or credit card to smooth the small bubbles out on each side of the panel. It is helpful to have 2 people for this project if possible. The second person can be at the bottom of the panels to make sure they are lining up with the drawn line. Keep working in 12 inch increments until the entire panel is attached to the wall and all of the air bubbles are smoothed out.
Attach All Panels
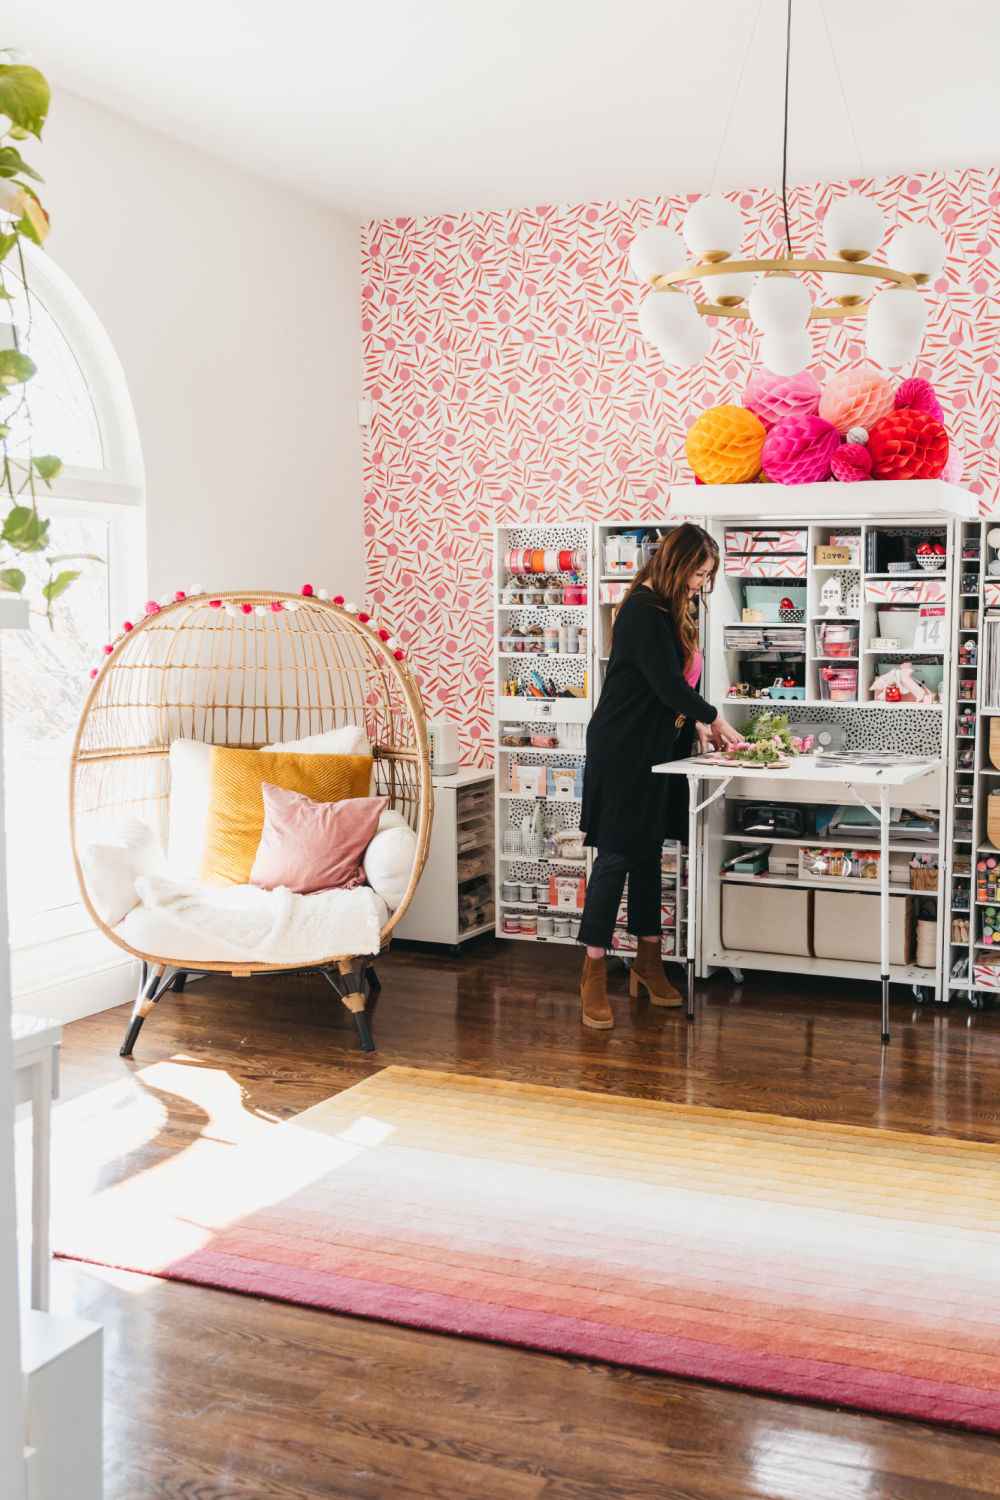
Once the first panel is done, continue laying the wallpaper as you did with the first panel. You will have an overlap where you line up the pattern. If it looks like the pattern is off, chances are that your panel is not plumb. But the great thing about peel and stick wallpaper is that you can peel if off the wall and start over to make sure the pattern lines up.
Trim Wallpaper Around Windows or Doorways
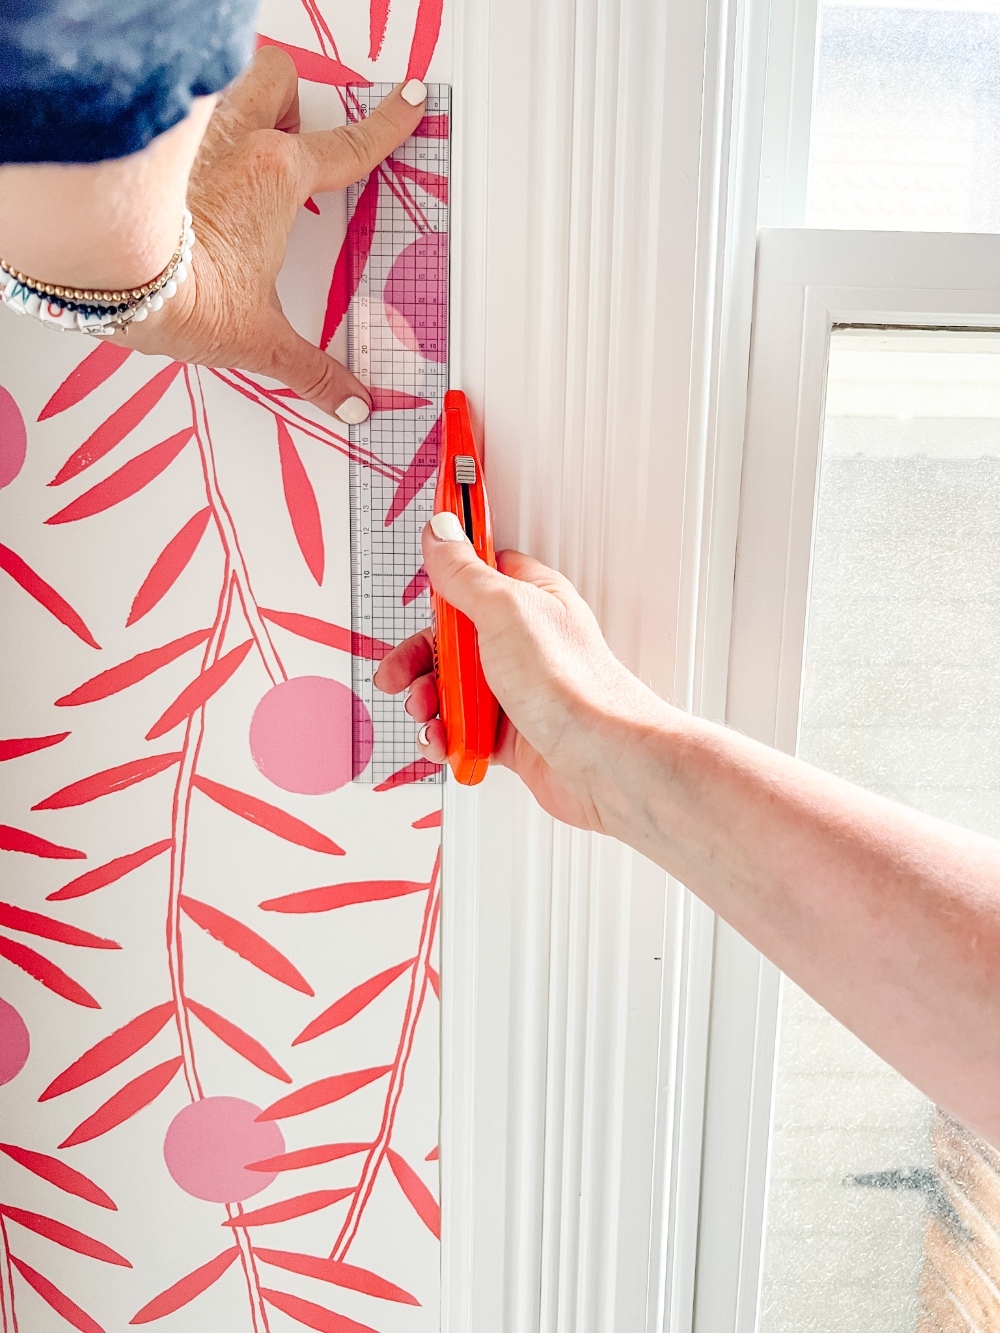
It may seem daunting to cut around windows or doorways. There is a trick to getting the wallpaper to look seamless around these objects. If you have a window, doorway or an outlet or switch, lay the panel as you would if there was no obstruction.
Once you get to the edge of the trim on a window or door, smooth the wallpaper against the trim very tightly using the flat edge of your straight edge or trowel. Tuck it tightly against the edge of the trim. Then take your craft knife and run it tightly against the trim to create a smooth cut that is as close as possible to the edge of the trim.
If you are cutting around an outlet or switch, I lay the panel over the outlet or switch. Then I poke a hole in the middle of the outlet or switch and use scissors to make an opening that runs right at the edge of the outlet or switch. You don’t want to cut too much wallpaper away because you want the outlet cover or switch over to lay over the edges of the hole so it looks neat and tidy. You can always cut more wallpaper away but if you cut too much you can ruin the whole panel.
Trim Excess Wallpaper
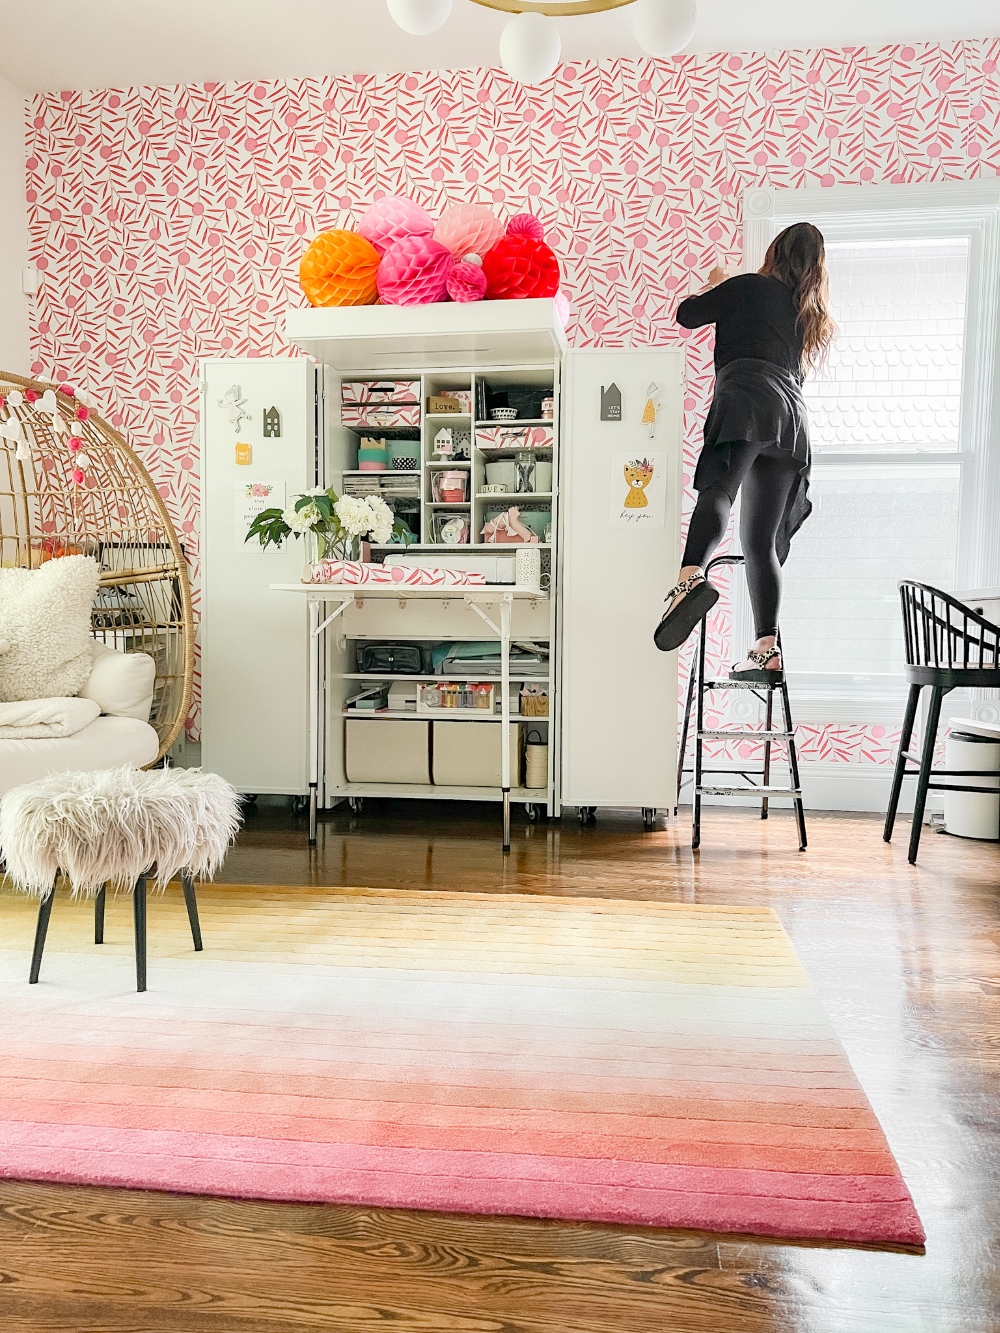
Once all of your wallpaper panels are lined up and hung, you will have some excess wallpaper at the top and bottom of each panel. You will use your straight edge to push the wallpaper tight against the wall and use your craft knife to cut the wallpaper at the edge of that angle. Use your smoothing tool or credit card to smooth the edge of the wallpaper so there are no bubbles, Push any bubbles toward the end of the panel.
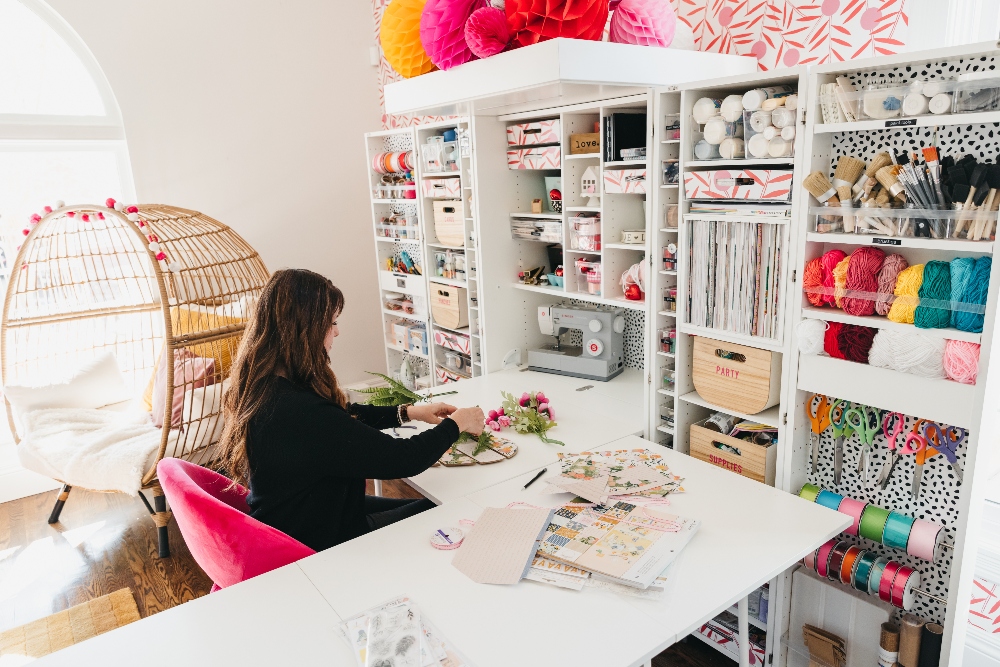
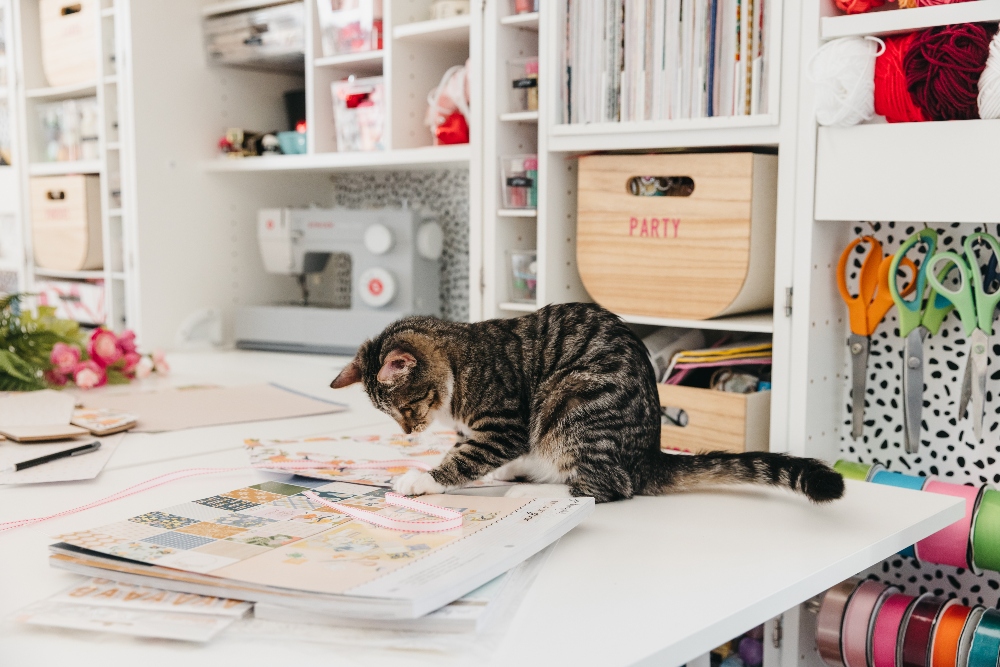
My kitten, Pumpkin, also loves being creative in our new space too!
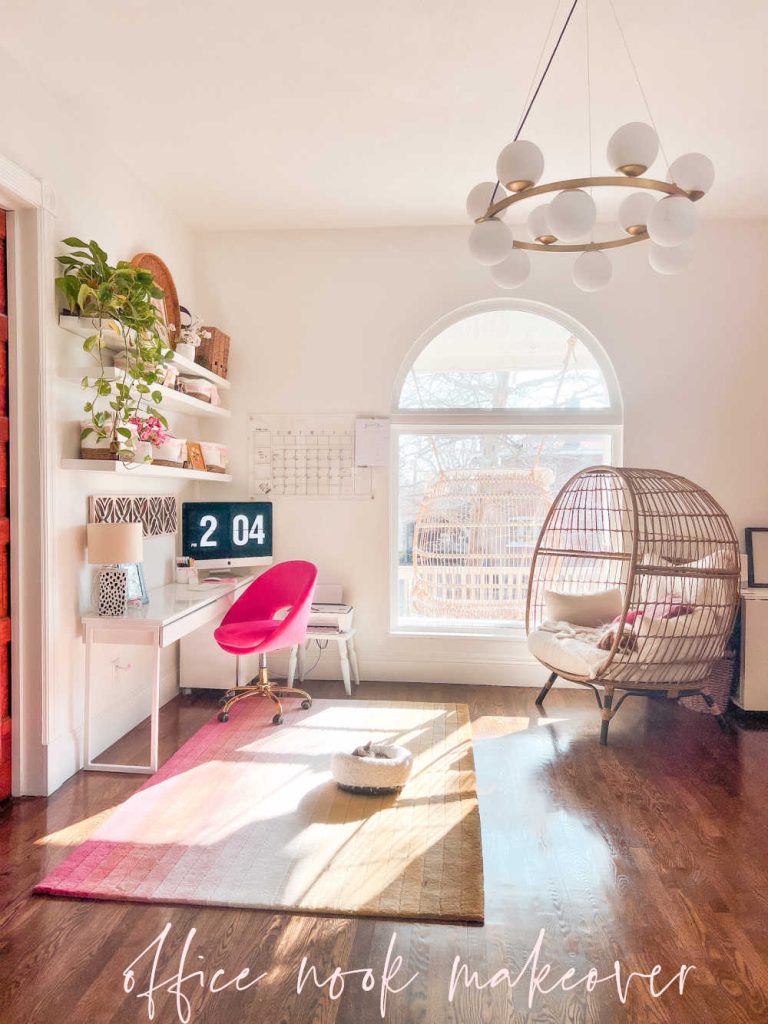
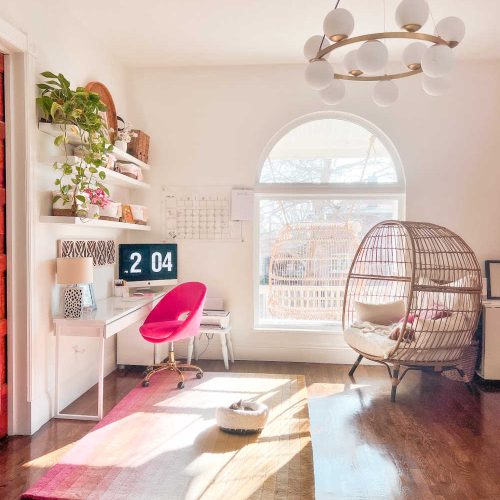
I also love how my new Hygge and West Poppy Bloom wallpaper matches my rainbow rug and pink office chair!
Try a Wallpaper Sample
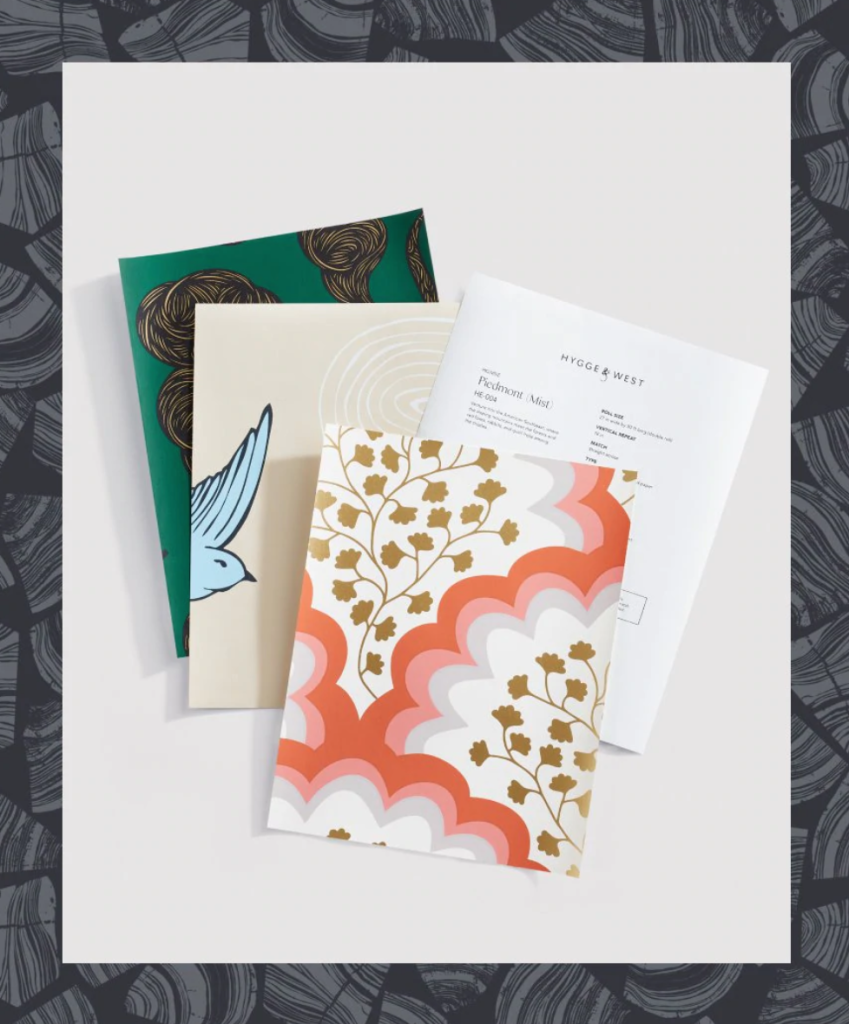
If you’re not sure how a pattern will look in your room, no problem. Hygge and West offers wallpaper samples!
I’d like to give Hygge and West a big THANK YOU for partnering with me to make my colorful office my ultimate creative space. You will love the quality and beautiful wallpaper designs they create.
Which space in your home will you wallpaper first?
xoxo



What a beautiful space. Could you please tell me where you purchased the black chair that was in the first picture of your wallpaper tutorial it’s in your office space. Thank you so much.
Hi Stacy!
Sure! The black chair is a serena and lily barstool that matches the barstools in my kitchen 🙂
Your office looks so great! I love the wallpaper you chose!
Thanks Sarah! The wallpaper is Hygge and Wests Bloom. I love the happy colors!
xoxo