Hey guys! It’s Heather from WhipperBerry here. I’m so excited to be here with you guys on Tatertots & Jello today. I’ve known Jen for several years now and I (like everyone else) just adore her! Today is kind of fun, my very first guest post EVER was on Tatertots & Jello back in 2010. It’s kind of fun to see how things have evolved since then.
Today, I’m sharing a fun new design for the holidays this year.

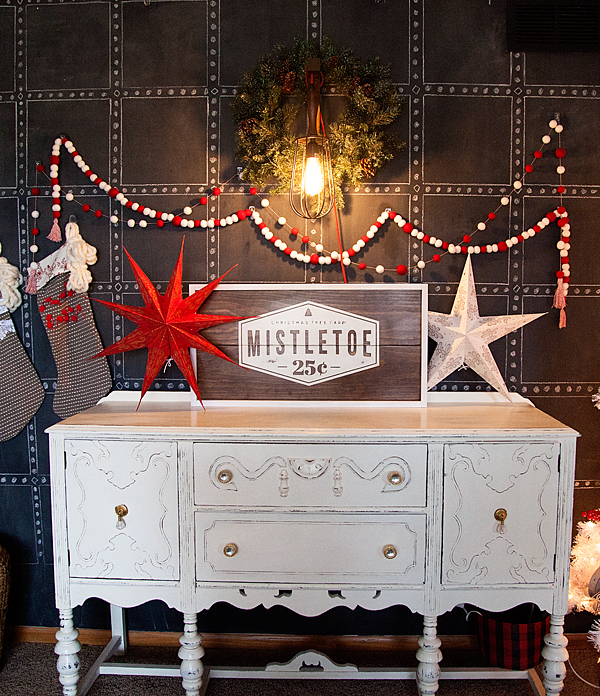
It’s part of my Christmas Tree Farm collection that I’ve designed for the Holidays. I love the vintage feel that this design has. It reminds me of walking through the Christmas Tree Farms with my family as a little girl. The crisp air, my cold little nose. All of those sights and smells that are so classic for the season. Now days, most of us have pre-lit artificial trees (including myself) and our kiddos are missing out on that fun experience. I wanted to bring back that rustic Holiday feel for this Christmas. Today, I’m going to share my Silhouette files so that you can make a sign of your very own, PLUS… I’m going to show you how to make it! Here is what you’ll need…

Mistletoe Sign Supplies
24×12 pine board
8 ft. 1×2 select pine board – You’ll need to cut these down to 2 – 24 inch boards and 2 – 12.75 inch boards
BB Frösch Premium Finishing Wax – Clear & Dark
Behr Premium Plus Flat Paint – Dark Truffle & Toasted Marshmallow
12 inch wide vinyl – I used the Silhouette brand of vinyl, it doesn’t matter what color
Painters tape
BB Frösch Mistletoe Sign Directions
The first step is to Faux Stain your 24×12 pine board. This is super easy and I have a great tutorial for that over at WhipperBerry. You’ll also need to paint your frame pieces (the 4 – 1×2 pieces) with the White BB Frösch Chalk Paint. Here’s a quick video to teach you how to mix the BB Frösch Chalk Paint.
Mixing BB Frösch Chalk Paint Powder from BB Frösch on Vimeo.
Paint the frame boards white and set them aside, Faux Stain the 24×12 pine board. Set that aside as well.
While your wood is drying, nows the time to cut the vinyl. I’m sharing my Silhouette cut file for all my Silhouette friends. I don’t have an option for my Cricut friends… I’m sorry!
CLICK HERE TO DOWNLOAD THE SILHOUETTE CUT FILE
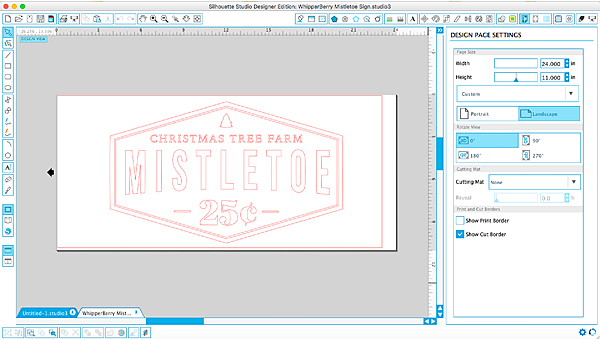
+ Silhouette CAMEO hint… Don’t use a cutting mat when cutting vinyl +
Cut your vinyl and then weed it carefully. Start from the outside and work your way in. Keep in mind you are creating a stencil, you won’t be leaving the vinyl on the board.
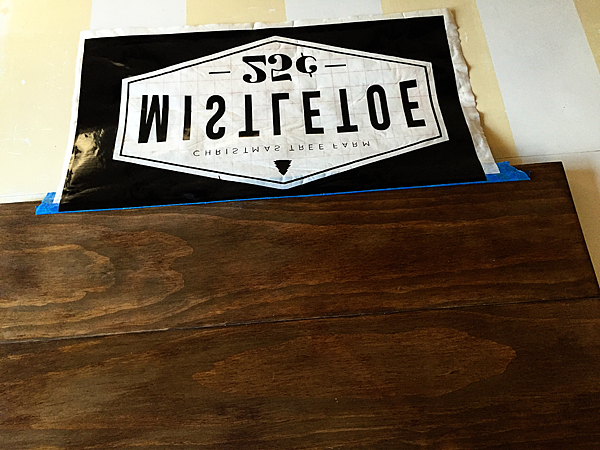
Cover the vinyl with the transfer paper and lay on your board, spacing to the center of the board.
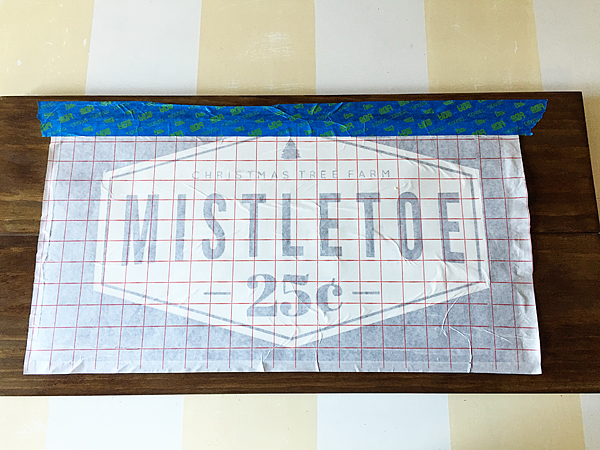
I create a “hinge” with some painters tape at the top of the vinyl. This will keep your vinyl in place. Fold the vinyl up and remove the vinyl backing.
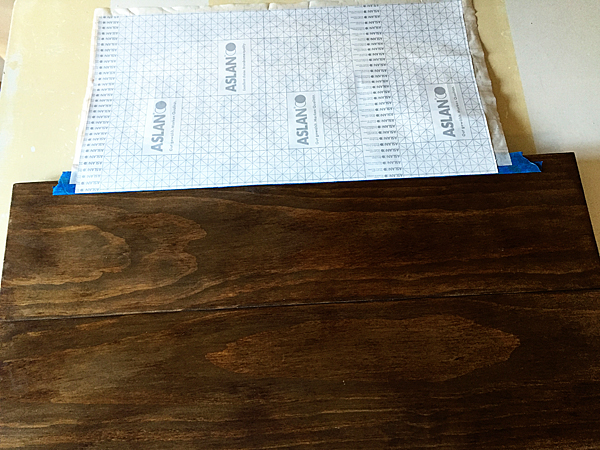
Then carefully lay your vinyl down on your board and using the scraper, squeegee the top of the vinyl to make sure there are no air bubbles and securing it onto the board.
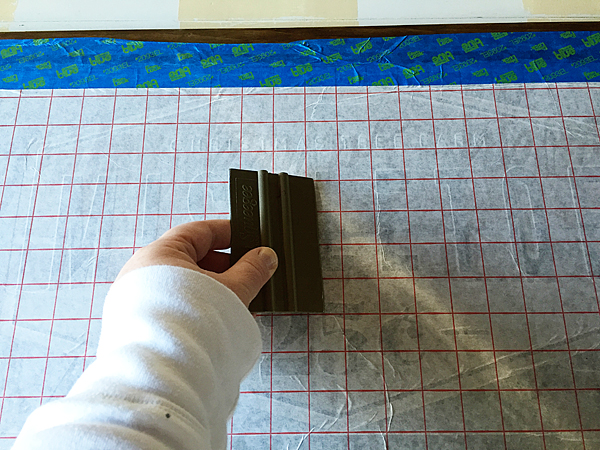
Keep in mind, you’ve waxed the board and the vinyl really isn’t going to want to sick to the wax so you need to be careful to make sure the vinyl is sticking to the board. It will take a little more time then with regular raw wood. The results are TOTALLY worth it though.
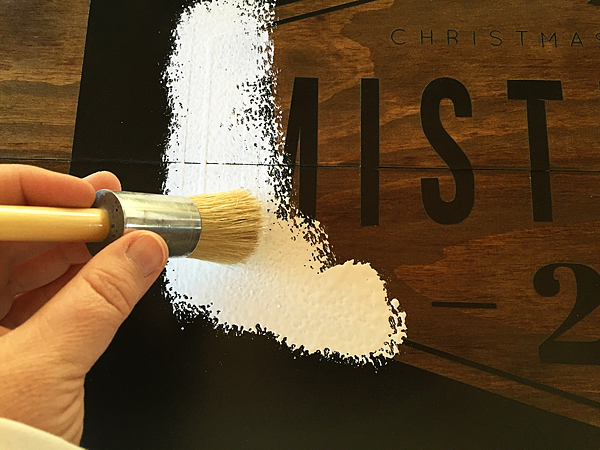
Carefully remove the transfer paper and then grab a stencil brush to stencil the graphic on to your board. I LOVE our BB Frösch Small Wax Brushes for stenciling, they work GREAT!
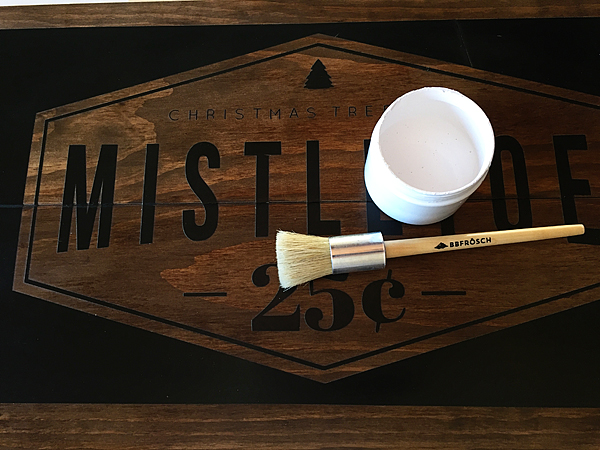
Now, The secret to stenciling… I put a light layer of clear BB Frösch Premium Finishing Wax down to seal the stencil FIRST.
Then I use my stencil brush (not the brush I’m waxing with) and dip my brush in the paint and then blot it to take off any excess. Then I dab the paint onto the board.
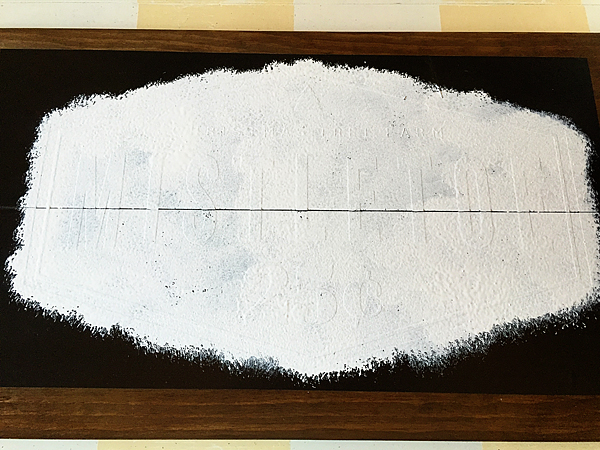
This is what it will look like after one coat of paint. I let that paint dry for a few minutes. Thanks to the BB Frösch Chalk Paint Powder, it dries really quick. I add one more coat and then I carefully remove the vinyl. CAREFUL, is the key word. I even keep a craft knife on hand just in case the paint starts to lift.
Once the vinyl is removed use a 200 grit sand paper and lightly distress the graphic. Using a slightly damp cloth wipe down the board to remove the paint dust.
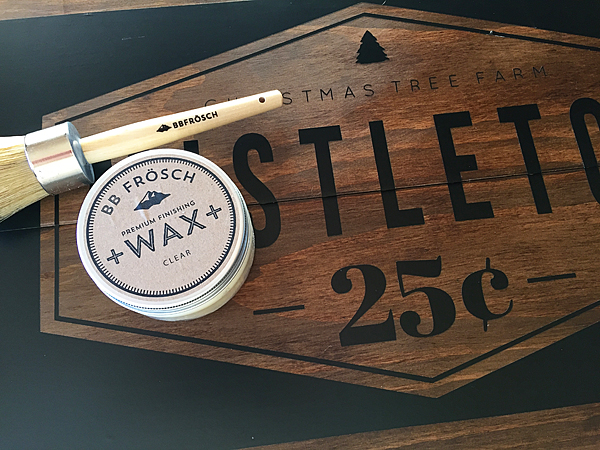
Now, you’ll seal the graphic with the clear wax. Brush on a light layer of wax and then using a lint free cloth wipe off any excess and then buff your sign. This will give your sign a lovely sheen. I PROMISE… Your sign won’t look like all of your friends signs. It will look like something you bought for lots and lots of money!
Now all you need to do is affix your frame. Place nails around the edge of the frame to secure it to the board. I used my Ryobi Brad Nailer, but you can for sure use a simple hammer to do the job as well.
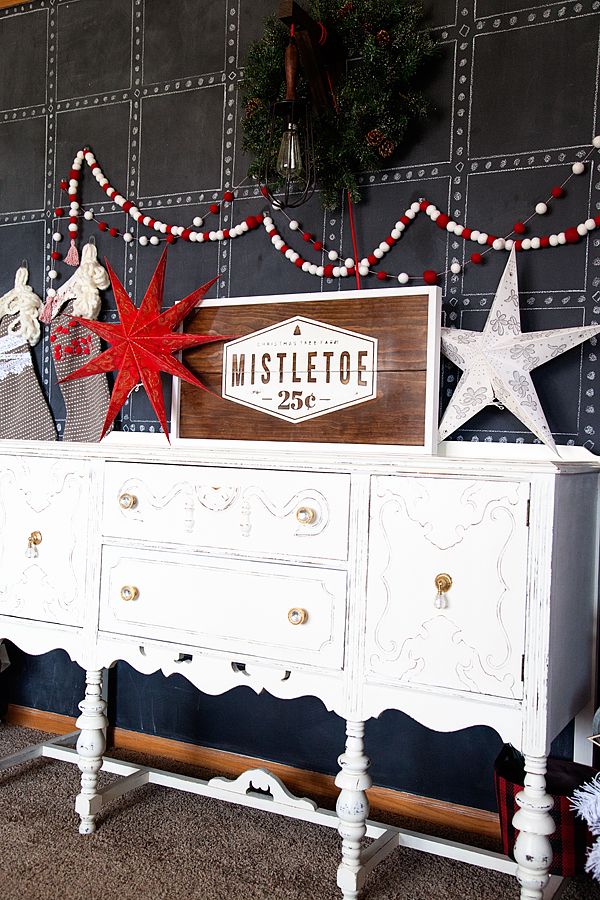
That’s it… You now have a beautiful sign to place on your mantel or anywhere in your home to decorate for the Holidays!
Over at WhipperBerry I love sharing all kinds of fun ideas, printable & recipes.
Thanks Jen for having me over today… I had a ball coming up with this for you guys! I would love for you to come over to WhipperBerry and follow all of my creative fun on Instagram as well. Merry Christmas!!
****
Thanks Heather! Isn’t she amazing? I’m loving that sign! Here are some other projects of hers I know you’ll love:

Here is a printable gift tag that will work for all kinds of sweet gifts,
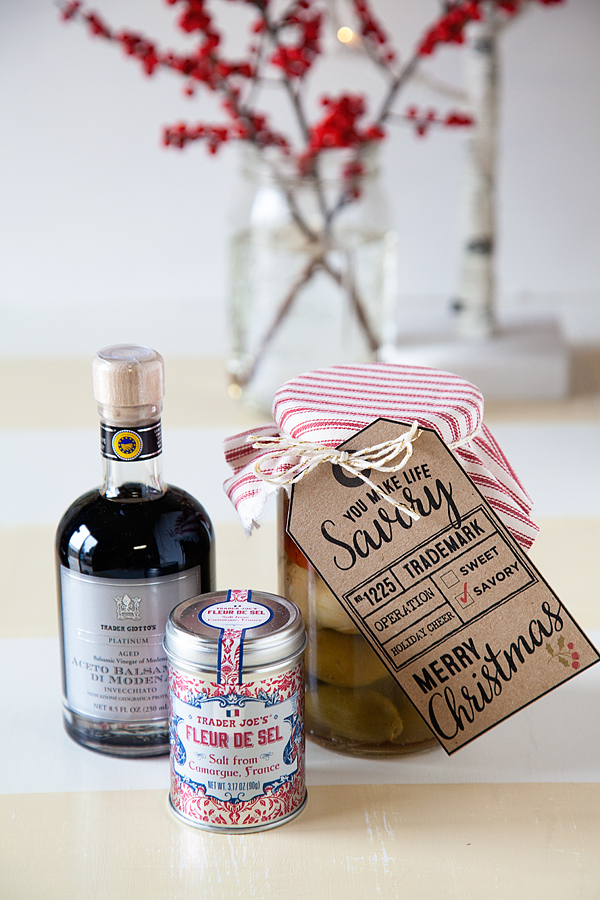
And she also has a tag that goes well for savory gifts too.

And this pull-apart bread with an egg nog glazes sounds so amazing!!
Visit Whipperberry and


The balls are from Vintage Kitchen! Chelsea is awesome, I have ordered from her several times. She has great prices and does custom color orders.
What a pretty sign. Thanks for sharing the how-to with us! And I love that whole vignette. 🙂