Tatertots and Jello

COLORFUL HAPPY HOME -- Daily DIY, Decor, Craft and Recipe Tutorial

  • My Home
    • 1905 Cottage
    • Daybreak House
  • DIY
    • DIY Projects and Ideas
    • Organizing
    • Tutorials
    • Printables
  • Decor
    • Spring Projects
    • Summer Projects
    • Fall Projects
  • Crafts
    • Kids Crafts
    • Painting Projects
    • Paper Projects
    • Sewing
    • Wreaths
  • Holidays
    • Valentines Day
    • Easter
    • Halloween
    • Thanksgiving
    • Christmas
    • HAPPY Holidays Series!
  • Recipes

Explore

  • my home
  • diy
  • decor
  • crafts
  • holiday
  • printables
  • recipes

Connect

Home » christmas » HAPPY Holidays — DIY Burlap Holiday Wreath

christmas, crafts, decorating, diy, HAPPY Holidays, holiday, tutorial · November 29, 2012

HAPPY Holidays — DIY Burlap Holiday Wreath

Tatertots & Jello is a participant in the Amazon Services LLC Associates Program, an affiliate advertising program designed to provide a means for sites to earn advertising fees by advertising and linking to amazon.com.
burlap wreath tutorial

Hi there, I’m Kate fromChic on a Shoestring Decorating. I am super-excited and honored to behere today at one of my all time favorite blogs, Tatertots & Jello… thanks so much, Jen!  Over at my place you can check out my budget-friendly decorating and DIY ideas and I’d love for you to join me at my weekly link up party, Flaunt it Friday.

Blog / Facebook / Pinterest / Twitter 
Today I’m going to sharean inexpensive DIY Christmas wreath made with one of my favorite things… burlap!
Do you guys love burlap as much as I do??  It’s almost the perfect fabric…  super cheap, looks great, durable and very versatile.

What’s not to love (besides the fact that it smells a little funny, I would probably make myself a scarf with it if it didn’t!)?

burlap wreath tutorial
Here’s what you need:
  • Roll of burlap ribbon, 10 yards
  • Wire wreath frame 18″
  • Pipe cleaners or Floral wire
  • Glue gun (optional)
  • 2 burlap-ish poinsettia flower picks
  • 2 long needle pine branch picks
burlap wreath tutorial
I’ve found that the Panacer brandburlap ribbon from Michael’s works best, in fact, I’ve attempted to use some other burlap ribbon to make this wreath and failed miserably.  (Michael’s did not pay me to say that)  I used a 40% off coupon so it was around $3.  I got Christmas flowers and pine picksfrom Hobby Lobby 50% off making for an inexpensive project.  (Hooray for cheap projects!)
Anywhooo, since burlap goes with anything this can easily be made into the Holiday or seasonal wreath of your choice depending on what type of floral picks you choose.  (I told you burlap was versatile) 😉  I made a similar Fall burlap wreath for over my fireplace.  
Let’s get started!  

First, attach the end of the burlap to one of the cross hatch bars of the wire wreath form.  Basically, just fold the end of the burlap ribbon and starting at the inner rung, snake it up through the rungs and wind around the cross hatch bar.  There is no right or wrong way to do this… just twist it around so that it stays.  (I tried to take a picture of this but it just looked like a hot-mess of burlap.)  Since the burlap is pretty sturdy it will stay put if you wrap it around

but you can add some hot glue if you want it to be more secure.  Don’t worry how it looks, it will be covered up.

Start pulling burlapthrough the wreath frame, start on the inside rung and just go up the rungs, when youget to the top I found it easier to stay at the top rung, scoot over your loops and pull the ribbon over to start your next row staying in the top rung.  From there start working your way back down tothe inner rung.

You should be able to fit two rows of loops between each set of the wreath frame cross hatch bars.  

burlap wreath tutorial
At first it might take you a few tries to get the loops through and looking right but once you get the hang of it it will be easy-peasy.  Make rows of loops all the wayaround your wreath form.  It doesn’t haveto be perfect… just make sure that asyou pull the burlap through you are making the loops about the same size.  When you make it all the way around just cut off any extra and tuck the end into the wreath form.  You can add some

hot glue if you want for extra security.

When you’re done with the burlap go back through andfluff and adjust as needed.  Remember, it won’t be perfect but it’s not supposed to be, the imperfections give it some “hand-made charm”. 😉Now, decide where you want to attach your floral picks… I always try to find the worst looking part of my wreath where I made a sloppy looking loop or the wire is showing and put my floral picks right over it… no one will ever know your wreath had a big bald spot!  (some “hand-made charm” looks a little too hand-made if you know what I mean…)
burlap wreath tutorial
   
To attach the floral and pine picks allI did was put their sticks through the wreath form at one of the cross bars, thisadds some extra security but isn’t necessary.  If you have to stick it through some burlap that’s fine, just be careful that it goes through the fabric and doesn’t stretch out your loops.
I secured the picks with a pipe cleaner (cut it to size and use it like a twist tie) on the back of the wreathin a couple places.  You can add hot glue if you’d like.  I didn’t use any hot glue because I was too lazynotworried about it falling out.
burlap wreath tutorial
I added the pine branch pick first, then put the poinsettia at the bottom of it. I added an additional flower under the first and another pine branch under it to balance it out.  
burlap wreath tutorial
I hung it up on the mirror in my kitchen making sure I hooked the wreath frame and not the burlap.  I am loving how it looks and might make a few more as gifts.
burlap wreath tutorial

I hope you’ll stop by and check out all my Christmas decor I’ll be busting out in the next couple of weeks.  Thanks again to Jen for being such a gracious host!


Merry Christmas and Happy Holidays!  


xoxo, Kate

Kate – that wreath is SO pretty!! 

I love the natural elements for the Holidays!!

Chic on a Shoestring Decorating is one of my new favorite blogs!! 

Kate has awesome ideas, like:

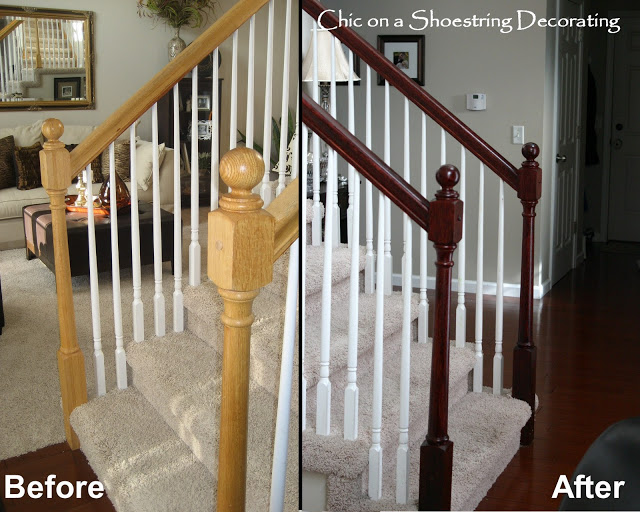
This has been on my list for so long. Kate shares her tips on how to Stain Stair Railings.

Kate has a great tutorial on how to make a DIY Upholstered Headboard
And be sure to check out Kate’s awesome series — 31 Days of Decorating on a Shoestring Budget. So great.

Head over to Chic on a Shoestring Decorating for great ideas!! 

HAPPY Holidays!! 

xoxo


Posted By: Jen · In: christmas, crafts, decorating, diy, HAPPY Holidays, holiday, tutorial

My Christmas Porch #LowesCreator
My Scandinavian-ish Red and White Mantel

You’ll Also Love

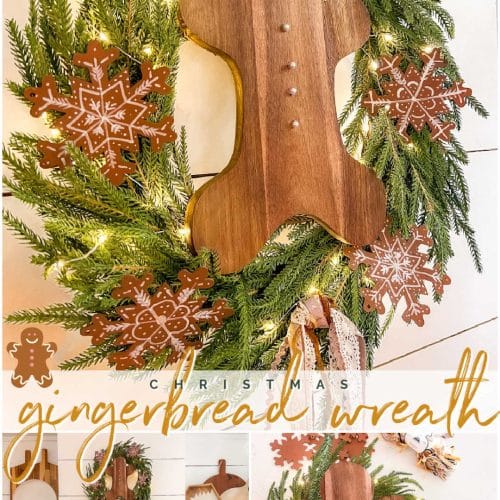
DIY Gingerbread Christmas Wreath
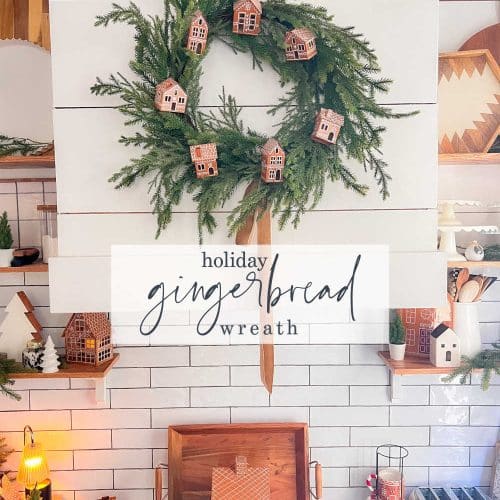
Painted Gingerbread Houses Holiday Wreath. Inspired by Pottery Barn's viral Gingerbread Village Houses, use spray paint, paint pens, and a sprinkle of creativity to create this gingerbread houses wreath.Painted Gingerbread Houses Holiday Wreath
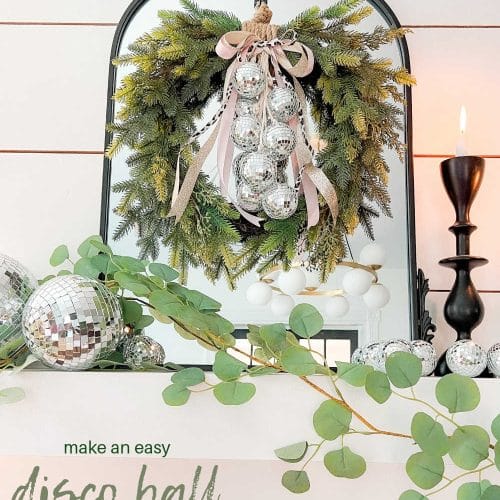
Holiday Evergreen Disco Ball Wreath. Celebrate the holidays with this sparkly, festive disco ball wreath. It's also great to keep up through New Year's Eve!Holiday Evergreen Disco Ball Wreath

Comments

  1. Sue says

    January 15, 2013 at 7:07 AM

    Very cute! Can you tell me where you got the burlap flowers for the burlap wreath?

    • Kate S. says

      February 13, 2013 at 9:20 PM

      They are from Hobby Lobby but were part of their Christmas line, maybe next year they will have something similiar. Good luck!

  2. Michelle says

    November 29, 2012 at 8:28 AM

    Beautiful wreath (and very versatile!). I can’t tell how you “hung” it on your mirror like that. Did you use fishing line to hook it over the back?!?

    • Kate @ Chic on a Shoestring Decorating says

      November 29, 2012 at 2:57 PM

      I hung it with a suction cup hook…. very tricky like it’s floating! haha 🙂

Hi! I'm Jen Hadfield. I'm a mom of 5 restoring an 1891 home in the heart of Salt Lake City. I love being creative and sharing simple ideas to make your life easier and more beautiful!

Receive the Latest Crafts, DIY, Recipes and More in your INBOX!

Follow us on Pinterest! It's awesome!

Top Posts & Pages

Copycat Panera Spinach and Artichoke Egg Soufflés - SO good!
Spruce up Your Outdoor Space with a DIY Recirculating Fountain! (tutorial)
12 Must-Have Items to Pack on an Alaskan Cruise!
A New Deck in Under 30 Minutes!
DIY Fountains to Make Your Yard Amazing!
How to Change a Recessed Can Light into a Pendant Light with No Remodeling!


Popular Posts

  • Copycat Panera Spinach and Artichoke Egg Soufflés - SO good!
    Copycat Panera Spinach and Artichoke Egg Soufflés - SO good!
  • Spruce up Your Outdoor Space with a DIY Recirculating Fountain! (tutorial)
    Spruce up Your Outdoor Space with a DIY Recirculating Fountain! (tutorial)
  • 12 Must-Have Items to Pack on an Alaskan Cruise!
    12 Must-Have Items to Pack on an Alaskan Cruise!
  • A New Deck in Under 30 Minutes!
    A New Deck in Under 30 Minutes!
  • DIY Fountains to Make Your Yard Amazing!
    DIY Fountains to Make Your Yard Amazing!
  • How to Change a Recessed Can Light into a Pendant Light with No Remodeling!
    How to Change a Recessed Can Light into a Pendant Light with No Remodeling!
  • DIY Secret: How to Print on Post-It Notes (and Free Printable Template)
    DIY Secret: How to Print on Post-It Notes (and Free Printable Template)

As seen in


Amazon Affiliate

Tatertots & Jello is a participant in the Amazon Services LLC Associates Program, an affiliate advertising program designed to provide a means for sites to earn advertising fees by advertising and linking to amazon.com.
  • About Me
  • Advertising
  • Get Featured

Copyright © 2025 Tatertots and Jello · Privacy
This site is a place for positive discussion and ideas. Negative talk, comments that disparage others, and similar are not welcome and may be removed.