Tatertots and Jello

COLORFUL HAPPY HOME -- Daily DIY, Decor, Craft and Recipe Tutorial

  • My Home
    • 1905 Cottage
    • Daybreak House
  • DIY
    • DIY Projects and Ideas
    • Organizing
    • Tutorials
    • Printables
  • Decor
    • Spring Projects
    • Summer Projects
    • Fall Projects
  • Crafts
    • Kids Crafts
    • Painting Projects
    • Paper Projects
    • Sewing
    • Wreaths
  • Holidays
    • Valentines Day
    • Easter
    • Halloween
    • Thanksgiving
    • Christmas
    • HAPPY Holidays Series!
  • Recipes

Explore

  • my home
  • diy
  • decor
  • crafts
  • holiday
  • printables
  • recipes

Connect

Home » fashion » Guest Project — Striped Bias-Cut Ruffle Dress Tutorial

fashion, guest tutorials, sewing projects · May 19, 2010

Guest Project — Striped Bias-Cut Ruffle Dress Tutorial

Tatertots & Jello is a participant in the Amazon Services LLC Associates Program, an affiliate advertising program designed to provide a means for sites to earn advertising fees by advertising and linking to amazon.com.
Hello Tatertots and Jello readers!!
I’m Michelle and i blog about just about everything
over at every little thing!
I am a lucky mom to two fabulous, and if i might say gorgeous
little boys, Gavin and Cole!
When I’m not blogging about these guys, I love to restore and revive home furnishings, sew, cook, paint, recover and try to create or recreate just about anything!
Jen has invited me to be a guest blogger today to share my striped bias cut ruffle collar dress with you!
I couldn’t be more excited since I laboured over the making of this to the degree that
when it came to the bottom hem,
i simply never finished it because i was so weary with the
thinking it involved
to figure out how to line up stripes so that the stripes made an “A”
at the front and not a “V”.
for some reason, i figured this would be a more flattering pattern?!
i even googled directions on how to make this dress!
NADA.
so here it is…
i figured it out! 🙂

are you an anti-pattern, mentally-visualizing, needle-busting, trial-and-error, dresser-maker dummy kind of fashionista?

if you are, then you will totally be able to relate to the night-before jobs, the ones that take waaaaaylonger than you imagined, and the ones that never reallyturn out like your mental pattern pictured them.

here is the tutorial of how i made my striped bias cut ruffle collar dress, in case anyone has ever tried to make one, or would like to in the future!
seriously, i felt like i was the D student in math class on this one.
it took me FOREVER to figure out how to line up the stripes on the bias.
simply put, lining up the stripes is the single most important piece in this whole puzzle.
ok, so i will preface this by saying :IT DID NOT TURN OUT LIKE THE PATTERN SAID IT WOULD.
first i figured out what shape i wanted it to be from my 1.99 cut of fabric from the thrift store.
(often i will use a dress i already have and like the style of, fold it up the centre of the front, and cut around it.)

once i had one section of the front cut, i had to line up the stripes to cut the other front panel. luckily, i could see thru the material to make sure that the lines were going in the exact same direction exactly overtop of each other. right sides of fabric face one another. i sewed the seams in a straight stitch.

i did the same for the back panels, cutting just a little bit higher around the neckline. i sewed all my panels together with a straight stitch…easiest to fix mistakes with…

i used my dressmakers dummy, obviously measured to ME, and adjusted the shoulders and took in however much i wanted at the sides so that it wouldnt be baggy or anything around the armpits. (yikes)

once i figured out the right sizing i re-sewed the side seams in a serger-like stitch to reinforce.

then it was business time for the ruffles. this was my VERY first attempt at ruffling, and i really didnt do awesome, but i will tell you what i would do differently next time.

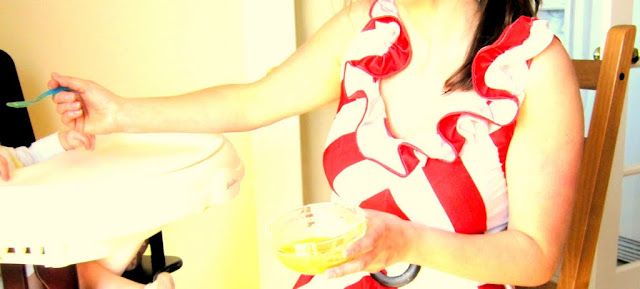
first of all, i cut a strip twice as long as the front side of the neckline using both a white and red stripe on the strip. i hemmed it on both sides.

then i adjusted my tension to as loose as the sewing machine allowed.

i kept it on a straight stitch at the longest length it would allow.

i sewed two parallel straight stitches the entire length of the ruffle strip. in the future, i would not do these lines in the centre of the strip, seeing as when it is sewed onto your garment, you can see the backside of the material and the exposed stitching. IN MY MIND, i mean, the pattern said…there would be a red ruffle and a white ruffle on top of each other, but the pattern was WRONG!

so next time, if i wanted both colors of ruffles, i would just cut two strips and ruffle separately, sewing close to the top hem. once the were ruffled, they could be sewn onto the garment in layers.

once the parallel lines were sewn, i held the two bottom threads (from the bobbin) and gently pulled and puckered the strip…it was really easy!

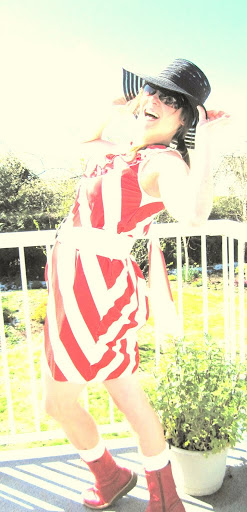
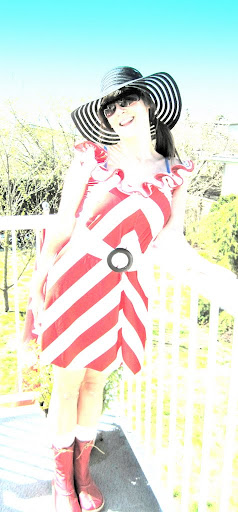
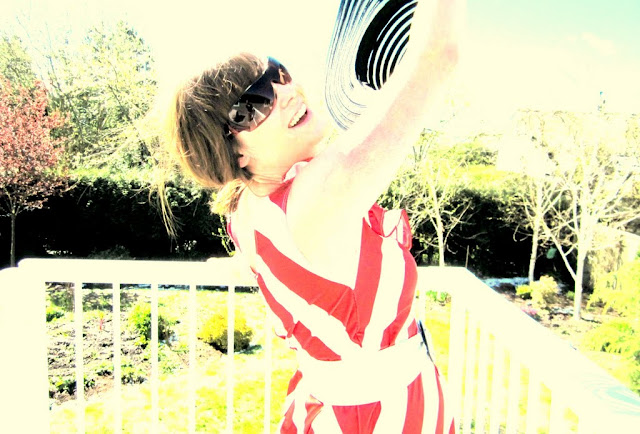
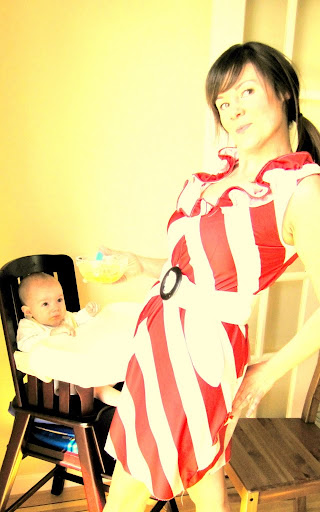
i then sewed the ruffle onto the front side of the neckline and was able to wear the dress the next day on my spirit ridge vacation!

time spent: 2.5 hours (it SHOULDN’T have taken that long!)

cost of dress: 1.99!
pleasure of making own fashions: priceless!
Thanks again so much, Jen, for featuring me and my tutorial!!
xoxo
Thanks Michelle — your dress is fabulous! I Love those stripes.
If you haven’t checked out Michelle’s blog — get on over there. She has all sorts of wonderful projects, including this swoon-worthy bench she just redid:
Here’s a button for sharing your tutorial with us!
Have a Wonderful Wednesday!
XOXO

Posted By: Jen · In: fashion, guest tutorials, sewing projects

Quatrefoil Painting Project — with free printable
Guest Project: Mod ‘Filing Cabinet’

You’ll Also Love

Things I Love This WeekWelcome Home Saturday – Things I Love This Week!
Free Printable Patriotic BannerFree Printable Patriotic Banner
Paint Candy Corn Treat Jars – an Inexpensive Fall Gift Idea

Comments

  1. Elz says

    May 20, 2010 at 2:29 AM

    Cute idea, thanks for introducing me to a new blog.

  2. April says

    May 19, 2010 at 4:02 PM

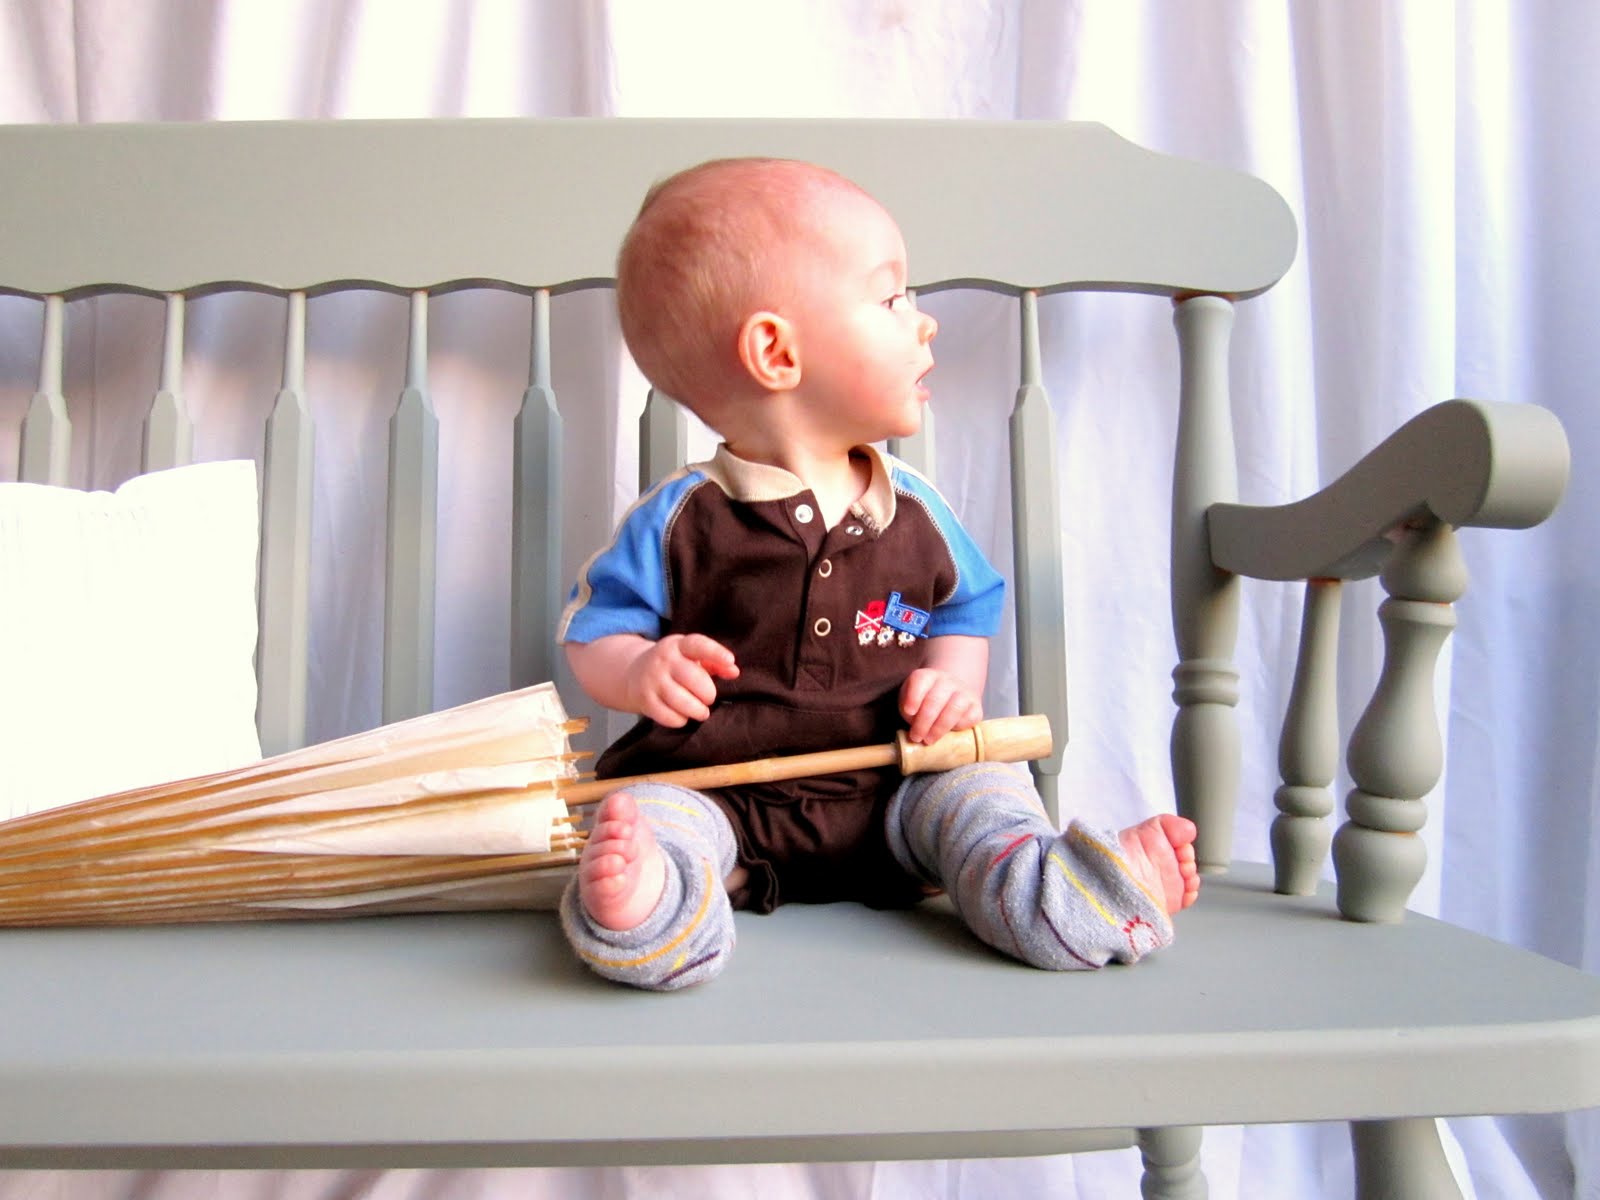
    That is such a cute dress for summertime! I do think she has the most adorable boys I've ever seen! 🙂

  3. Laura Ingalls Gunn says

    May 19, 2010 at 3:25 PM

    Cute dress!

    Please stop by an enter my French Basketeer tote giveaway.

  4. Cassie @ Primitive & Proper says

    May 19, 2010 at 2:14 PM

    that dress is cute, and the model even cuter! love it- michelle you are adorable!

  5. Kelli @ RTSM says

    May 19, 2010 at 1:29 PM

    That dress is adorable! I love the ruffle.

  6. Mod Podge Amy says

    May 19, 2010 at 12:28 PM

    Michelle is too cute – love her!! Her dress rocks!

  7. Kate says

    May 19, 2010 at 12:10 PM

    Gorgeous dress (and boys). Thanks for sharing!

  8. Honey Lamb and I says

    May 19, 2010 at 11:53 AM

    Wow that is impressive! Cute pics and sweet boys! Shelley

  9. Erin says

    May 19, 2010 at 11:51 AM

    Ahh, I love it! And, yes your little guys are gorgeous. 🙂 Thanks for sharing. If I get gutsy enough, I may just try this.
    Erin
    http://www.frundy.com

Hi! I'm Jen Hadfield. I'm a mom of 5 restoring an 1891 home in the heart of Salt Lake City. I love being creative and sharing simple ideas to make your life easier and more beautiful!

Receive the Latest Crafts, DIY, Recipes and More in your INBOX!

Follow us on Pinterest! It's awesome!

Top Posts & Pages

Spruce up Your Outdoor Space with a DIY Recirculating Fountain! (tutorial)
A New Deck in Under 30 Minutes!
12 Must-Have Items to Pack on an Alaskan Cruise!
DIY Secret: How to Print on Post-It Notes (and Free Printable Template)
Copycat Panera Spinach and Artichoke Egg Soufflés - SO good!
15 Between the Studs Bathroom Storage Ideas


Popular Posts

  • Spruce up Your Outdoor Space with a DIY Recirculating Fountain! (tutorial)
    Spruce up Your Outdoor Space with a DIY Recirculating Fountain! (tutorial)
  • A New Deck in Under 30 Minutes!
    A New Deck in Under 30 Minutes!
  • 12 Must-Have Items to Pack on an Alaskan Cruise!
    12 Must-Have Items to Pack on an Alaskan Cruise!
  • DIY Secret: How to Print on Post-It Notes (and Free Printable Template)
    DIY Secret: How to Print on Post-It Notes (and Free Printable Template)
  • Copycat Panera Spinach and Artichoke Egg Soufflés - SO good!
    Copycat Panera Spinach and Artichoke Egg Soufflés - SO good!
  • 15 Between the Studs Bathroom Storage Ideas
    15 Between the Studs Bathroom Storage Ideas
  • DIY Fountains to Make Your Yard Amazing!
    DIY Fountains to Make Your Yard Amazing!

As seen in


Amazon Affiliate

Tatertots & Jello is a participant in the Amazon Services LLC Associates Program, an affiliate advertising program designed to provide a means for sites to earn advertising fees by advertising and linking to amazon.com.
  • About Me
  • Advertising
  • Get Featured

Copyright © 2025 Tatertots and Jello · Privacy
This site is a place for positive discussion and ideas. Negative talk, comments that disparage others, and similar are not welcome and may be removed.