Hi there! I’m Kate from Oh Write, and it’s a delightful day for me. I am thrilled to be a guest here at Jen’s place. Since this is a debut of sorts for me (it’s my first time ‘away’ from my blog home!), I wanted to share something fabulous. First impressions can only happen once, you know?
Have you seen this little beauty? I fell in love the last time I was perusing the racks at J.Crew. I primarily go in there to be inspired these days. For $18, you can take one of these lovelies home with you. It comes in three colors, all of which I’d love to own. Today, we’re going to focus on golden topaz. I’m loving this color for autumn, and I had everything on hand to make one, which made this free to me! (If you have to buy any or all of the materials, you will still come out way ahead in the money department! Look for fabrics like these in bargain bins, or in the clearance section. I found all of my fabrics in the Red Tag section at JoAnn. Just 1/4 yard of each fabric will keep you stocked for a long time!)
 So, want to make one? It’s easy.
Here’s what you’ll need:
- A collection of fabrics in the color-family of your choice. (I used some linen, satin, chiffon and tulle)
- DMC thread in corresponding colors.
- A pin-back or alligator clip
- *not shown: a couple of pieces of wool felt, or some other heavier fabric to offer some stability, need and thread, candle or lighter

1. Begin by cutting out three large petals from a satin-like material. (***When you’re shopping for the fabric, make sure it’s not flammable. Most synthetic materials work nicely.) These don’t need to be exact, as the edges will be singed. Mine were approximately 4 in. by 3.5 in. (This will make a finished flower that’s about 5 in. across.)

2. Carefully hold the edges of the petals over a flame until they are lightly singed.

Your finished petals will look like this:

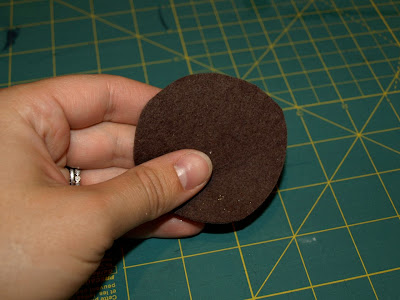
3. Cut out 2 circles of felt (appx. 2 in. diameter) to serve as the backing for your pin.
4. Cut out 5 smaller petals from some sort of cotton or linen material (When you’re shopping, look for something that wrinkles easily). Mine are less than 2 in. wide and about 3 in. long.
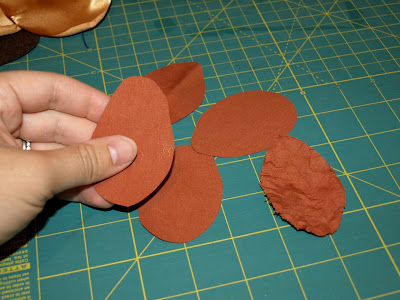
5. Scrunch the petals into little balls to make them wrinkly.

See how nice and worn they look? That’s what you want!

6. Cut 2 longer, skinny pieces of a lighter-colored satin. (About 1.5 in. wide) I made one longer than the other for a little added dimension. Singe the edges over a flame.
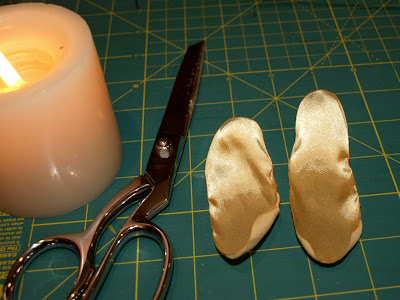
7. Cut a couple of long, skinny pieces of tulle.
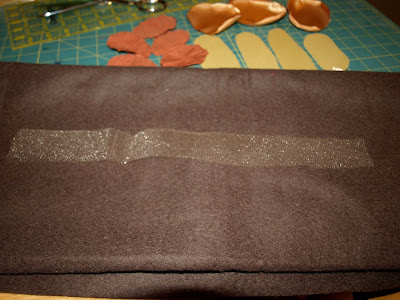
8. Knot them to create some loops. (The loop on the left is 4 in. long and the one on the right has 2 loops, each about 2 in. long.)

9. Cut 4 longer ovals from chiffon-like material. Mine were about 2 in. wide and between 3.5 and 5 in. long. These don’t need to be perfect!
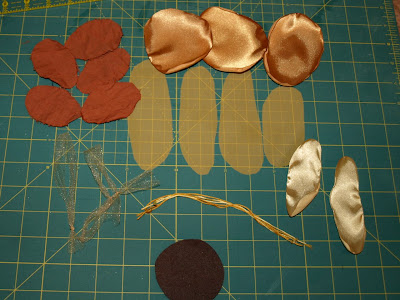
Here’s what you should have so far:
*We haven’t done anything with the DMC thread yet…but it’s there in the picture!
10. Thread a needle with a single strand of DMC, doubled over and knotted.

11. Overlap the petals, and secure them to one of the felt circles.
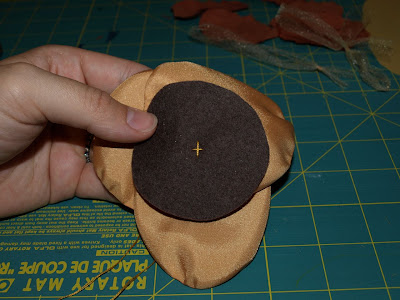
The flower is starting to take shape!
At this point, determine which side will be ‘up’. This will help you in the design of the flower.

12. Fold the crinkled petals to give them a bit of dimension, and sew them to the pin.
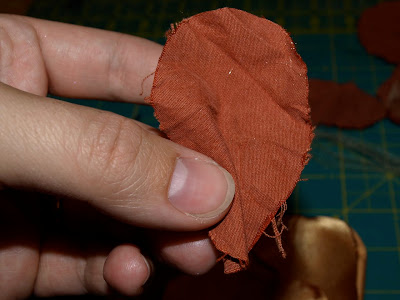
It’s hard to tell in this picture, but 3 of my petals are folded before they were sewn on. (The top one and the bottom two) *Note: my flower is still facing ‘up’. All pictures from here on will show the flower as it will look while it’s being worn.
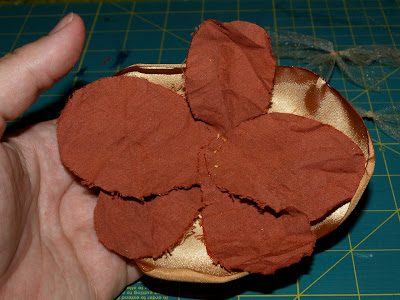
13. Next, sew the tulle loops on. Feel free to arrange them to your liking. I wanted the longer one to be towards the top, so this is how I sewed mine!
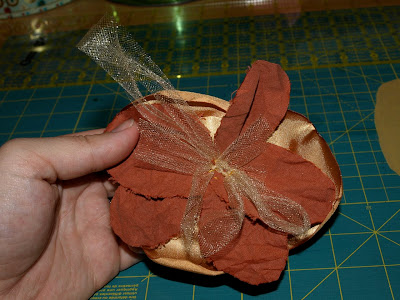
14. Before attaching the chiffon, arrange them like this, overlapping each other.
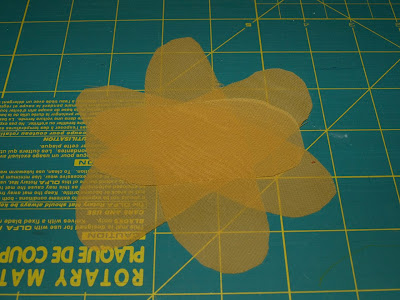
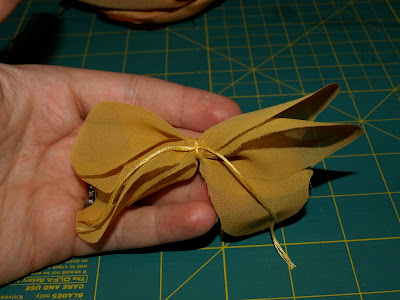
15. Now, grab them in the middle like this…

…and tie a piece of DMC around them all. Secure it tightly with a knot. This will make it easier to stitch these petals to the flower.
 16. Sorry, no picture! Sew the chiffon petals to the rest of the flower. I secured it on either side of the knot.
17. Twist each of the lighter satin petals like this:

18. Sew the lighter satin petals on, overlapping them. At this point you may want to twist and arrange some of the petals so the flower looks just right to you. If needed, use a small stitch to tack down places that aren’t staying put.
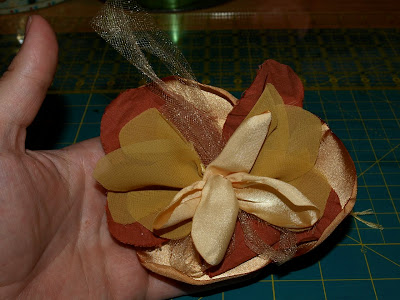
19. Cut several short pieces of DMC in 2 or 3 shades of your color. My pieces were between 1 and 2.5 in. long. Knot the end of each piece, and then tie them into groups.
 20. Sew the groups of thread between some of your petals. I also added a couple of little ribbons. Be creative, and use whatever looks right to you!
21. Take the second piece of wool felt, and sew on your pin or clip. After the clip is secure, sew the circle over top of the other circle to hide all the messy stitching. (***Make sure you situate your pin in the correct place for your flower to face the direction you’ve chosen once you are wearing it!)
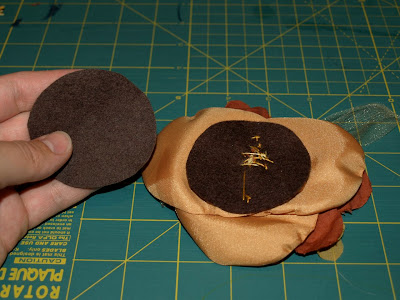
22. Now the back of the pin will look like this:

Ta Da!
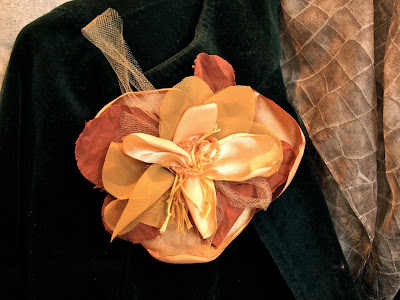 Fun, right? I am thrilled for this addition to my accessory collection. Let me know if you venture out to make your own…I’d love to see other colors and variations!
Check out Oh Write— Kate does it all!
She sews:





I love how many great blogs creep there way on here. What an inspiration!
Did you post a blog about advertising on your blog? If so, I would be interested in advertising my Heritage Makers business.
That is so pretty! I love the colors… fall accessories are the best! Thanks so much, I'll be linking.
This is just darling (as well is the jcrew necklace!). Jewelry can be so expensive…I am inspired to try some of my own! 🙂
Ashley
love this flower pin …Very couturirsh!
Very cool flower…must check out her site!
Very pretty. Your tutorial was very well done, I like all the step by step pictures.
This is so pretty – thanks for sharing with us. I'll be popping over to your blog too. x
Ooohh….PRETTY! Those fall colors make me need to put on a sweater and have some hot cocoa. It would probably get hot after about 3 seconds though…seeing as it's still in the 90's. But the thought of fall….that's what I'll do. Great tutorial. Thank you!
Fabulous! Fabulous! Fabulous! I am going to check out her other tutorials also! Thanks again for spotlighting these amazing bloggers.
xoxo
gorgeous! I love it.
hey kate, I am already a follower of your great blog and so happy to see you make your apperance here!!!! CONGRATS!
very very lovely pin! this will look great on a purse too! Me thinks I have an afternoon project now 🙂
You make me want to stay home and create all day with all of the amazing things you post!
That is a gorgeous pin! I would love to make that, I can't wait to go visit your blog and start following you.
Kate…this flower pin is so cool and your tutorial is very good. So good that I think even I could make one of these.
Off to visit your blog.