

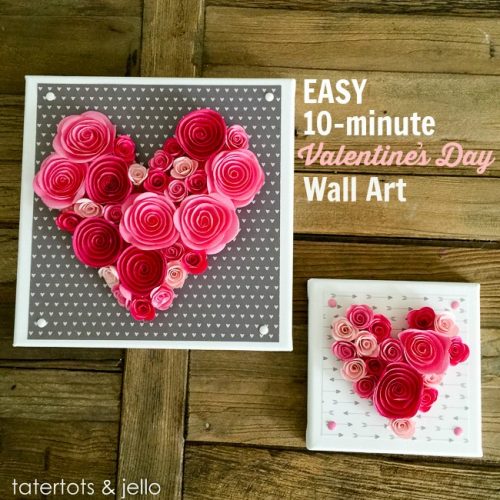
I am so excited to share this tutorial with you guys! I feel so lucky to be able to post it on tatertots and jello as well! I have to start off by saying that I really got the idea and inspiration for this from Ashley over at Lil Blue Boo, she is so creative and so inspiring! If you haven’t read her blog, you should really take a look!
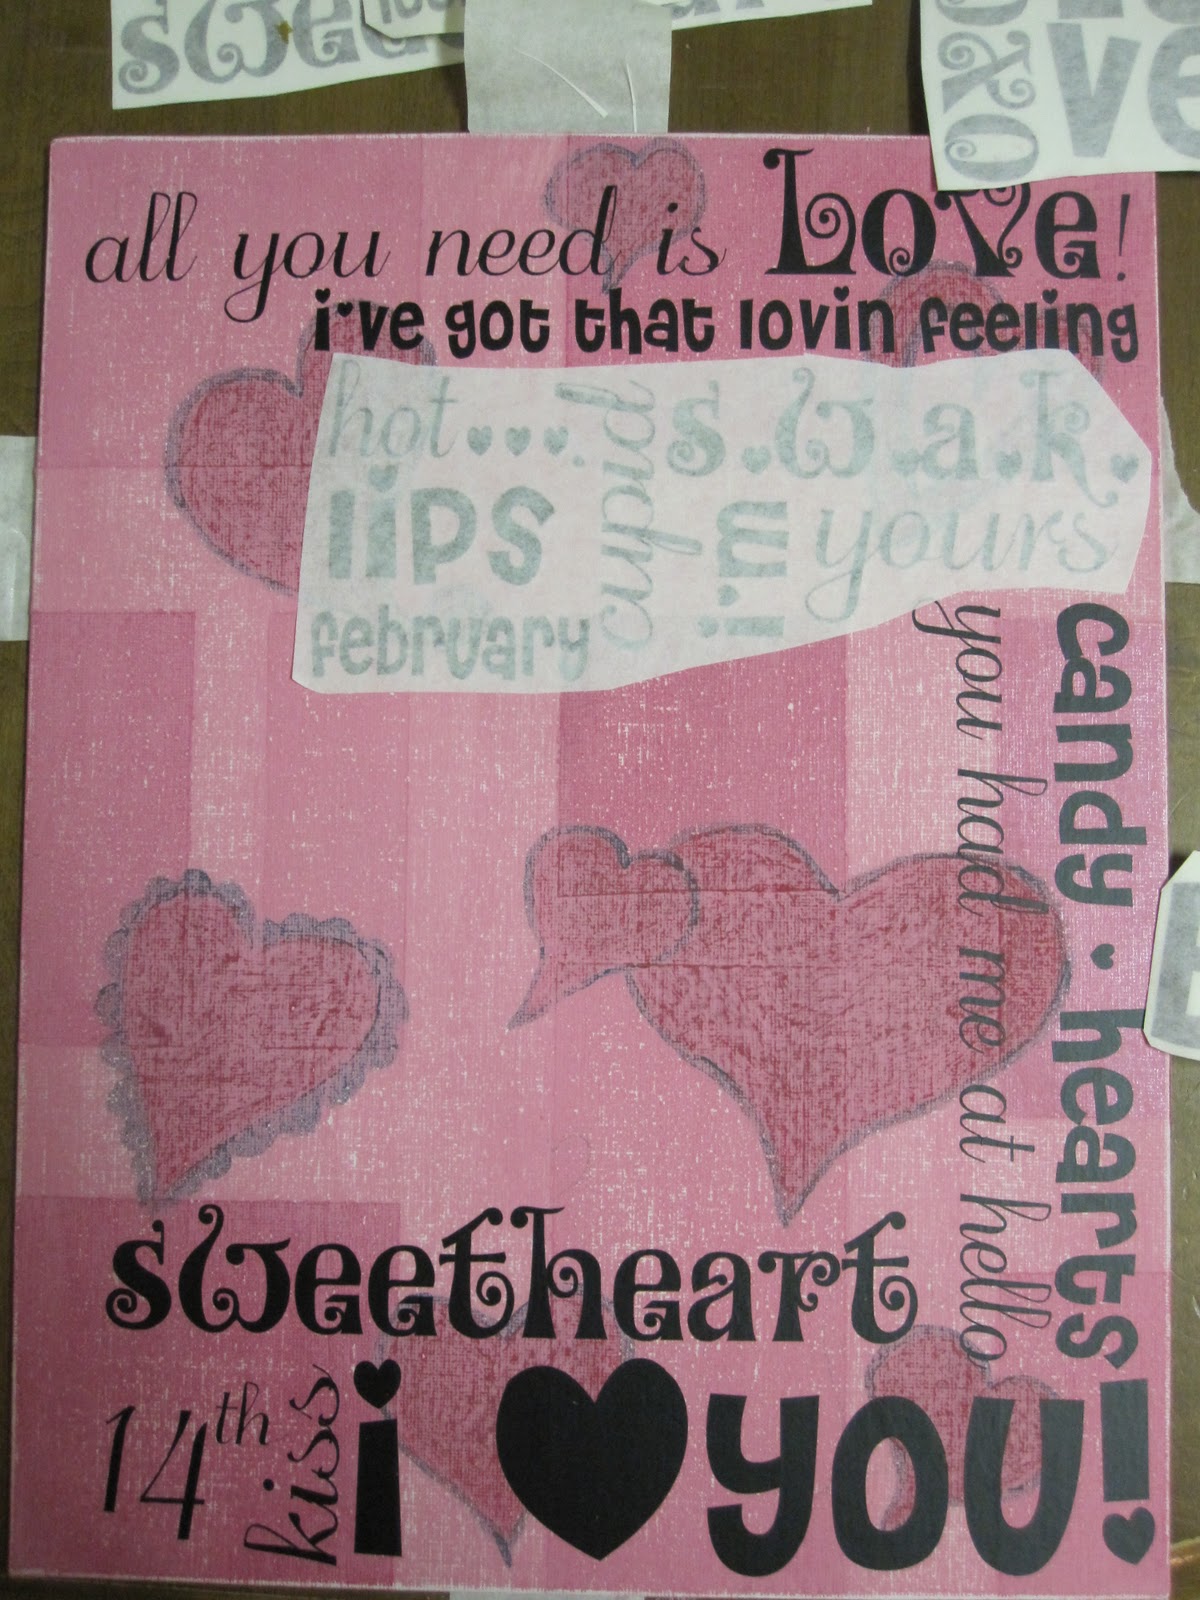
This project has a particular way of letting your own creativity shine. Even people who don’t think they are creative will be surprised with themselves. I am a really cheesy Valentine lover at heart, which is where I got all my inspiration for the wording. I just thought of all the cheesy things I would want to say to my husband and this is what I came up with!

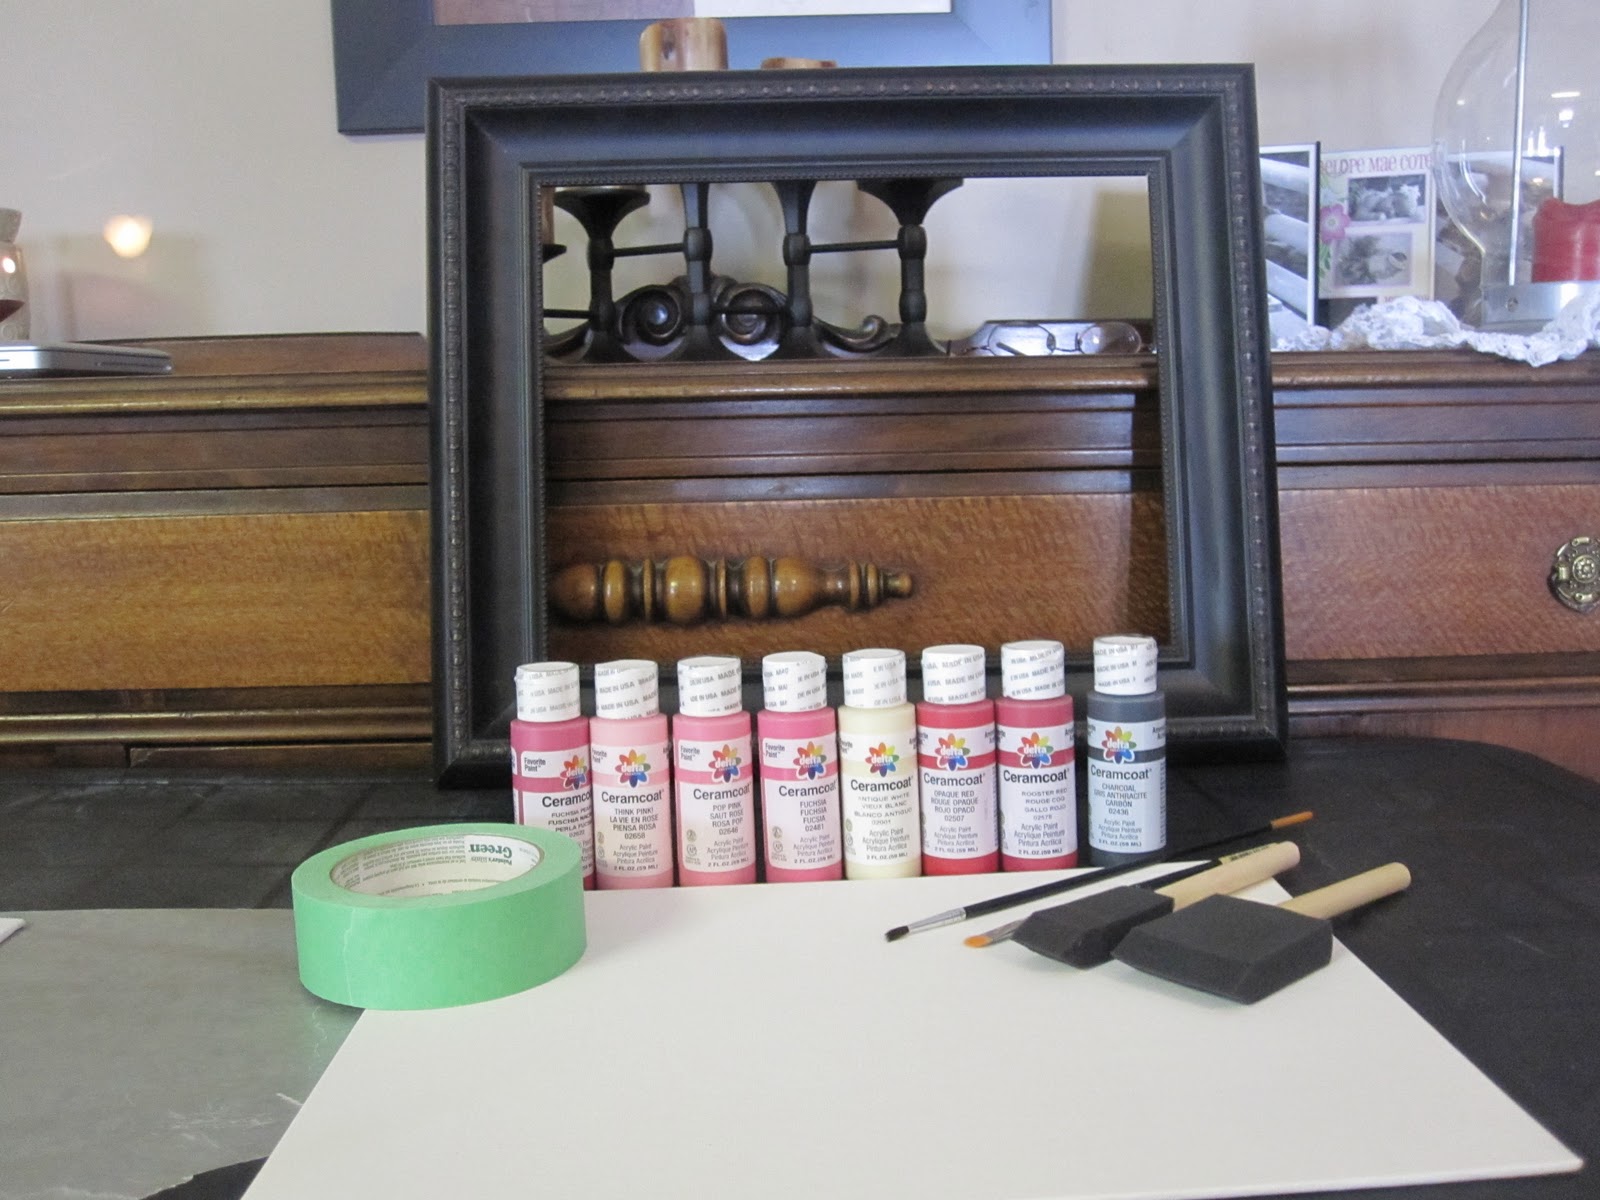
- Paint. I used Ceramcoat and Americana paints, in the following colors repsectively; charcoal, opaque red, pop pink, fuschia, fushcia pearl, think pink, rooster red and santa red (americana). Ideally you want 5 colors minimum. A base color, 3 block colors, a stencil/shape color and a overlay color.
- A thin hardboard canvas at 11 x 14 inches. Usually they come in packs of 3. You can get them at walmart and at Michaels, as well as the dollar store (though they only have smaller sizes)
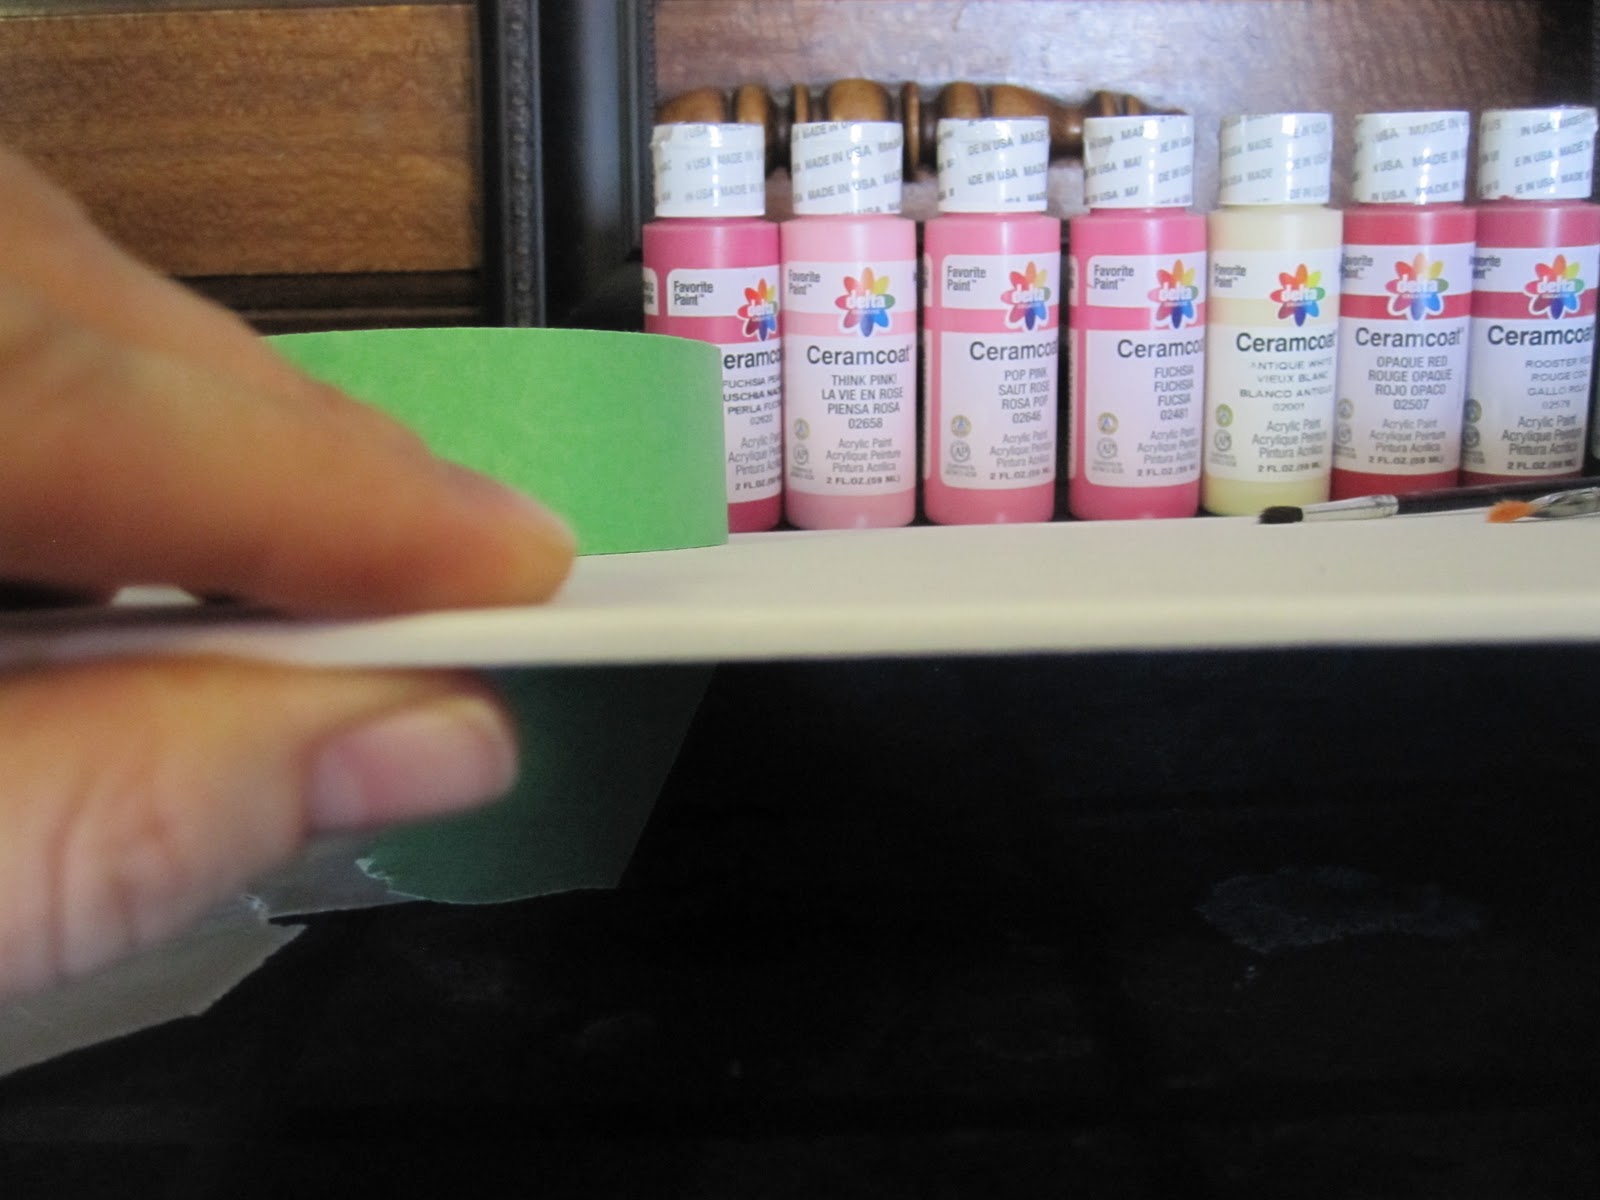
- Painters Tape (mine is about 1.5 inches wide, and it is green from Walmart.
- Sanding Block/Paper, not too rough
- Paint brushes, foams about 5 or one for each color
- Words. I used my own design in black vinyl lettering that I cut out with my silhouette. Though you can use regular paper and a printer too.
- an open back frame, size 11 x 14
- acrylic spray sealer
- a pencil or stencils of your choice
- plastic bowl
INSTRUCTIONS
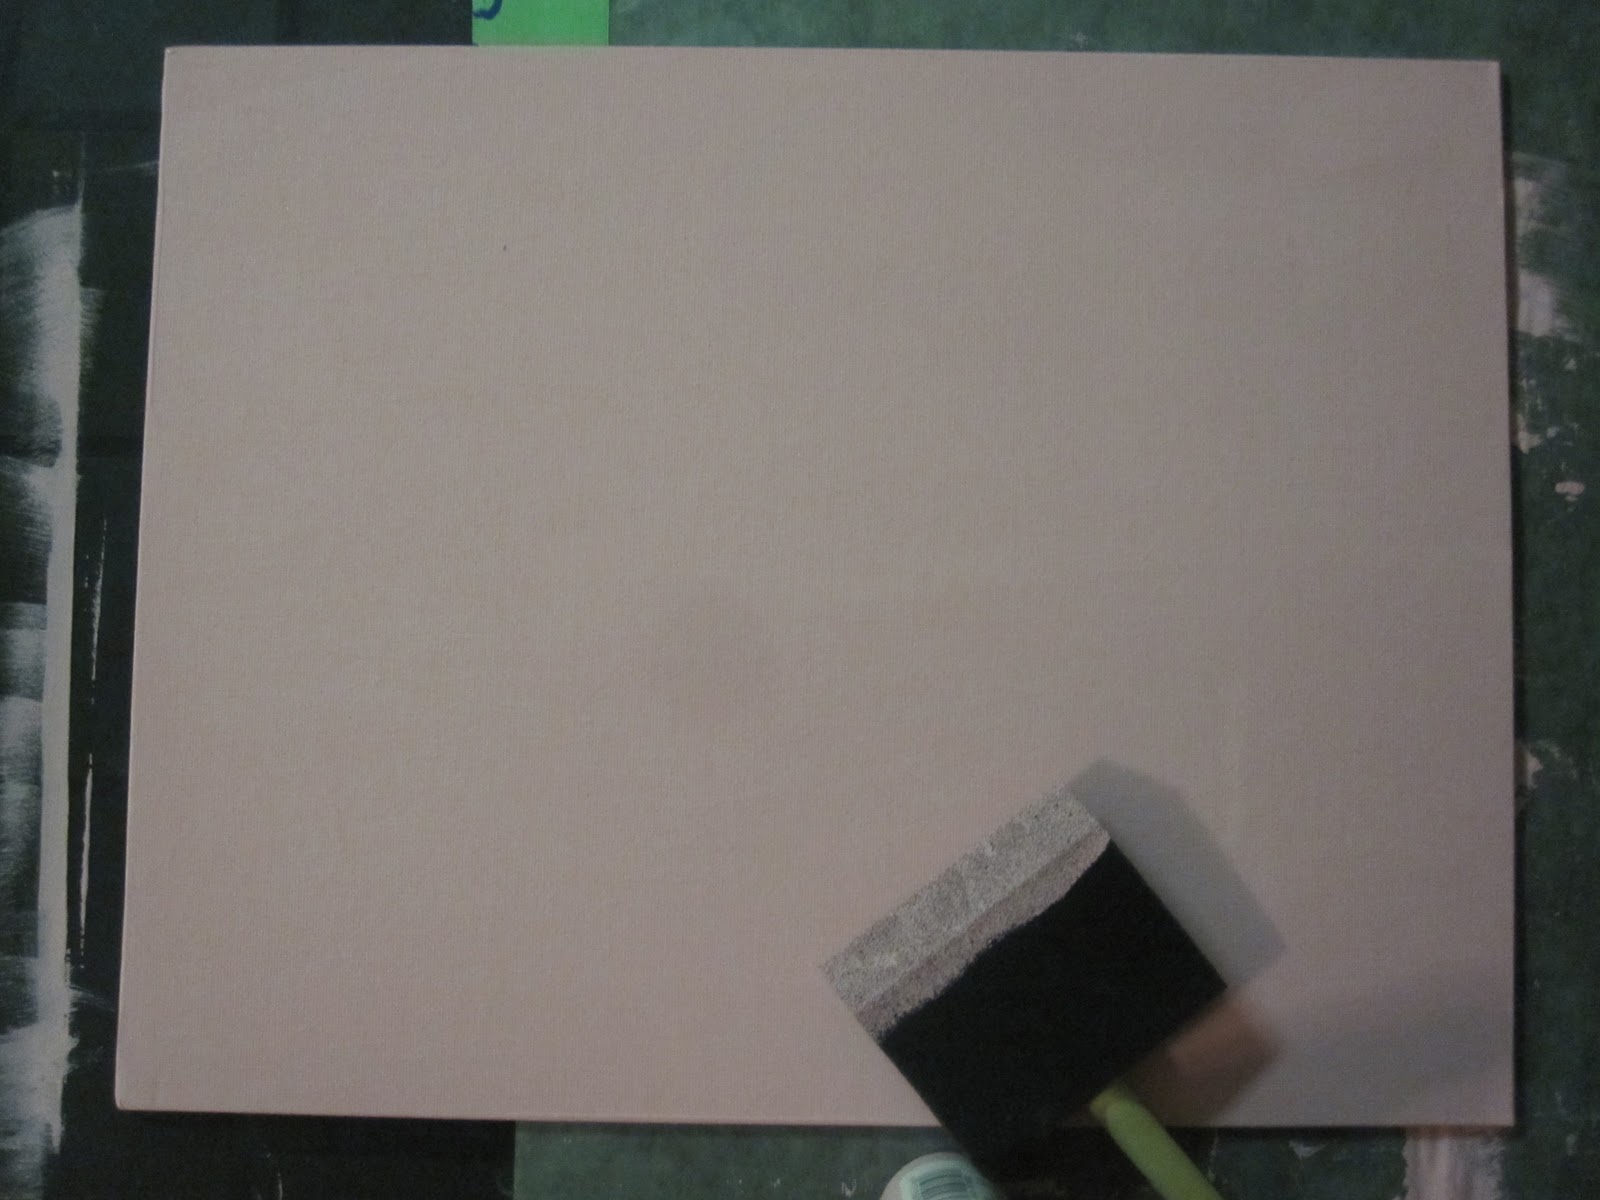
1. Paint your hardboard your chosen base color. I would suggest a lighter color if you plan on using darker lettering, or a darker color if you use lighter lettering. Paint on at least 3 coats, the less you paint, the more the canvas will show through when you sand, this is all a personal choice. I find that the canvas showing through a little makes the end result a little more antique looking, which I like.

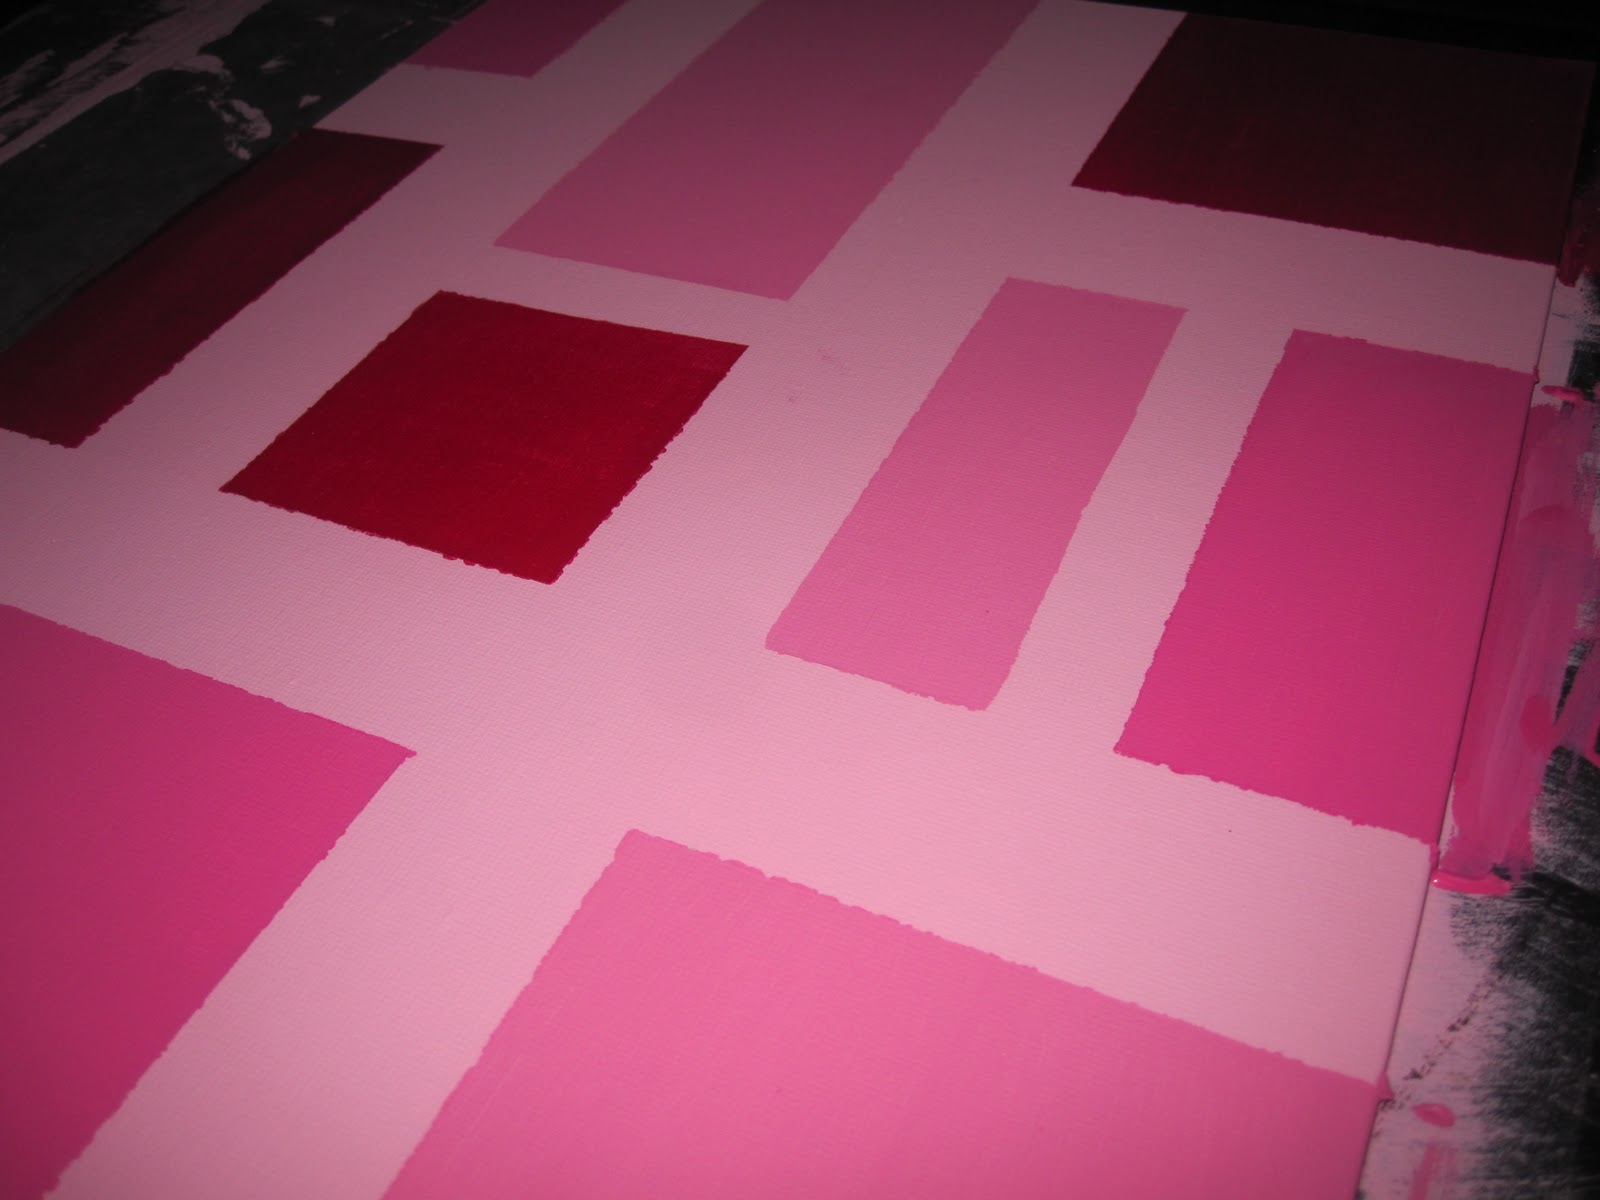
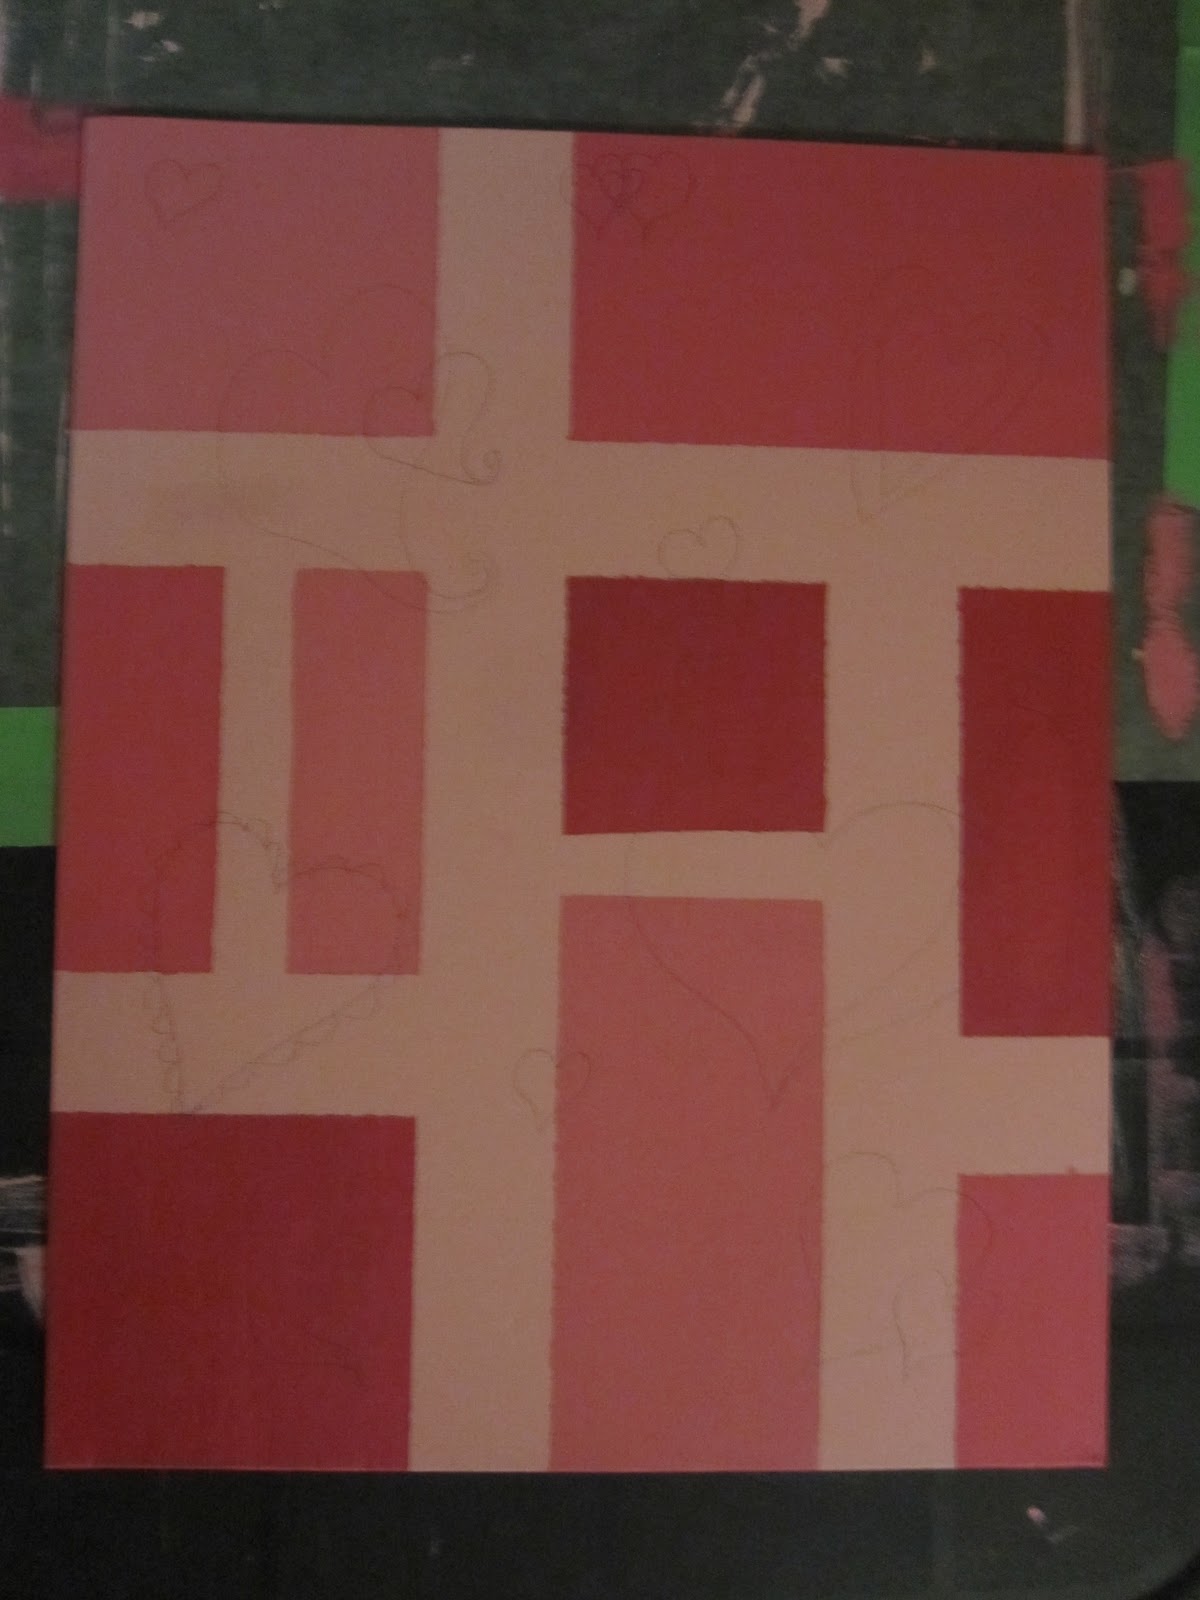
2. After the base is dry, place your painters tape into whatever shapes you would like. I like squares and rectangles, though I have seen some sweet triangles. Paint each open spot one of your block colors, as I have at least 6 to 9 shapes, I use the same 3 colors, 2 or 3 times. Paint at least 3 coats again, enough to coat it evenly and well. Let dry and pull off the painters tape. NOTE: If using darker lettering, make sure your blocks aren’t too dark, and vice versa with lighter lettering… it doesn’t turn out so well! I know it looks a little scary right now, and thats normal! I think that about EVERY subway art I make like this… just keep going!


3. While the blocks are drying, prepare you lettering, either with a printer, or a cricut or a silhouette.


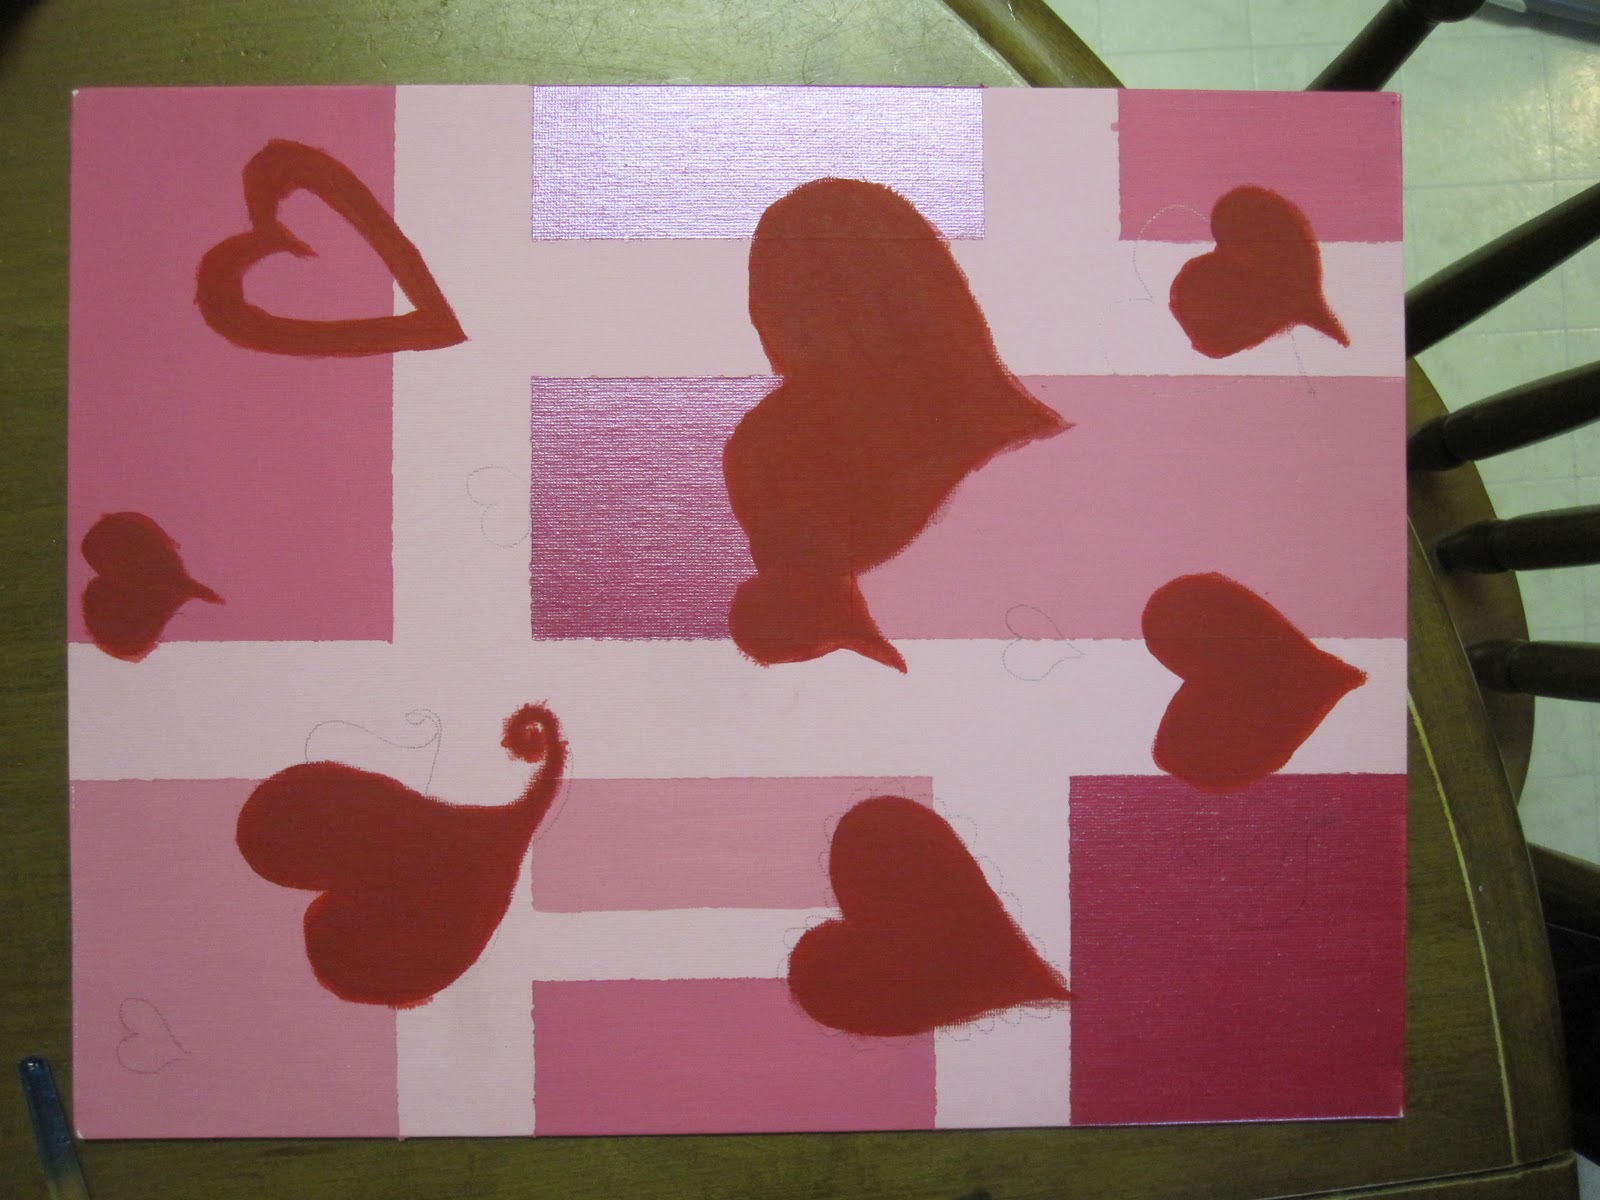
4. When your board is dry, tape on your stencil, or draw some shapes onto it. I drew on some hearts with an HB pencil as lightly as I could.

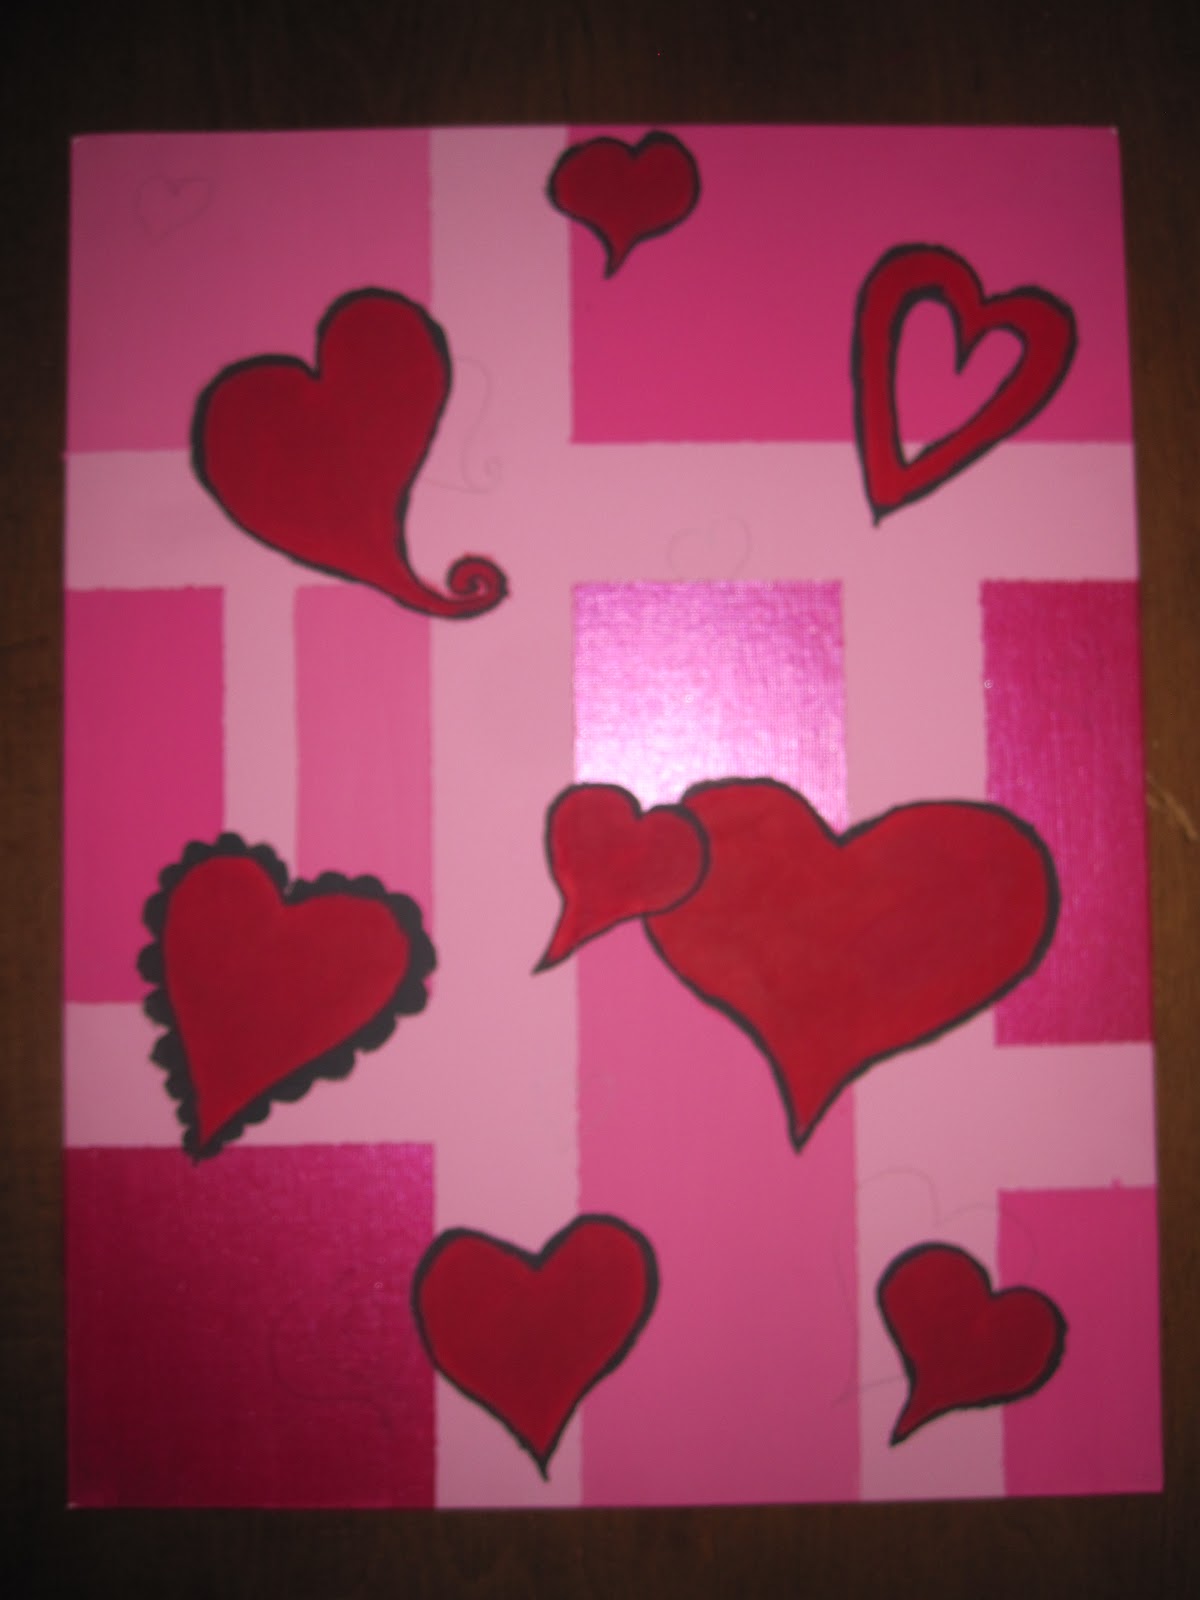
5. Paint in your drawings or stencils again making sure you use at least 3 coats, maybe 4. You really want these shapes to show up. I also painted an outline around my hearts to make sure they would really show. Don’t worry if they aren’t perfect, the edges of my hearts were definitley fuzzy! Let dry.


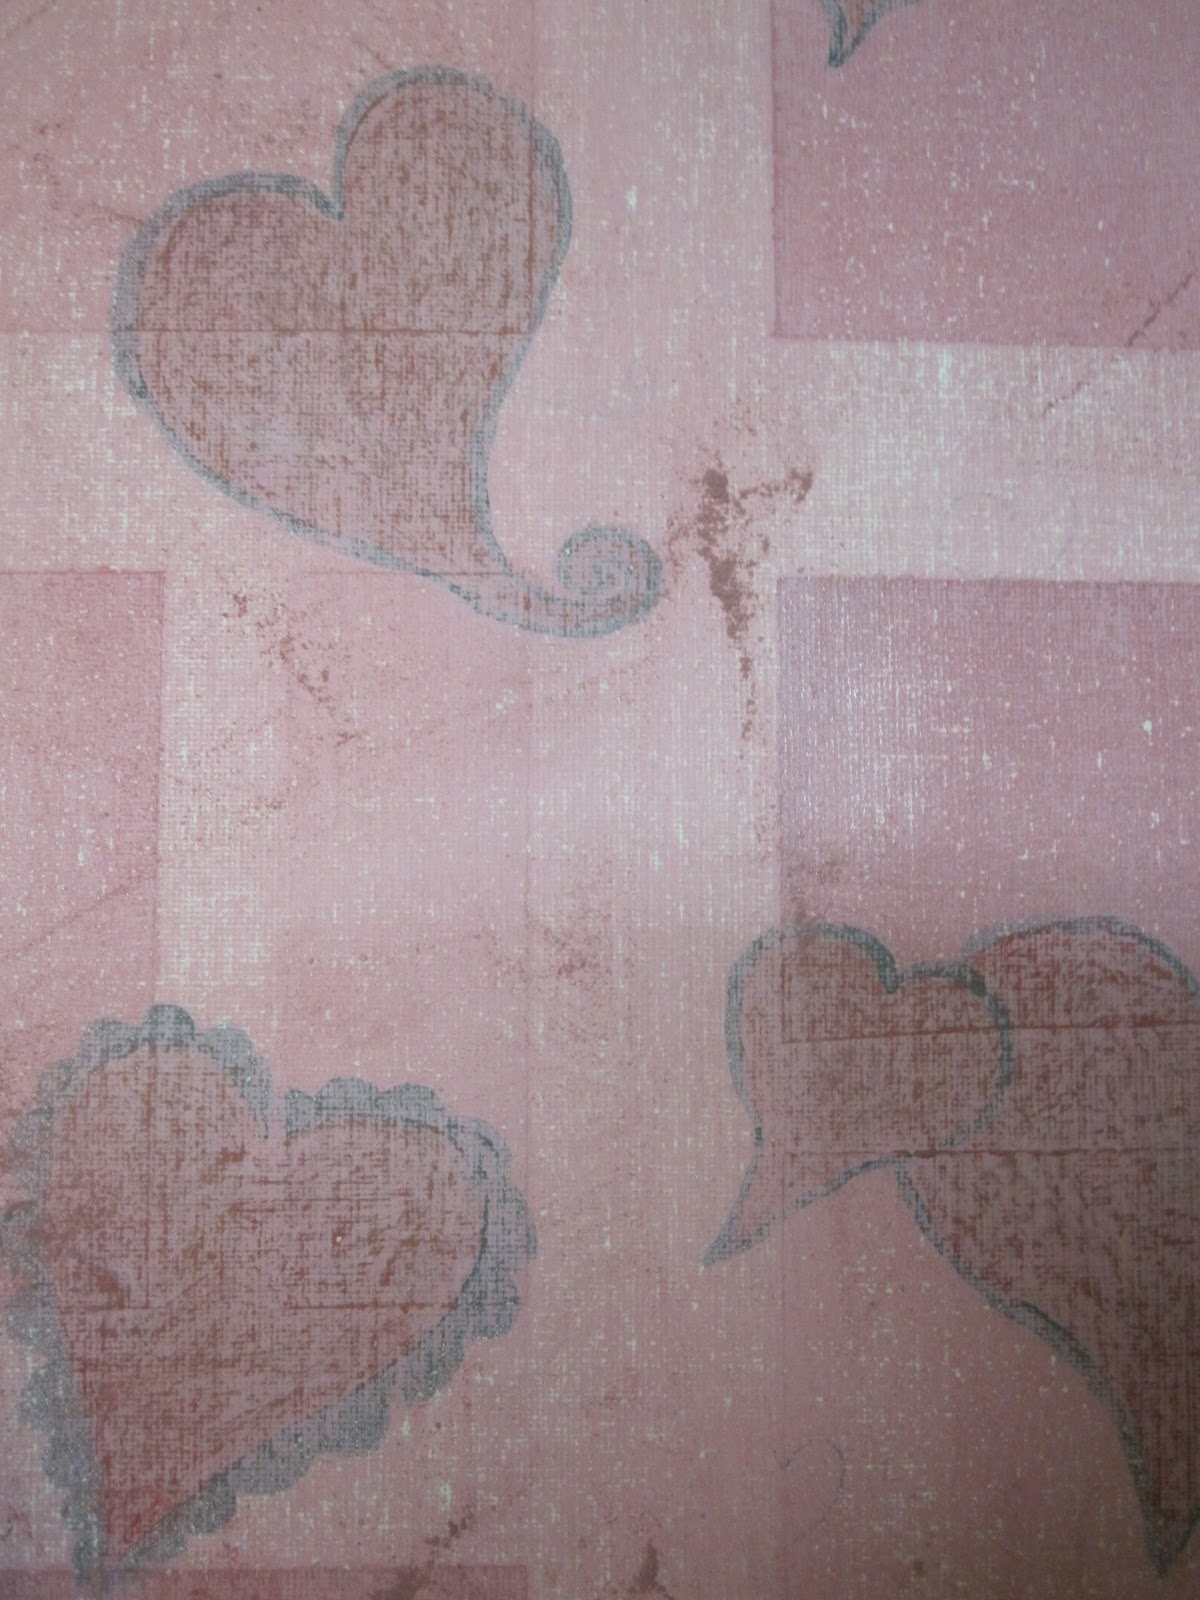
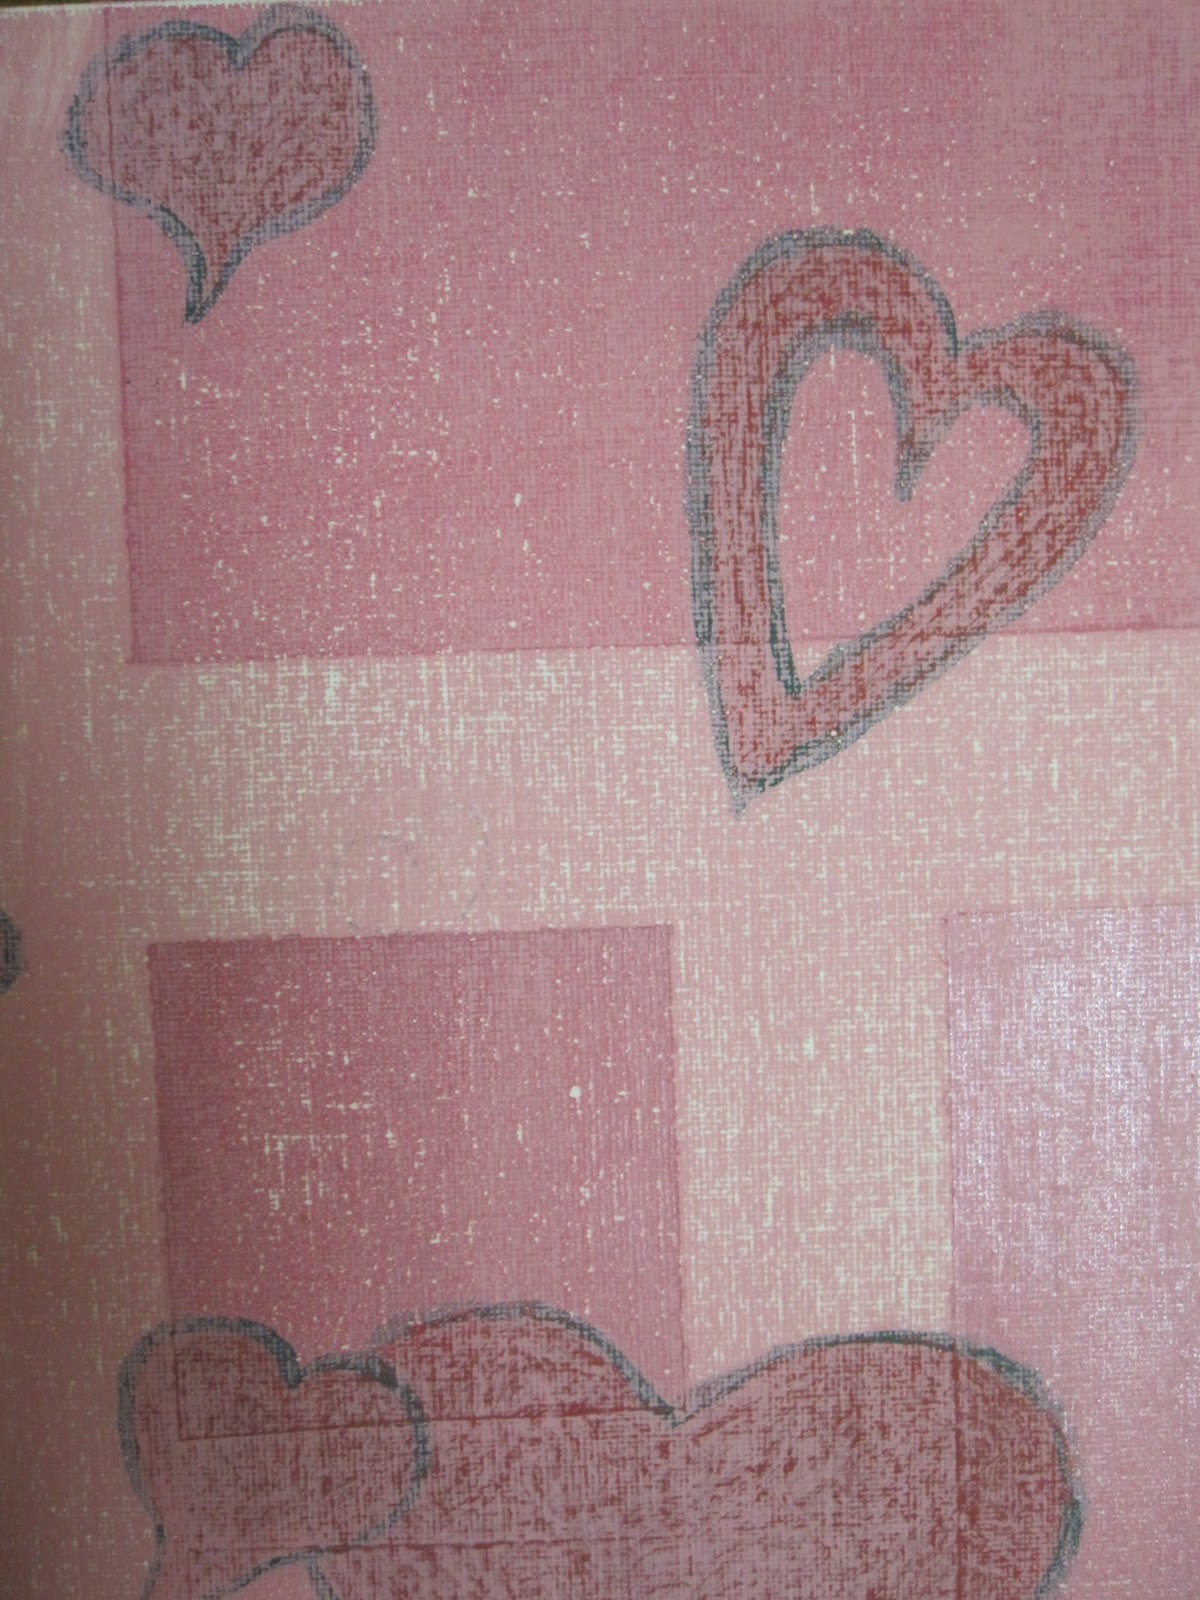
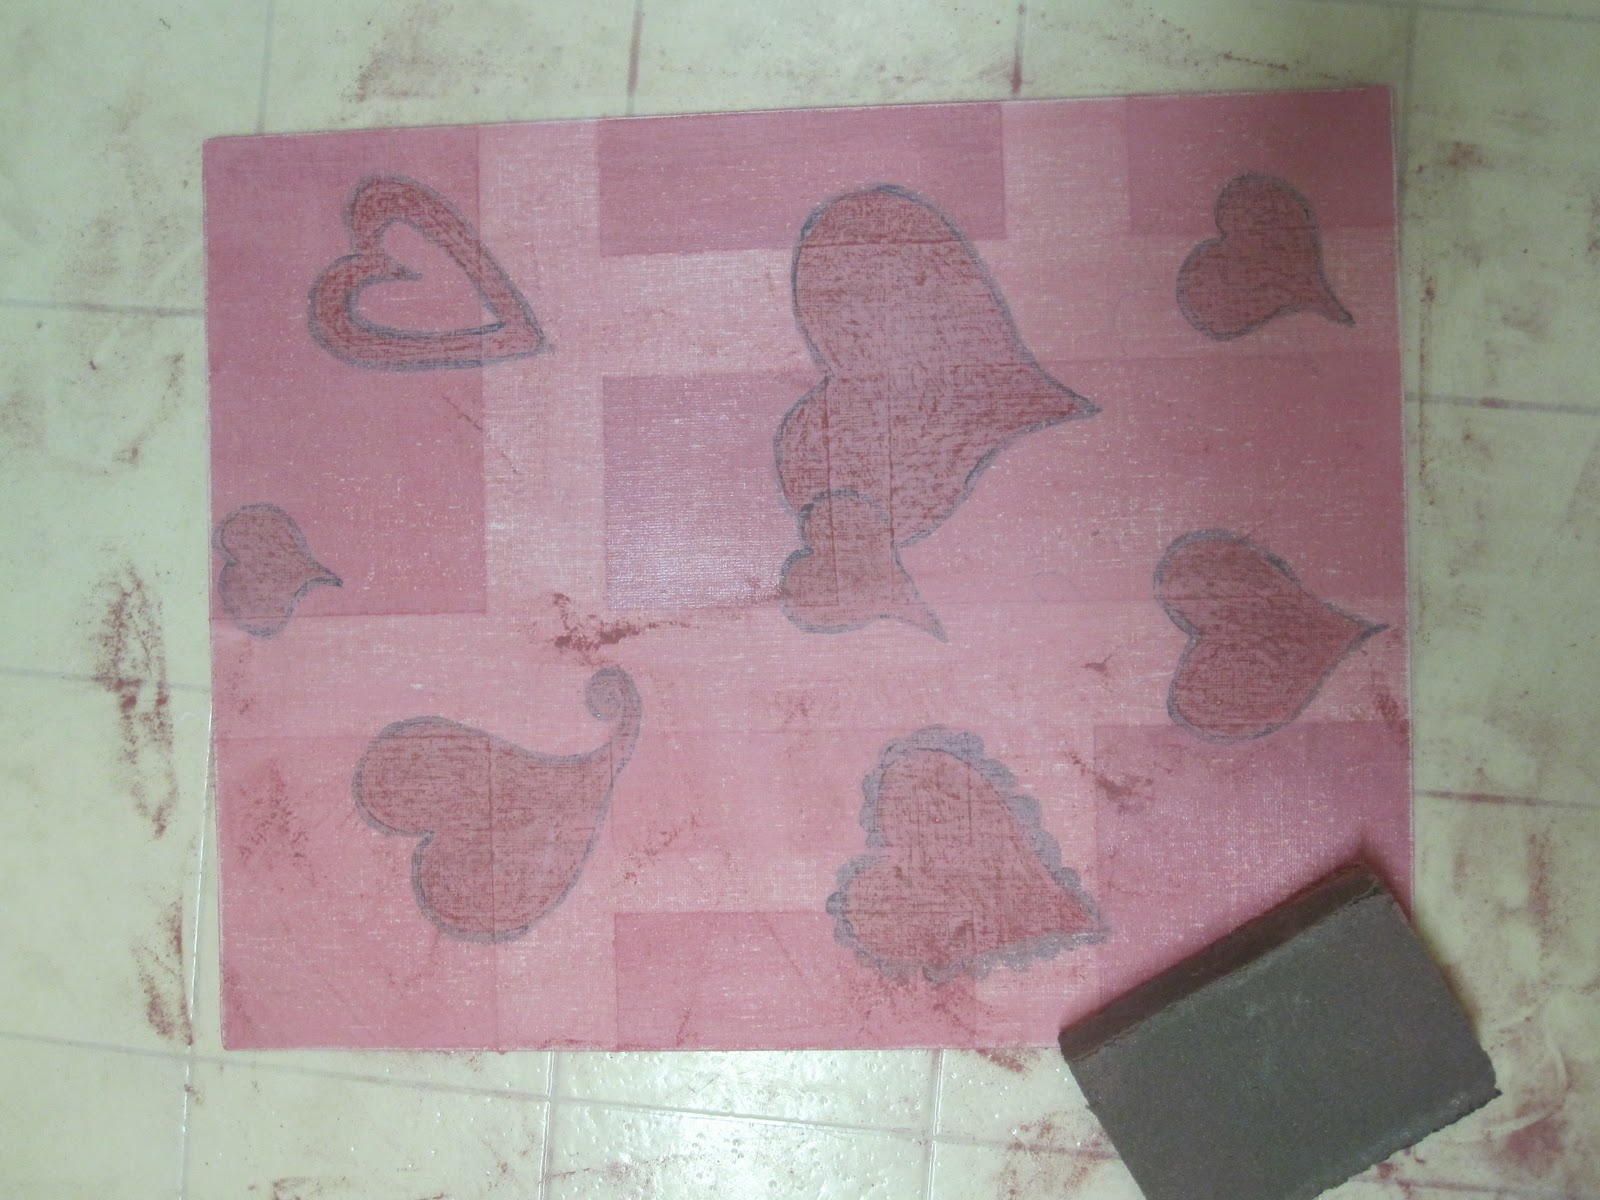
6. Once that layer is dry, take your overlay color, which can be the same as the base color, or a slightly darker/lighter version, and place in a plastic bowl. Add a very small amount of water and mix until your paint is watery and thin. Paint over top of everything. The Paint should be thin enough that you can still see whats underneath for the most part. Let Dry.


7. Once it is dried, sand that baby down. I like to sand in circles for some reason. Sand harder in some places than in others. I sand enough so that little grains of white show through from the original canvas. (the vintage feel, especially with cream colors) When you are done, take a damp cloth or paper towel and wipe off the excess dust.


8. Now you can carefully place your lettering. Since I am using vinyl, I remove the transfer tape and rub it down. If you are using a printer and paper, then use mod podge to stick it on. Mod podge dries clear, is fun to pull off your fingers and will work awesome, just make sure you use enough and that you evenly coat the whole project.


9. Now take your almost complete project outside and spray it with acrylic sealer, this will allow you to dust it off when it needs and help the letters from peeling. (You can skip this step if you are using mod podge, as mod podge acts like a sealer). Let dry at least 10 minutes without touching, you don’t want finger prints!
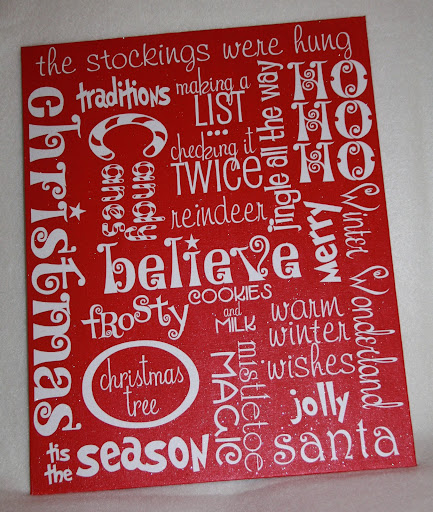
10. Place your finished piece of art in a nice open back frame and hang on your wall/ put on your shelf. Voila! Congrats! I bet it looks better than you thought it would! 🙂


PS — Here are couple of lucky winners {drawn via random.org}:
The winner of the Miss Ruby Sure “Maggie” Headband is:

#174 Becky


and —
The winner of the DownEast rugs {5 x 7 and 3 x 5} is:

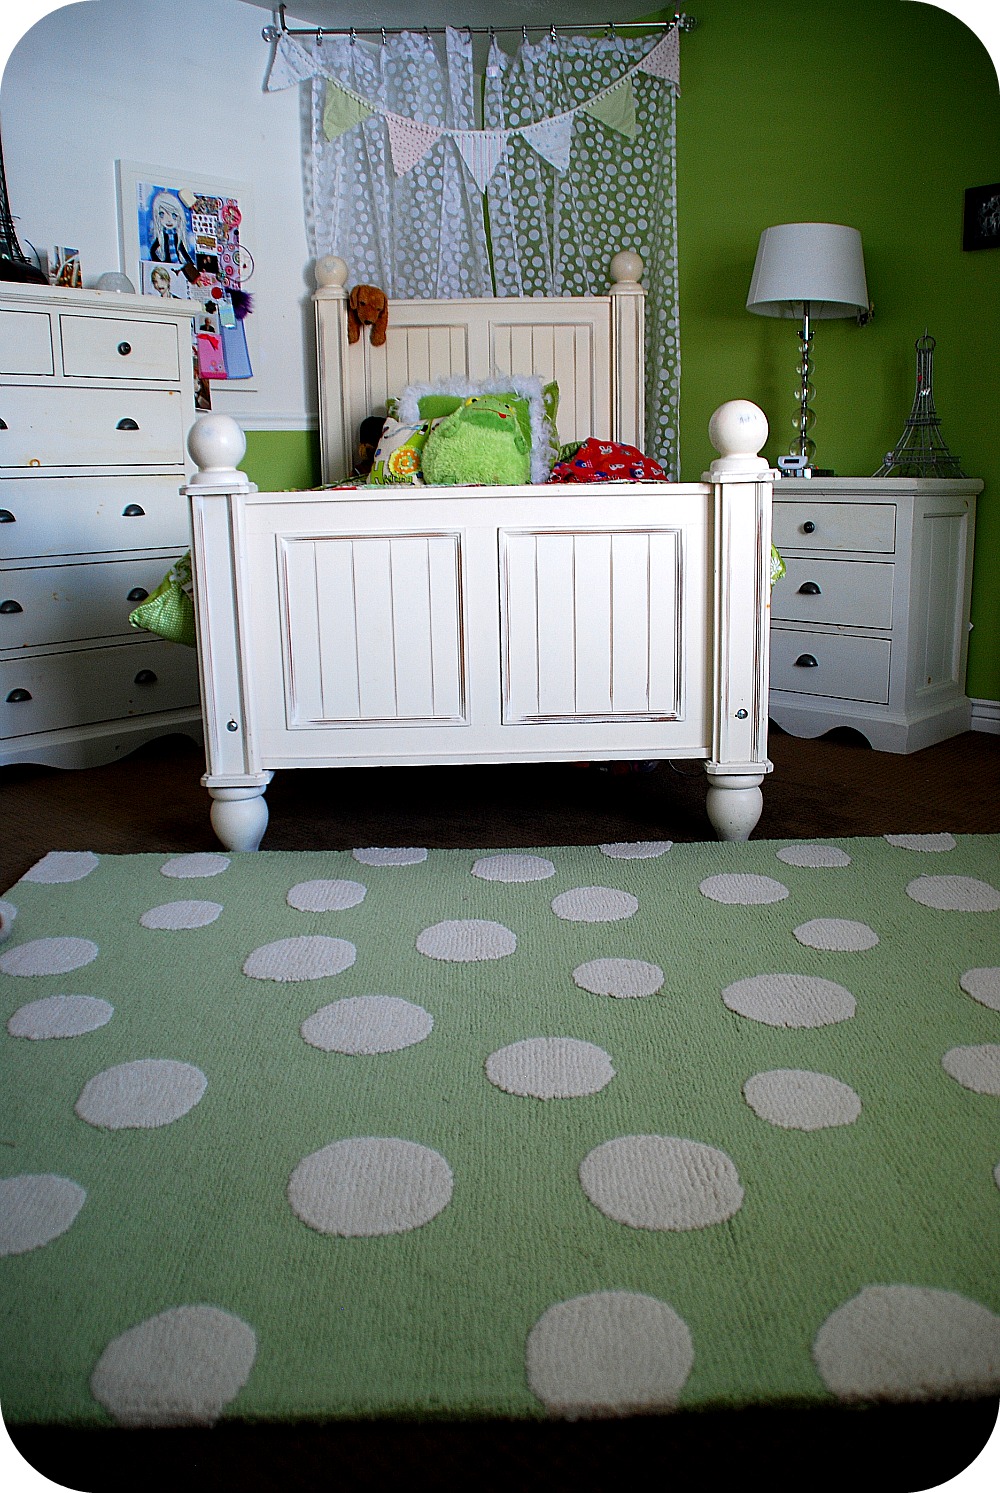
#98 — Ranae Broadhead
![[IMG_2786.JPG]](https://1.bp.blogspot.com/_c5PSQROR6Hg/TIpwVWQTtFI/AAAAAAAAA3k/9g7CGHBQzM8/S220/IMG_2786.JPG)

Remember — if you want some polka dot rugs of your own, bring in a copy of the Giveaway Post to your local DownEast store for an extra 25% off the discounted price!! This offer ends on Friday.
xoxo


If I am using a printer and paper, does it need to be printed on vellum? How does that work without the paper showing over the painted board? Such a cute idea!
If I am using a printer and paper, would I need to cut out each individual letter? Or does it need to be printed on vellum? Such a cute idea!
I love this- what a fun project, and I see all sorts of possibilities for decorating my kids' rooms! With their own creative input, of course…
Thanks for the tutorial!
Very cute! I love that background. Pretty awesome.
Fun Subway art!!! Congrats to the winners! 🙂
Wow, I have to say that this is the cutest subway art that I have seen so far!! Thank you so much for sharing!!
xoxo
Kelli @ loveoursimplelife.blogspot.com
Have been seeing a lot of subway art lately. But Jacinda's style is really original and dynamic! Have to admit, though, the tutorial had (un-crafty) me happy to just admire her wonderful finished work. Thank you for featuring her!
How cool is that?! Love it!
thanks everyone! If you all make one and have are questioning yourselves, send me a message! I would love to help! 🙂
I love the modge-podge sign!
I just showed this to my daughter. I don't know if our will turn out this pretty but it'll be fun to try it! 😉
what a great tutorial:) so fun-i will have to try this over the weekend! :)gina
http://www.hiyaluv.com
cute project and great tutorial – even I could do this! 🙂
When you painted over everything and sanded it down that took the project to another level to make it look original! Great idea!!!
wow! beautiful projects, and a great tute!
gail