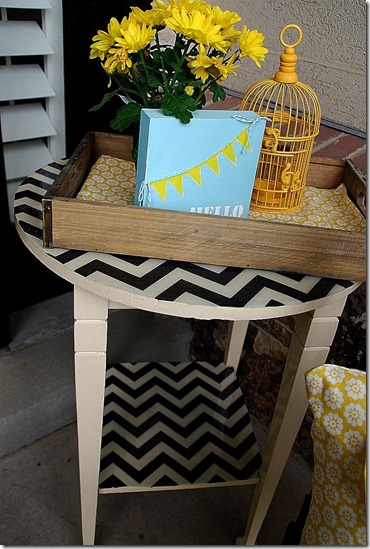
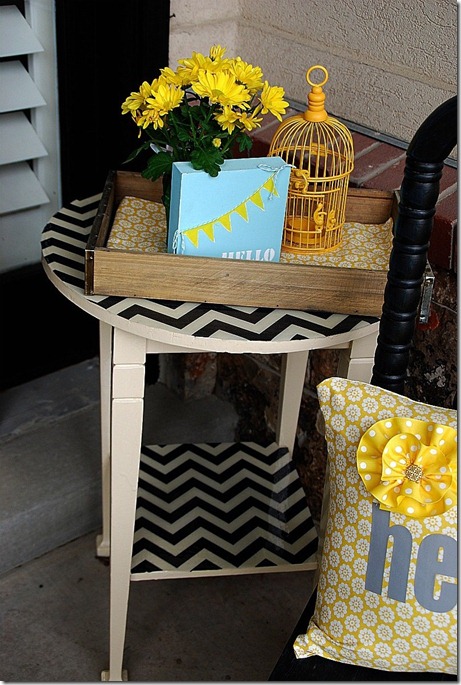
And you know me, I just had to add a little Chevron to the mix LOL!
-
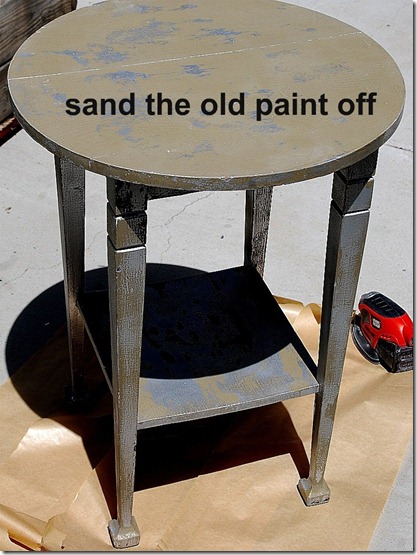
I sanded all of the peeling paint off with my trusty mouse sander. If you don’t have one of these, you need to get one PRONTO! Love it!
-
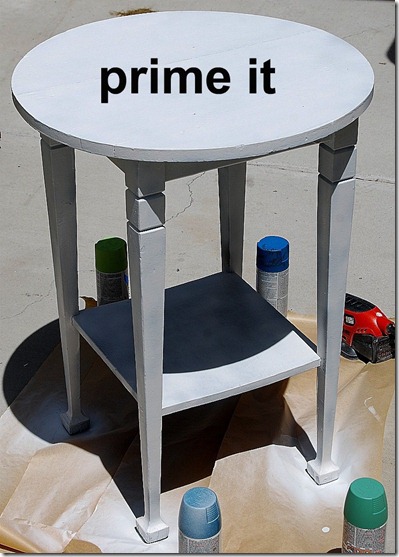
Then I primed the table with some spray paint primer.
-
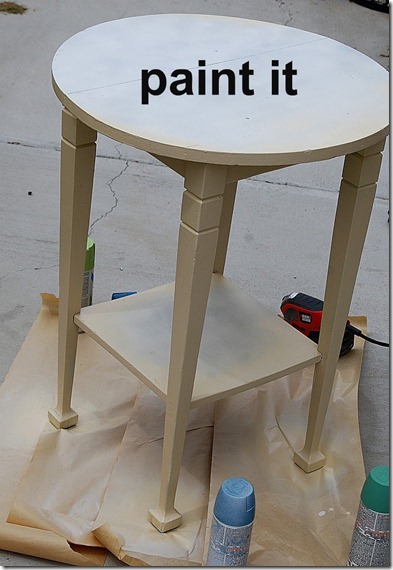
Then I sprayed the table with some off-white spray paint. Very neutral. {I didn’t paint the top of the table or shelf because I knew I was going to cover it with fabric}
-
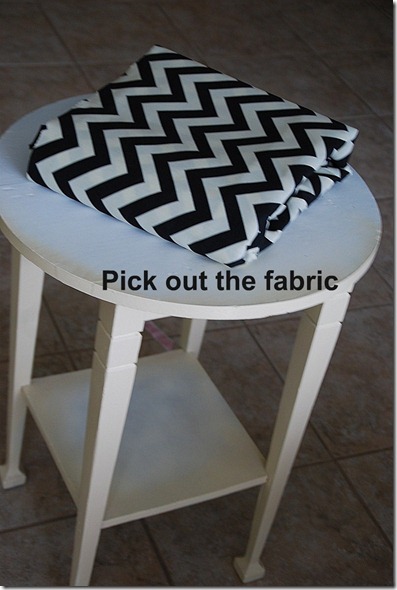
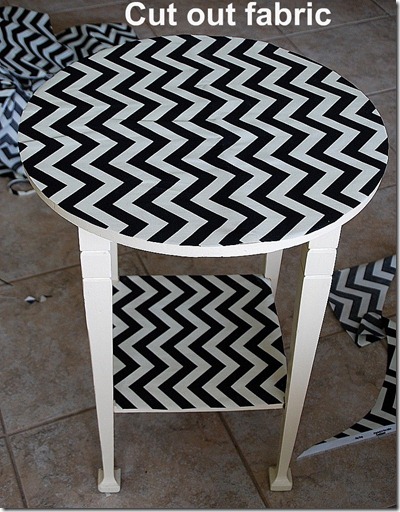
I decided to use black and white chevron fabric because it is neutral and goes great with my black front door. I cut out a square of material bigger than the top of the table and then cut around the top of the table so the material was pretty close to the same size as my table top. I did the same thing with the shelf too.
-
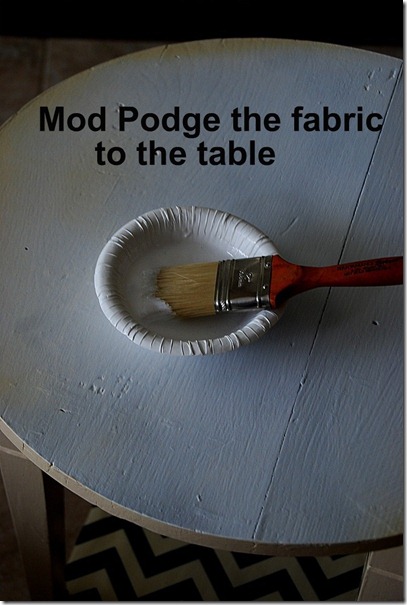
Now one thing I do know about resin is that if you are going to use fabric or paper with resin, you need to seal it first so the resin doesn’t sink into the fabric or paper and discolor it. So I took my Mod Podge and put a thick layer on the top of the table and shelf. Then I laid the fabric on top and smoothed out all of the air bubbles. And then I put TWO layers over the top of the fabric. And I let it dry overnight. Once it was dry, I trimmed the fabric a little more so it was exactly the same size as the table top.
-
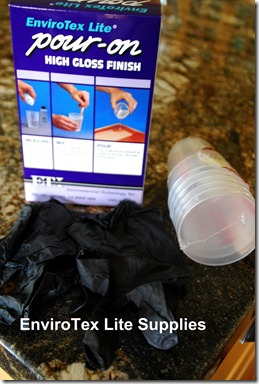
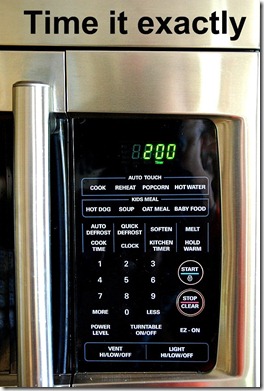
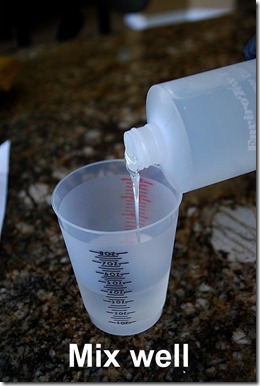
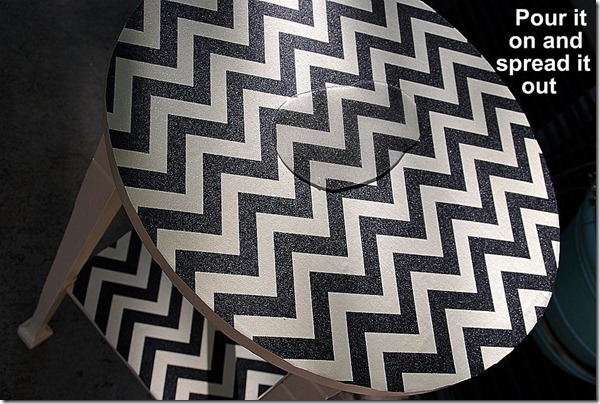
Now I was ready to get the resin out. I read the directions TWICE. One thing I had heard about this resin product was to measure PERFECTLY and time it PERFECTLY. So I did that. I also made sure to mix it thoroughly. So after 2 minutes exactly, I poured the resin on my tabletop and spread it out with a foam paintbrush.
-
I also spread the resin on the table legs to make the whole table waterproof – perfect for being outside on my porch all year!!
-
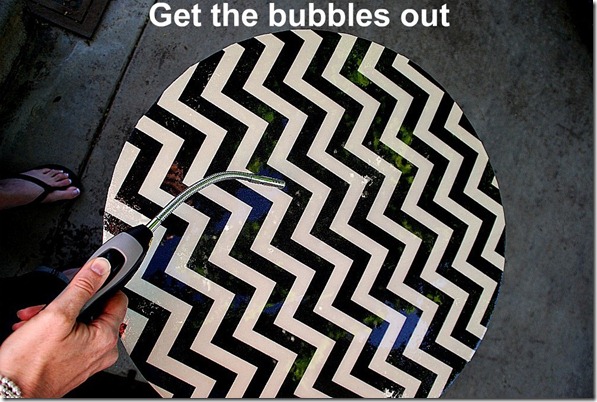
There were some bubbles, so I got out my little propane torch/lighter and ran it over the surface. It was amazing the way that propane gets the bubbles out. There were hundreds of tiny bubbles sticking to the fabric and the propane flame zapped them all up!
-
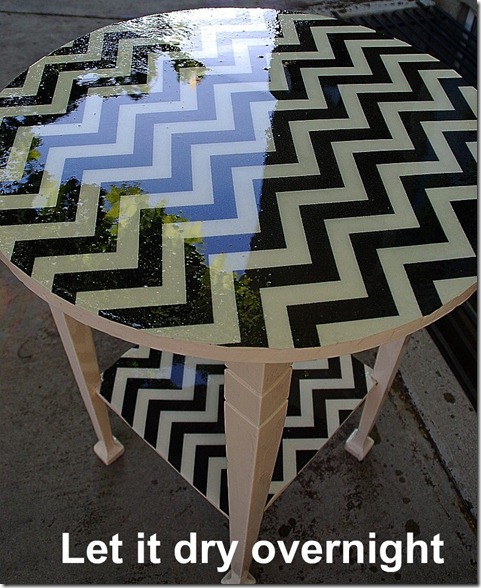
This EnviroTex material is so different from the resin I had tried in the past. It takes a while to set up. I let the table sit overnight and in the morning it was shiny and hard. So I did another layer of resin over the top and followed the steps just the same as I had with the first coat. And I let that dry overnight too.
-
I have to say that I truly do love this product. I have some left over and I am trying to decide what to make with it next. I think some pendants or jewelry are coming up soon!!
Disclosure:
ETI sent me this product to try out. You won’t believe all that you can do with this product. Envirotex Lite was created by Environmental Technologies Inc. (ETI), which is the home for many resin and mold making products.
The use of resin in jewelry making, mixed media and paper arts continues to grow in popularity. Today, artists are using ETI’s products in many crafty ways and they will be showcasing these works of art on their new blog “Resin Crafts.”
Check them out on:
Resin Crafts Blog
ETI on Facebook
ETI on Twitter
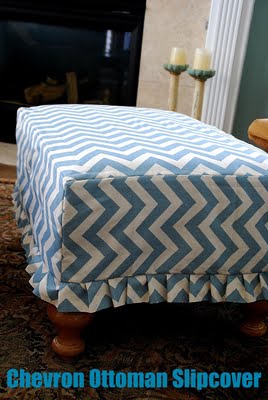
PS — I am guest posting over on the Beneath My Heart today — sharing my Ottoman Slipcover tutorial Do you know Traci?? If not, you are in for a treat!




How donyou keep the resin from running off the table?
I love this project I am petrified of resign though we did my husbands entire bar and it never set up huge disappointment! But I’m glad to know of this brand for future projects! As a side note im in love with that little yellow pillow that says hello on it! Did u make it or can u tell me where I can find one?!
is this a waterproof project ? can this be used for a highchair top ?
Thanks for a great tutorial! I have been searching online for hours before stumbling onto your site. “Everyone” told me I was nuts, there was NO way to use fabric as a counter top design. Ha! 🙂
Jen,
Hello my name is Josie and I was wondering if I could use this idea for a 4H project.
Thanks,
Josie
Josie,
Of course! You are welcome to adapt and try any of these project ideas. I’d love to see pictures of the finished project!
Hi, just a quick question, how much eti did you use? I have a table that is about 2x4ft and I don’t know if I should order more then eight oz? Please help! 🙂
For novice crafters, try the resin on a tray first, ie decoupage over paper, on a wooden tea tray. then you will have had some practice on a smaller project before you try a big table.
Jen, it’s a gorgeous result! Yes, how do you keep the resin from dripping down the edge?
I have to know, how did you keep all the resin on top of the table without it running over??
Omg that is exactly what I have been trying to figure out I have a table I’m waiting to complete
Am I wrong or are there still quite many bubbles left on top? Is it completely bubble free after drying?
I would like to know, too. It looks like there are a lot of bubbles, but I can’t tell for sure.
I know I’m super late to the party but I wanted to comment about resining a dining room table….the resin is GREAT for large surfaces, you just need to be sure and get the gallon kits and buy more than you think you will need. You want to FLOOD the surface. If you don’t have enough, and then you have to stop and mix up more, you can run into issues. I have resined entired kitchen countertops and have found that a light color underneath is best for large surfaces. Resin DOES scratch and a light color show much less wear. If you want, you can sand (with super fine automotive wet sandpaper) the resin and get a foggy ‘marble’ effect. It’s very cool!
Would this work for a kitchen table?
I have used Envirotex light for many, many years on my photo projects and I love it. However, I don't know if you know but it yellows badly when exposed to sunlight. Hope you're table doesn't get much sun.
Okay, I have read your tutorial at least five times….I think I am ready to mix and pour!!!! Why do I get so nervous before I try, were you nervous before pouring?!? The table is beautiful, thanks for inspiring me to try something new!!!!
Beth
Absolutely gorgeous!
There needs to be some kind of emoticon that represents shouting and excited arm-waving because that is how I feel about this table.
You aren't allowed to use chevron anymore. Hahaha! I'm kidding, you are so good with it. I love this project! It's gorgeous and could fit into any decor which is why I love it.
Oh so adorable, I love it! I just did my porch but now I want to re-do…. Summer is 3 months longs so I guess I still could!
love your blog!
Stacey @houseofchicandpenoche.blogspot.com
Hi Jen, I've used this product for jewelry before & I love it. After seeing these cute projects, I want to do more! Thanks for the inspiration!
Warmly, Michelle
Very cool!
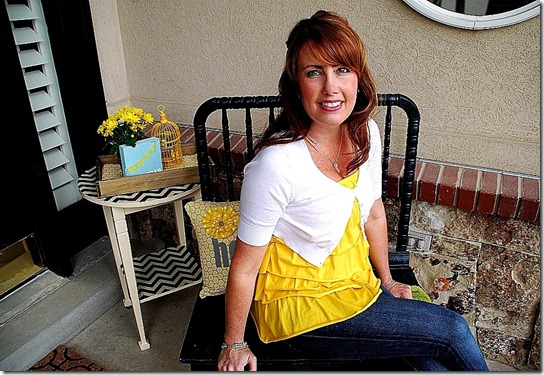
I also love your yellow top, so cute!
I love how this turned out! And the ETI gives it a polished look… that will last! 🙂
A resin table may be in my future…
Gorgeous Jen! Such a cute accent to your front door. You rock the chevron print like no one else!
Truly an adorable and creative DIY project. Job well done!
Jen-
I have some questions for you. I have found myself in a position where I need to go back to work. However, my main priority is something where I can be available for my children when they get out of school. I have a passion for anything creative, especially refurbishing furniture, home decorating or party planning. Any suggestions for how to make a blog "profitable?" I thought it would be a great jumping point for selling furniture and showing parties.
Thanks in advance for any help and advice you can give.
Sincerely-
Heidi
I wonder if this is something I could try on my dining room table. When I purchased it I thought it was cherry but turned out to be pine. My kids have destroyed it and I want to refinish it but havent because it would just get destroyed again. I wonder if the resin would keep that from happening, hmmm????
I LOVE this! Thanks for the inspiration!
That table is amazing, and so is the whole porch look. You are amazing and so is that darling chevron ottoman. Love your pic. of you too. winks-jen
I love that you try so many different things! Great post. I was also excited to see my son's clothing showcased in one of your sponers ads for cafe press. So exciting!
Wow! Your table looks amazing! I've picked up resin a few times at the craft store and put it back on the shelf. I really need to try some. Thanks for sharing and for linking up the other inspirational projects.
I need to get some of that. What a GREAT project. Thank you for sharing.
That table looks awesome! I have a few things that could use some resin:) I'm headed over to check out your SUPER cute ottoman right now! Have a great week Jen!
I haven't heard of the resin before but think it's just the solution I need.
My patio table with shatterproof glass broke into a million pieces during recent storms. Thinking I could cut a piece of plywood to fit it and then cover with modpodge, apply fabric and then the resin. Do you think that would work to make it waterproof? How big of an area does one box do? My table is big as sits six chairs around it. Not willing to scrap the table and was sure I could find a way to make it useable again in blog land 🙂
I was going to do a table and totally chickened out. Yours looks amazing! Maybe I will brave the table now that I have practiced a bit.
Wow…I have the perfect table for that…i am a little scared but you make it look so easy I may have to try it anyway…:) So many cute projects too!!
Wow! I have never even heard of resin! Am I totally out of it?! That table looks adorable. Love the chevron. 🙂
BTW, thanks for being my guest today.
xoxo
Traci
Your table is fabulous and you were so brave to try such a big project! I found this so easy to work with and can't wait to play with it some more!
that's quite a project (lots of steps and patience required it lookd like ;)… )but the final product is SO great!
your perseverance paid off – well done!
and, may i add that you look completely adorable posing by your table as well.
cheers!
-h
Jen, it turned out fantastic! 🙂 Your amazing!
That is so amazing, Jen! Great job! I will have to give this stuff a try!
Jen, your table looks fabulous!! (And you look so cute posing next to it) 🙂 I initially felt the same way about the resin…I was scared to use it! So excited to see all the links together—I still have some resin left, and I want to try some more projects. 🙂
So many great tips in this post, Jen ~ I love the way the table turned out! Thanks for the inspiration. 🙂
Heidi @ Show Some Decor
Good gravy! That table looks like a million bucks! So shiny and smooth, if I didn't know better I would think it was a glass top. Well done!
Wow! the table is fabulous now. They way I always remove air bubbles is with a heat gun. Works every time. Thanks for the inspiration:)
beautiful,, you're so crafty creative,,
This looks wonderful. I am wondering what I could try it on. Your table looks fantastic.
Ruth
Jen,
Please please please email me where you got the chevon fabric from. And please say somewhere online:)
Wow! The table turned out so great! I love that you added yellow accents too =) I have been so scared to try a DIY project, but I guess it doesn't hurt to try!!
This is fantastic, Jen!!! I've wanted to try resin, too, for the longest time. So, you have inspired me as we have the perfect little rectangular table I've been trying to think of what to do with.
Thanks!!!
xo Tara