Welcome to the Summer of Paper series – where we’ve invited fabulous guests to create projects using supplies from my Home + Made paper decor line.
Hello TT&J readers!
I’m thrilled to be here today sharing a quick + easy DIY project featuring some of Jen’s wonderful paper/craft products.
I’m Andrea, an indie biz owner {Knitty Bitties} … sewing her heart out, drinking iced tea and doing her best to live with joy in the everyday!
You can read more about my everyday adventures in life + sewing on my blog, Knitty Bitties.

Do you know how inspiring it is to have a box full of creativity show up on your door step?!
I love the colors in this line … a perfect blend of brights with neutrals.
It was hard to not be overwhelmed with ideas!
In fact, I had to take a deep breath and think about creating something true to my style. Long before I started sewing, I was an avid paper crafter and I’ve always been drawn to projects that are simple and feature a lot of ‘white space’ for the eye to rest and take in the little details.
We are currently expecting our second child {a most wonderful surprise after 10+ years of waiting} and we just found out the gender … another BOY!!
So as my mind is swirling with all things nursery planning + preparation, I thought it would be fun to create a simple instagram display for the nursery that would allow me to switch out the instagram photo as this little one grows and changes.
I love polka dots so I was drawn to the heavy weight double-sided paper featuring white polka dots on a gray {one of the nursery colors} background. Then I just grabbed a few other products that caught my eye and threw in a few fabric scraps in the nursery colors.
Supplies needed::
- 8×10 Frame
- 8.5×11 Sheet of Cardstock
- Fabric Scraps
- Instagram Photo
- Silhouette / Die Cutter
- Sewing Machine
From Jen Hadfield Home+Made::
- Patterned Paper (Spring Meadow from Cottage Living )
- Gold Metal Clip
- Gold Dot Garland
Step 1.
Cut your patterned paper to 8×10.
Cut out single word {Smile, Happy, Love} on preferred cutting tool {I used my Silhouette SD}.
Step 2.
Place cut patterned paper on piece of cardstock and trace the letters onto the cardstock to guide your fabric placement.
Glue fabric scraps to each letter, checking that they don’t overlap and they line up with your word.
Step 3.
Glue cut patterned paper onto piece on cardstock.
Using a sewing machine, add decorative stitching around your word for a little extra detail.
Step 4.
Add a length of gold dot garland giving a little more interest and providing a place to secure the gold clip.
Tape ends of garland to back of the cardstock.
Add gold clip and a favorite instagram photo.
Step 5.
Remove glass and backing from frame. Set glass aside for another project.
Place project into frame and display on a shelf or hang on the wall.
A simple and easy project that you can do-yourself in less than an hour.
I love that focus is on the memory you’re featuring!
Thank you so much for inviting me to share with you today.
**********
Thanks Andrea! I love Instagram and I love this idea too! Such a fun way to display your photos!
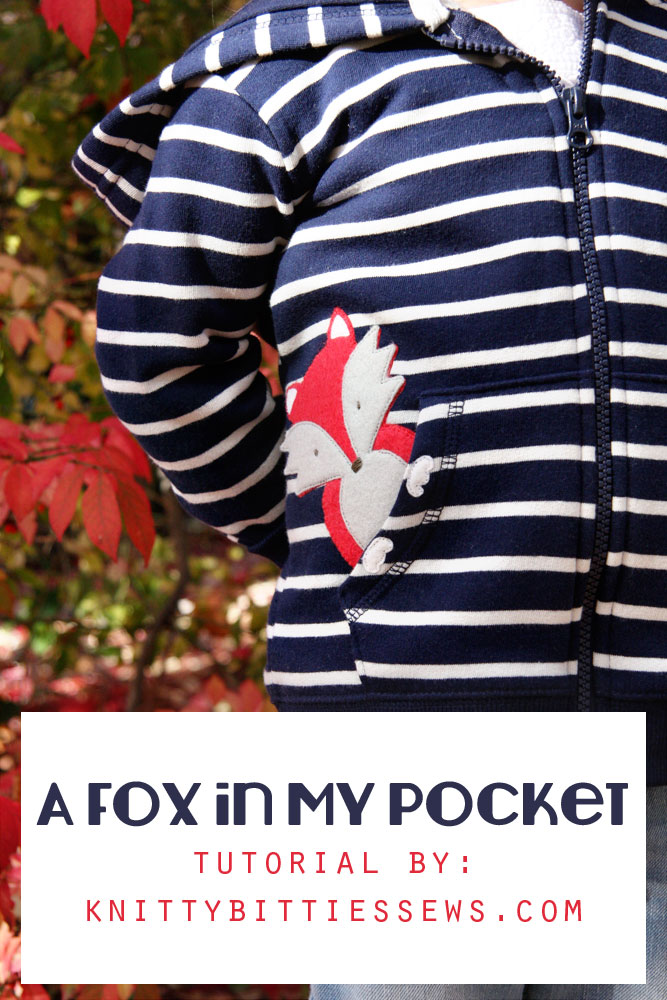
I love this cute Fox in My Pocket Tutorial!
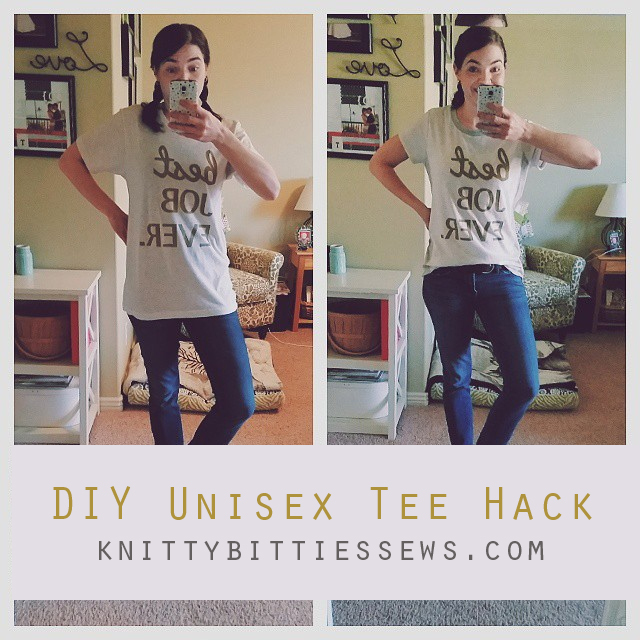
And I’m amazed how she turned this Unisex tee into something more fashionable!
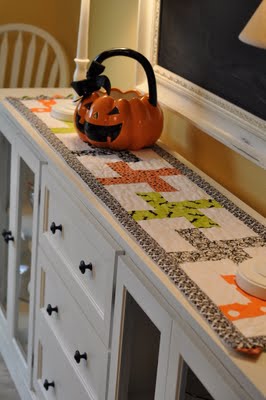
And she has this super cute Halloween Table Runner too!


Ahhh very nice! Expecting for a new baby is such an exciting time! Thank you for sharing your ideas — love it!