Independence Day is over … but there’s plenty of summer left! Enjoy this summer flag!
Today I’m sharing a fun way to use the same flag stand from the Independence Day Flag project – and turn it into a fun summer flag for your home decor – complete with free printable thanks to the talented Amelia Smith from Brightsides Designs ! (You can get the wood kits from my friends at Wood Connection if you don’t want to make your own.) I’ll be sharing even more flag styles and printables in weeks to come!
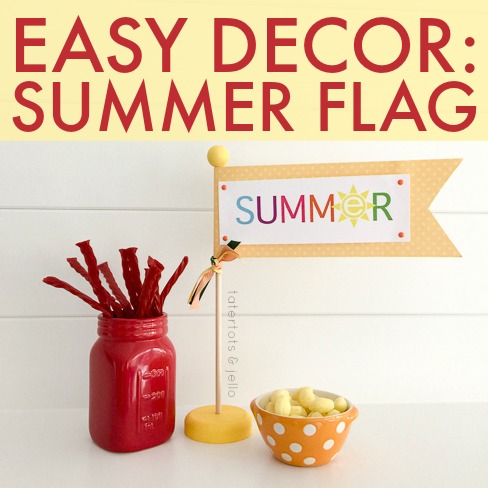
They’re super easy to make – you can make them yourself, but it’s easier and inexpensive to pick up the wooden flag set from my friends at Wood Connection — the set includes 4 bases, 4 flagpoles and 4 toppers, all for less than $8. (I’ll be sharing more flag designs in the coming weeks!)
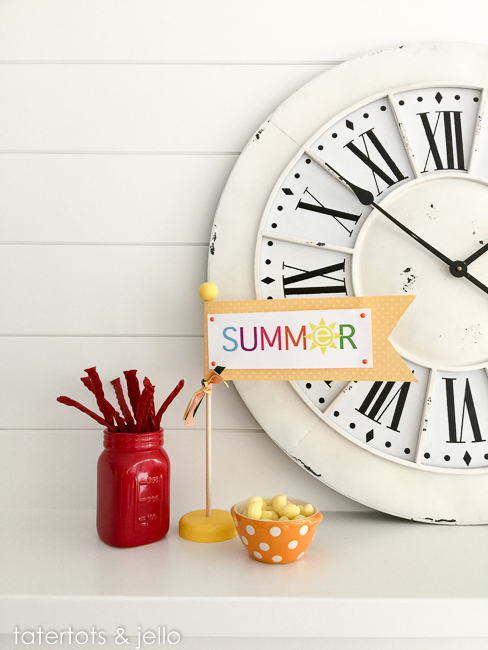
This is a fun and easy project, and perfect to share with neighbors and friends! I’ll share the free printable from Brightsides Designs below – and here’s how to make it:
If you’re making this yourself, you’ll need a wood base (you can use a small piece of 2×4 with a hole drilled to accommodate the dowel), a short length of dowel (about 12 – 18 inches) and a small wooden ball. You’ll also need fabric or paper.
(It’s easy and affordable to pick up the kit from Wood Connection, and you can use the four-flag kit to share with friends, neighbors and family – or keep them for yourself: I’ll be sharing more flags in the coming weeks.)
Paint the wooden ball, dowel and base the desired colors. If adding glitter, add it when the paint is wet. Spray with clear acrylic spray to secure the glitter. Let dry while you are making the flag.
Then, you can make the flag.
-Print the printable (there are four on a sheet. Consider making one for a friend and sharing some happiness.)
-Cut out the printable
-Cut fabric (or heavy paper) 4” by 14”
-Fold the fabric and cut the end to look like a pennant – like this: <
-Sew or glue the printable onto the fabric (Tip: use double stick tape on the back of the happy sign as sew at first to hold it in -place. Remove the tape after you have sewed one side of the paper down.)
-Spray fabric stiffener on the BACK OF THE FABRIC FLAG and let dry according to the instructions. (Note: I did this twice)
Roll the left end of fabric on to the dowel and secure with glue from a glue gun.
You can also use your glue gun to secure the wood ball on top of the post.
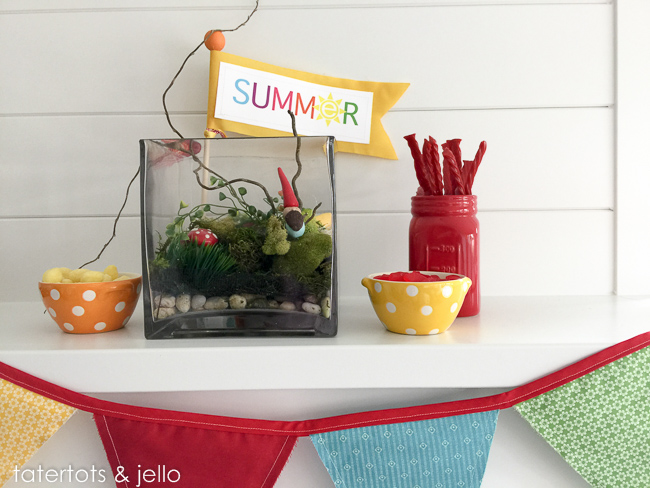
Find a fun place to put your flag. (I love the terrarium from Lisa @Leafdesigns (Check her out on Instagram!).)
And here’s the free printable, courtesy of …
Hello! I’m Amelia Smith. I’m thrilled to be featured here on Tatertots & Jello!
As a lifestyle blogger, graphic artist, and mother to four young children, I love to dabble in everything art + home.
My Etsy shop Brightsides Designs is all about making fresh, simple, personalized designs for all your favorite places & spaces.

Here’s the free printable! Just right-click this link or the image below and choose “save as” to download the PDF. As always, it’s for personal use only.
Happy Summer!
xoxo

(PS: I receive no financial remuneration from anyone mentioned in this post – they’re just awesome to help make this project easy, cool and inexpensive!)





Decorating your home with summer flag has become a new trend now.Summer flags are available in various forms and in many colors.
So cute! I love the bright colors!