DIY Wood Snowflake Art. Turn simple wood dowels and plain canvases into beautiful Winter snowflake art.
DIY Wood Snowflake Art
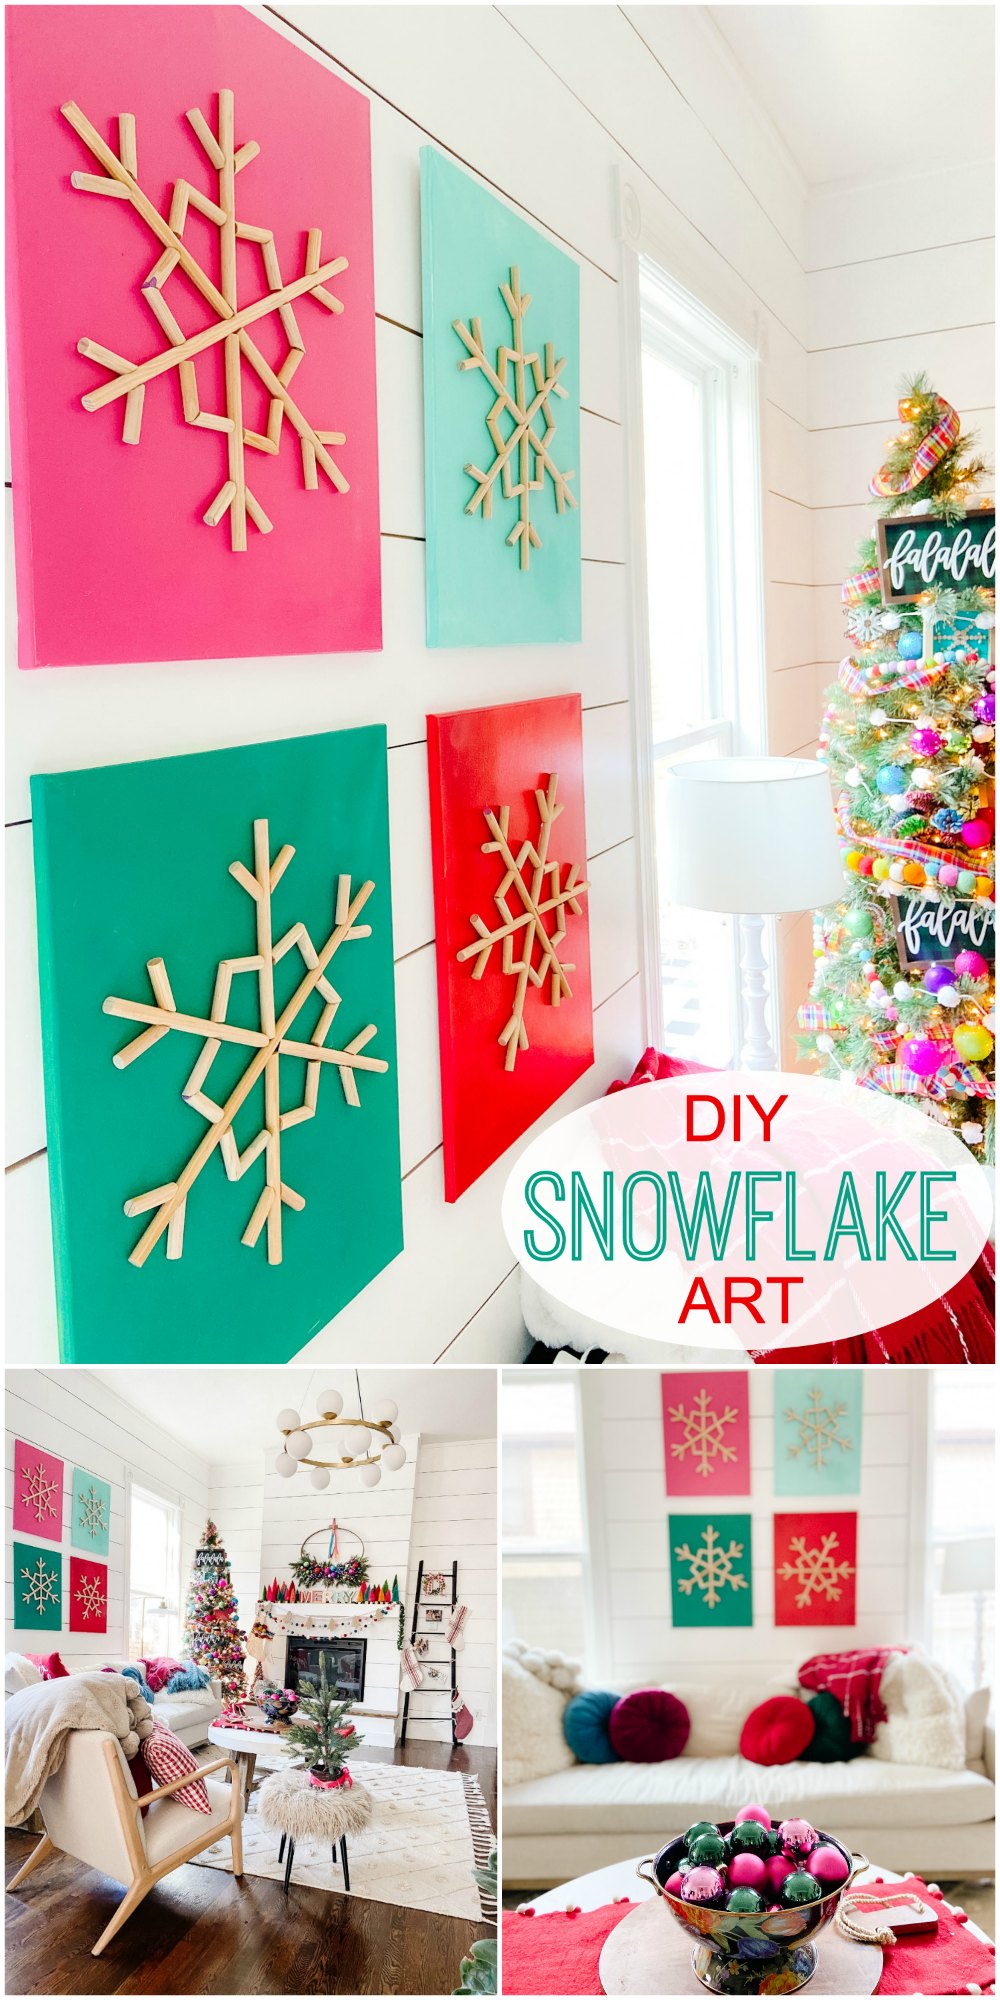
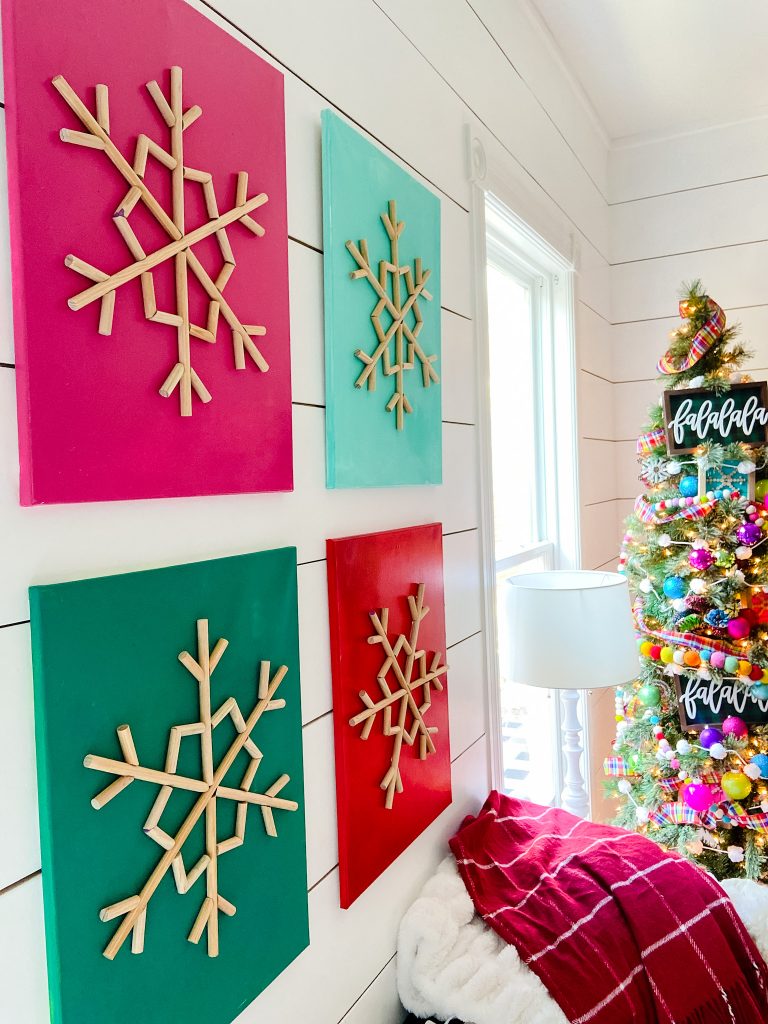
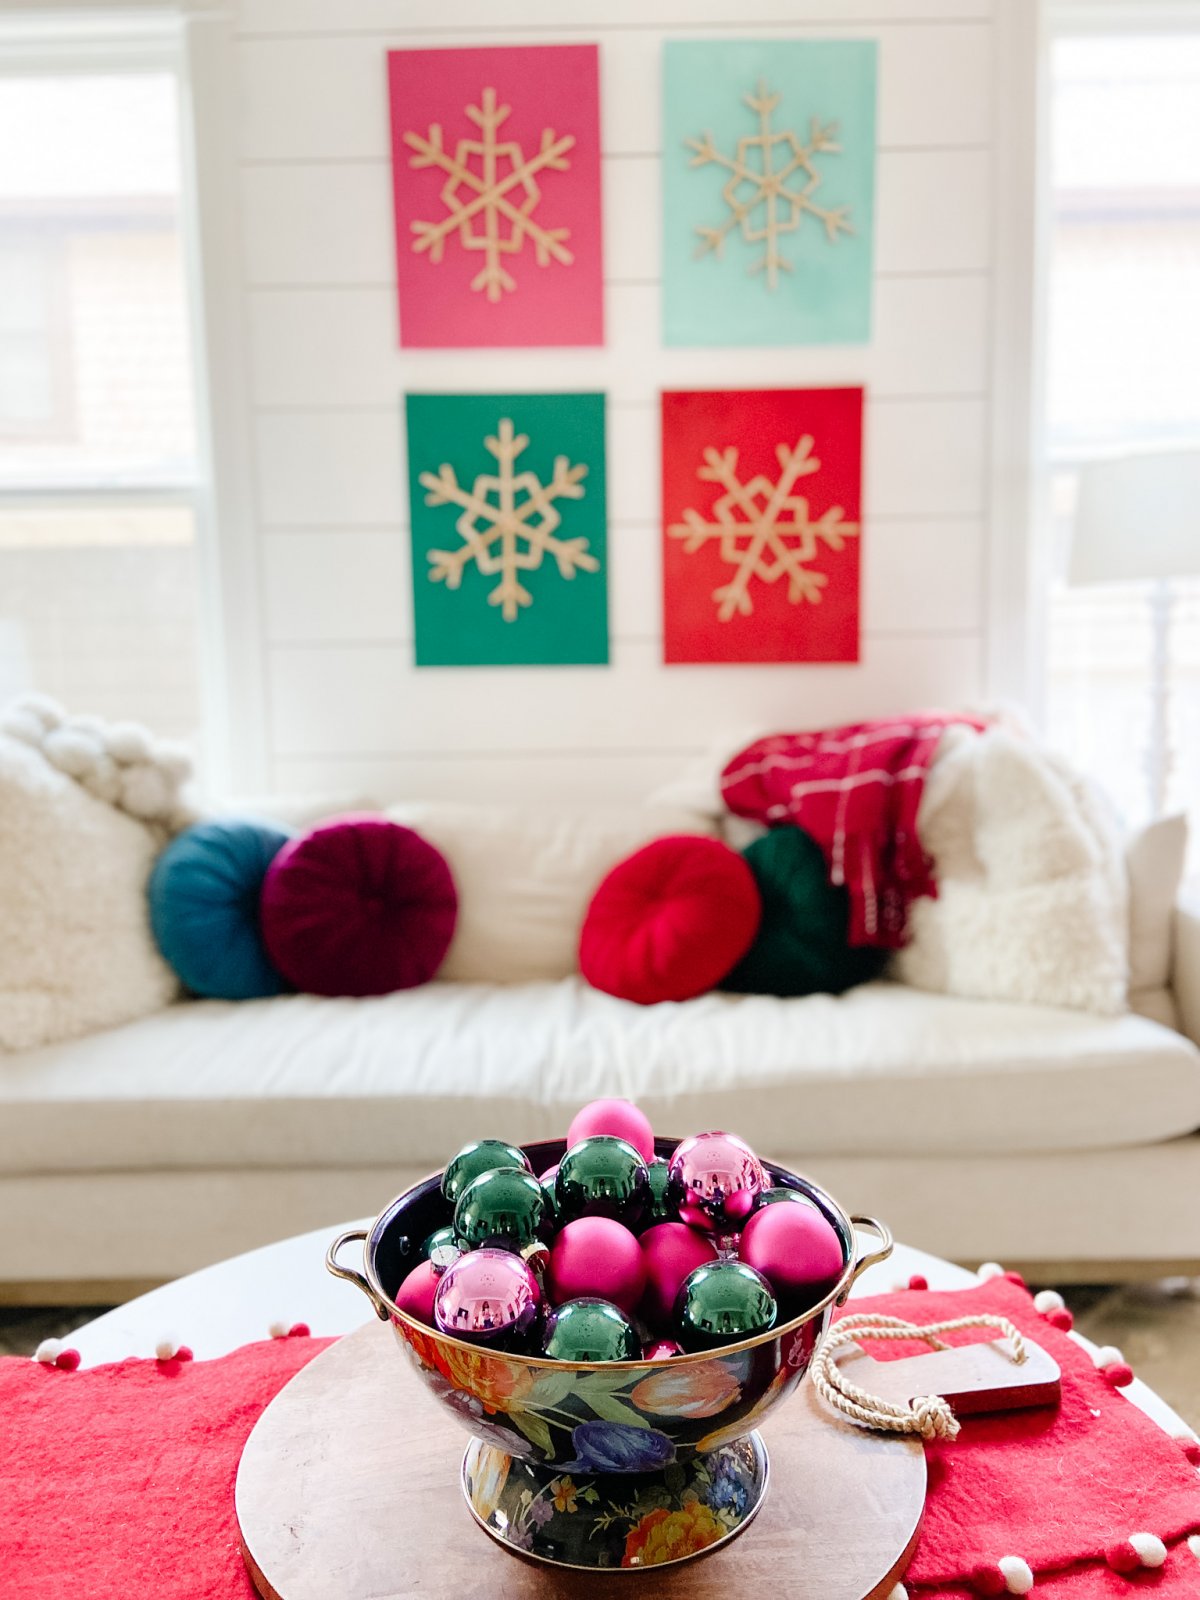
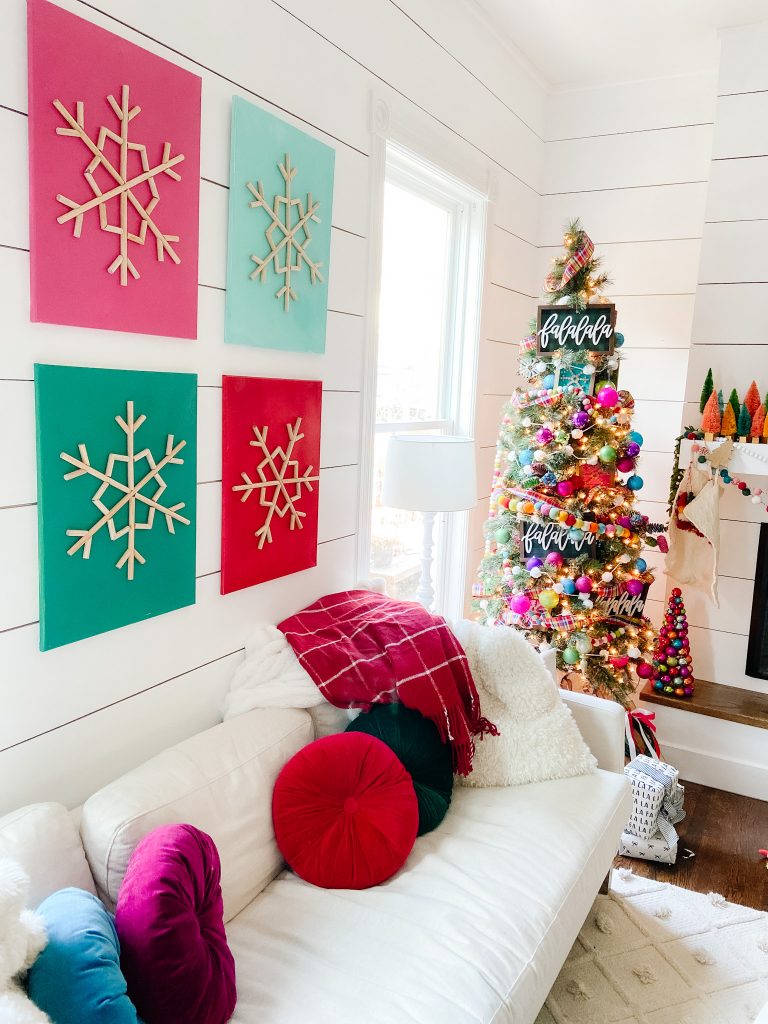
Add Scandinavian charm to your home by creating giant snowflake art canvases. Create one or a series. I created four and hung them in a square above our sofa.
Create Snowflake Art to Match Your Home

I created bright and colorful art to match our holiday tree this year. I used shades of pink, green, blue and red. But the beauty of this idea is you can make the snowflake art any color you want.
Scandinavian Simple Art
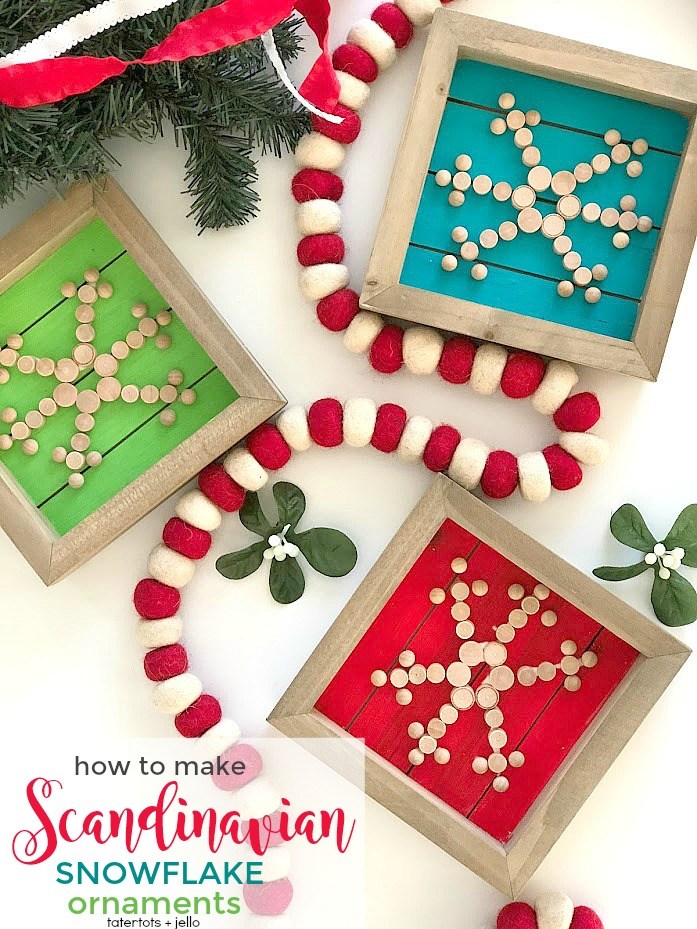
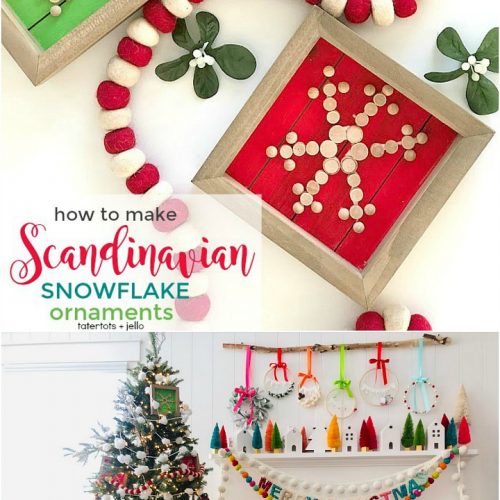
Scandinavian style is simple with clean lines. I created some Scandinavian Snowflake Ornaments a couple of years ago and they were one of my favorite crafts I have ever made. So this year I thought it would be fun to create art for our home that mirrored those ornaments, but on a larger scale.
Copycat Pottery Barn Snowflake Art
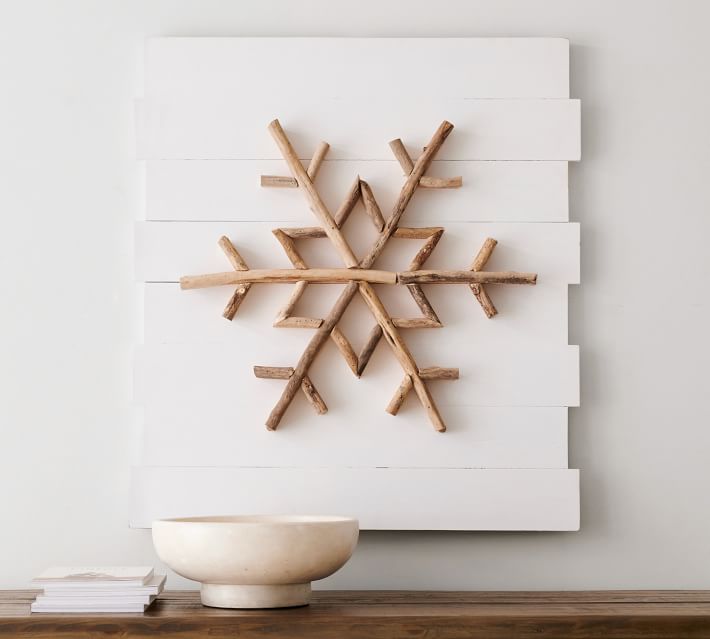
Pottery Barn sells snowflake art that I thought was perfect. However, the $349 price tag was too high for me. Plus I wanted to create a more colorful project. So I took the Pottery Barn idea and created an easy way to recreate it for a fraction of the price.
How to Make Scandinavian Snowflake Art
Here’s the tutorial. There is some cutting involved. We used a compound miter saw. If you don’t have access to a miter saw you can make the edges of the dowels straight, the joints will just have a gap.
Materials Needed to Make Scandinavian Snowflake Art
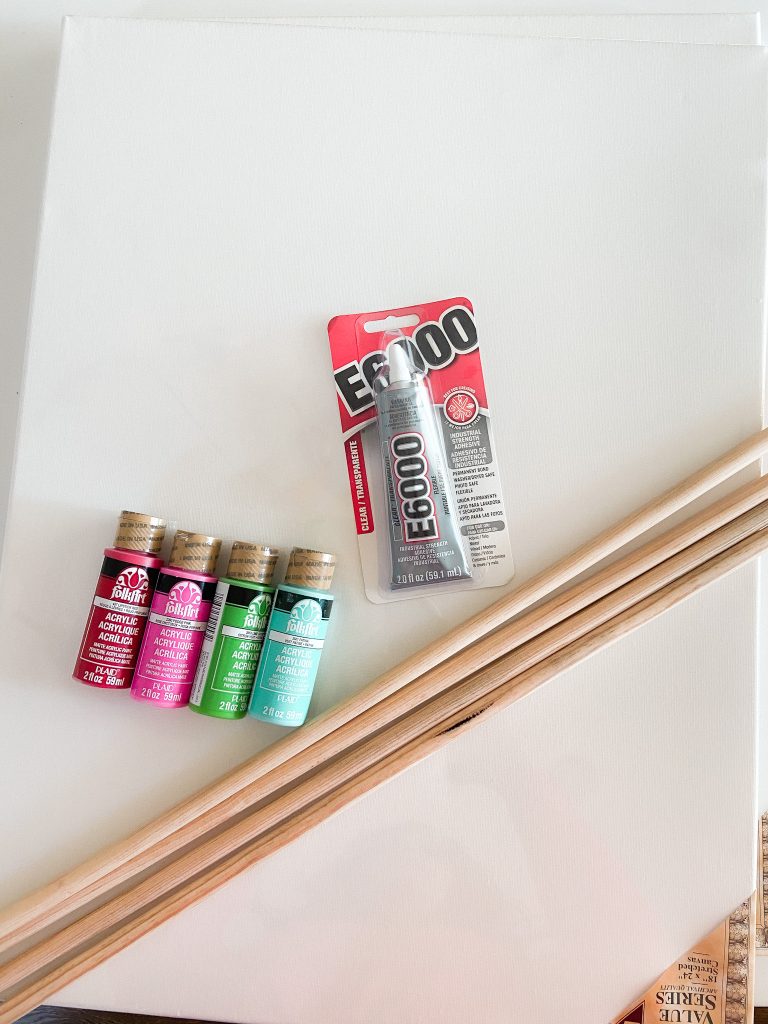
These measurements are for ONE canvas
- Dowels (4 — 36″ length 1/2 inch circumference)
- Canvases
- Paint
- Hot Glue
- Miter Saw
Directions to Make Scandinavian Snowflake Art
Paint the Canvas
Paint the canvas the color you want for the background.
Make Dowel CUTS —
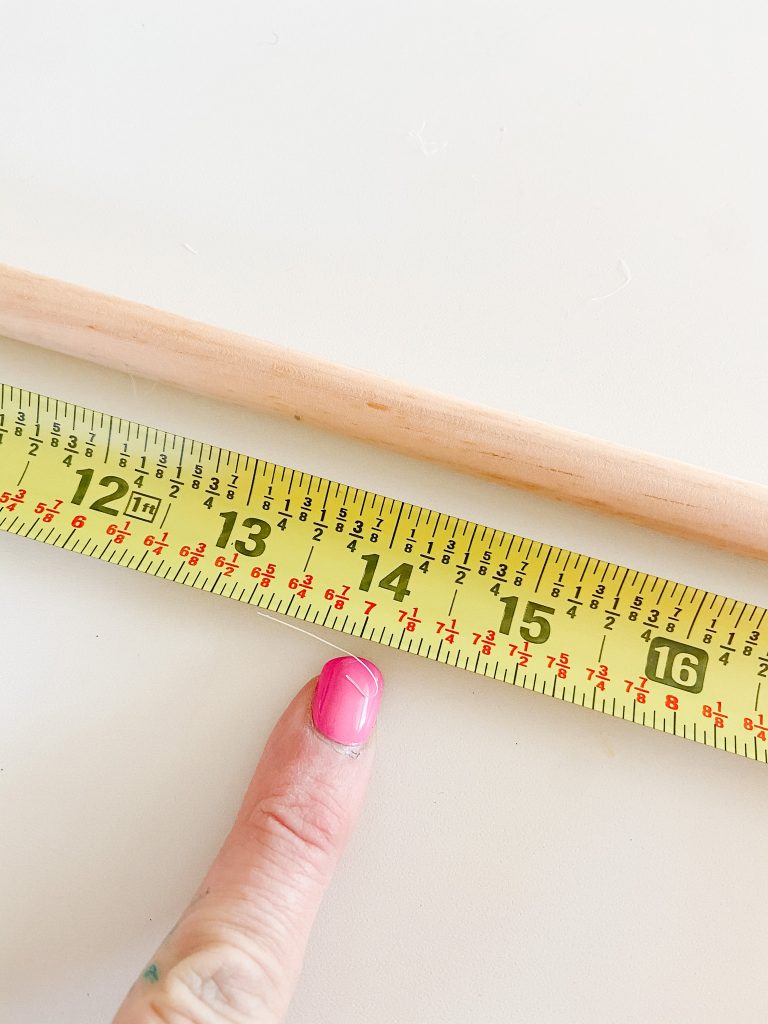
- 1.- 16.5 inches (both ends are straight edges)
- 4 – 8 inches (1 straight edge, 1 mitered 45-degrees edge)
- 24 – 2 inches (1 straight edge, 1 mitered 45-degrees edge)
Cutting NOTES — cutting the mitered edges is a little tricky. Cut the longest length (8 inches) first. Then cut the 7-inch dowels. Make the straight edges. Take one of the ends and make the 45-degrees cut, Then cut the 2 inch pieces. Start with a long length of dowel. Start with the mitered edge as the first cut. Then alternate cutting one straight edge, one mitered edge as you cut the length of the dowel. DO NOT cut too close to the blade. This is very dangerous. You need more dowel than you will use for the project because you can’t cut the whole length of the dowel because it is too dangerous. Cut the length of dowel down until you have about 6 inches left, then start with a new dowel.
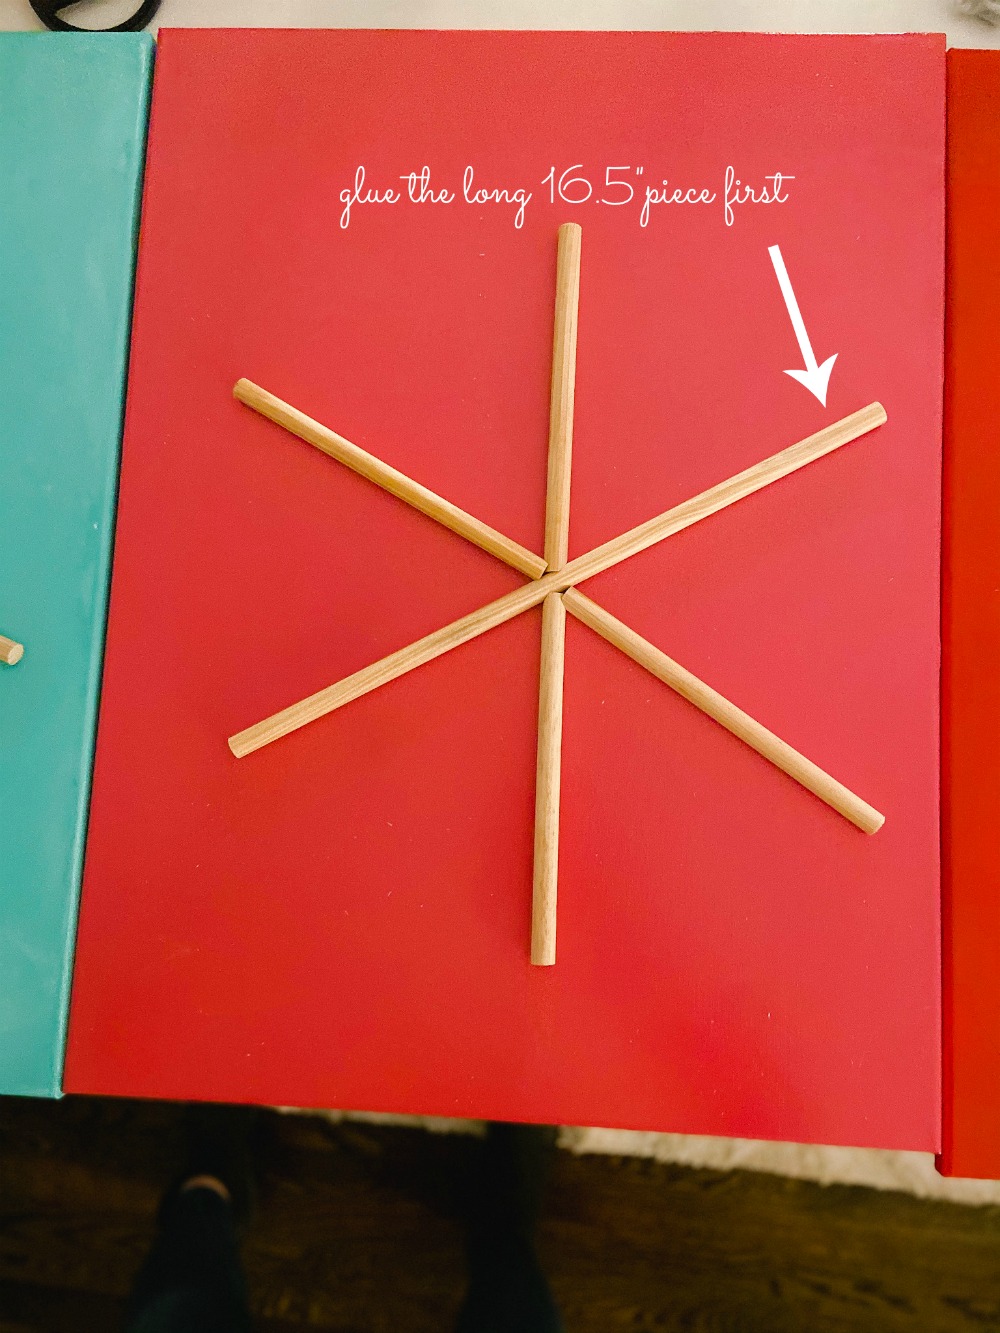
Glue the Dowels
Glue the Longest Dowel

Now it’s time to glue the dowels onto the canvas. Start with the longest length of dowel (8-inch). Place it on the canvas at an angle or straight up and down on the canvas. You can use hot glue or E6000.
Glue Two 2-inch Dowels
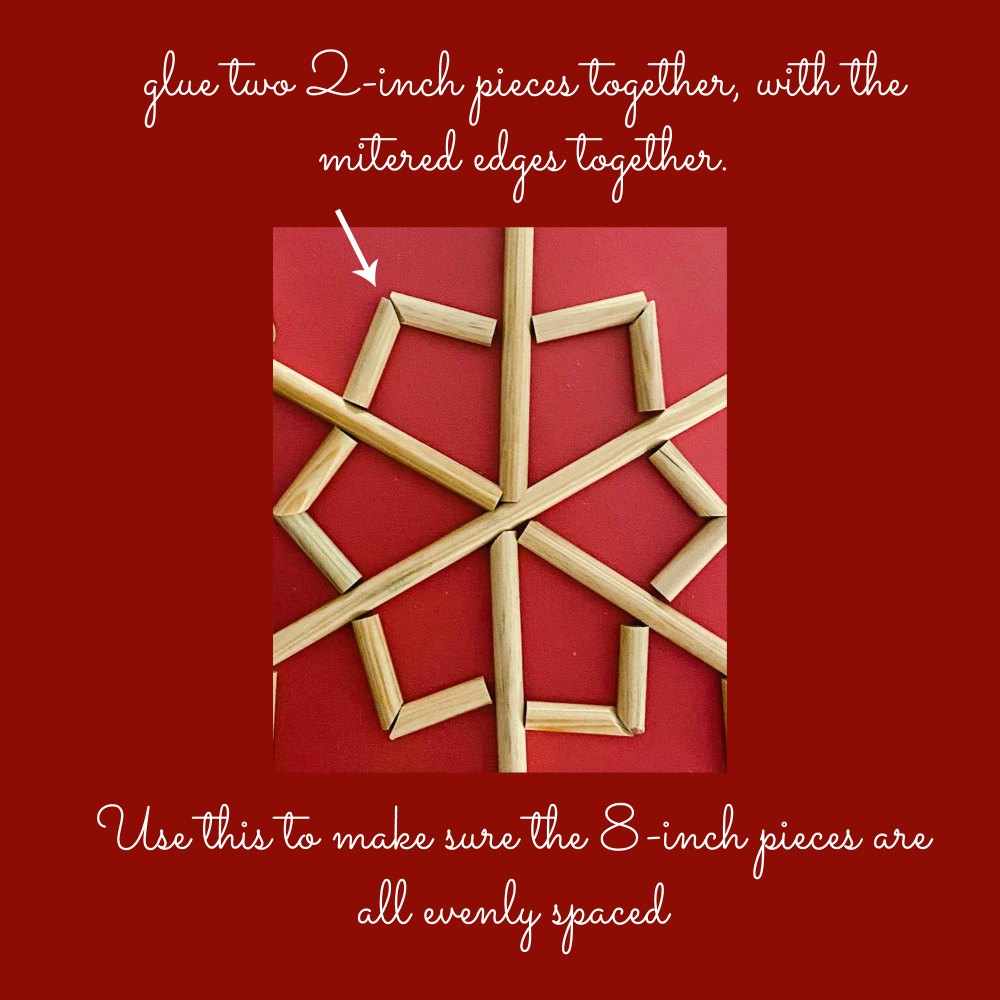
Now glue two of the two inch dowels together, with the mitered edge s together forming an 90-degree angle. You will use those to determine the angles on the canvas.
Glue the Four 7-Inch Dowels
Use the 2-inch dowel pair you just glued to make sure the angles between each of the larger pieces are even. Once you are sure of the placement, glue those dowels down. Now you will have the main part of the snowflake.
Glue the Remaining Five pairs of Dowels
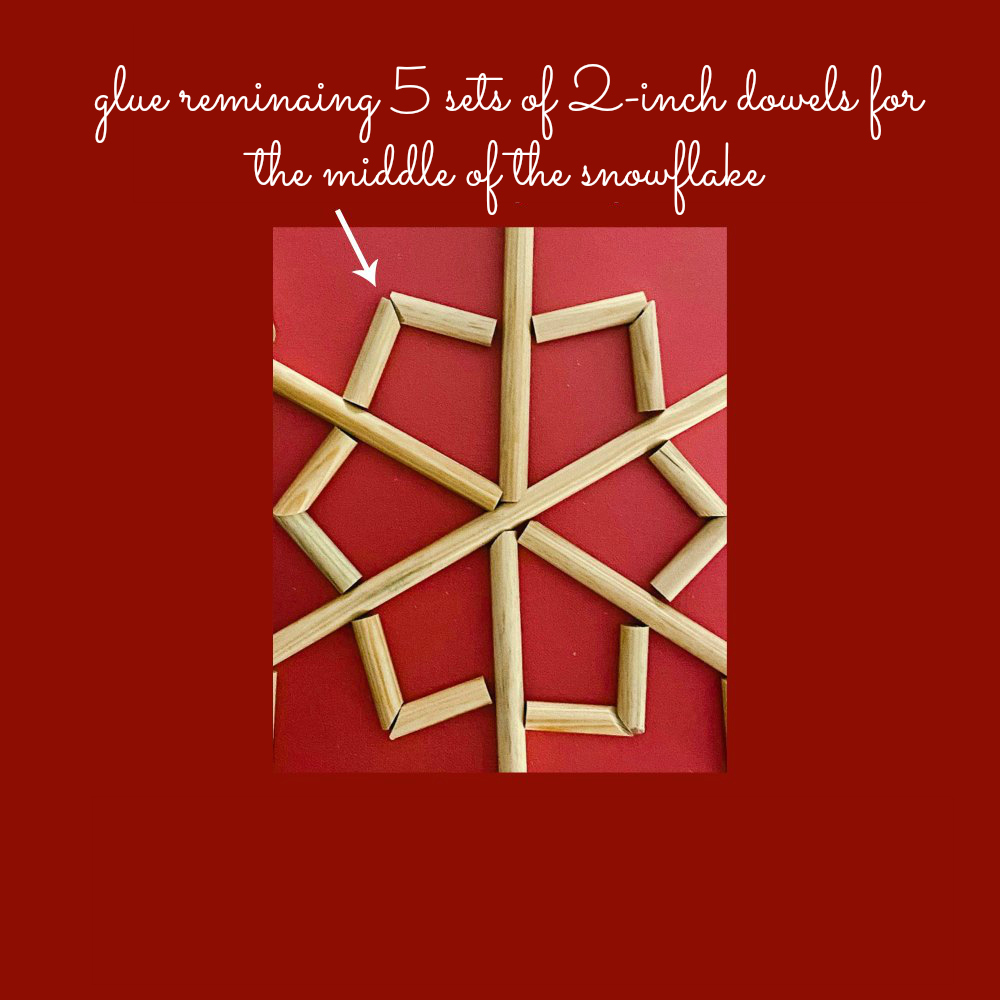
Now glue the other 10 2-inch pieces together, forming 5 dowels that make 90-degree angles. Then glue those in between the longer dowels in the center of the snowflake.
Add the Remaining Twelve 2-Inch Dowels
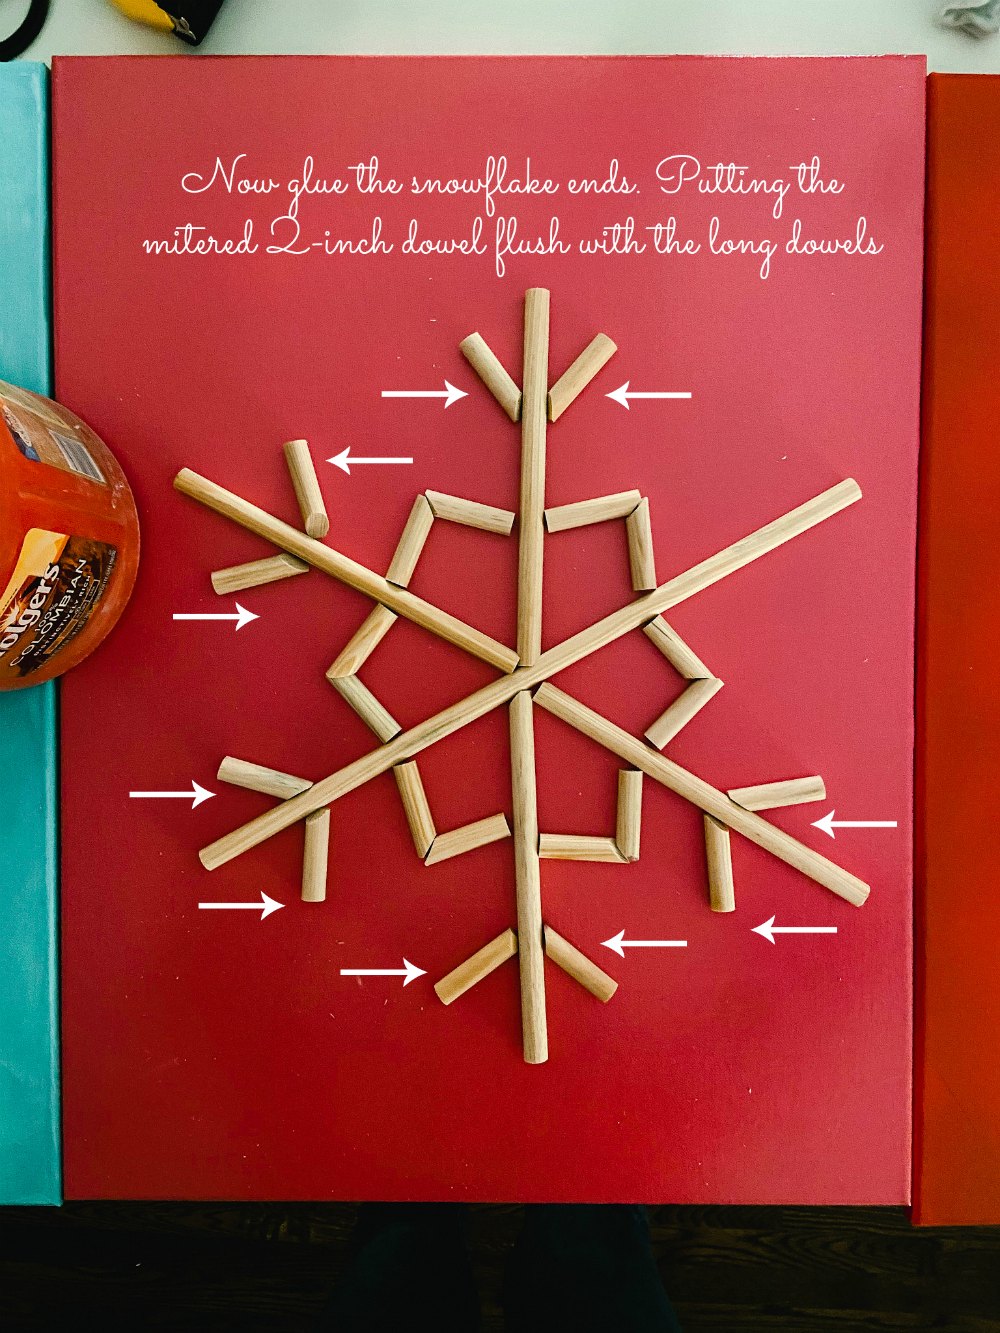
Glue the 2-inch pieces of dowel at the ends of each snowflake, with the angled edges at the base of the snowflake pieces.
Hang Up Your Scandinavian Snowflake Art
Now you can hang up your art! Or create more snowflake art if you want!
More Scandinavian Ideas
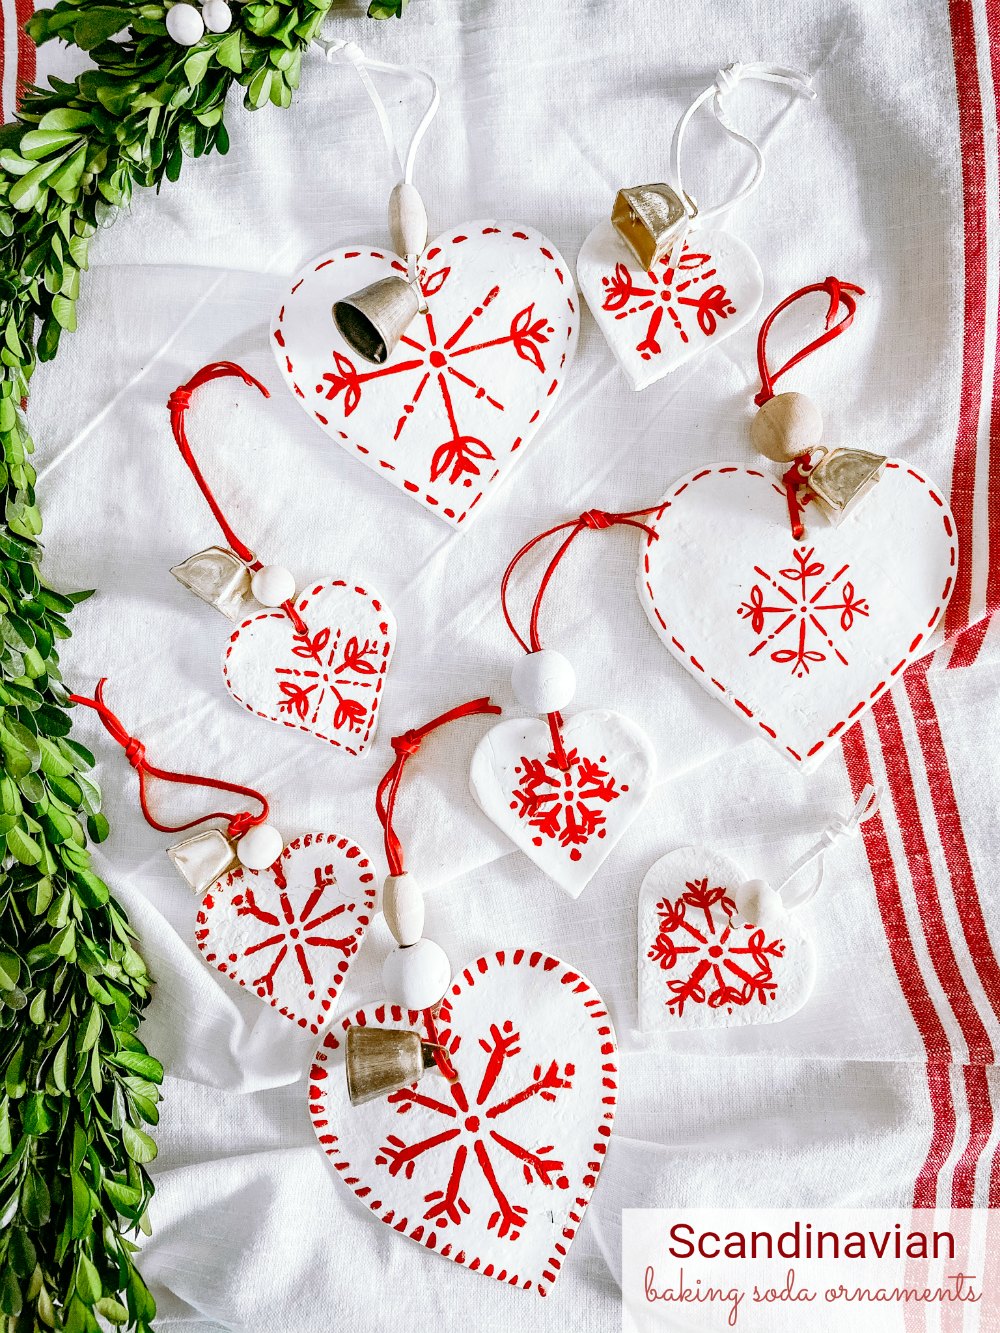
Scandinavian Baking Soda Ornaments
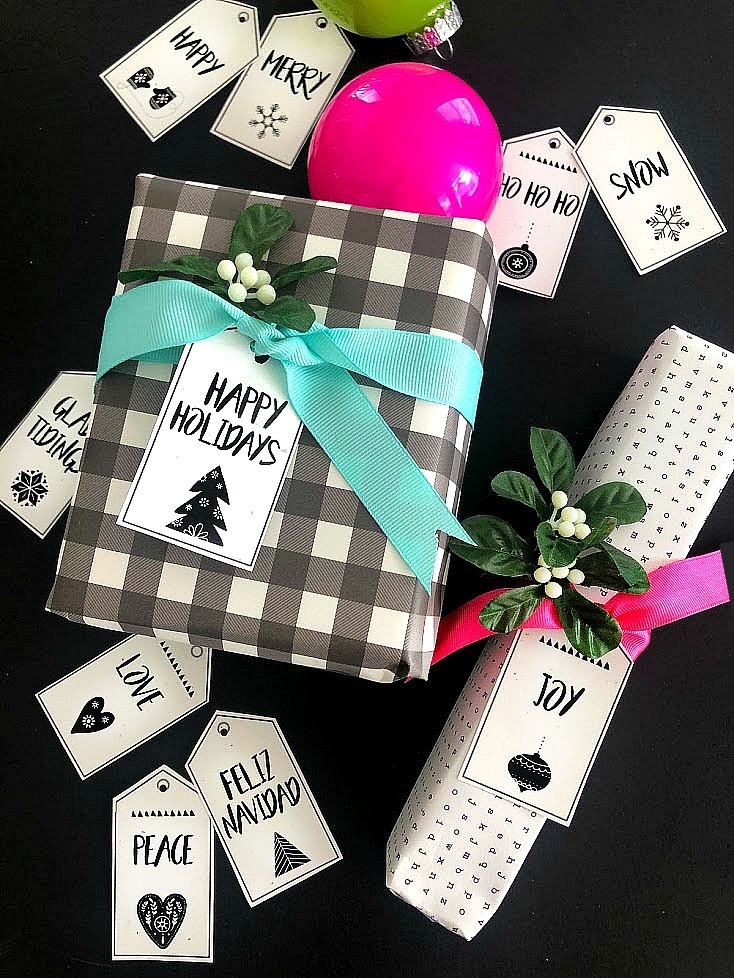
Scandinavian Printable Tags
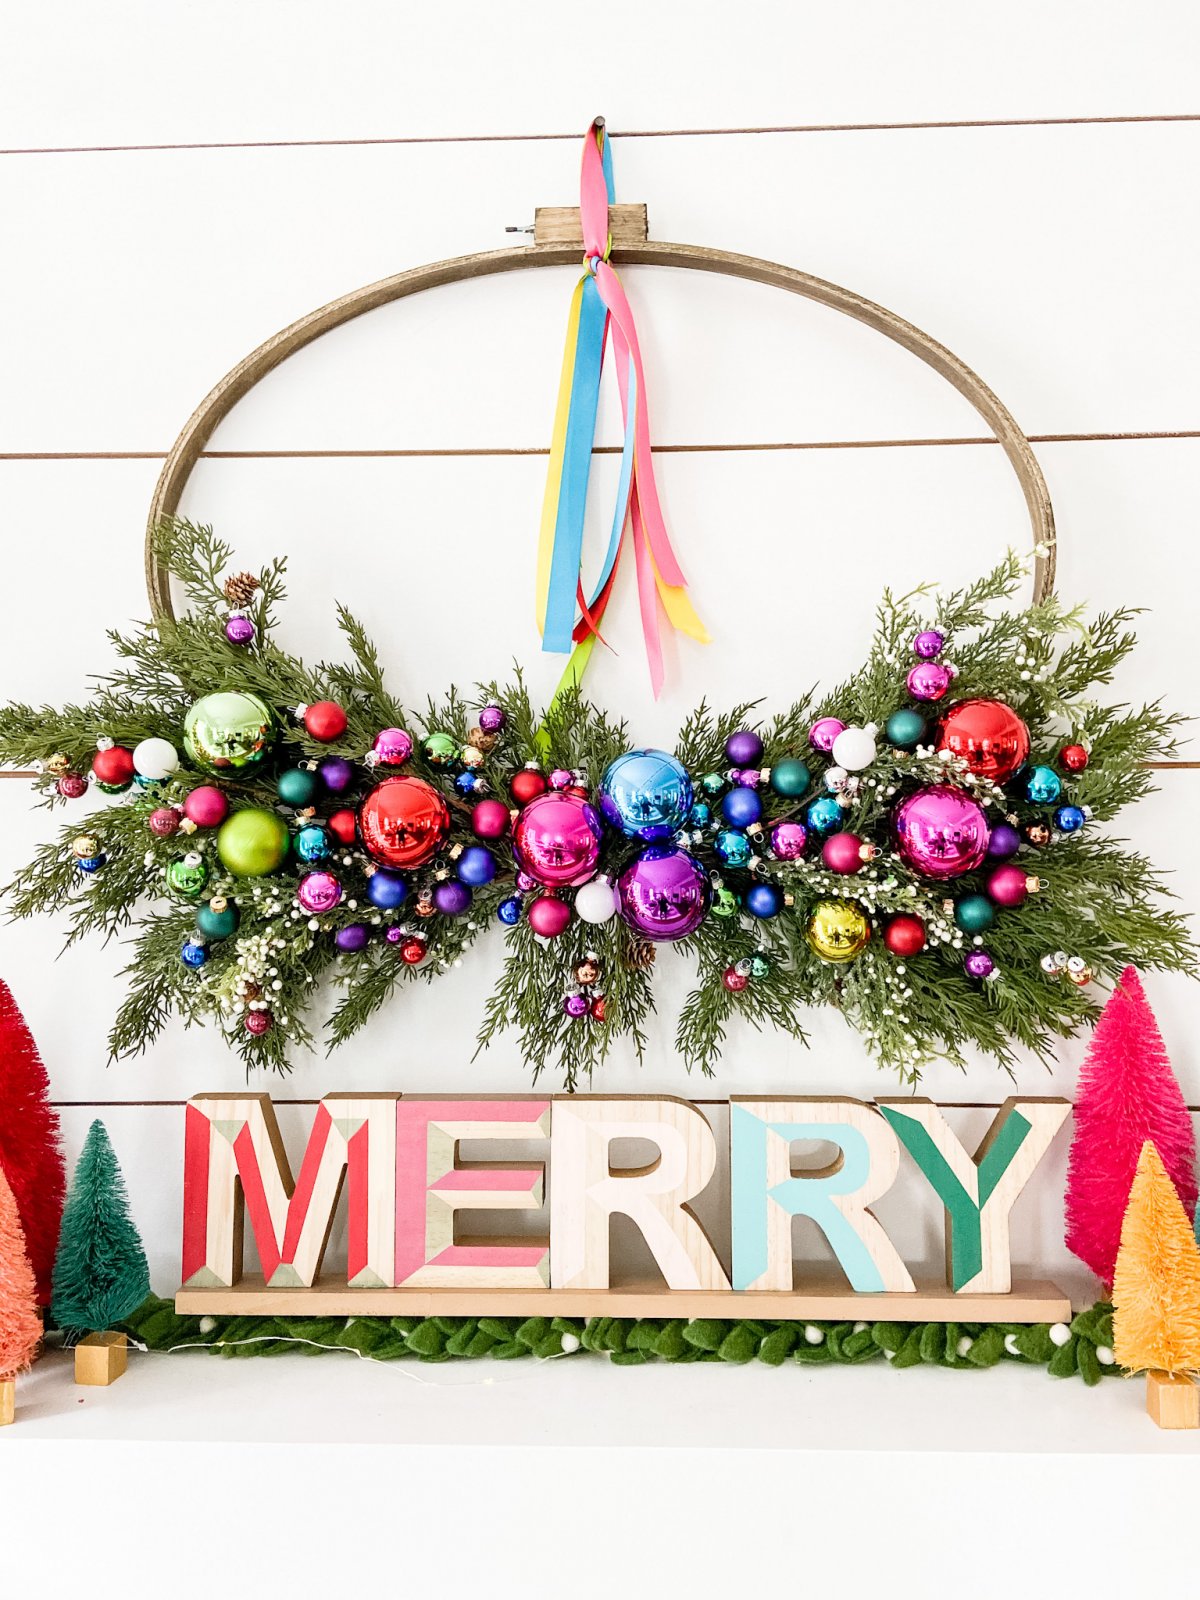
Bright Scandinavian Ornament Wreath
Share YOUR ideas with me on Instagram @tatertotsandjello!
Have a Beautiful Day!


What size of canvas did you use?
Hi! I used an 18×24 canvas. But I wanted to use square 20×20 canvases. If you use a different size you will need to adjust the measurements if you want it to take up most of the canvas. xoxo