Hello Tatertots and Jello readers!
Hi! I’m Heather an Interior Decorator, freelance writer, proud military wife and Mom to two handsome boys! I’m the writer of Setting for Four a Home Decor, DIY and lifestyle blog where I love to share my passion for interior decor ideas, makeovers and DIY projects.
I’m so thrilled to be here today to share a budget-friendly and stylish project that you can customize for your home for under $15.00!
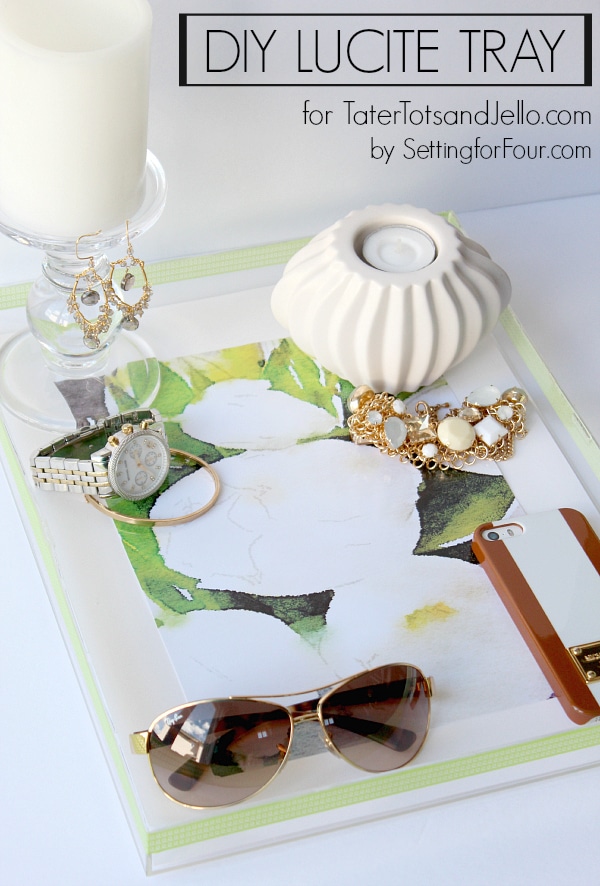
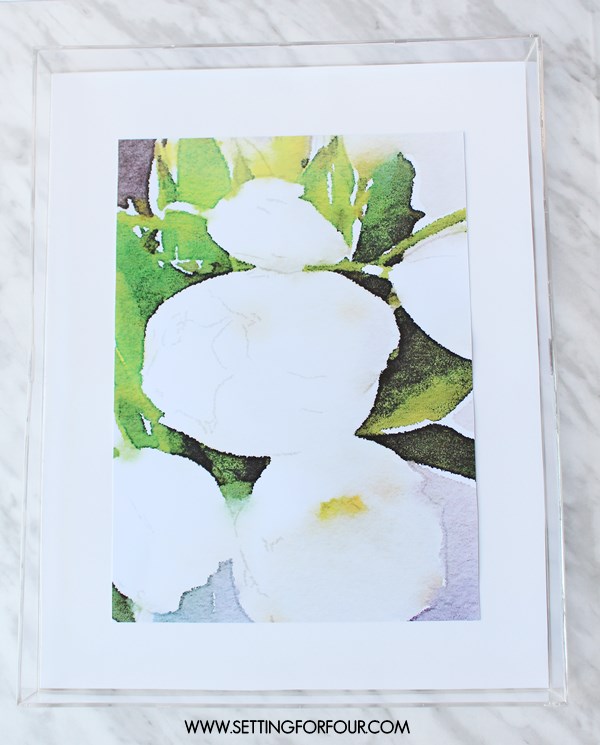
Lucite home decor accessories are super trendy but can also be very pricey! Here’s how you can add style to your home without breaking the bank by making a Lucite tray lined with a watercolor print. The combination of Lucite and watercolor makes me swoon!
DIY Watercolor Lucite Tray:
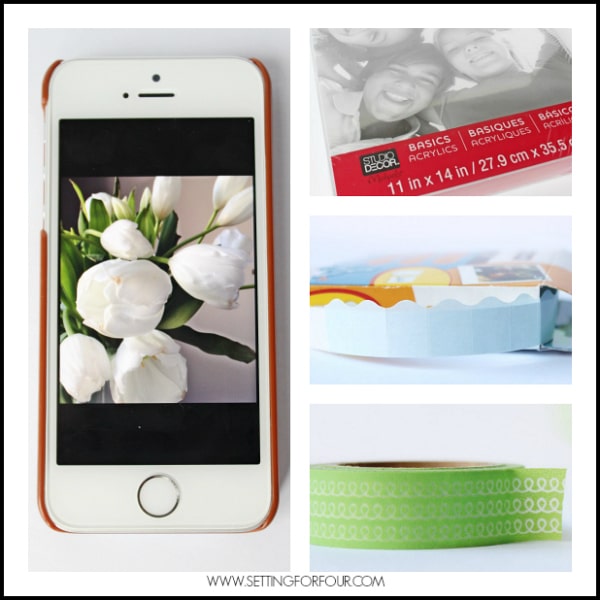
Supplies:
Acrylic Frame – 11 x 14″
Photo Paper – soft gloss finish
White Poster board or other paper you wish to line your tray with (scrapbook paper, wrapping paper)
Pencil
Scissors
Washi Tape
Photo to use in the Waterlogue iPhone app
Acid Free Photo Stickers – 2 sided adhesive stickers used to attach photos in photo albums and used in scrapbooking
Directions:
Remove cardboard insert from Acrylic Frame.
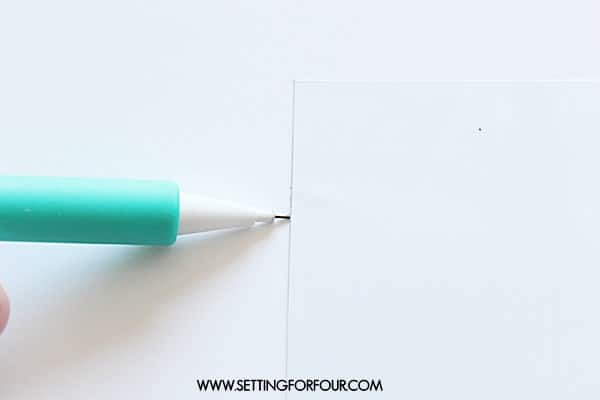
Using a pencil trace the paper insert that comes inside the acrylic frame onto the poster board and cut out. This will be the liner for your tray.
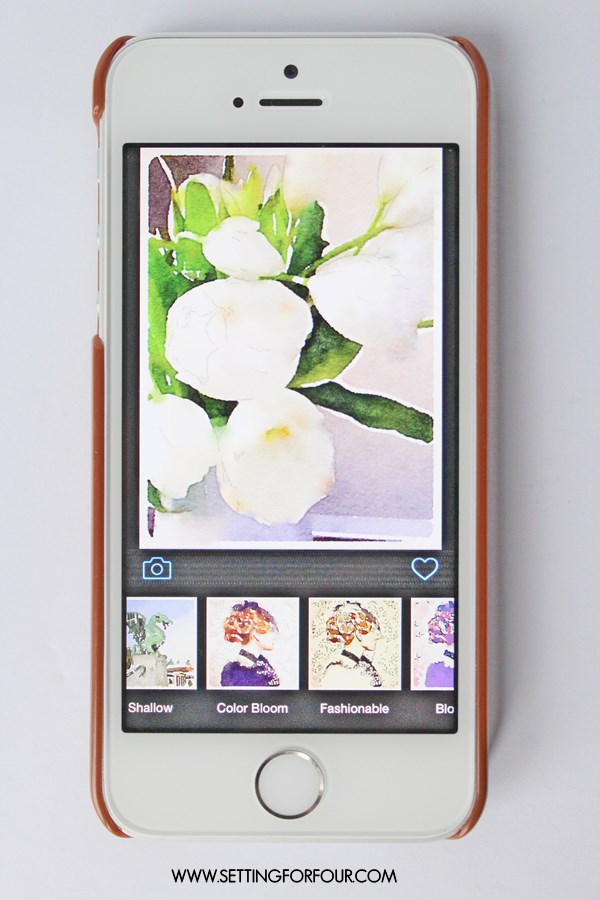
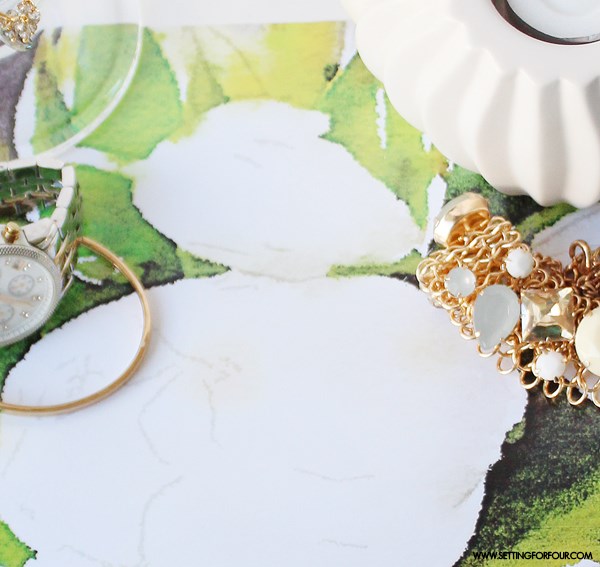
Upload an iPhone photo to the Waterlogue app, choose a filter to create a watercolor image (I used Color Bloom) and save it to camera roll.
Upload the photo to your computer and print out onto Photo Paper using your home printer.
Add one adhesive photo sticker to each corner of the underside of the print and fasten it onto the middle of the poster board.
Place the picture/poster board liner inside of tray. (I didn’t glue it onto the tray in case I wanted to change it later!).
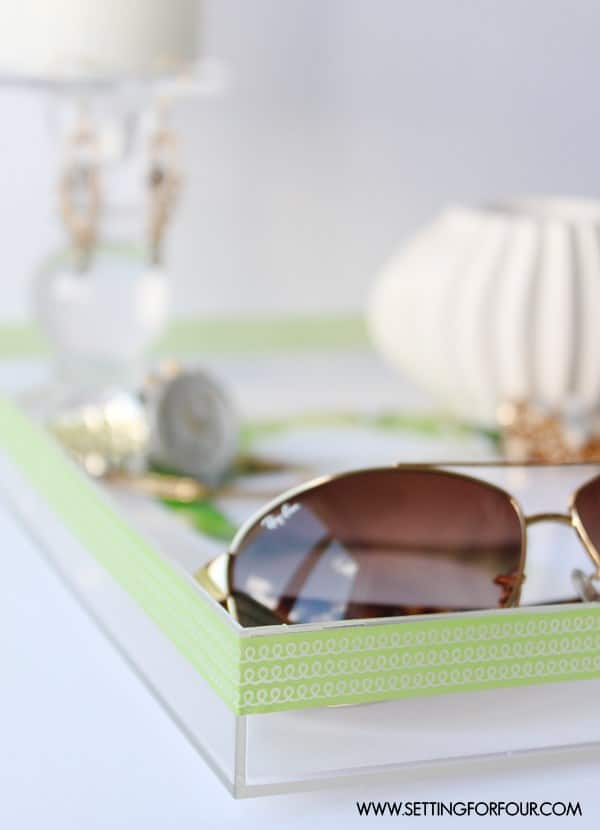
Add a strip of washi tape to the top edge of the tray. I used a washi tape I had in my craft supplies – it’s a gorgeous grass-green color to coordinate with the green leaves in my photo and has a pretty white loop pattern too!
That’s it!
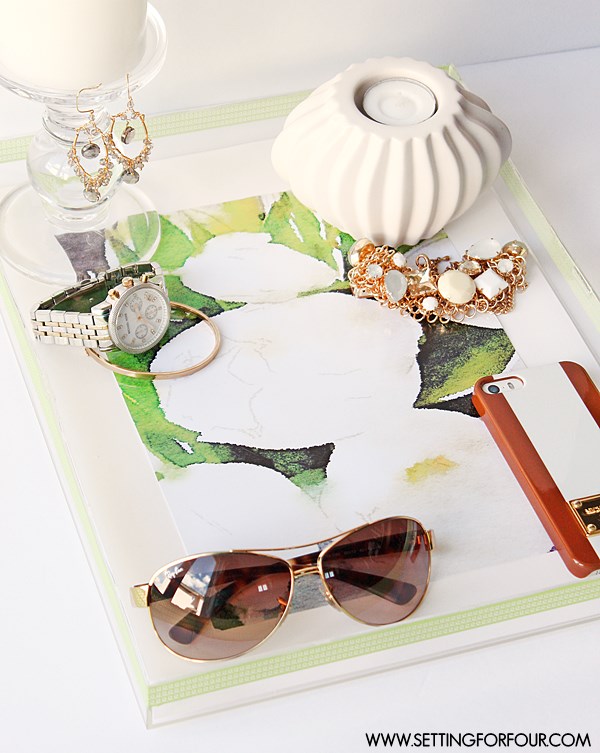
Isn’t this such a stylish look for under $15.00?
I love using it as a place to organize my sunglasses, iPhone and jewelry but this tray would be a fabulous addition to a desk to hold office supplies or a coffee table to coral all of those TV remotes!
The beauty of this project is that you can completely customize your tray to display your interests…..a watercolor picture from your vacations, flowers from your garden…..the looks you can create are limitless. So make one (or two!) to add some on-trend style and personality to your space!
Thank you so much Jen for having me today! I’d love for you to come by and visit Setting for Four anytime!
*************
Thanks Heather!! What a beautiful project, and I love how you can customize it to whatever you want! So fun, and pretty too!! Heather has great ideas on her blog, Setting for Four. Here are a few of her recent posts that I think you’ll love:
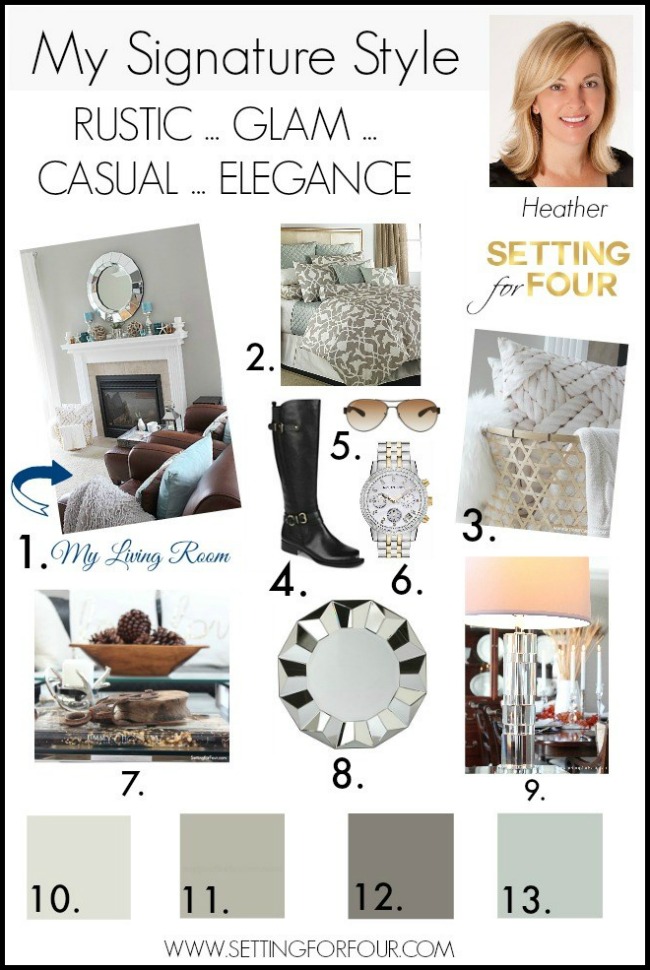
Heather shared a post all about her Signature Style. It’s full of amazing pictures of her home, and if you’re looking for inspiration, you’ll definitely find it in this post.
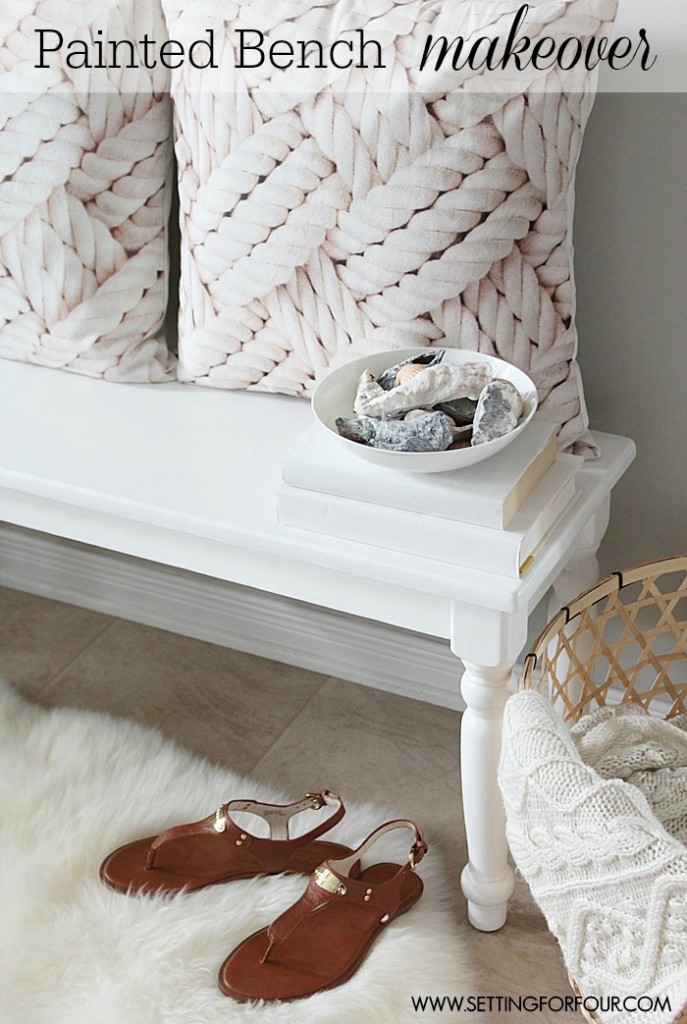
I love seeing a piece of furniture transform, and her Painted Bench Makeover is just beautiful. She added so much style to a simple piece.
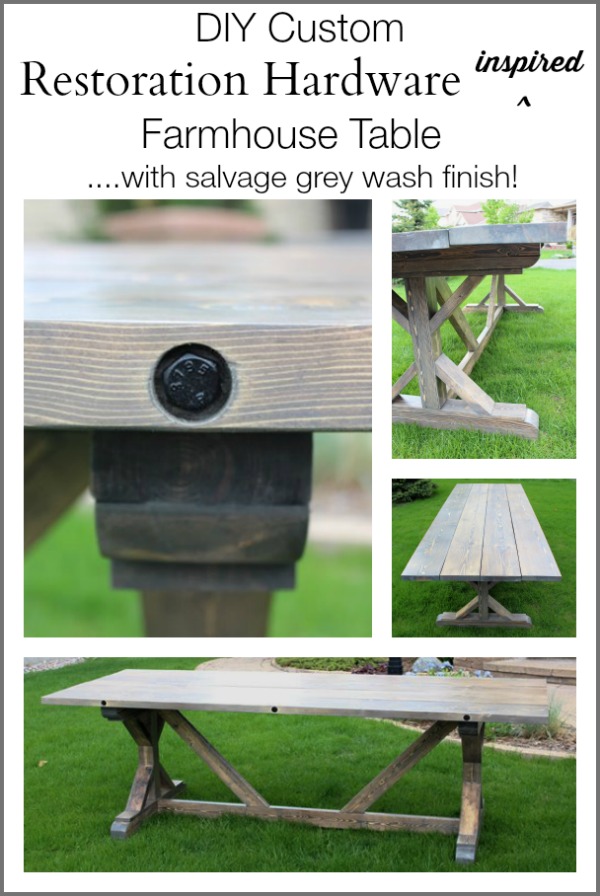
She also built this amazing DIY Restoration Hardware Inspired Farmhouse Table. You can get all the plans for it on her blog!! I just love Heather’s ideas, and I know you’ll love her too!!
Make sure to follow her on Google Plus and




I couldn’t resist commenting. Very well written!
I absolutely adore this tray! What a great idea. And the watercolor is the perfect touch. Thanks for sharing such a beautiful project!
Thanks so much Jen for the opportunity to say hello to your amazing readers and give them a peek into my DIY and decor passions!! Have a wonderful weekend! ~ Heather