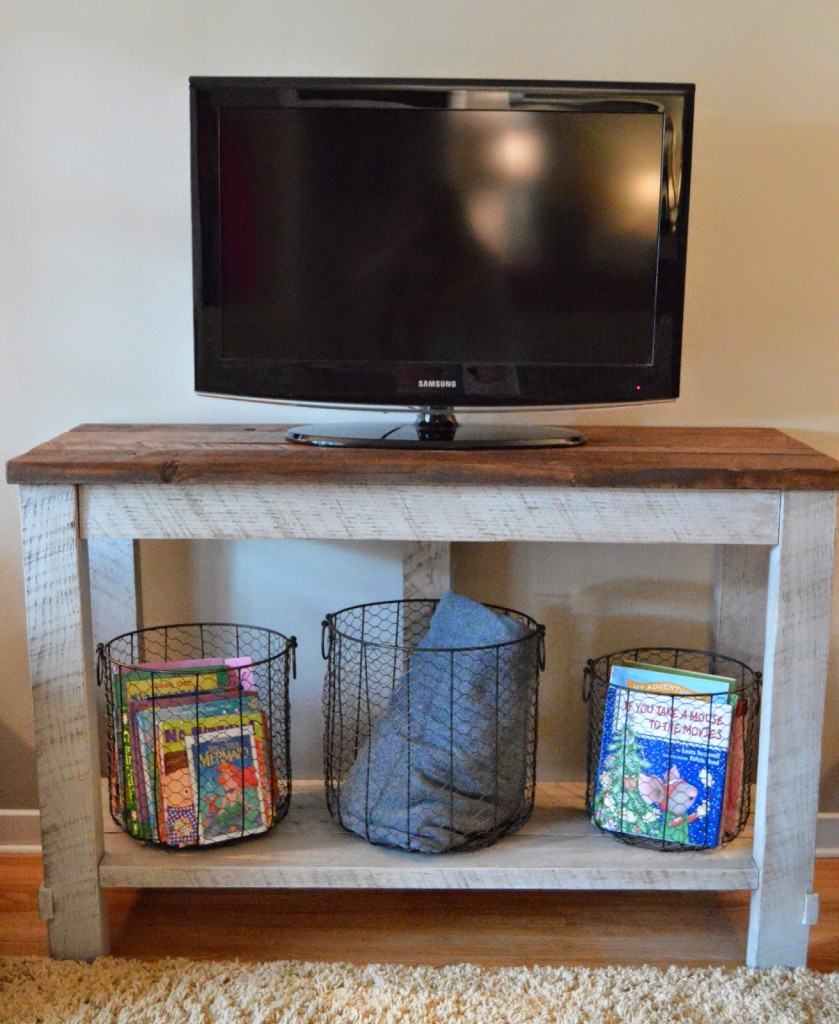
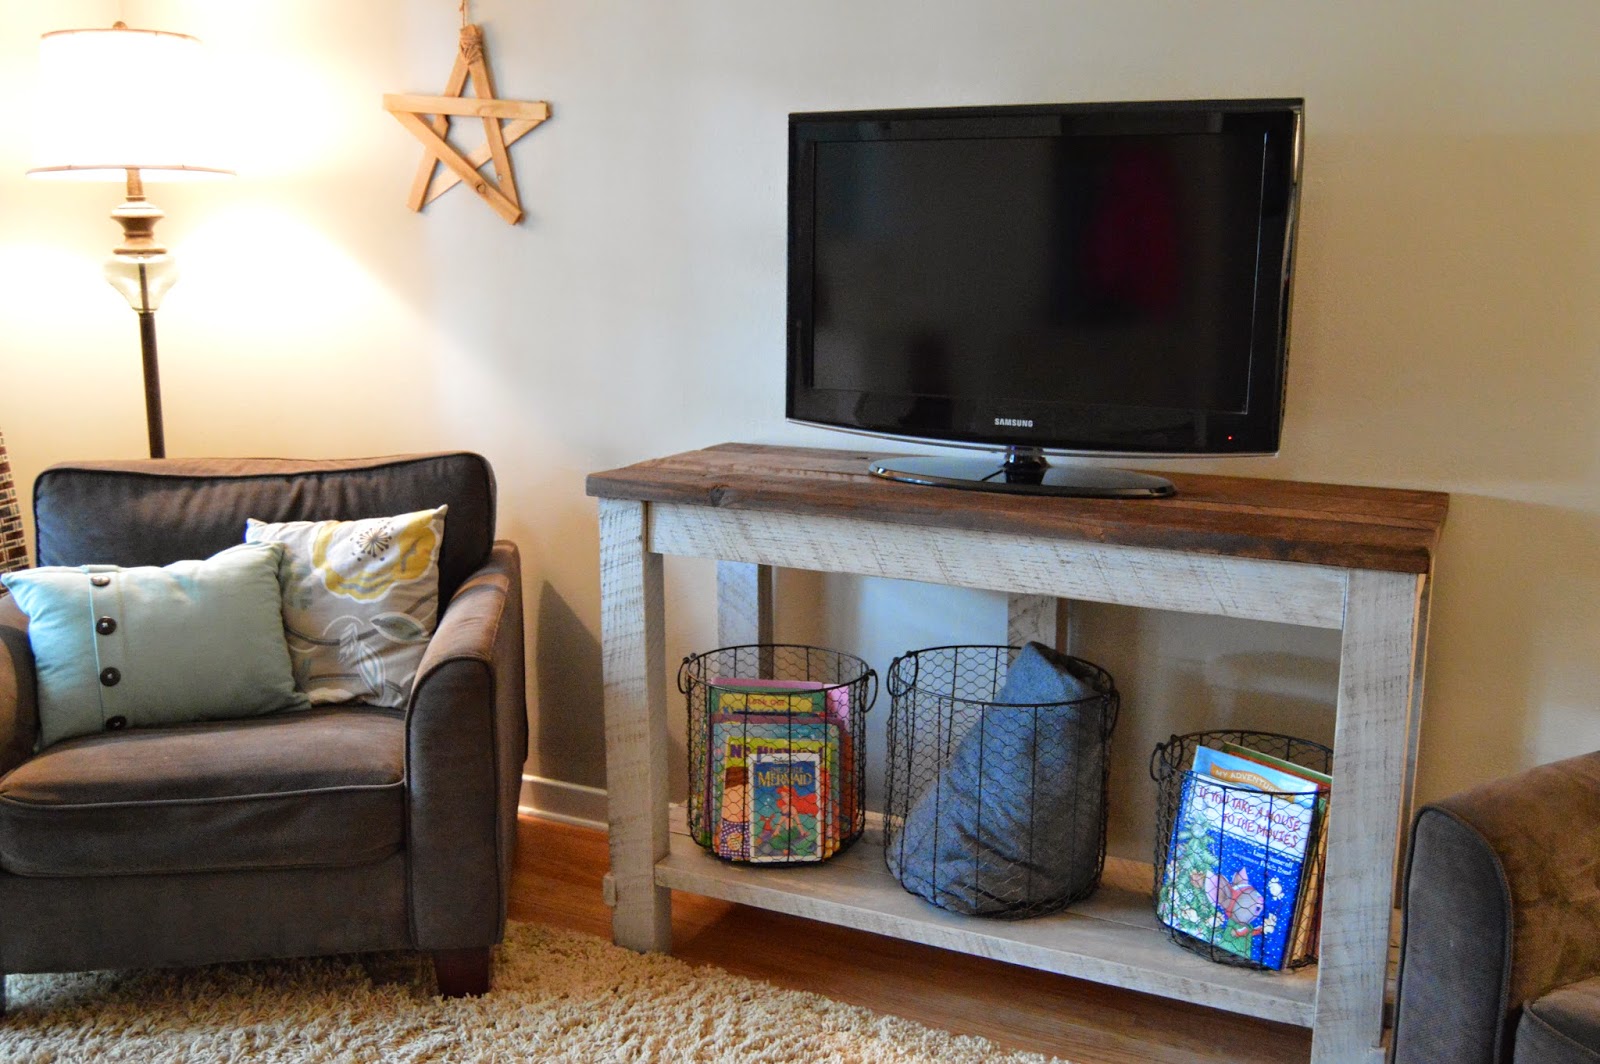
Hello fellow Tatertots & Jello friends! I’m Heidi from Kruse’s Workshop and am super pumped to be here today to share a step by step tutorial outlining how you can build your own TV/media stand like this one.
My husband and I have been at this DIY thing for over a decade but have only recently started documenting our projects and plans on our blog. With a super tight budget it’s difficult to splurge on store bought items for our home, so we build our own furnishings while trying to use as much salvaged and reclaimed wood as we can. Case in point, this DIY Reclaimed Wood TV Table.
Here’s what we’ve been working with – a dresser we picked up at Target about 12 years ago for $100 that has served multiple purposes. First, clothing storage for our bedroom, then a changing table/dresser for our baby (who’s now 7) and finally as a media cabinet in our living room. From afar it looks cute and cottage like, but get a little closer and it’s a little rough around the edges. Kind of like getting your photo taken without any make-up on…not bad, unless you zoom in.

After we recently built a kitchen island for a relative, I knew something similar would be a perfect compliment to our living room, which has a rustic, cottage like, comfy vibe. Building a piece of custom furniture is always a much longer process than I expect because of the planning involved. The designing stages are crucial, as it is here where you’ll determine the perfect dimension of the piece. The best part about the plan we are about to present is that it’s completely customizable. We would encourage you to adjust the dimensions of the table to fit your space!
There’s a secret feature to this table that is perfect for those of us that don’t have the luxury of a wall mounted flat screen television. The leg at the back center of the media cabinet is actually hollowed out to conceal your television cord! This worked great for us because our wall outlet just happens to be at the exact center point of the wall, meaning we could line up the back center leg with the outlet so the cords AND the outlet are concealed. And that’s the genius part of building your own furniture – it can accommodate all of those little things that make a piece of furniture both beautiful and practical!
And one last note, we were fortunate to have access to some reclaimed wood but you can easily substitute store bought materials, we’ve listed the sizes of wood you would need below.
Tools Needed
Miter saw
Table saw
Kreg Jig
Drill
Jig Saw
Orbital Sander
Supplies Needed
1×2 material
1×4 material
2×4 material
2×6 material
4×4 material
1 1/2″ Kreg screws
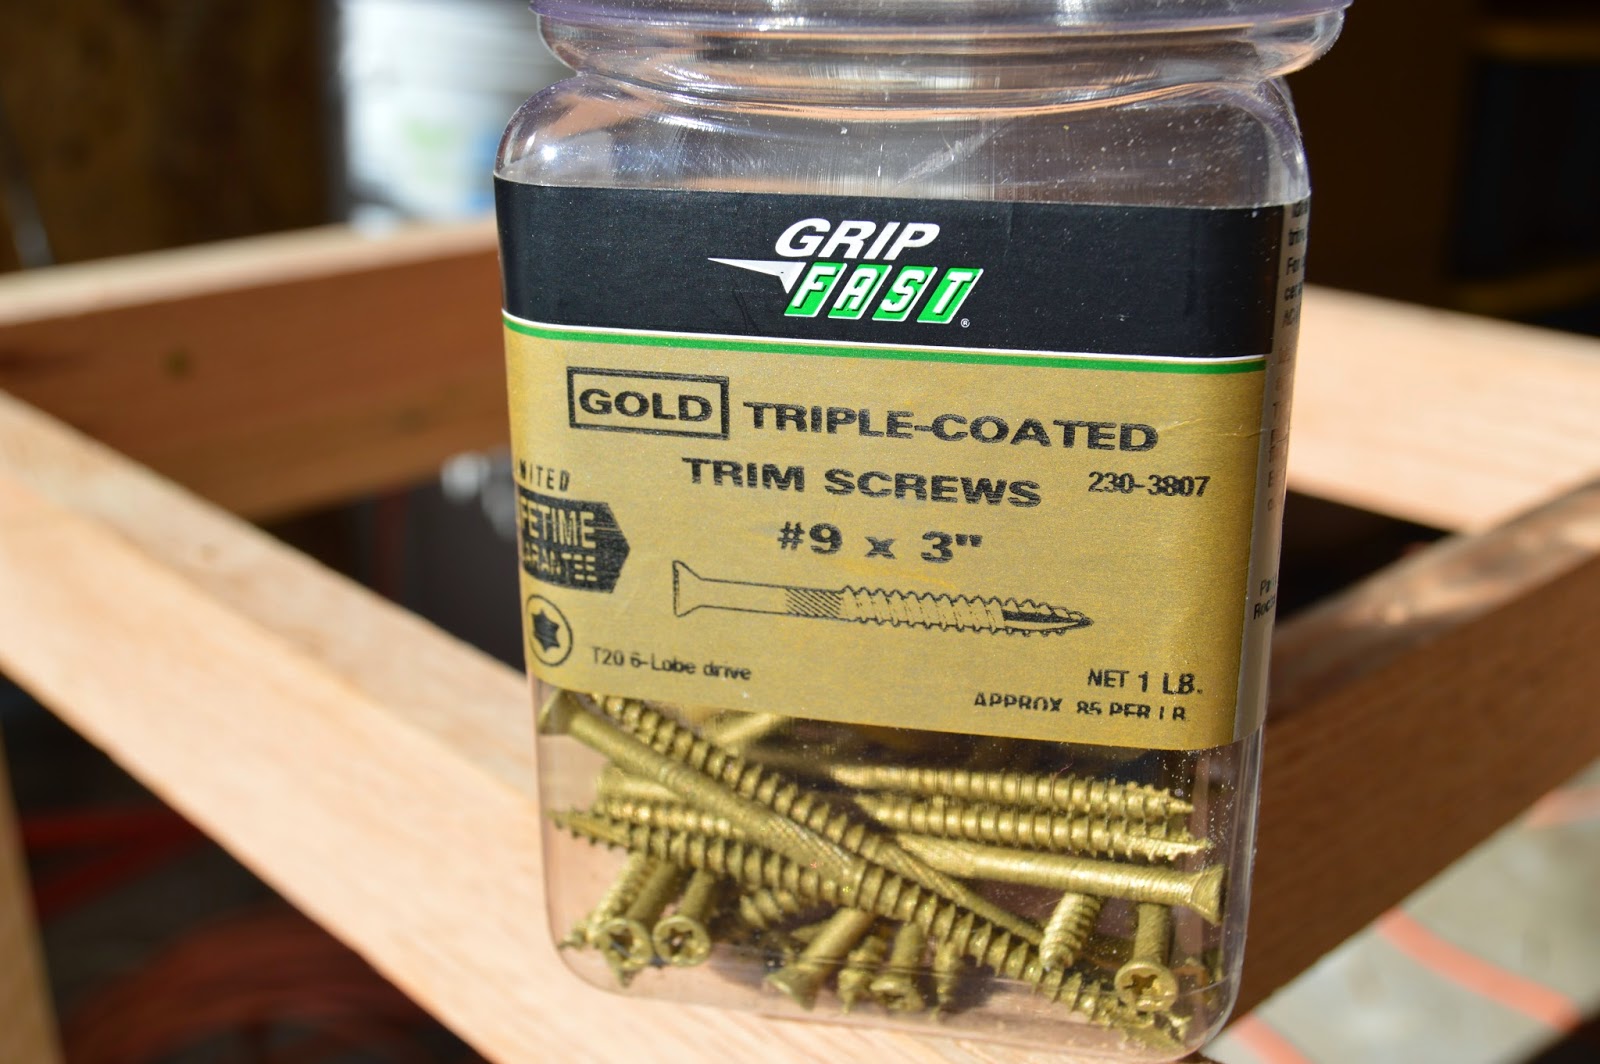
3″ cabinetry screws
1 3/4″ screws
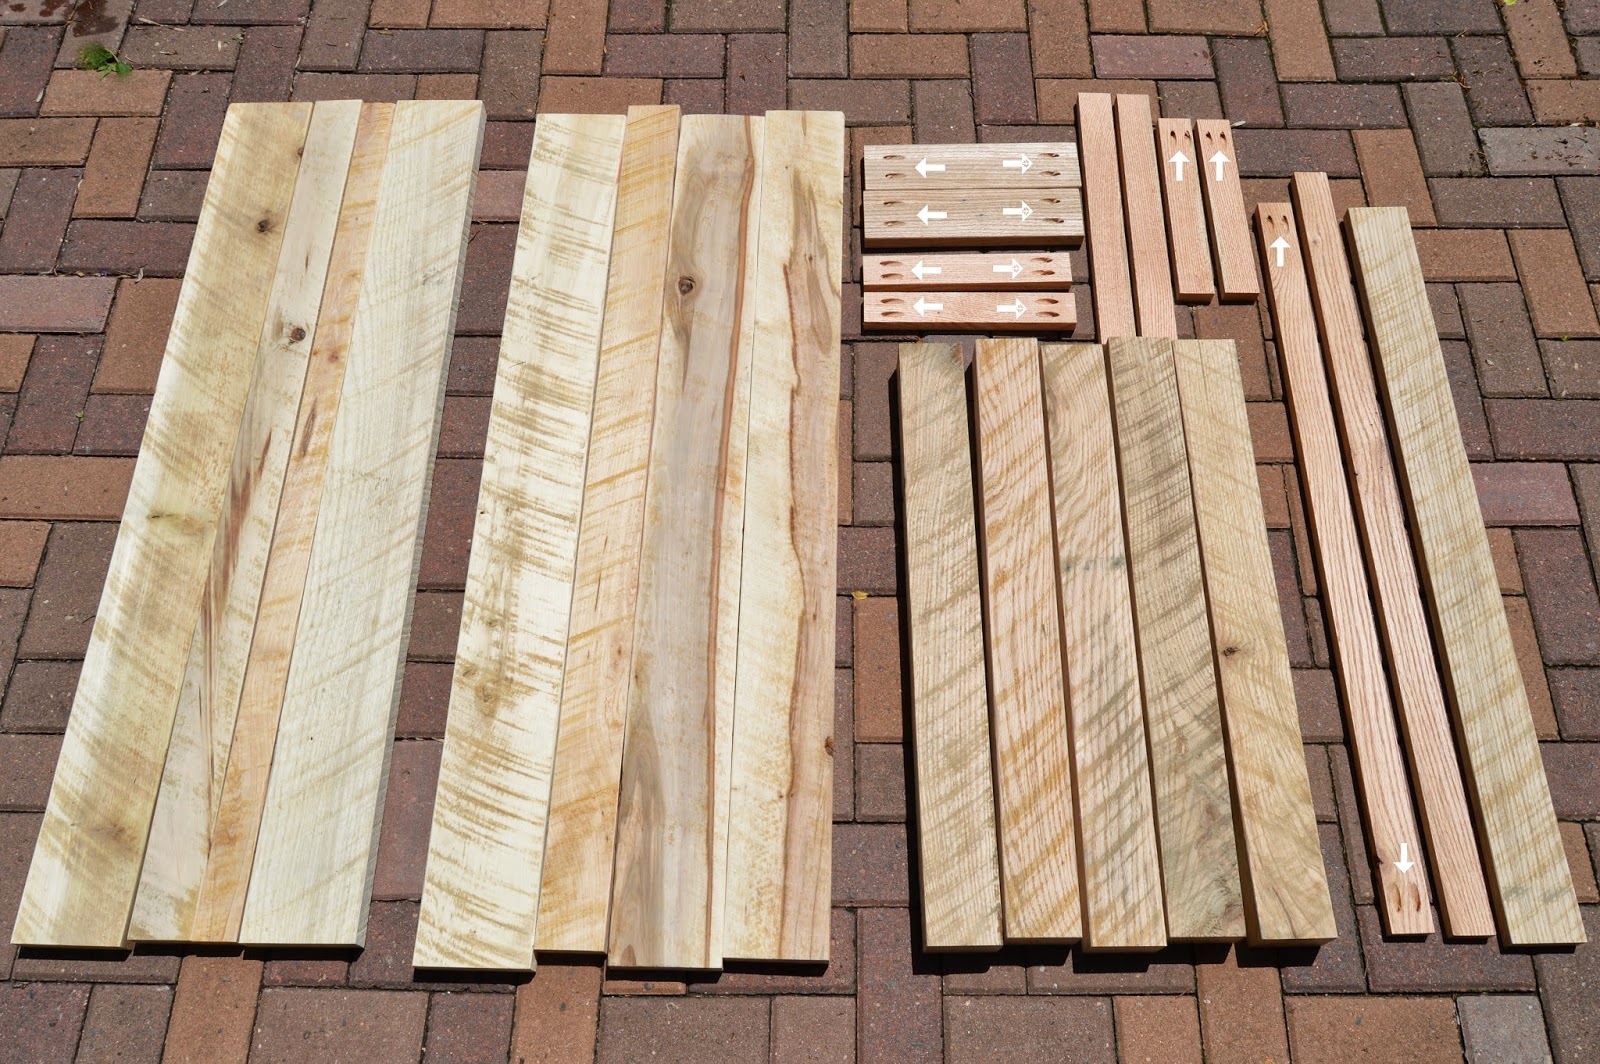
With this project, we can cut all of our pieces that will be needed right at the beginning. You may find that some parts will need minor adjustments as you go along, just be sure to dry fit it before you start attaching pieces. Our finished table has the following dimensions; 50″L x 19″W x 33 1/2″H, so here are the cuts we made to get there.

A = bottom shelf pieces, use 2×4’s and/or 2×6 material. Our total width across all of the pieces is 16″ and the length is 50″. We purposefully mixed in different widths of boards to give the piece more character and less consistency. You can do the same by ripping down 2×4’s and 2×6’s to inconsistent widths or all pieces could be the same size, depending on your taste.


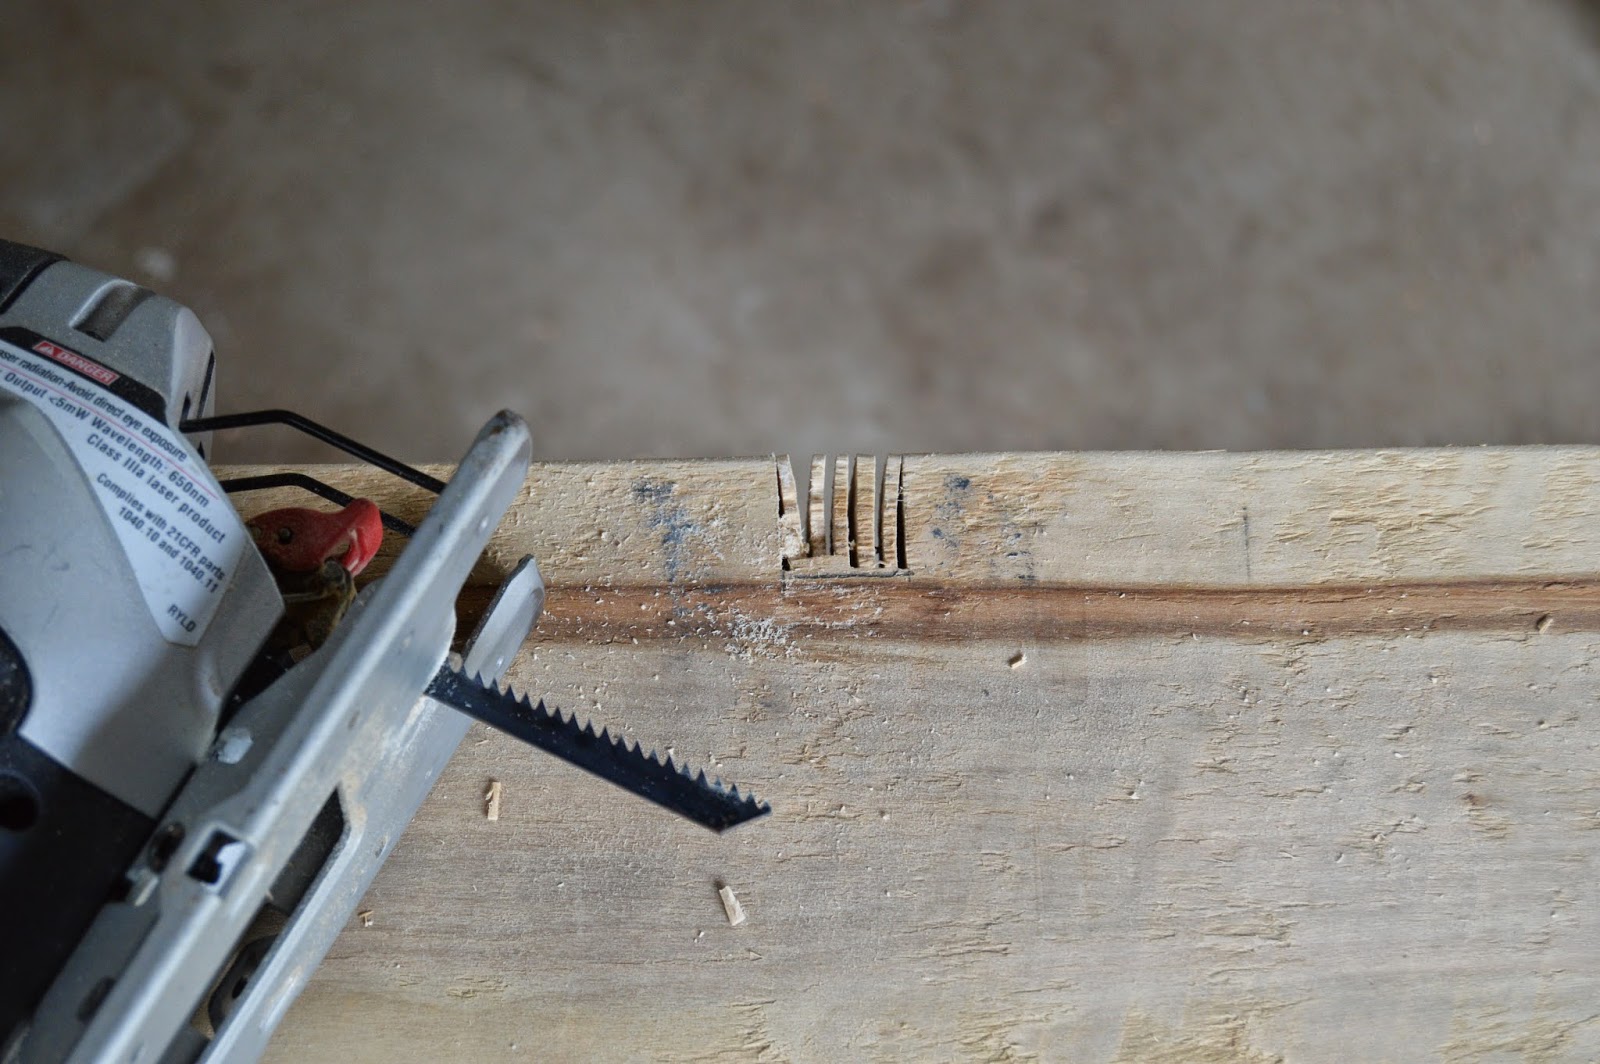
Use a chisel to remove the remaining wood fragments.

Continue until you have cut a dado into all four legs.


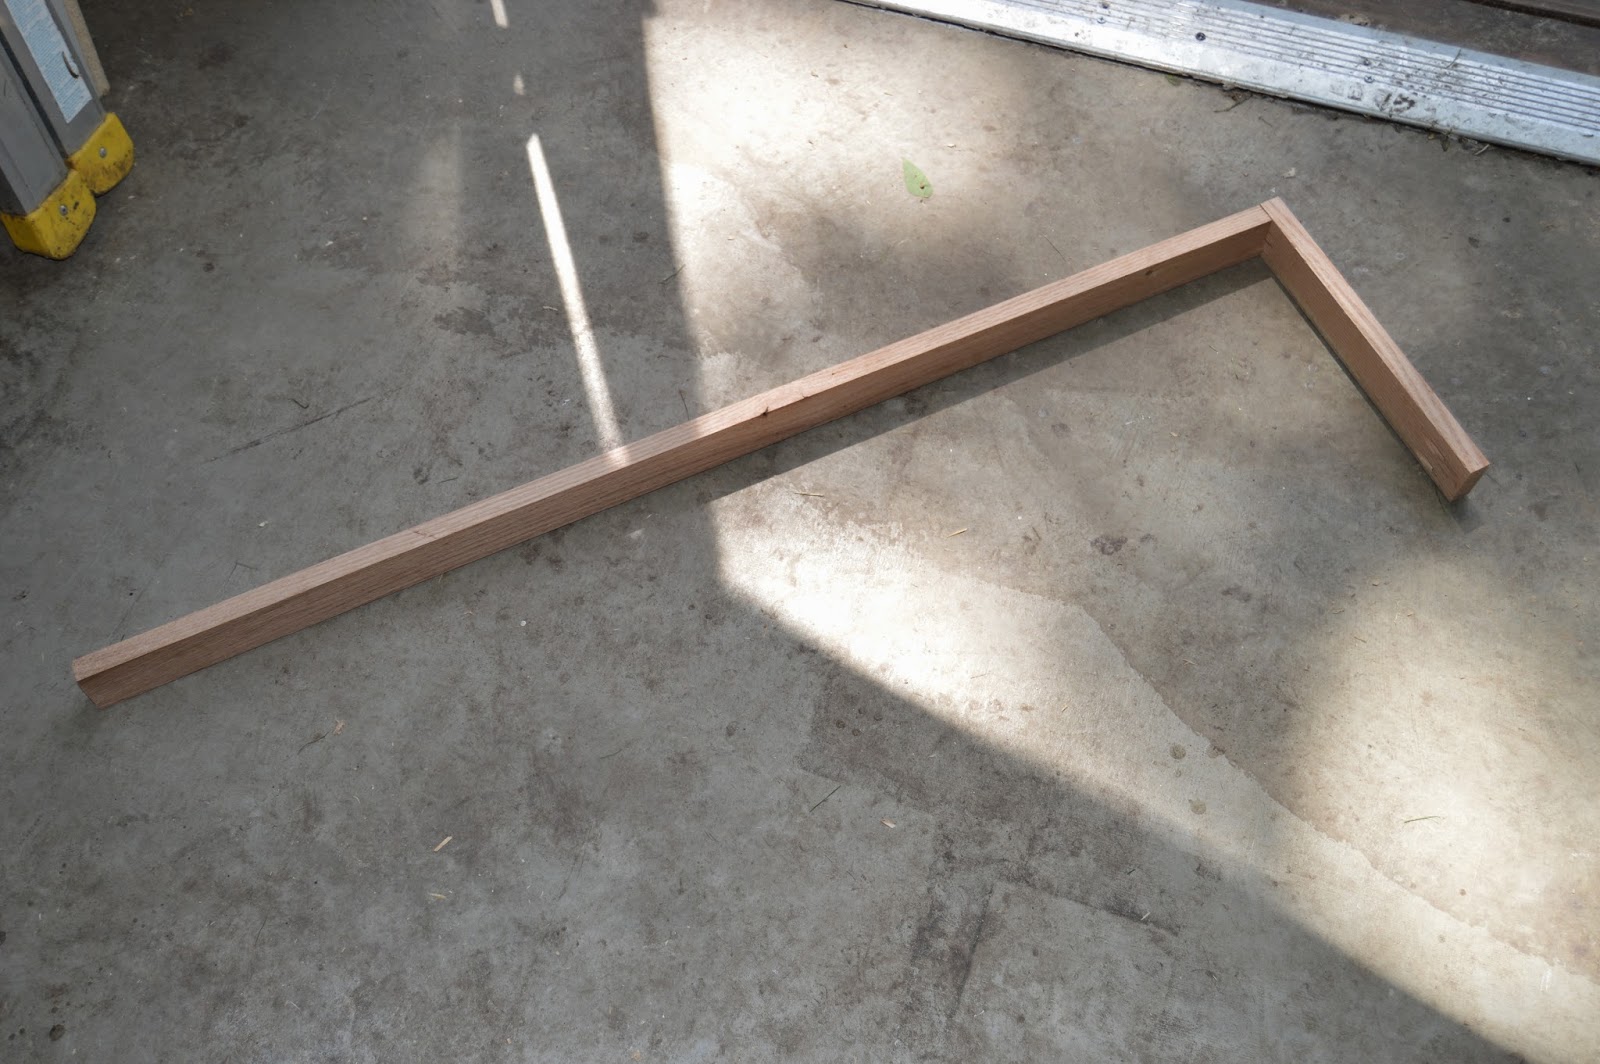
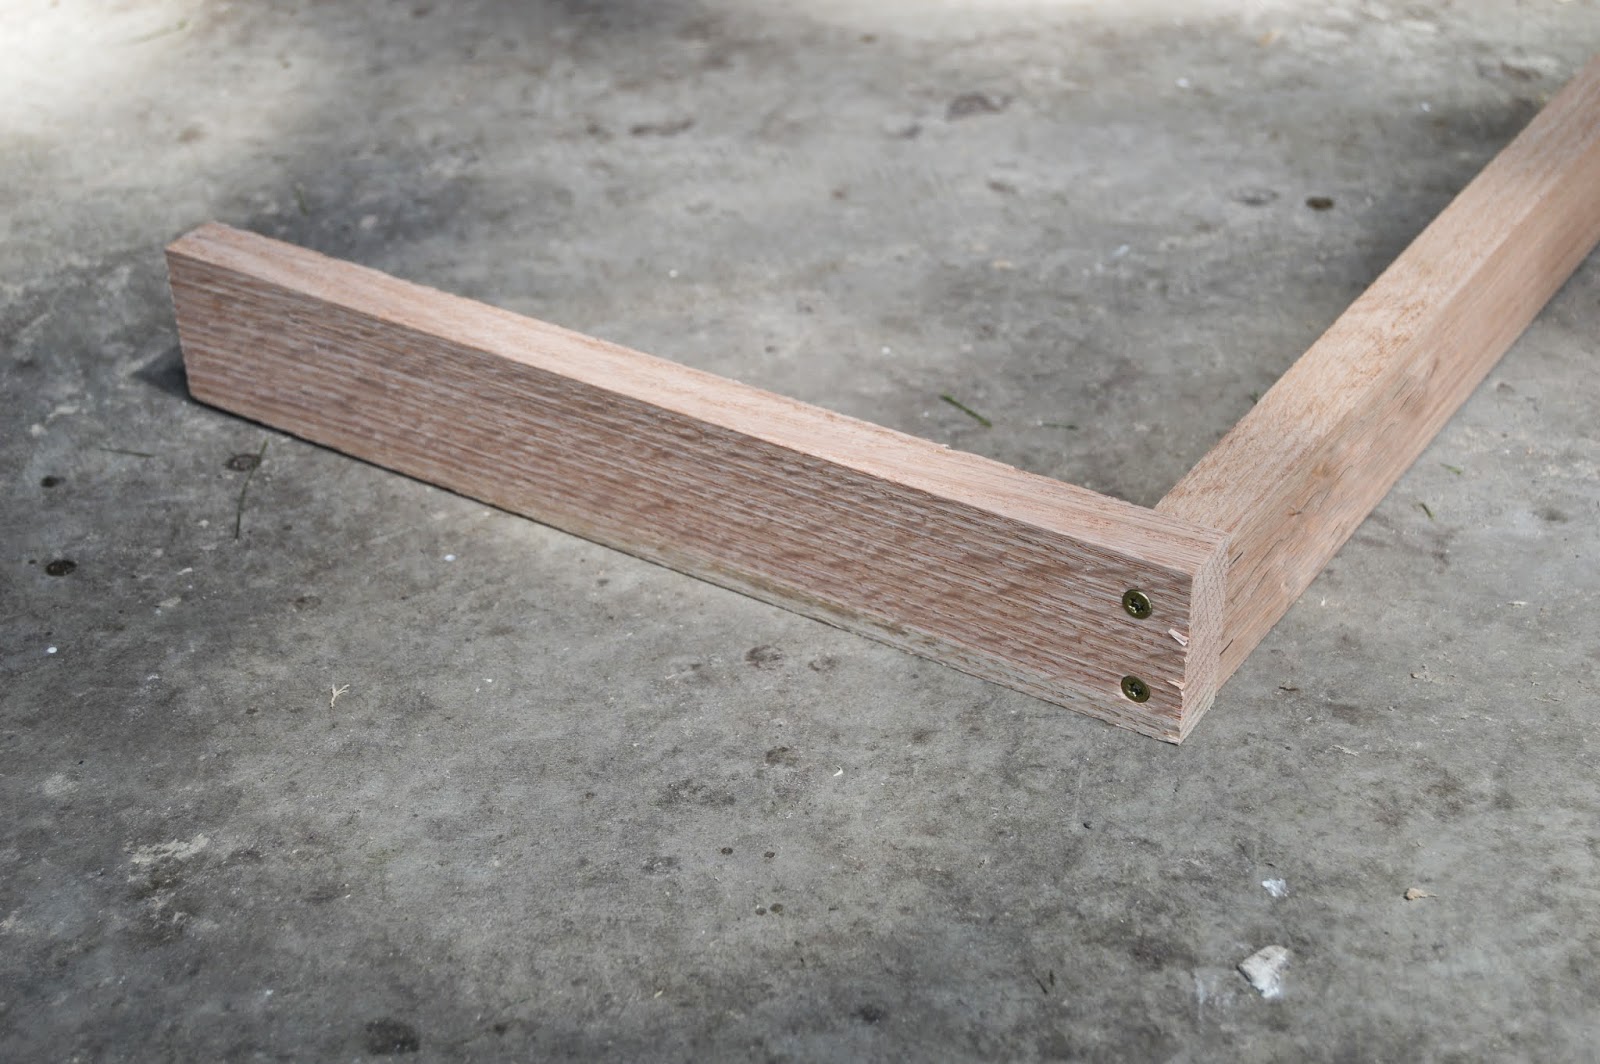
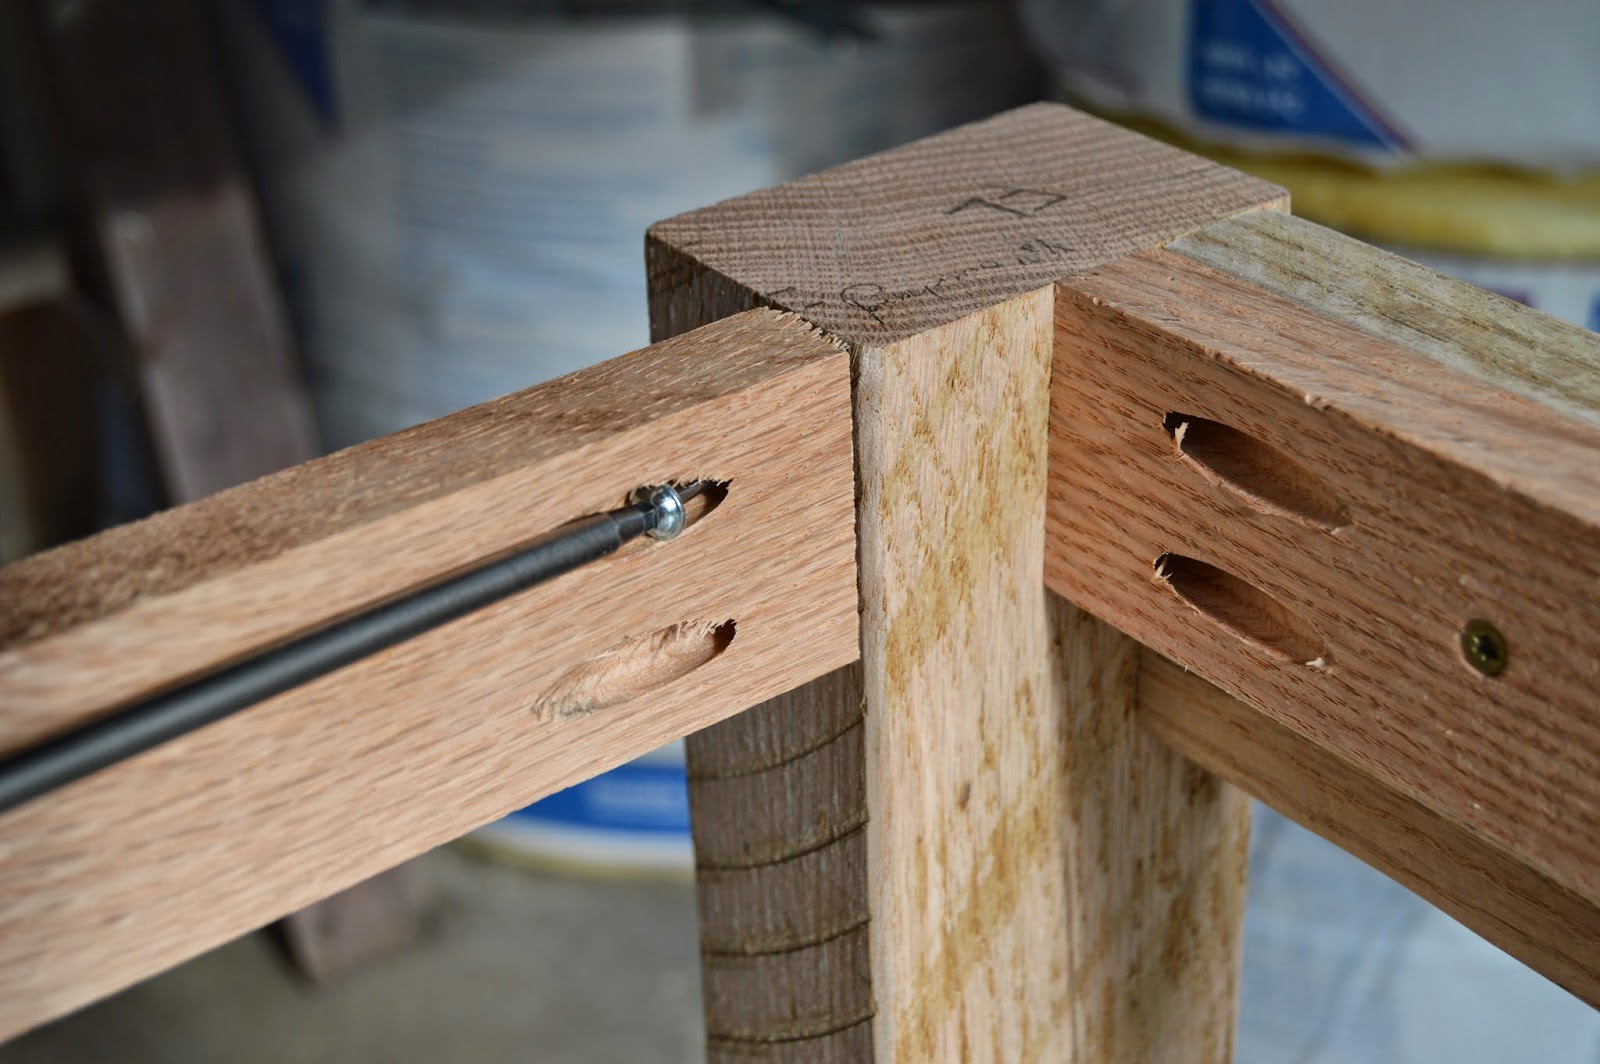
Using 1 1/2″ Kreg screws, attach the skirt to the leg.

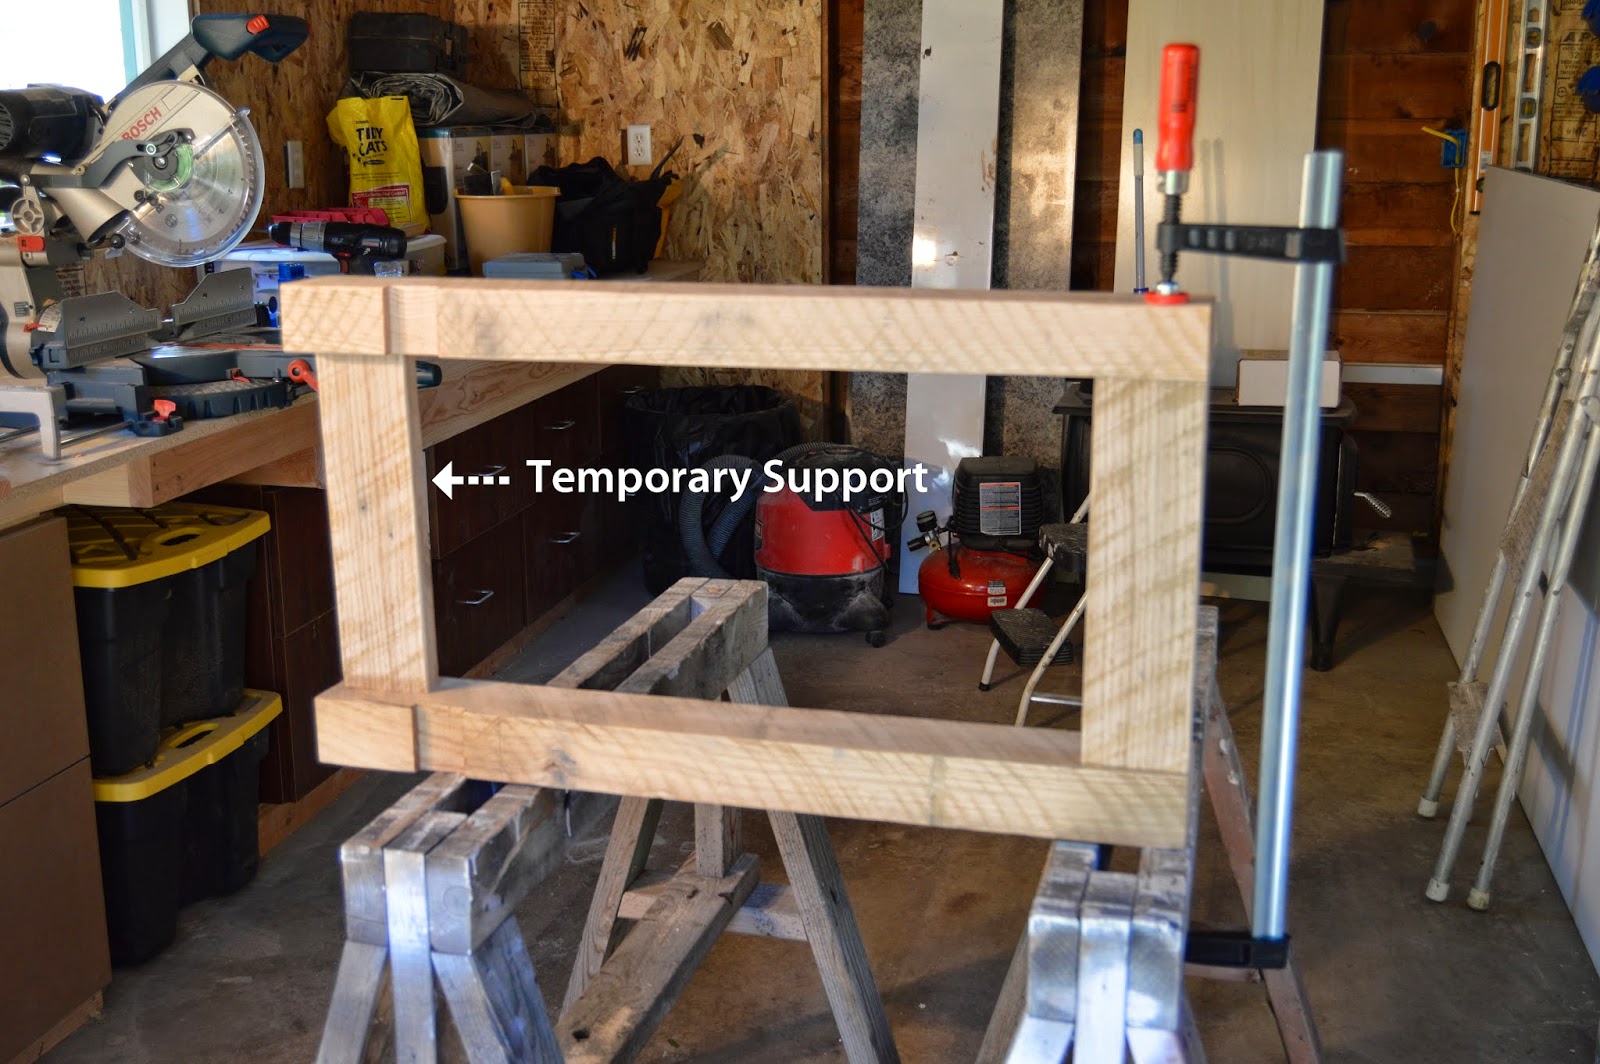
Attach the other leg to the opposite end of that same skirt. It’s helpful to use the other piece of skirting as a temporary support while you put the screws in.


Attach the two small pieces to the large piece as shown below with 1 3/4″ screws.


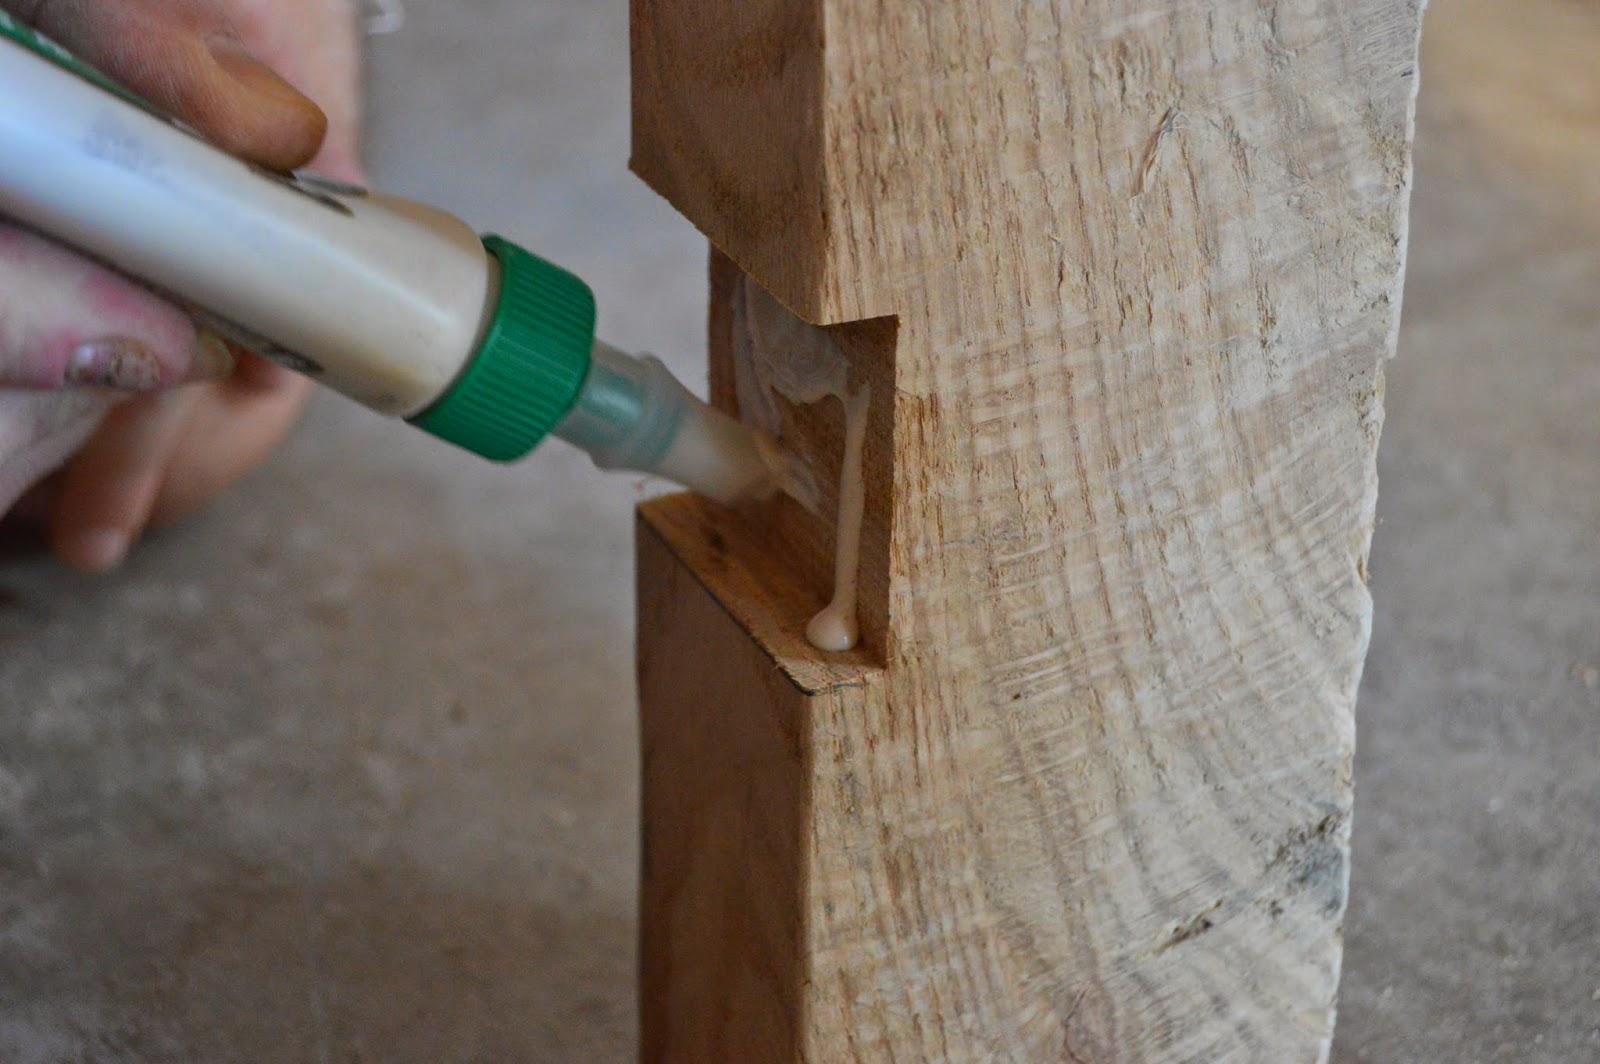

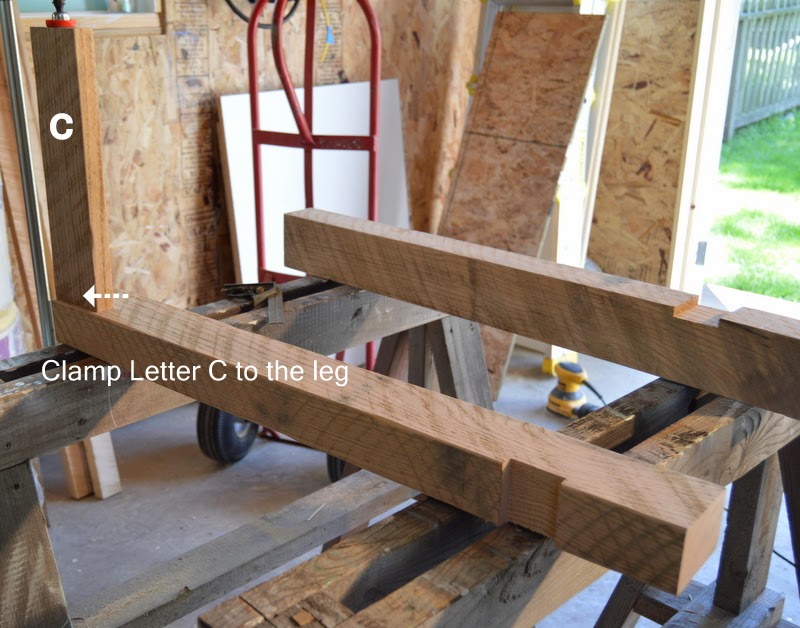
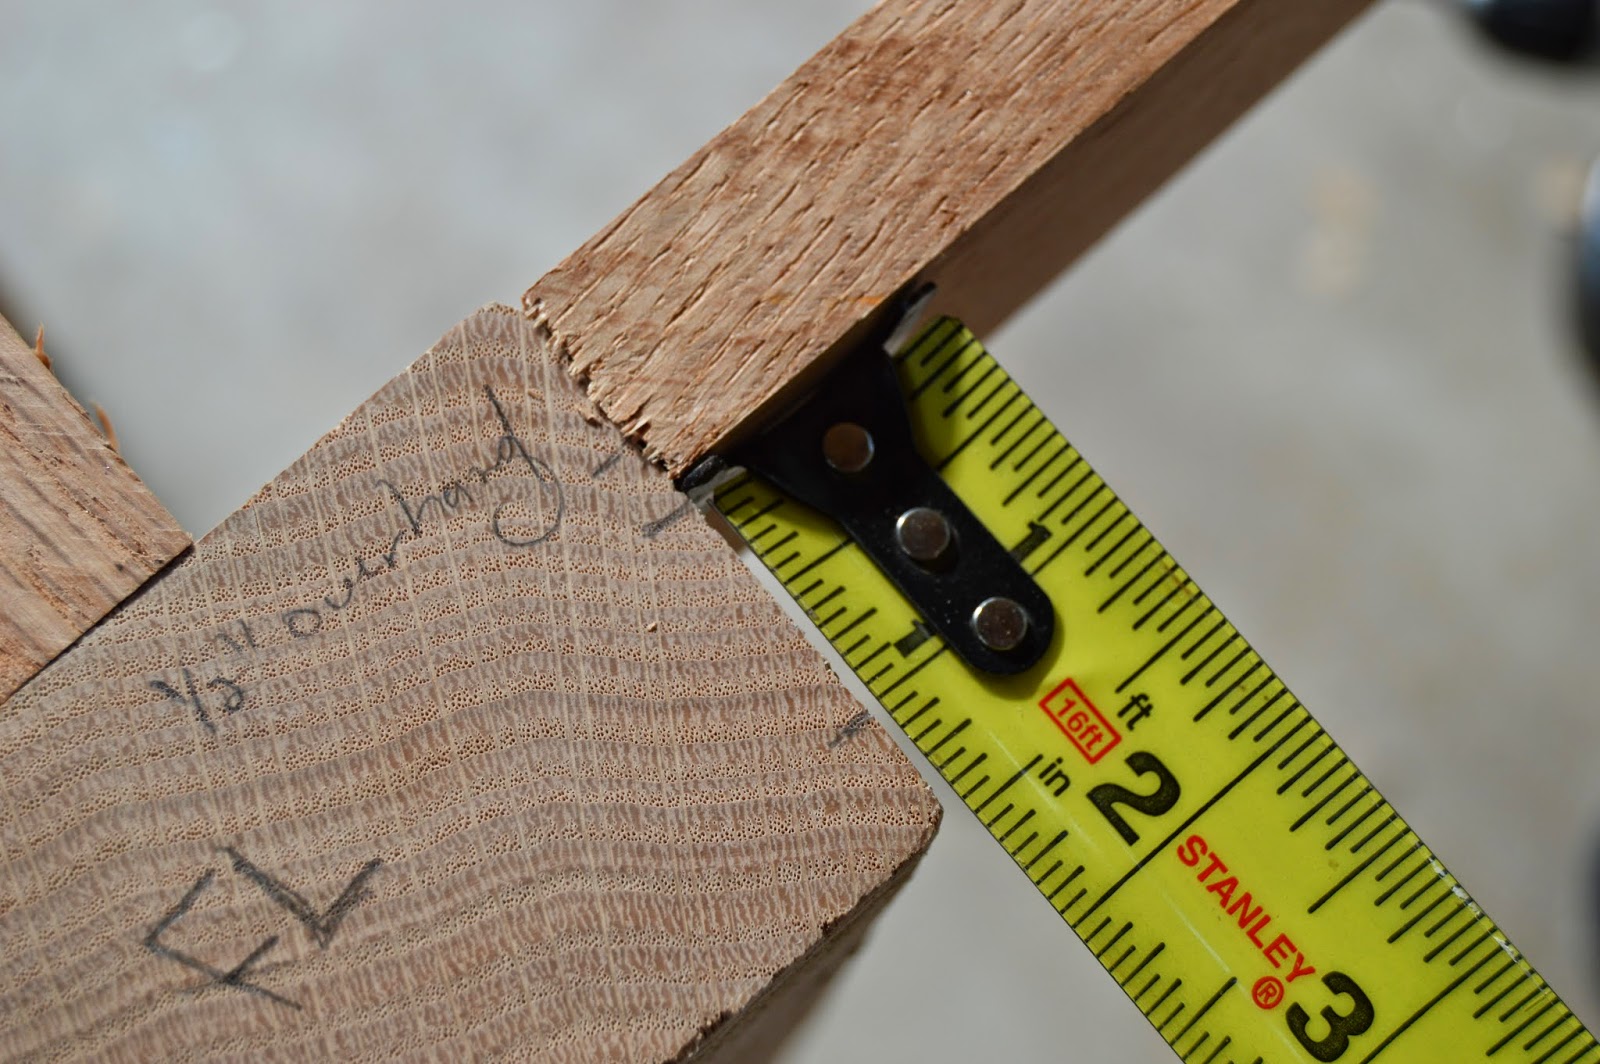
We like our supports to overhang the legs by about 1/4″. Work the support into the dados, check that the legs are straight with a level and clamp them until dry. Make sure to wipe off any excess glue that oozes out!

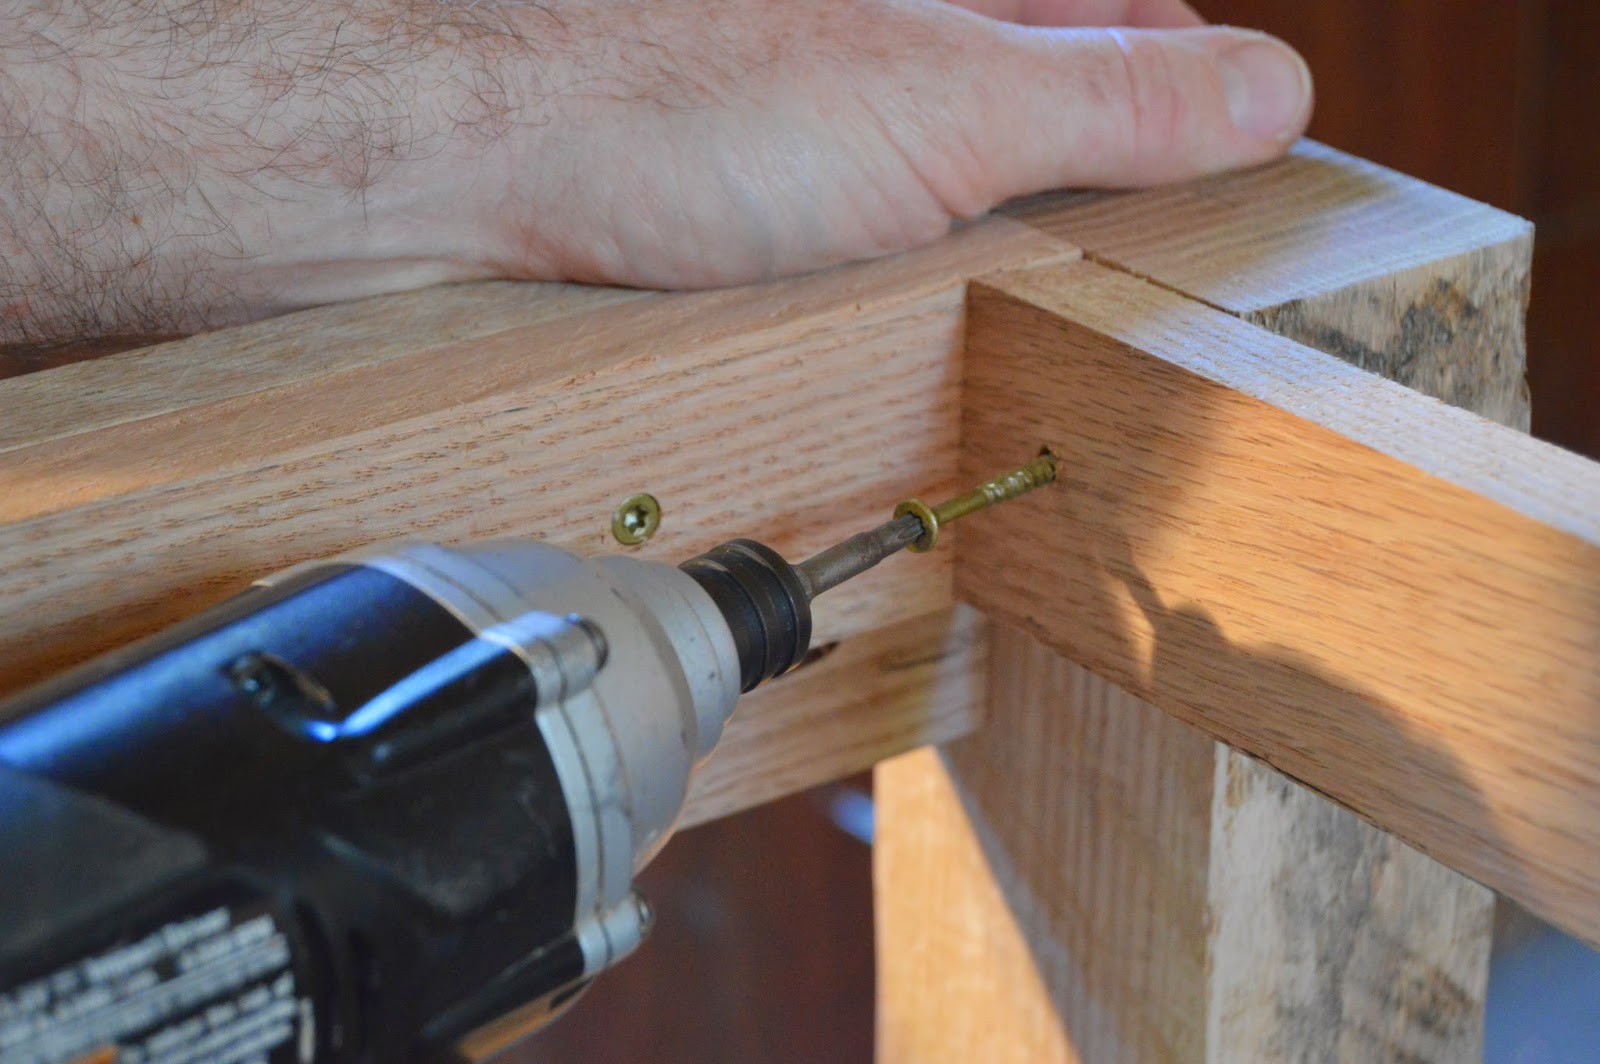
Before we can attach the front skirt, some support needs to be added behind it. Use the piece labeled Letter H and use 1 1/2″ Kreg screws to attach it to the front legs.


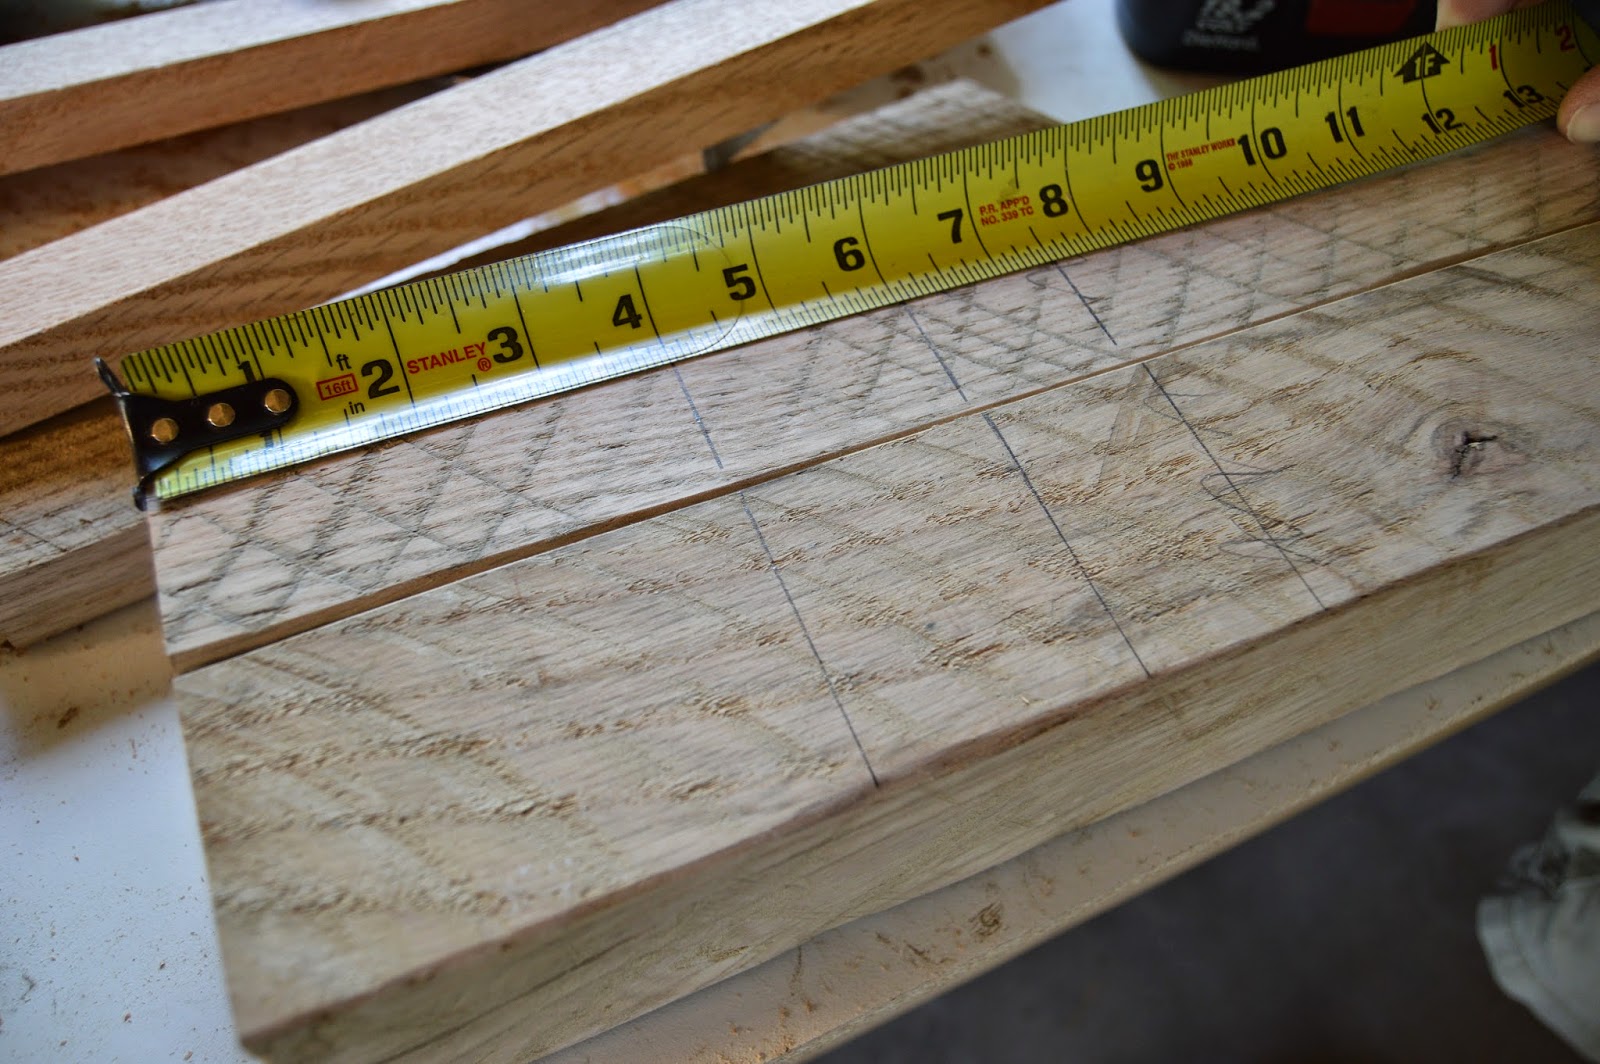
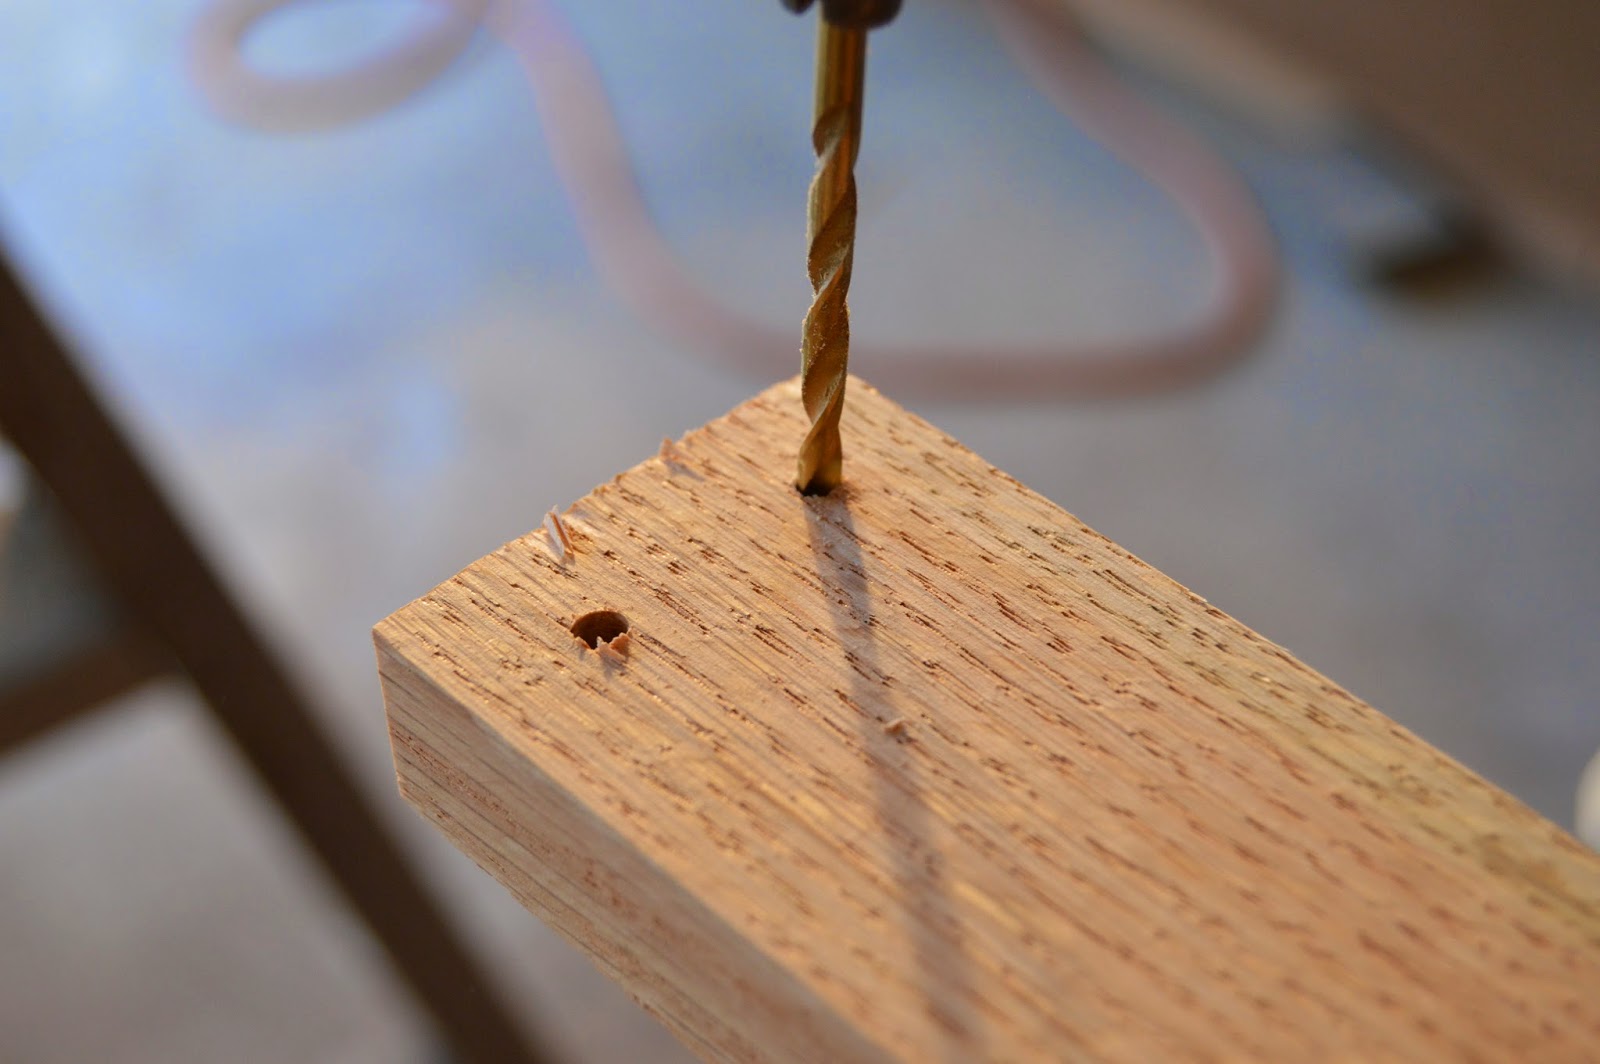
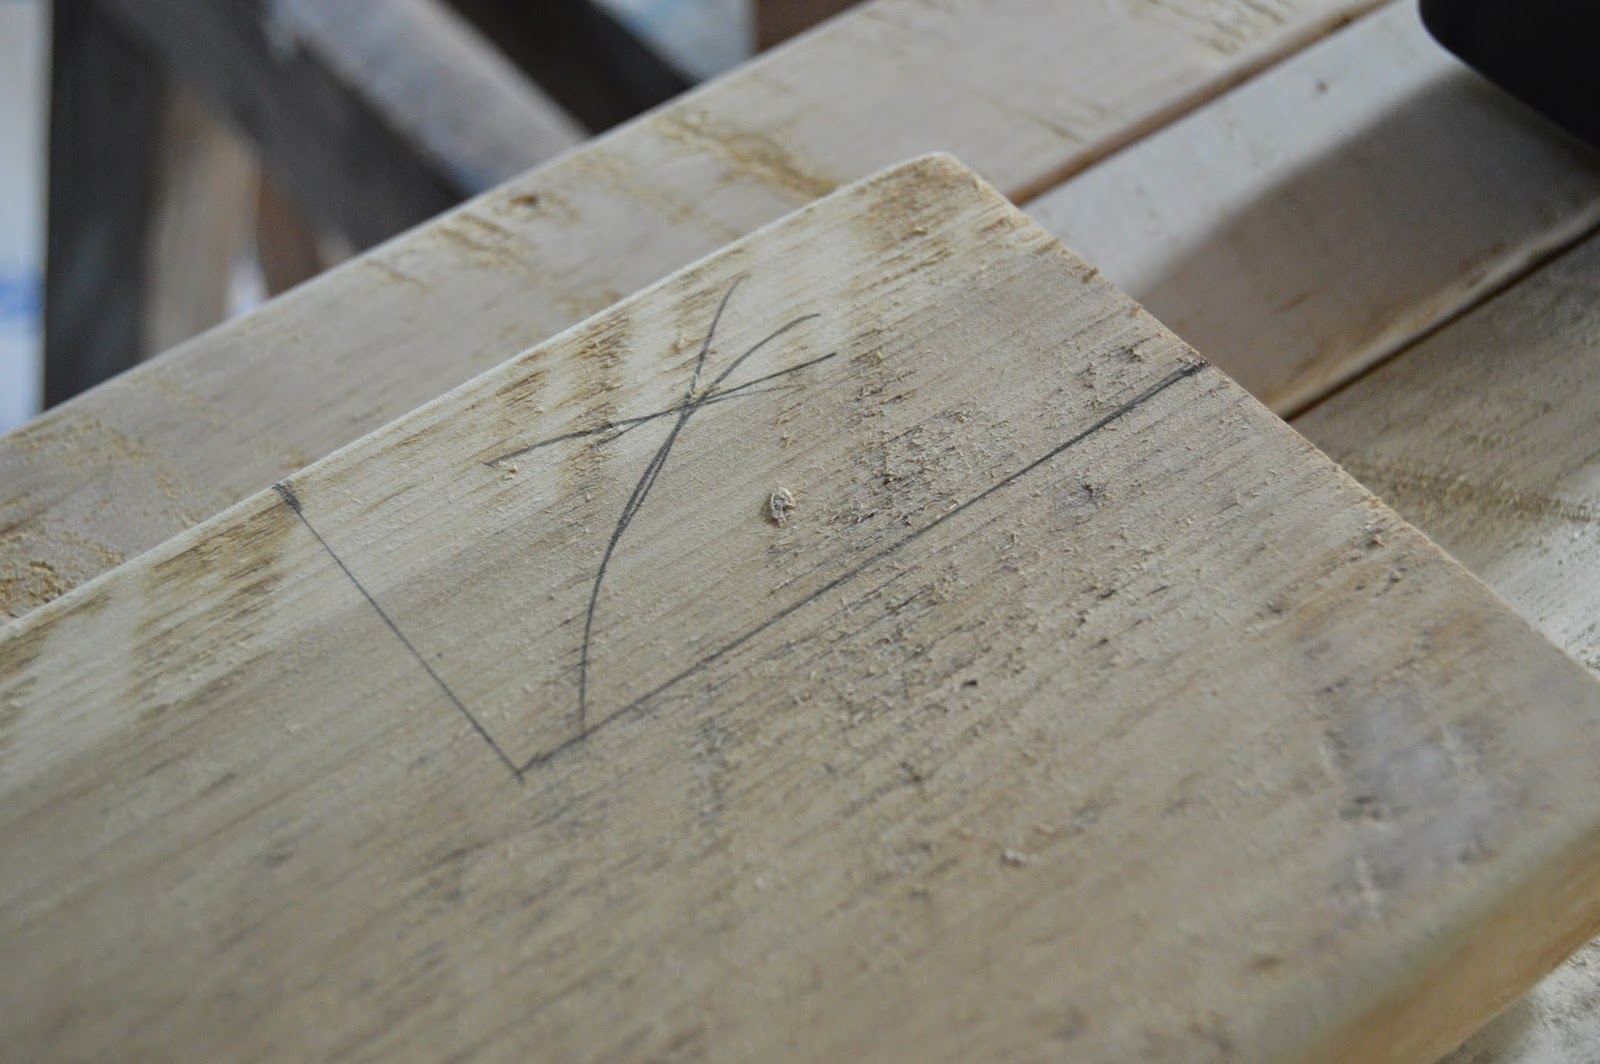
Lay your shelf pieces out to determine what order you want them to be in. We like to mix up different sizes of wood for a more rustic look. Make a pencil mark where each board starts and stops, this will help determine where pilot holes need to be drilled. If you’ll be staining this bottom shelf, apply a coat of stain to the inside edges before you attach anything.

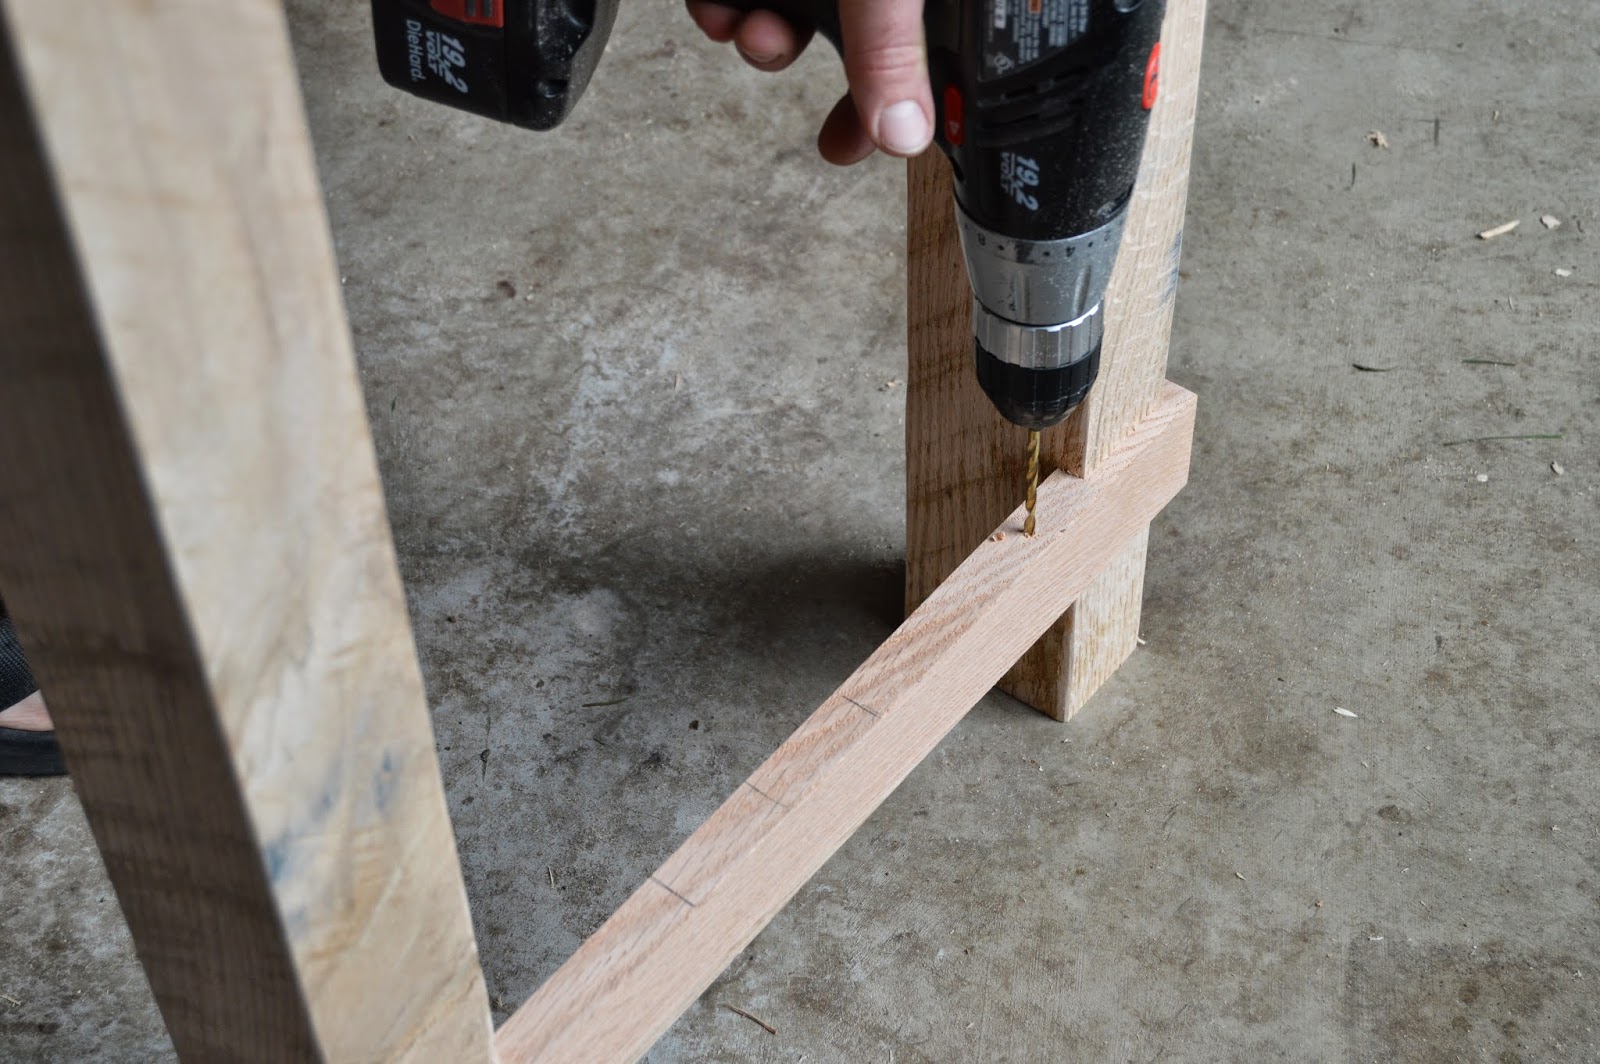
Move your table up onto some sawhorses, lay the bottom shelf pieces on top of the support and put the 3″ cabinetry screws through from underneath.


If you will be wrapping your front piece of bottom shelf around the front legs as we did, you’ll need to notch a corner out the shelf to make it fit.

This is the notch we cut out of our bottom shelf piece.


Using your pieces marked as Letter D, space them out evenly between the supports and attach with pocket screws.


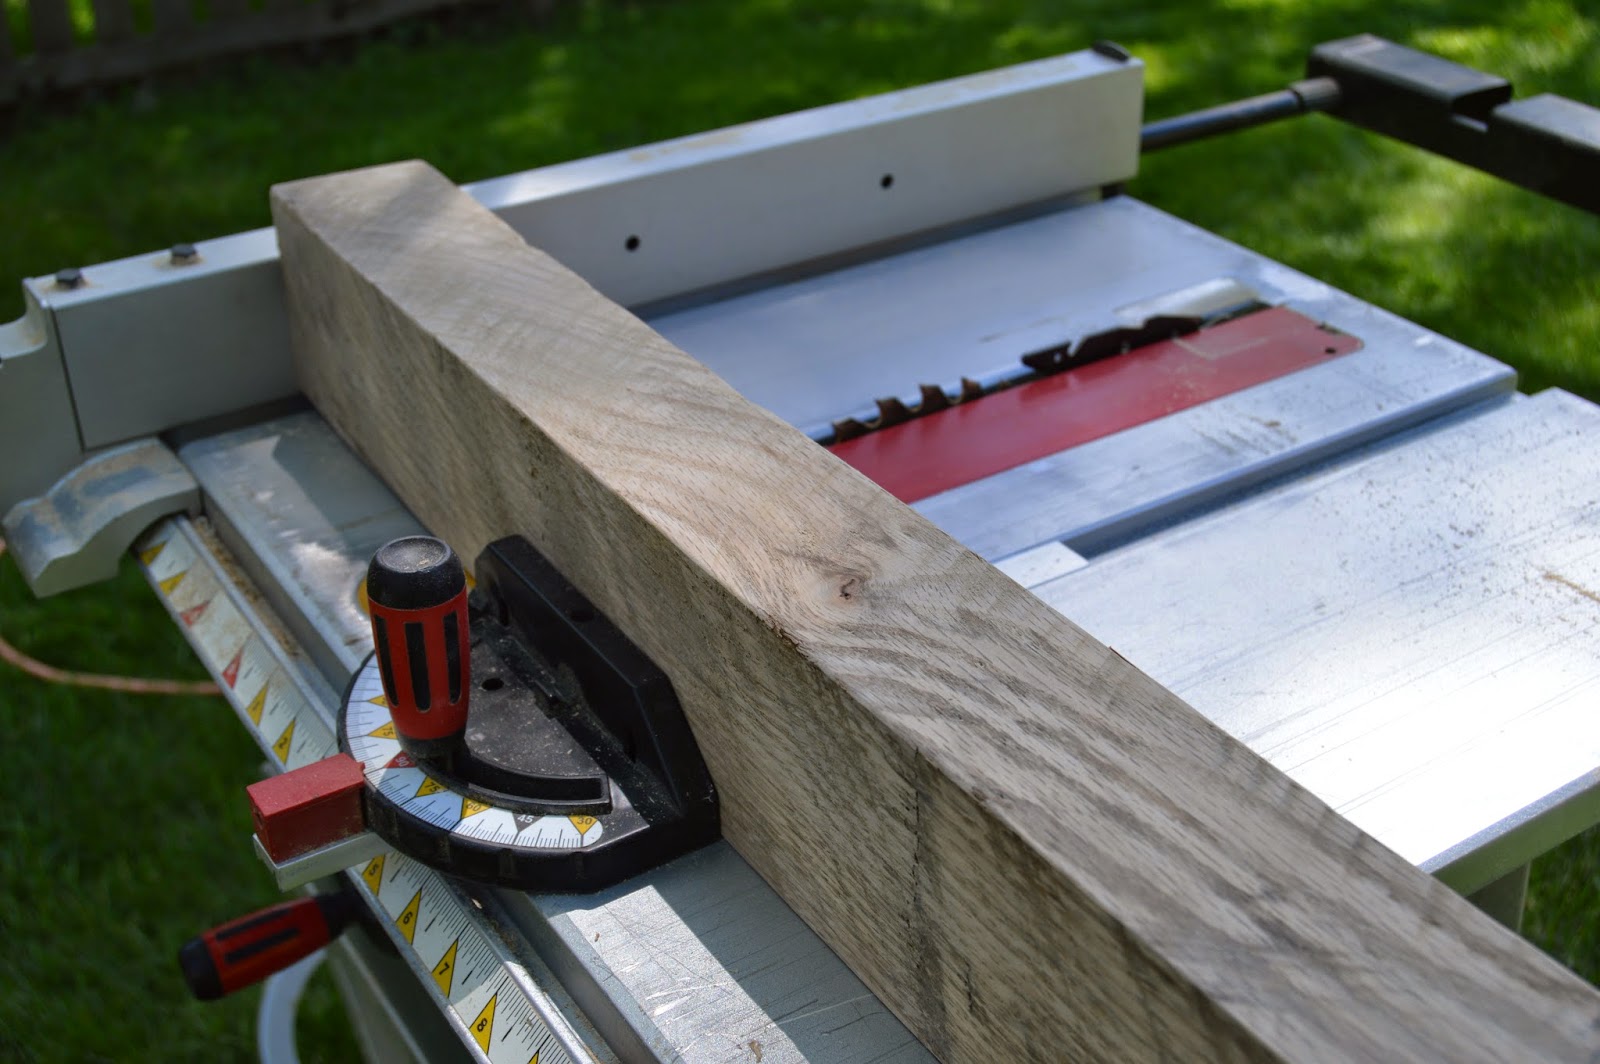
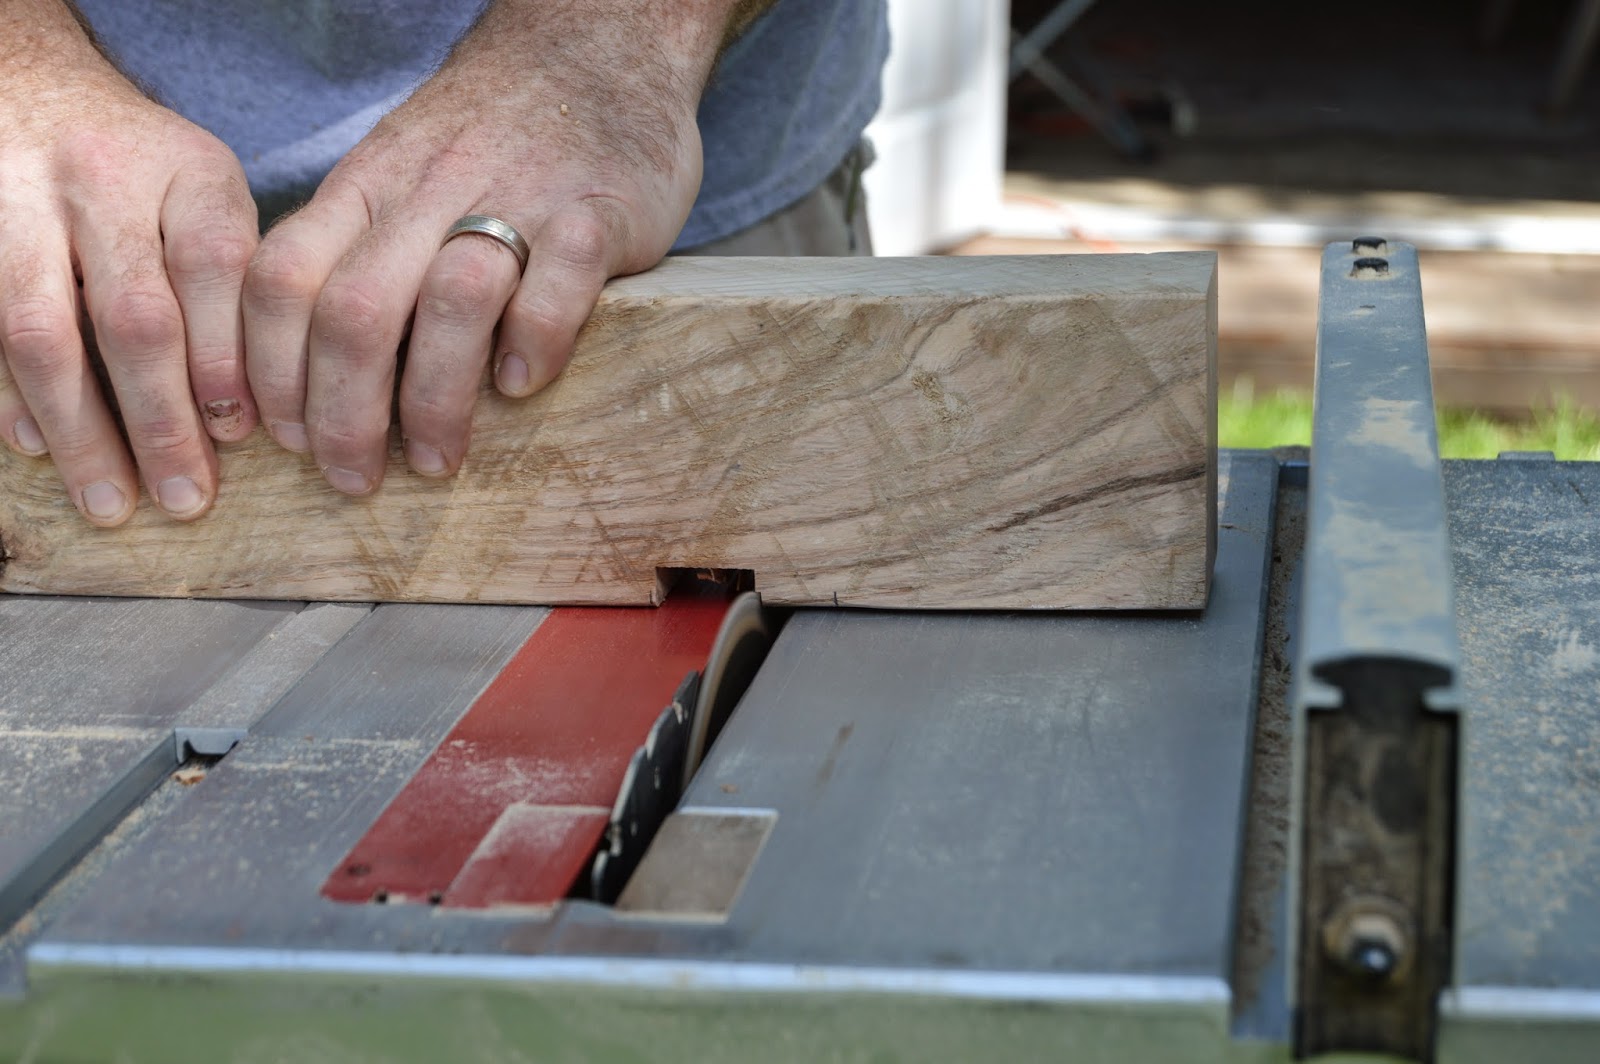
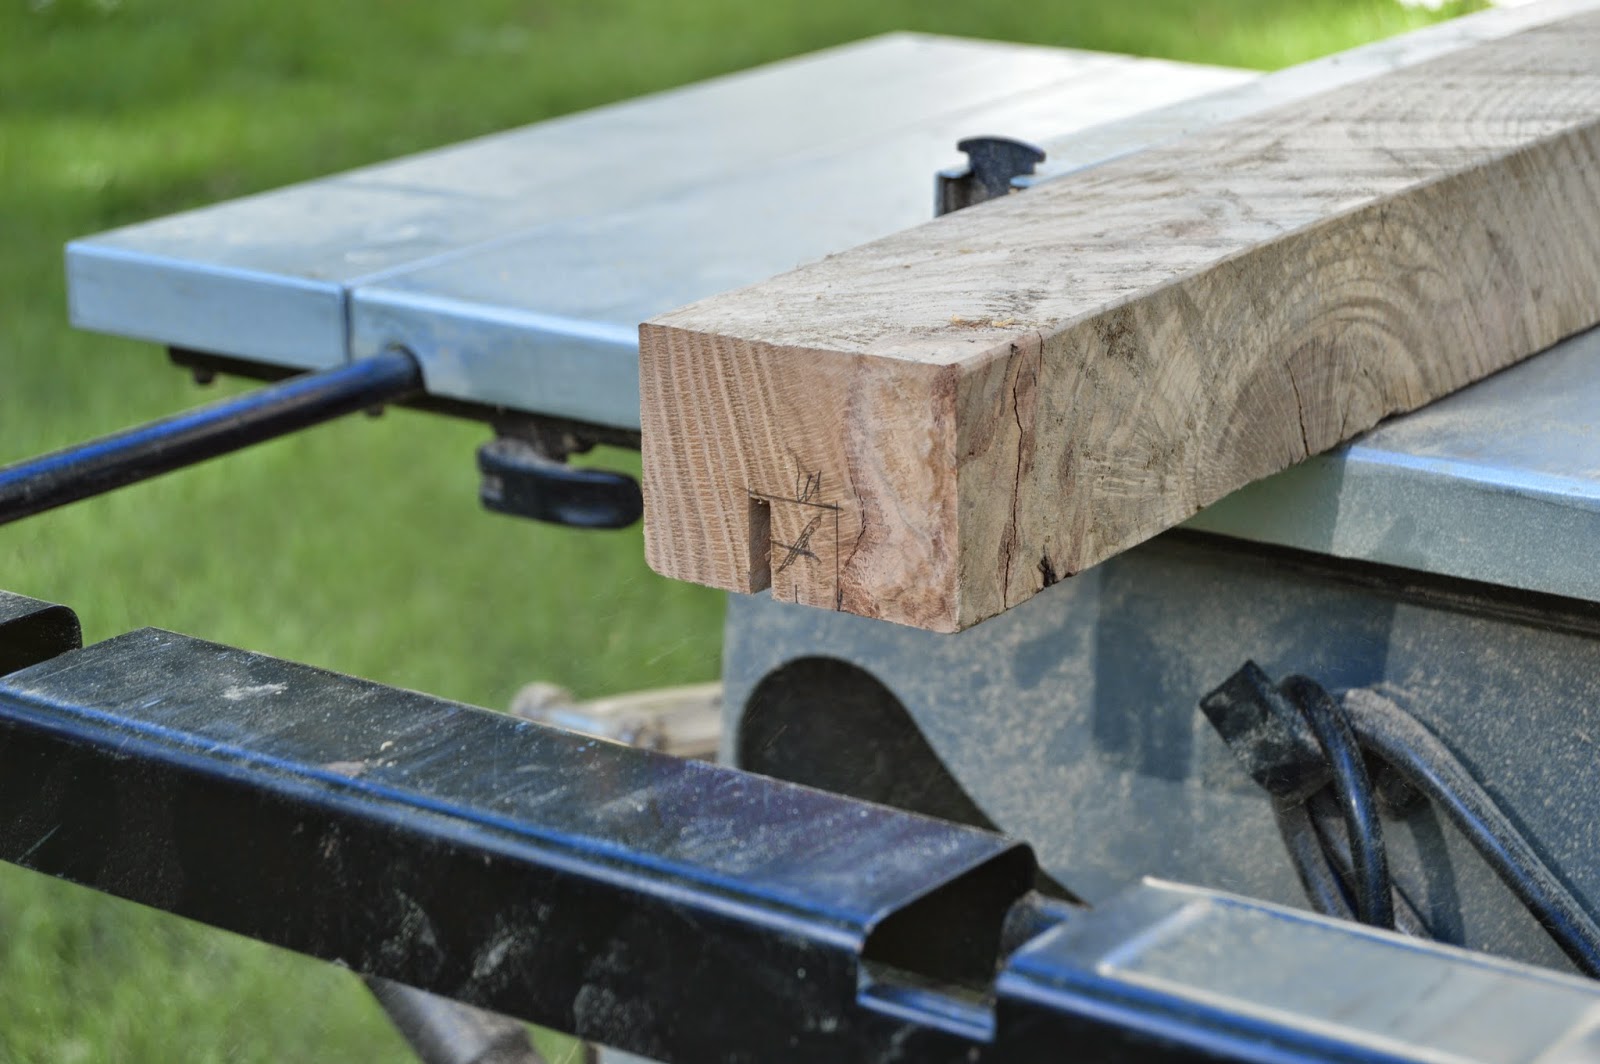
Using a table saw with the blade only set to go partway through the leg, make a series of cuts, each time moving the leg a little more towards the side so the saw continues to remove the excess wood.


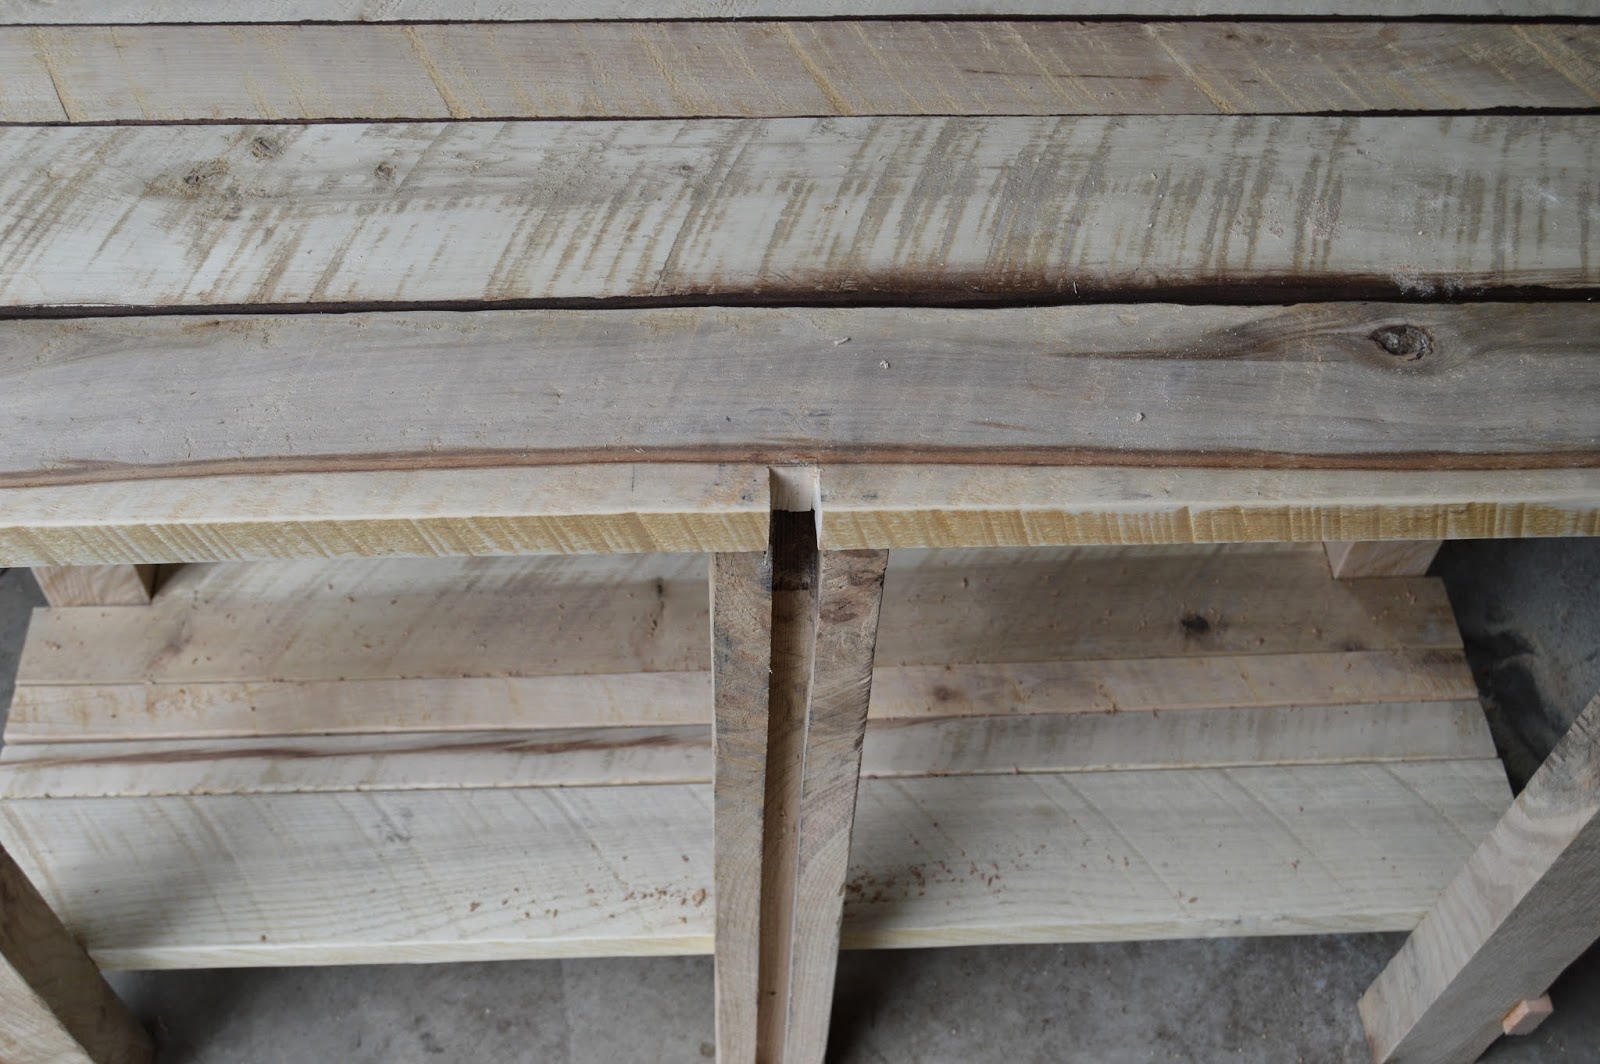
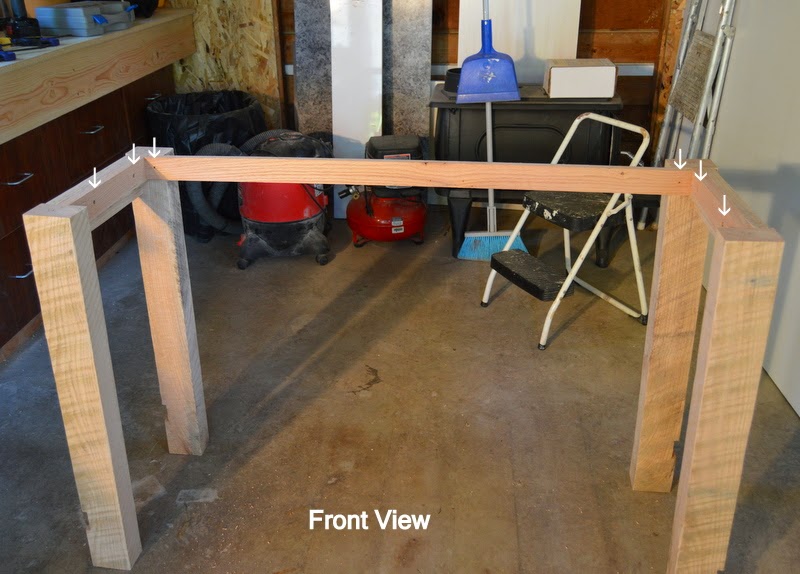
This is what the table should look like at this point.
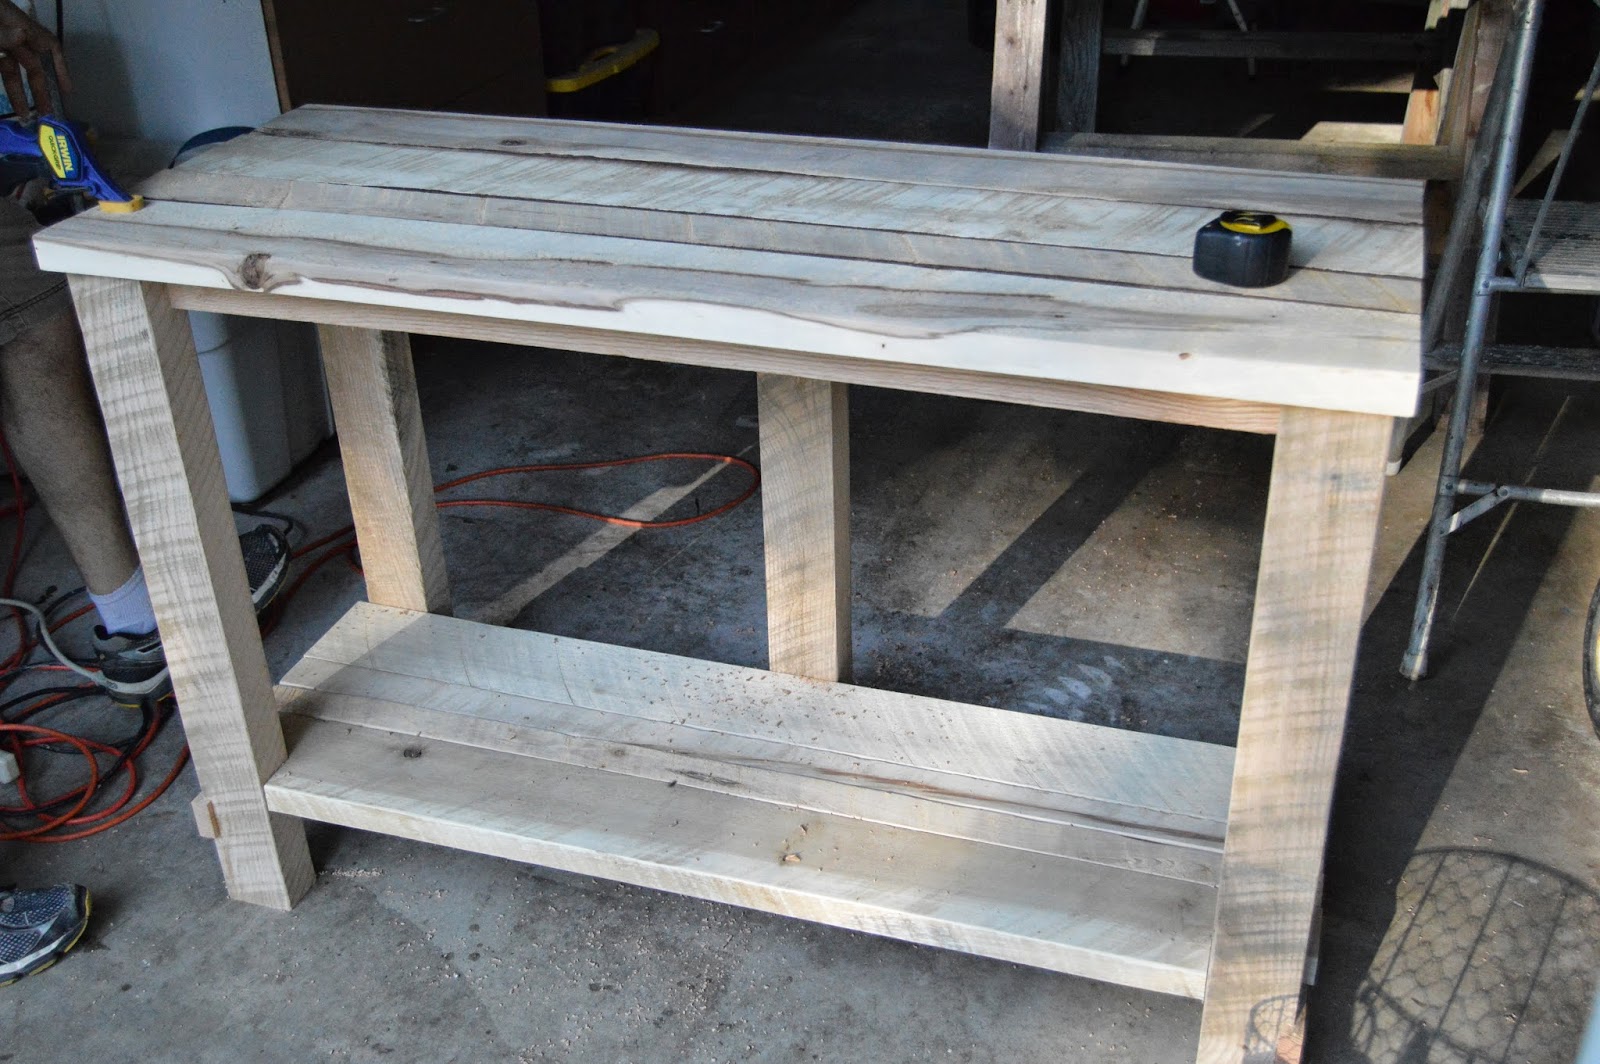

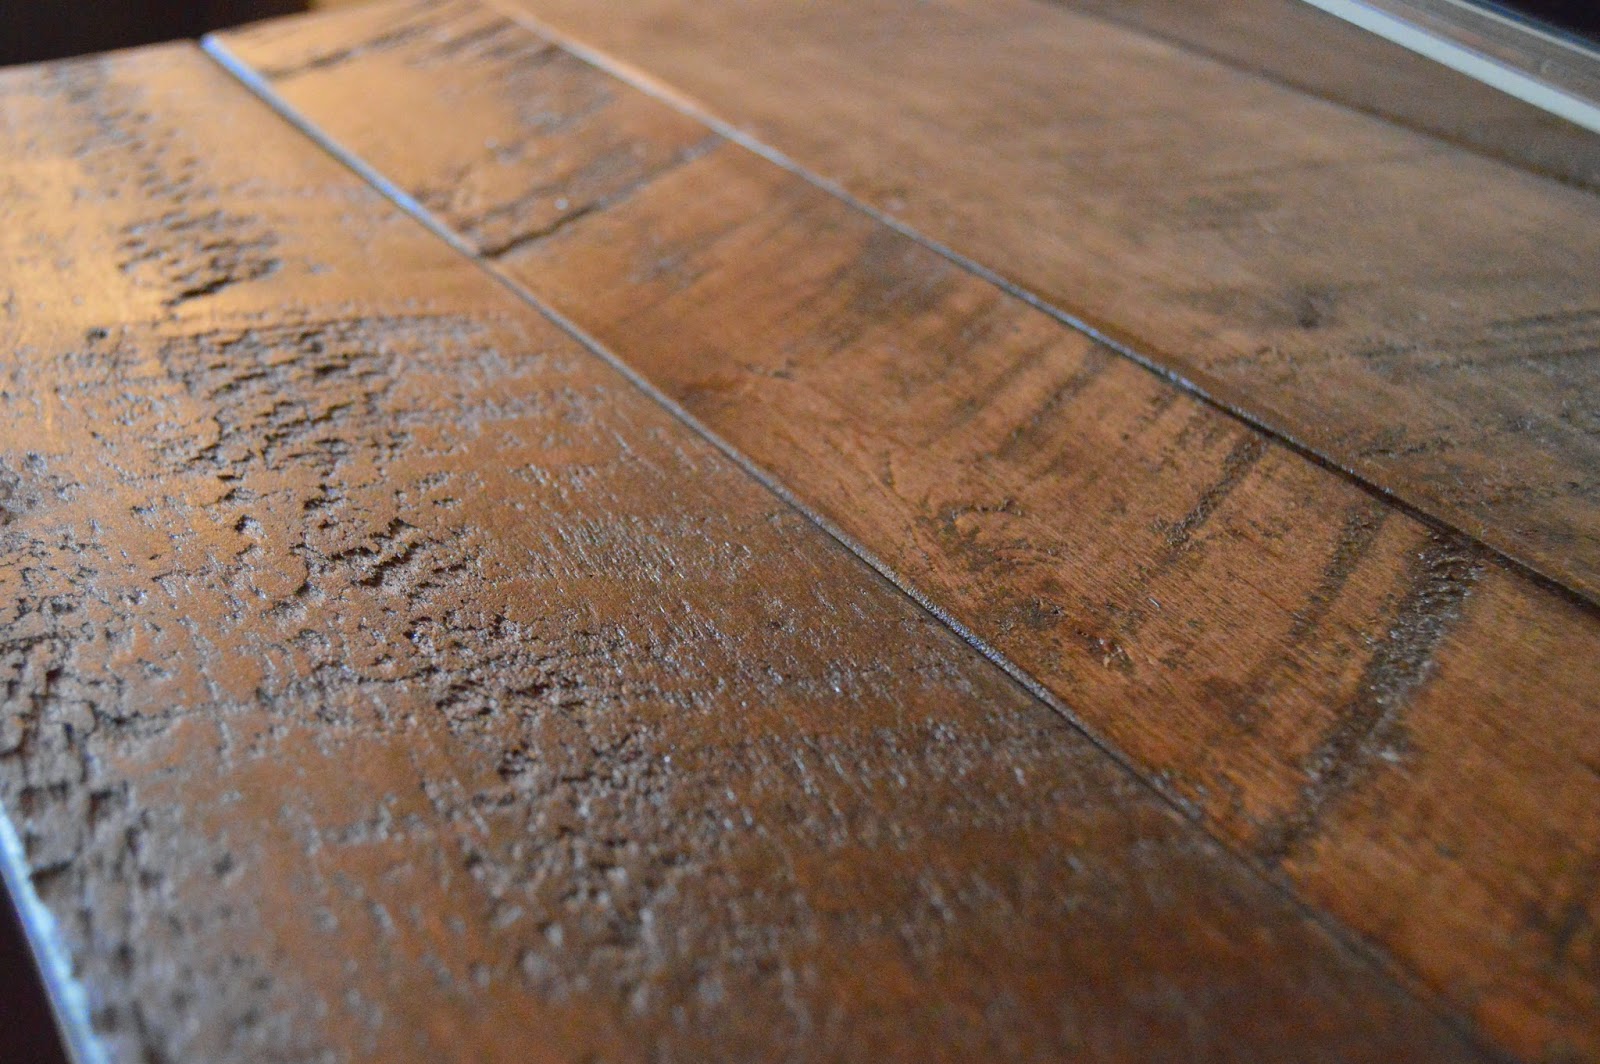
The table legs and bottom shelf are almost the same color gray as our walls – which I’m happy about because it makes the table blend into the room a little better. It feels like we’ve just added in some additional texture with the rough wood.

Our outlet to plug in the TV also happens to be perfectly centered behind the middle wooden leg, so it is hidden as well!
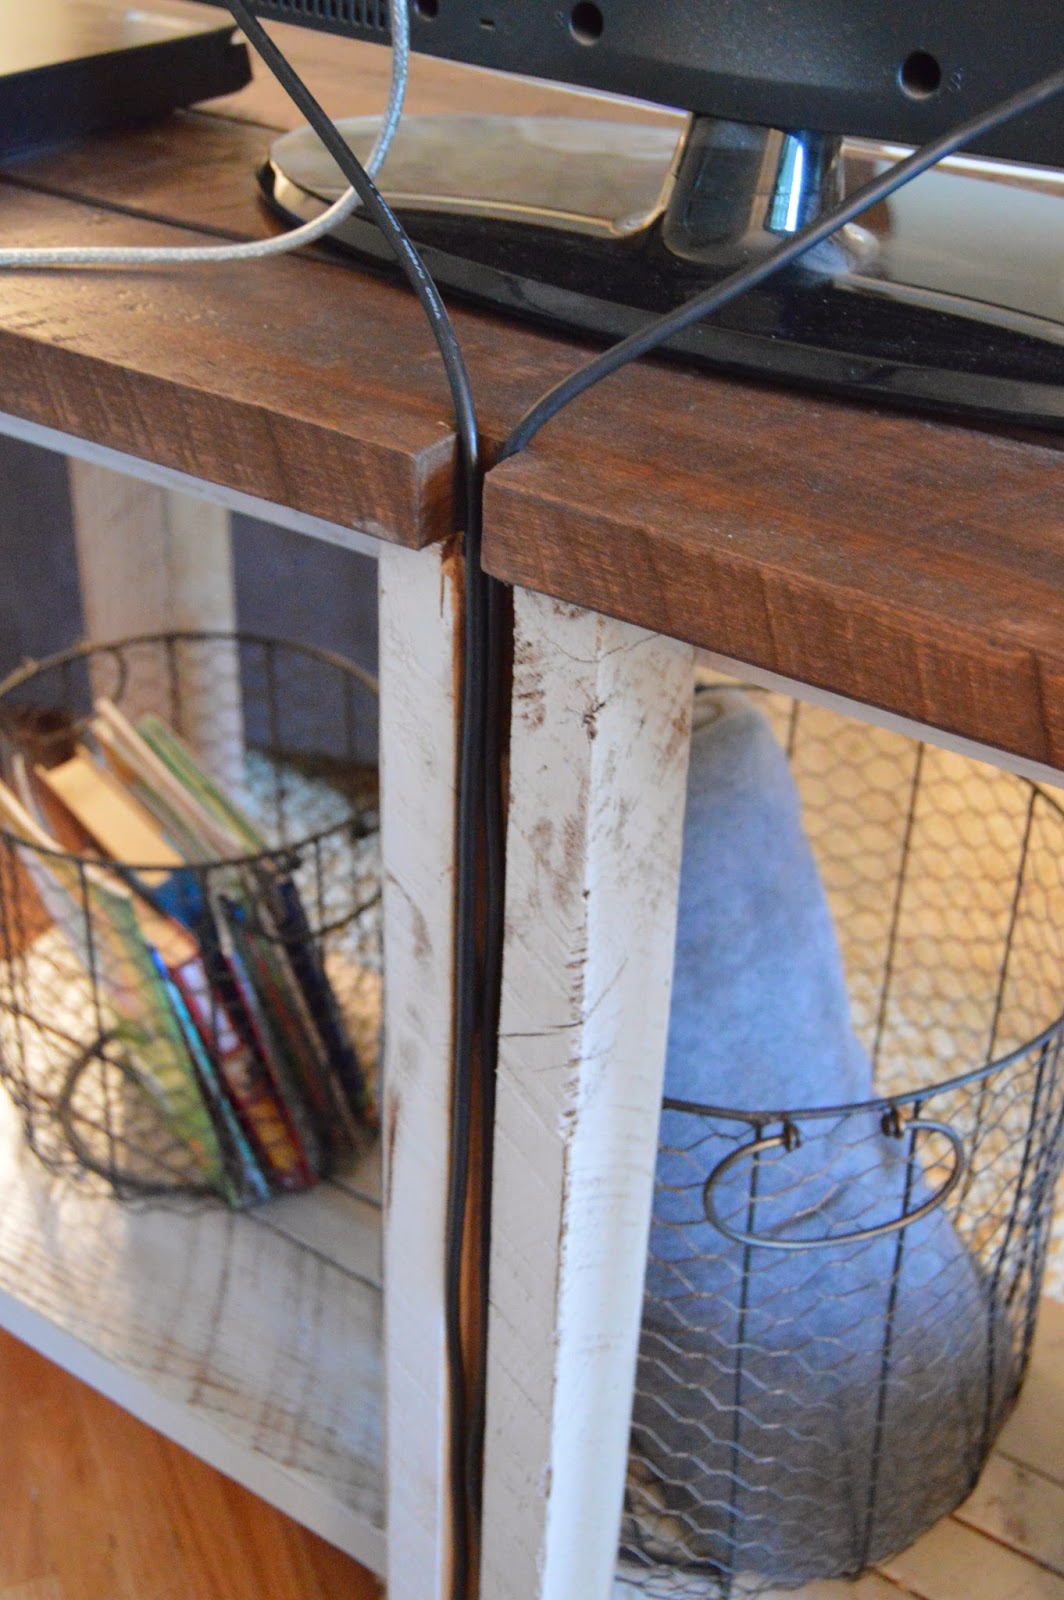

Here’s a close up of the top of the table.

If you’re looking for more project tutorials, stop by our blog and check out some of the other things we’ve been working on! Thanks so much for having me Jen!!
***********
Thanks Heidi! That table is amazing! It looks so awesome in the space, and I love the wire baskets underneath too. Heidi has such awesome ideas on her blog. Here are a few of her most popular ones that you should check out. She has some serious talent!
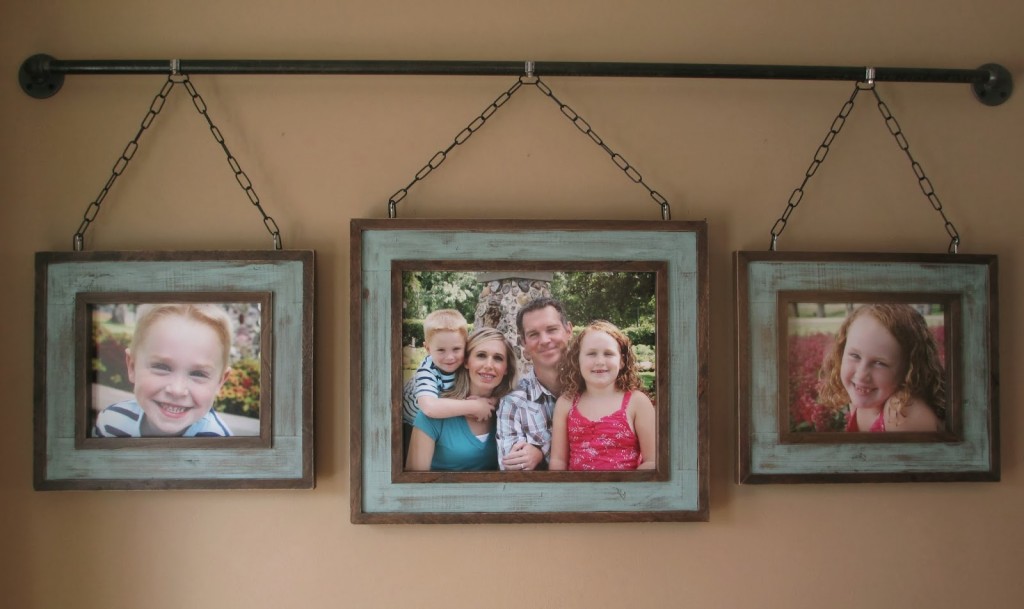
This Industrial Iron Pipe Family Photo Display is awesome isn’t it? I love how you can fit such big photos. Such a great piece for a big wall.
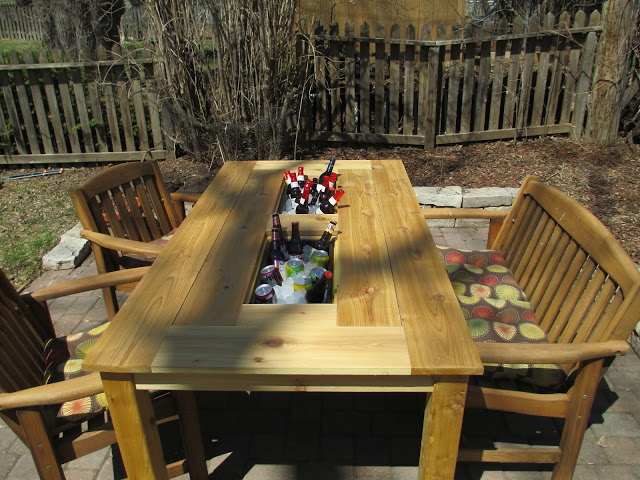
She also has this amazing tutorial to build this outdoor Patio Table with Built-In Ice Coolers that has places for flowers, iced drinks, or anything else you want to put there. SO cool!!
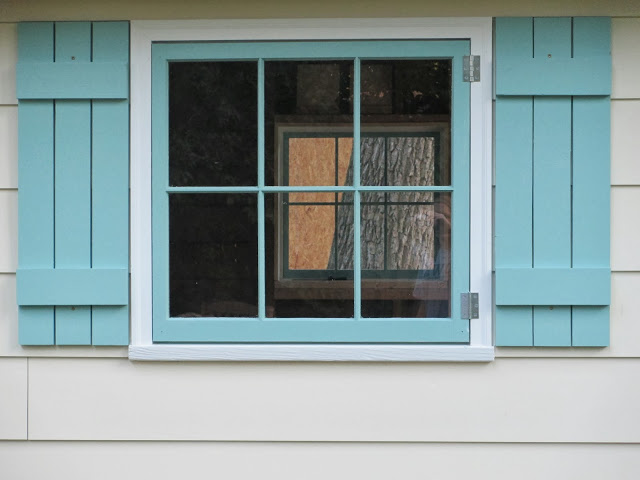
She also has a fun tutorial that will help you build your own shutters on a budget. These Easy Breezy Beautiful Shutters turned out so cute! And, they only cost her about $5/shutter to build.
Make sure to follow Kruse’s Workshop and


That’s pretty cool how you hid the cords in the leg of the table. I really like the table with the cut outs for beer, plants what ever.
Impressive.
Thanks for sharing
I LOVE how you added the back middle piece to hide the cords!!!! Great project! Thank you for sharing!
Wow, that is stunning! Looking forward to peeking at other projects!