DIY No-Carve Monogram Pumpkin
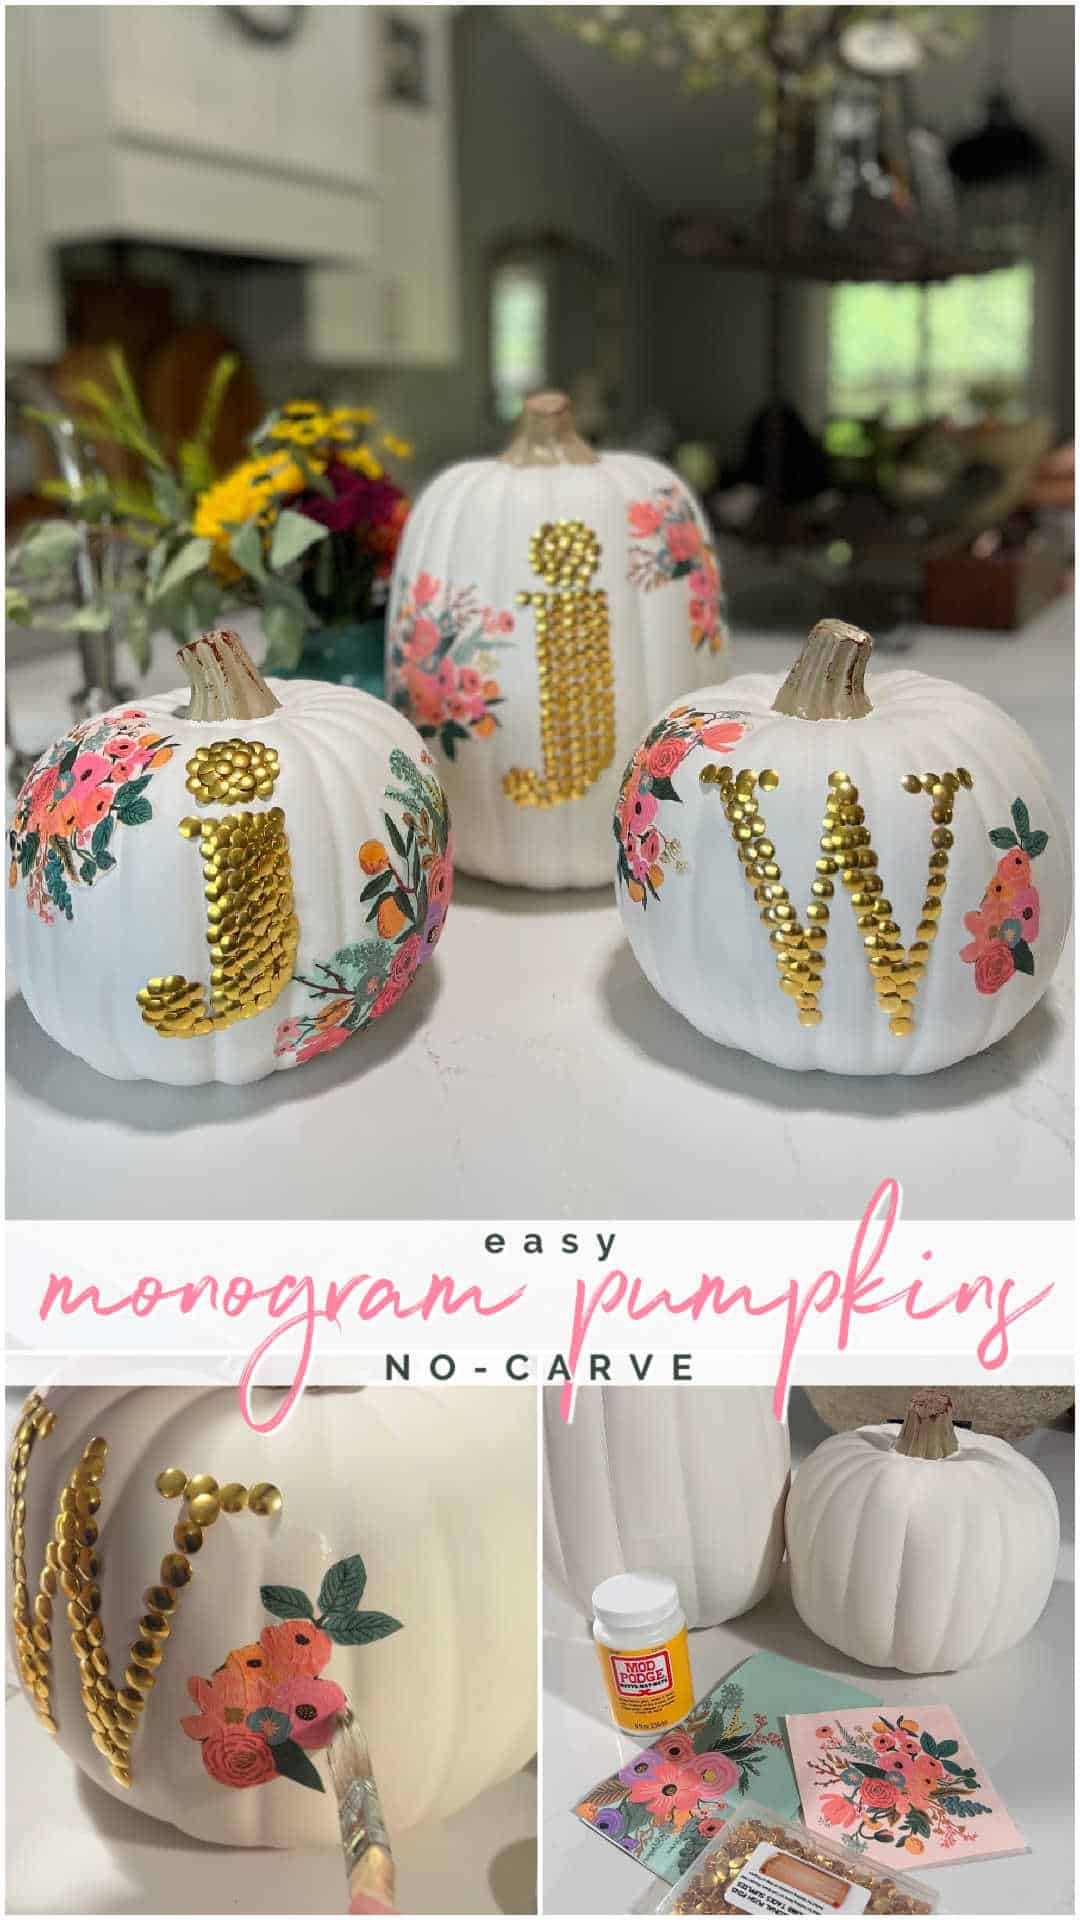
DIY No-Carve Monogram Pumpkin. Create a stylish, no-carve monogram pumpkin for fall using gold thumbtacks and decoupaged florals cut from napkins—perfect for adding a personal touch to your seasonal decor!
DIY No-Carve Monogram Pumpkin is the Easiest Pumpkin Craft
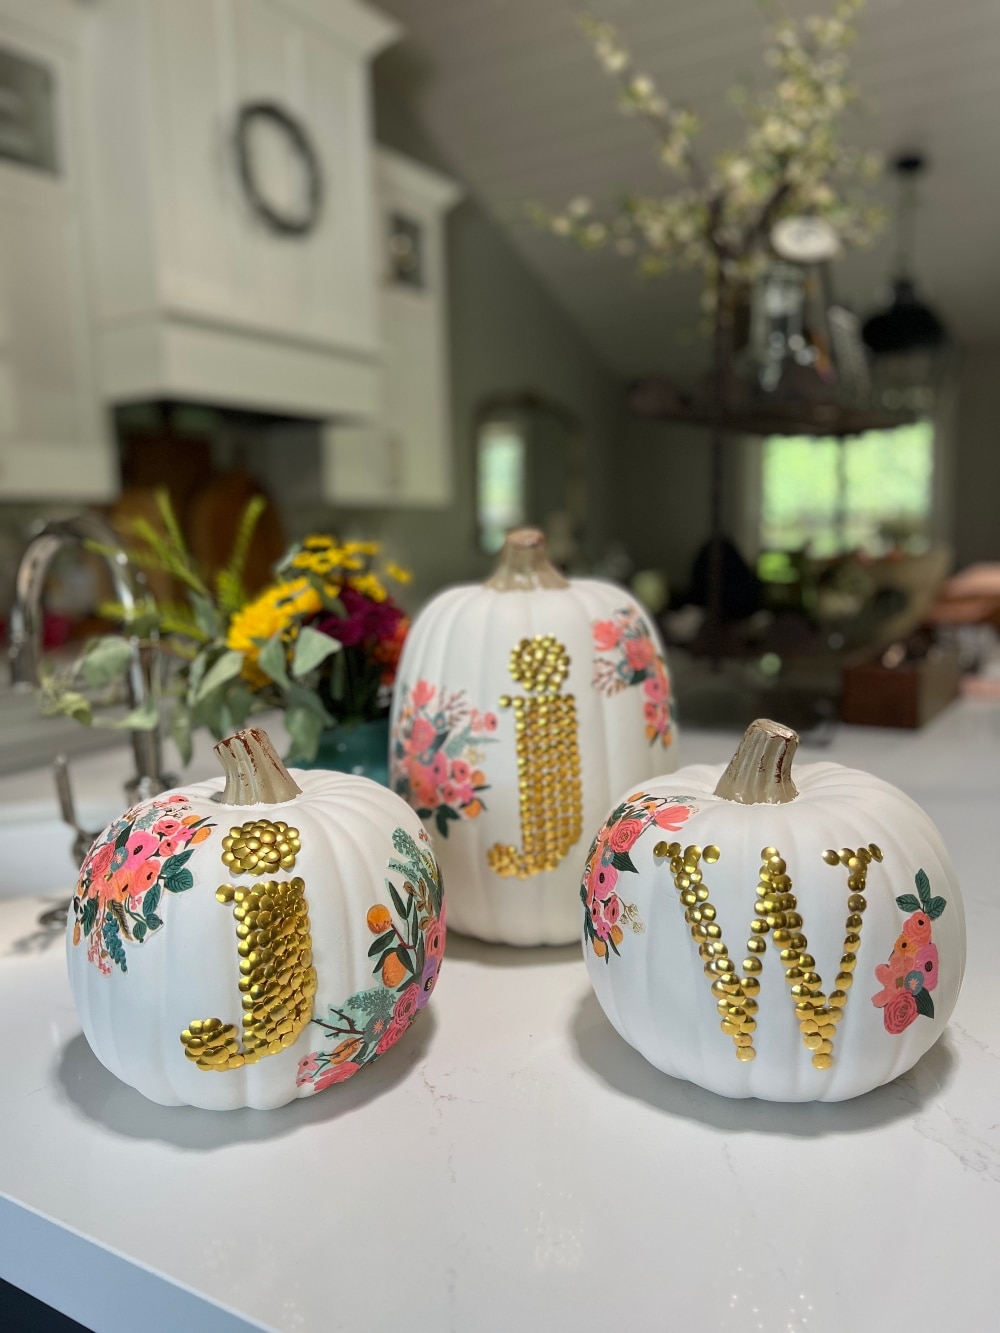
Fall is all about pumpkins! Whether you’re decorating your front porch, adding a touch of fall to your mantel, or looking for a fun crafting activity, pumpkins are the ultimate fall decor item. Over the past 17 years that I’ve been blogging and creating content, I’ve crafted literally hundreds of pumpkin projects. From painted pumpkins to fabric-covered pumpkins, I’ve tried it all. But this project? It’s one of my favorites! Not only is it super simple and quick to make, but it’s also a perfect craft to do with family or friends. I recently made these DIY no-carve monogram pumpkins with my mom and sisters, and we had the best time together. If you’re looking for a fun, personalized fall craft that requires minimal supplies, this is it!
Six Best DIY Pumpkin Crafts
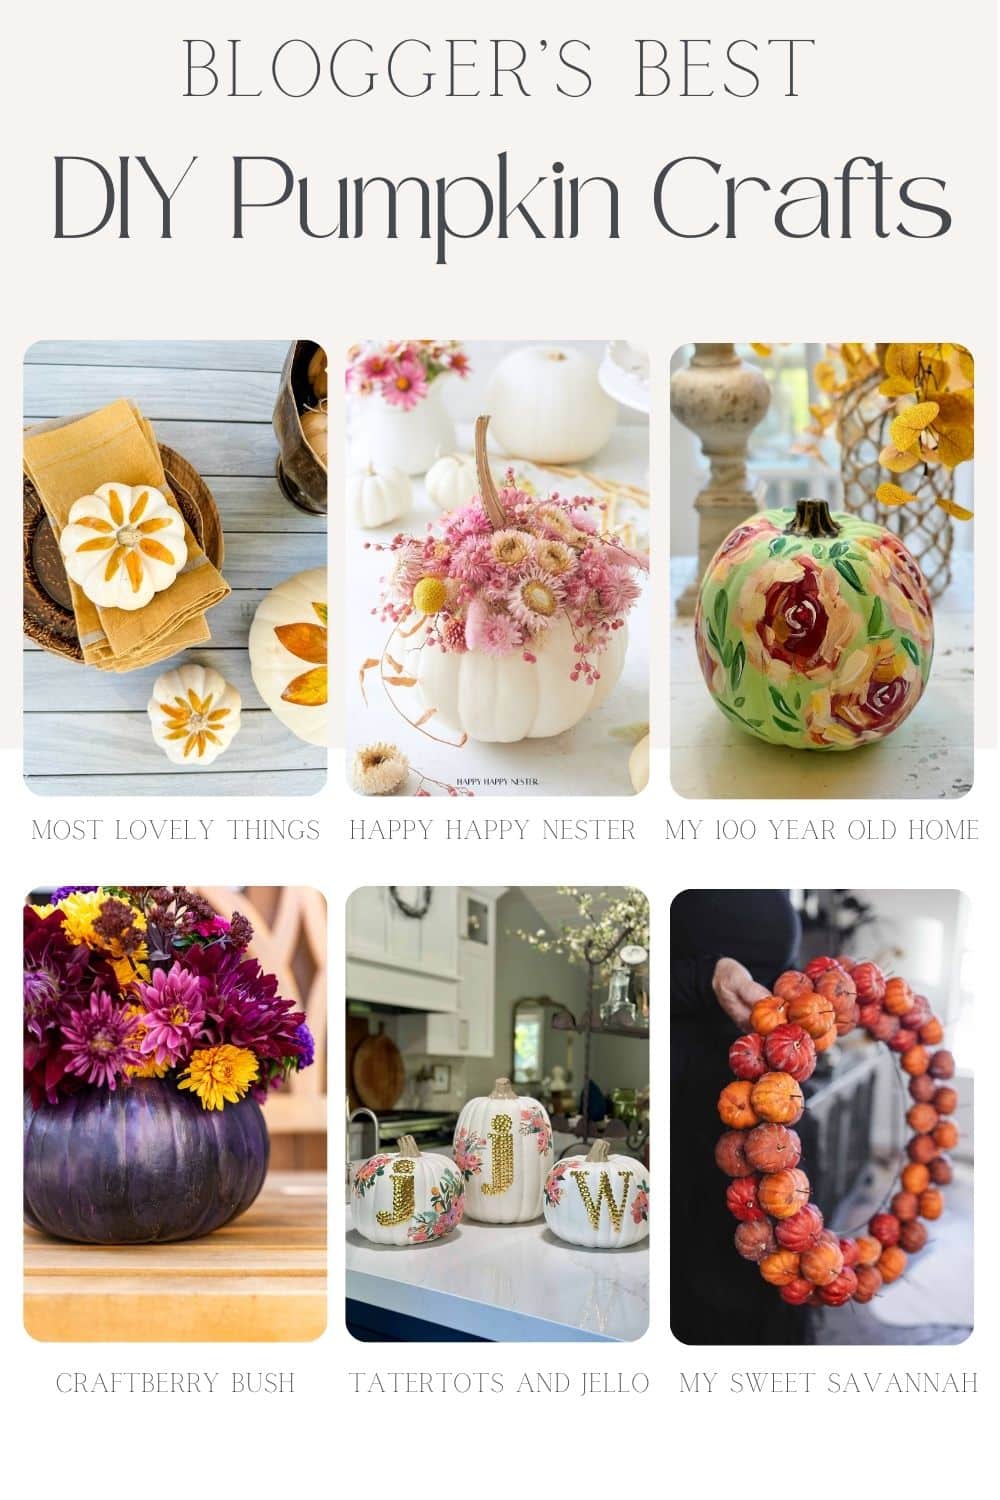
And today I am joining five friends who are sharing the prettiest pumpkin to make! Be sure to scroll down and PIN the tutorials to make later!
Supplies You Will Need
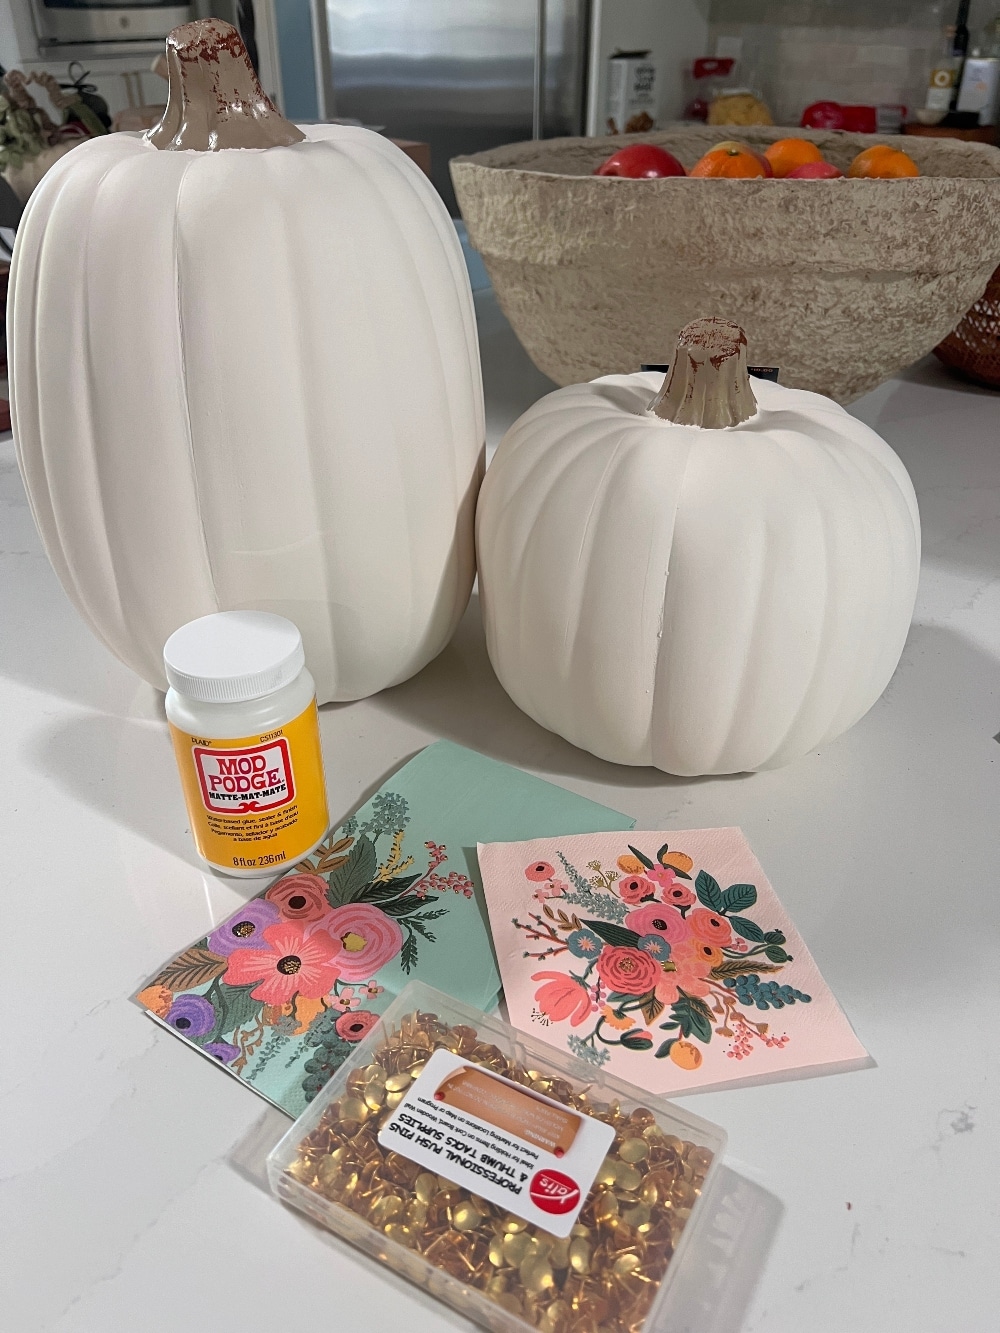
One of the best parts about this DIY project is how few supplies are needed. Here’s what you’ll need:
- Faux pumpkin
- A napkin with a design you love
- Matte Mod Podge
- Gold thumbtacks
- Pencil
That’s it! These are probably items you already have around the house or can pick up at your local craft store. It’s budget-friendly, which makes it even better.
Step 1: Trace Your Monogram
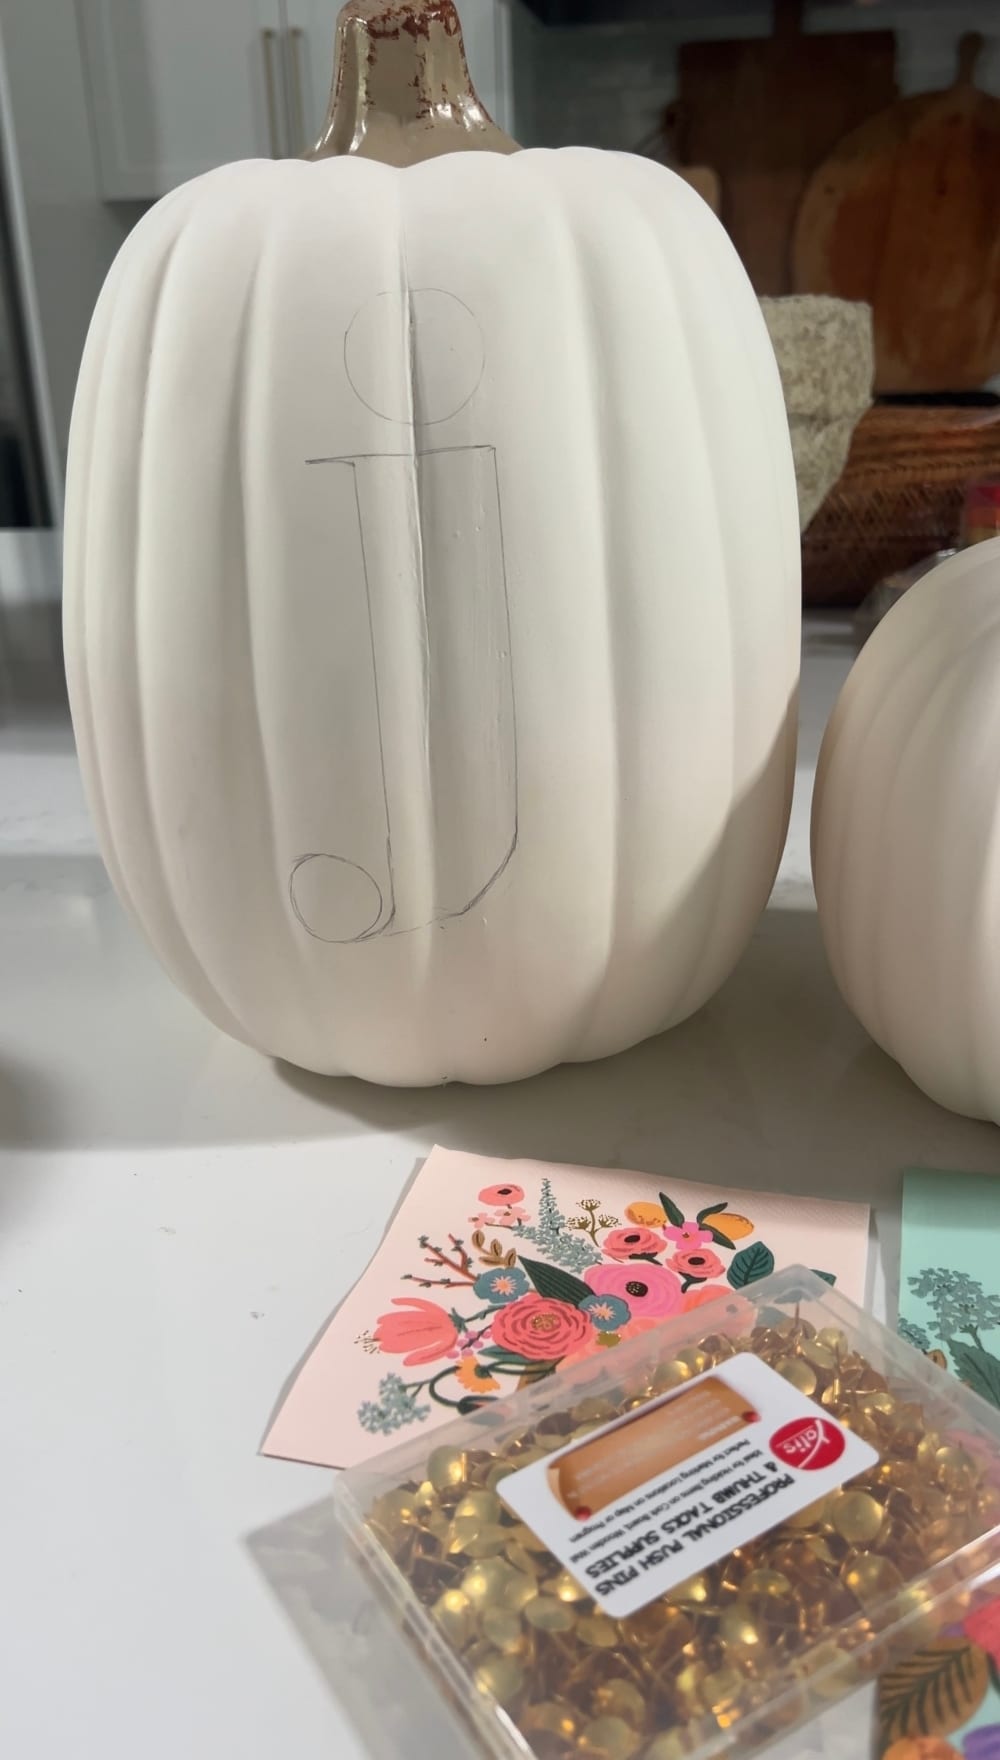
The first step is to trace the letter you want to monogram on your pumpkin. You can either freehand it or print out an example of the letter to trace. I like to use a straight edge for any straight parts of the letter and something round, like a cup or small plate, for the curves. Here’s a helpful tip: don’t center the letter! When you place your pumpkin on the floor or a surface, the top part of the pumpkin is the most visible. To ensure your monogram is seen, trace the letter slightly higher than the center of the pumpkin.
Step 2: Apply the Thumbtacks
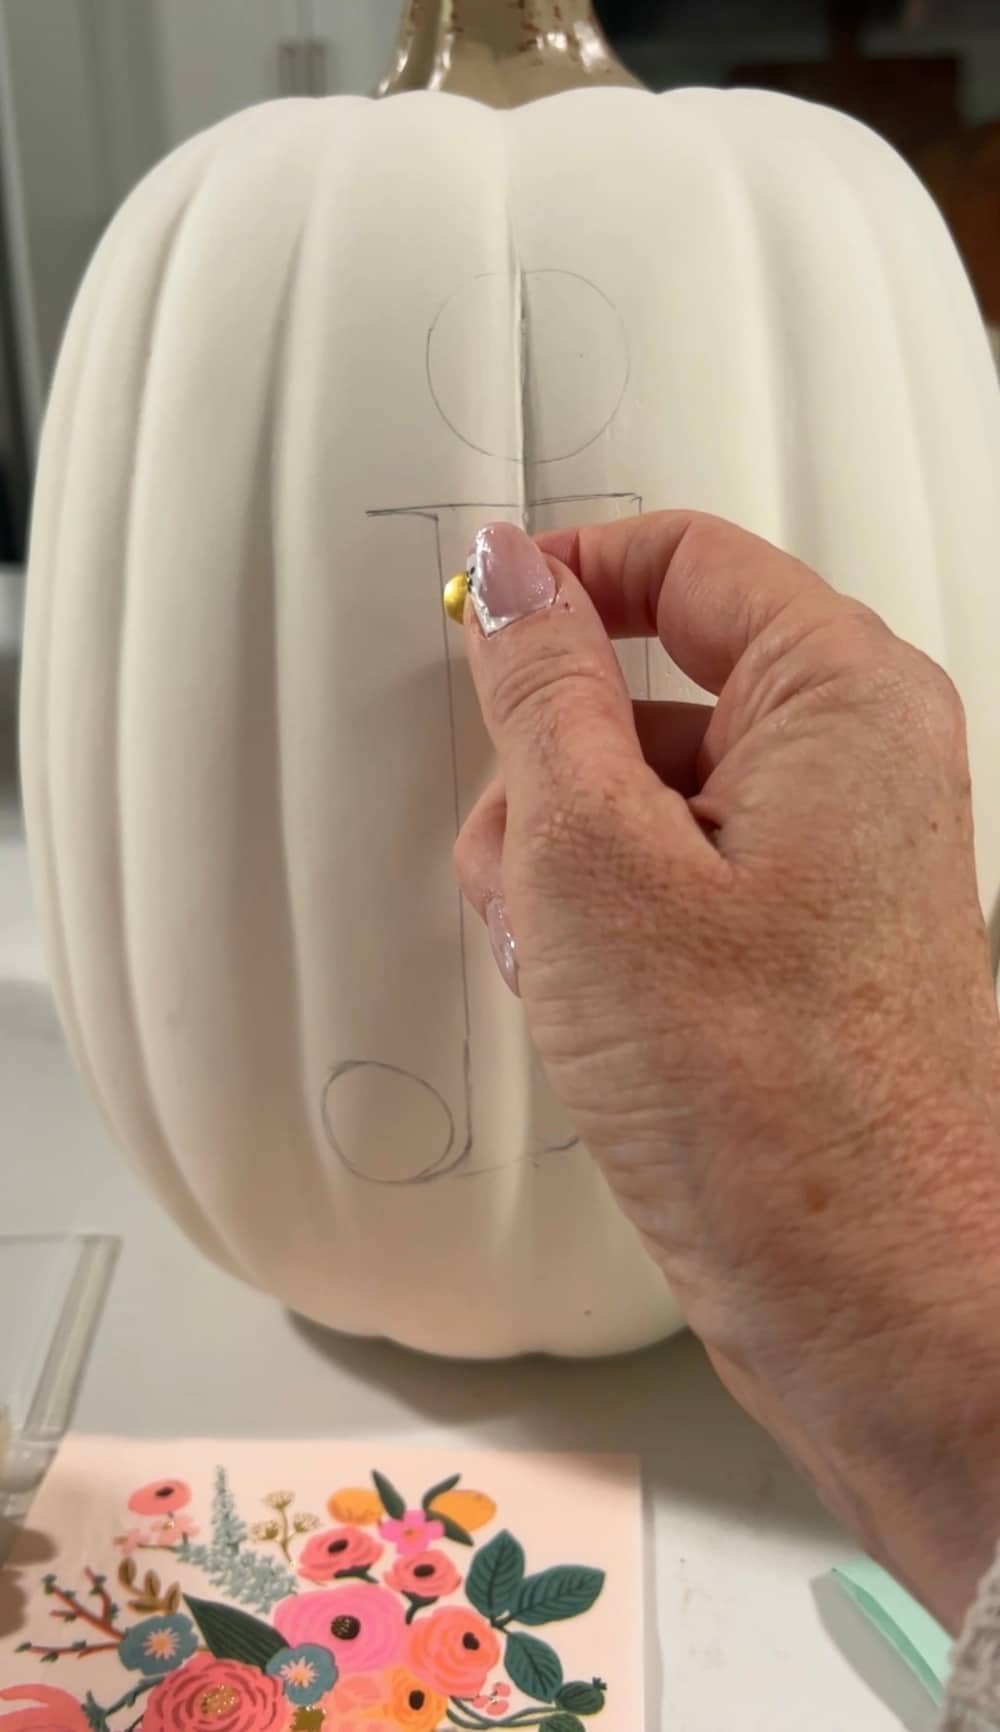
Once your letter is traced, it’s time to start applying the thumbtacks! This step is incredibly satisfying. I’ve found that it’s easiest to center the thumbtack on the lines instead of trying to line up the edge of the thumbtack with the line. This technique makes the lines appear much straighter. Another tip – to make it easier to control, you can put the pumpkin between your knees to steady it while you insert the thumbtacks (see my cute mom below).
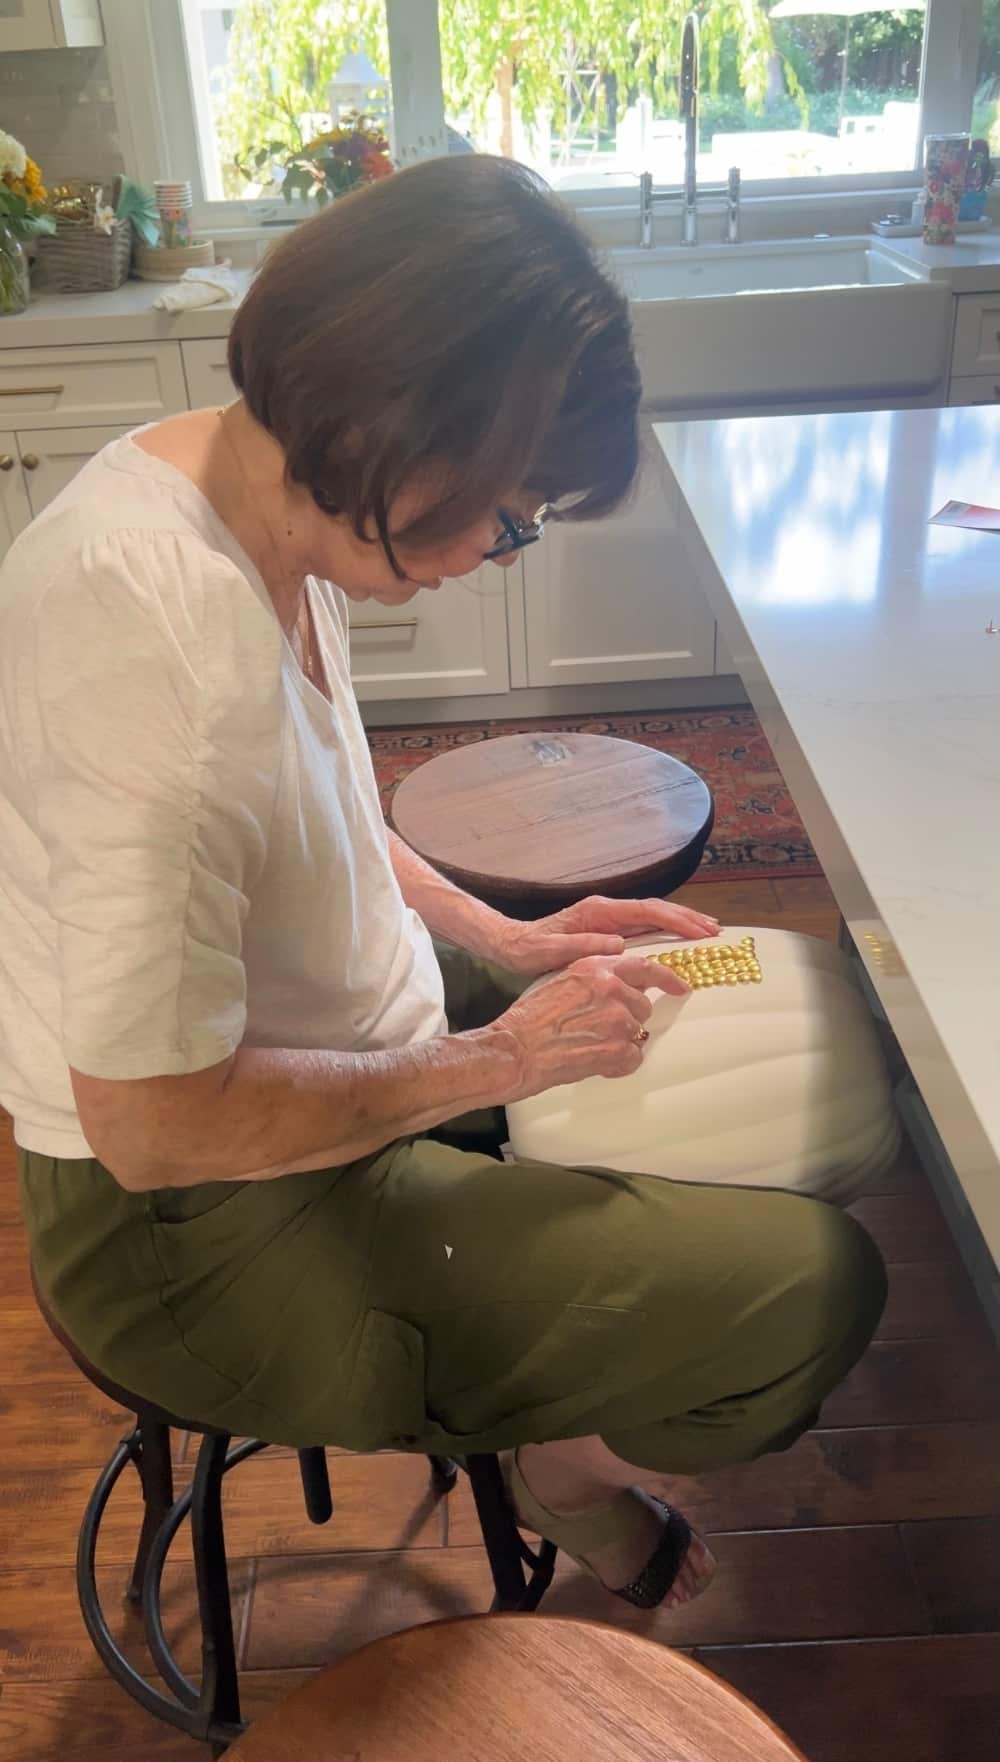
Start at the top of your letter and work your way down and across. You can choose between two different methods for applying the thumbtacks:
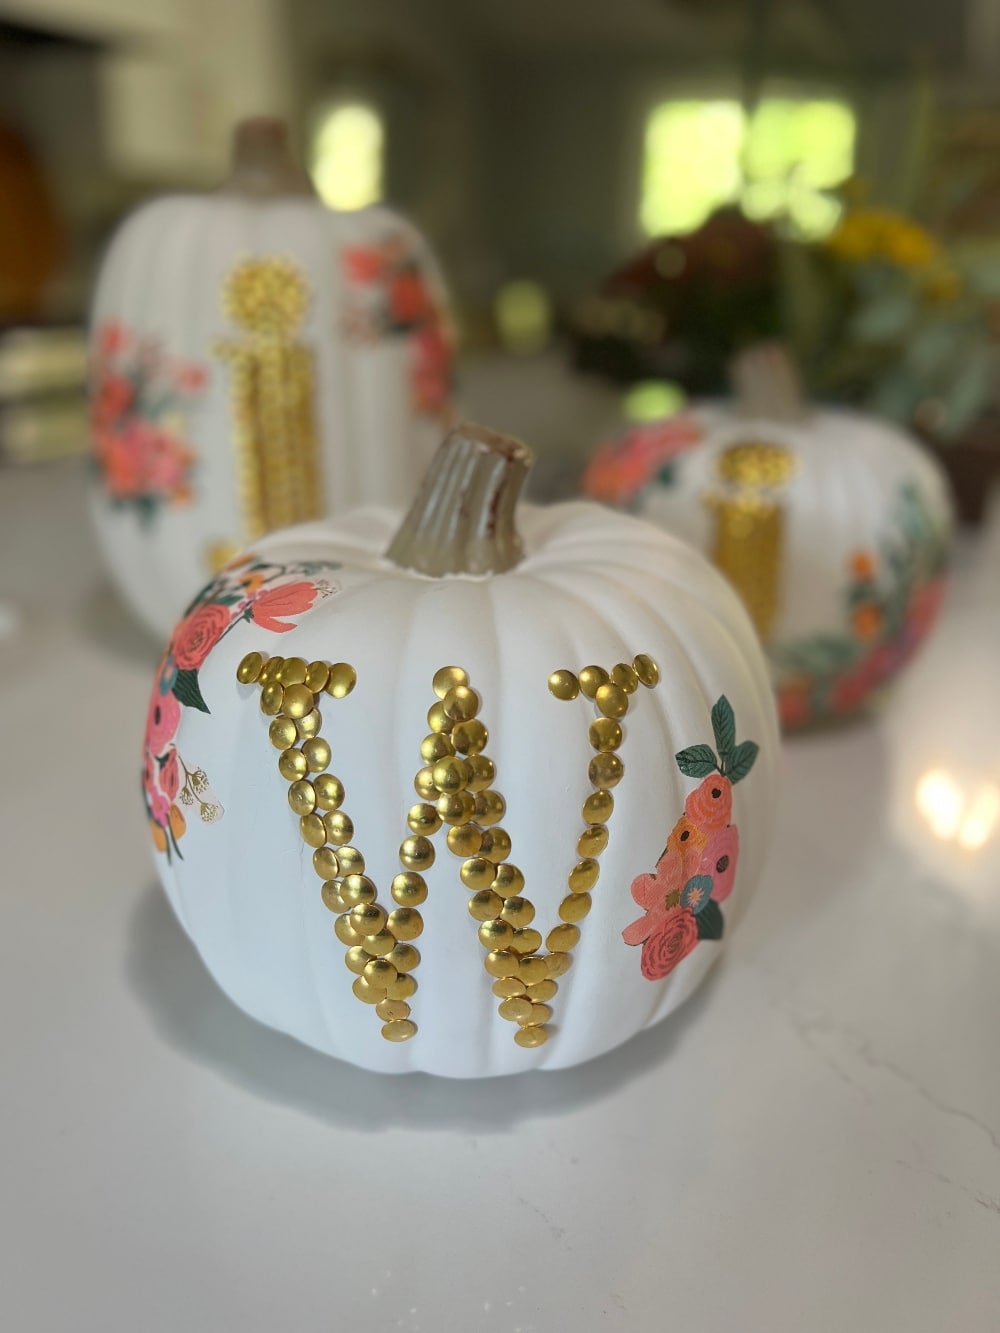
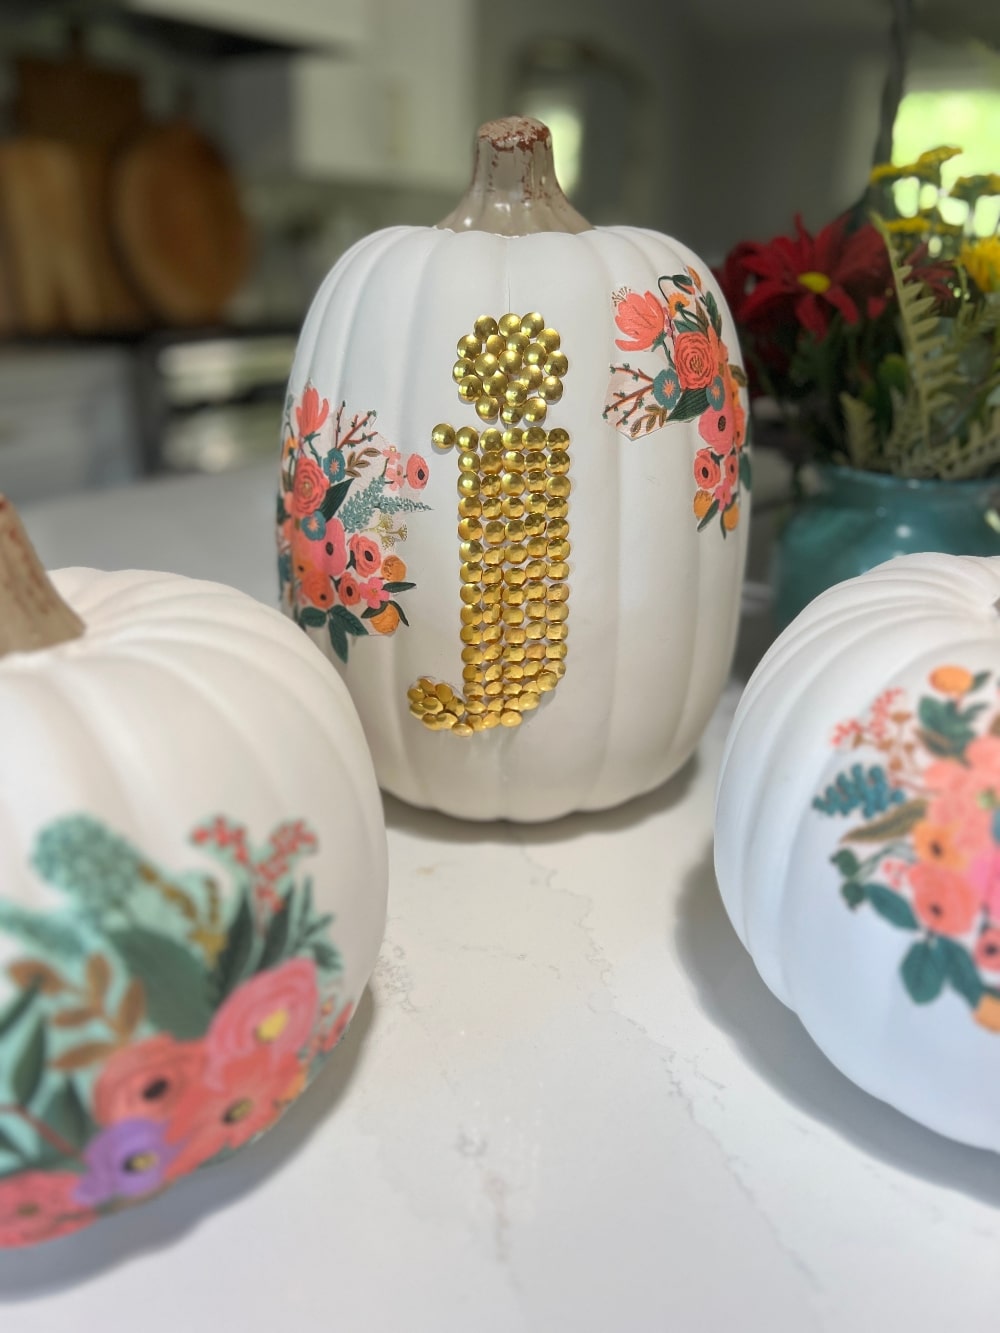
- Uniform Rows: Follow the traced line and apply the thumbtacks in straight, even rows. Place the second row so that the edges of the thumbtacks just meet.
- Mermaid Scale Rows: Start with one row of thumbtacks along the traced line. Then, for the second row, slightly overlap the first row, giving a layered “mermaid scale” effect.
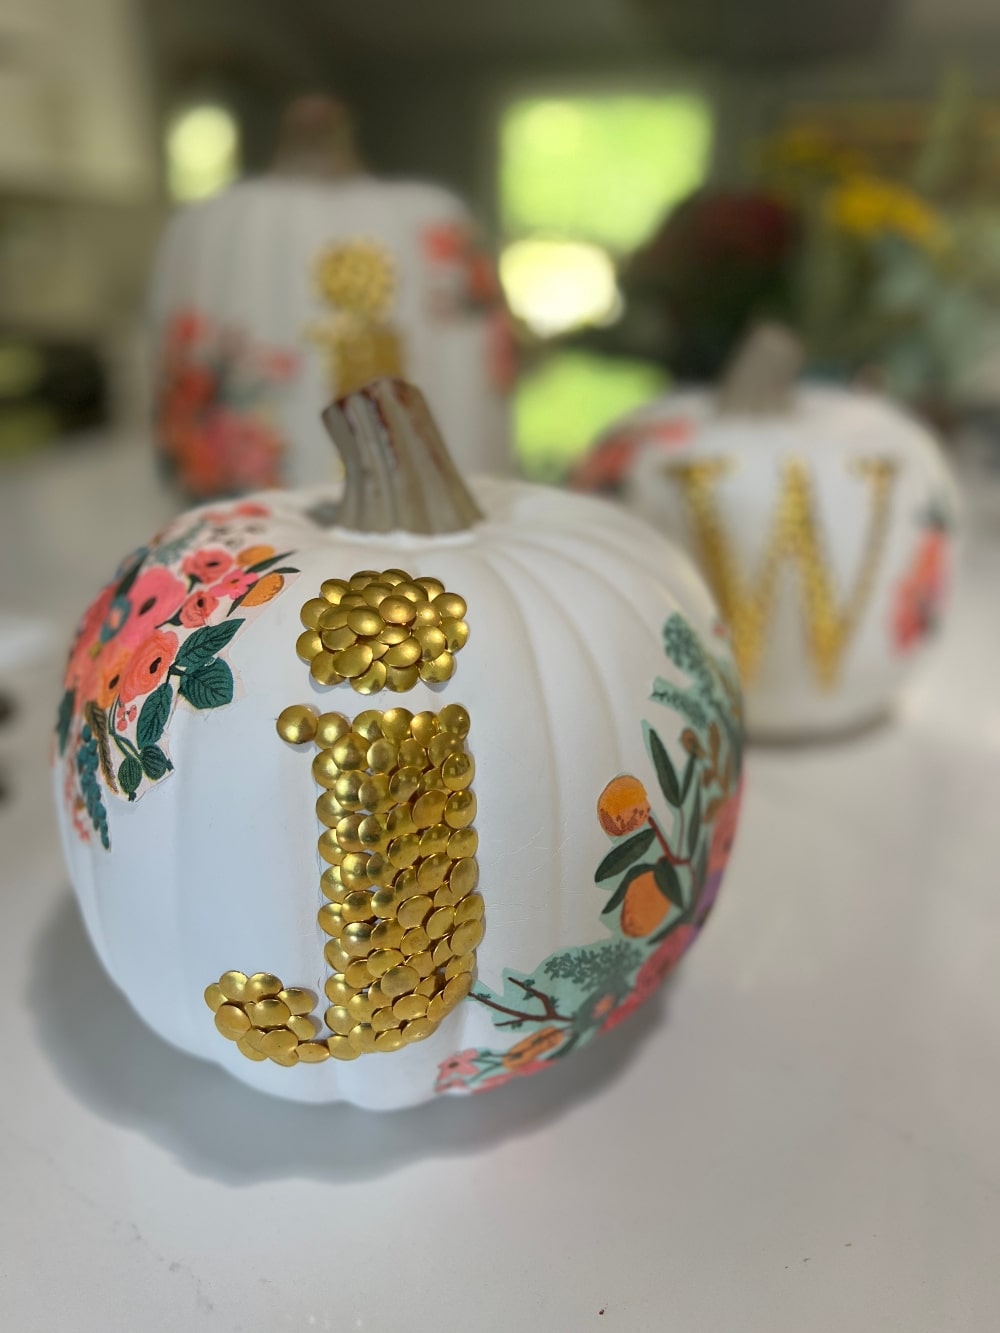
Both methods look beautiful, and you can decide which one you prefer! In the photos of my pumpkins, you’ll see that one of the “J” monograms has straight, uniform rows while the other “J” features the mermaid scale look. Both give a unique touch!
Step 3: Cut and Prepare the Napkin Design
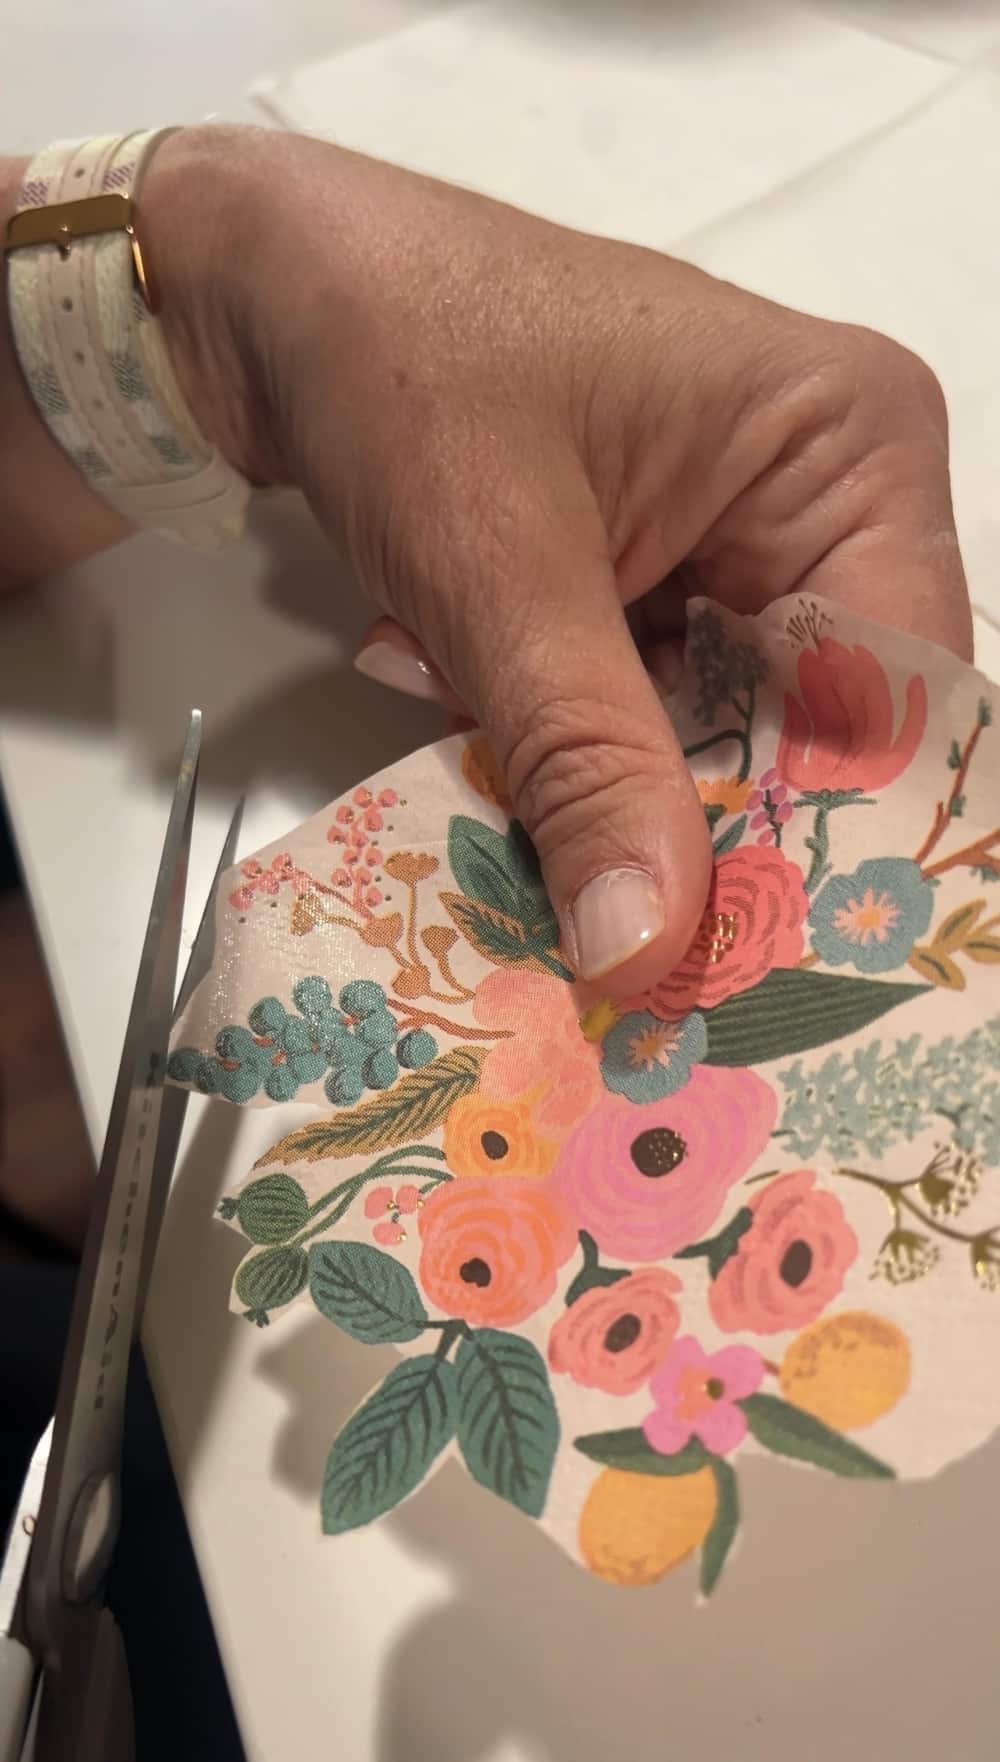
Now that your monogram is done, it’s time to move on to the decorative part of the pumpkin. Pick a napkin design that you love. Florals work beautifully for this project, but any design will do. Before you cut out your design, be sure to peel off the backing of the napkin so you’re left with the top, printed layer.
Once you have peeled the napkin, carefully cut around the design. If you’re working with florals, cutting around the individual flowers and leaves gives the pumpkin a more intricate and delicate look.
Step 4: Apply the Napkin with Mod Podge
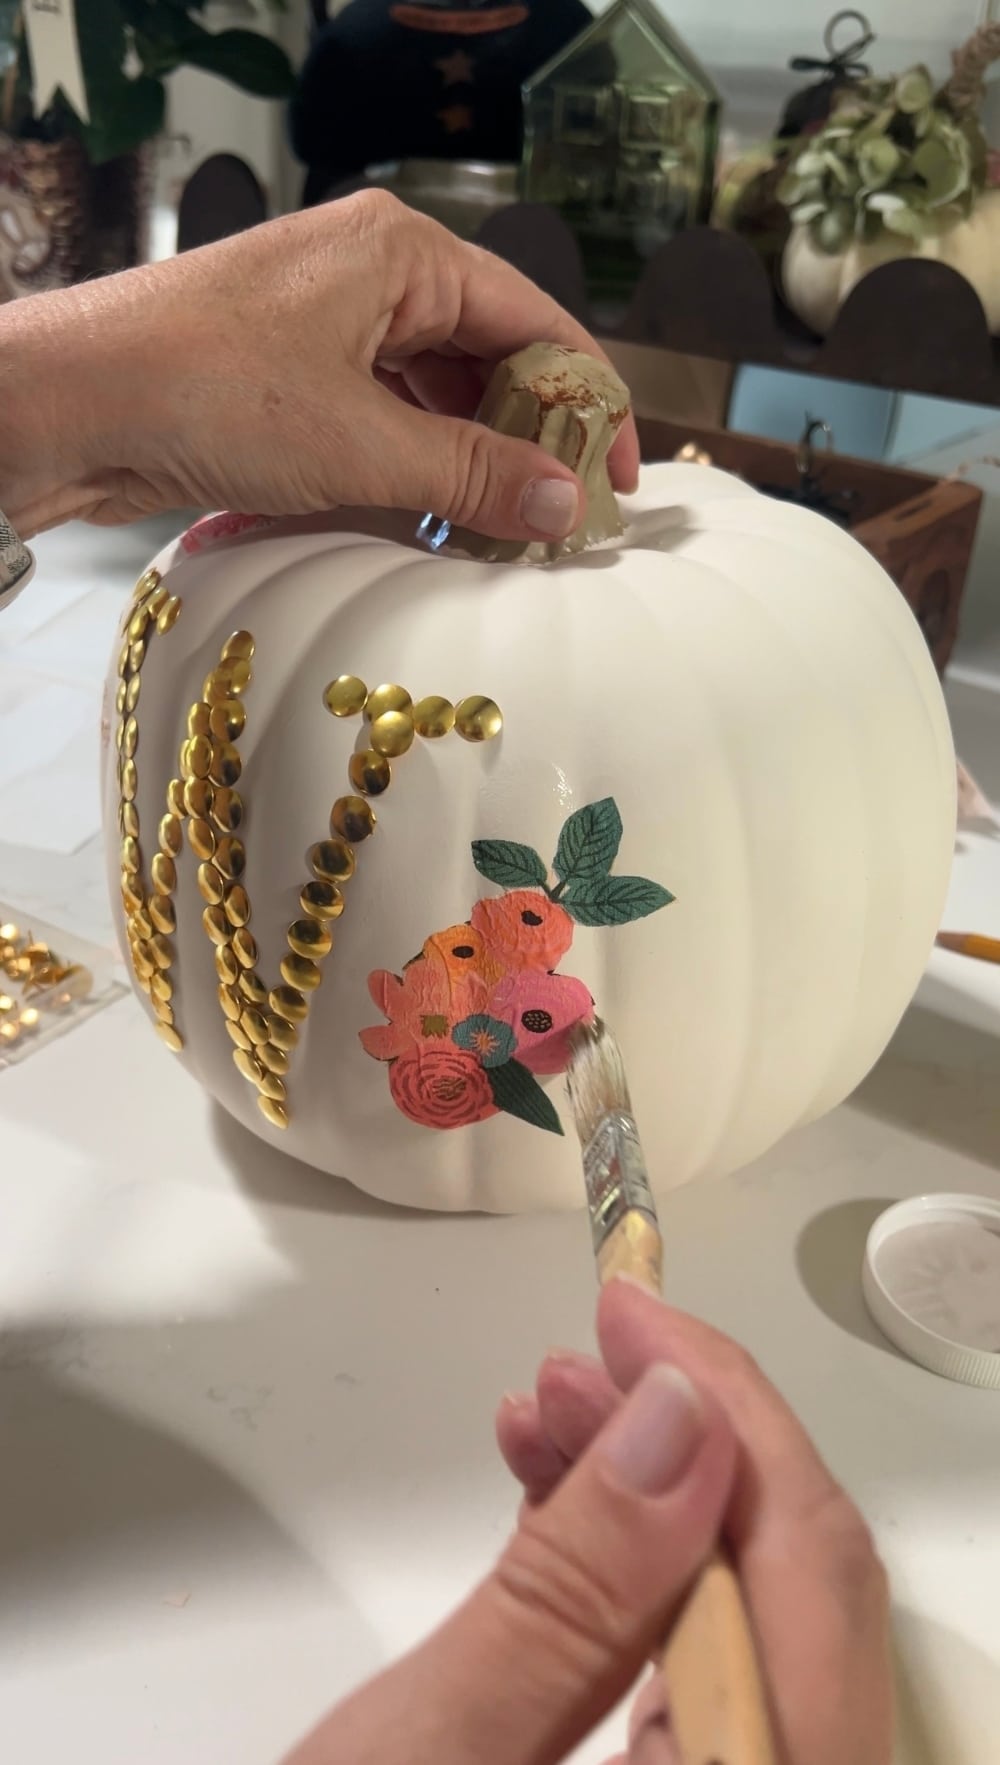
With your cut-out napkin design ready, it’s time to adhere it to your pumpkin using Mod Podge. Here’s a key tip: use matte Mod Podge instead of glossy. Matte Mod Podge dries clear, while glossy can leave a shiny residue if any goes outside the edges of your napkin.
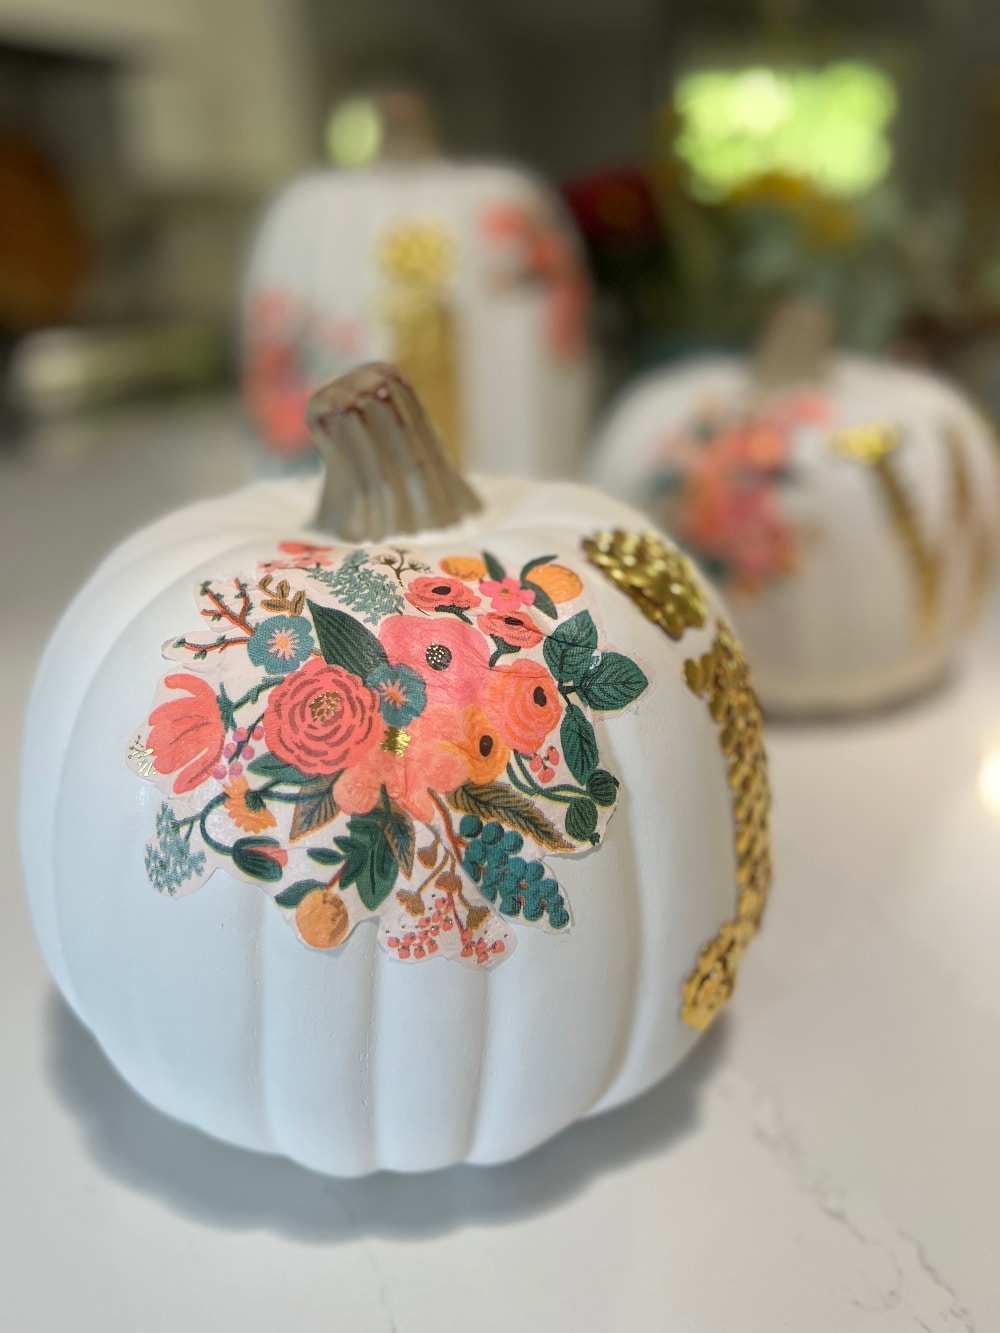
Start by applying a thin, even layer of Mod Podge slightly smaller than the napkin cutout. Press the napkin onto the pumpkin, smoothing it out as you go. Then, fold back the edges of the napkin, apply more Mod Podge to the pumpkin’s surface, and press the edges down. This ensures that the entire napkin is securely adhered and lies flat on the pumpkin.
Repeat this process for all of the napkin designs you want to apply, whether it’s one large design or a few smaller ones placed around the pumpkin.
Step 5: Let It Dry and Enjoy!
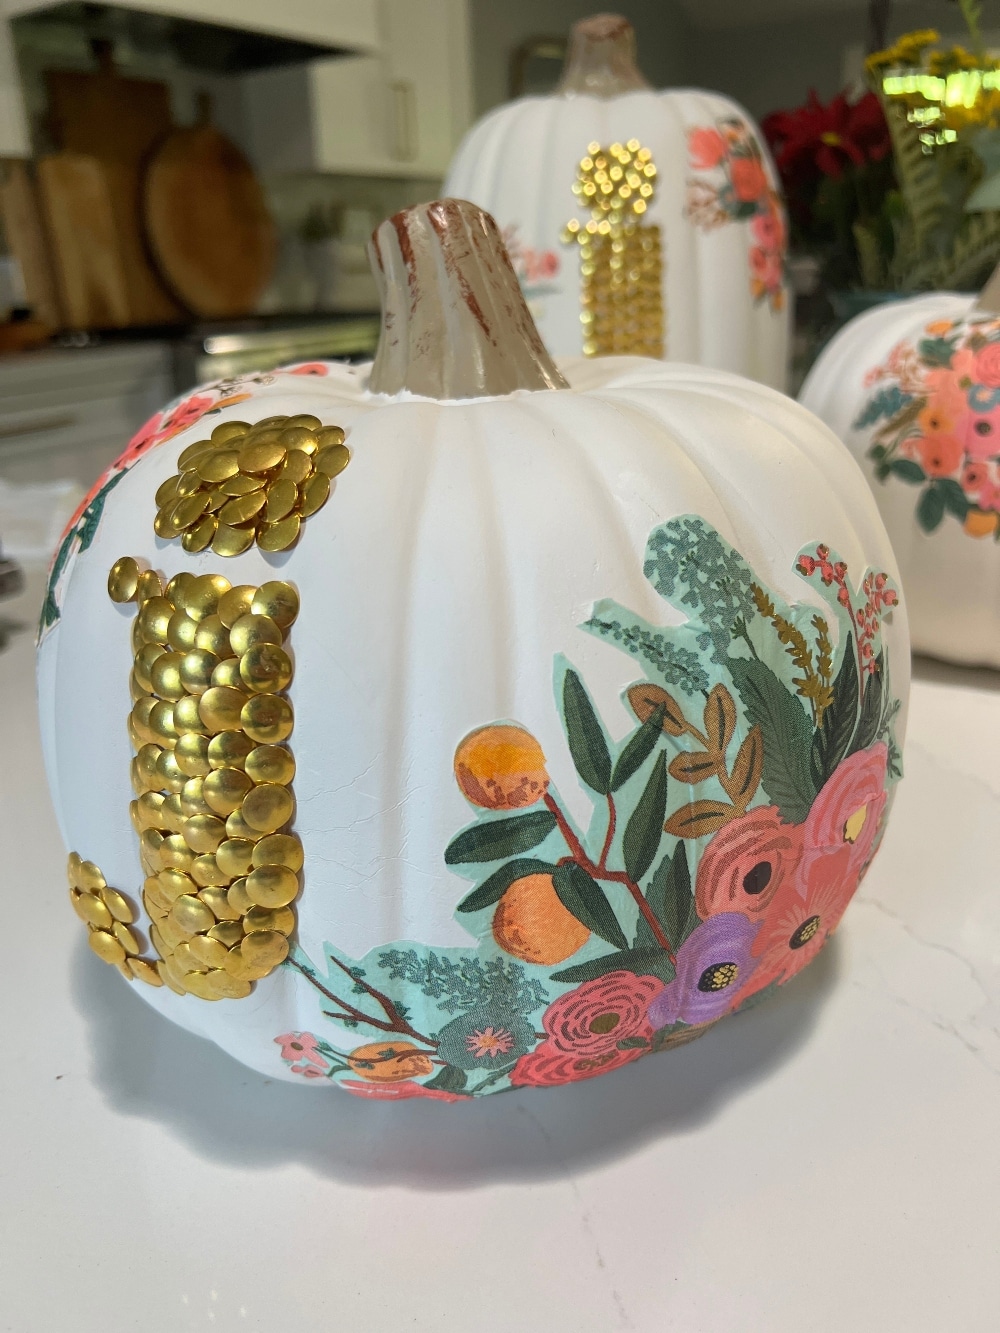
Once you’ve finished applying the thumbtacks and napkin designs, let your pumpkin dry completely. It usually takes a few hours for the Mod Podge to dry, but once it’s set, you’re left with a beautiful, personalized pumpkin that’s perfect for fall.
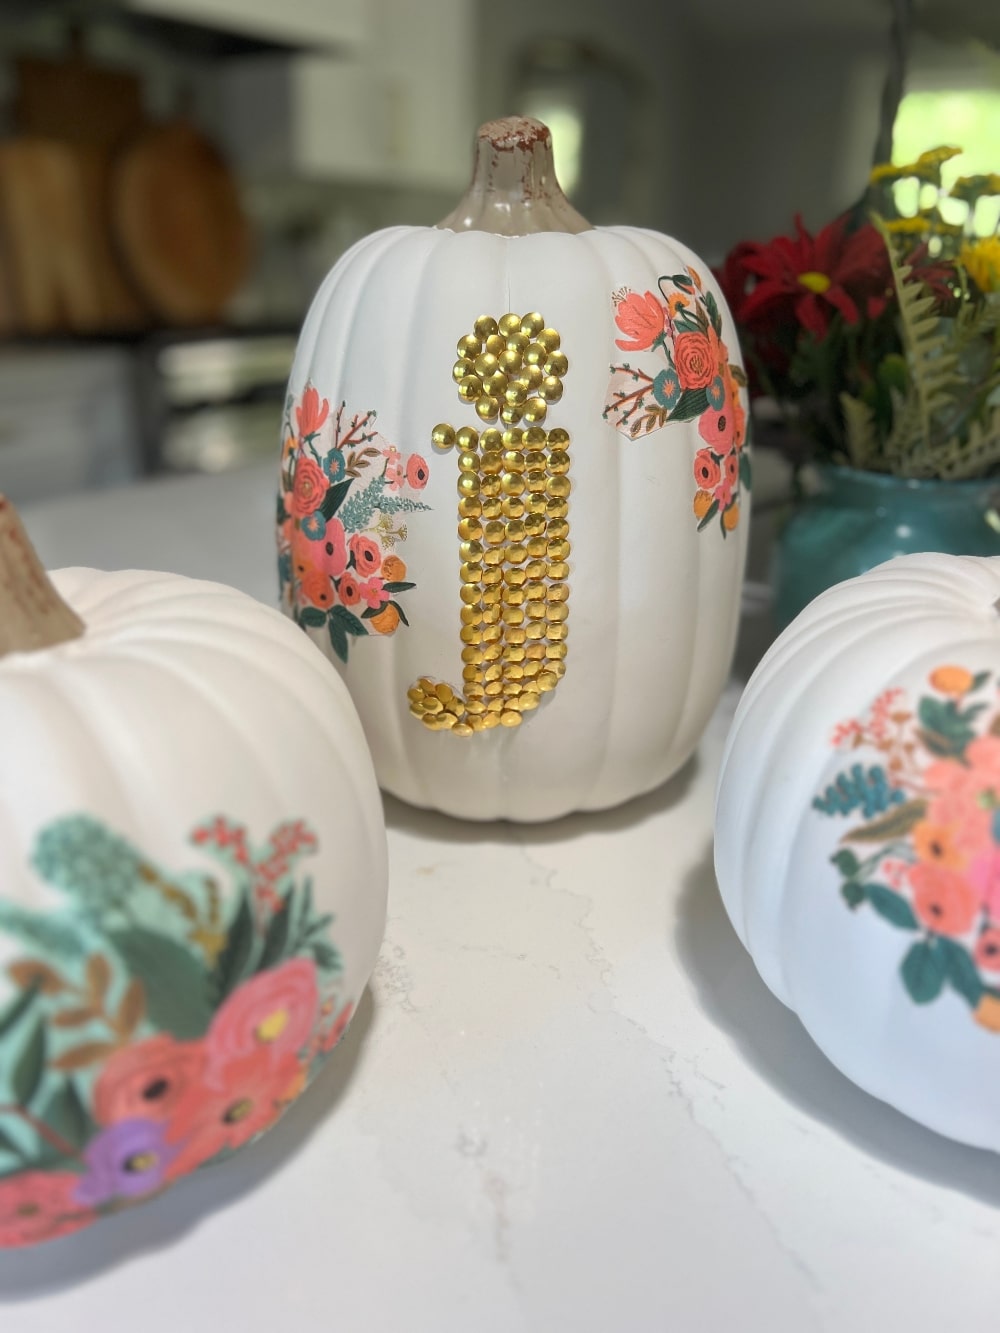
I love how versatile this project is! You can create a monogram for each family member or experiment with different napkin designs for a truly unique look. The combination of the gold thumbtacks and the delicate napkin art adds a touch of elegance to your fall decor.
A Fun Craft for Kids and Friends

One of the things I love most about this project is that it’s perfect for a group craft. Whether you’re doing it with your kids, friends, or family, it’s an easy, fun, and mess-free activity. Imagine hosting a fall girls’ night and everyone going home with their own personalized pumpkin! Or, this could be a sweet gift idea for someone with a fall birthday or a thoughtful present for a teacher.
Final Thoughts
This DIY no-carve monogram pumpkin is a quick, creative, and beautiful fall decor idea that’s fun for all ages. I hope you give it a try! Don’t forget to check out the pumpkin projects my friends have made!!
Blogger’s Best DIY Pumpkin Crafts
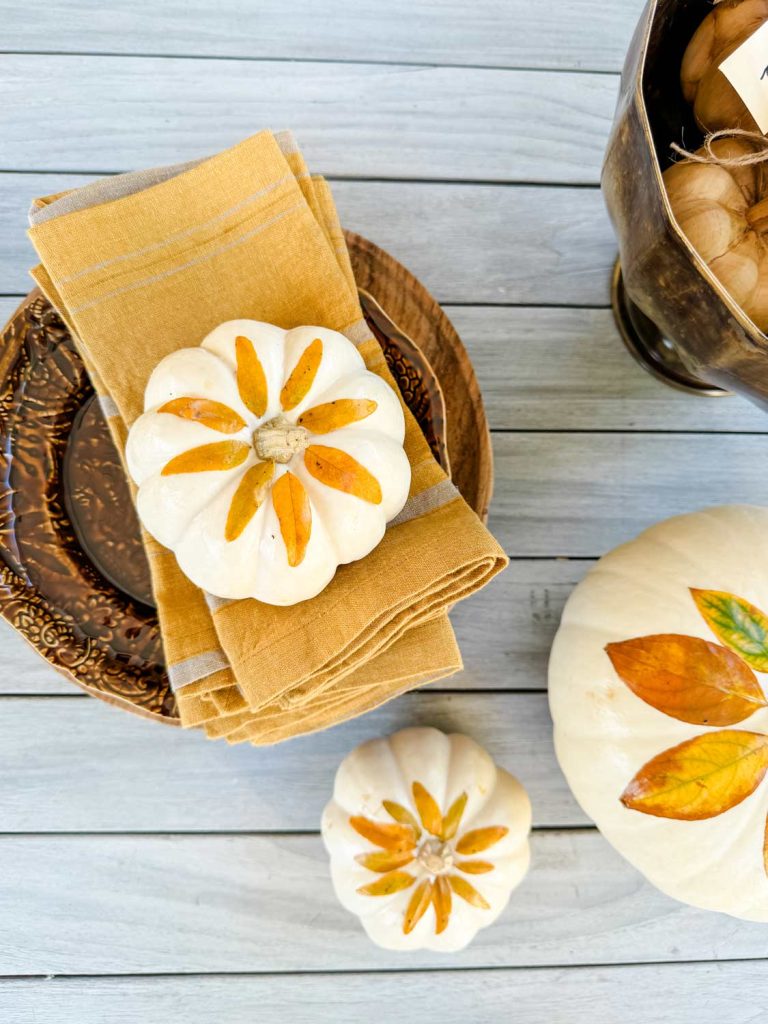
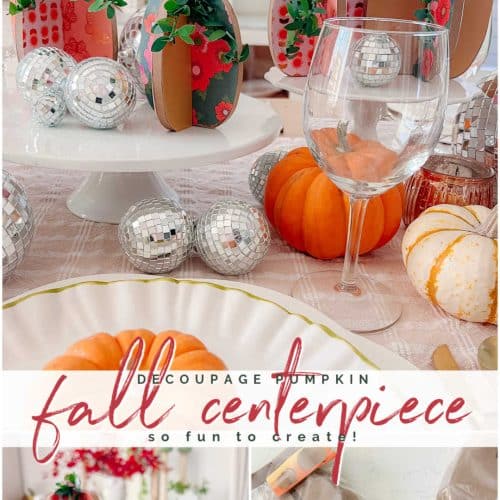
Decoupage Pumpkins with Fall Leaves | Most Lovely Things
Make decoupage pumpkins with fall leaves for an earthy tablescape.
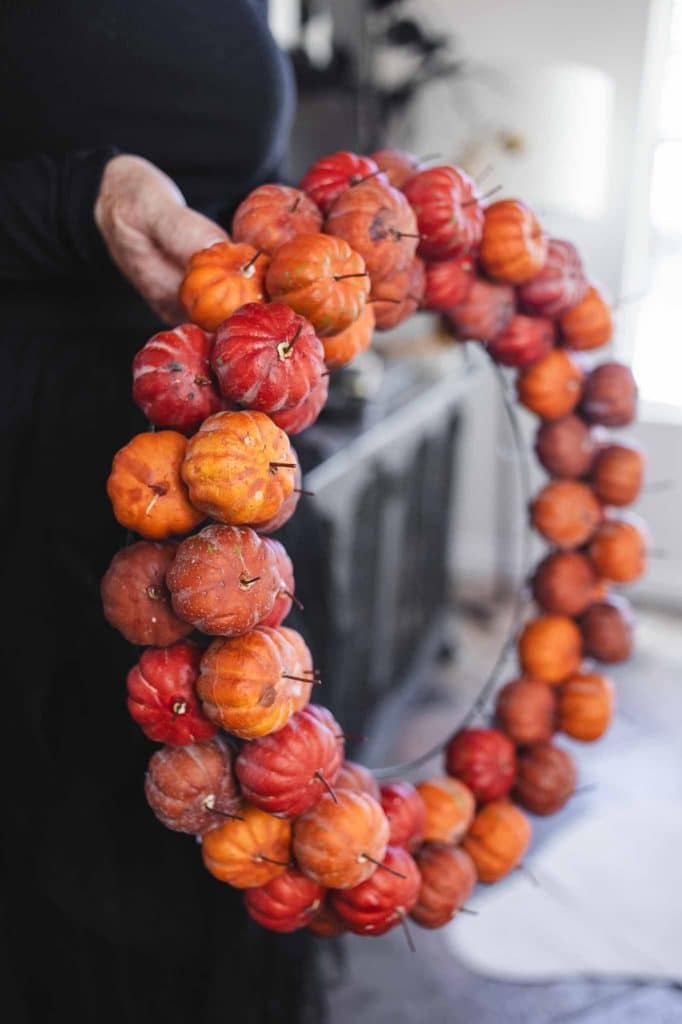
Pottery Barn-Style Pumpkin Wreath | My Sweet Savannah
Fall is the perfect time to embrace cozy, seasonal decor, and what better way to welcome the season than with a beautiful pumpkin wreath? Inspired by Pottery Barn’s stylish designs, I decided to craft a DIY knockoff that’s not only eye-catching but also budget-friendly. Here’s how you can recreate this charming wreath using items from Dollar Tree for a designer look at a fraction of the cost!
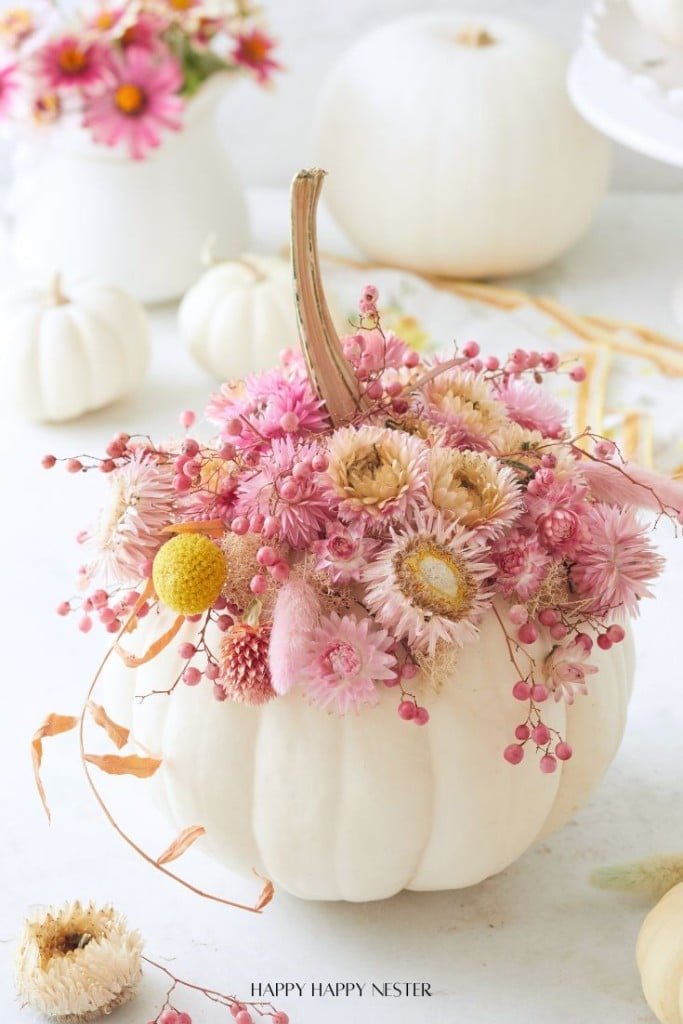
Pumpkin with Flowers DIY | Happy Happy Nester
Transform your autumn decor with a beautiful Pumpkin with Flowers DIY project that blends seasonal pumpkins and colorful blooms. This simple yet stunning craft makes a perfect centerpiece for your fall gatherings or a pretty touch to your home. With just a few materials and a little creativity, you’ll have a gorgeous floral pumpkin arrangement in 15 minutes or less.
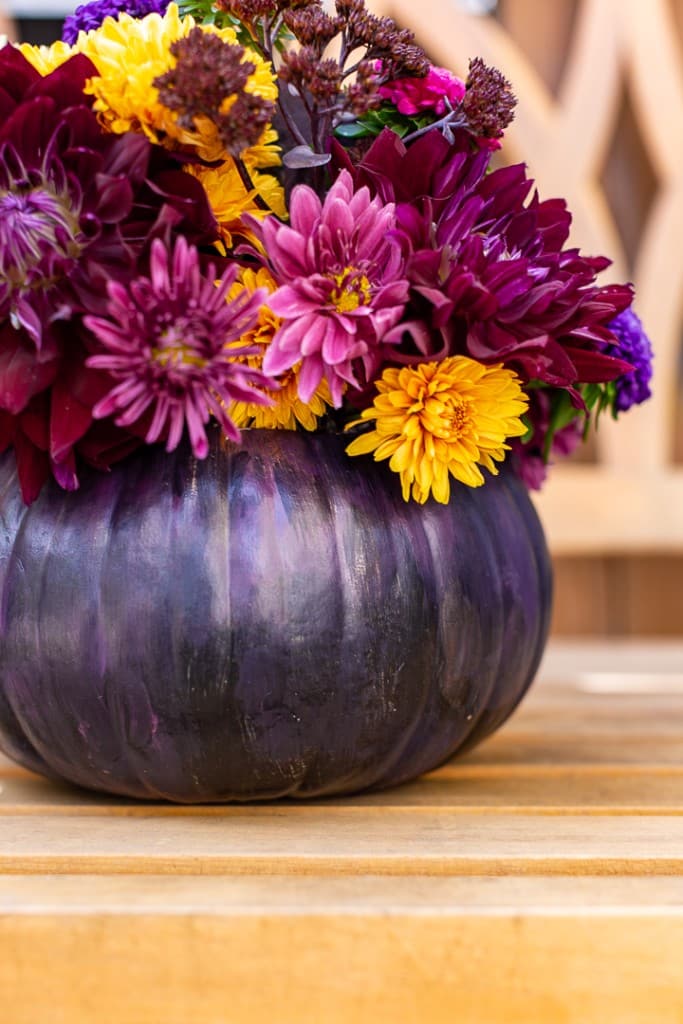
Painted Pumpkin Floral Arrangement | Craftberry Bush
A gorgeous Fall Floral Arrangement using a painted pumpkin as a vase.
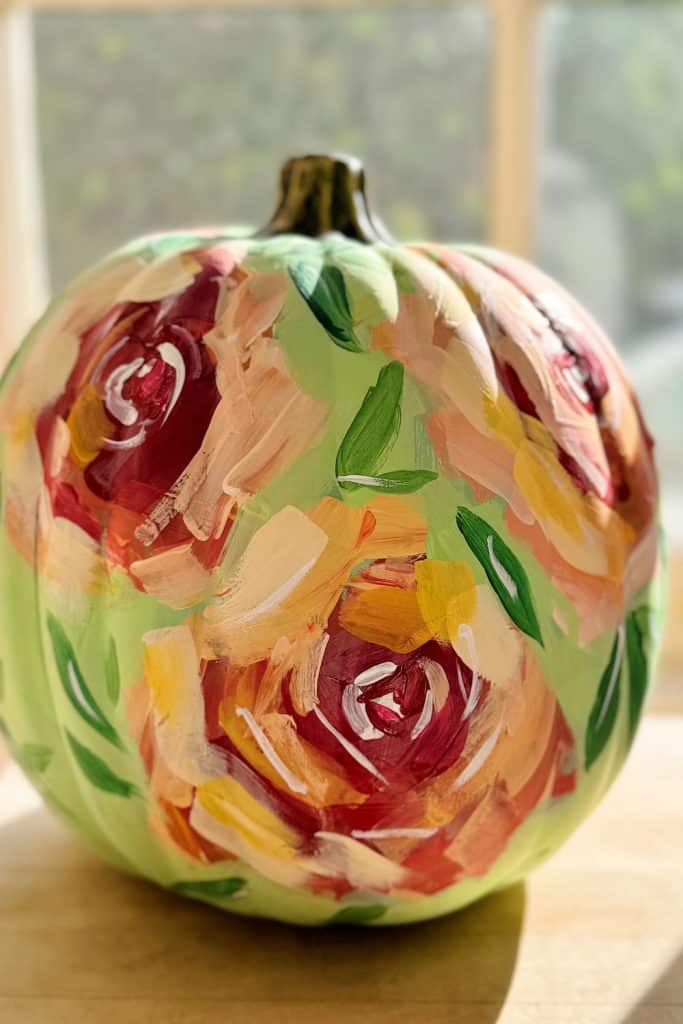
DIY Rose Painted Pumpkin Craft | My 100 Year Old Home
It’s fun to make handmade decorations for your home. My latest pumpkin craft transformed a faux white pumpkin into a stunning piece of art.
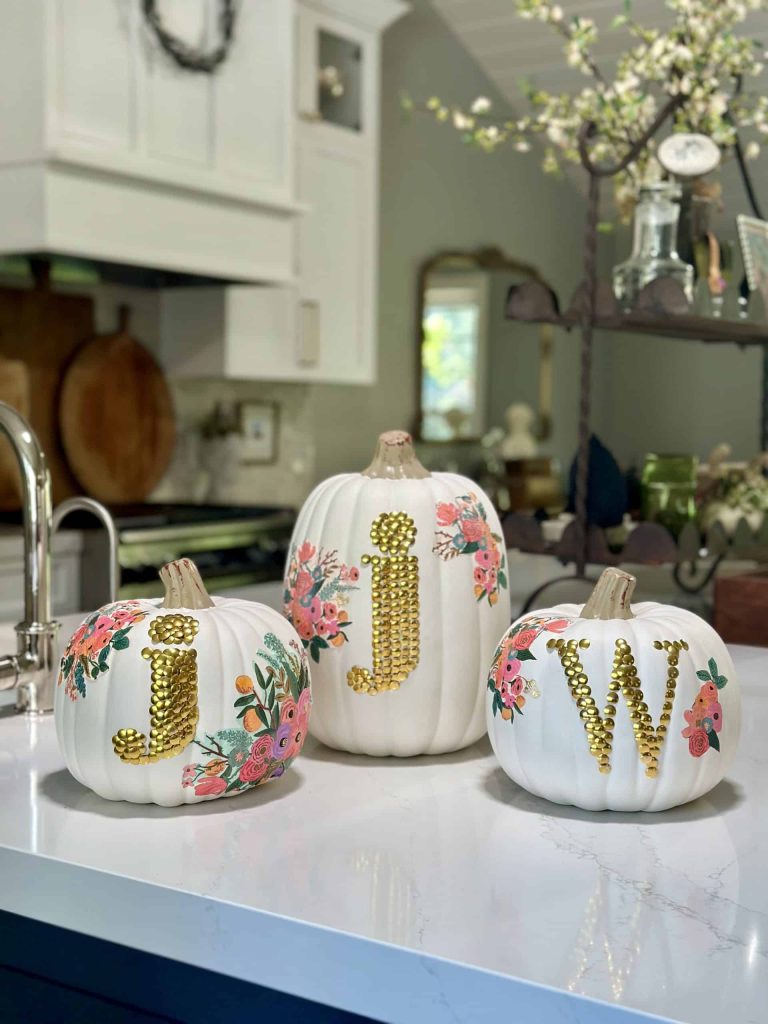
DIY No Carve Monogram Pumpkin | Tatertots and Jello
Create a stylish, no-carve monogram pumpkin for fall using gold thumbtacks and decoupaged florals cut from napkins—perfect for adding a personal touch to your seasonal decor!
More DIY Pumpkin Crafts
Here are a few other pumpkin crafts I’ve made over the years!
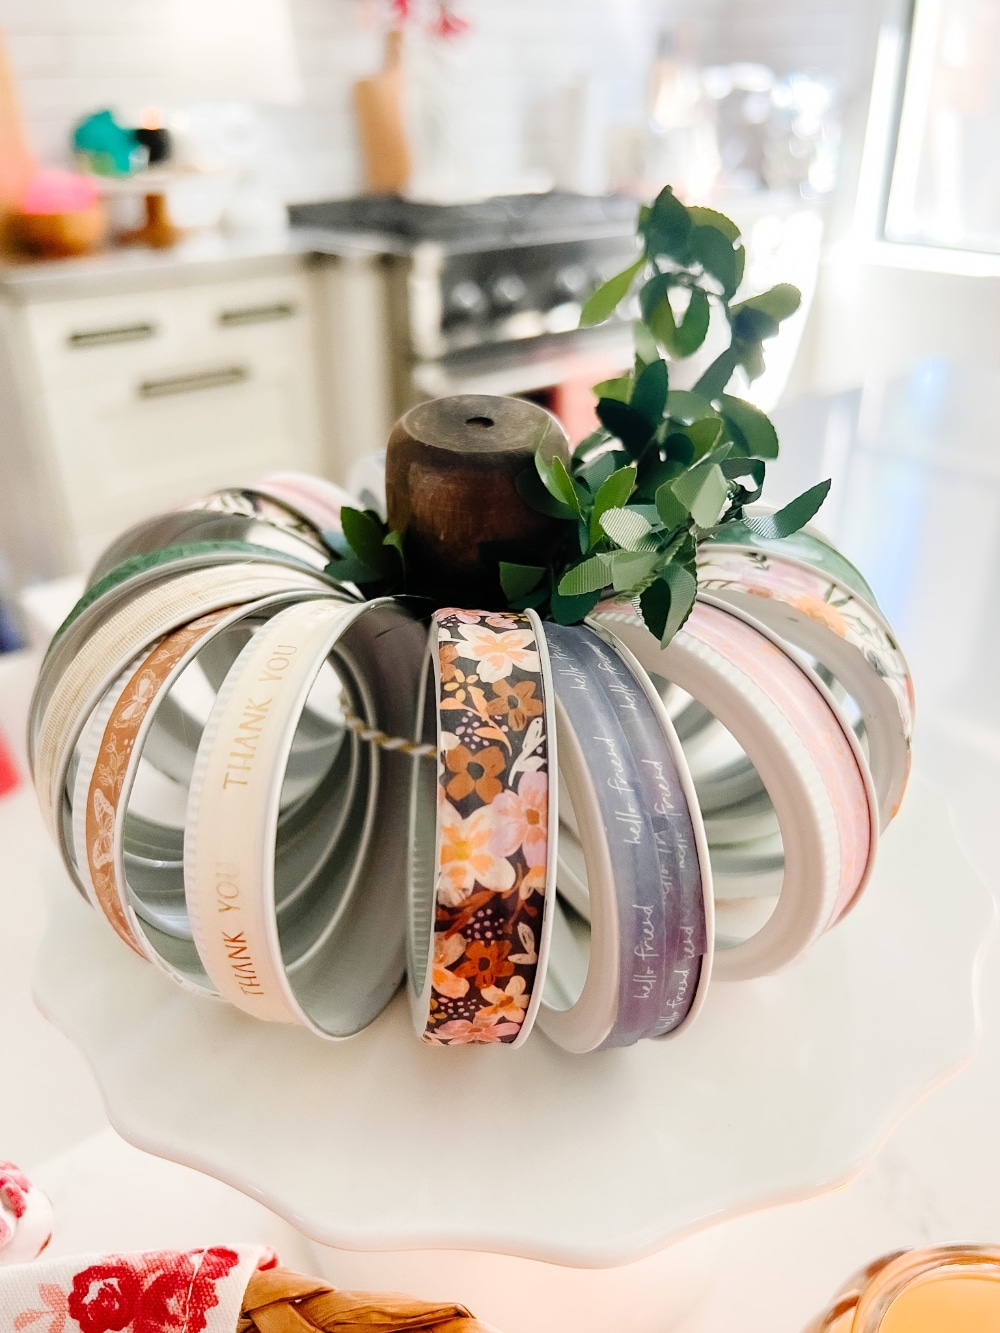
Mason Jar Lid Washi Tape Pumpkins
Washi Tape Mason Jar Lid Pumpkin. Upcycle your mason jar lids and display your favorite washi tape by making this sweet and colorful pumpkin!
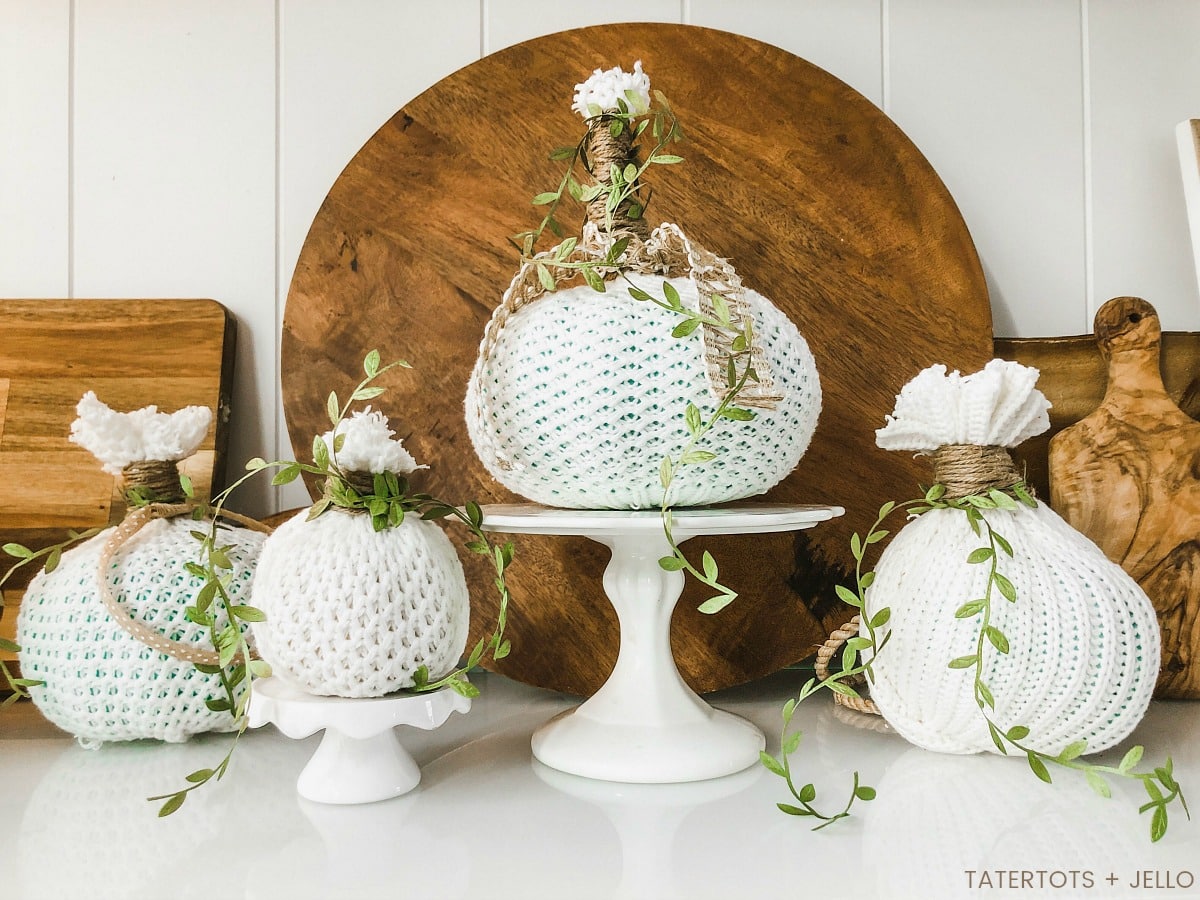
DIY Sweater Pumpkins
How to make easy fall sweater pumpkins. Use inexpensive dollar store pumpkins and transform them into beautiful decor with thrifted sweaters!
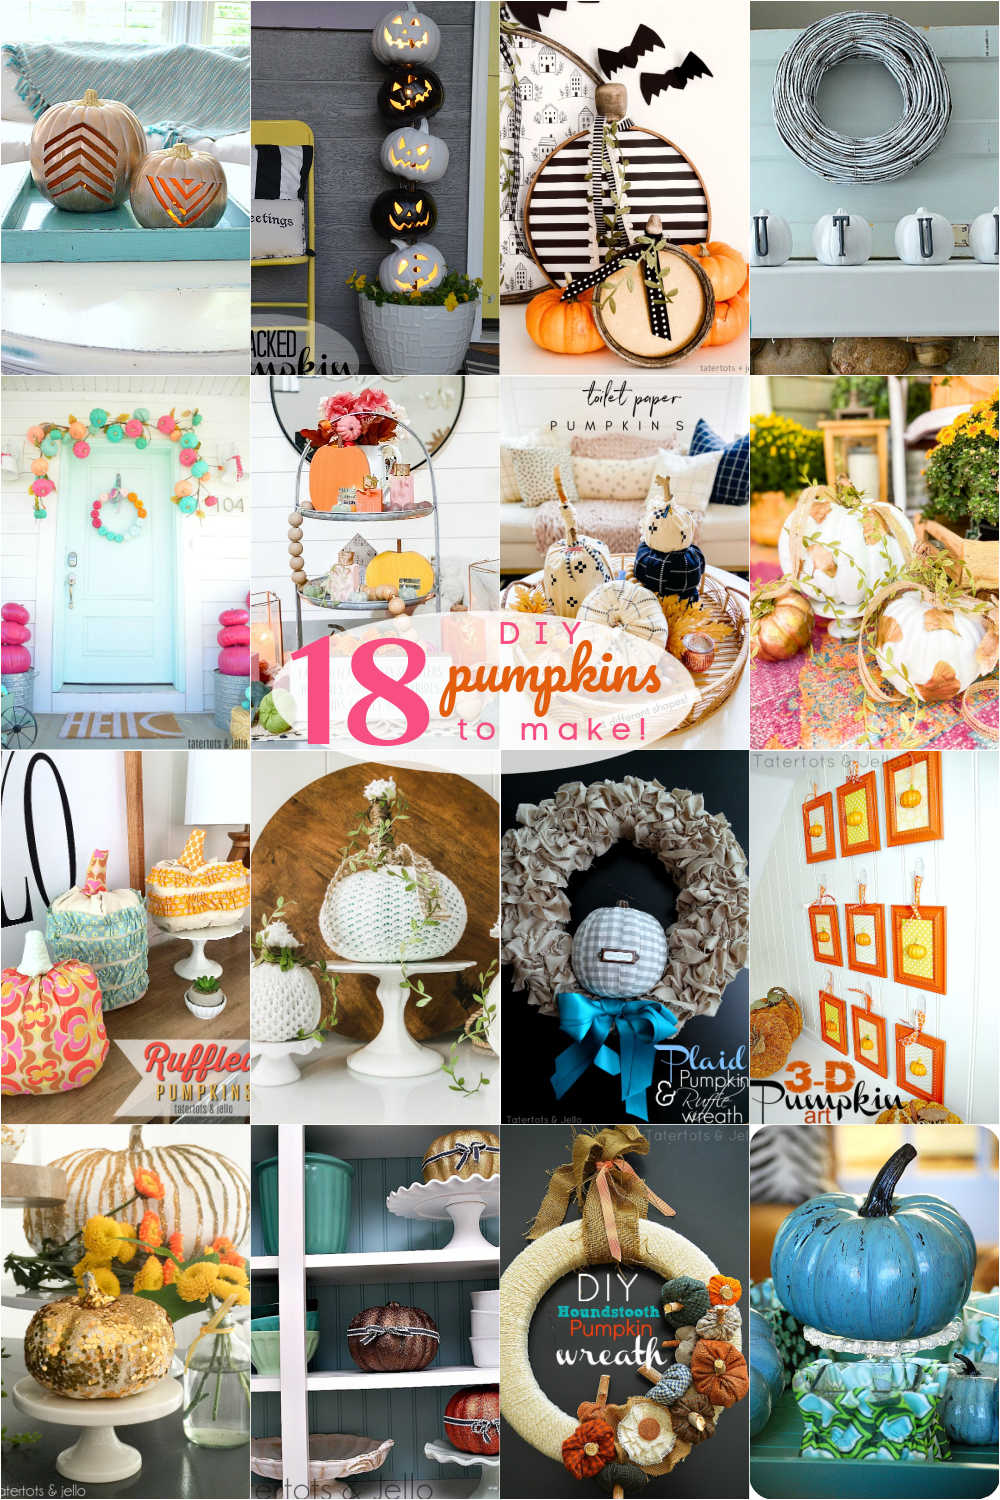
18 DIY Pumpkin Crafts to Make This Fall!
18 DIY Pumpkin Ideas for Fall! Celebrate the beginning of fall by creating some beautiful pumpkins to display!
Which one do YOU want to make first??
xoxo



Such great inspiration!
I love a good no carve pumpkin project! So fun!
Jen! You always have the most creative ideas! Love your monogram pumpkins!