DIY Disco Ball Halloween Art. Create festive DIY disco-themed Halloween art using the scrapbook paper with these easy-to-follow steps for three spooky cute framed pieces.
DIY Disco Ball Halloween Art
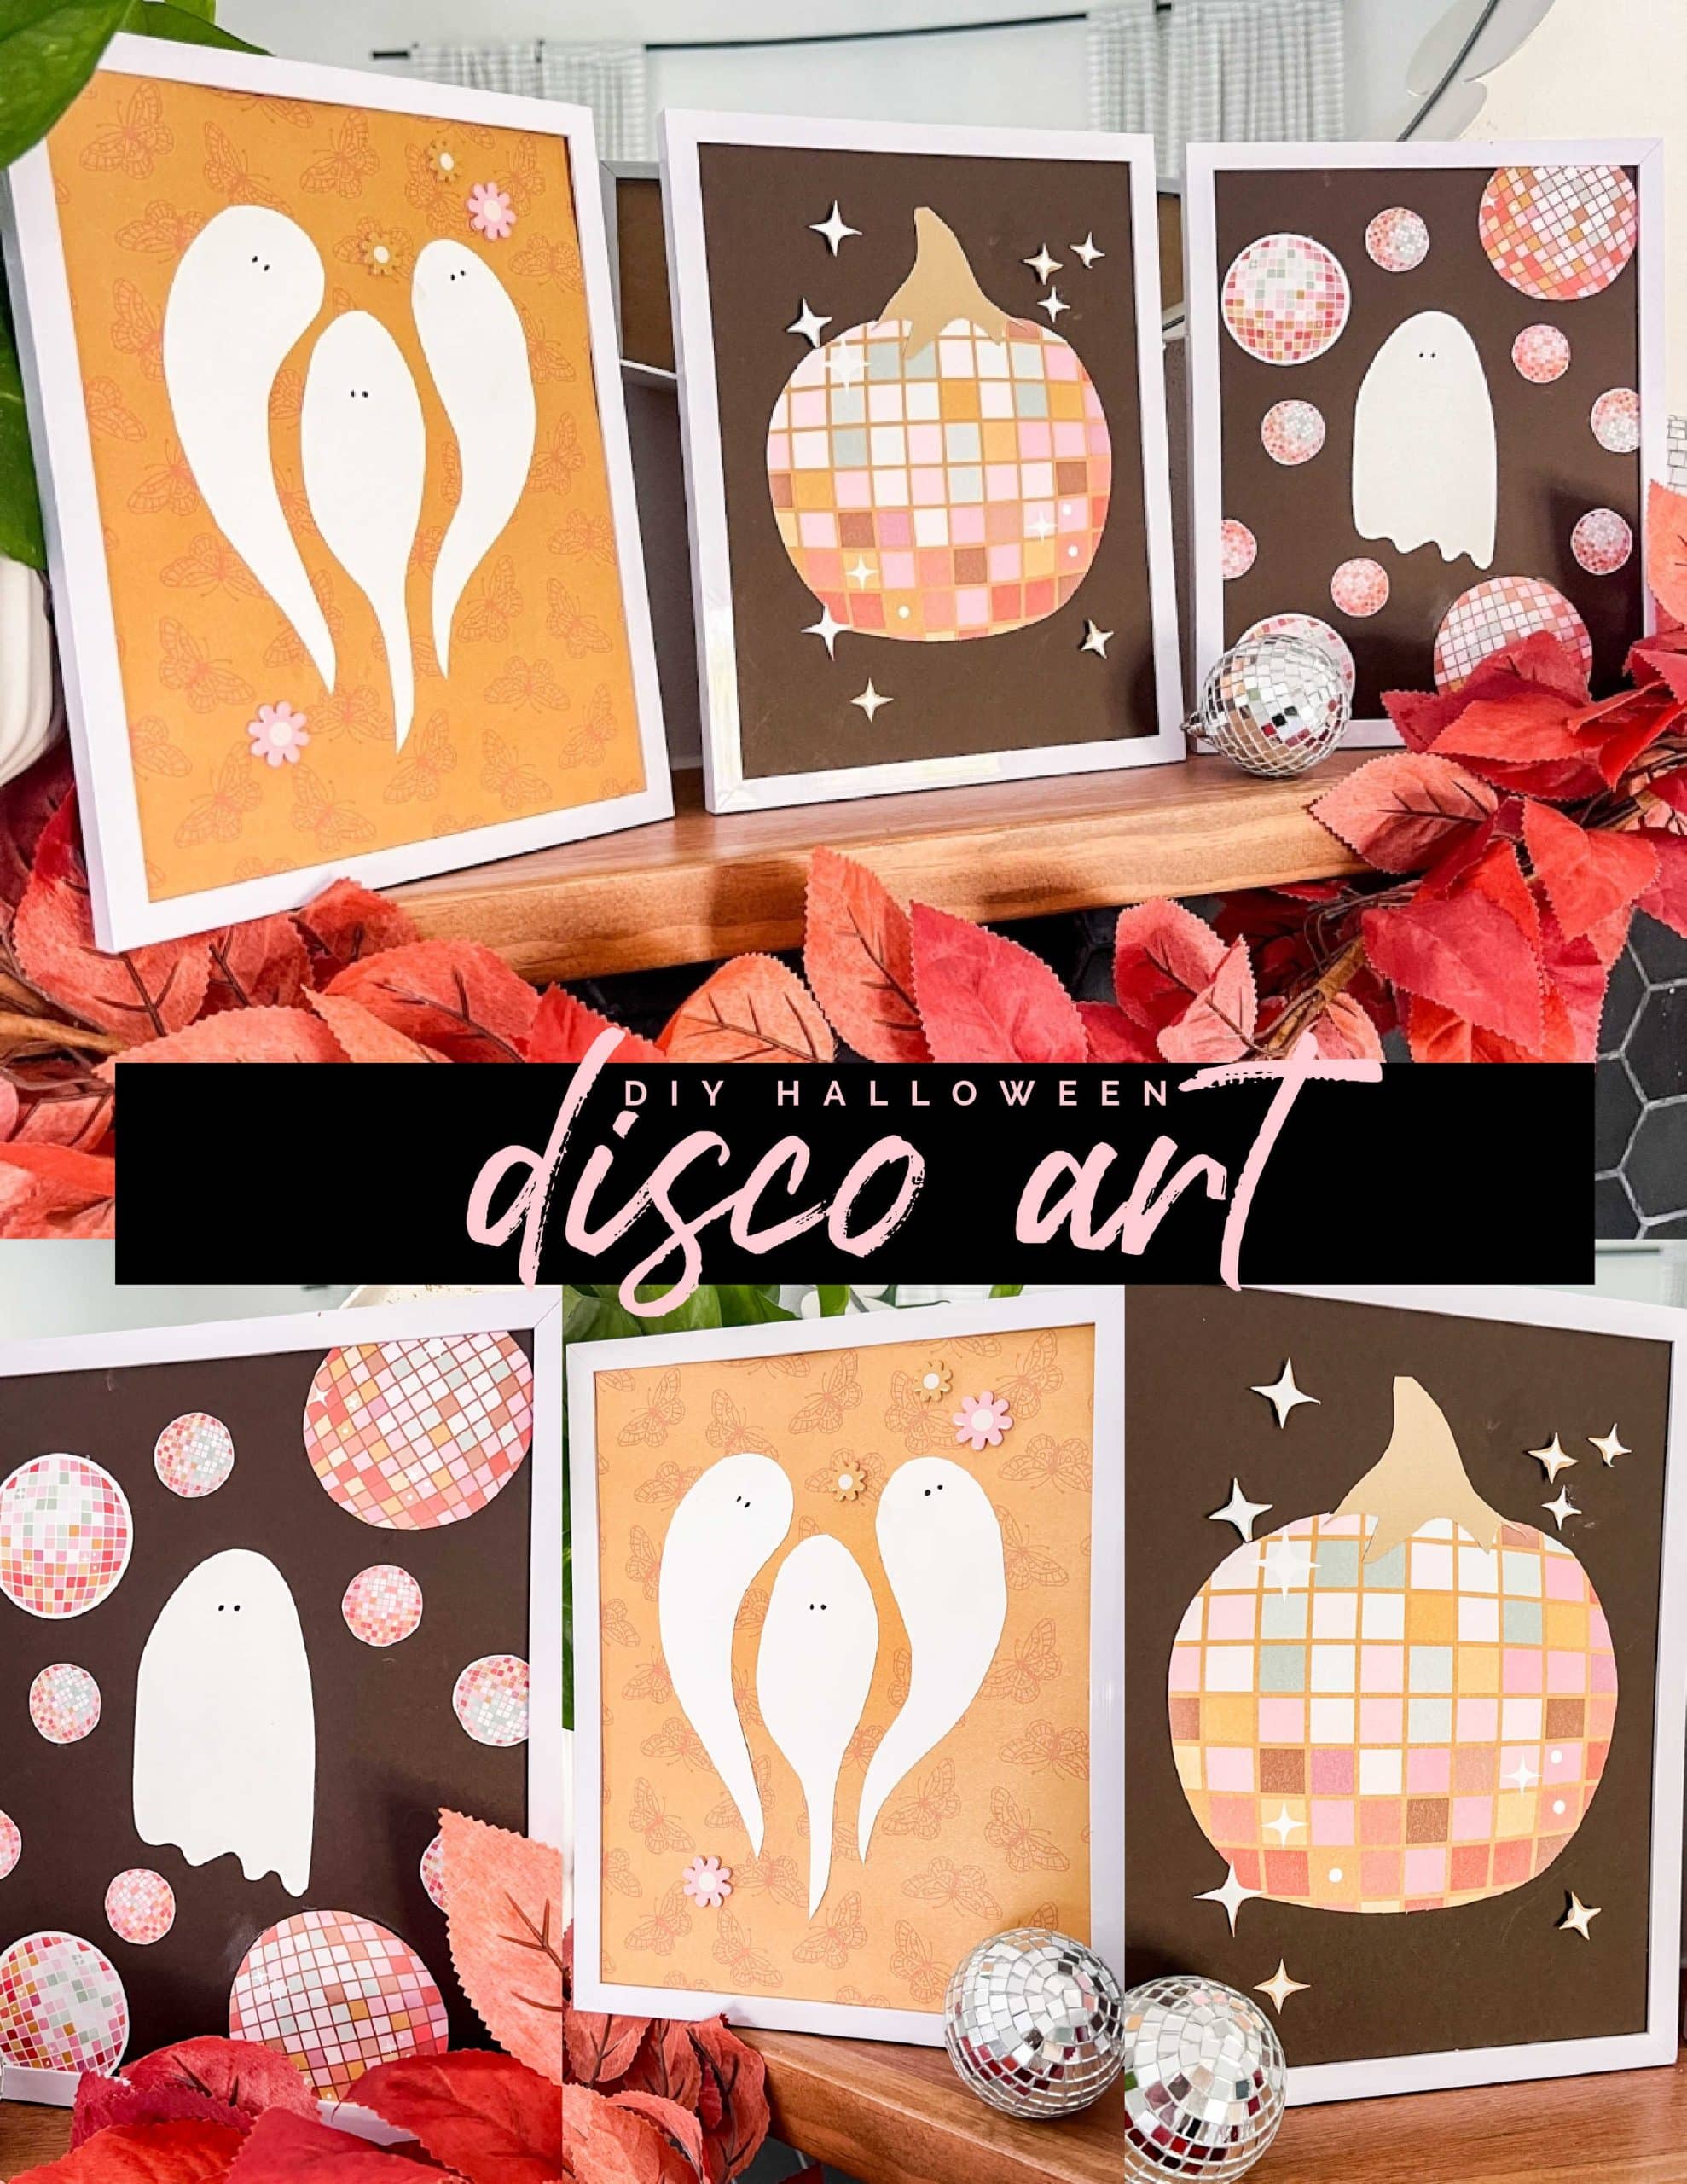
There are THREE things about me: I love Halloween, I love PINK and I love disco balls! My new Groovy Darlin’ line of paper has the most adorable disco balls. PINK disco ball art for spooky season. My new Jen Hadfield Groovy Darlin’ line of paper and a few of the embellishments were perfect to create some disco-themed Halloween art. I made three different framed art pieces. The frame are very affordable and come in a 4-pack. Below, you’ll find detailed instructions for each one. Let’s get crafting!
Art #1: Giant Disco Ball Pumpkin
Supplies:
- Jen Hadfield Groovy Darlin’ scrapbook paper with the giant disco ball
- Black cardstock
- 3-dimensional dots
- Quick dry tacky glue
- 8×10 white frame
- Scissors
Creating the Giant Disco Ball Pumpkin
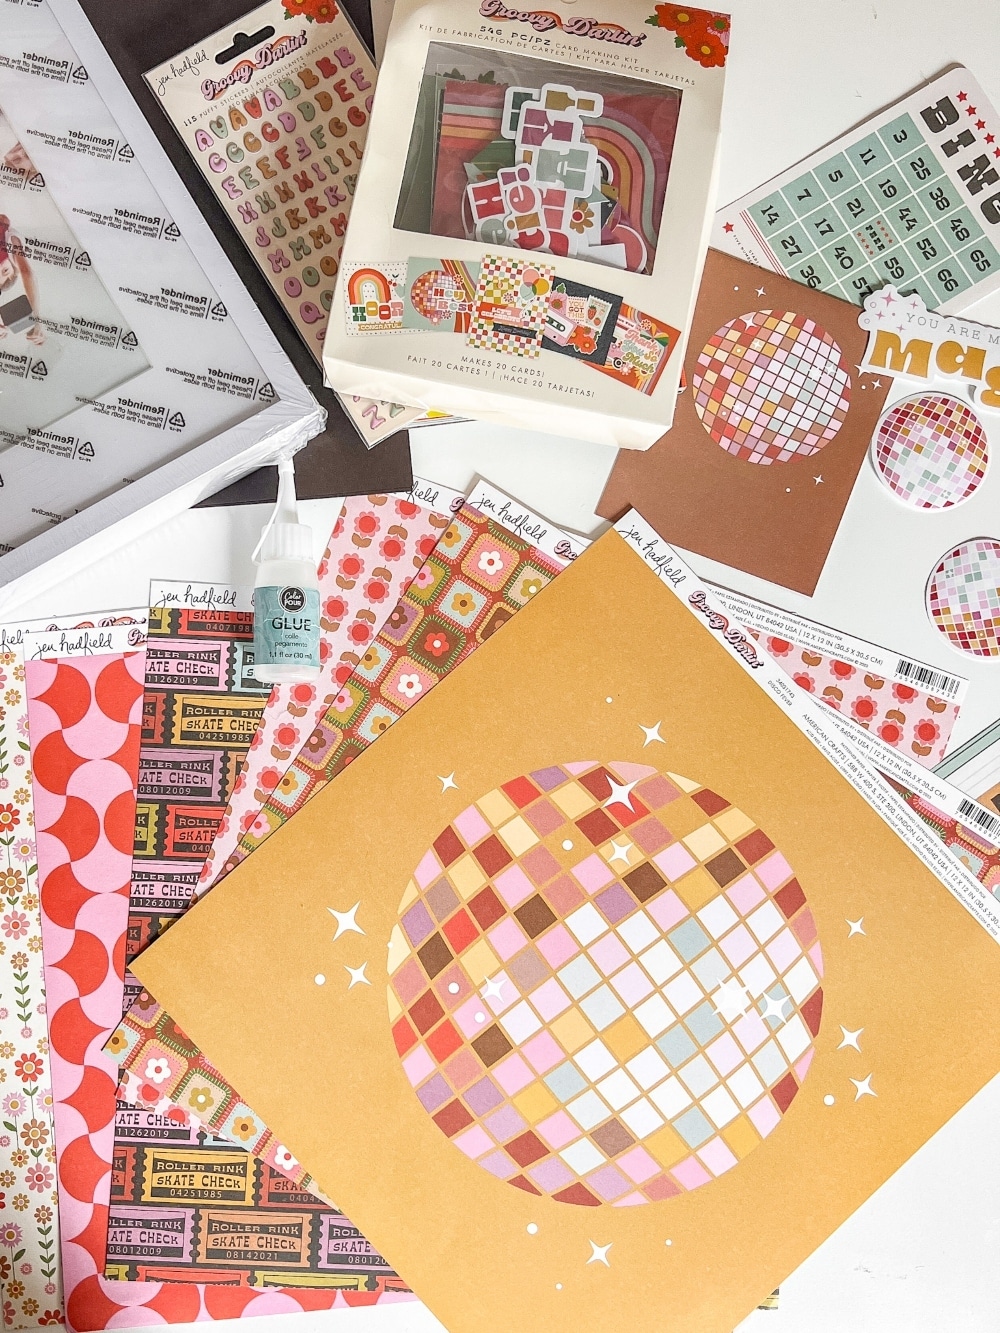
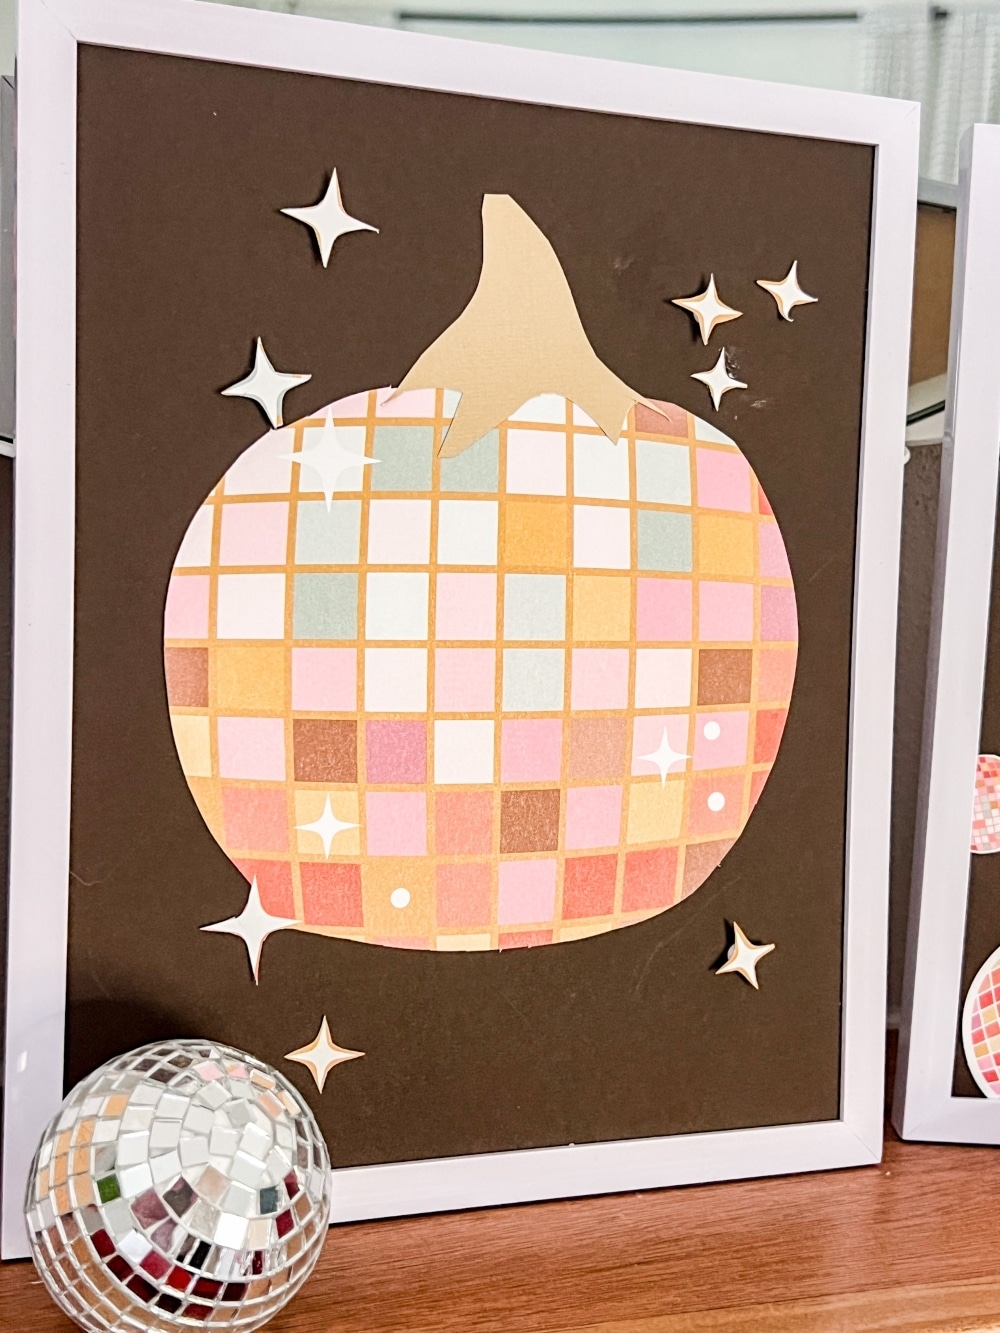
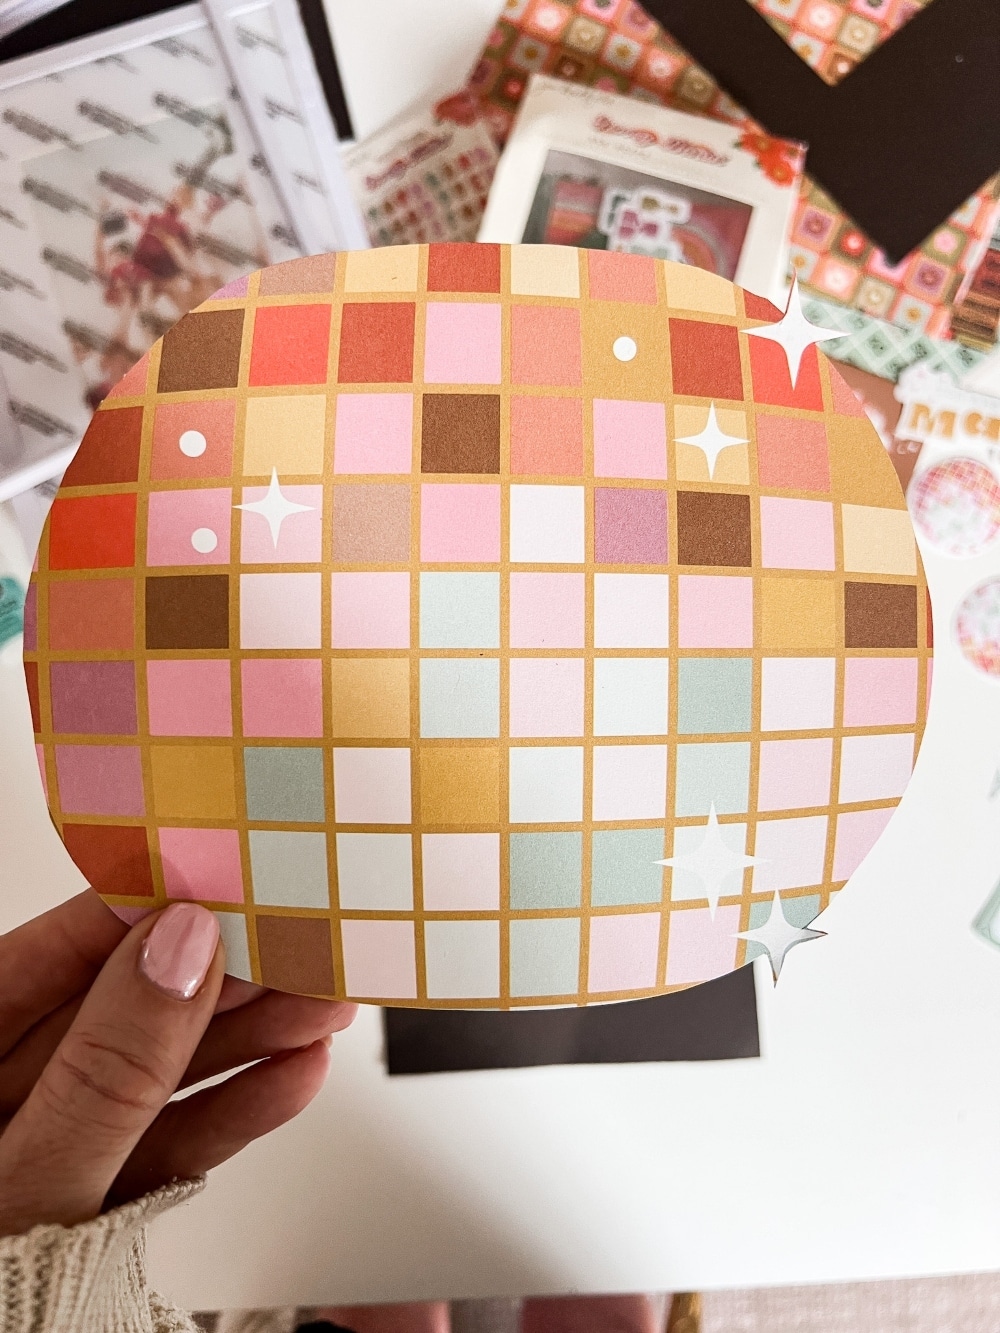
One of the papers in my Groovy Darlin’ line has a giant disco ball. To give it a Halloween twist, I transformed it into a pumpkin shape. Start by cutting the ball down to be more of an oval shape, trimming the top and bottom. This will give it that perfect pumpkin look.
Adding Sparkles
Next, cut the sparkles out of the paper and use 3-dimensional dots to make the sparkles stand up, adding some fun texture to your art.
Framing Your Art
I framed all of the art pieces with matching 8×10 white frames. The clean look of the white frame beautifully complements the vibrant disco ball pumpkin.
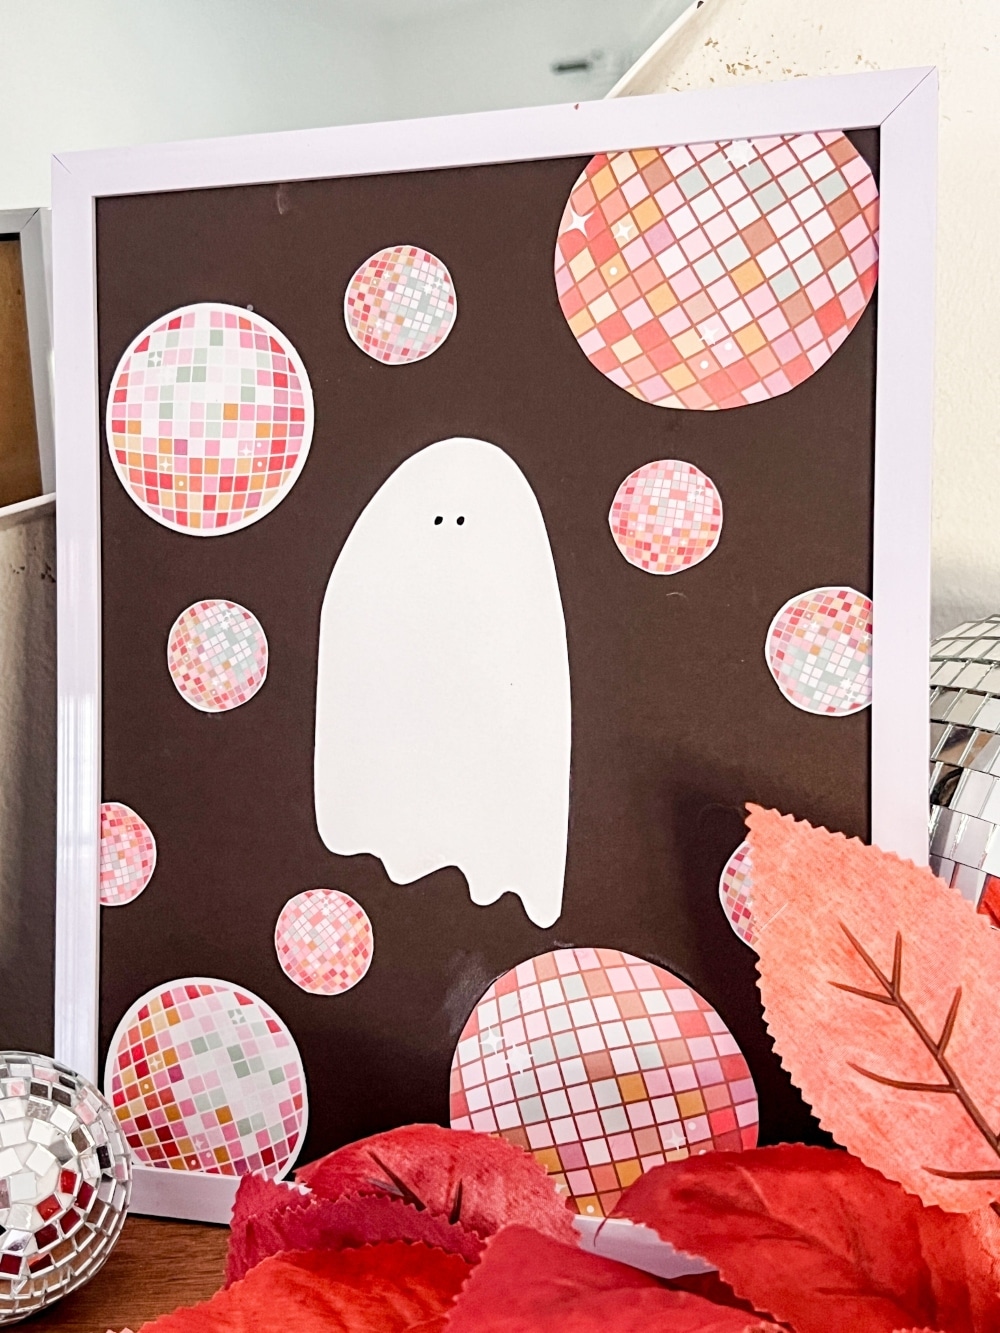
Art #2: Ghosts and Disco Balls
Supplies:
- Black cardstock
- Disco ball ephemera from the Groovy Darlin’ line
- Disco ball cardstock from the Groovy Darlin’ line
- Quick dry tacky glue
- Scissors
- Black pen
- 8×10 white frame
Creating the Ghost Art
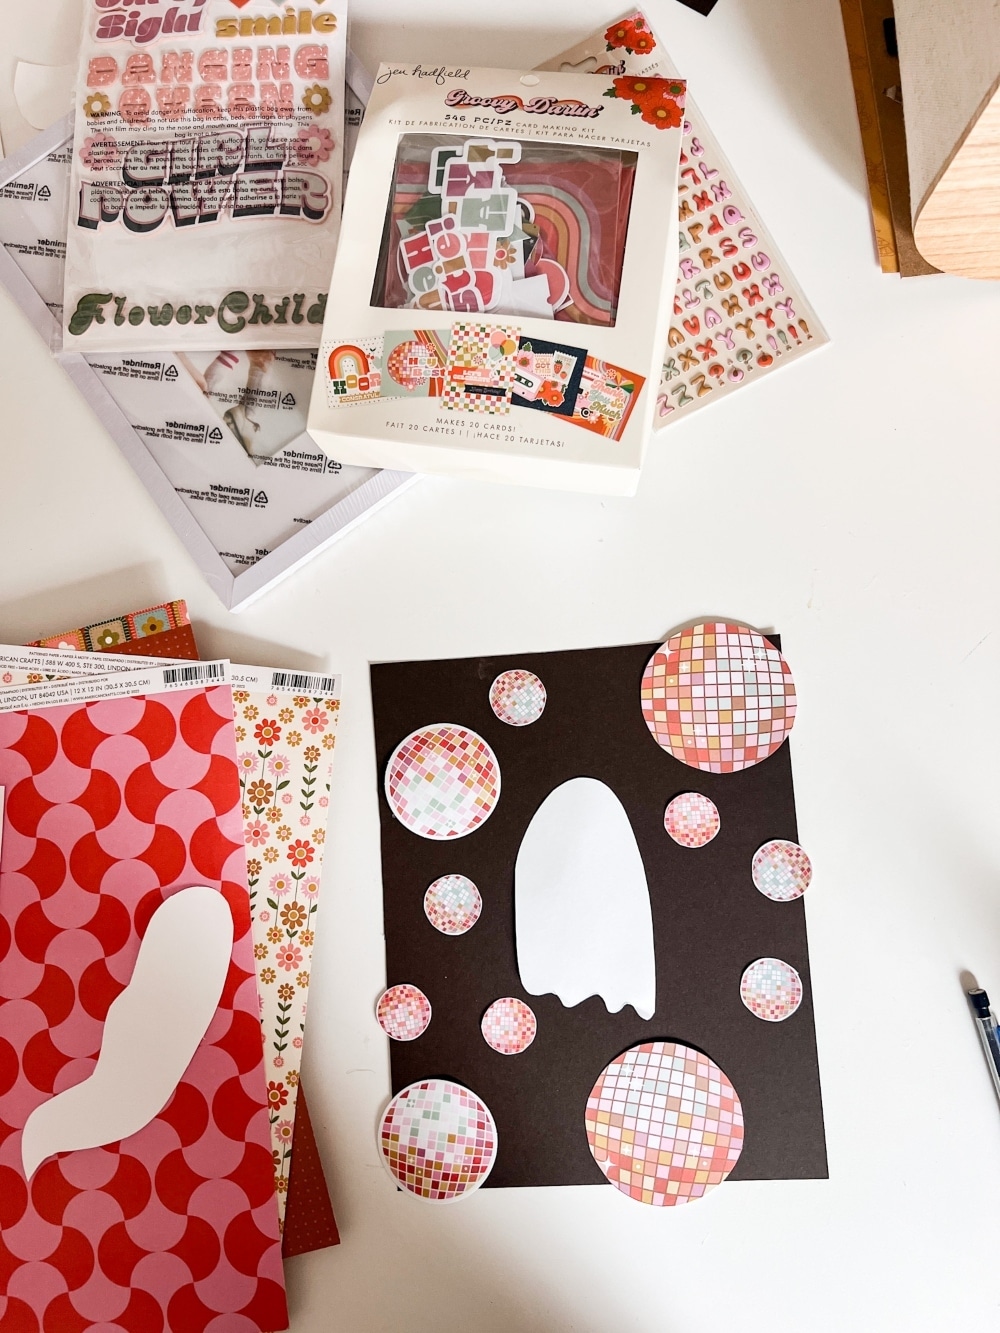
For this piece, start with a black cardstock background. Using the disco ball ephemera from my Groovy Darlin’ line, cut out various sizes of disco balls from the cardstock.
Assembling the Art
Cut out a simple ghost shape and place it in the center of the paper. Arrange and layer the different sized disco balls around the ghost. This gives a playful yet spooky vibe. Finally, use a black pen to add eyes to the ghost. Secure everything in place with quick dry tacky glue.
Framing Your Art
Place your artwork in an 8×10 white frame to complete the look. The contrast of the black background with the white frame and the colorful disco balls is stunning.
Art #3: Trio of Ghosts with Flowers
Supplies:
- Mustard yellow butterfly paper from the Groovy Darlin’ line
- 3-dimensional flowers from the Thicker puffy ephemeras
- Quick dry tacky glue
- Scissors
- Black pen
- 8×10 white frame
Creating the Ghost Trio
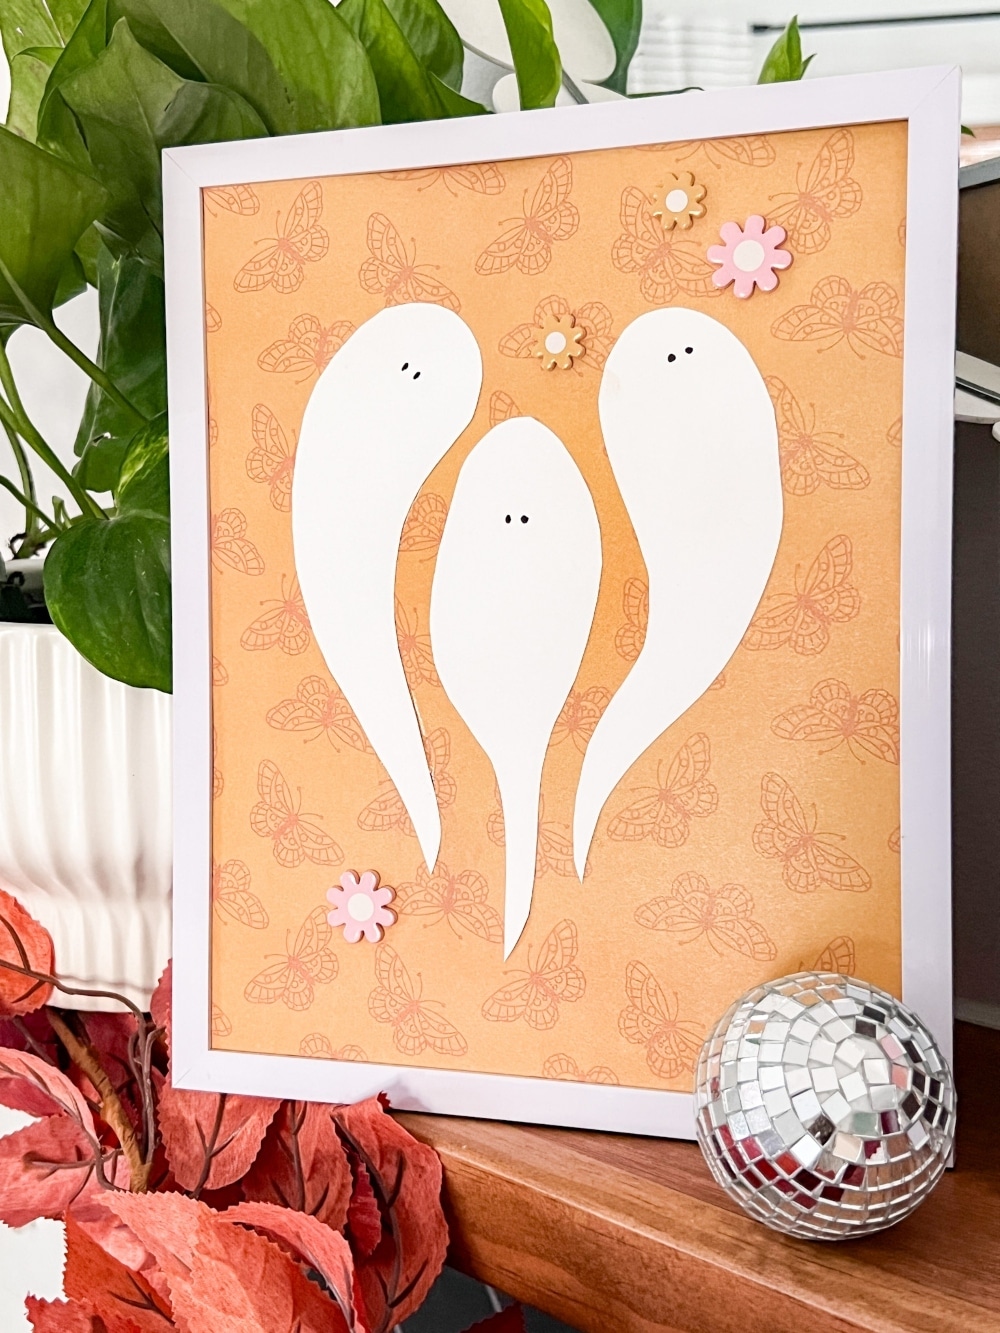
Begin with the beautiful mustard yellow butterfly paper as the background. Cut out three ghost shapes from white cardstock. Place one ghost in the center and the other two on either side, framing the central ghost.
Adding Details
Glue the ghosts to the paper using tacky glue. Add eyes to each ghost with a black pen to bring them to life. Then, embellish the piece with 3-dimensional flowers from the Thicker puffy ephemeras, placing them around the ghosts to add a whimsical touch.
Framing Your Art
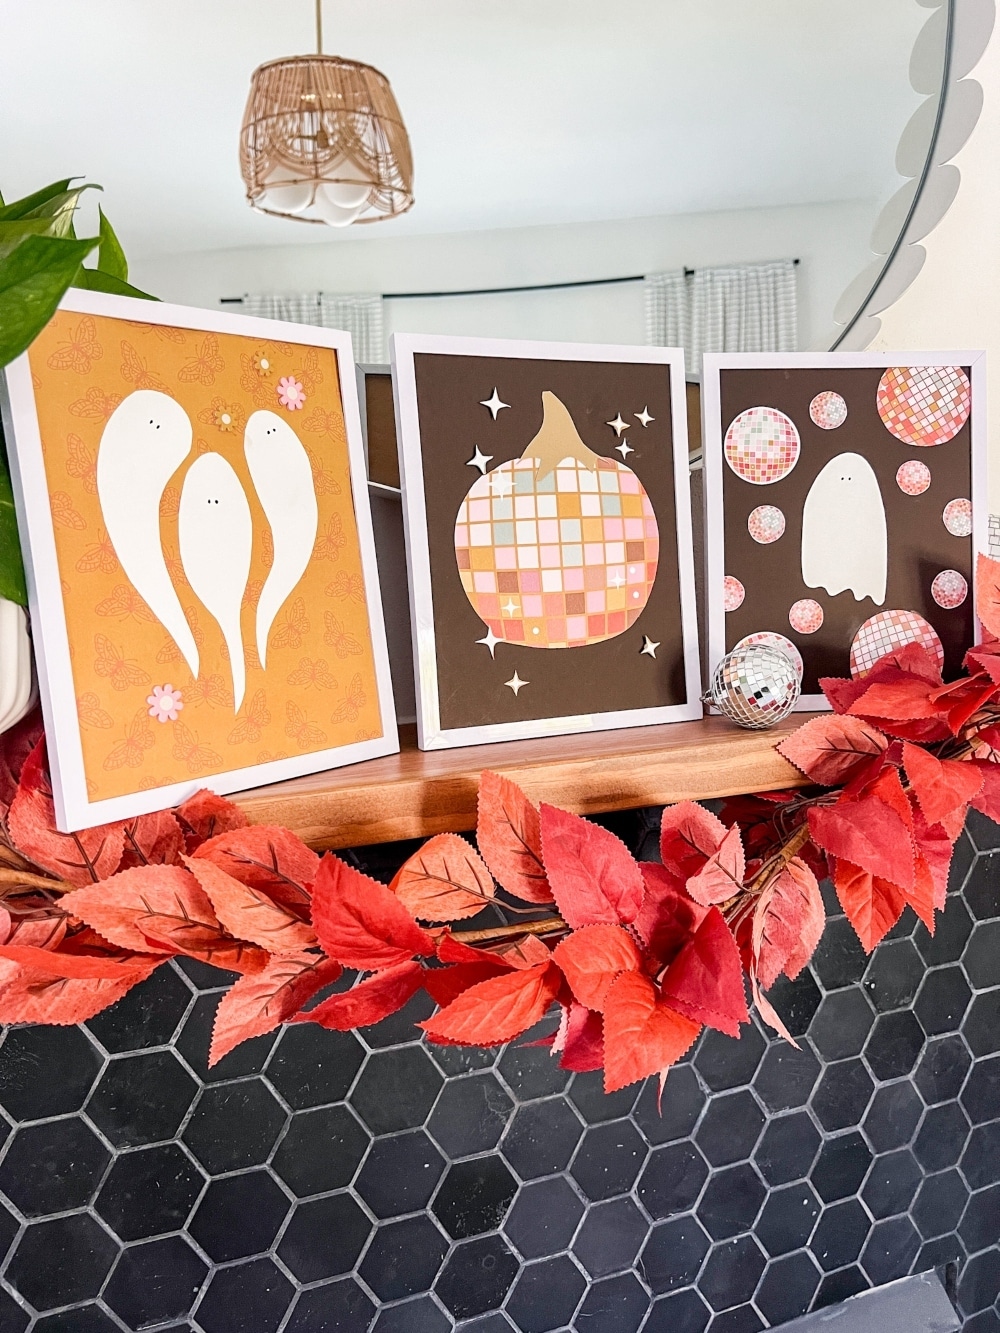
Finish by framing the art in an 8×10 white frame. The mustard yellow background paired with the white ghosts and colorful flowers creates a delightful Halloween piece.
Conclusion
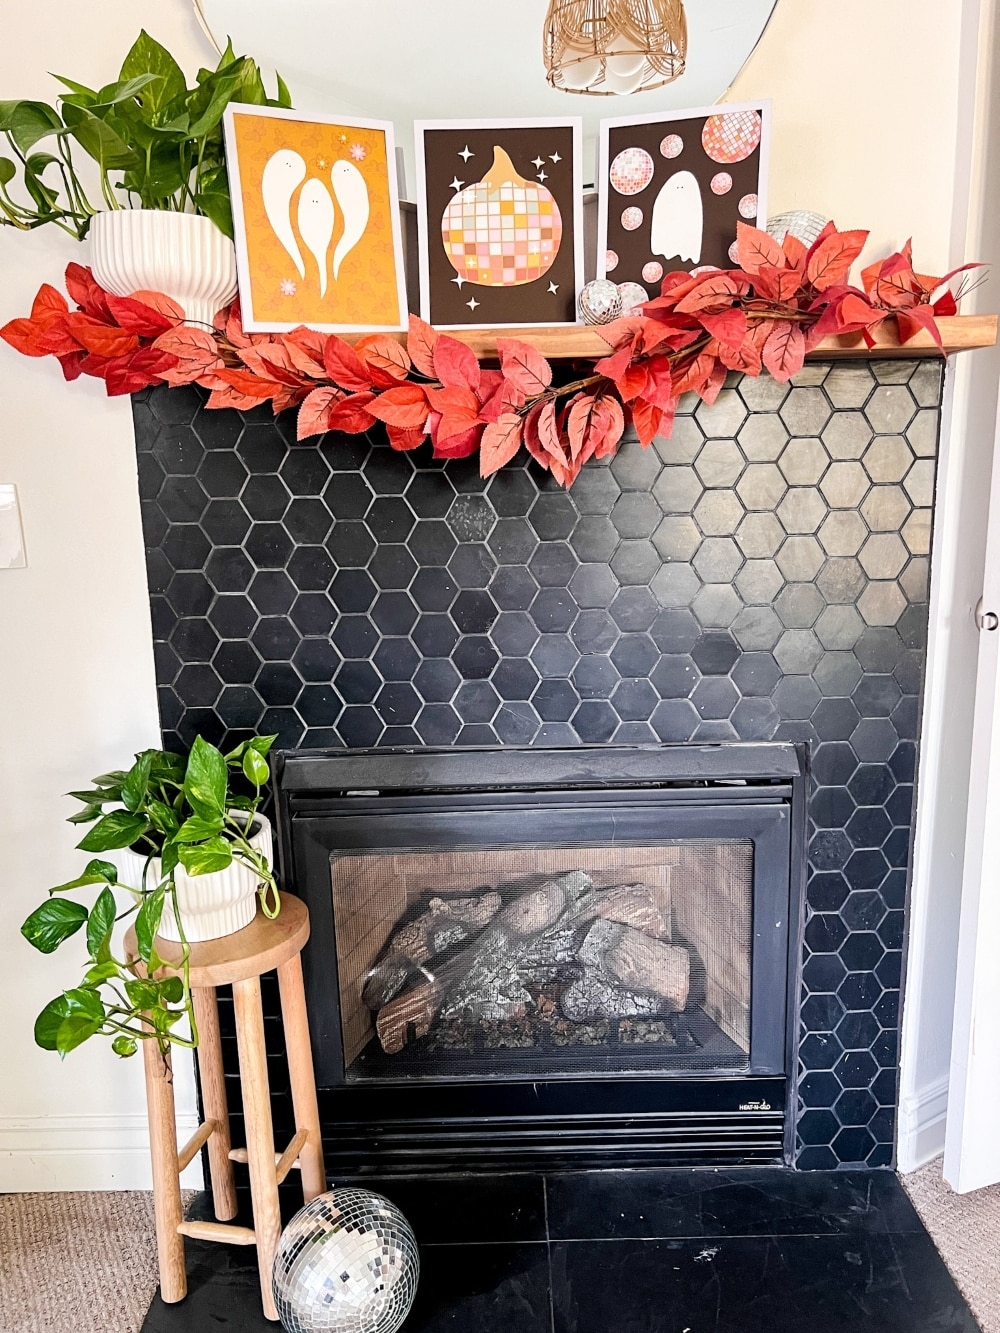
That’s it! It’s so easy to make DIY Halloween art with a PINK and disco ball spin! I hope you enjoy making these as much as I did. You can find my NEW American Crafts Groovy Darlin’ line of papers and accessories at all JoAnn Stores nationwide, as well as smaller craft stores. Happy crafting and have a disco Halloween!
Feel free to share your creations and tag me on Instagram @tatertotsandjello. I can’t wait to see what you come up with!
Have a Spooky Day!
xoxo

