There’s so much to talk about in my 1905 cottage remodel that I barely know where to begin!
As you’ve guessed from the parts of the story I’ve told, we started with a cared-for but out-of-date cottage and stripped it to its brick frame. (And in some cases, farther!)
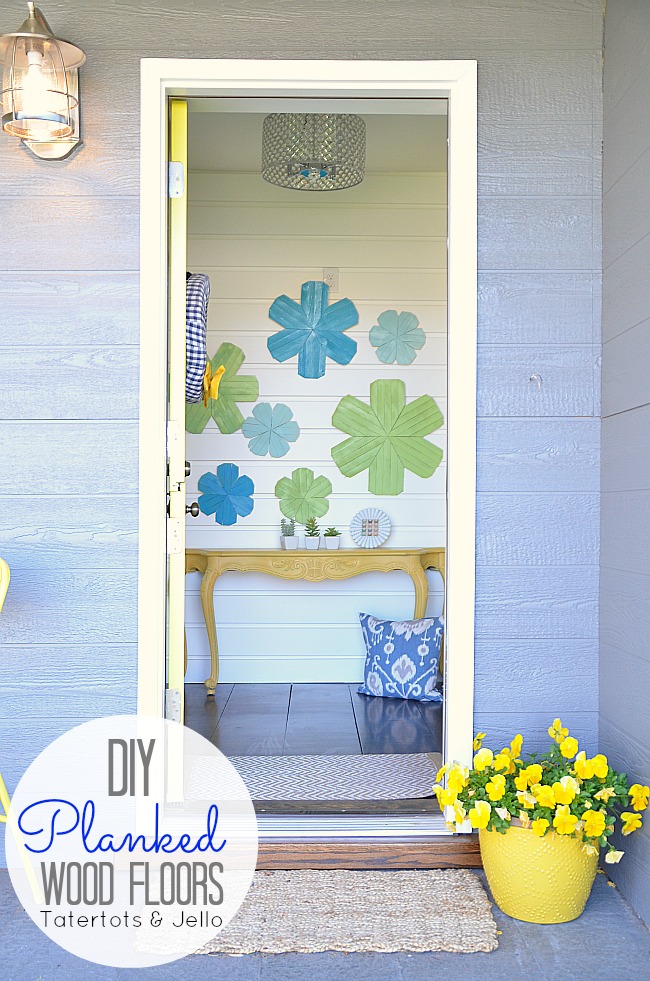
When we did, we discovered the ORIGINAL hardwood floors (that I will talk about in another post).
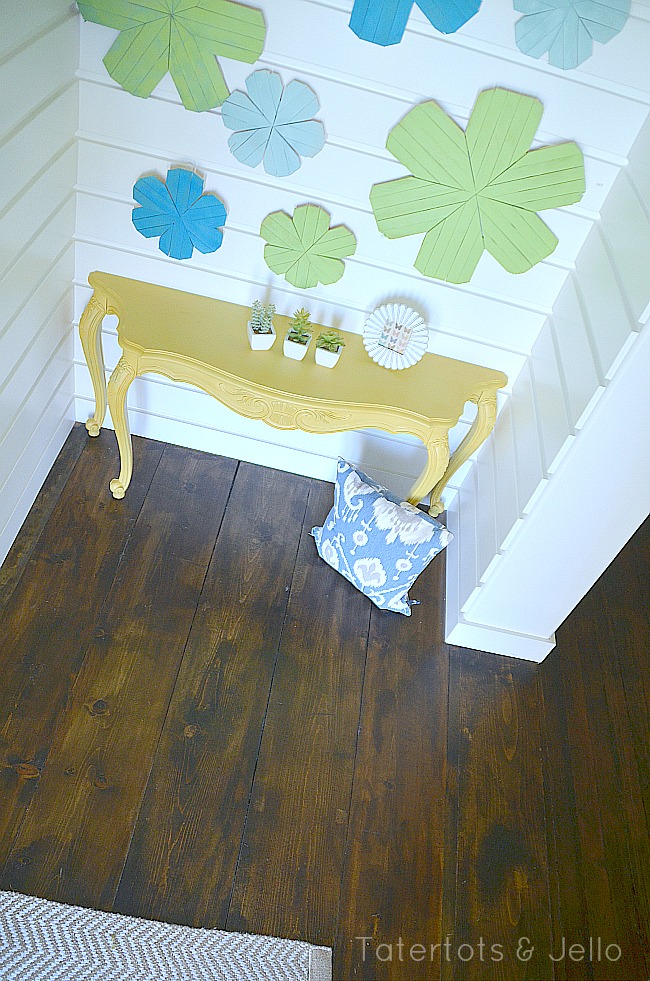
I’ll tell you all about how we rebuilt the entry floor, but before I do, here’s how it looks now:
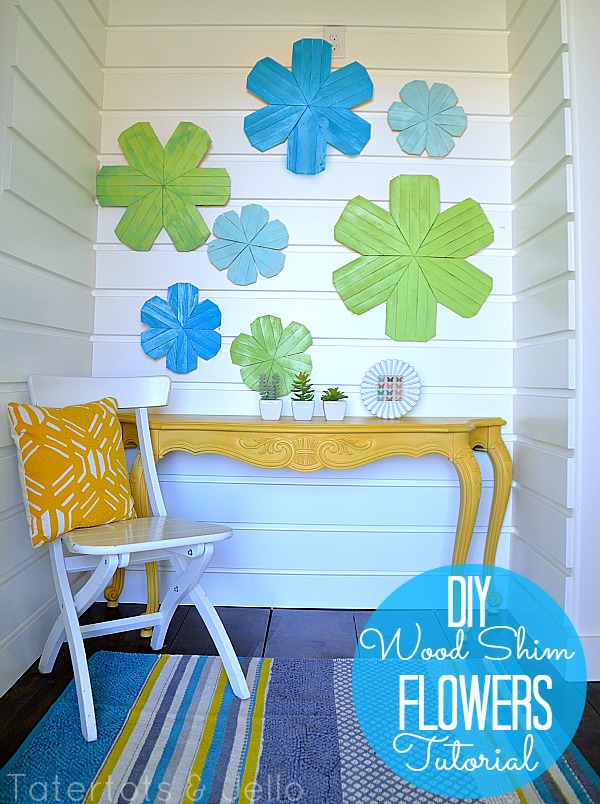
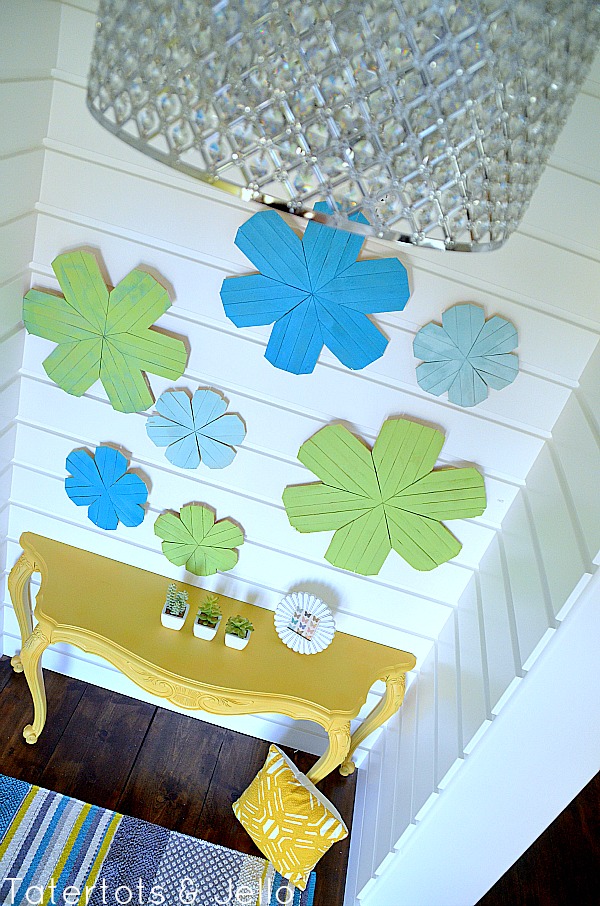
(See? You’ve seen this floor before in my DIY Wood Shim Flowers Tutorial.)
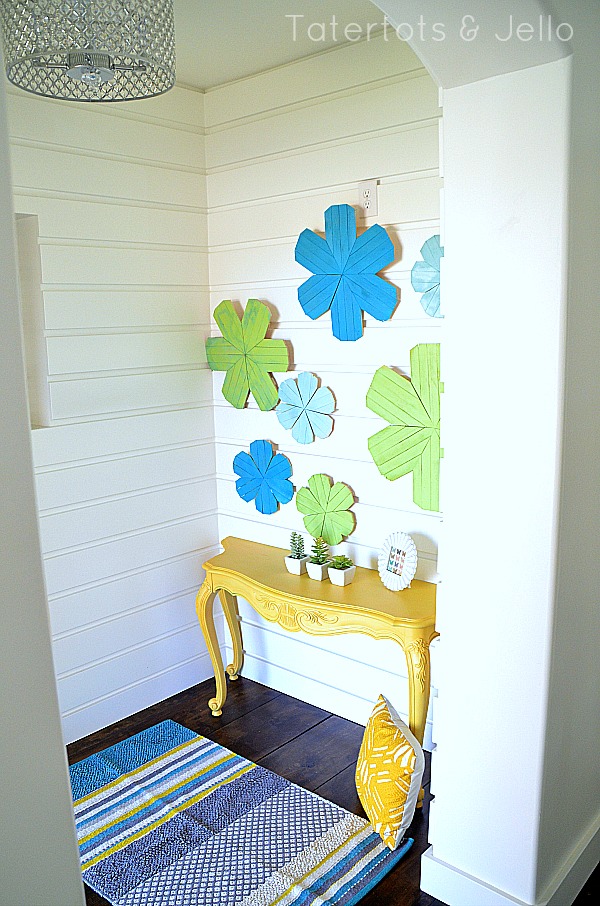
(And I’ll show you how to create the modern planked walls in an upcoming post, too!)
For the most part, we were able to save almost all of the original wood floors in the house, but not the entry floor. Whatever linoleum adhesive had been used over the decades was too hard to get off. So I’ll show you what we tried, why we finally gave up, and how we built a rustic, planked floor simply, inexpensively and fairly quickly that looks great with the rest of the house (and wears well!).
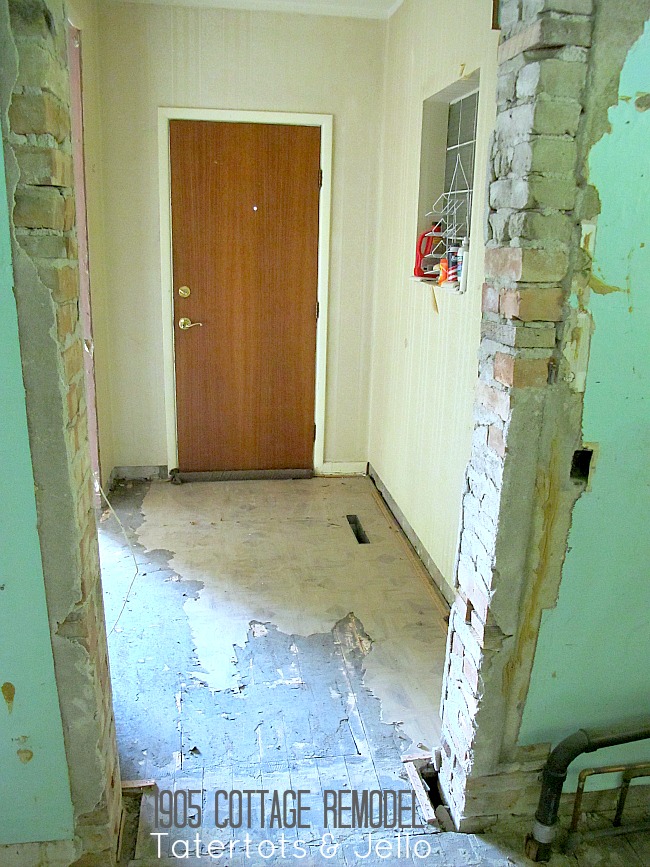
Here’s how it looked at the very beginning:
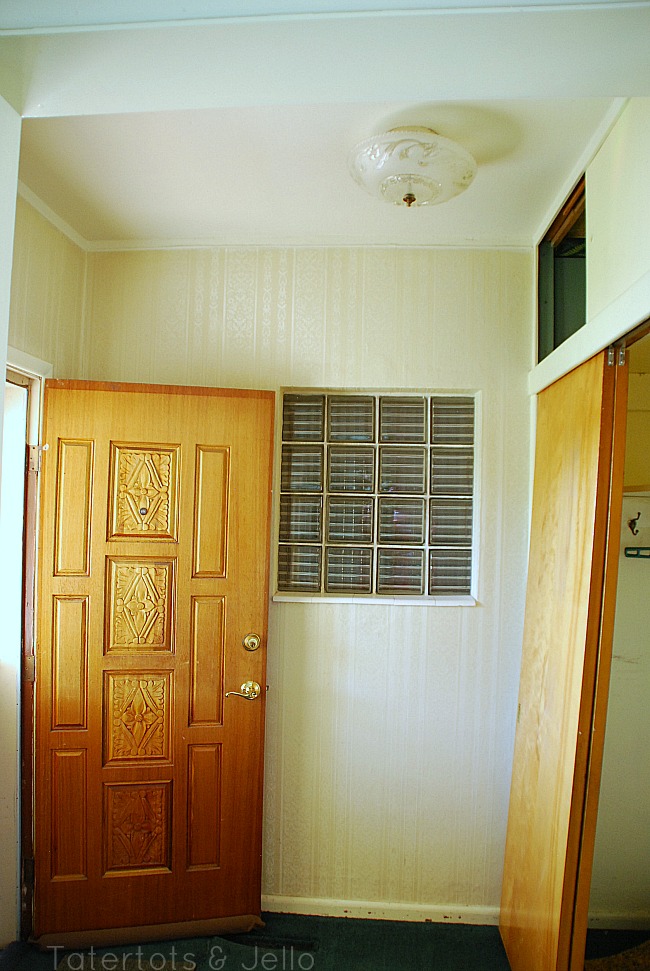
And here’s the story:
We really wanted to save the floor in the entry. I’ll tell you everything we did to save the floors in the rest of the house in another post — suffice it to say that we used a lot of power tools and dust masks. But look at what a mess the floor was:
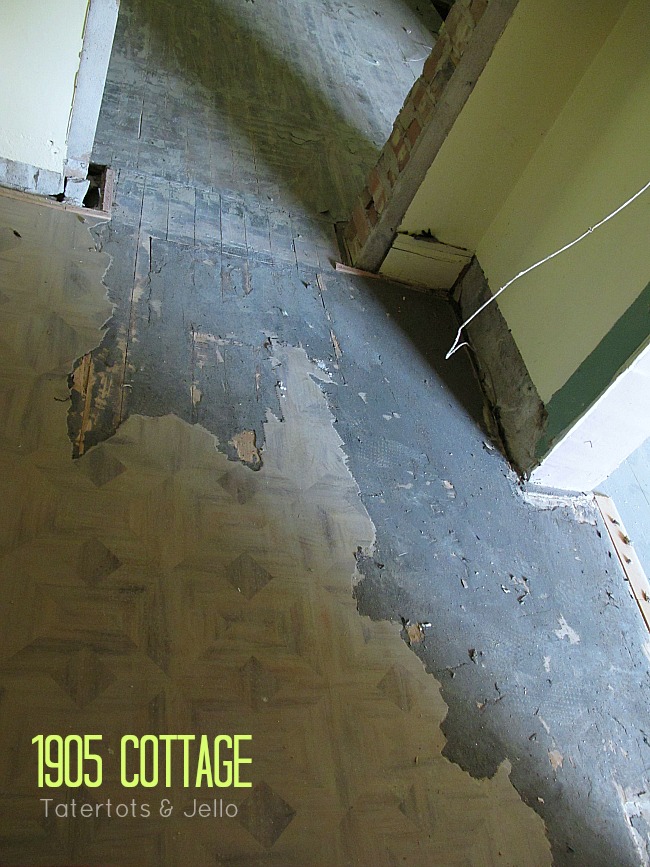
The linoleum was old and seemed like it was baked onto the floor. We tried lots of tricks, like using a scraper, soaking the linoleum and adhesive, and so on. Nothing seemed to work well, and when we did finally get a small patch of wood uncovered it was really beat up.
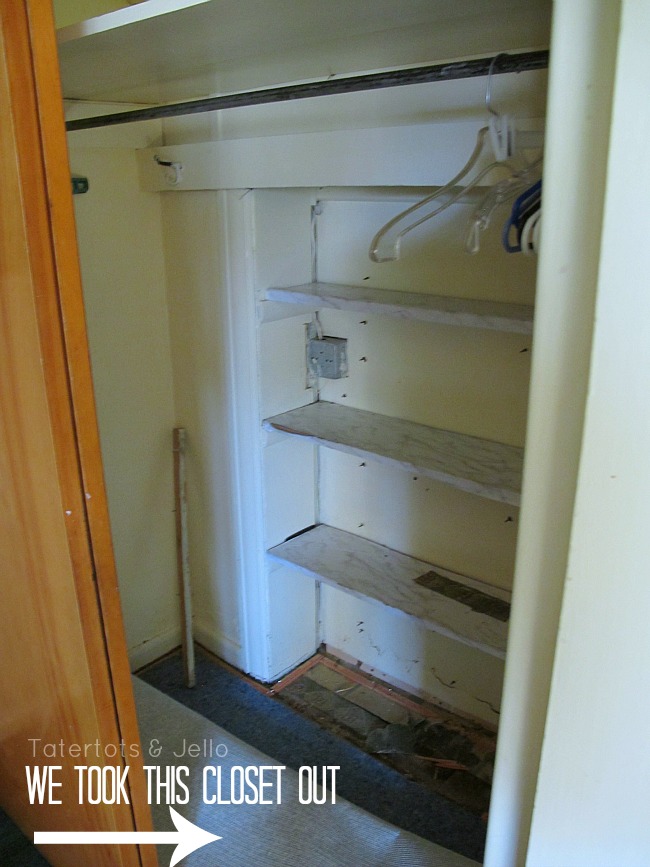
You may also notice that we rearranged the entry a bit, removing an oddly framed entry closet (how’s that for an unwelcoming view) and taking advantage of a covered-over doorway to create a fridge niche on the other side of the wall in the kitchen (more on that another time).
We reluctantly decided to tear up the floor. Tearing off the floor was easy — just a crowbar and a circular saw or sawzall where we absolutely needed it. … and we were left with a subfloor.
We were suprised to find that we liked the way just the subfloor uncovered looked.
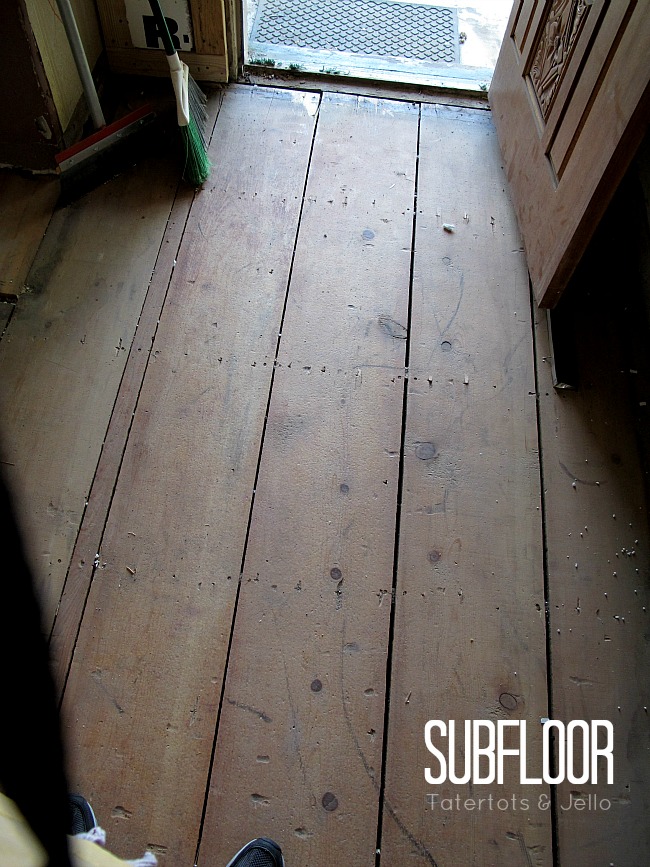
But, as you can see, there were huge gaps between the boards and below them was nothing but the crawlspace under the house — not very well insulated.
Inspired by this look, however, we started looking for flooring we could buy that would look like that … and even for that small space we couldn’t find anything that looked just right.
So, we headed to the hardware store and bought premium pine boards, going through every plank in the store to find the least warped. With these thicker boards, we had to look for boards that not only weren’t warped from end to end, but that weren’t like potato chips and warped from side to side. We looked at a lot of boards. And it turns out that for this small of a space, the lumber was pretty inexpensive.
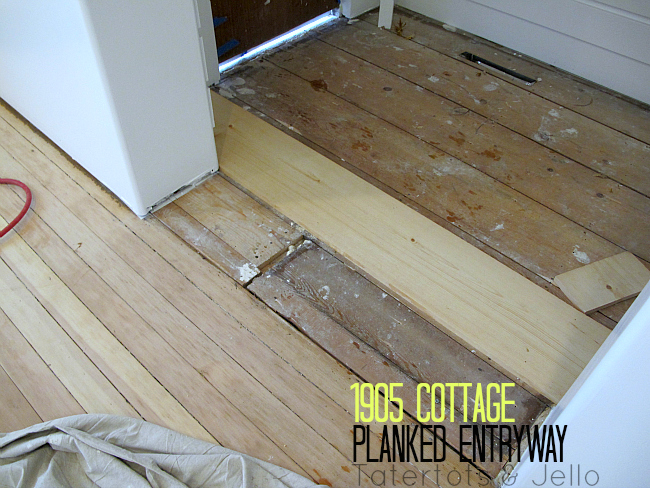
Because the space was so small and fairly square, we had it pretty easy. We just cut the first plank starting on the side that would be the most visible: the one closest to the threshold leading into the front room to the right. Rather than have straight planks all the way across we added some shorter pieces as well to add variety (see the “after” photo below).
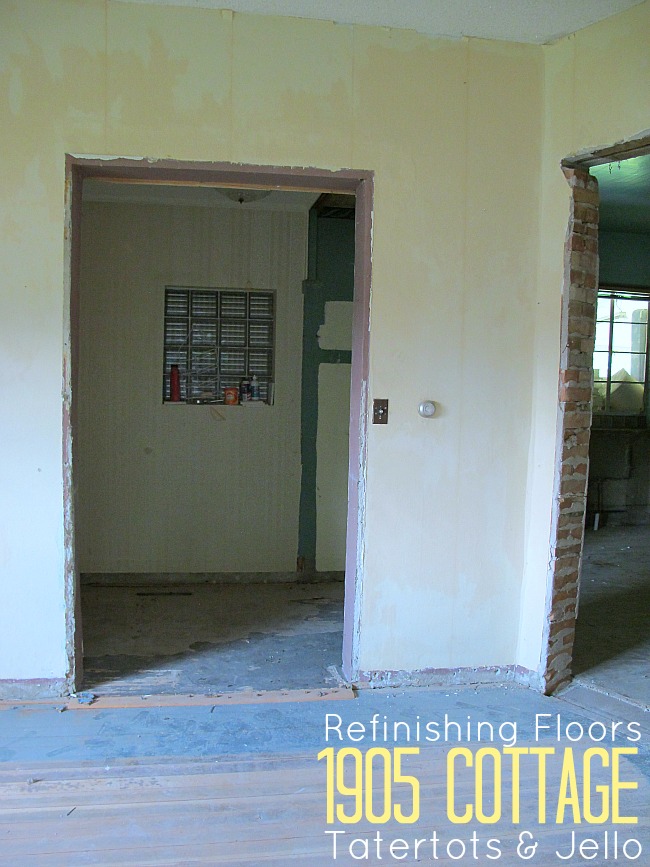
Tip: We knew that we’d be putting molding down on three of the sides, so we knew we could leave a little bit of space: we didn’t have to cut it to fit perfectly on the ends where we knew molding would go. Remember this if you try this project!
We then worked from right to left. We didn’t nail the planks in yet just in case!
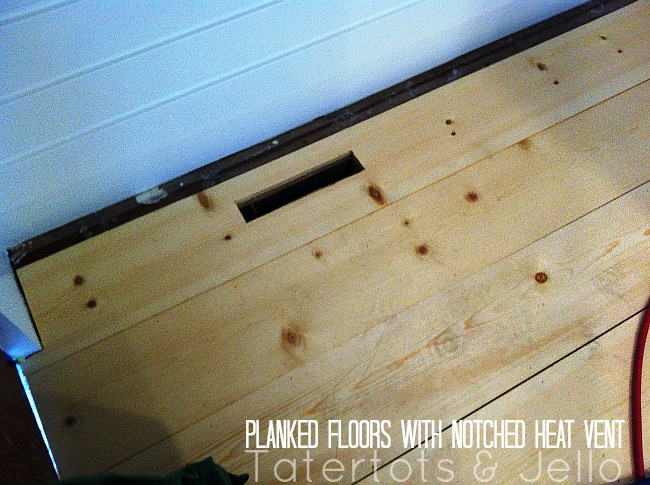
The final plank was the hardest. We had to use a jigsaw to cut a hole for the heat register AND we had to use a table saw to “rip” the board lengthwise to get it to the right width to fit against the wall. (Rooms never have the courtesy to fit the lumber you bought, especially when the rooms are over 100 years old.)
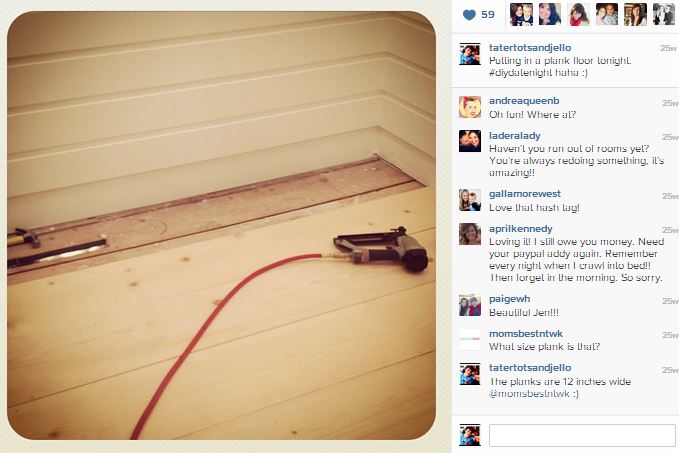
Once we had fit all the planks down, we used a pneumatic nail gun to drive nails in, and tried to be pretty regular about where we put them.
Tip: Since we were going for a rustic look, we tried to get the boards to fit together as tightly as we could, but we didn’t sweat it too much. And when we nailed them down, we didn’t worry too much about marks. You don’t need to use a nail gun: regular nails would work just fine, or even screws if you wanted.
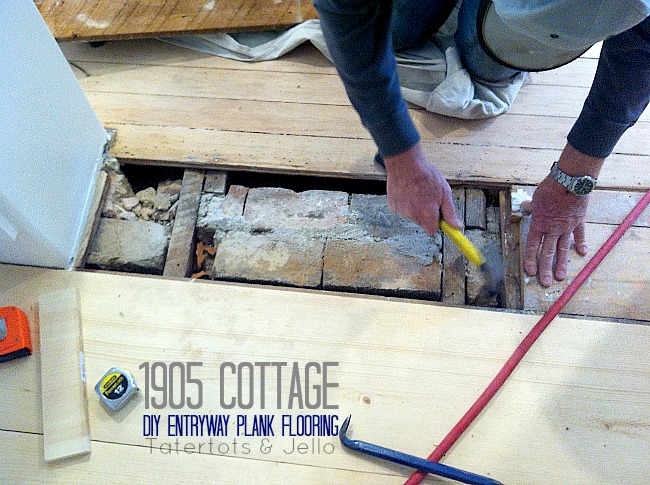
I’ll talk about thresholds in another post, but we had to do a lot of work to get the threshold between the new floor and the old floor in the front room even, especially when we had to build it over the top of the old subfloor AND part of the brick wall — like you can see here:
After giving it a final sand to remove any footprints or marks, then we stained the entry to match the rest of the house when we refinished the floors. We used two coats of stain and at least 4 of polyurethane.
Tip: Remember that old wood and new wood will take the stain differently, so pay attention — they will probably take different amounts of stain to achieve the same color.
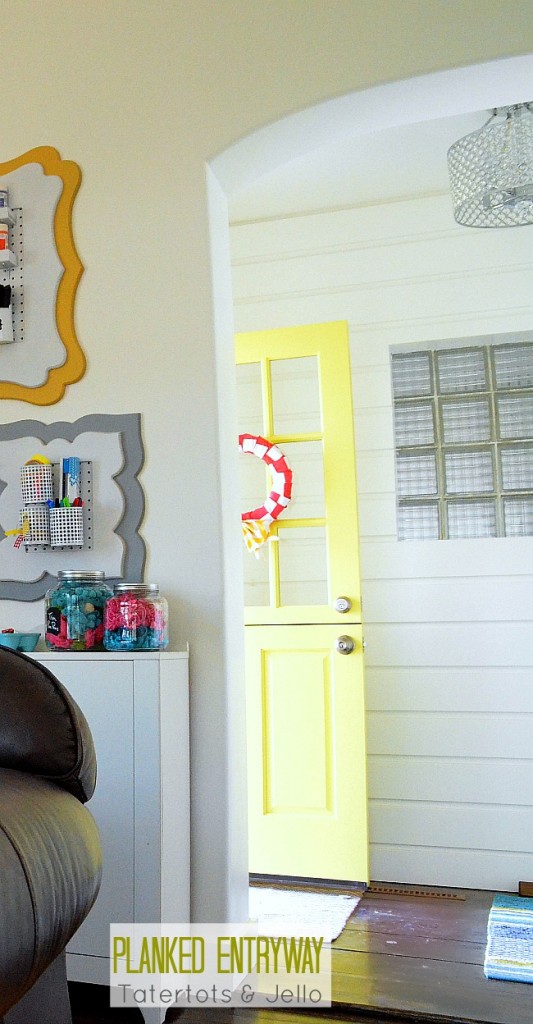
(sorry the floor is a little dirty in this picture – but you can see what I’m talking about)
You could apply this idea to any relatively small space — it’s an easy floor to do and has a beautiful, rustic look!
This floor cost less than $40 – and I am so happy with it!!
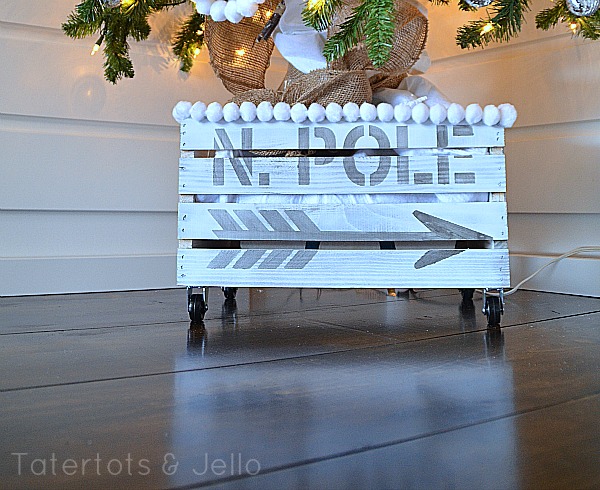
(Guess what — I showed off this floor in November and didn’t tell you what it was. Sneaky!)
Would you ever consider installing a planked floor?? Where would you build one?
xoxo

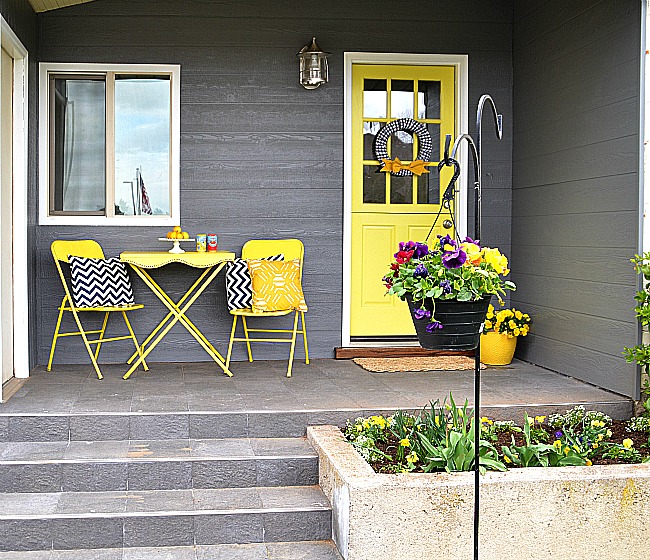
PS — This project has really captured my heart. Here are a few other #1905Cottage projects:
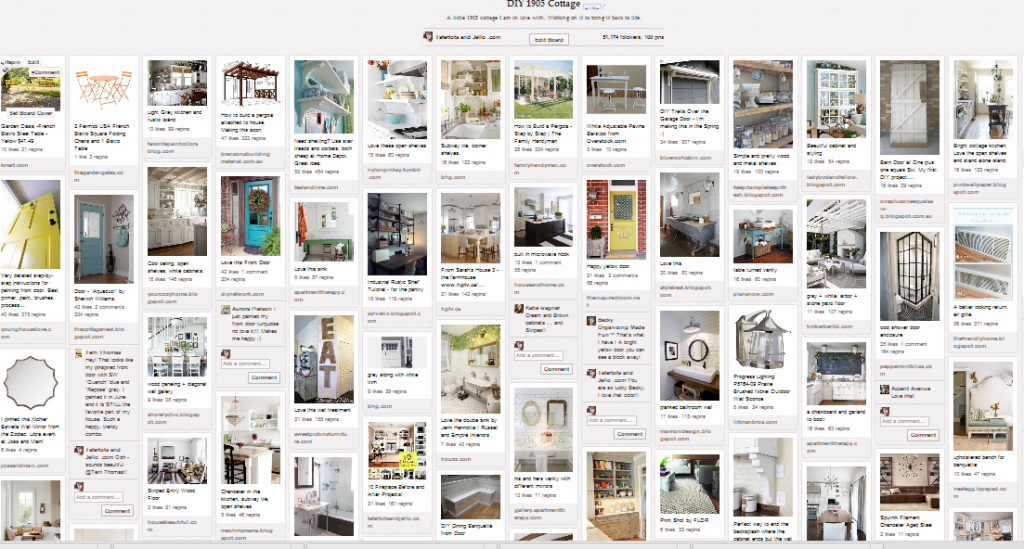
And be sure to check out my #1905Cottage Pinterest Page, with tons of modern cottage ideas for new OR old homes.



I had two reactions to this tutorial. 1) That looks good! I wonder how it would hold up with my big dog running around if I do this floor… 2) OMG you have my light! 😀 That’s my dining area light. I’m unreasonably excited to see it in someone else’s house too.
I love the color of the stain. What is it? Also what type of sealer did you use?
Sorry one more question…how thick are your boards and how wide?
Thank you so much!!
Hi! I’m in love with this floor! And your tutorial is exactly what I spent half the night looking for:) Thank you x a million!
I have a few questions if you don’t mind…first how are the gaps between the planks now? Are they bigger? And is it hard to sweep with them?
Would you recommend doing your whole main living area this way?
Thanks again:)
Wow, that’s what I was exploring for, what a data! existing here at this weblog, thanks admin of this website.
Hi Jen, Love the transformation so far! I’m wondering where you found the light fixture and what yellow paint color you used for your console table. Thanks!
the floor is gorgeous & so is the stain you picked! i also love that mr. jennifer is replying to some of the comments! so fun!
xo
kellie
Love the planked floors! So rustic and pretty. The width is gorgeous:)
Krista
I wonder if it is possible to reuse the flooring you took out if you just turn it over. Or does the damage go all the way through? Either way, its a great project….!!
Cindy
Hi Cindy
This is Mr. Jennifer. The original floor (that Jennifer will talk about in a different post) is tongue-in-groove pine. We couldn’t get it out without breaking it because the mastik (or mastik-looking) linoleum adhesive made it impossible to pull the boards apart. And the way they nail the boards in, it would have been difficult to pry the nails out without splitting them. The 100-year-old boards are (understandably) pretty dry and crack easily.
But I like that idea! We used that idea to patch a problem area in another room … but that’s another post for Jennifer to tell you about!
I have been trying to find a cheap way to put a wood floor in my daughters room. We had thought about pine but my husband said it would be too soft and dent or nick too easily. Have you had any of those problems with your floor? Is premium pine different that a regular pine? I love the wide planks-hopefully this can work for us.
It’s gorgeous! And I noticed the Christmas tree was in a different place than I had seen on your blog before. But I thought you had a back porch or something lol
We did this in our bedroom after we had to remodel after a puppy+toilet hose incident required us ripping out the carpet in January of 2012. My in laws did this throughout their house after giving up doing any other rooms in their home tongue and groove themselves several years ago after going through a couple planers putting in the flooring in their kitchen and living room. We stained ours a dark cherry(?) color but my in laws just polyurethaned for the pine look.
it’s just unbelievable the amount of work that you’ve put into this! it’s beyond amazing … you go girl! ♥
Thanks Jaime!!!
It’s been so much fun. Even though we’ve put in so much work and time, it’s been so much fun to see it transform!
xoxo
Gorgeous!
Thanks Sharalee!!
This has been such a fun project to work on!
xoxo
I know I have said it before- but I will definitely say it again- I just love the colors Jen. They just speak to me for so many reasons. Loving your little cottage & all you have done to it. Beautiful! We soooo have the same taste.
Hope you are having a fabulous Thursday!
Thanks so much!! I love that you love the colors too. Yay!!!
xxoxo
Do you know the price comparison. We are going to look into it!
Hi Cindi!
We paid about $40 for the lumber for the planks. I looked into unfinished wood flooring and it was a couple hundred to get that flooring for this space. And I really wanted the look of planks, wider than traditional unfinished wood flooring.
xoxo
The floors look fantastic! x
Thanks Danielle!!
I am really impressed with how well they have held up so far and the way they look.
xxox
It is beautiful!
Thanks Abby!
We really like them!
xoxo
Actually when we remodel we will be using this style of flooring in all bedrooms, living, and dining room! We are also going to do the walls very similar! We don’t like all the chemicals they use and plaster walls are just way to much work!
That sounds so pretty!! I would love to see pictures when you are done!
xoxo
We have a room that we remodeled in our house. The only problem has been the floor. We can’t get anything to stick to the floor. It has a cement foundation and nothing we have tried has stuck. I love plank floors and will have to show this to the hubby. Maybe this will be the best solution for us…the room has been without a floor for a year now and it’s about time it gets one! I love all of your how to steps and pictures!!
Hi Annette!!
I have a room like that in this little house. I talked to a friend of mine who has a tile company and he said we need to use an underlaying membrane and then put wood on top of that. So that is what we are going to do. I am hoping to get that project done within the next couple of weeks.
xoxo
This is such a FABULOUS before and after. You have done an Amazing job and the color palette is So bright and Cheery!! I LOVE LOVE LOVE your Light fixture in the entry..SO Beautiful!
Thanks Angelina!!
I just love that light fixture too!! It’s so pretty when you turn it on, it has prisms and the light sparkles all around that little entryway room. It’s so pretty!!
Thanks for your sweet comment!
xoxo
We have actually done this in our home. Over a year ago, I decided that I wanted hard wood floors in my 12 year old home (just like my mom’s in her 1920’s home.) My husband was a doubter, but I convinced him that we could “get that look” by using this method. It actually turned out BETTER than I had imagined. I was (and still am) ecstatic about it! I am really enjoying watching the transformation of your little cottage! Thanks for sharing.
Hi Kerry!
Oh yay!! That is so great to hear. Do you have any pictures of your floors? I would love to see them!! I really like the way the planks look, it looks really authentic to the home and gives it such character.
oxox
looks great! we have a lot of spaces in our house that i’d like to rip out carpet and put in wood but they are large areas of flooring! not a project we can tackle just yet! hopefully one day!
I know what you are saying. I would love to rip out all of the carpet on the first floor of my house and replace it all with wood. It would be so pretty!! Maybe we both will be able to do that someday!
Thanks for stopping by Jessica!
xoxoxo
Love the rustic planked floors! Great tips on new vs old wood staining! I love this project and love watching the progress.
Hi Katie!
Thanks!! It was been so much fun to work on!! I appreciate you stopping by and leaving a comment!
Have a great day!
xoxo
That is so perfect for that space! Great work! xo Kristin
Hi Kristin!!
Thanks so much!! It is so fun to see the space being transformed. It’s such a happy little place.
xoxo
My spare bedroom is the last room in our house that still has carpet. I’ve wanted to put a dark wood floor in there, but couldn’t see how it could be done on our budget. This just might be the ticket!
Just amazing to watch this all unfold! I think everything is beaututiful!
Shelly
I’m so in love with watching this transformation-it’s gorgeous and I can’t wait to see the next installment!
Nice job!