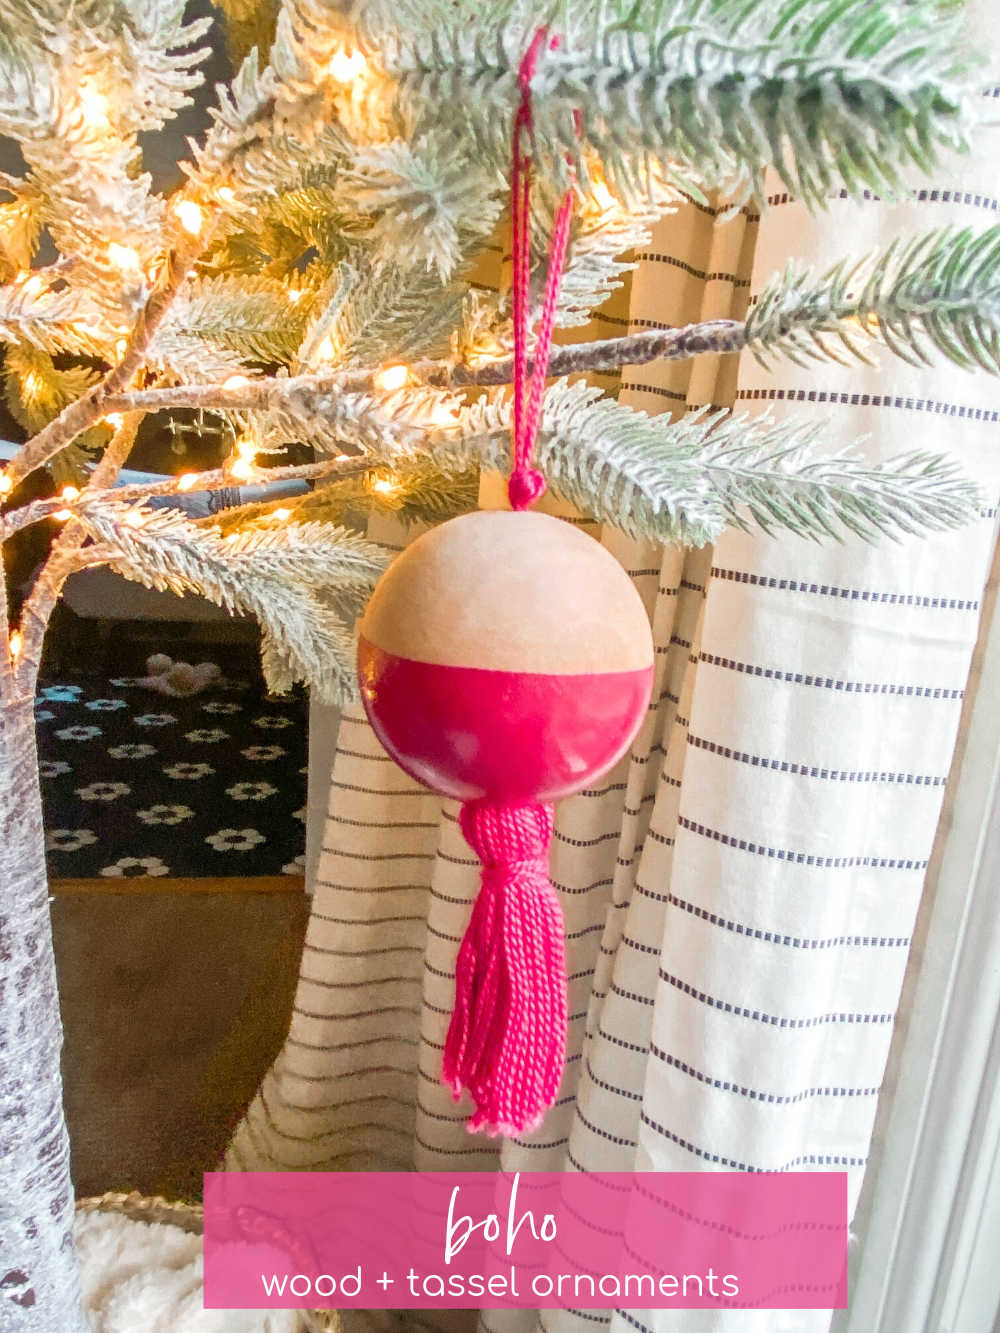
DIY Boho Wood and Tassel Ornaments. Add a little boho vibe to your holiday tree with this fun DIY painted bead ball ornament.
DIY Boho Wood and Tassel Ornaments
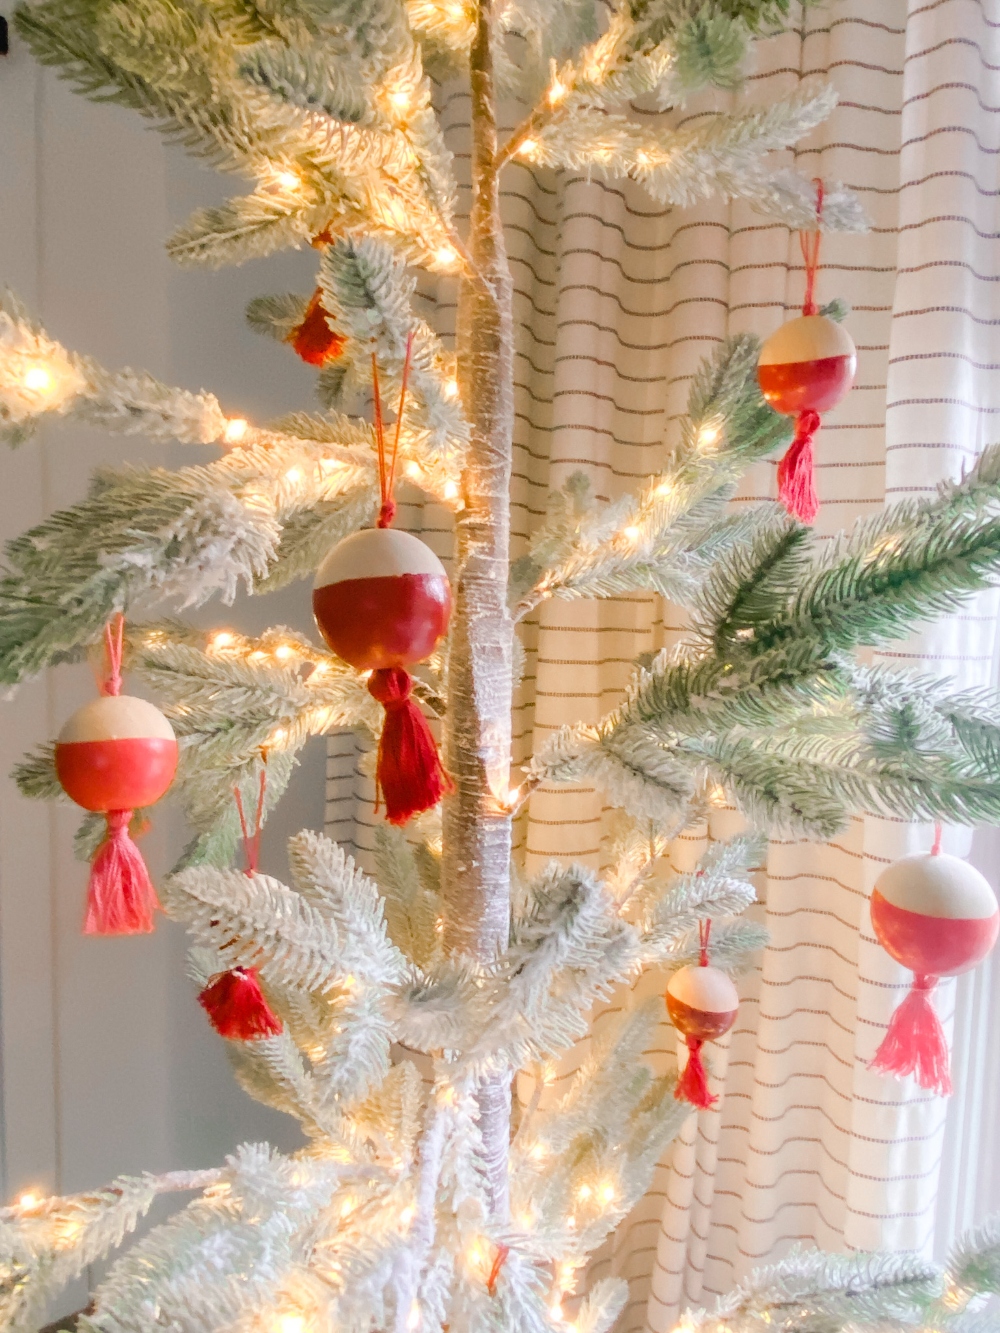
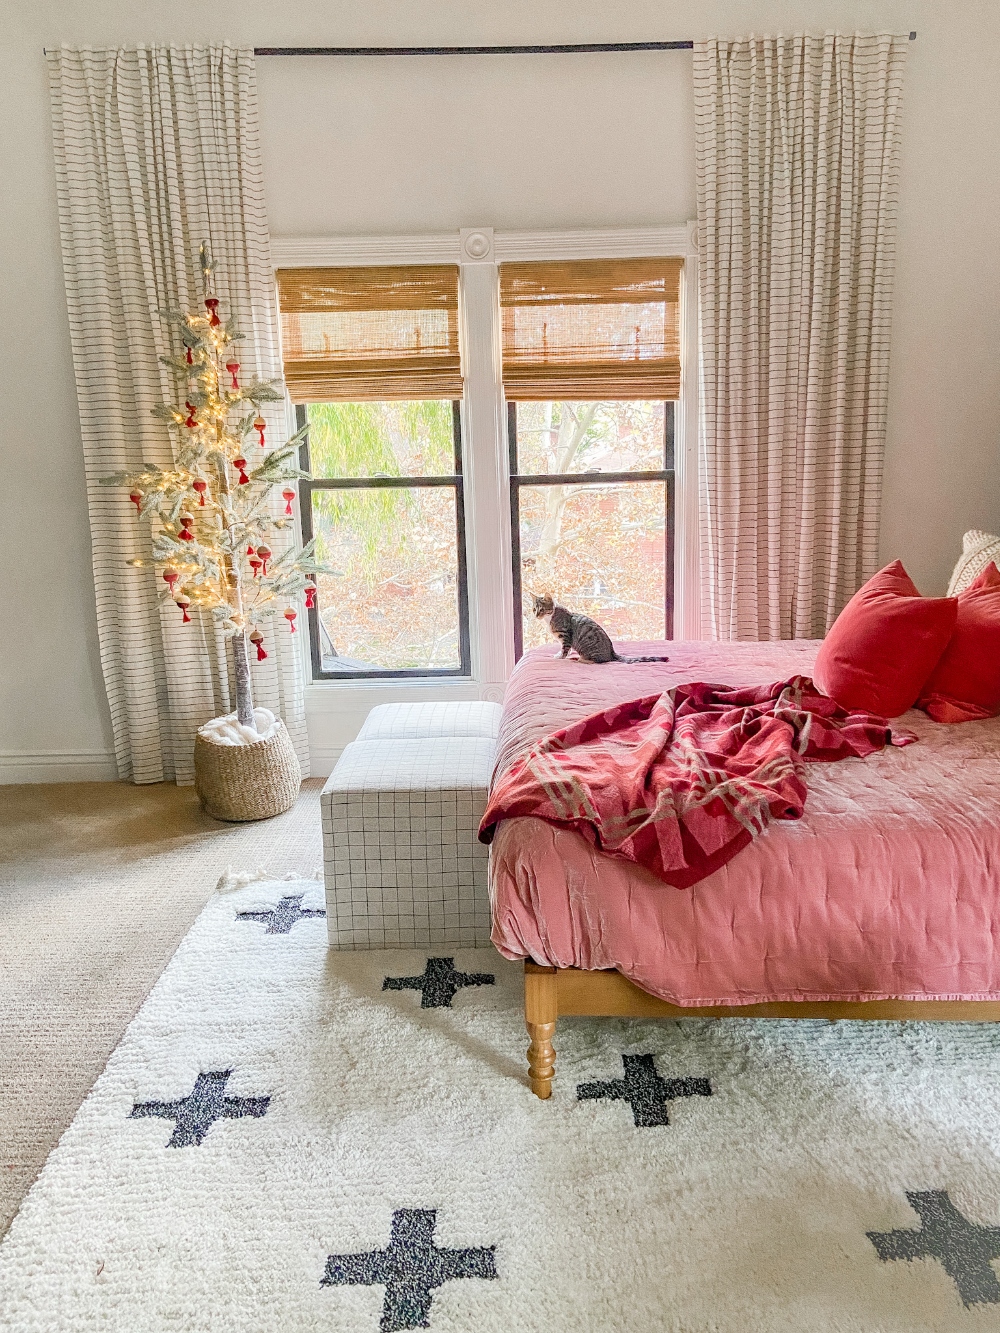
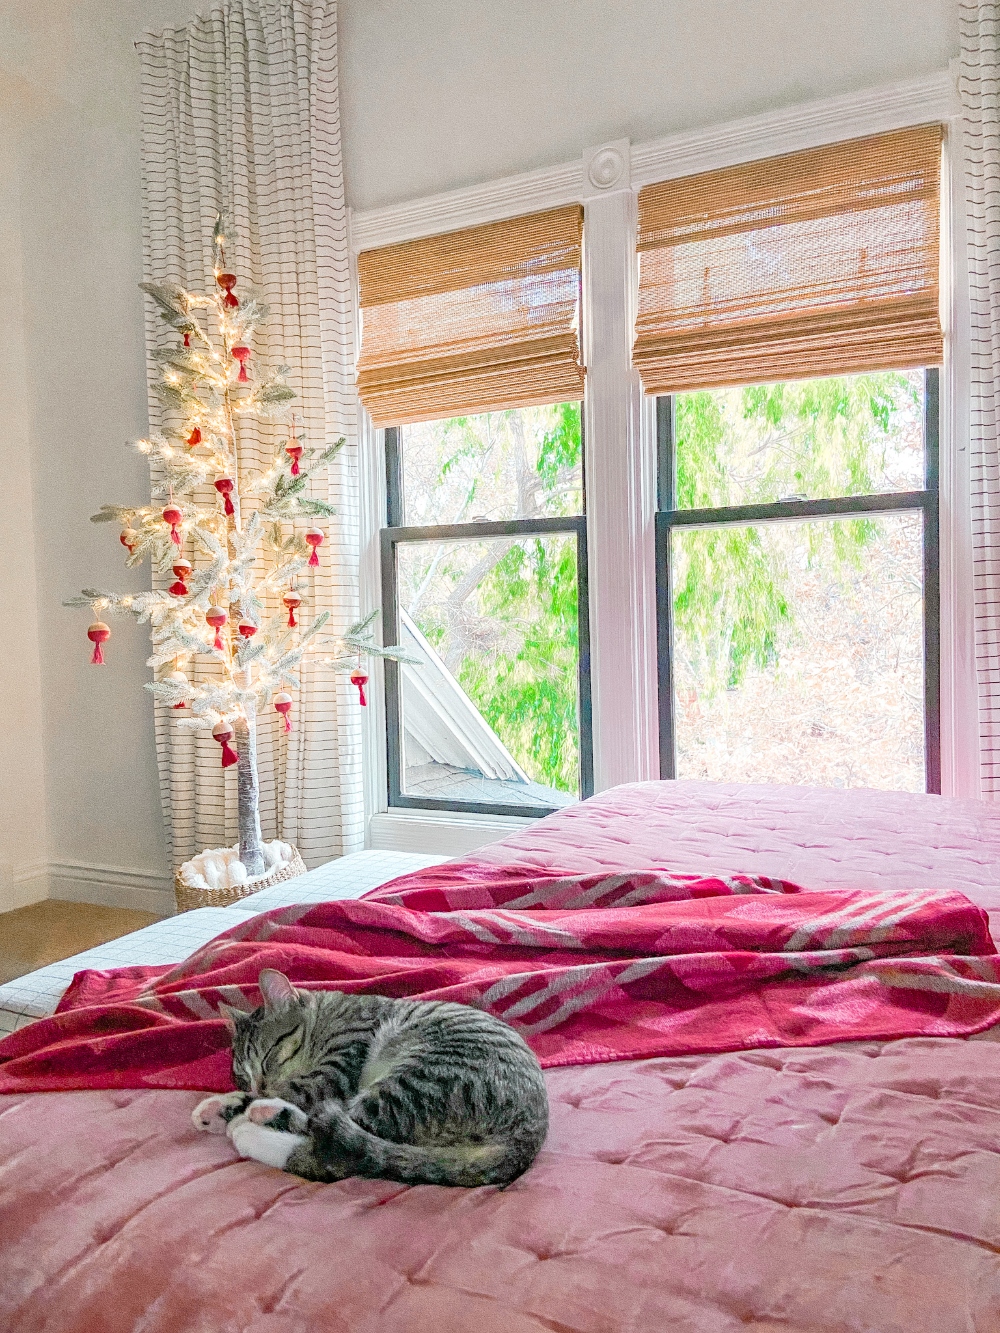
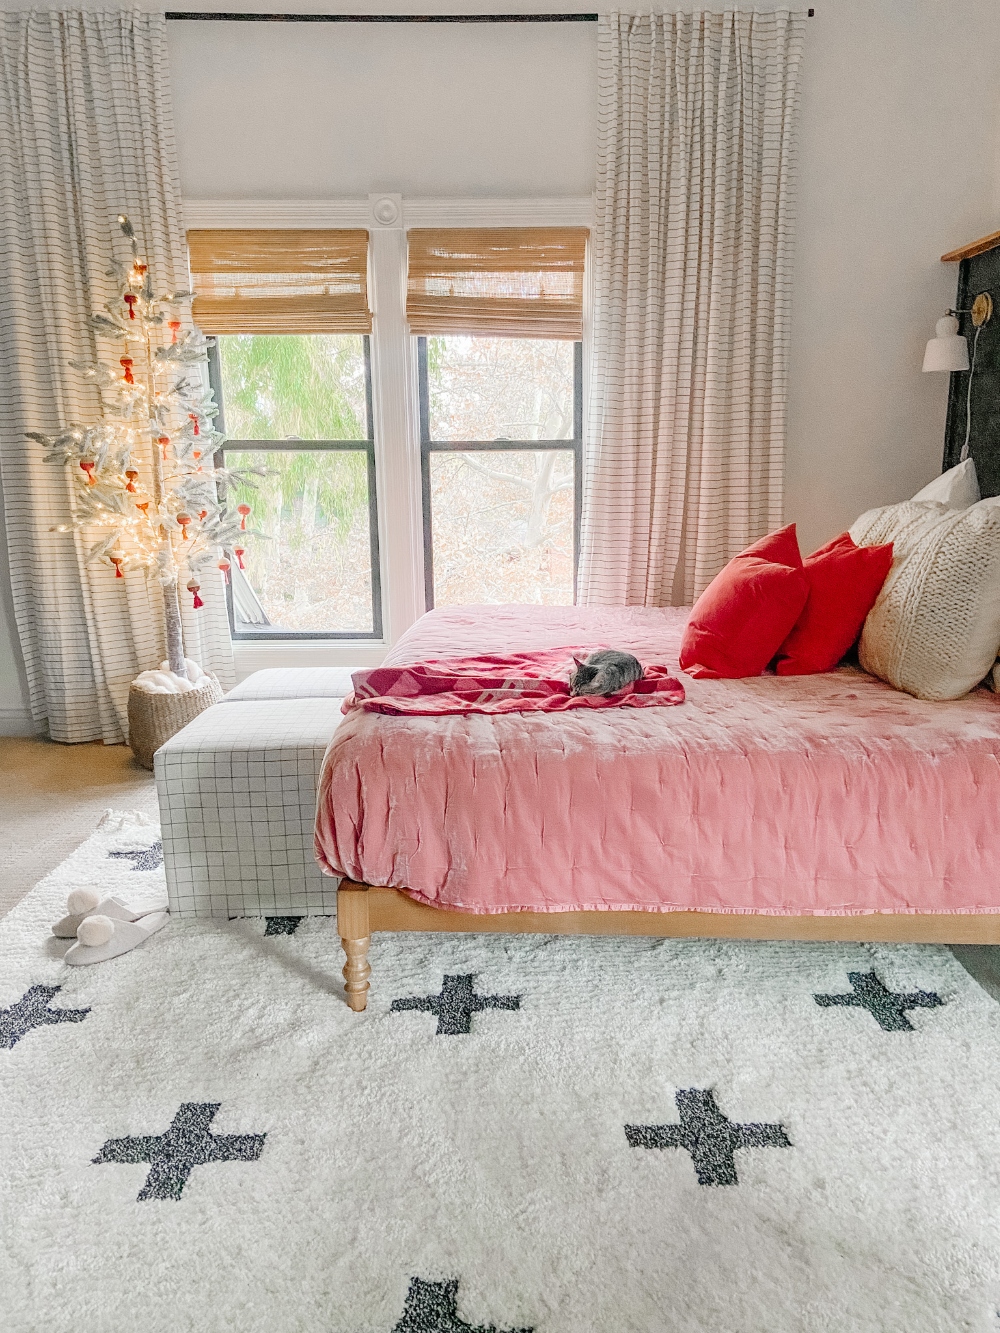
Hello friends! Are you getting excited to decorate for the holidays? I have my first tree up and my bedroom feels so magical! I love a colorful simple look and my bedroom has a kind of boho cottage vibe. So I decided to create a simple wood and tassel ornament for my little bedroom tree!
DIY Ornament Tutorials!
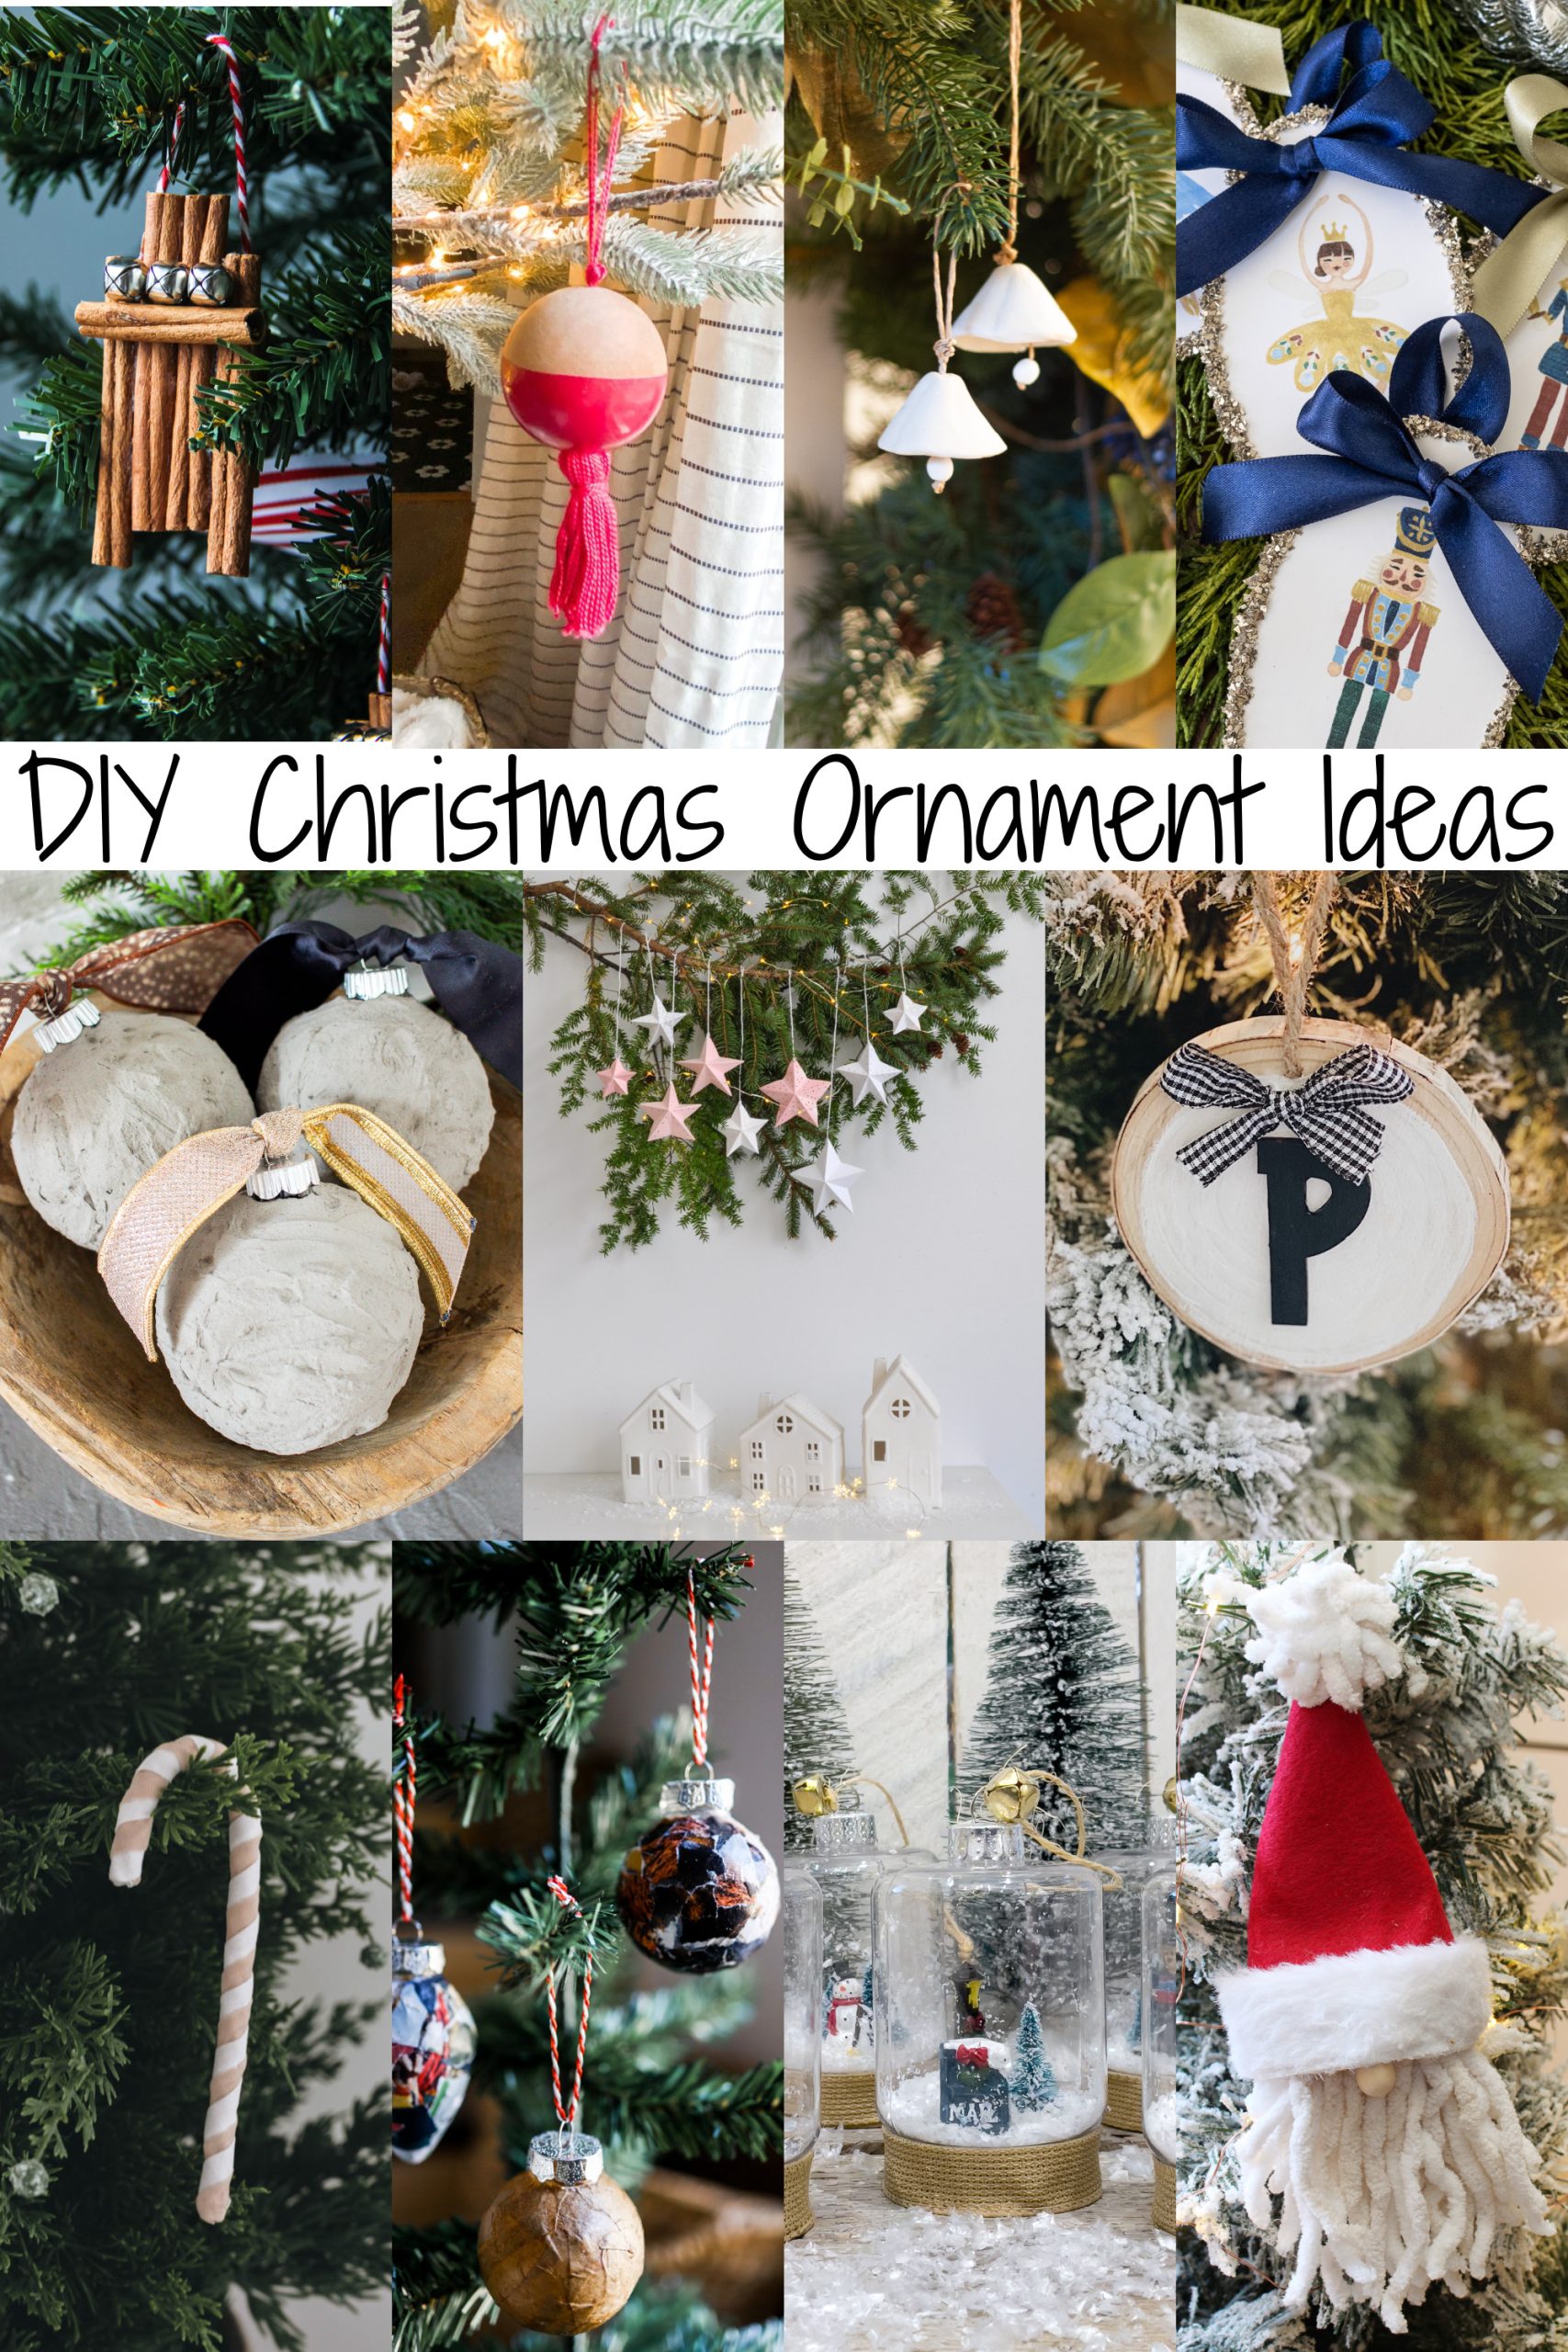
I am joining my seasonal simplicity friends who are also sharing DIY ornaments today! Be sure to scroll down and hop over to grab the ornament tutorials! I love making handmade ornaments for our trees!
Boho and Tassel Ornaments: Pick a Color that Works for Your Home!
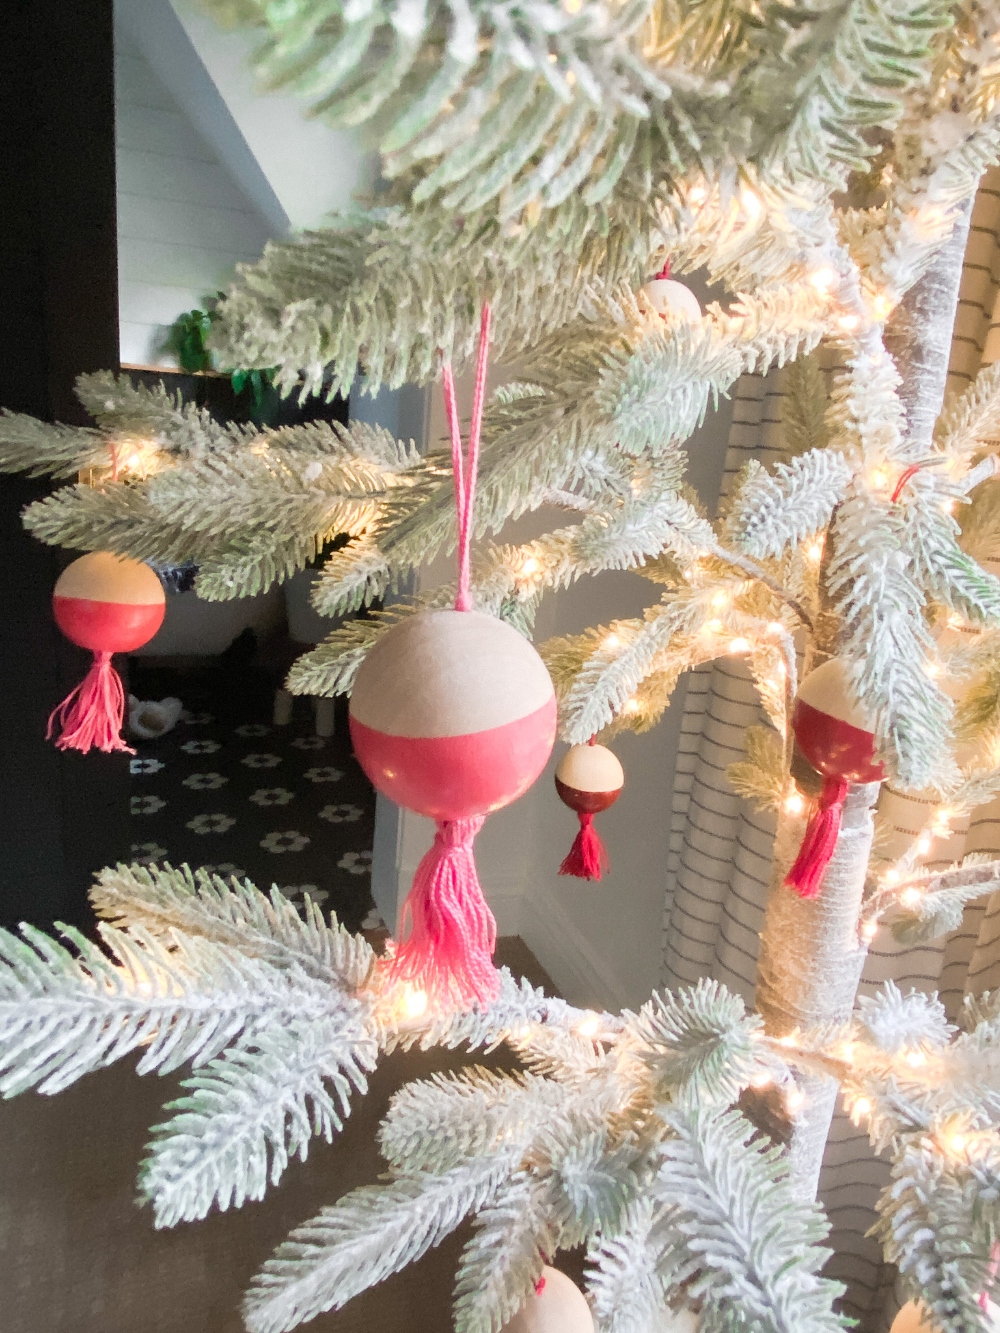
One of the things I love most about this idea is you can customize it to WHATEVER color you want! You can also go with a wood and white ornament that would match ANY decor!
Boho Wood and Tassel Ornaments: Inspired by Crate and Barrel
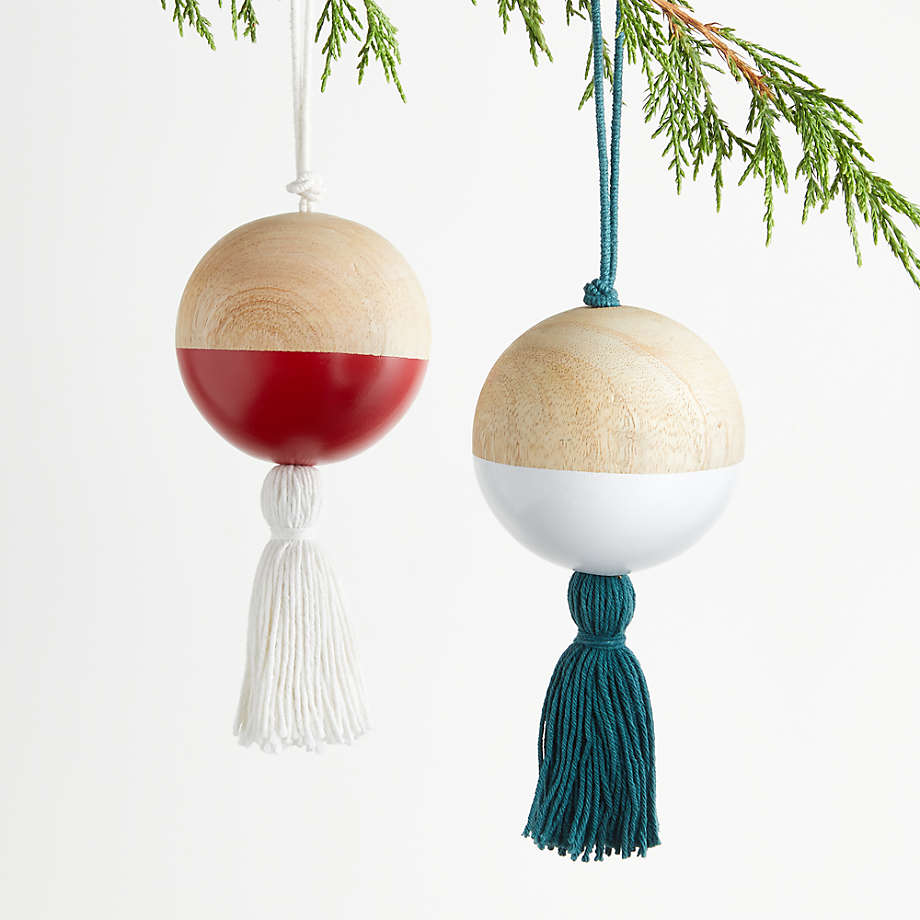
When I am thinking up decorating ideas I love looking at catalogs from my favorite stores for inspiration. One of my favorites is Crate and Barrel. I found these wood and tassel ornament. They were exactly the style I was going for! I love a copycat project so I started brainstorming how to recreate these ornaments. You can buy your own through Crate and Barrel for $8 each or recreate your own for under $2!
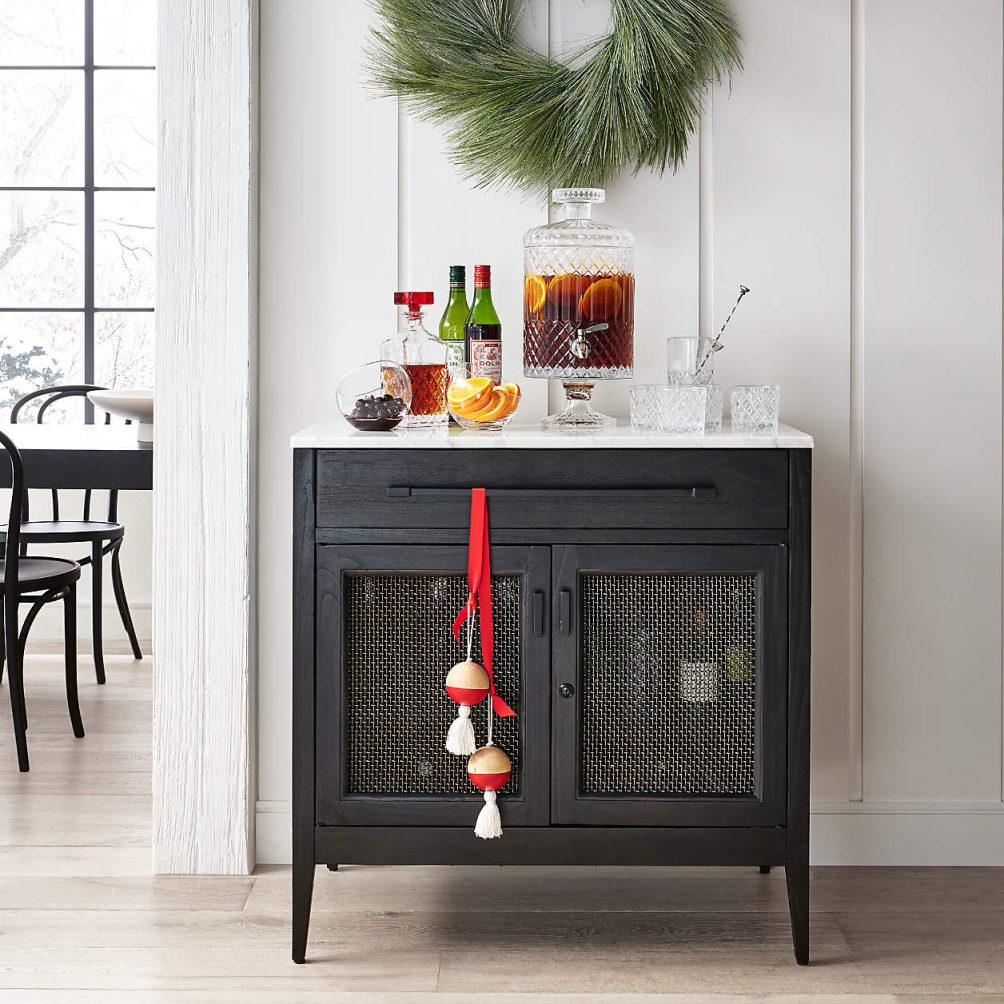
Boho Wood and Tassel Ornaments: Decide on a Color
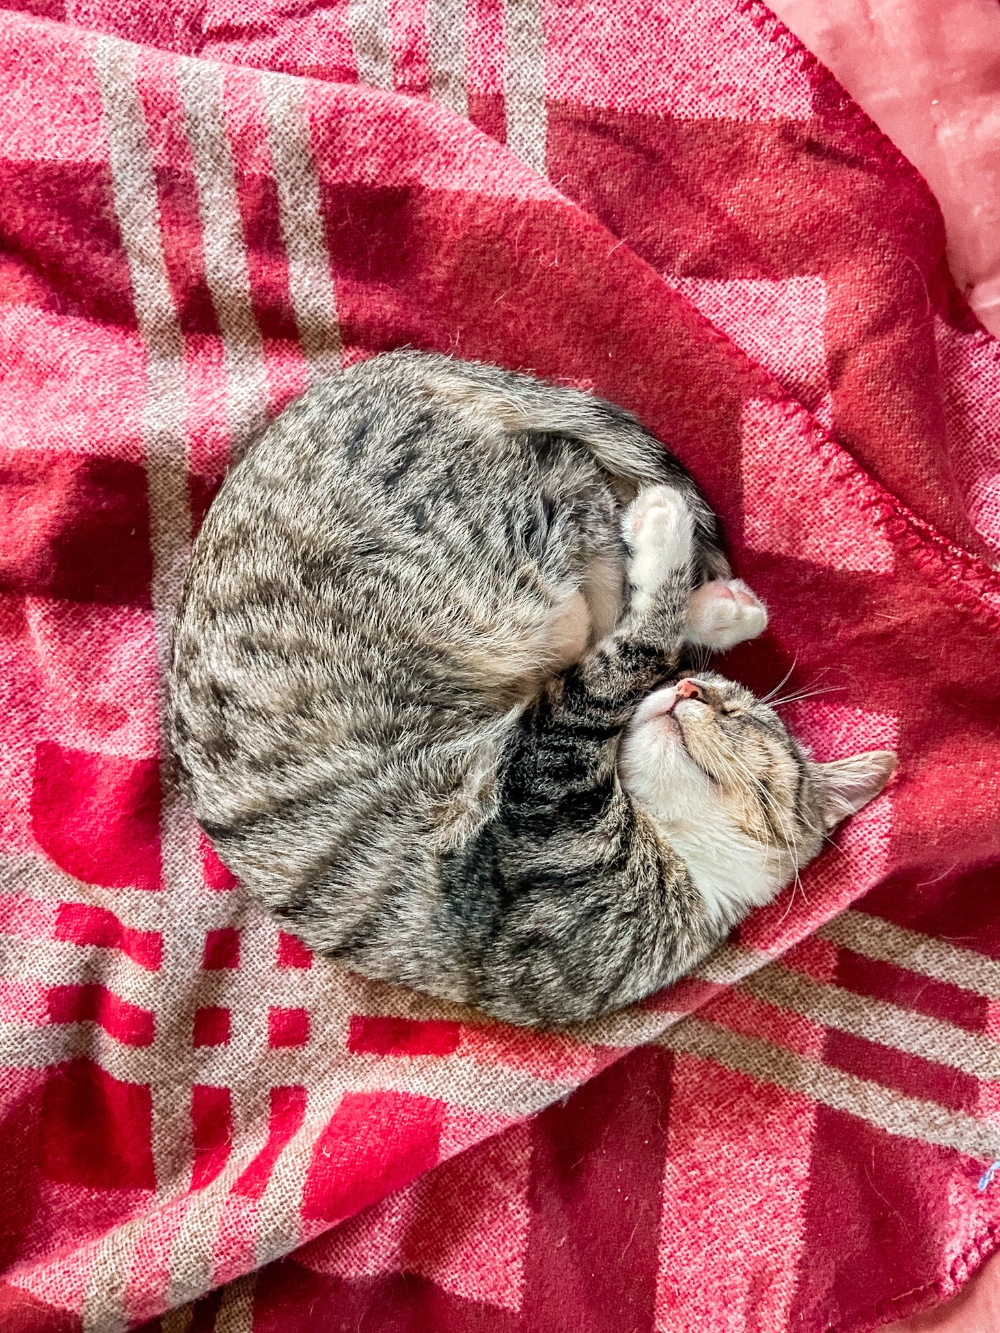
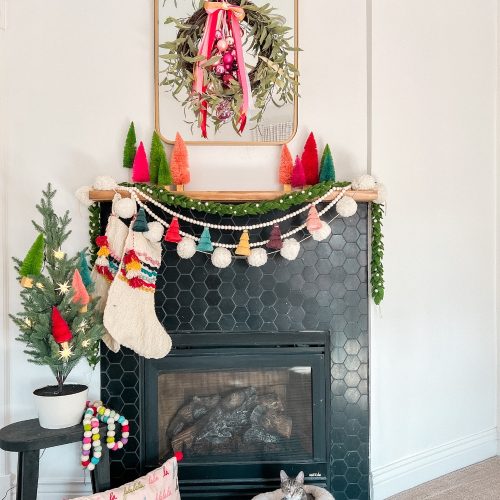
The colors are based on a pretty Ikea throw that is in our bedroom. I love the pinks and burgundies against the black and white theme of my room. I also love he natural wood in the ornaments which is reflected in the natural wood in the DIY headboard wall we made and the wood shelf on our newly done fireplace!
Boho Wood and Tassel Ornaments: Grab Your Supplies
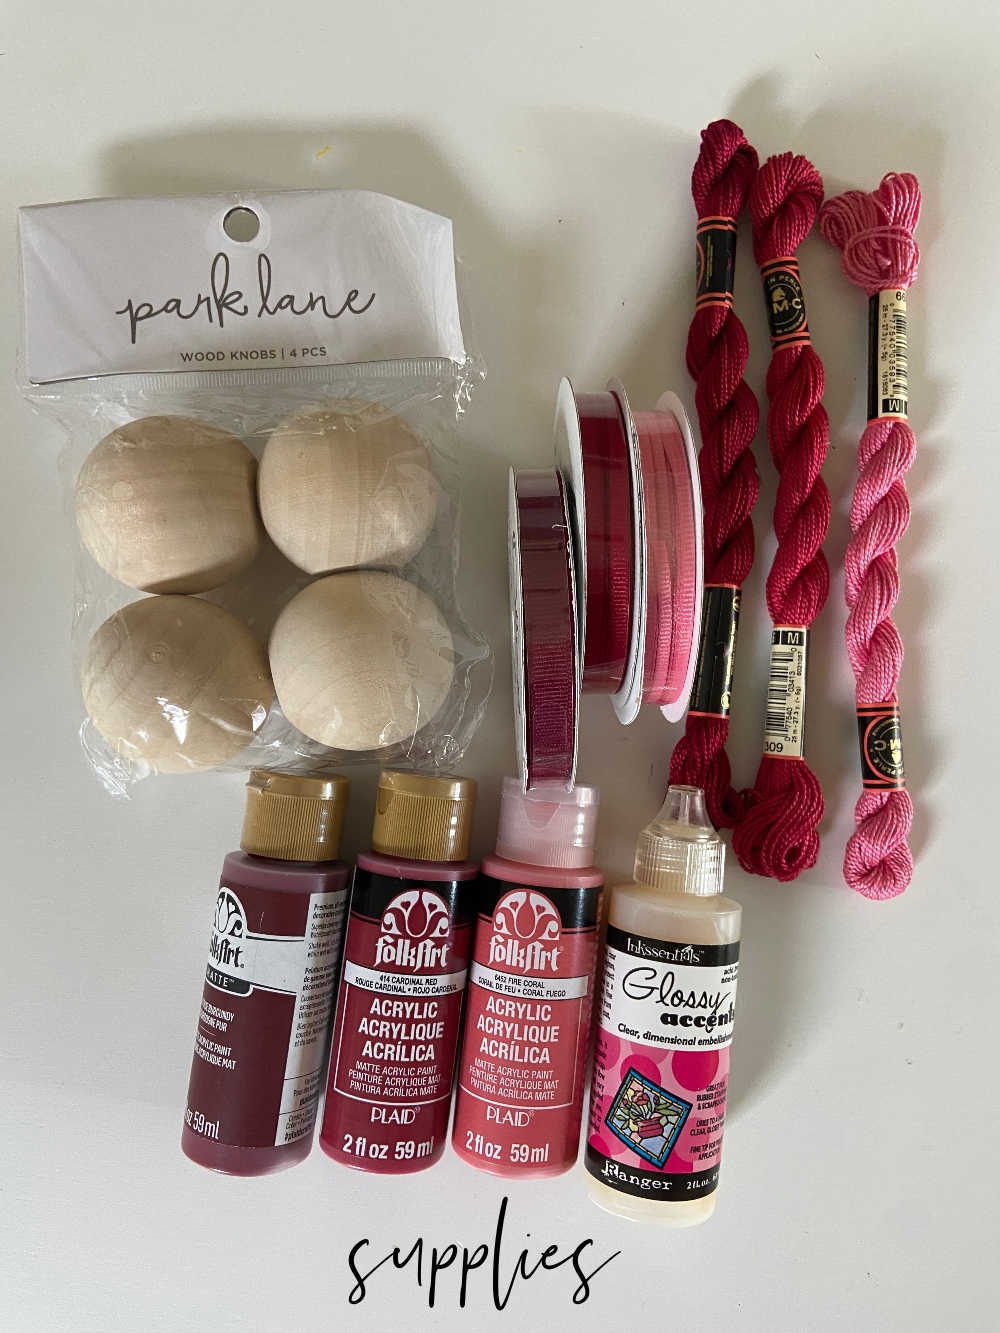
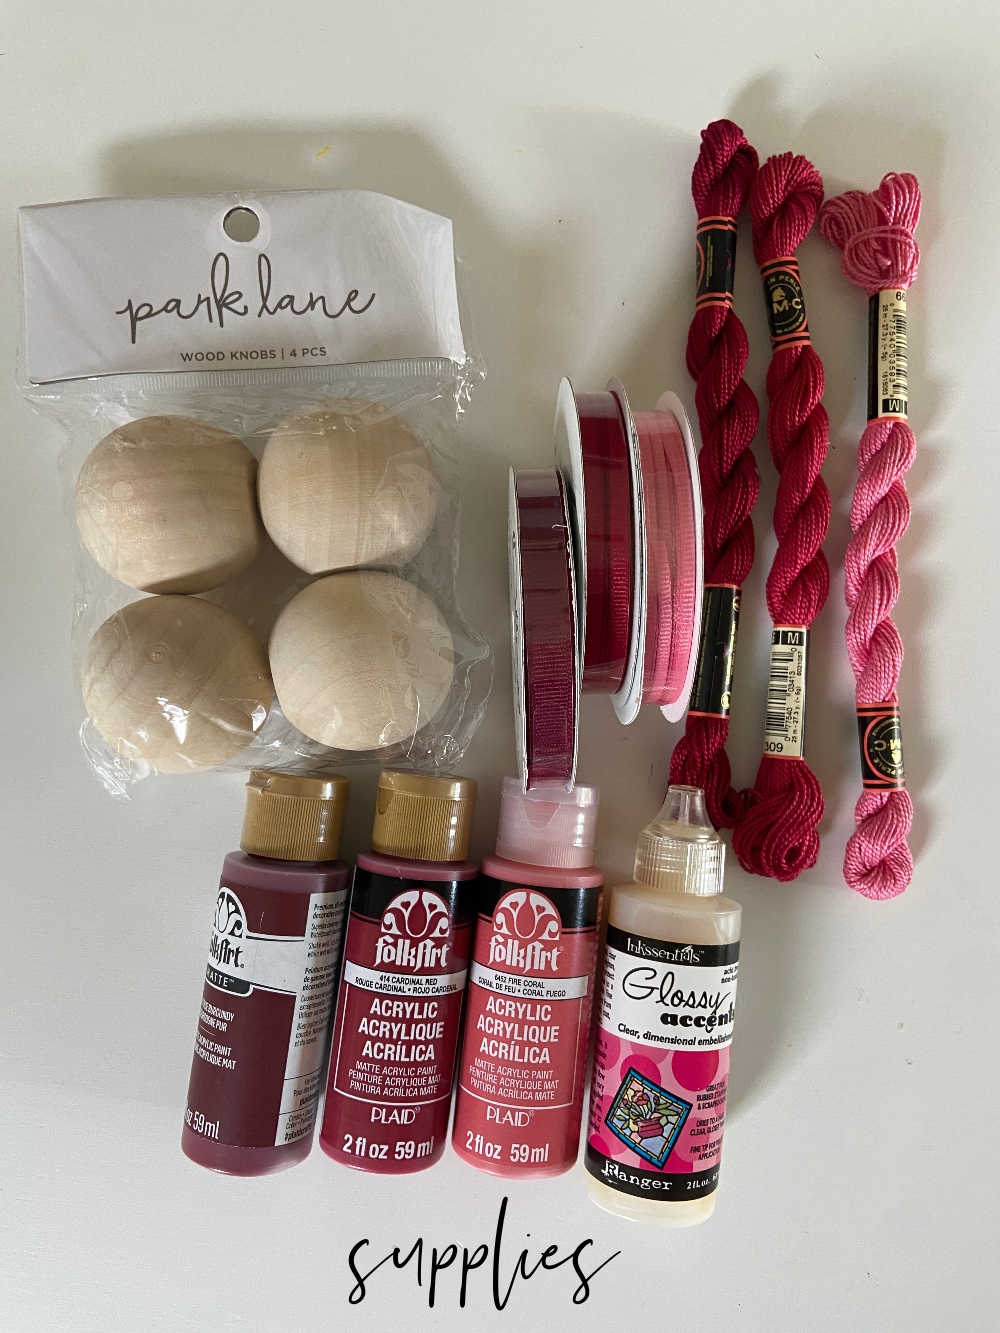
Here’s the supply list:
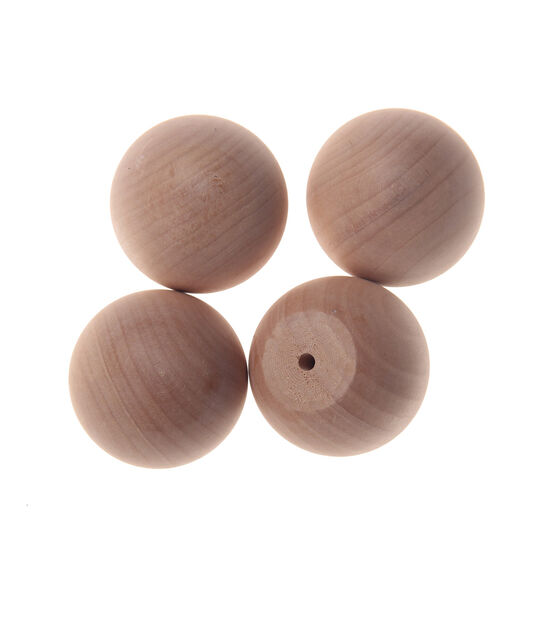
- Wood Balls (these are 2 inch wood knobs from JoAnn but you can also order these 2″ wood balls)
- Embroidery Floss
- Brush on Clear Coat (I used Glossy Accents)
- Long Needle
- Scissors
- Painter’s Tape
- Paint (I used three shades of Folk Art paint)
Boho Wood and Tassel Ornaments: Directions
Drill Balls
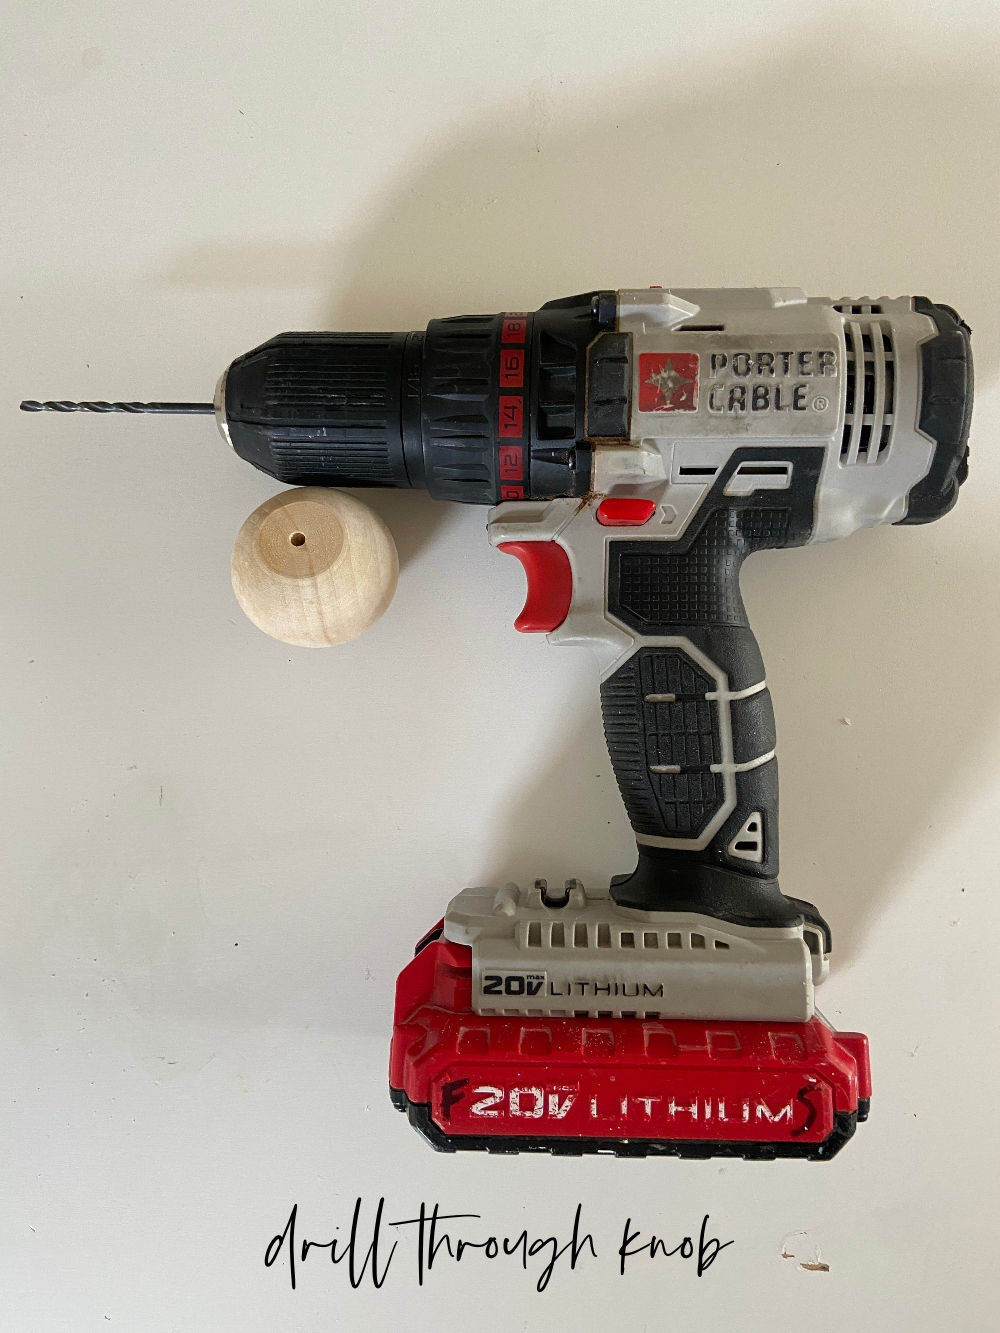
If your balls or knobs aren’t drilled all the way, use a drill to drill all the way through the bead. You want the hole to be pretty small so the embroidery floss knot is bigger than the hole.
Paint the Balls
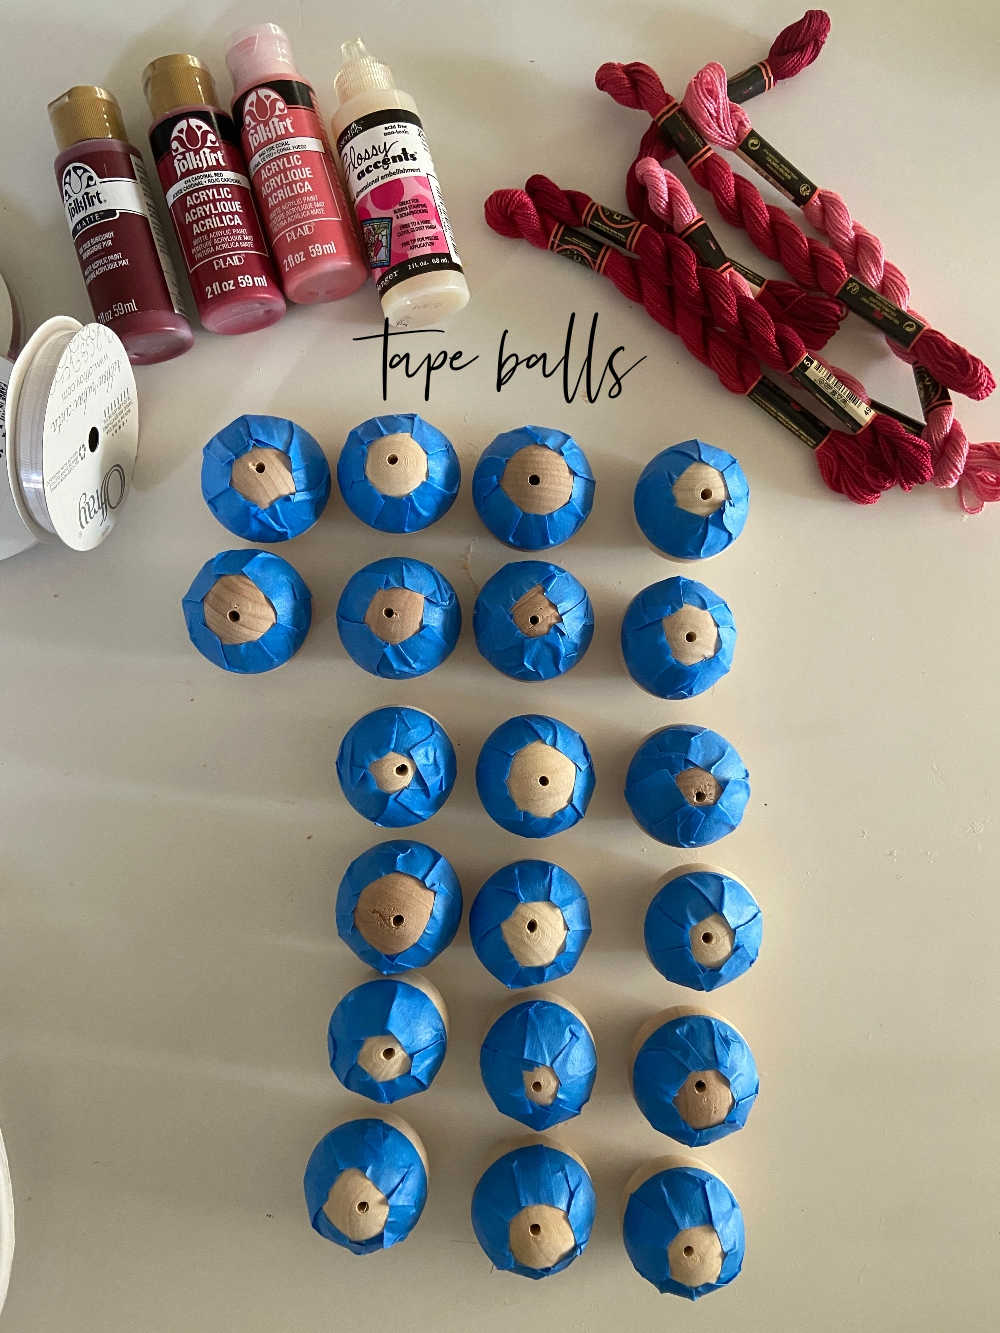
Now tape a line in the center of the ball. The top of the ball is unfinished so if you are using knobs with a flat side be sure to put the tape line in the center of the ball and the tape will be on the flat side of the ball. Then paint each bead and let them dry.
Add a Shiny Clear Coat
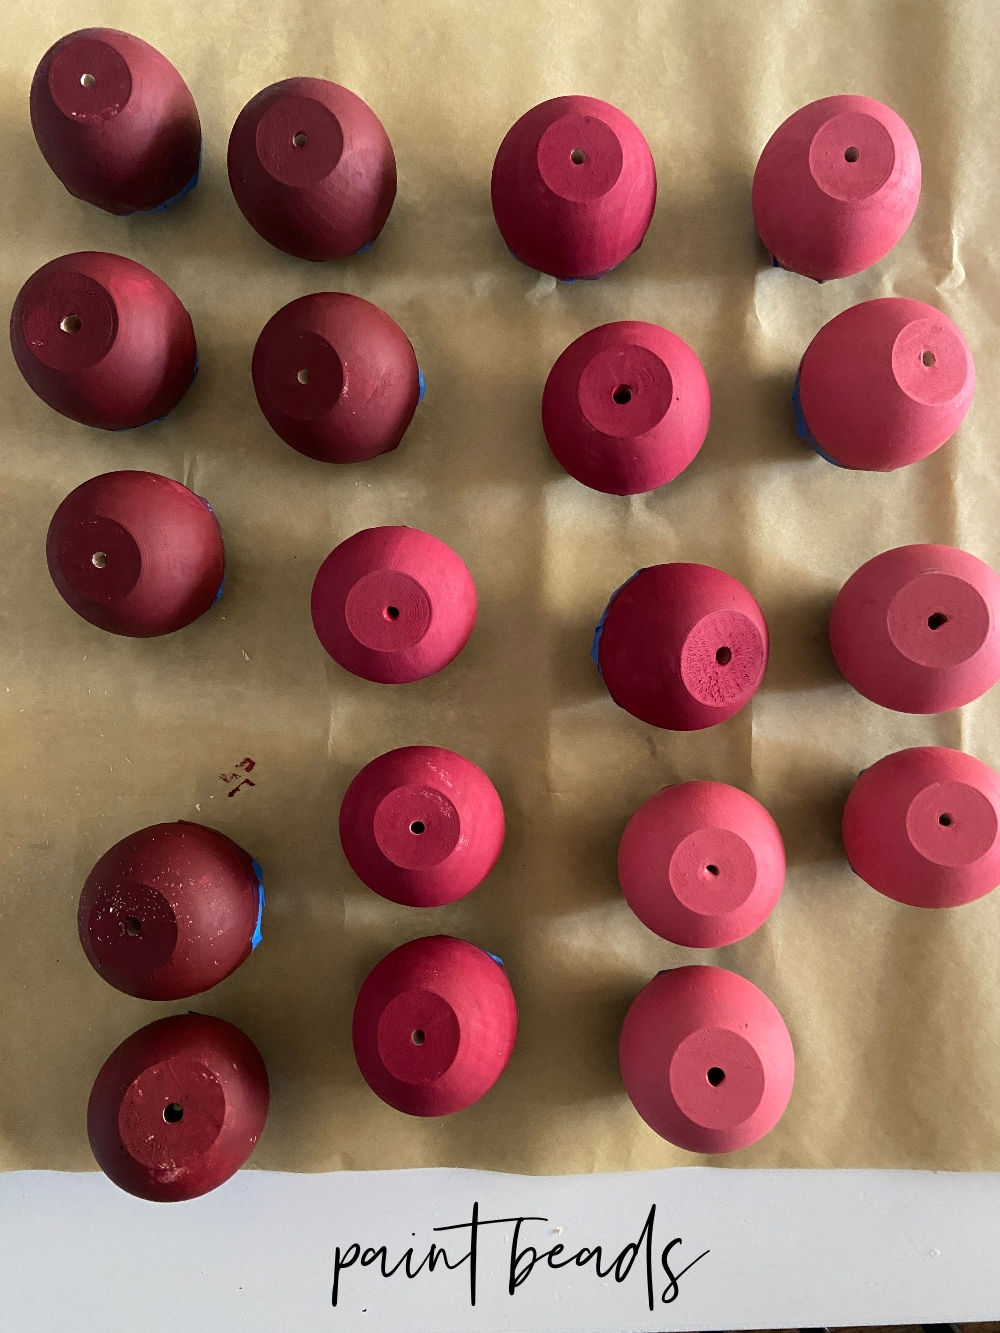
Once the balls are painted, add a clear coat. You can use a polyurethane clear paint. I used this Glossy Accents finish that is really shiny and gives the painted half an enamel look. Be sure to paint the painted part of the ball, so the natural wood is matte. Don’t use spray clear coat, use a brush-on clear coat.
Cut Embroidery Floss
I made 20 of these ornaments, so I will give you the lengths but the amount of embroidery floss you need depends on how many ornaments you are making.
To Make 20 Ball Ornaments:
- 4 skiens of embroidery floss in three colors = 12 skeins of embroidery floss
- Cut 1 skien in each color to 8 inches. Cut the remaining 3 skiens into 4 inch sections.
- Divide the 4 inch sections into 6 piles.
- Do this with all three colors. OR, if only using one color, triple everything and divide the 4-inch sections into 20 piles.
How to Make Boho Wood and Tassel Ornaments
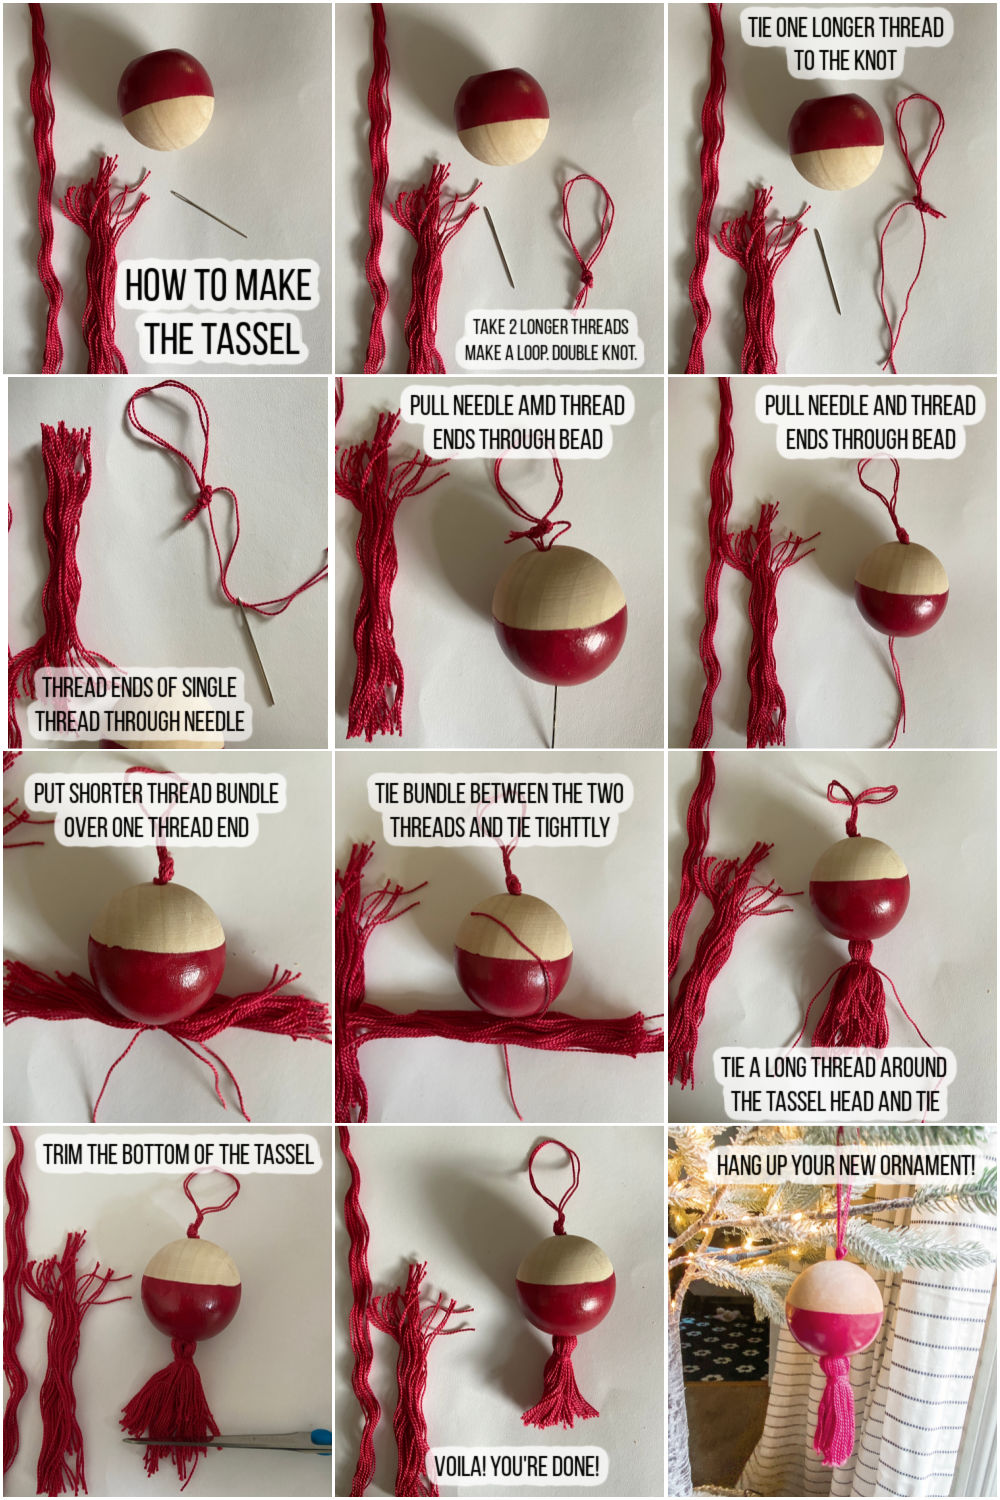
- Take TWO 8 inch pieces of floss and make a loop at the end of the string .Double knot it.
2. Then take ONE piece of 8-inch floss and tie it around the double knot.
3. Thread the ends of that piece of floss through the needle and put it through the bead. Grab the end of the needle with your fingers or tweezers and pull the needle through, which will bring the ends of the thread through the bead.
4. Lay the pile of 4-inch cut floss on top of one of the threads at the bottom of the bead. Then tie the other thread around the pile and pull it tight against the bottom of the bead. This will pull the top double knot against the hole at the top. Tuck any loose ends into the hole under the knot. Tie the knot at tje bottom to secure it all in place.
5. Take the two tied ends of floss and pull them down under the bead. Use another 8-inch piece of thread to tie a head of the tassel. TIe it tightly in a double knot. Then wrap the remaining thread around the tassel head and tie it in a double knot. Smooth down all of the pieces of floss and cut everything evenly at the bottom.
Do this for all 20 ornaments.
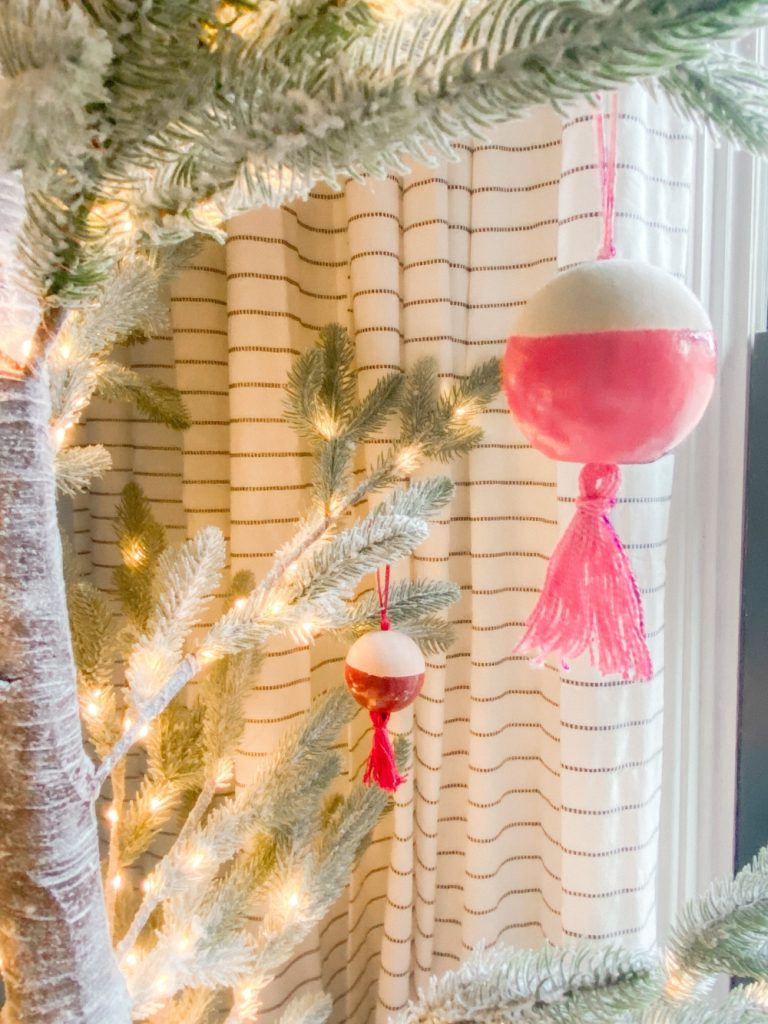
Hang them on the tree!
Note – you can also add a dab of hot glue under the double knot at the top of the bead to secure that the knot doesn’t slip down inside the bead. I only had this happen a couple of times because I didn’t tie the knot tightly enough against the double knot!
Use Boho Wood and Tassel Ornaments as Present Toppers
These ornaments can be used for a few different project, besides as ornaments. You could add on to the top of a package as a present topper. Or you can tie them onto the ends of ribbon and hang them from a bar cart or string them all together to use as a beaded coffee table or shelf accent!

As I mentioned, today I’m joining some of my talented blogging friends who are also sharing their DIY Christmas Ornament ideas with you. Be sure to visit their posts by clicking on the links below the images!
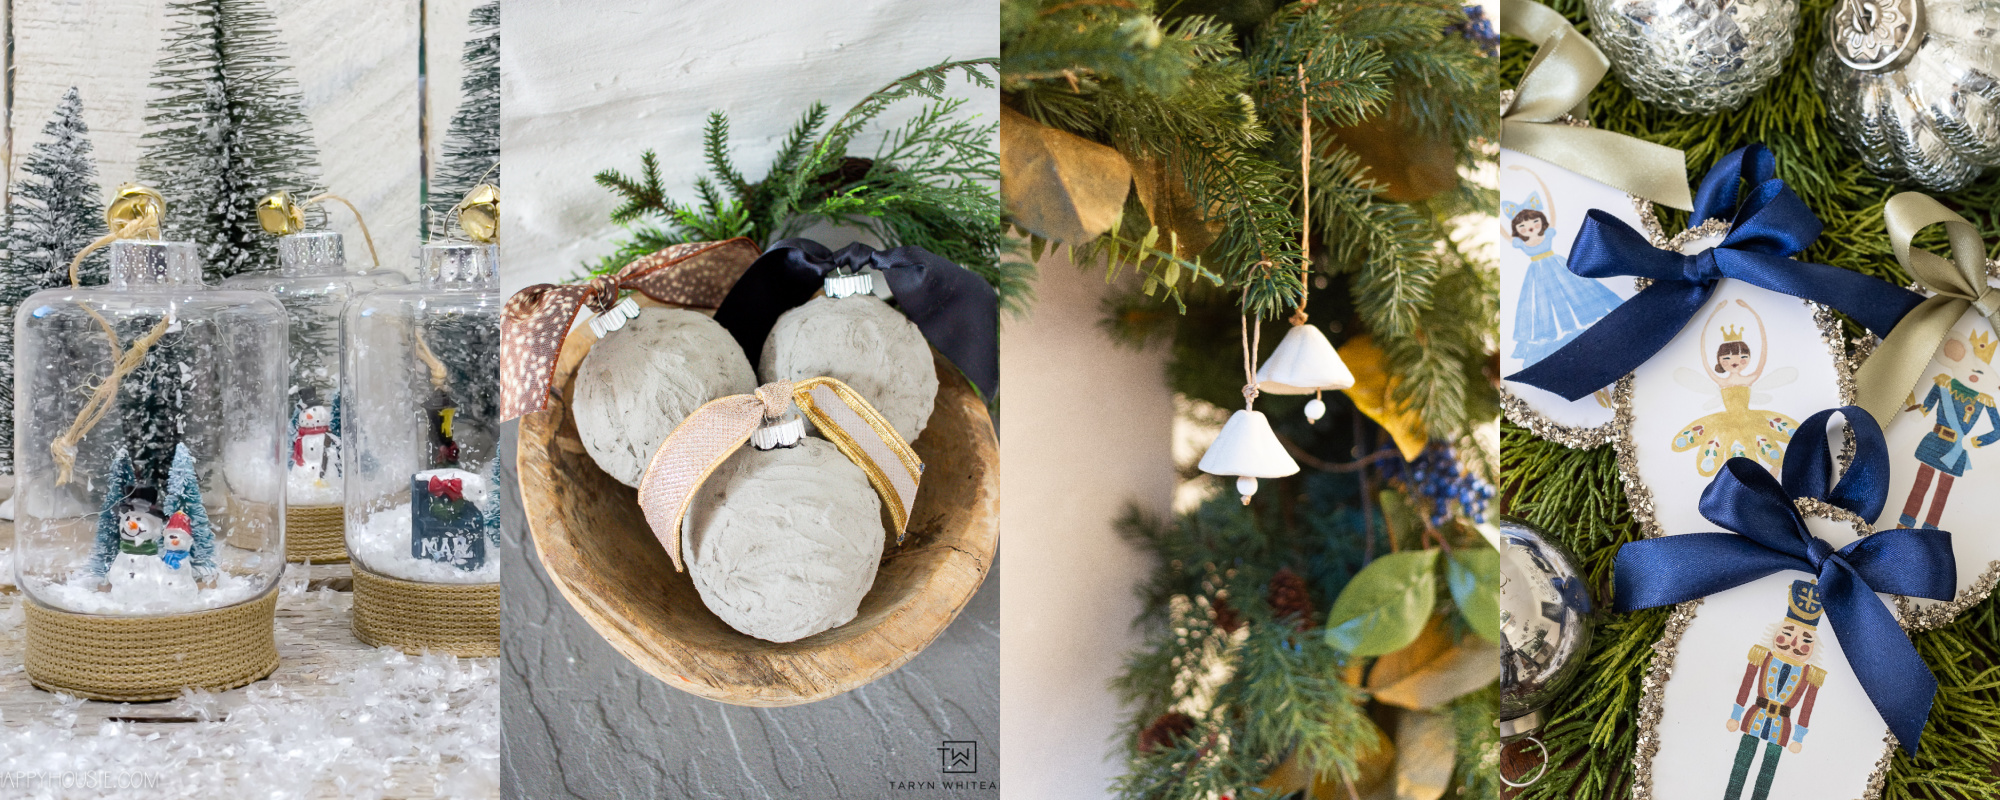
DIY Mini Cloche Dollar Store Christmas Ornaments at The Happy Housie
DIY Concrete Ornaments at Taryn Whiteaker
DIY Clay Bell Ornaments at Zevy Joy
DIY Printable Nutcracker Ornaments at Sincerely, Marie Designs
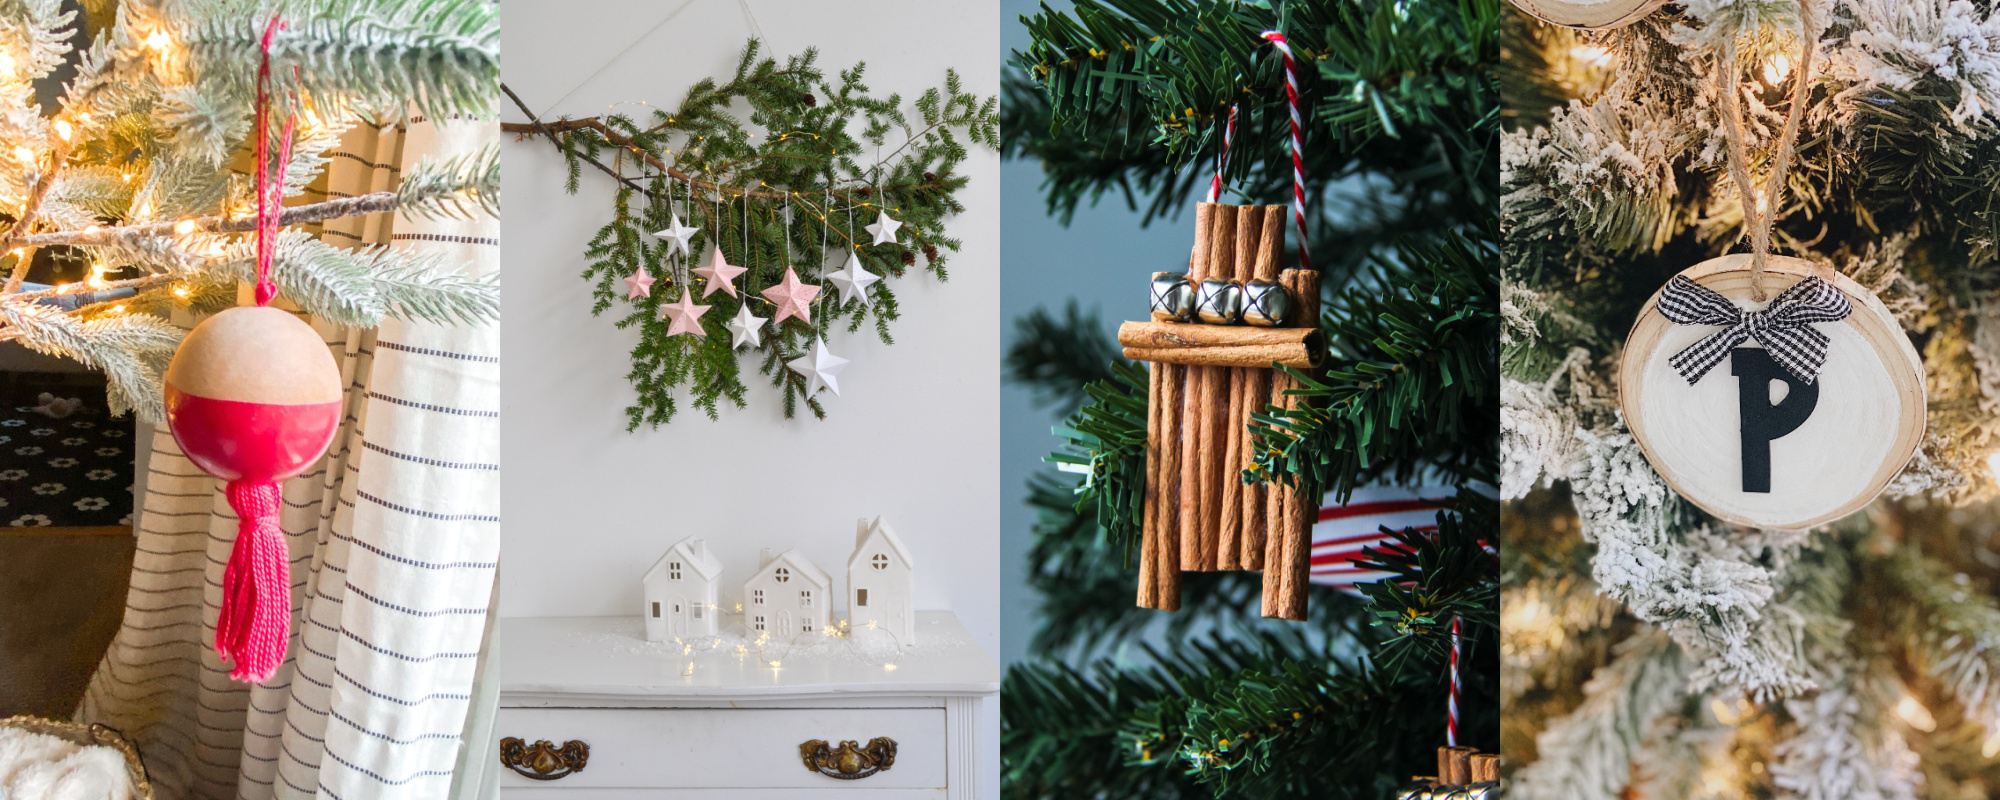
DIY Boho Wood and Tassel Holiday Ornaments at Tatertots and Jello
How To Make DIY Paper Christmas Star Decorations at Life is a Party
Cinnamon Stick Sleigh Ornaments at A Pretty Life
Easy DIY Wooden Christmas Ornaments at She Gave it a Go
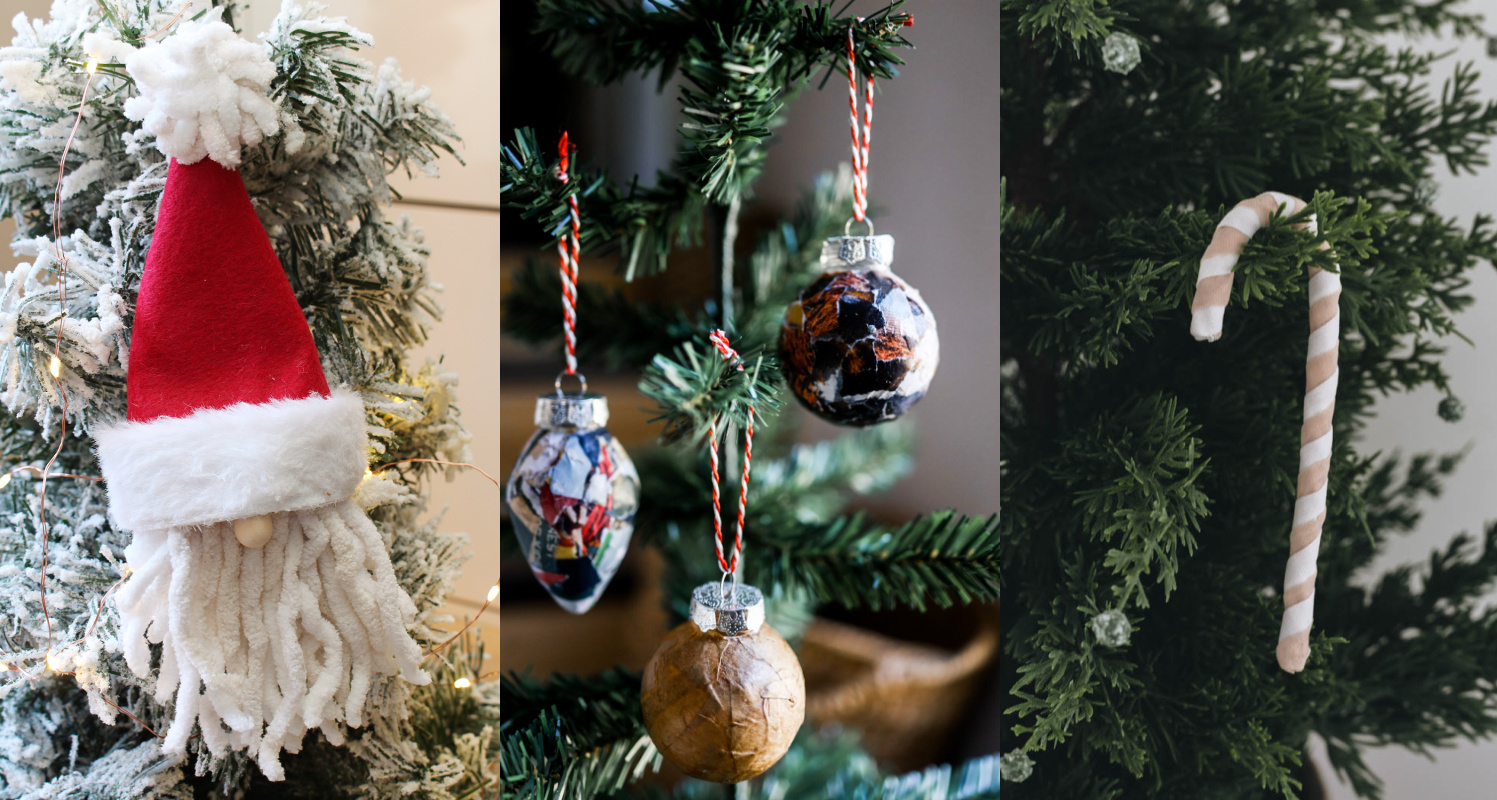
DIY Santa Gnome Ornaments at Clean & Scentsible
Candy Cane Ornaments at Love Create Celebrate
MOD Podge Paper Ornaments at Place of My Taste
More DIY Ornaments to Make!
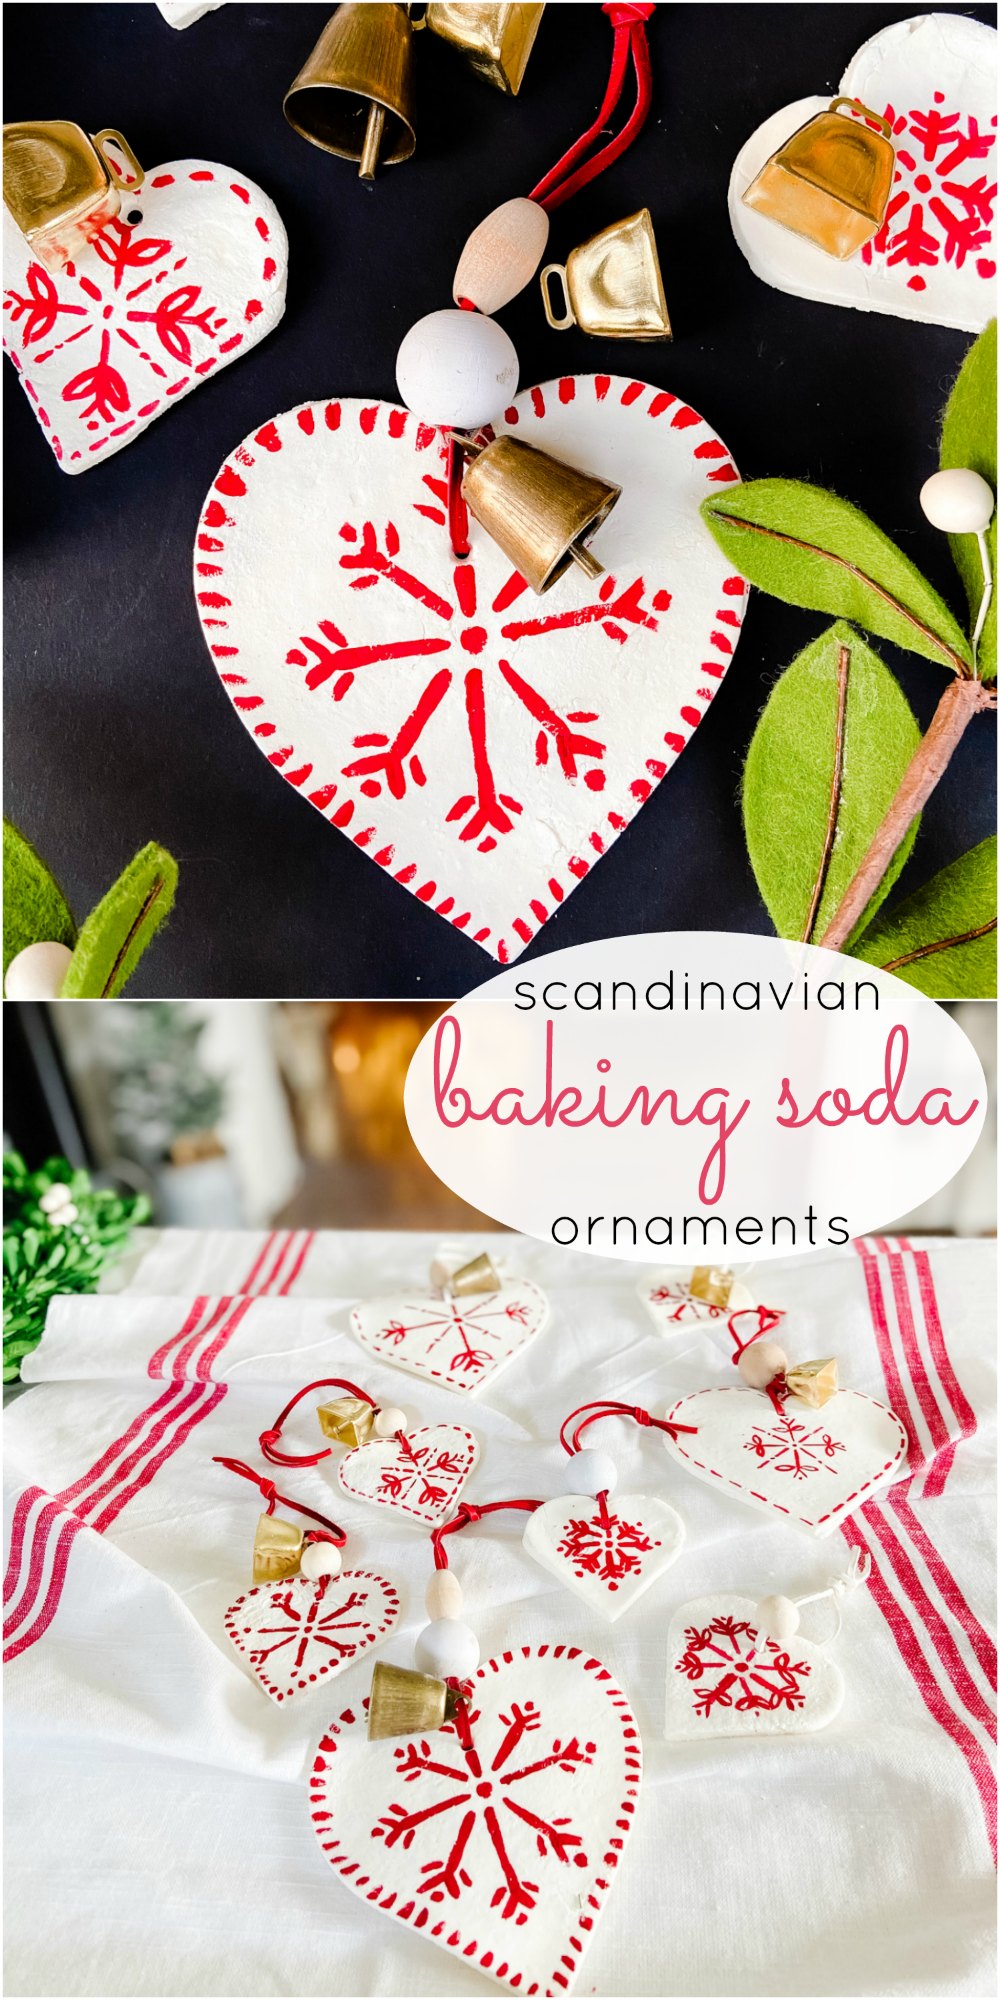
Scandinavian Baking soda Ornaments
With only a couple kitchen supplies you can make the cutest ornaments! Try making these with your kids!
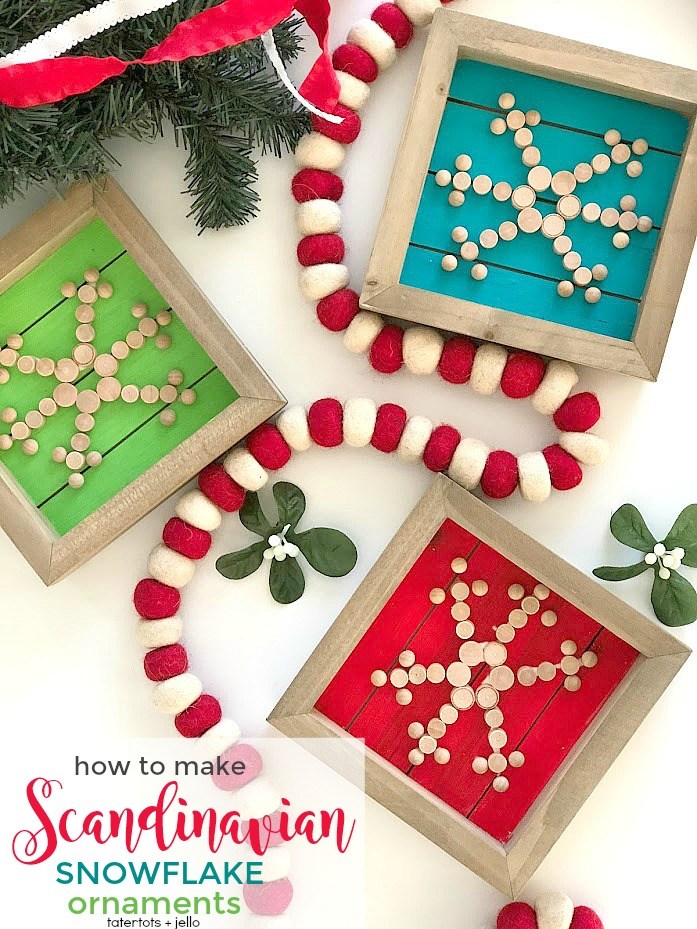
Scandinavian Snowflake Ornaments
These are still some of my favorite ornaments! I love the simple Scandinavian design paired with bright colors. Perfectly my style!
Have a Creative Day!
xoxo




Oh my god isn’t that cute!! I need it this year
I love these ornaments so much Jen! They’re classy and festive…and look perfect on your bedroom tree! I think I need a bedroom tree this year!
These are so cute! I love that you did a whole themed tree around them – my kids would be so happy to have this in their rooms!
These are so fun and colorful! I’m sure you’re cat will enjoy them. 🙂
Jen,
I am in love with these cute boho ornaments!
My girls will love making these to put on their trees.
Thanks so much for sharing and love being on these blog hops with you!
xoxo,
Brendt