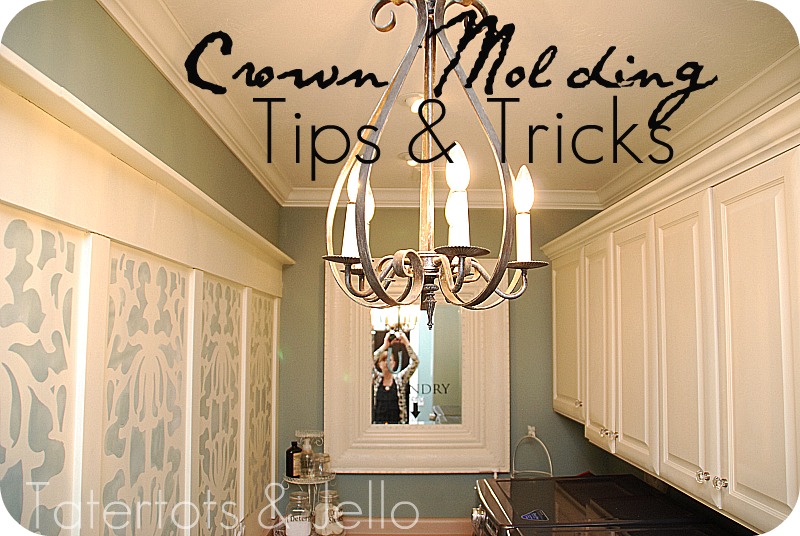
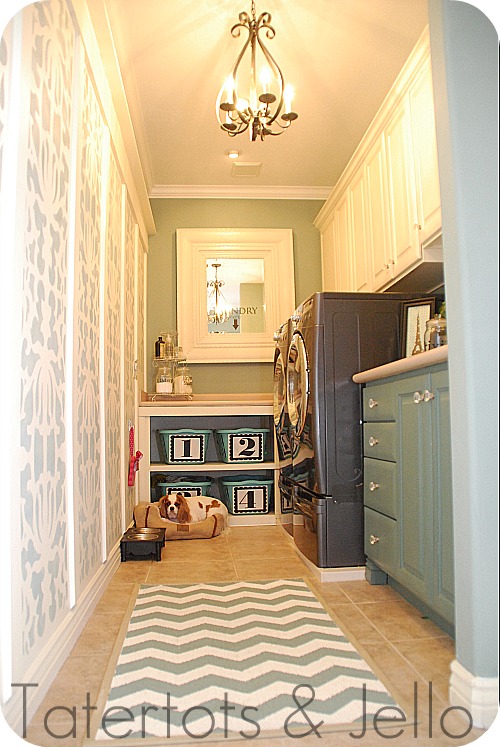
I wanted to put crown molding in my laundry room — I thought it would really finish off the room. And my father in law was so nice to come over and show me how to do it. I thought it would be fun to share some tips and tricks on Crown Molding — in case you want to put some in your home.
And because it can be a little tricky with the angles – I thought having a handyman with 30+ years of experience give us tips would be a great idea.
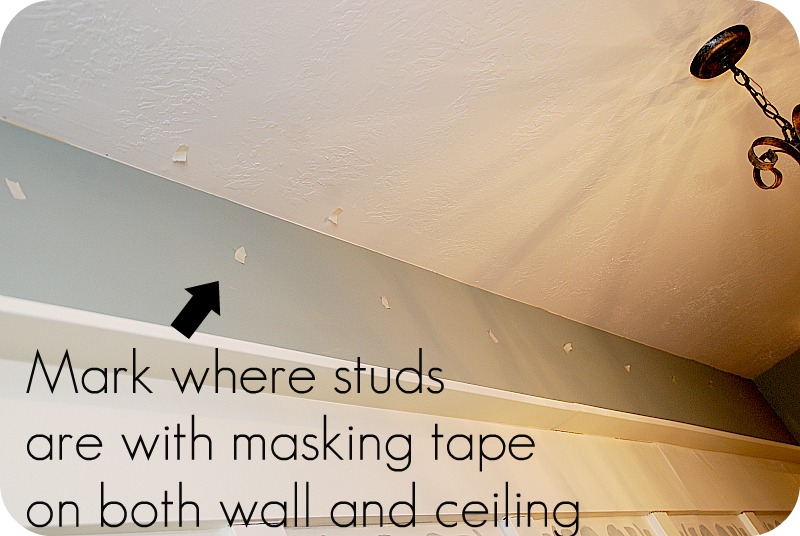
- The next thing is to mark off all of the studs in the wall and ceiling with masking tape.
- Here is a great resource for finding angles for crown molding — Dewalt Crown Molding Cheat Sheet.
- Also, invest in a compound miter saw OR borrow one from a friend for this project!!
- Some tips on using the miter saw:
- For the inside and outside angles, set the miter saw to bevel angle of the compound miter saw at 33.85 degrees.
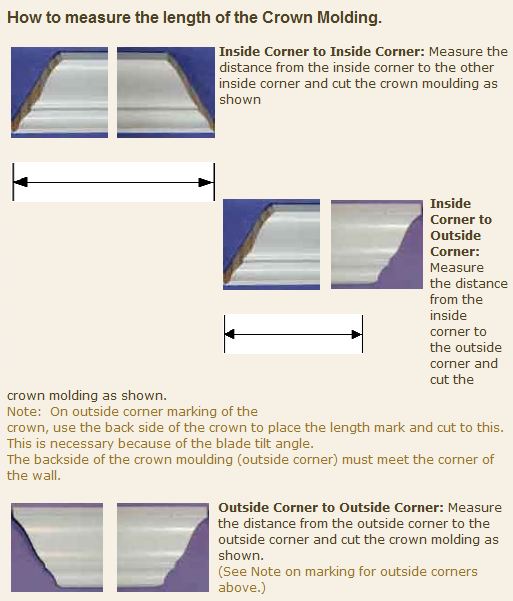
- Note — Inside molding — You will always be able to see the saw cut, and the pointed end will always be at the bottom of the crown molding.
- Note – Outside molding — You will not be able to see the saw cut, and the pointed end will always be the top of the crown molding.
via CompoundMiter.com
- Measure the first piece of crown molding that will be installed with a straight cut and no angle. Mark where the cut will need to be made. Turn the molding upside down and slide it into the miter saw with the top of the molding along the base of the saw and the bottom against the “fence” of the saw.
- Measure and mark the first corner piece. If you have a protractor you can measure the exact angle of all of the corners. Slide it in the miter saw in the same manner as the previous piece. Turn the blade of the saw to half of the recorded measurement. For a 90-degree angle, turn the saw to 45 degrees for the first corner piece. Cut through the molding at the exact mark
- Do this with both pieces of molding — cutting the next piece at the opposite angle. Then hold them together to make sure they fit together correctly before you nail them in place.
- It’s helpful to test the cuts on scrap pieces of molding first.
- Check every piece of molding to make sure it has the same spring angle, width and thickness or your cuts may be off.
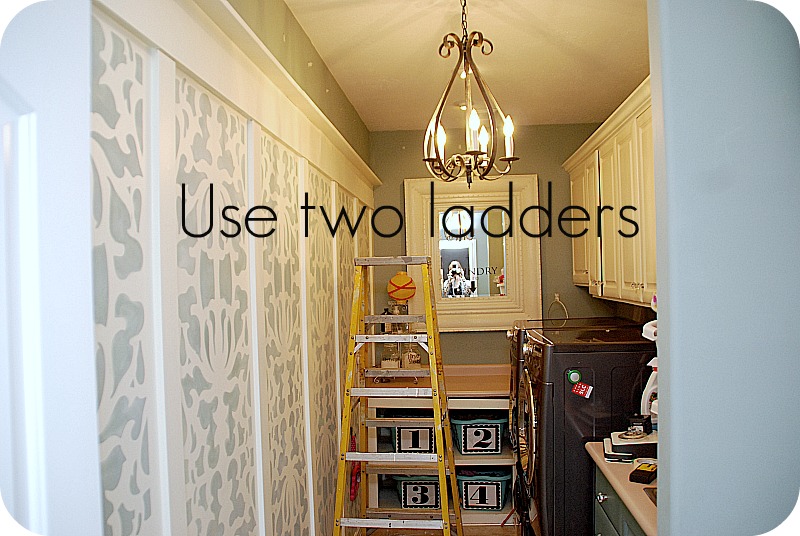
- Be sure to — get a friend to help you. You will need a second pair of hands to hold the molding while you nail it down. Use two ladders, so you each have one to stand on.
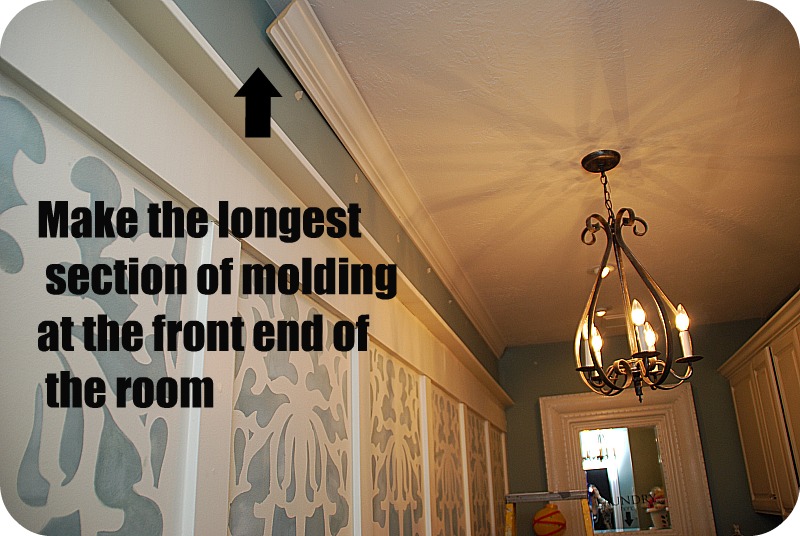
- Next, start at the front of the room and work backwards. That way the longest section of the molding will be at the front, witht he seam hopefully where people can’t see it. If you have to have a seam on a wall, use a 45-degree cut and center the seam in the middle of a stud.
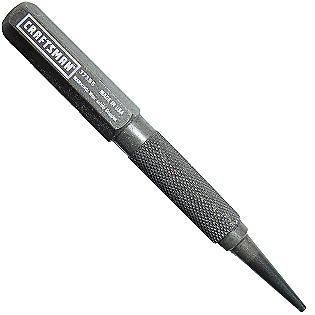
- Nail the molding in with either hammer or a nail gun. Once in, use a nail set to push the nails into the molding. And put a little caulking on top to hide the nail holes. Once dry, sand smooth before painting.
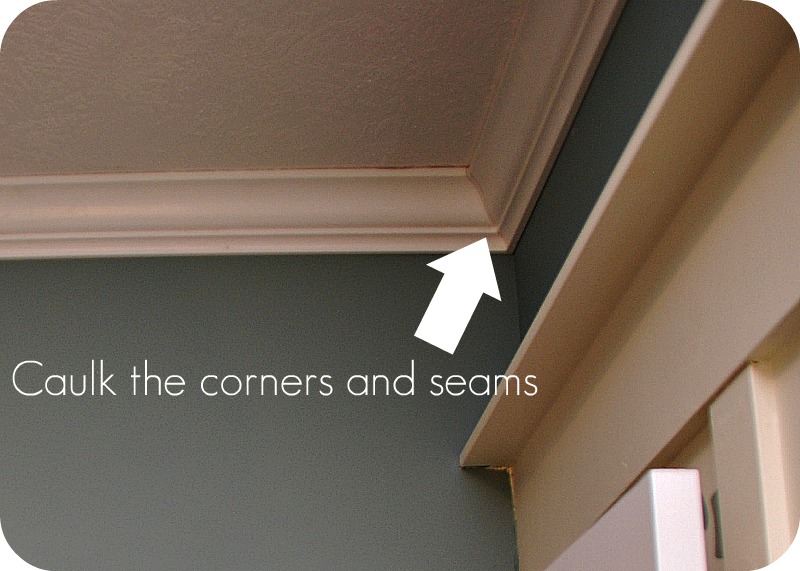
- Subtract 1/4″ of space when measuring the pieces that fit together in the seams, so there is a little extra room for the corners to fit together. You can caulk the gaps.
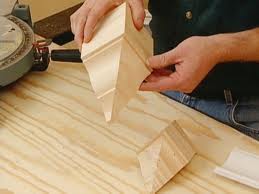 And if this seems too complicated, you can get something called corner blocks which fit on the corners over the molding and make it so you don’t have to deal with the corners of your crown molding! Here’s a tutorial on how to do that at DecorChick.
- A note about caulking — be sure to use caulk and not spackle when smoothing the seams in your molding. Spackle can crack as the house shifts. And when caulking, use a wet paper towel to smooth the seam or your fingers. The smoother the caulk, the less sanding is required. You will need to sand and paint the seams 3-4 times.
- Another note — some hardware stores offer molding that is pre-painted. Awesome!! But you will still probably need to go over it with a coat of paint after you hang it and caulk. The caulk will dull whatever finish is on the molding. But pre-primed and pre-painted molding will save you a lot of time and effort.
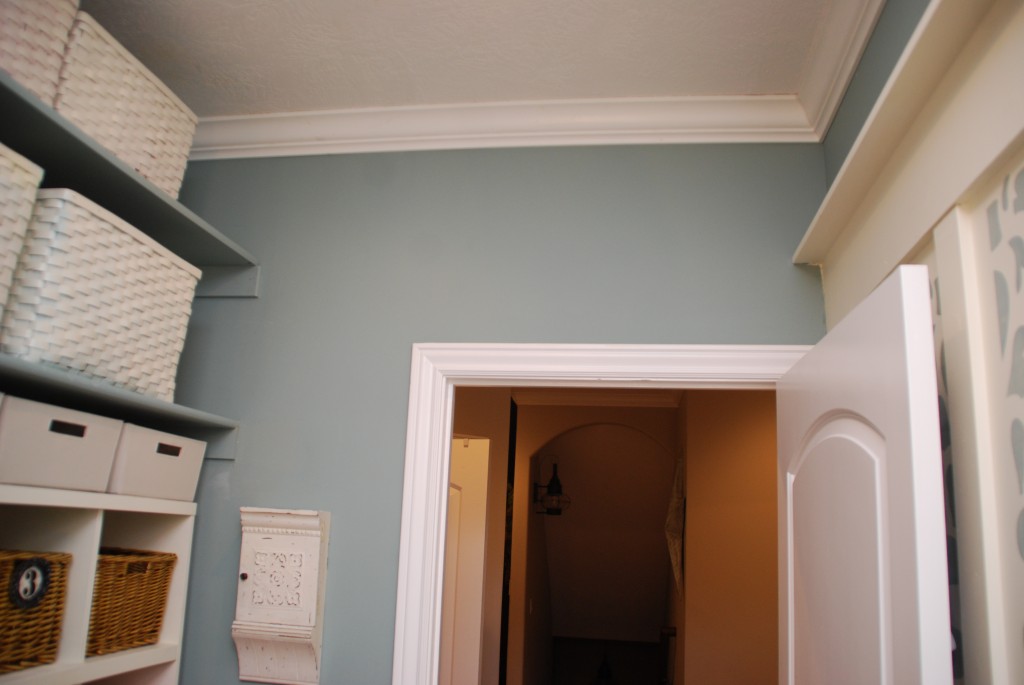
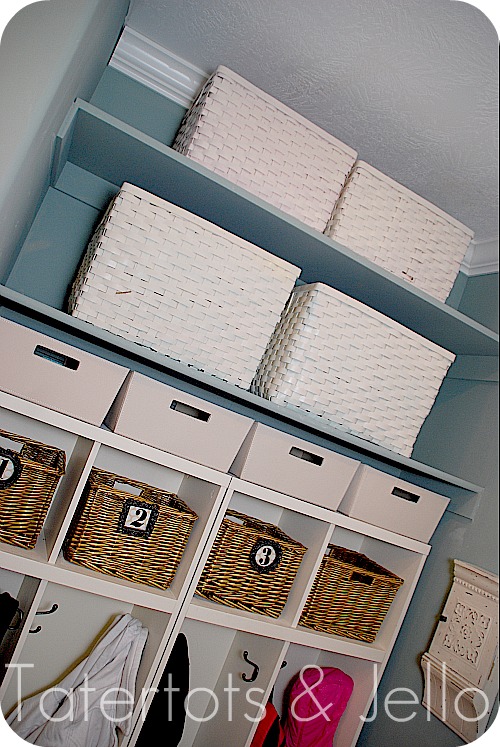 And now you have beautiful molding to add a little architectural interest to your space!!
I hope these tips and tricks have helped.
Here are more resources for cutting Crown Molding:
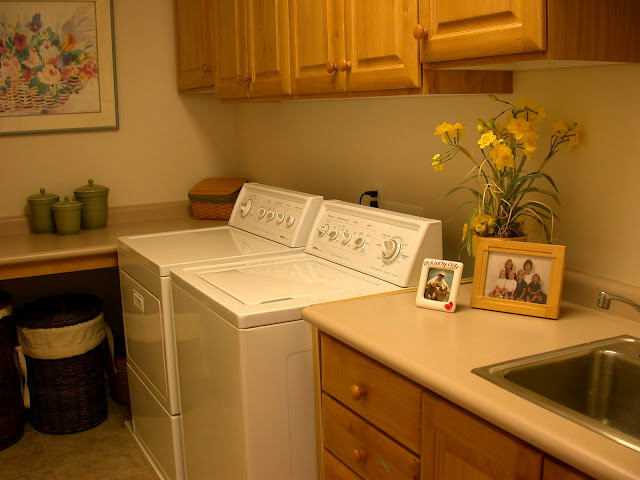
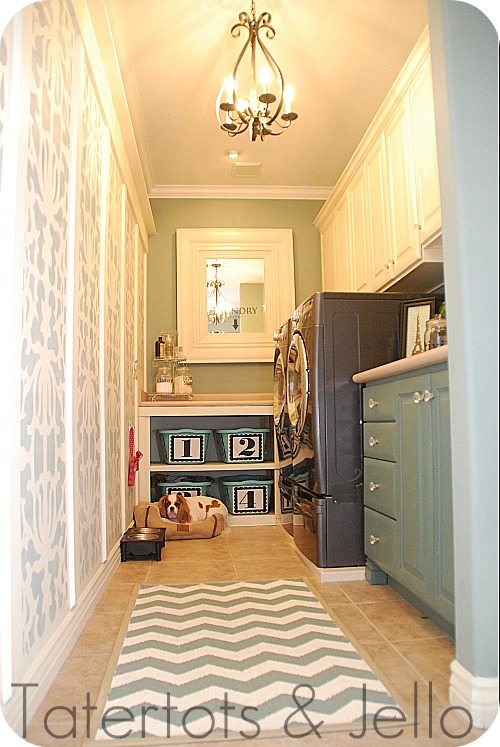
Here’s the laundry room before:
xoxo
PS — Skip to My Lou, Someday Crafts, Somewhat Simple, Tidy Mom, Tip Junkie, Today’s Creative Blog, I Heart Naptime, 30 Handmade Days!!




Beautiful job and that is a great looking laundry room! I really appreciate listing all of the tools needed. Might have to fix my laundry up now that I have seen yours.
The clients are positioned iside of South Korea’s largest and world’s sixth largest car maker.
Interested buyers can then buyy repo car annd make a good return on investment.
The qualitty checked used cars are not inferior in any respect.
I was wondering what color paint you used on the walls and on the lower cabinets? I love how it turned out!
Thanks, April
Great idea! I’d love for you to add it on my link party at: http://printabelle.com/?p=3188 Thanks!
Wow, your home just gets more and more beautiful each time you share a project! LOVE crown molding, love!
These tips were so clear and professional. You did a wonderful job of making what could be the
least attractive room in the house a lovely place to be. Suzanne
MakingWhimsy on etsy.com
Love this look! Would you share the wall paint color ?
ahhh dream laundry room!! LOOVE
Great tutorial. I love crown molding but have always been afraid to mess it up. By the way I love the walls! Is that a wall paper insert or paint treatment?
Could you tell me if that’s wallpaper or paint on the wall opposite the washer & dryer?
Thank you!
Your laundry room is amazing, very inspiring for sure. I love the bright & cheerful feeling it radiates. The crown molding really sets any room off….I hope your St. Pat’s weekend is great!
Jen, I am going to bookmark this one. I am scared to death of cutting corner pieces because I am always off with my measurements. I also want to try the brand of stud finder you used because mine was more of a dud than a stud apparently. Thanks for the tips this will come in handy. Lesley
This is AMAZING!! Thanks for sharing!
Thanks for the tips. I would love to do crown molding and a picture railing in my home.
lexmallabooks.com
Such a fantastic job! Thaks for sharing! I love the blue on the walls and cabinet (and those knobs are awesome!). Can you tell me the name and company that makes taht blue you used? Thanks.
Hi Angela!!
Sure — It’s Mythic Paint Aquarium Water paint. Here’s more information — https://tatertotsandjello.com/2010/09/laundry-room-quick-peek.html
xoxoxo
thanks for all of the sweet comments today. I appreciate you taking the time!!
ooxoxo
Jen
Jen your laundry room looks amazing! I love everything about it and I am so impressed that you put up crown molding!
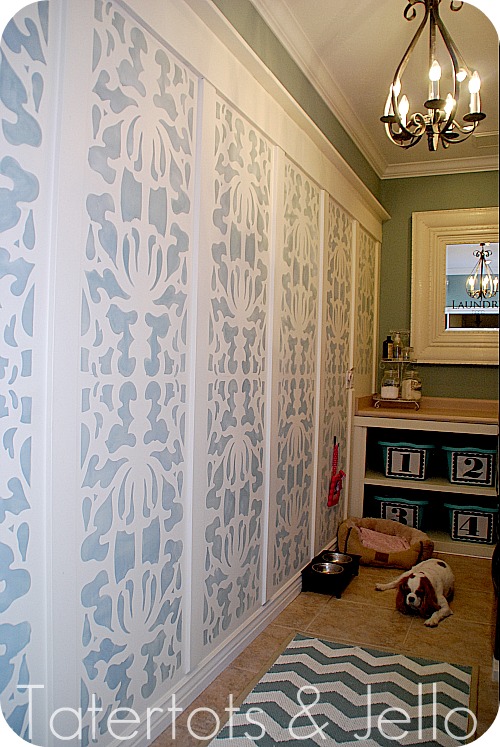
id love to hear more about that awesome wall with all the stenciling on it!
Thanks Lauren!!
Here is more information about the stencil wall — https://tatertotsandjello.com/2010/09/laundry-room-quick-peek.html
xoxox
Jen
Your laundry room is absolutely stunning! Good job!
Yiiiiikkkkkeeesss! This is so beautiful!!! It’s a similar shape to my laundry room and would love for mine to look like this. So inspirational!
I really want to do crown molding in my house!
So Gorgeous!! LOVE love all of it!
What color paint/brand is the walls? I love it.. 🙂
great information. we are having crown installed today in our downstairs. what a difference it makes!
and i love your trusty assistant in the dog bed. precious!
First of all I love your laundry room! That is seriously amazing…love the colors. Great tutorial for crown molding. Very helpful and I hope to take on this type of project very soon. Megan
These are great tips Jen! Pinning them for all my upcoming home improvement projects! 🙂
Best tip for crown molding – have the right tools. You are so right about the compound miter saw. Hubby got one and it made all the difference! They are worth the investment if you do a lot of DIY.
That is so beautiful. I don’t spend much time in my laundry room because, well, it’s not beautiful….
Amazing transformation!! I don’t usually comment but this post came at a great time for me. I’ve been thinking of adding some crown to our new nursery but don’t know if I should because we have dark wood trim. We just built our house and my hubby won’t go for repainiting it all. I wish I would have opted for white trim throughout the house but I’m dealing with it:) anyway my question for you is should I still do crown In the same matching dark wood color as our trim or is that not recommended? I’ve searched pinterest but there isn’t much for dark colors since white is the better option to have:( please help!
HOLY SNIKES on a STICK! That is one faaaannncy laundry room!@!! Totally drool worthy!
Thank you SO much for this! We have a friend who has put ours up in the house but it’s something I’d love to know how to do since they might be moving. This is definitely getting bookmarked!
Your laundry room is beautiful!!! Nice job.
Your laundry room is gorgeous! Probably better looking then my master bedroom. Love the molding tutorial. I would like to use it to make picture frames but I have to get cracking on my laundry room first…
Amazing. What a wonderfully detailed post about a tricky technique. Thank you! This helps a bunch!
bamboo longboard
http://www.blacklongboards.com
Hello Jenn,
Your laundry room makeover is Fabulous. My hubby is a handyman so I think that I will leave the crown molding projects in our home to him. Have a great day.
Smiles, Paula
I just love your laundry room!!
Crown Molding was one of the very first projects that I tackled in my home. I love it! I used an accessory for my saw called Crown Molding Stops and it totally helped me save time with figuring out the direction of my cuts.
An fellow DIYer once told me to paint all my trim first, even that which was already bought pre-primed. Once cut and hung up, the touchup work is minimal.
Love the makeover! Love even more that your Cavalier made the photos! So beautiful!
Wow, gorgeous Jen and such great tips!! Thanks for sharing your lovely, lovely room!
Thanks so much for these tips! One day I will be brave enough to try them myself….I first need to find my big girl panties. 🙂
Jen, I am so happy you posted this because I am in the process of redoing my laundry room. (ordered all the appliances yesterday) My contractor is coming today so I cannot wait to show him how your laundry room looks! Our laundry rooms look very similar in size. Currently my washer and dryer is where yours is but I plan to move them to the far end of the room. I love your walls…I gotta do this!!! Did you use a stencil?
LOVE everything you did!!!
~~~rhonda~~~
This is Jennifer’s assistant. The laundry room details are all in the original laundry room “reveal,” at https://tatertotsandjello.com/2010/09/my-beachy-laundry-room-reveal.html. Sadly most of the comments didn’t bother to come along in the blog migration from Blogger to WordPress :(. So … yes, it was a stencil!
I LOVE your laundry room! And the crown molding is just the icing on the cake. Love the great pattern on the board and batten too – so beautiful! Thanks for the tutorial – crown molding cuts are sooooo tricky! Pinning this for future use!
Jen your post could not have come at a better time. I’m about to embark on a kitchen redo after seeing your aqua and white kitchen. I’m going to wrap my island in beadboard and molding and mitering with be necessary to complete the project. I have measured and measured with paper and pen in hand – scrap paper and envelopes and newspaper taping it up and seeing how it will all fit together like a puzzle. Conclusion, I think I can do this project myself and I’m so excited to try it. My husband is handy when he needs to be but not by nature. So this one might be on me to complete and I’m really excited to tackle the project.
I’m also painting my cabinets white – removing doors to show the inside and replacing or refashioning the doors over the desk with glass. I guess I need some pretty baskets to hide the current messy insides over the desk. LOL
Thanks for sharing all your inspiration and knowledge with us!!
~Chrissy