

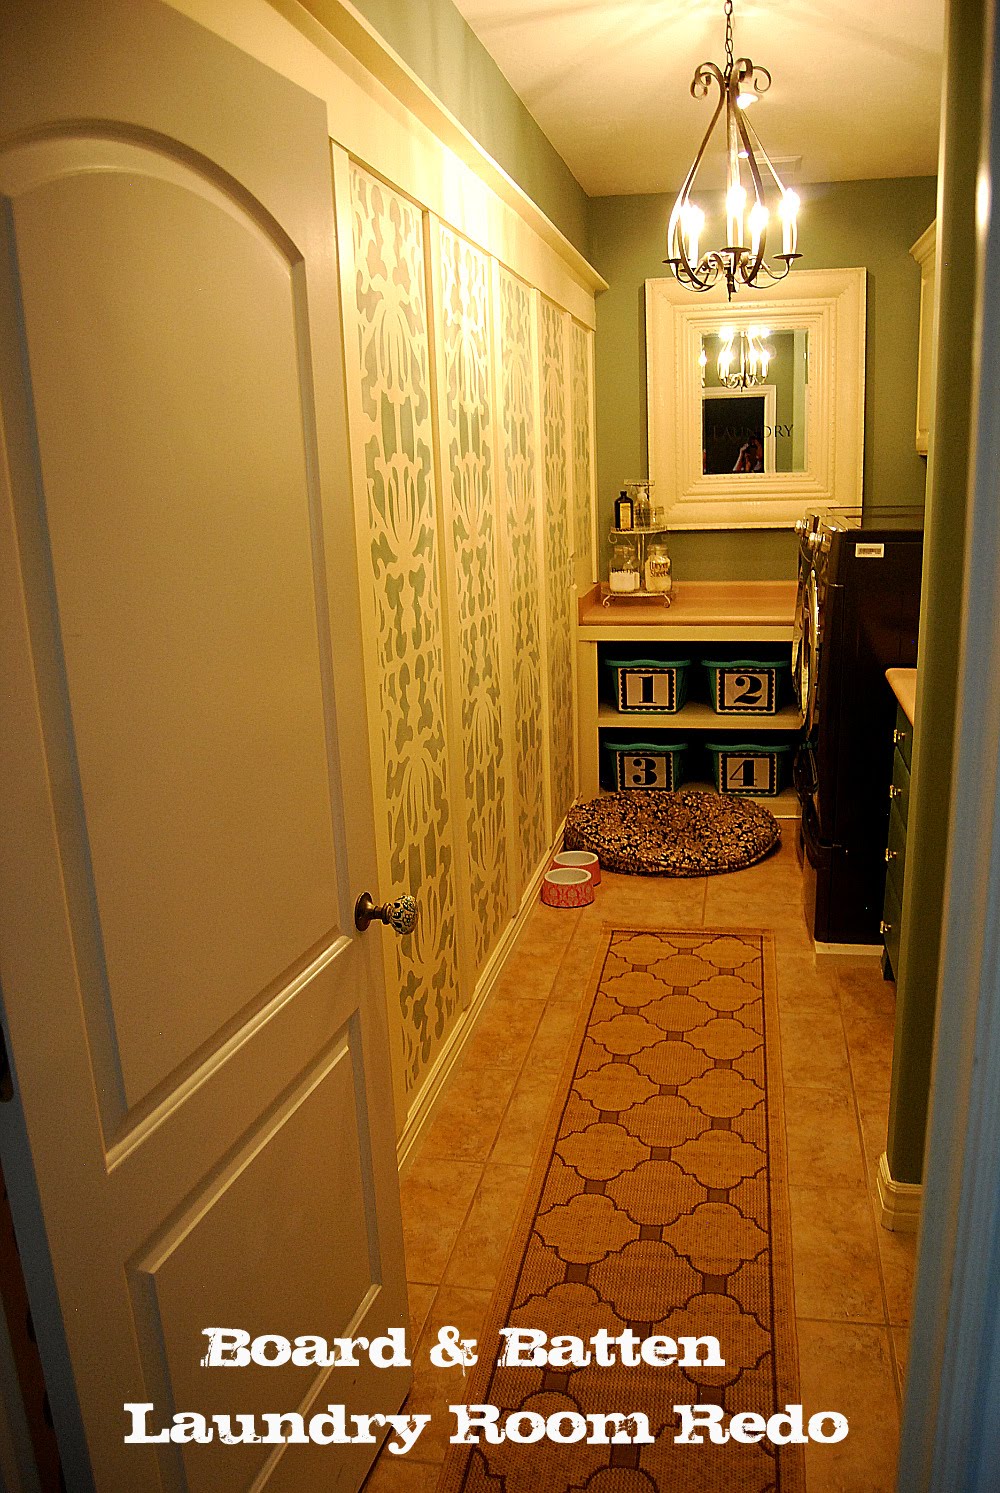
My Laundry Room is finished!
I keep getting distracted with Halloween projects – LOL! Here’s what it looked like before:

Here’s a messier. more recent picture:

My Laundry Room is the darkest room in my home. It is situated right behind our garage, so it has a firewall on two sides of the room. The other wall in the room butts up against the family room and there is a bedroom above. I found out there was no way to install any natural light. The only light in the room was a flourescent light.
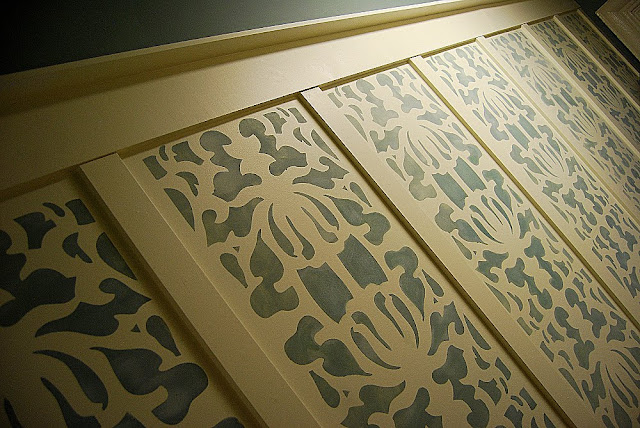

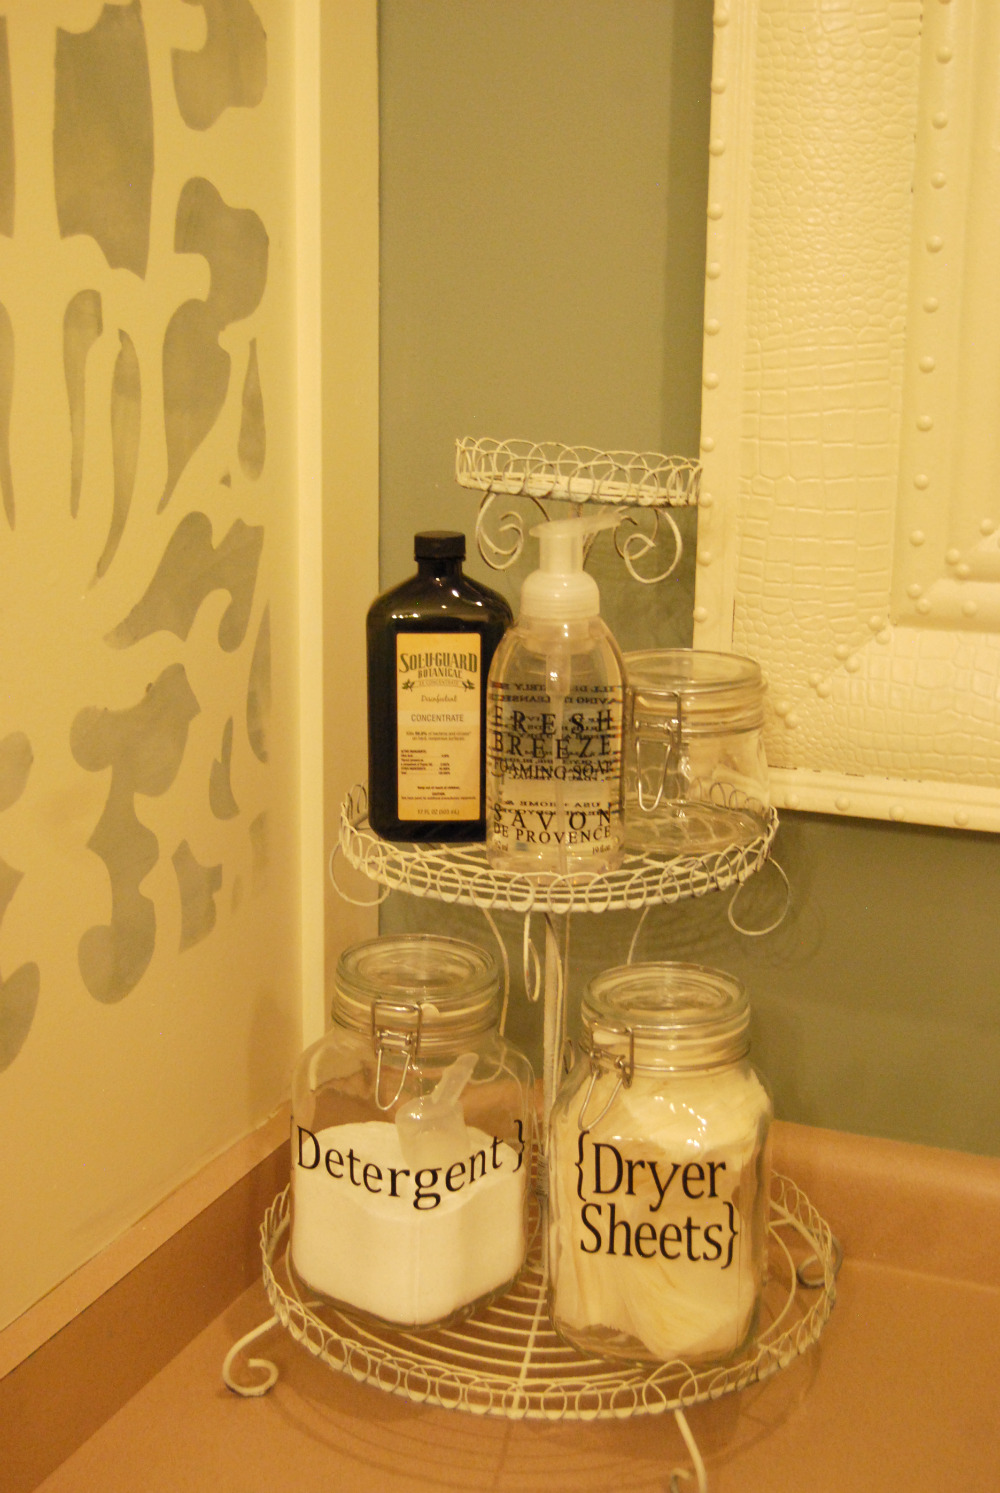
The first thing I did was installed Board & Batten treatment. Have you seen Shelley from House of Smith’s Bathroom? Well she inspired me to put some color in between the panels. I stenciled the walls using a wonderful stencil from Cutting Edge Stencils. If you want some tips on Board & Batten tips and how to stencil the walls — I posted about it in my Laundry Room Quick Peek post.

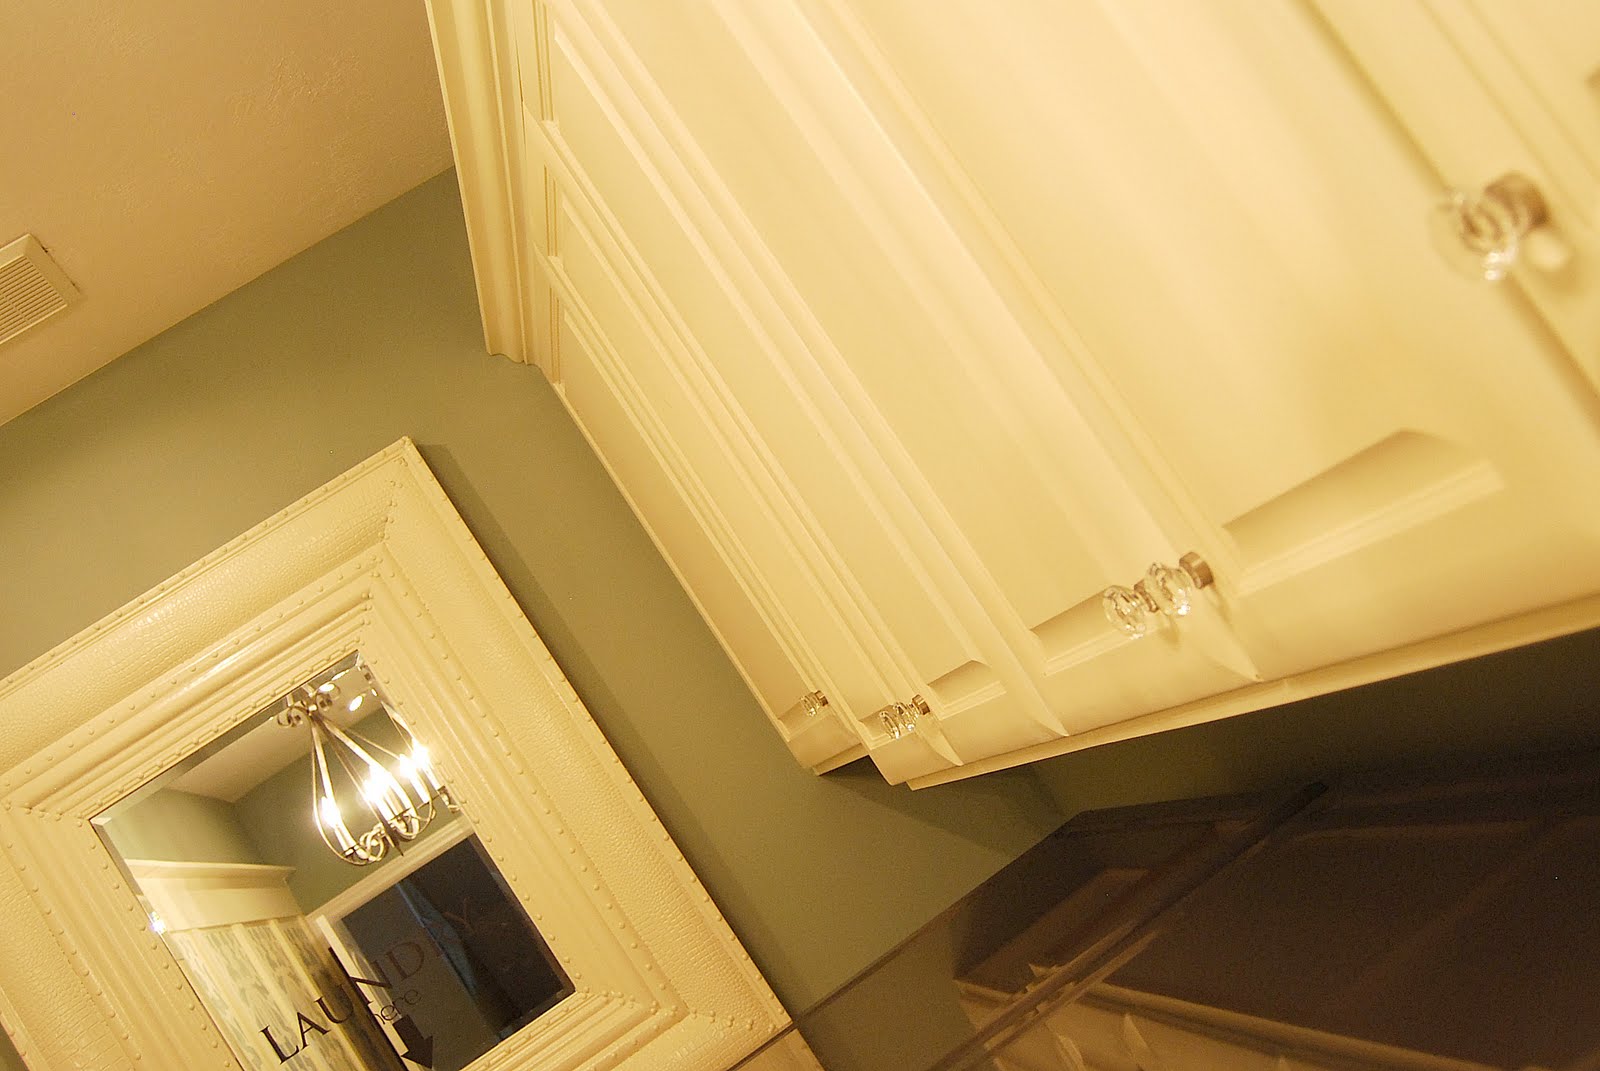
The cabinets were a high quality maple, but the color wasn’t quite what I had in mind, so I painted them. I tried a couple of different techniques. I also decided to paint the bottom cabinets a darker color to ground the room. I painted the walls using Mythic Paint — Aquarium Water. {{Mythic paint is a non-toxic, odor-free paint that is safe for children and pets.}}
Then I went two shades darker for the cabinet color. Here’s what I learned in painting the cabinets:
- Wash the cabinets with a cleaning agent.
- Take the doors and cabinet fronts off to paint.
- Prime all the cabinets first.
- Use a small, foam roller and a small, angled paintbrush.
- Paint the cabinets with a thin coat of paint. Let dry.
- Then using a fine grade sandpaper. Lightly sand. Then wipe down.
- Paint all cabinets and drawer fronts 3-4 coats of paint.


Another big project in the room was making a cabinet underneath the counter for laundry baskets. And getting it in the room took a few tries – lol.

I also made some little plaques for the front of the laundry baskets with scrpabook paper, mod podge and vinyl. I hot glued them onto the front of the baskets.
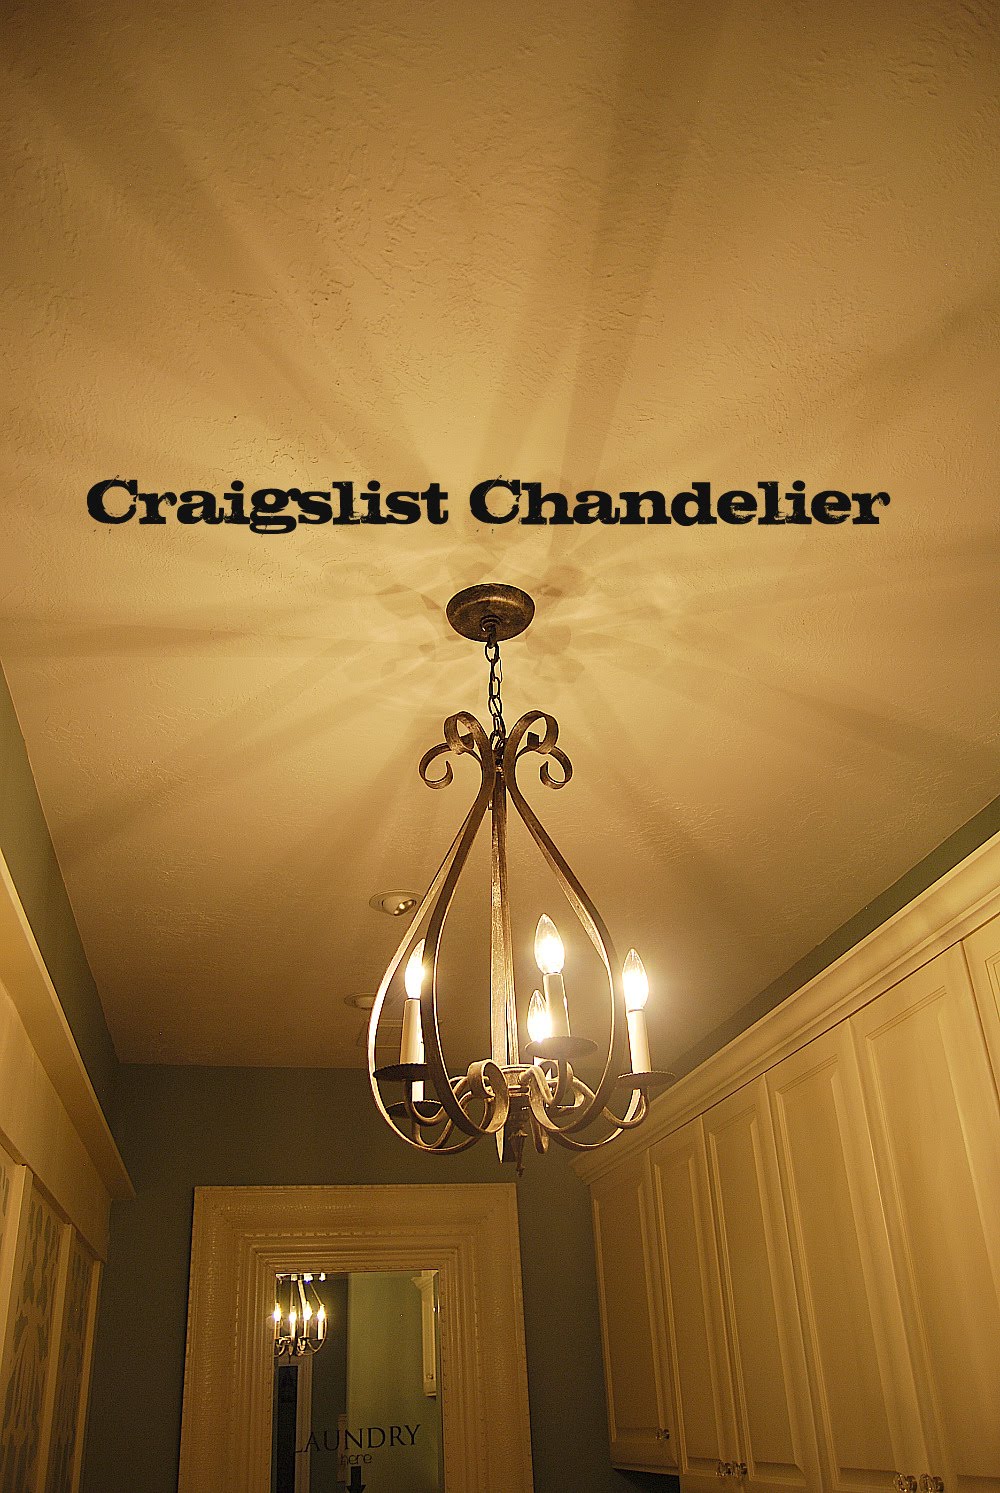
I found a vintage chandelier on Craigslist for $30 from an estate in New Hampshire and had them ship it to me. I love how rusted and old it looks. And my FANTASTIC Father in law came and installed 4 recessed lights. PLUS, he put the chandelier and the recessed lights on separate dimmer switches. So now I have mood lighting in my laundry room!!!!

I installed these sparkly knobs from Rockler – they dress up the cabinets and add a little sparkle to the room.


The lockers are in an area of the room that used to be a closet. We took the doors off and drywalled the opening. Then I painted the lockers the same off-white as the top cabinets. I added a little vinyl lettering on the bottom drawers.

And I found some little frames at Michaels for .50 each. I added a little scrapbook paper behind the frames and then printed out some vinyl letters and put them on top of the glass. {I promise my children have names – they are not just numbers LOL}


I originally had a cork board in the room for school papers. I took the board, covered it with wrapping paper. Secured the paper with glue dots and then made some rolled fabric flowers to dress it up. Then I hung the bulletin board on the back of the door. This way there is still a place for papers, but they are not out in the middle of the room.
{{And this project — FREE!!}}


Above the sink I added a magnet board. I had this board and it started out blue. I added a few coats of glossy off-white spray paint and voila — it matches my room now. I made a rolled flowers and attached them to magnets with a few dabs of regular Gorilla Glue.

One of the newest sponsors of the DIY Club is Design Divas Vinyl Lettering:

They sent me a cute Laundry Room vinyl decal and I put it on this mirror that was in my bathroom. I spray painted it Heirloom White. I think the mirror mimics a window in the room.

Whew!! I think that is everything!!
Sorry for the long post. To wrap up — I am thrilled with my much lighter and brighter and more organized laundry room. I told my friend the other day, I need to install a comfy chair in here — it’s now my favorite room in the house!!


If you’ve made it to the end of this very long post — Thank You!!
Have a Terrific Day!!
XOXO

Check this fun linky party out:


Can you tell me where you purchased the door knob?
Amazing love all the details, it makes the room look so much bigger, Great creativity!
Jen, I DID make it to the end of your redecorating your laundry room…I am so impressed w/you! It is beautiful! Thank you so much for sharing. Laura Leigh
Oh thanks so much!!! You are so sweet. Happy New Year!!
xxoxo
It’s gorgeous. Your laundry room looks a part of your home and not like an after-thought like mine. Thanks for sharing.
This is awesome. The lay-out of your laundry room remind me of ours and I was kind of at a loss as to how to spruce it up. So thank you!