Cozy Dollar Store Christmas Centerpiece. Create a Terrain-inspired holiday centerpiece on a budget with dollar store finds! This DIY project combines bottle brush trees and a moss-covered wreath form, giving a high-end look without breaking the bank. Battery operated lights glow along with a candle in the center for a cozy addition to the holiday season.
Cozy Dollar Store Christmas Centerpiece

I recently stumbled upon a stunning holiday centerpiece on the Terrain website, but at over $150, I knew I could recreate a similar version on a budget. Using affordable items from Dollar Tree, including bottle brush trees and a simple wreath form, I made my own cozy centerpiece for less than $20! This DIY holiday decoration is not only easy to make but also brings a warm, natural vibe to any room. Here’s how I did it, step-by-step.
The Best Christmas DIY Ideas

I am joining friends who are sharing the most festive Christmas DIY ideas! Scroll down to the bottom of the post to hop over and PIN these beautiful Christmas ideas!
Terrain Tree Centerpiece
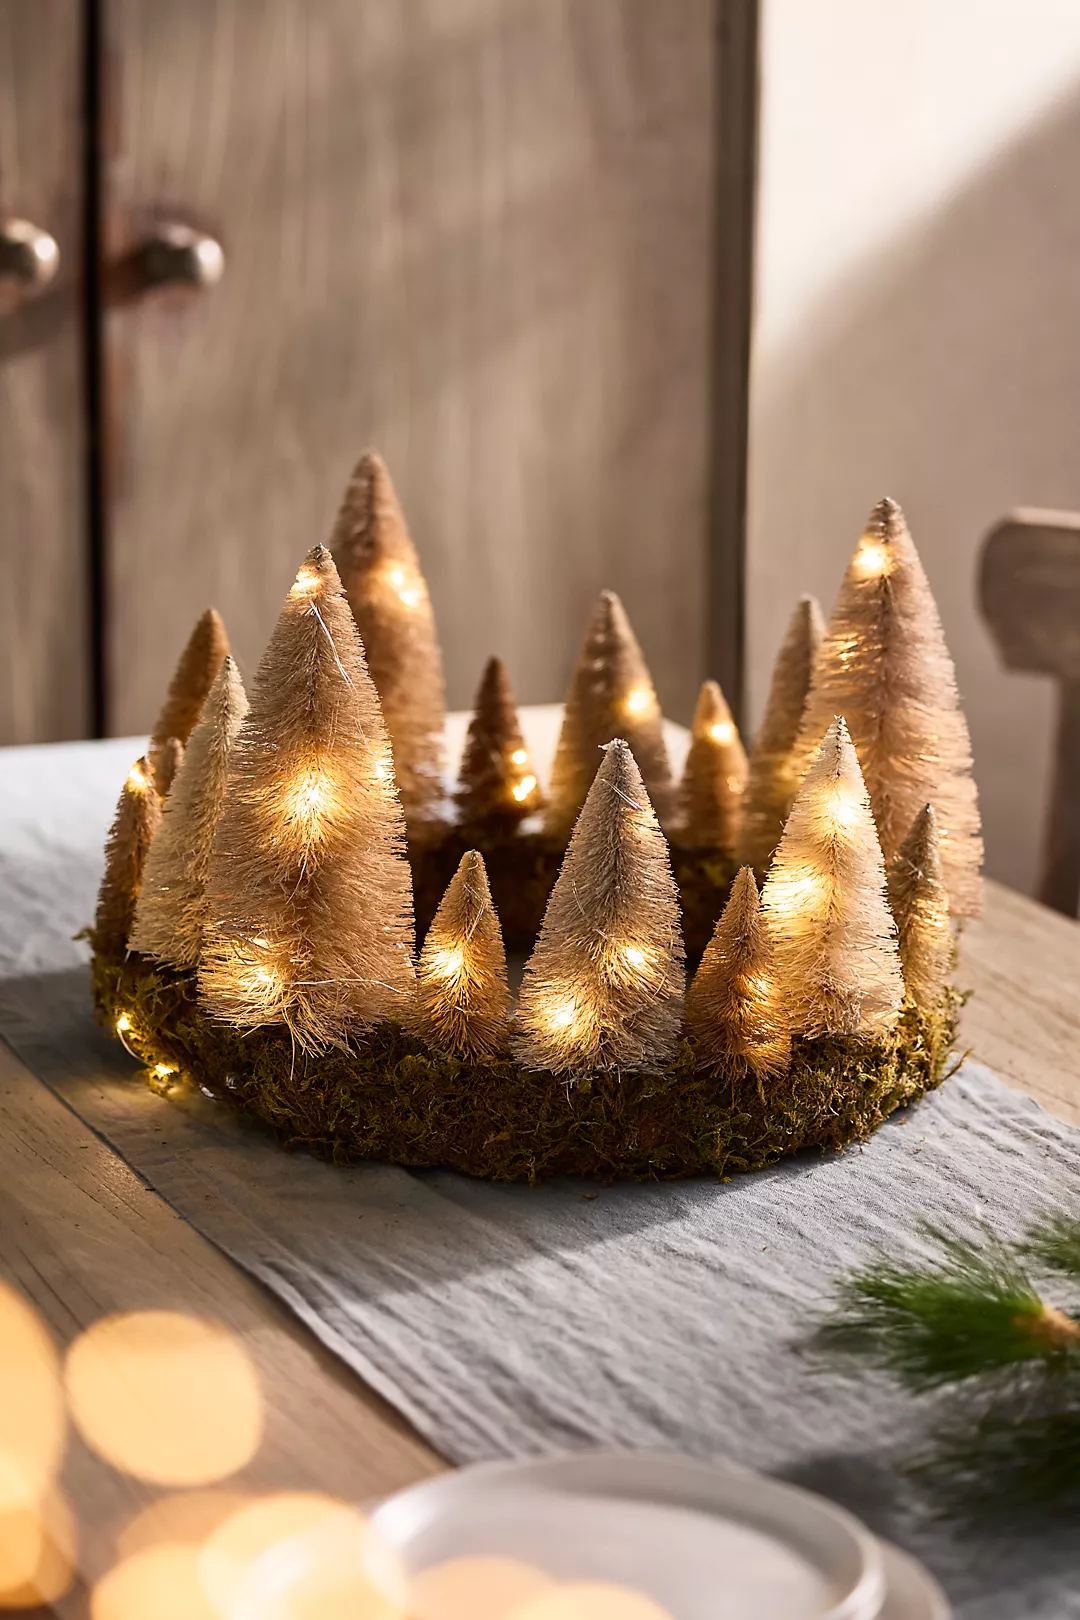
This is the Terrain centerpiece that is being sold for $130. We can make this inspired version for a fraction of that price, using a Dollar Tree wreath for a base and Dollar Tree bottle brush trees! I used a mixture of colored trees including pink ones for my centerpiece, but you can use any color trees that go with YOUR decor!
Supplies Needed for the Cozy Christmas Centerpiece
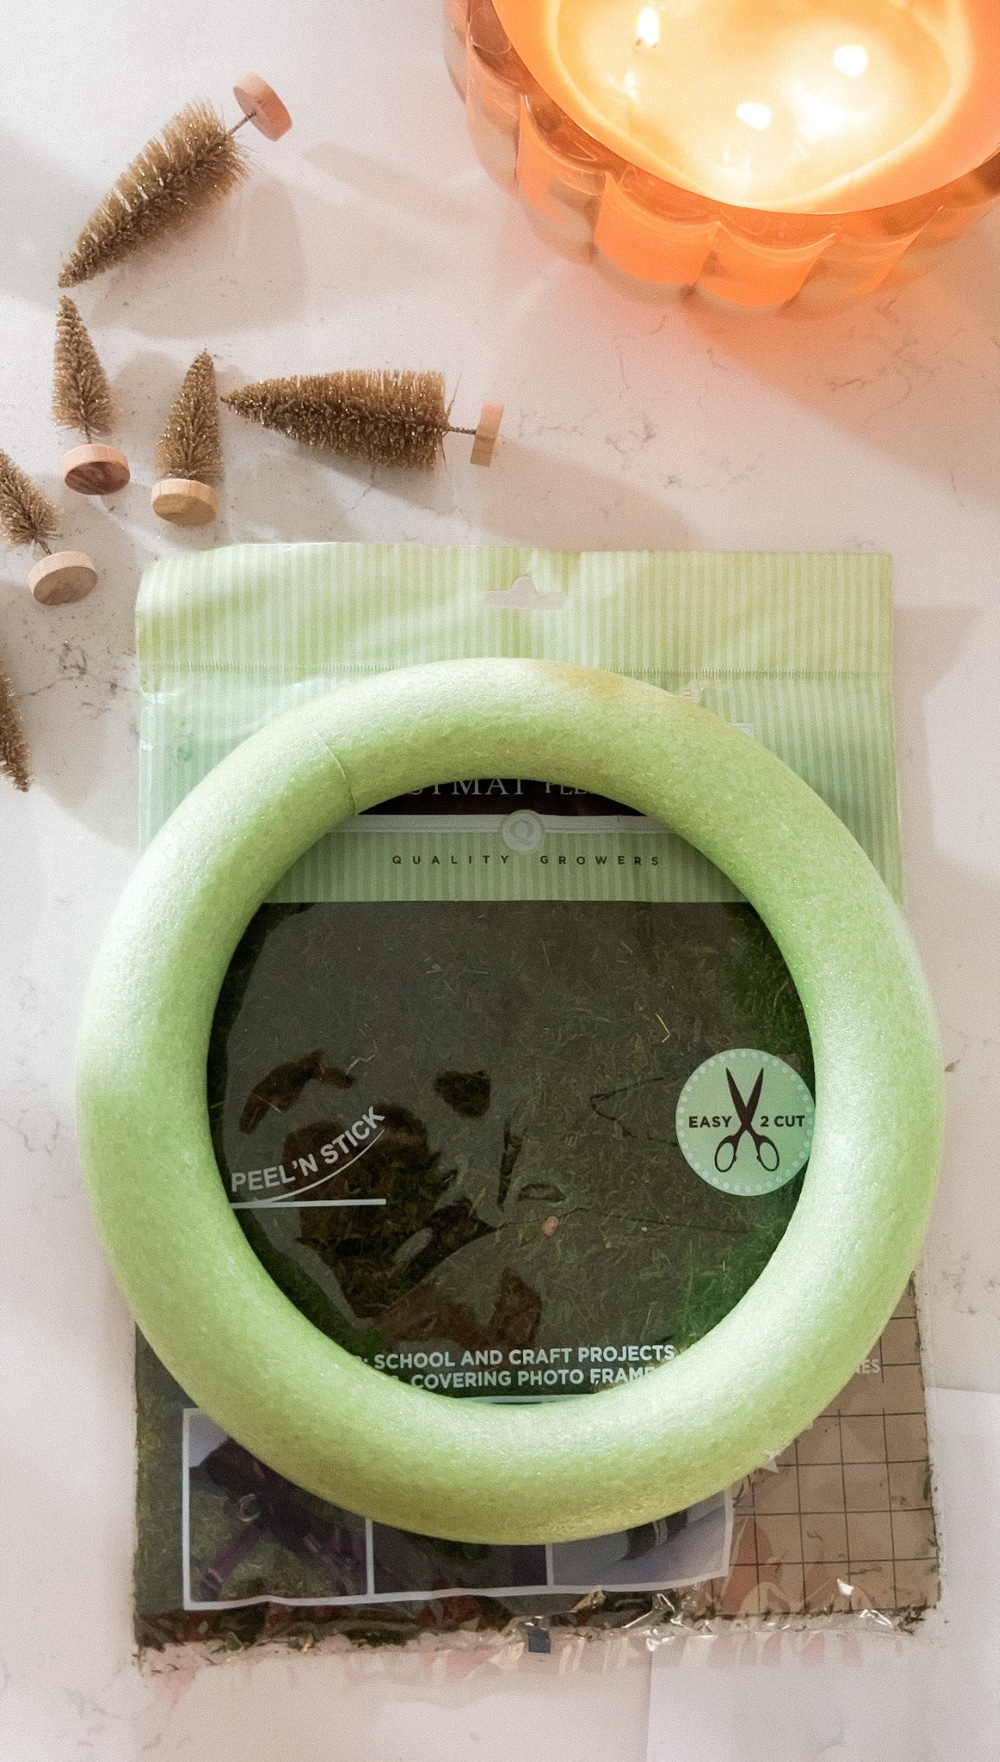
To achieve a lush and textured look, I gathered a variety of bottle brush trees from Dollar Tree in different sizes, creating a forested effect around the wreath. I used six large bottle brush trees, eight medium trees, and two packages of small bottle brush trees to fill out the display. The Dollar Tree also had wreath forms, which worked perfectly as a base for the project. To add a warm, magical glow, I picked up a set of battery-operated micro lights with multiple light settings and a timer function. Finally, I placed a large candle at the center to make this centerpiece feel complete.
Additional Supplies List:
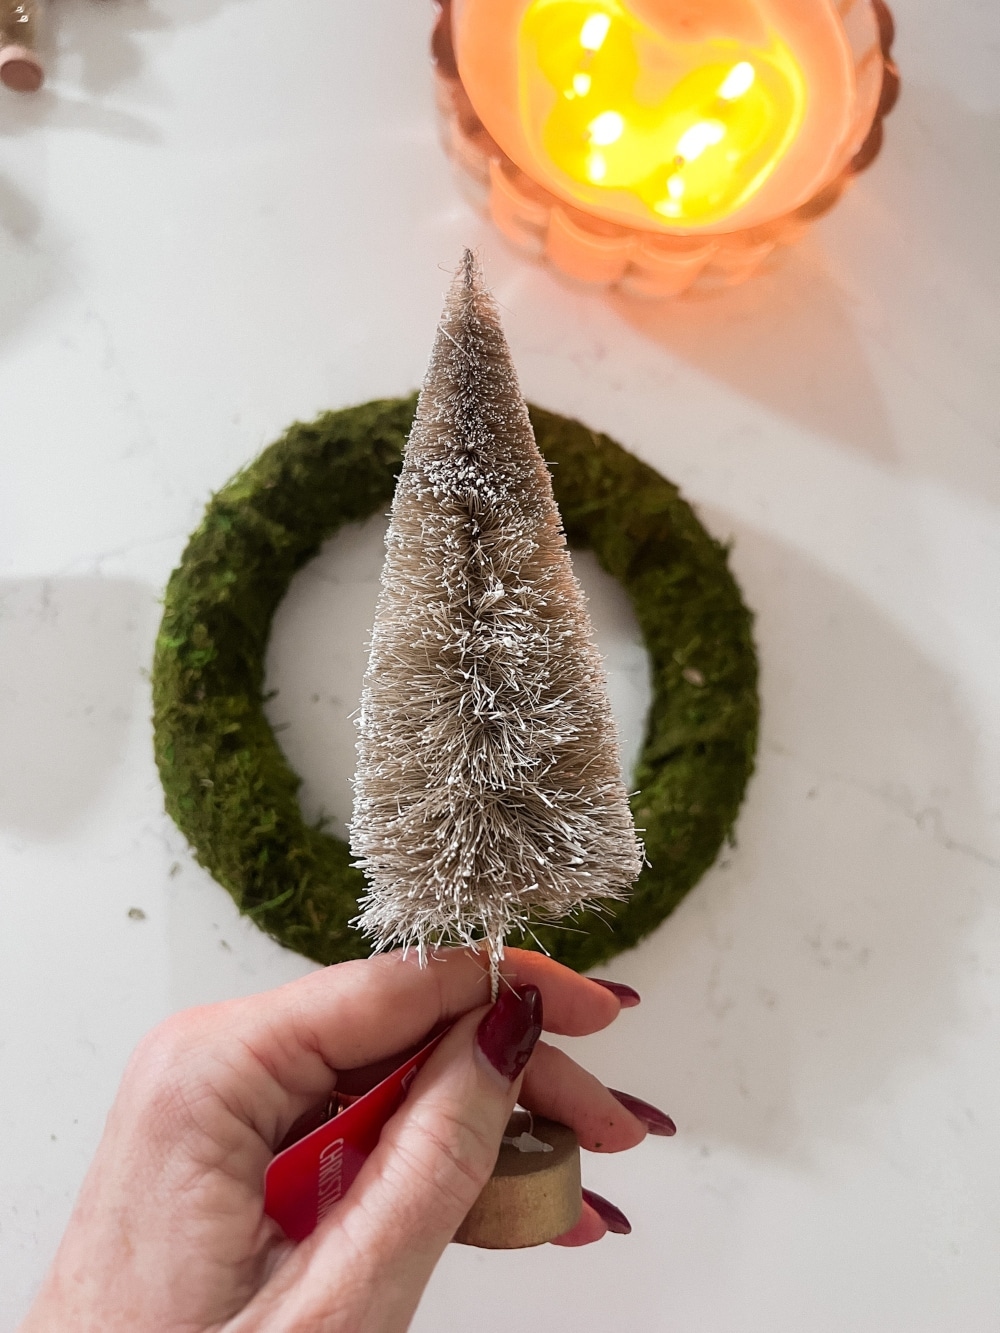
- Wreath form (from Dollar Tree)
- Moss sheets with a sticky backing
- Hot glue gun
- Scissors
- A large candle

The sticky-backed moss sheets are a game-changer! They create a natural woodland look and make it much easier to work with moss without the mess.
Preparing the Moss Base
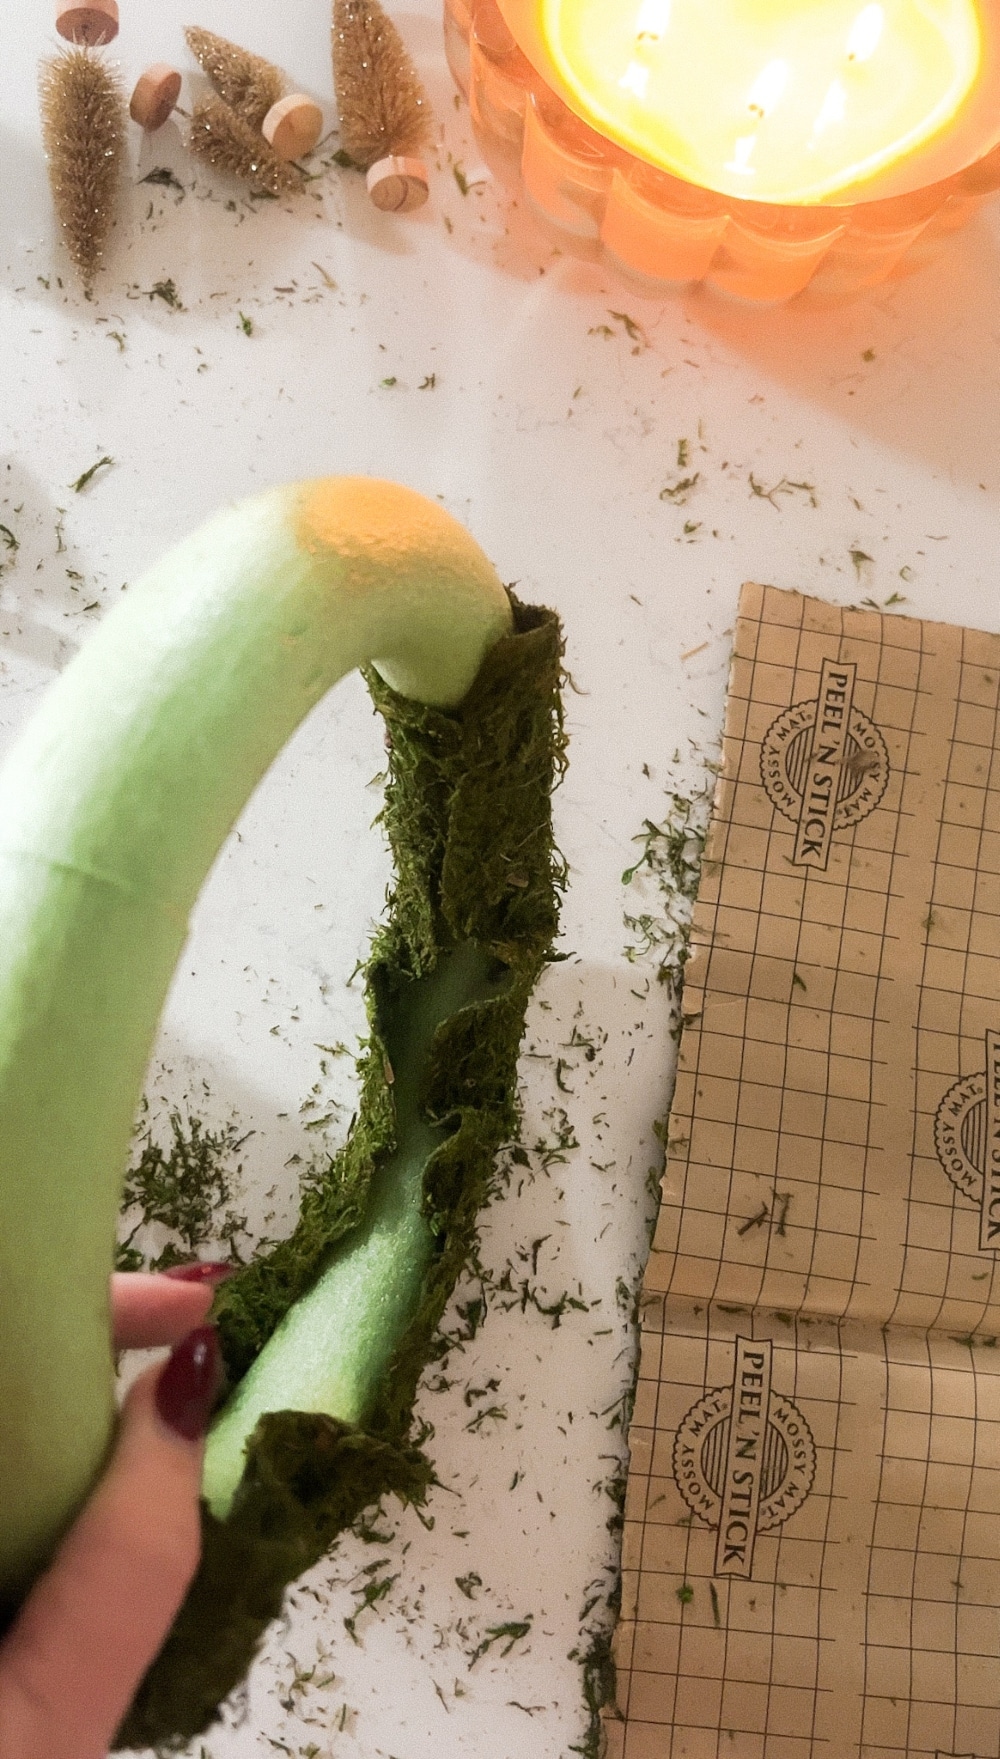
The first step was to wrap the wreath form in moss. The moss sheets I used came in packs of two, and each sheet has a sticky backing. I cut each sheet in half and simply peeled off the adhesive backing. Then, I placed the wreath form in the center of each piece and wrapped the edges firmly around it. This method is much less messy than working with loose moss, and it also makes the centerpiece easier to store for future holiday seasons.
Adding the Trees
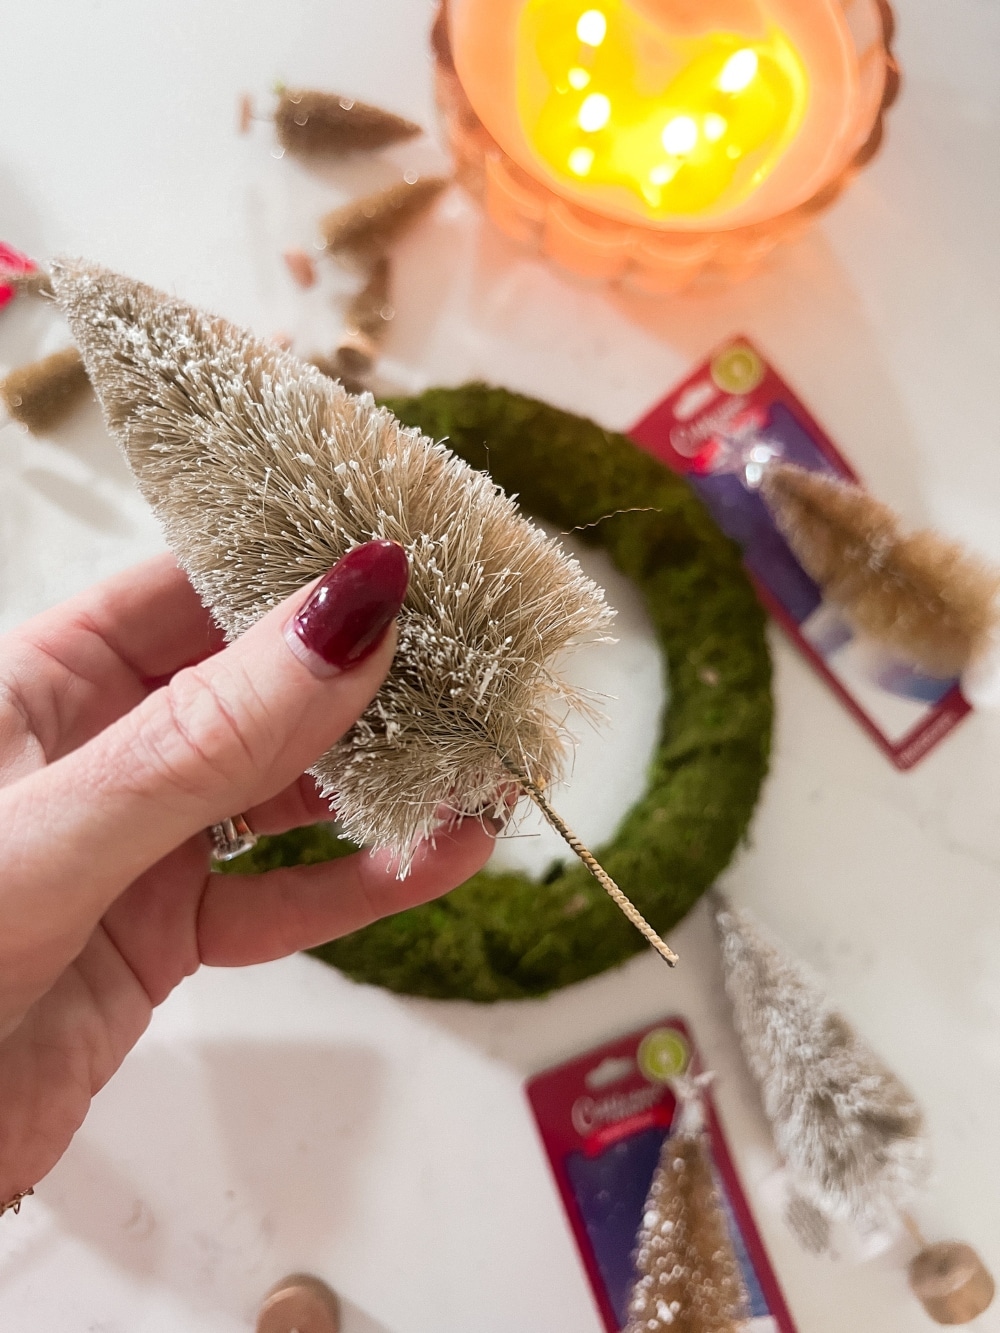
After covering the wreath with moss, it was time to add the bottle brush trees. I started by cutting off the wooden stands from the bottom of the trees. This made it easier to secure them directly onto the wreath.
Step 1: Place the Large Trees
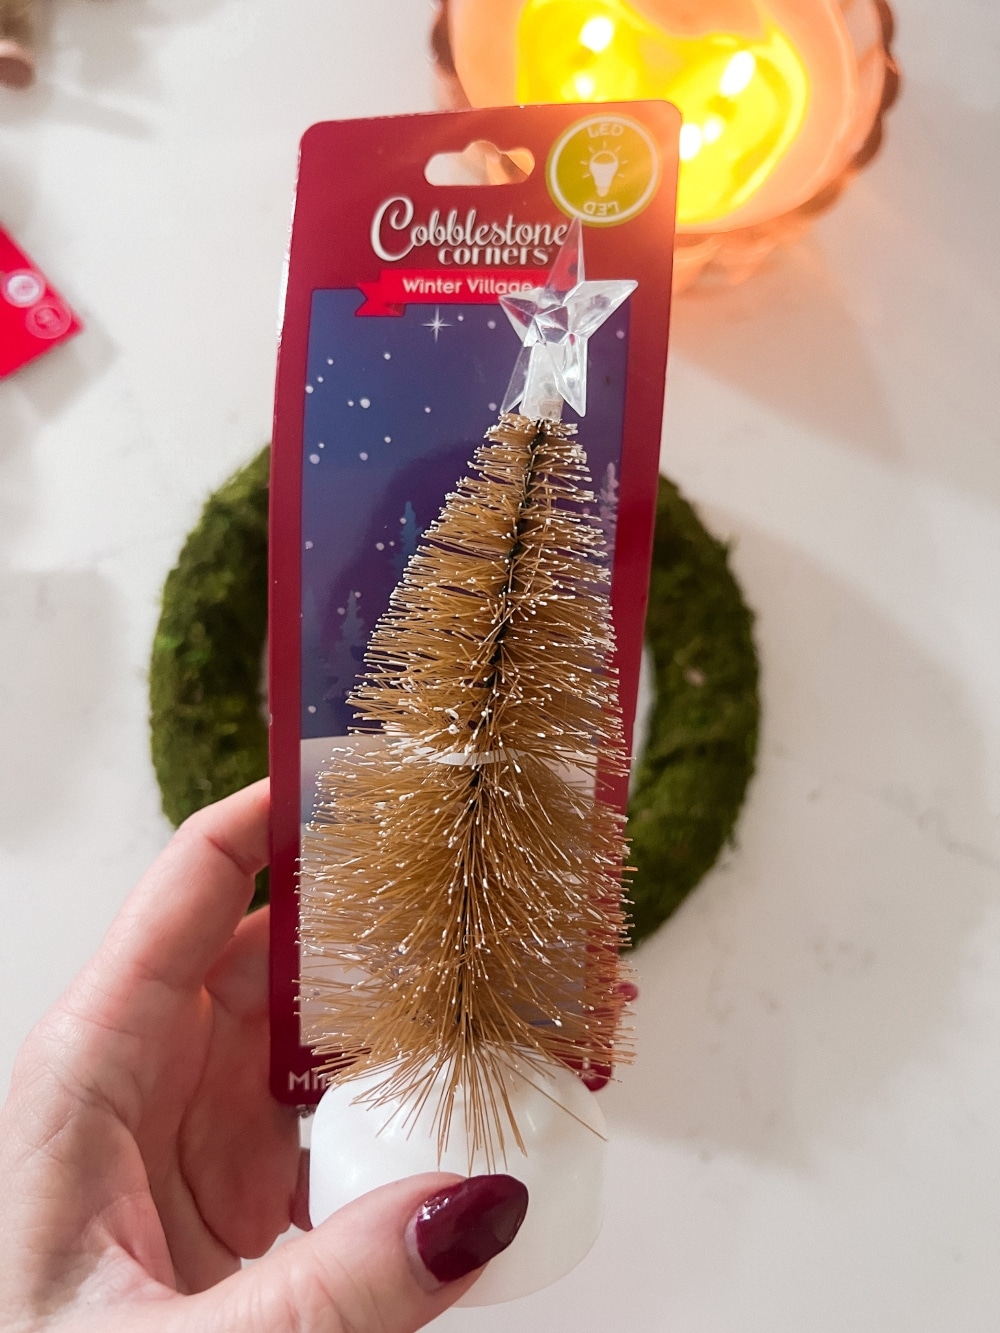
I began with the six large bottle brush trees, spacing them evenly around the wreath. This creates a strong base and structure for the centerpiece.
Step 2: Add the Medium Trees

Next, I added the eight medium trees, filling in the spaces between the larger ones. This layering gives the centerpiece a lush, full look.
Step 3: Finish with Small Trees
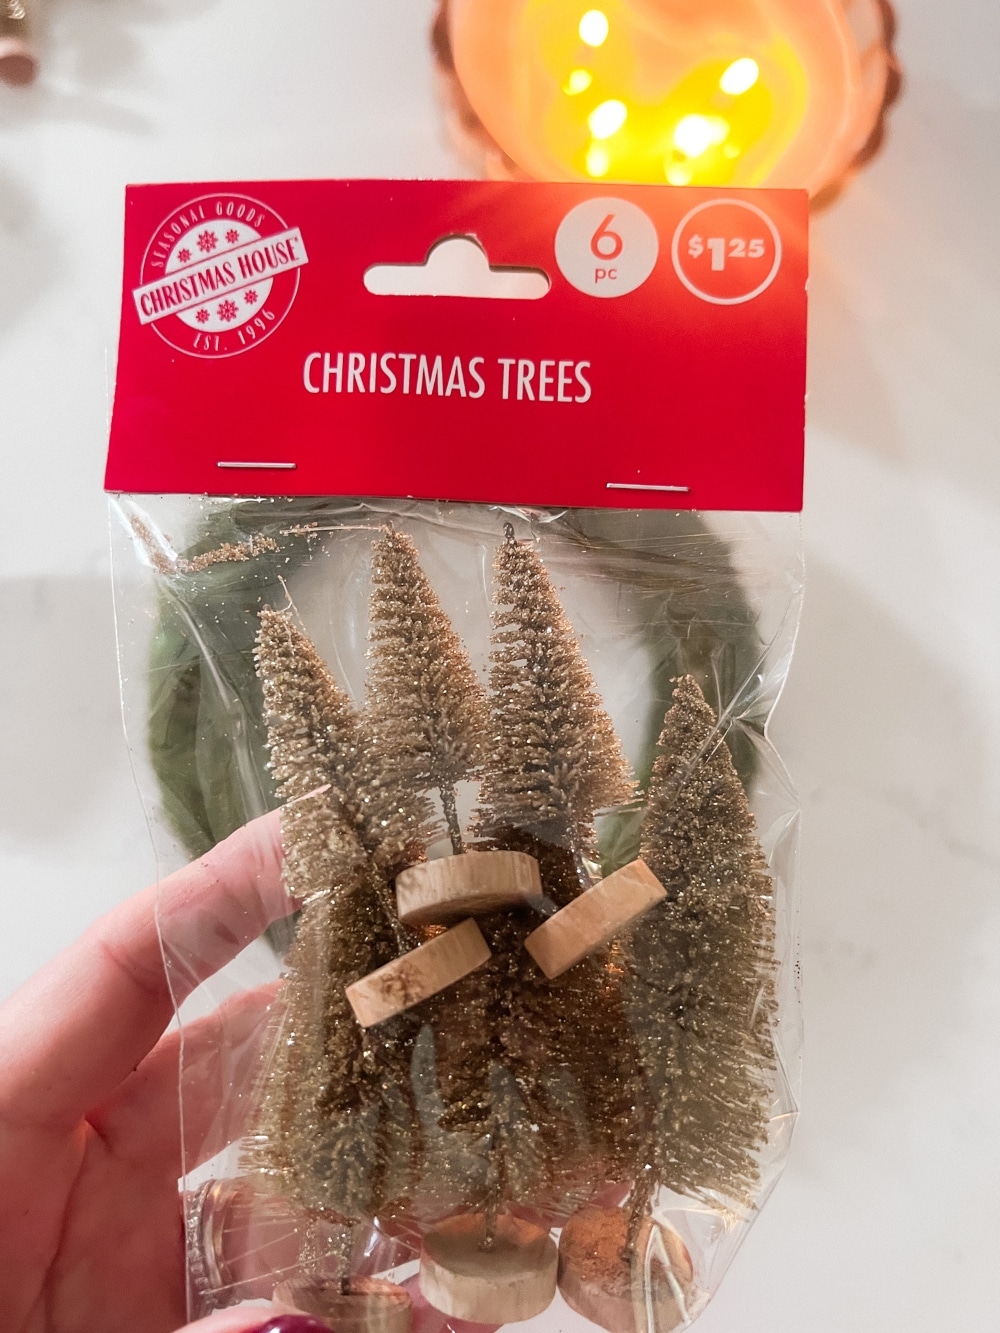
Finally, I used the smaller bottle brush trees to fill in any remaining gaps, creating a mini forest effect around the wreath. I secured each small tree with a dab of hot glue to keep everything firmly in place.
Wrapping with String Lights
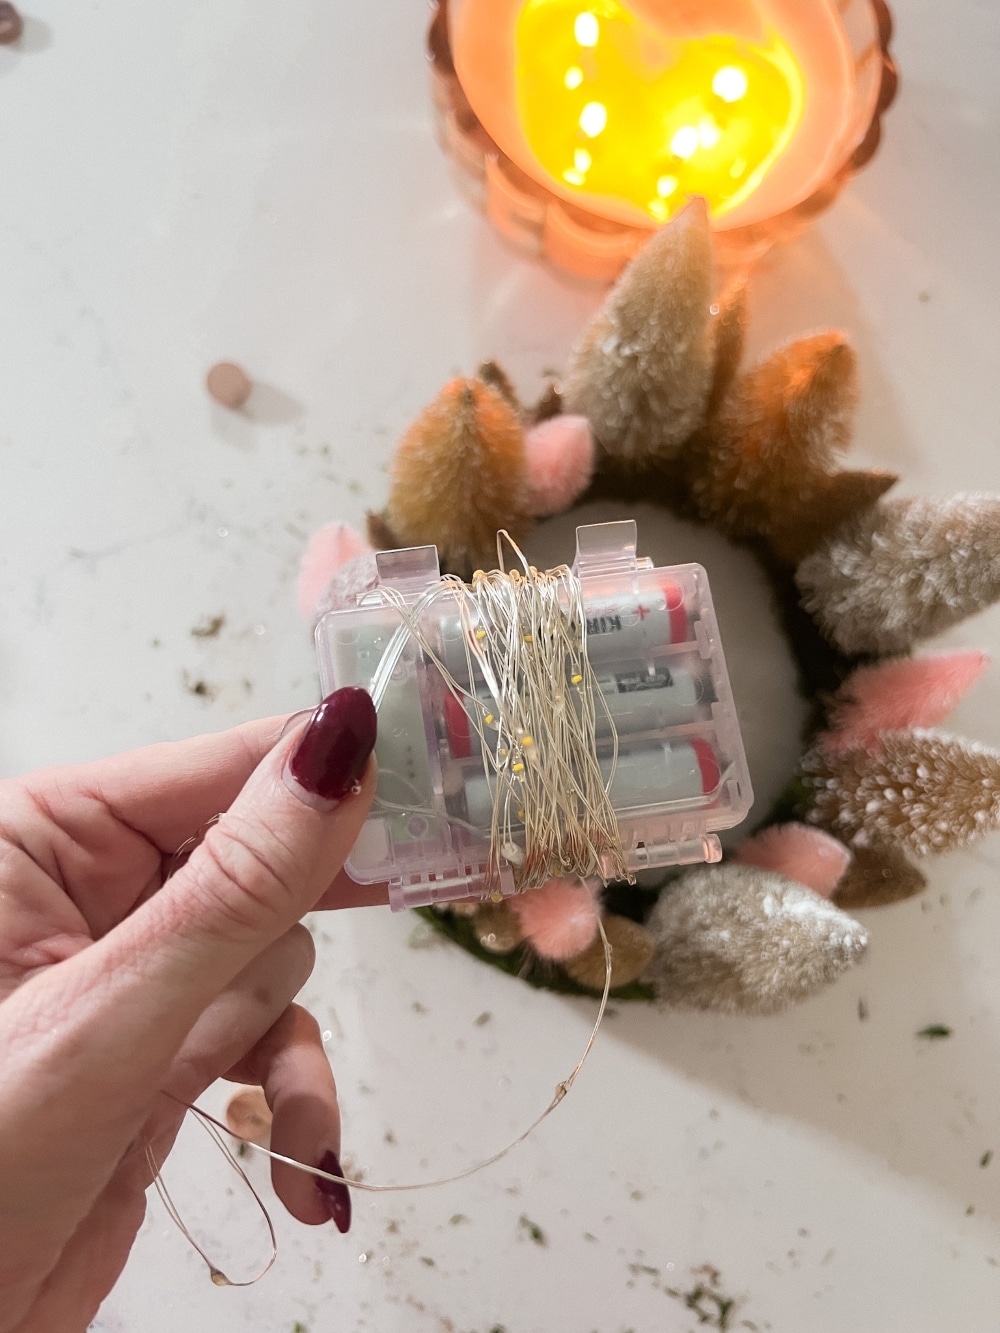
The battery-operated micro lights were the perfect finishing touch for this piece. These lights came with six different settings, including options like slow glow, twinkling, and a timer function. I love that they have a remote for easy control, so I can set the lights to come on each evening automatically.

To add the lights, I wrapped the string around the base of the wreath and intertwined it around some of the larger trees for a subtle glow. This step really brought the centerpiece to life, adding warmth and sparkle that’s just magical for the holiday season.
Finishing Touch: Adding a Candle

With the wreath wrapped in lights and trees in place, I finished the centerpiece by placing a large candle in the middle. This candle adds a soft, warm glow to the display and completes the cozy, natural aesthetic.
Enjoying Your Cozy Dollar Store Christmas Centerpiece

I’m thrilled with how this Terrain-inspired centerpiece turned out! It’s sitting on our coffee table, and I love seeing it in front of our Christmas tree. The combination of the bottle brush trees, moss, and twinkling lights makes it feel so warm and inviting, especially on winter evenings. Plus, knowing I made this entire centerpiece for under $20 adds a little extra satisfaction every time I look at it. I hope you enjoy making this project as much as I did, and that it brings a cozy, budget-friendly sparkle to your home this holiday season!
Blogger’s Best DIY Holiday Crafts
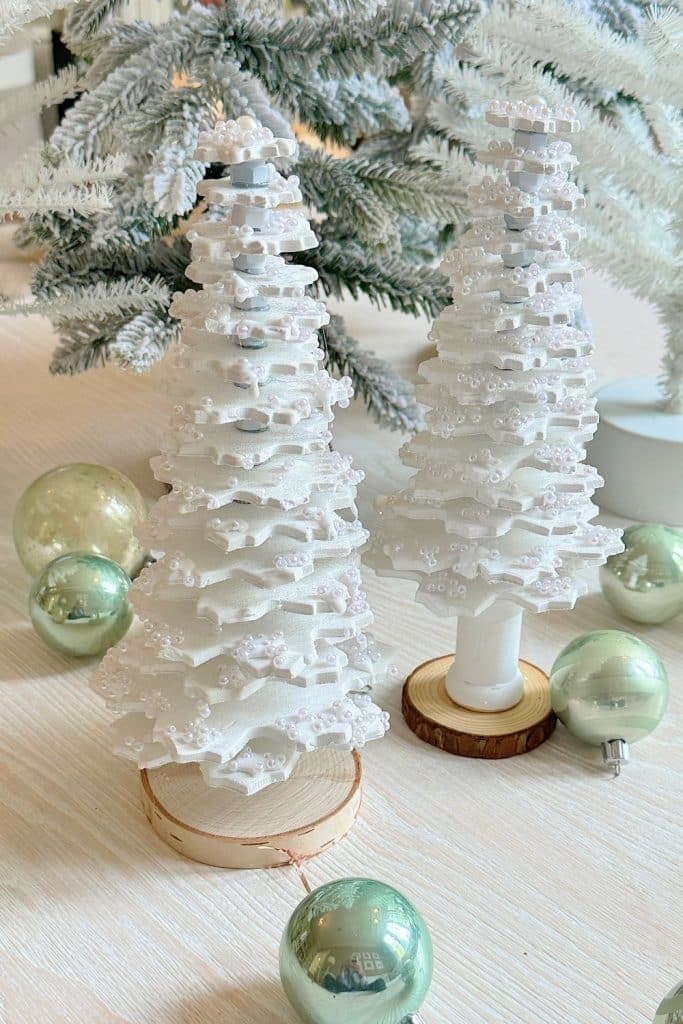
DIY Table Top Christmas Trees | My 100 Year Old Home
If you love holiday crafting, here’s a creative and elegant project: Table top Christmas Trees made from clay using a cookie cutter set.

DIY Winter Decor: Ski Patrol Sign from an Old Dropcloth | My Sweet Savannah
Transform your space this winter with a DIY Ski Patrol sign! Using an old dropcloth, I painted a red cross and “Ski Patrol” for a rustic, festive look. With the addition of grommets for easy hanging, this simple yet charming decoration is perfect for adding a touch of winter whimsy to your home.

Air Dry Clay House | Happy Happy Nester
Making a cute air-dried clay house is such a fun and creative way to brighten up your Christmas decor! This clay is super easy to use, so it’s perfect for everyone—whether you’re crafting with kids or hanging out with friends. You can create all sorts of adorable little houses that can be used as candle votives, making them fantastic for holiday decorations or as gifts for loved ones. So grab your clay and have a wonderful time making these fun candle votives!
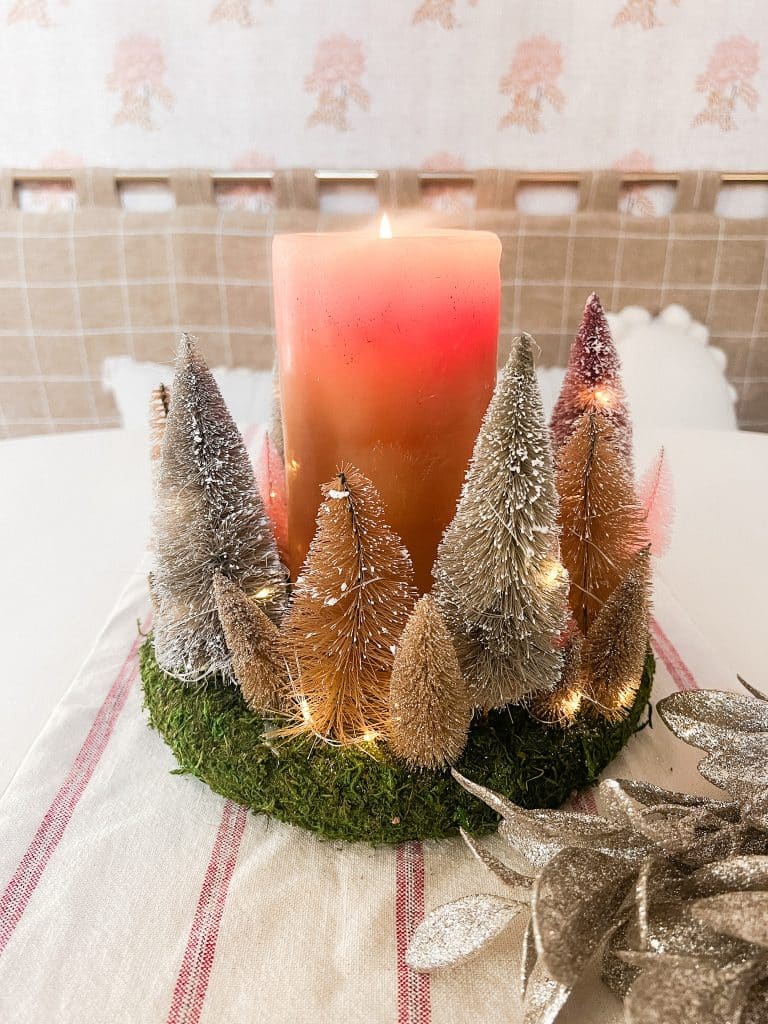
Cozy Dollar Store Christmas Centerpiece | Tatertots and Jello
Create a Terrain-inspired holiday centerpiece on a budget with dollar store finds! This DIY project combines bottle brush trees and a moss-covered wreath form, giving a high-end look without breaking the bank. Battery operated lights glow along with a candle in the center for a cozy addition to the holiday season.

Upgrade Dollar Store Garland | Craftberry Bush
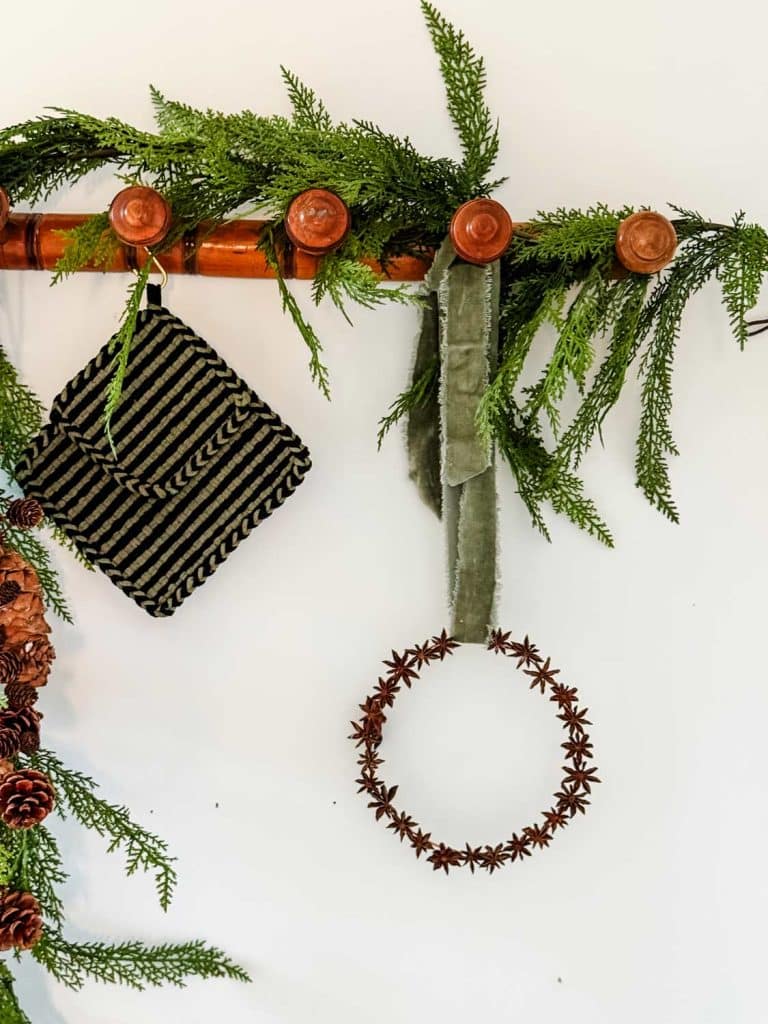
Make a Simple Star Anise Wreath | Most Lovely Things
Make a simple wreath made of star anise pods to hang in your holiday kitchen.
More Christmas DIY Ideas
Here are a few more DIY ideas you can make to create a cozy feel!
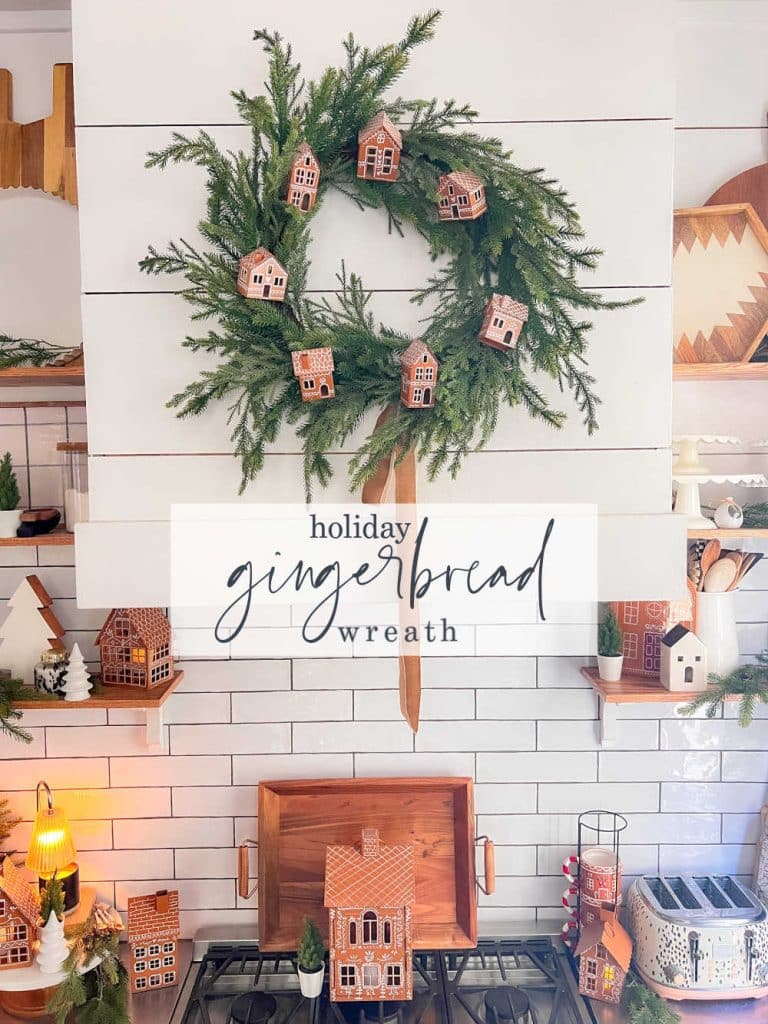
DIY Holiday Gingerbread Wreath
Inspired by Pottery Barn’s viral Gingerbread Village Houses, use spray paint, paint pens, and a sprinkle of creativity to create this gingerbread houses wreath.

DIY faux gingerbread cookie ornaments
Transform simple wood snowflake ornaments into charming faux gingerbread cookies for a decoration that adds a touch of sugary sweetness to your holiday decor.
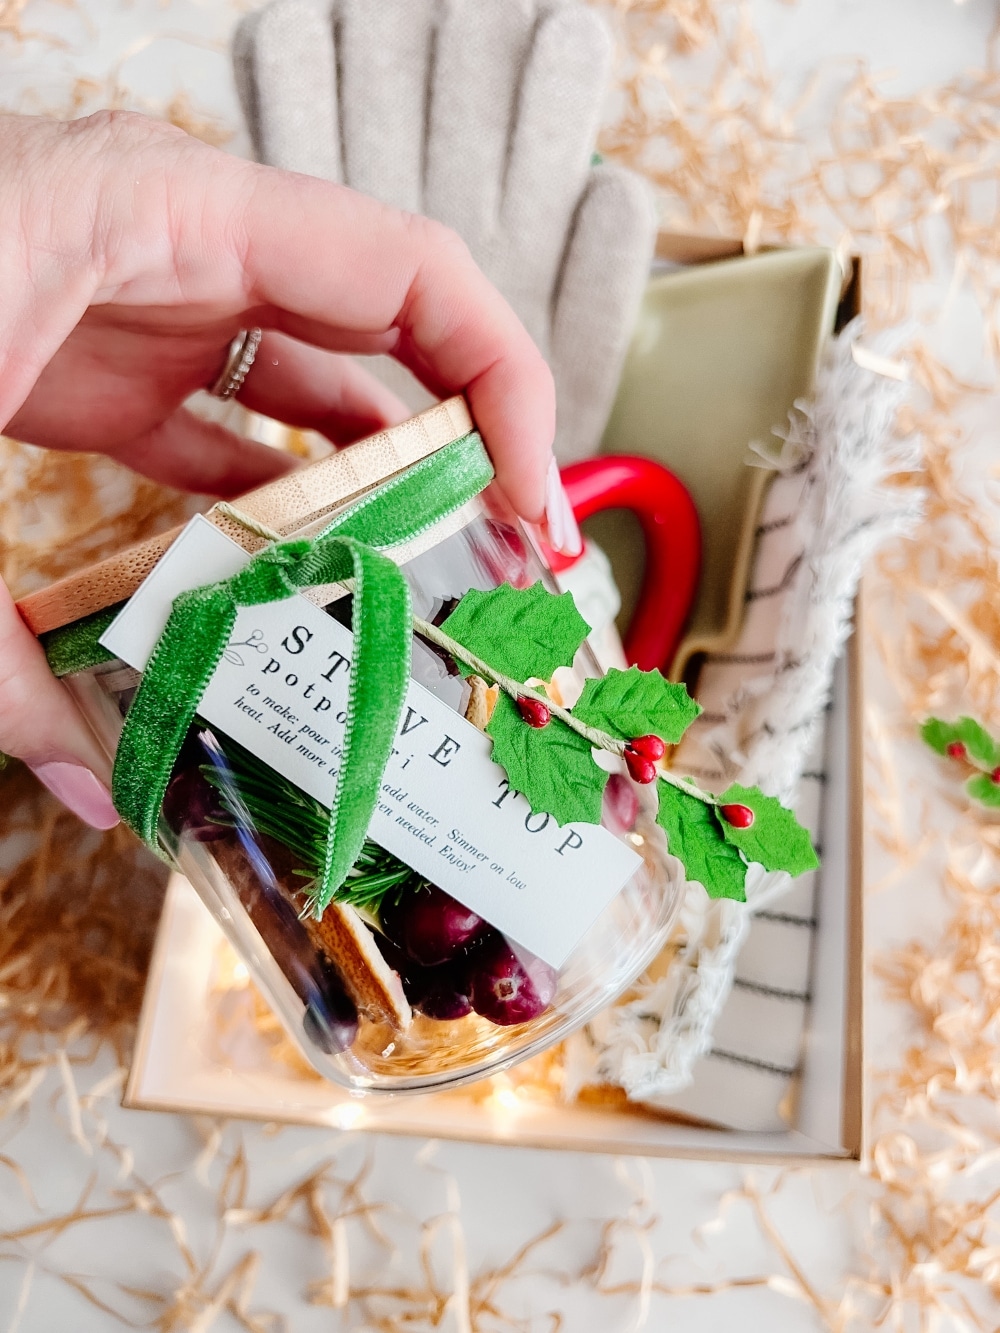
DIY Holiday Potpourri Gifts
DIY Holiday Potpourri Jars: A Festive Gift for Friends and Neighbors. A great gift idea to welcome the holiday season.
Which Idea is YOUR Favorite?
xoxo


