Welcome to the Summer of Paper series – where we’ve invited fabulous guests to create projects using supplies from my Home + Made paper decor line.

Hey y’all, I’m Danielle from Busy Mom’s Helper and I’m so excited to be guest posting on Tatertots & Jello today!

I’m the crazy momma of 4 behind Busy Mom’s Helper, where I shares all my adventures. Married to my best friend & fellow nerd. Totally addicted to Dr Pepper and chocolate. Staying home with the kiddos keeps me busy, but I love squeezing in time to create through the ups & downs of life . Now, if I could just figure out how to eat a candy bar without having to share, life would be even more fabulous! Be sure to join the fun at BusyMomsHelper.com
Jen’s blog was one of the first I was introduced to years ago, and I’ve been stalking following it ever since. When I heard she now has her own line of crafting products, I couldn’t wait to check them out – and now I’m sharing with you how to make this Colorful & Fun Wall Decor in an Afternoon using some of her cute stuff!
Our family is getting ready to move closer to my hubby’s work – but first we have to sell our house. It’s such a nightmare, because we have to make it clean, organized and staged for ‘most people’s tastes’ while we’re still living in it with 4 kids and 2 dogs. Bring on the stress! While we’re packing up some things, I wanted new decor that would be bright, beautiful and fun without being ‘too much’ or ‘too personalized’. What started as one art piece turned into an entire set that matches so well because of the coordinating colors in the Jen Hadfield Home+Made collection!
In one afternoon I was able to make a bunch of butterfly accents, flower candle mats, a large canvas flower petal piece, three square art pieces and then a collage canvas. Super fun – and I’m already getting lots of ‘where did you buy that’ questions! I’m always happy to say ‘Oh, I made that, and it was super easy!’
Note: I used canvas wraps for mine, but you can use poster board, plaques, something along those lines if you’d prefer. If you’d like to use my design files, you can download them here:
Supplies Needed
- 3 square canvas wraps (12×12 or smaller)
- 2 Large canvas wraps, choice of size and dimensions (I did vertical)
- 12×12 sheets of designed paper from the Jen Hadfield Home+Made Collection (variety)
- Accent pieces from Jen’s products – such as jewels, flower packs, gold circle banner, etc.
- Jen’s ‘Sweet Greetings’ 12×12 Paper, plus 2-3 other sheets in coordinating colors/patterns
- Scissors or cutting machine (like a Silhouette or Cricut)
- Double-sided tape
- Black paint & brush (if desired)
- Mini LED candles
- Mod Podge
- Nails or hooks for hanging
Directions
- Using a cutting machine (or by hand, if you must) do a variety of colors and sizes of the PETALS and BUTTERFLIES. Also do 2-3 different colors for the FLOWERS. Use a minimum of 3 different papers for the petals, since you need the actual sheets as well. Then pop out all your shapes and divide them into nice piles for easy sorting.


 Butterflies – Fold the butterflies slightly so they’re more 3D looking. You’ll use a few of these on art pieces, but the majority you can attach to your wall in a random ‘swoosh’ with double sided tape. I did some on one wall by the Flower Canvas, and the rest by my other art pieces.

- Flower Canvas Piece – paint it black, if desired. Once dried, use Mod Podge to attach the petals. Go from larger petals to smaller starting in a lower corner and flowing into the canvas. Go about halfway, then leave the rest open. Attach a couple butterflies to the opposite corner with tape or glue.


- 3 Square Patterned Pieces – You’ll use the sheets you popped the petals from for this. Find a ‘bottom layer’ that coordinates with those patterns and cut it to fit onto your square canvases. Attach with Mod Podge, then repeat with the ‘open petal pattern’ papers on top of that. Tape or glue on a butterfly to each canvas.


- Happy Word Collage Canvas – Cut out the sayings/designs on the ‘Sweet Greetings’ paper from Jen’s collection, along with pieces from other coordinating papers. On your canvas or poster board, Mod Podge on the coordinating designs randomly. Then layout how you want the sayings over top, and Mod Podge those into place. I added a couple butterflies and some jewels that went with the collection for some accents.


- Flower Candle Mats – Tape the flower piece edges together (see design files). Double-up for more dimension and fun edges, then press a little more flat so a mini LED candle can rest on top. Lay these out for display – I surrounded them with a gold circle banner and pack of cute 3D flower stickers (also from Jen’s collection) to really add some color and decor to my piano top!


See how it all came together in a delightfully ‘coordinating but not too matchy’ sort of way/ I love the brightness mixed with pretty colors! I can’t wait to put some of the other supplies I received to good use – the possibilities are endless, just a matter of deciding which project to tackle next!
Come visit me at Busy Mom’s Helper for other fun crafts, tasty recipes and parenting craziness!
Thanks Danielle! What a cute wall! And, those butterflies are so fun! Danielle has lots of great ideas! Here area few I know you’ll love:
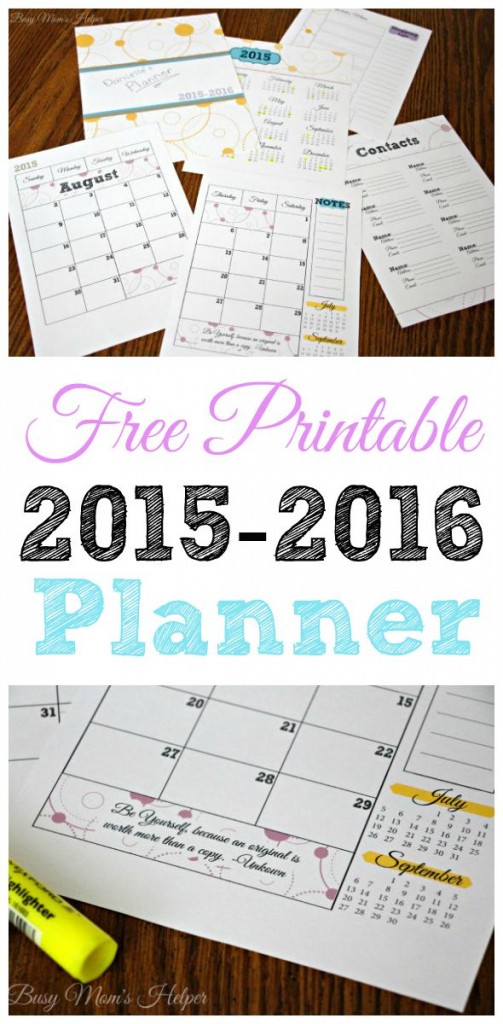
She has this awesome 2015-2016 Free Printable Planner. Perfect for planning the school year!

And I love this group of 50+ Superhero Crafts!

And find her great tips in her post, How Silhouette Pixscan Saved my Weekend!


