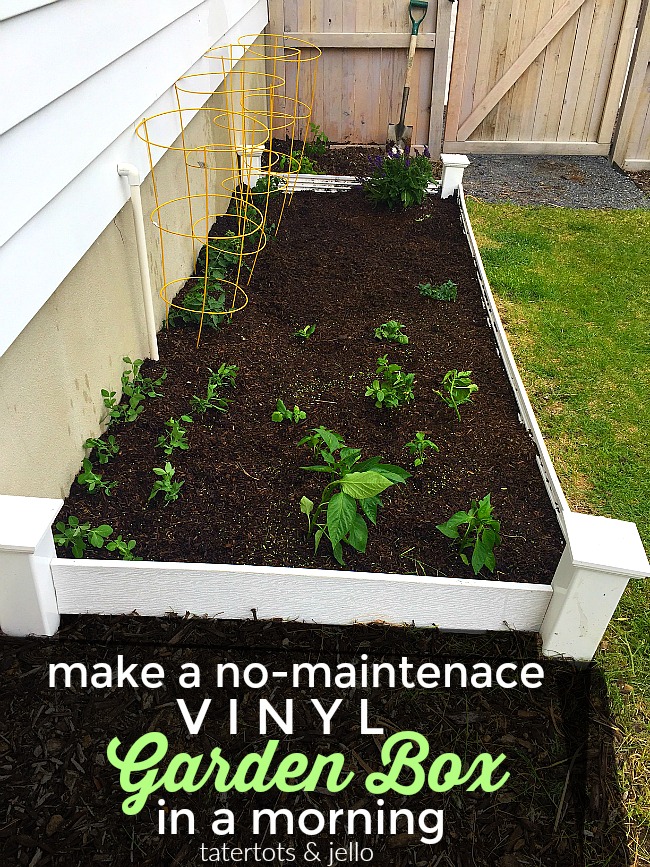
Build No-Maintenance Vinyl Garden Box
I love having a little garden in my yard. It’s a great way to always have fresh herbs and veggies. We’ve almost been in our home for a year. It was nice to have the yard fully landscaped when we moved in, but I always knew I wanted to create a space for a small garden. I love having fresh veggies and watching plants grow is so satisfying! Last weekend the weather was so nice I decided to make a little vinyl garden. We had planter areas in the back yard that were covered in overgrown bushes that were prickly and not so pretty. We ripped them out and created space for our new garden. It took less time than I anticipated which was great!
In my old home I had created a garden area out of wood and while I loved it, over time the wood disintegrated and became messy.
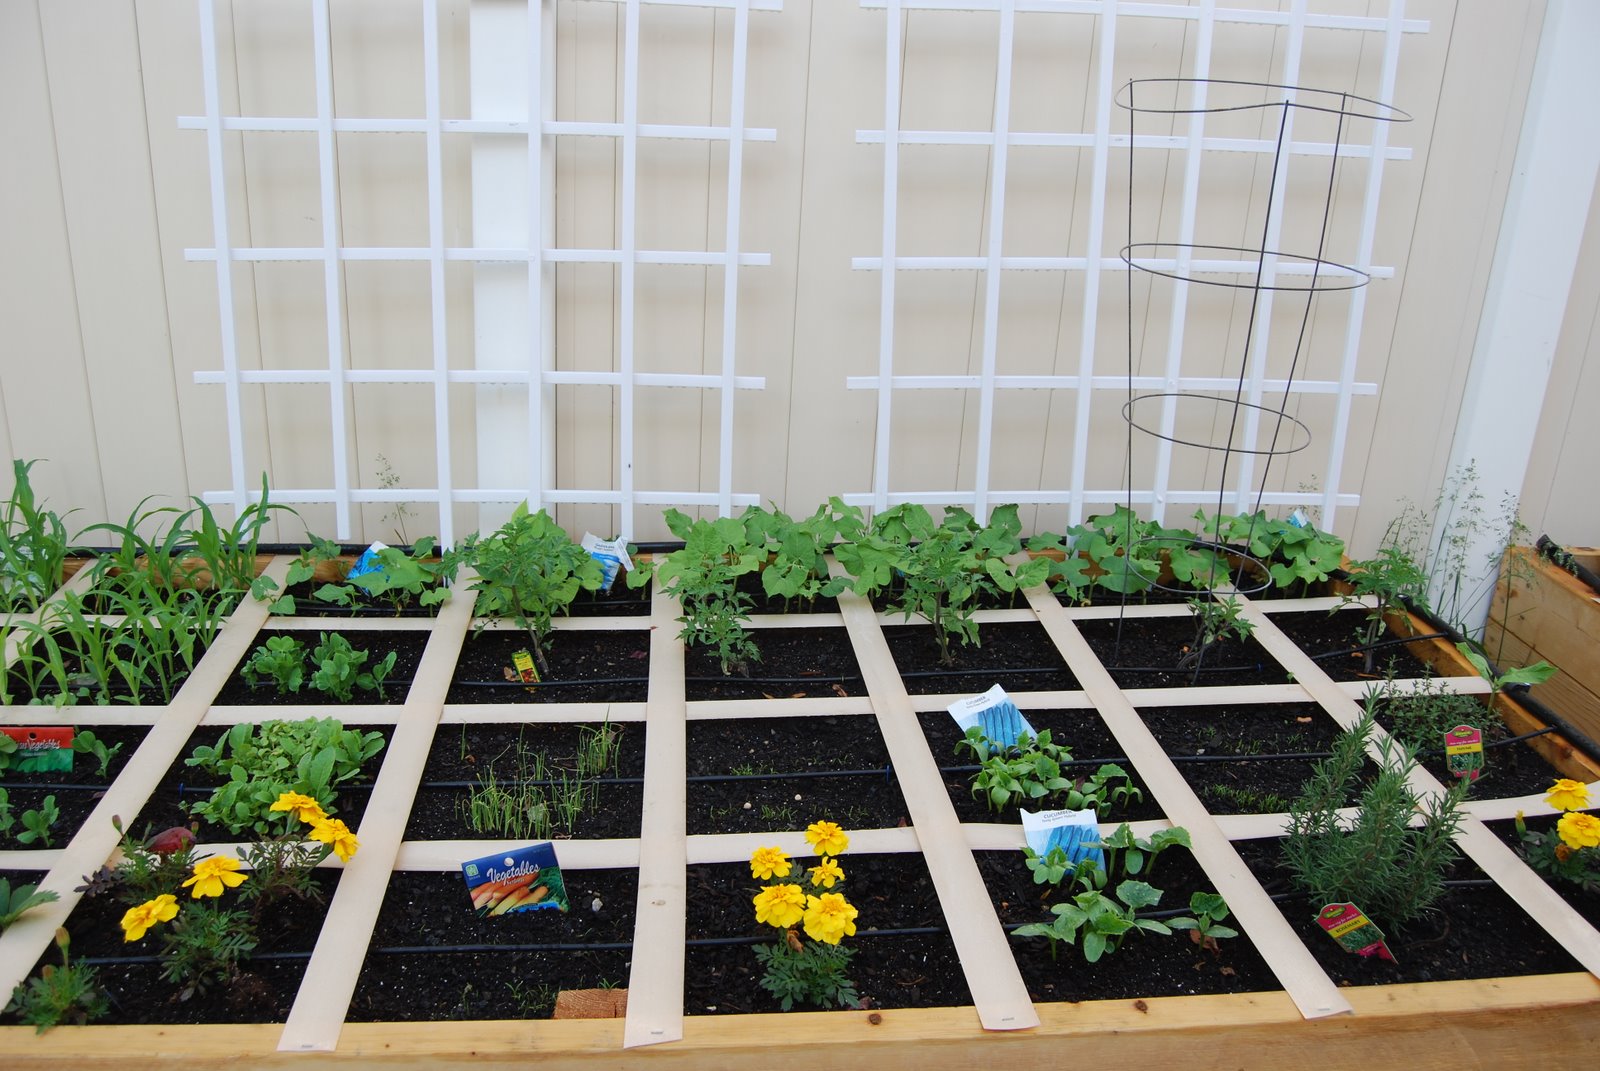
So I knew I wanted to make a garden area out of PVC which looks great and holds up better than wood!
Build No-Maintenance Vinyl Garden Box
While I was researching this idea I found a few YouTube tutorials that showed how to make a garden area out of PVC fencing. The ones I liked used a jigsaw to cut out space in the fence post and insert PVC fencing. It looked difficult to cut out the shape inside of the fence post. I thought about it and wondered if I could use a bracket where the fence post meets with the long fencing board that would hold the two parts together and cut out the time-consuming step of using a jigsaw. So that’s what I did! Here’s a little video of what it looks like in real life:
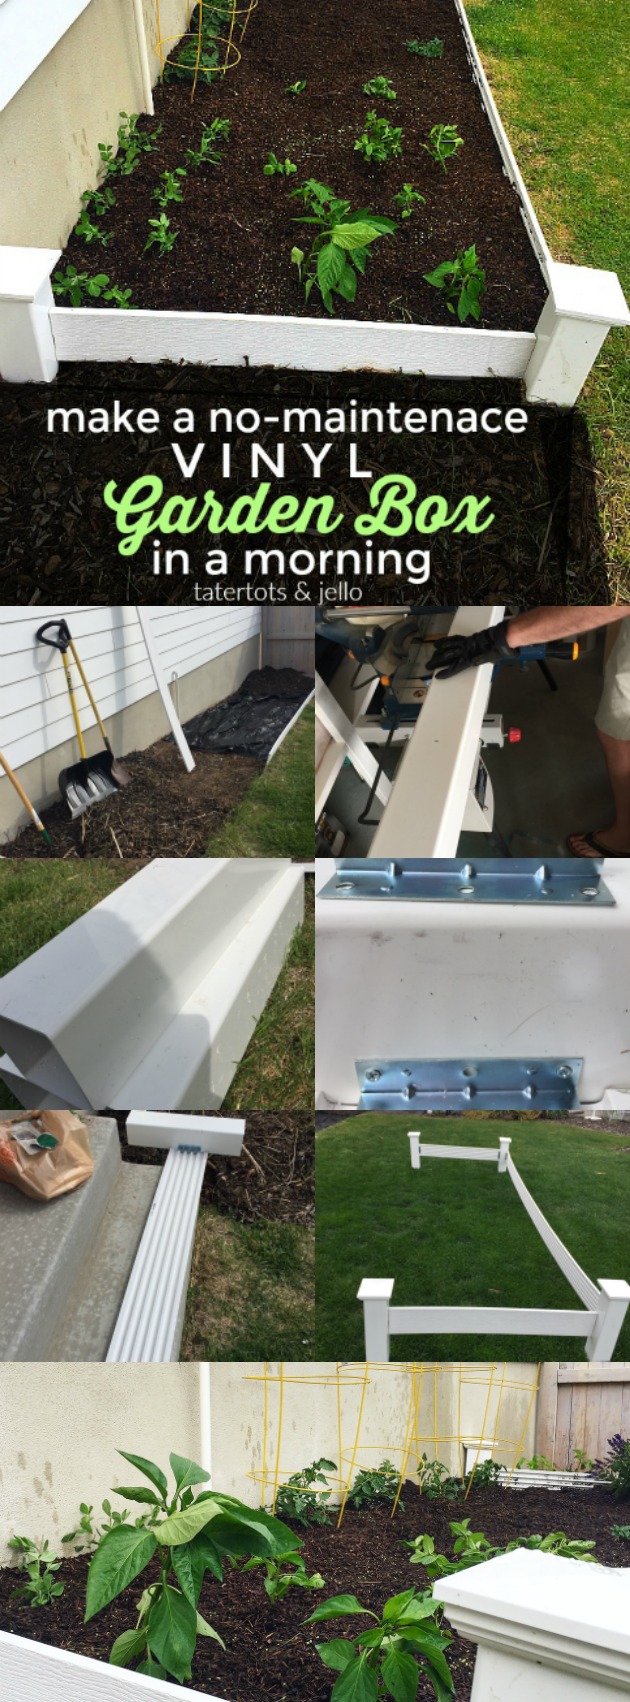
Here is how we made this little vinyl garden box. The great part is that you can make this project any size you want to fit YOUR yard!! And we did it in a couple hours!
Build No-Maintenance Vinyl Garden Box
**If you have your hardware store cut your vinyl fence post into FOUR 18-inch sections, all you need to put this together is a cordless drill/screwdriver.
- Get your materials. We used ONE 6-foot vinyl fence post (it was $20 at Home Depot). We used vinyl molding for the sides of the planter box. Plus two packages of metal brackets. And fence post tops for the tops of the sides of the garden.
- We cleared out the space and put down some weed barrier.
- We cut the post into four 18-inch sections. But if you don’t have a saw, you can have your hardware store make the cuts for you for FREE.
- We made our garden 10-feet long which was the length of our vinyl molding.
- Then we attached the brackets, attaching the fence post to the vinyl molding. We measured down 6 inches from the top of each fence post and attached the vinyl molding. Be sure to pre-drill the fence post and the molding. It makes the project go MUCH faster!! Our brackets came with screws which were the perfect size!
- We only created three sides for the garden box, since the one side butted up to the side of our house. But if you are making the garden box stand alone in your yard, add another side to contain your garden.
- Then we dug out space for the four corners of the garden box and sunk it into the ground.
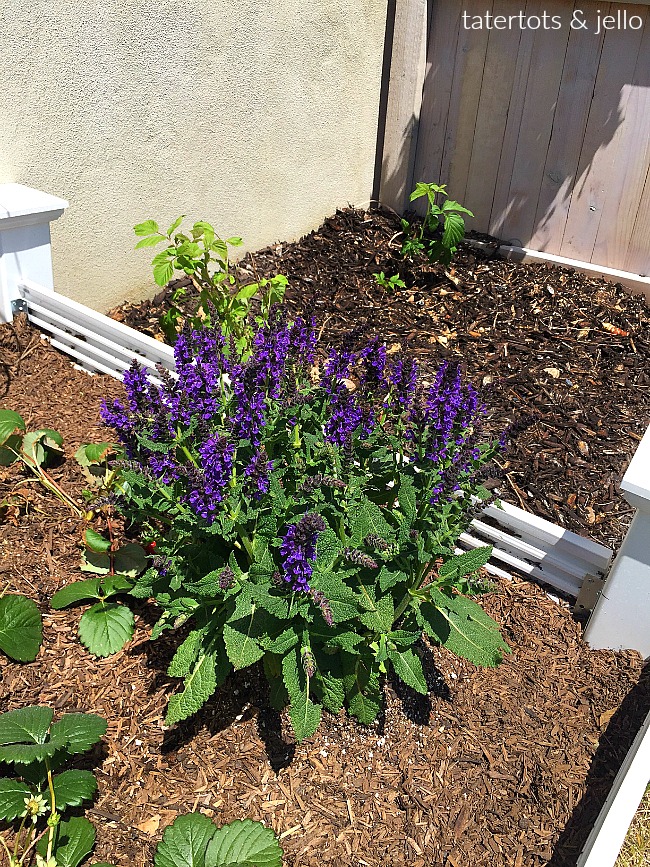
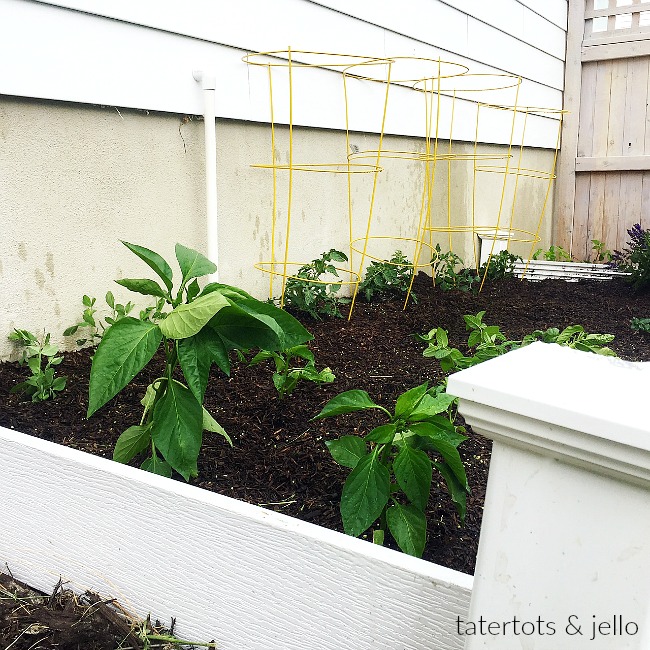
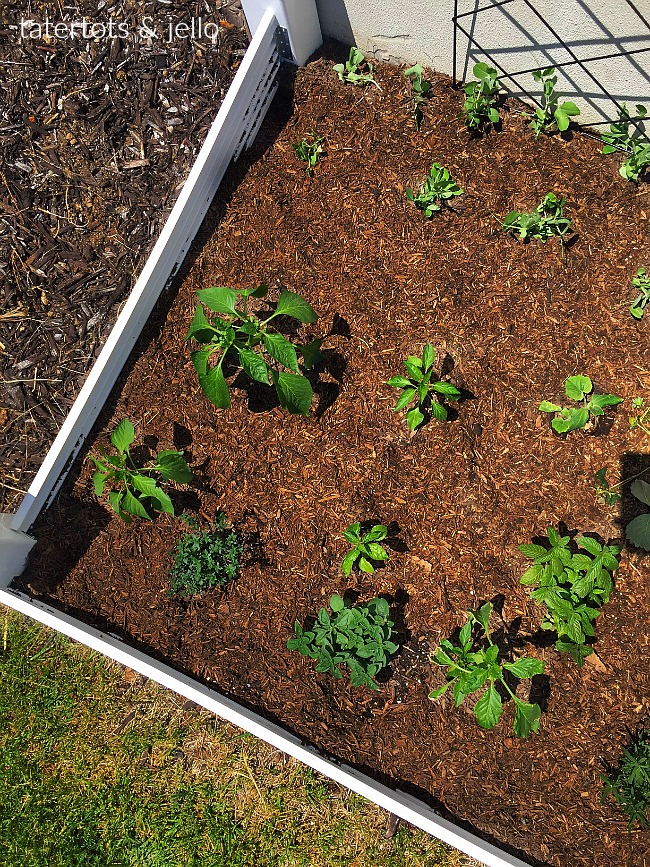
I planted all kinds of veggies and I am excited to see them grow!! Be sure to plan some lavender to attract bees to your garden!
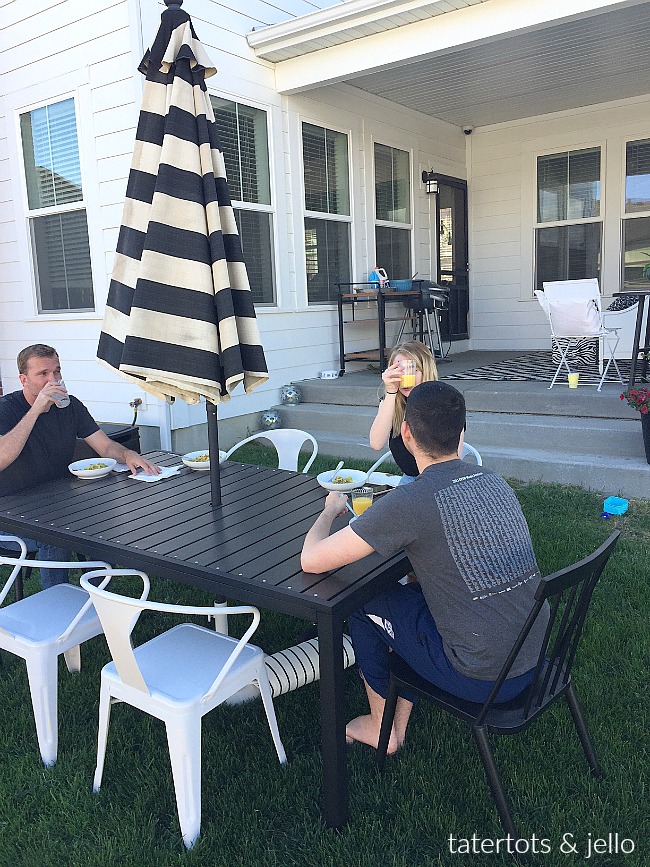
I hope you enjoyed this tutorial. It was a project that we created and installed in one morning. And here’s our eating area which is right next to the garden. I am hoping to have a patio poured this summer but in the meantime we are eating on the grass and it’s so nice. You can also see that we are making slime up on the patio in the background LOL!! Life of a blogger 🙂
Have a Beautiful Day!
Here are a couple other outdoor projects we have made over the years:
xoxo



Do we need a power saw to cut the posts?
Hi Bobby! Since we used redwood outdoor boards, we had the folks at the hardware store cut the boards and we didn’t have to use a power saw!
It looks great!
Thank you, Jen, for sharing this 😛
this looks great jen! I just need the rain to slow down in Denver or maybe just rain at night since we always need the moisture! hope you are doing well! laura
Thanks Laura!!!
I am doing great! I am so ready for school to be over and for summer!! Thanks for stopping by and commenting!!! Have a great day!
xoxoxo