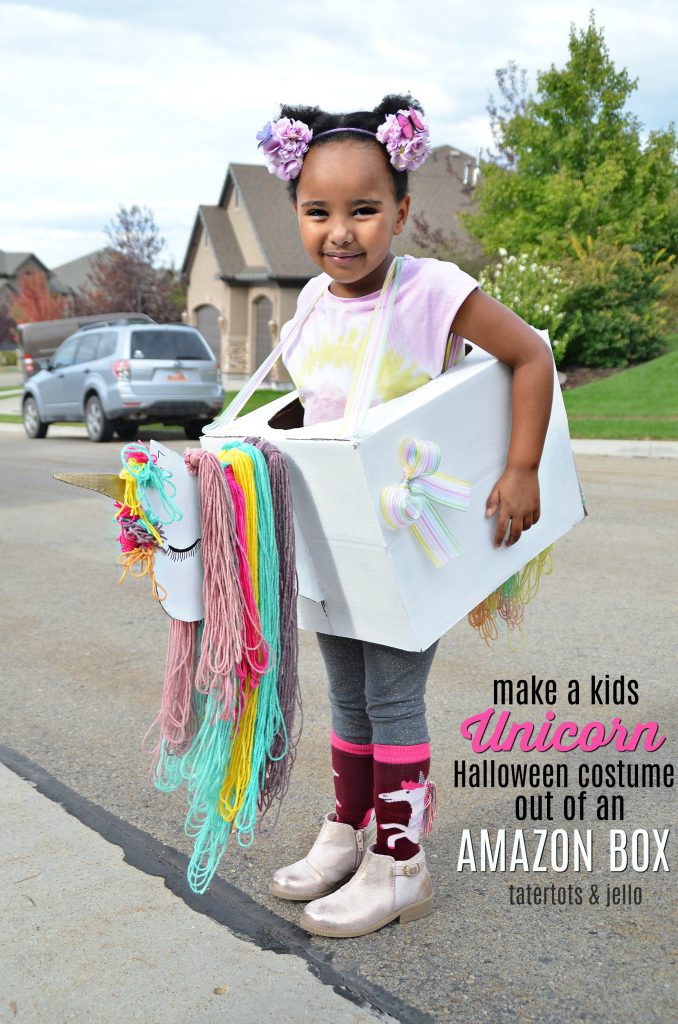
Kids Unicorn Costume Using Amazon Smile Boxes
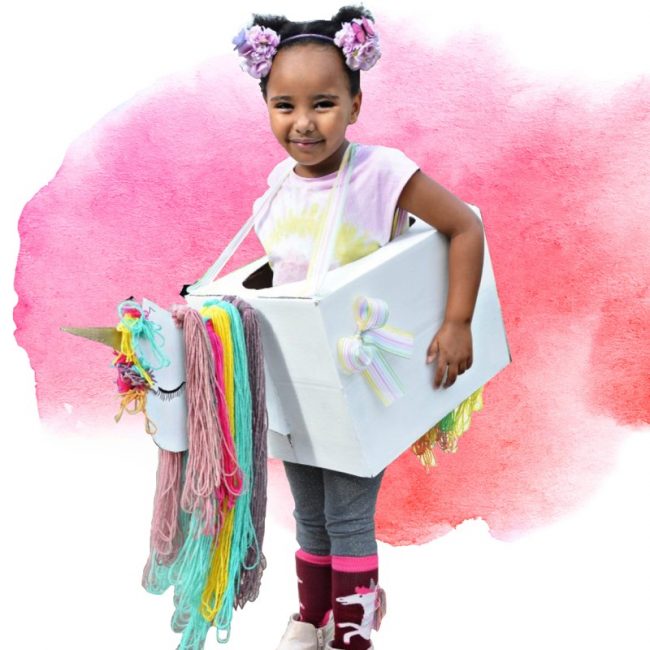
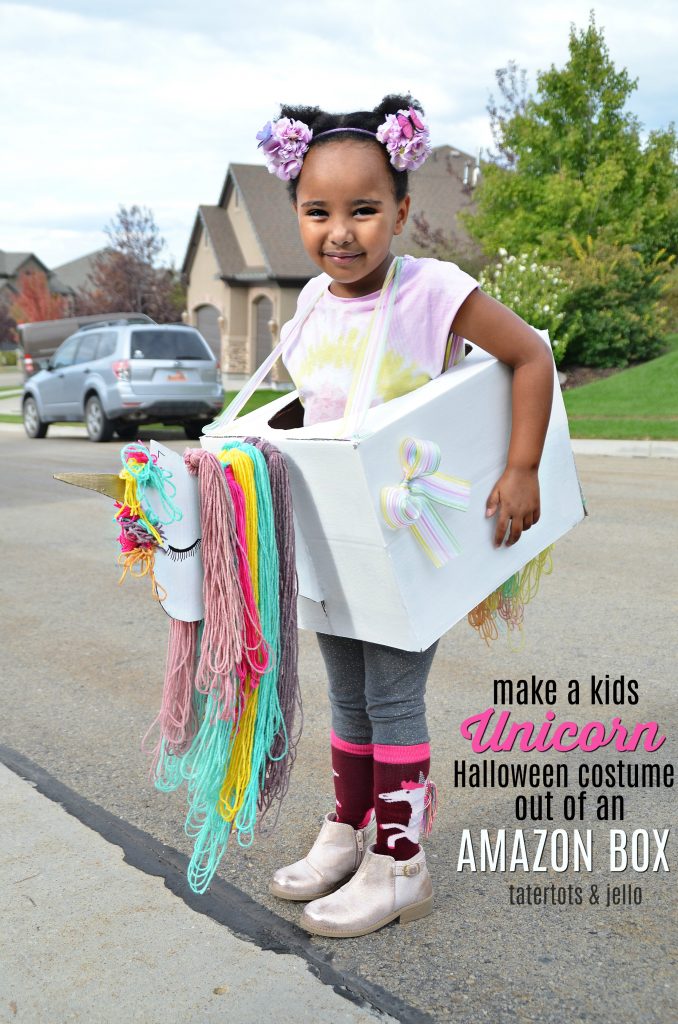
Halloween is coming soon with spooky parties and fun occasions to dress up! We love to create handmade outfits for Halloween parties and trick-or-treating. An EASY way to create cute costumes is making them out of boxes. We love Amazon and order a lot from that service — from craft supplies for my blog, to household items, clothes, gifts, pretty much everything! I’s SO easy and convenient to use with FREE Prime shipping too. So when Amazon contacted me and asked if I could create a Halloween costume out of an Amazon Smile Box I was excited!! I thought of so many ideas to make; I am sharing how to make an Easy Kids Unicorn Costume out of Amazon Smile Boxes! I’ve also included a free Unicorn Head template, AND you can use the printable on your costume if you don’t want to hand-draw your Unicorn’s face! Easy!
Kids Unicorn Halloween Costume Using Amazon Smile Boxes
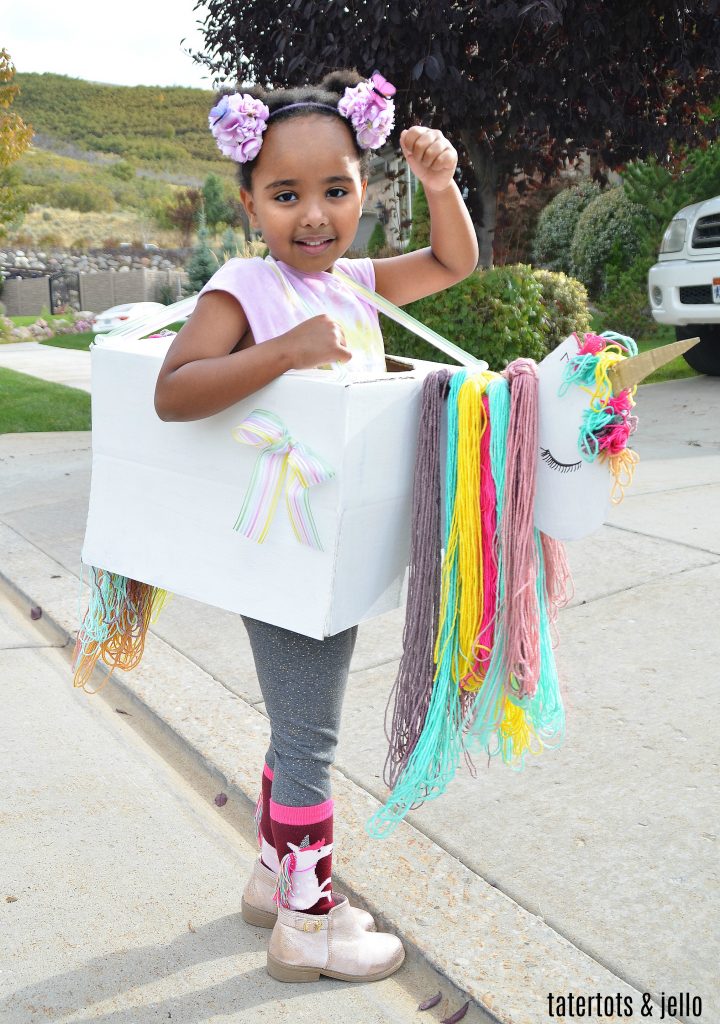
Supplies:
2 Medium Sized Amazon Smile Boxes (one for the main costume and another to cut up for the unicorn’s head)
1 Small Container of Craft Paint
6-8 Colors of Yarn. To make things easier I used a multi-color yarn and only had to use one skein.
Hot Glue Gun
Scissors
Ribbon
Black Sharpie Marker
Tacky Glue
Paint Brush
Box Cutting Knife or X-acto Knife
Unicorn Head Template (included in this post)

How to make a Kids Unicorn Costume out of an Amazon Box Directions:
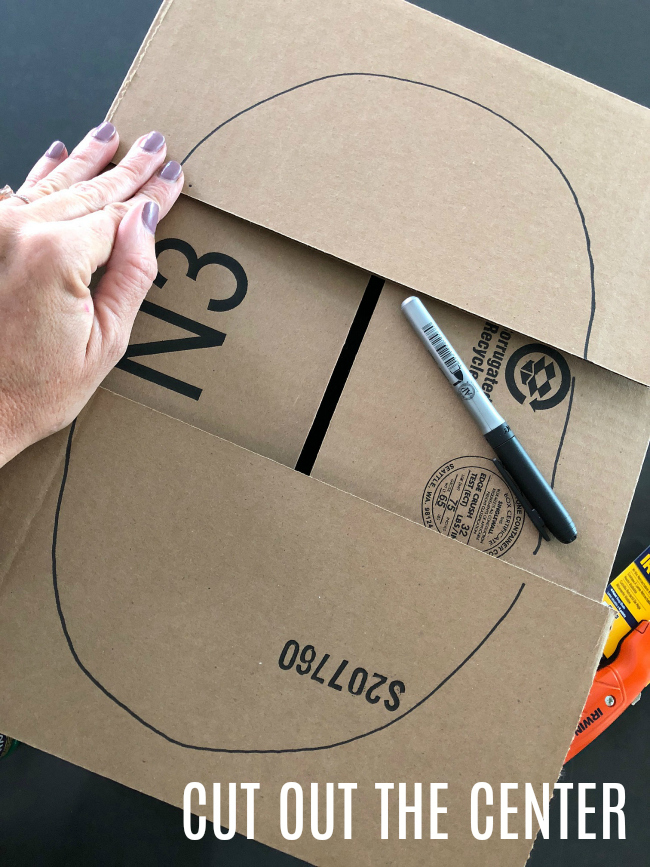
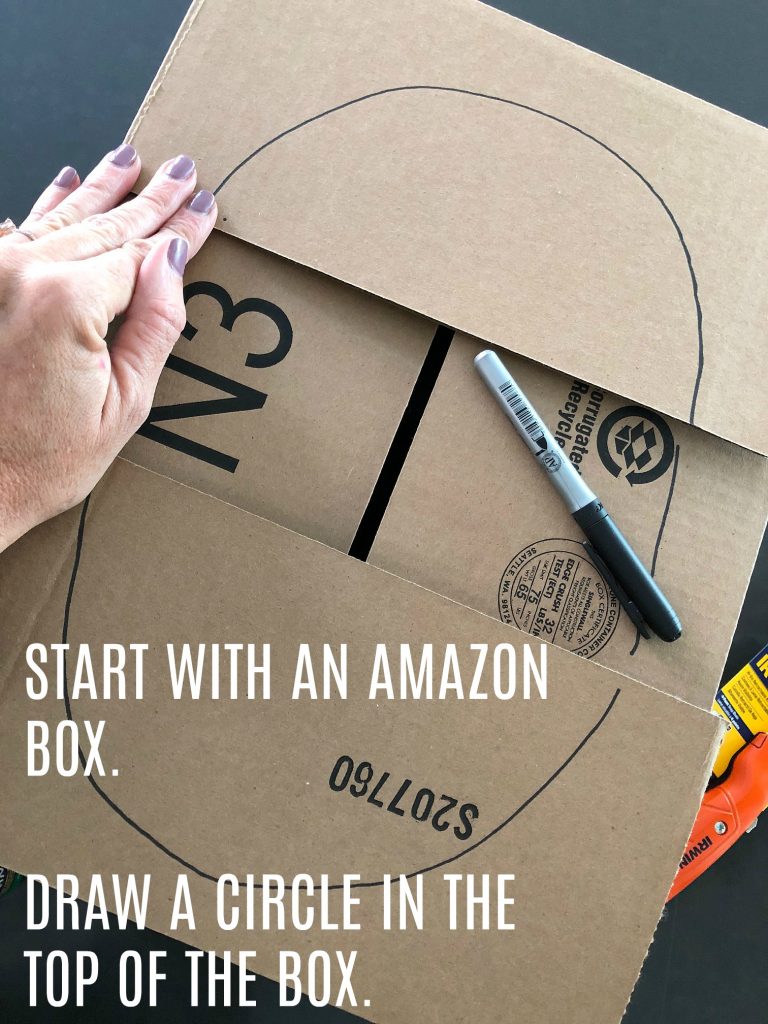
- Draw a circle on the top of the Amazon Smile box and cut it out.
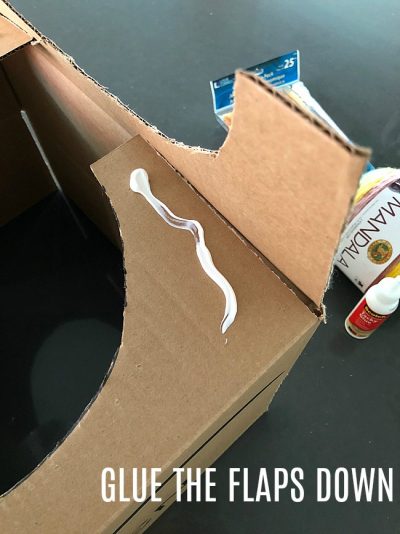
- Assemble the box if it’s flat by gluing the flaps with tacky glue. Let dry.
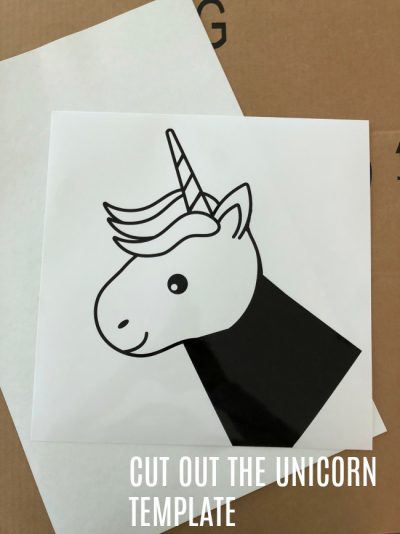
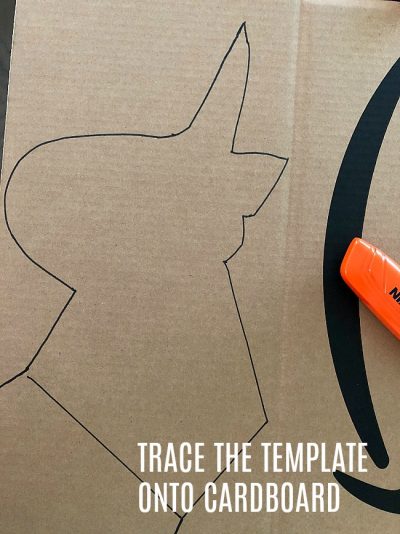
- Print off the Unicorn Face Template. Cut out the template and trace it onto a separate amazon box.
- Cut out the unicorn head. I added about 2 inches on all sides of the template to make my unicorn head a little bigger and I added a little more room past the neck too.
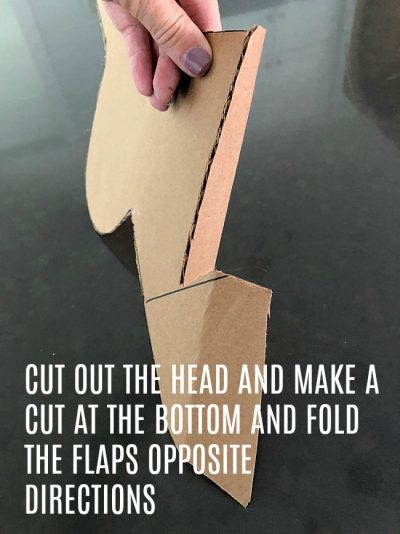
- Once the head is cut out, fold the end of the unicorn’s neck about 2 inches and make a cut horizontally at the end of the neck. This will make flaps and will secure the unicorn’s head more securely to the main box of the costume.
- Fold each of the flaps a different direction.
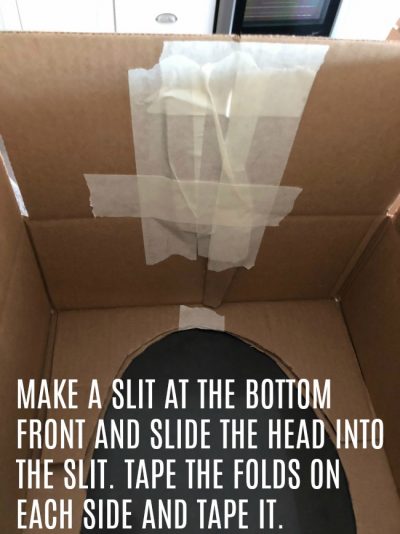
- Then make a slip in the bottom of the front part of the box almost up the whole front of the box. This is where you will slide the unicorn’s head onto the front of the box.
- Once the head is all the way up the front of the box, tape the flaps on the neck on both sides of the slit and tape the whole slit shut. I taped everything on the back of the box. When you are done the slit should be taped back together and when you paint it the slit will not be noticeable.
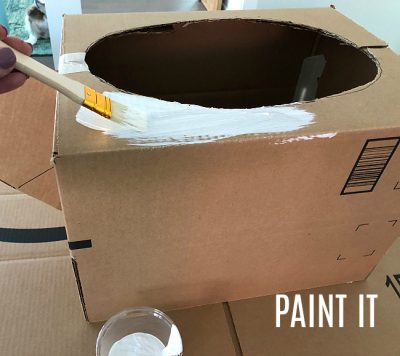
- Place the box on a covered surface and paint everything white. I used two coats of paint to cover the brown cardboard. Let dry.
- While the box is drying you can make the “hair” for the unicorn’s mane and tail. I used a skein of rainbow yarn. You will need 6-8 different colors of yarn. And each color of yard will need three sections of yarn – two for the mane and one for the tail.
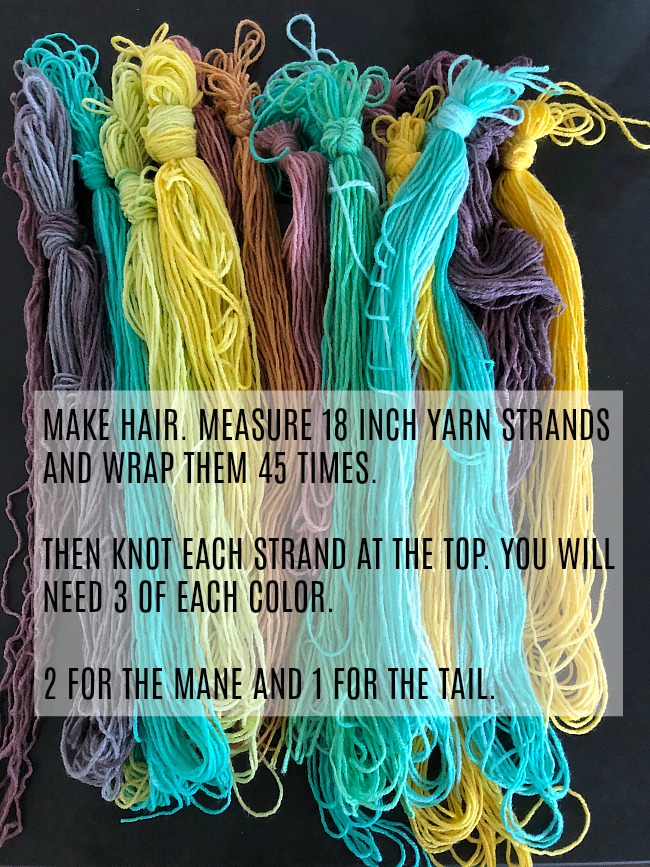
- To make each section, measure 18 inches of yarn and then loop each color of yarn 45 times to make a sections.
- Do this three times for each color of yarn. When you are done you will have 6-8 different colors of yarn sections and three sections for each color.
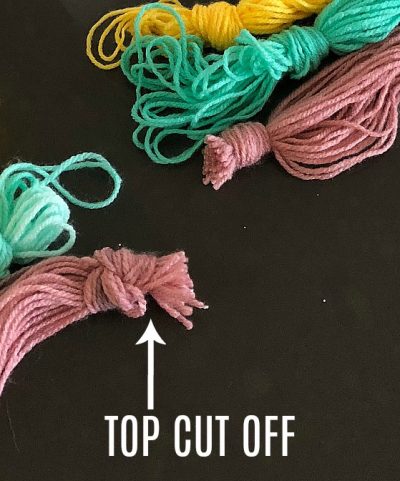
- Make a knot at the top of each section of yarn and pull the knot tight. Then cut off the top of the yarn section right above the knot. Hold onto each of the tops of the sections because you will use those to make small little “bangs” on the unicorn in a minute. I put all of those sections in a little cup to keep them together while I was working.
- Once you have cut the tops off the yarn sections, take each color and wrap a piece of yarn around the loop and tie it in a knot.
Kids Unicorn Costume Amazon Smile Boxes
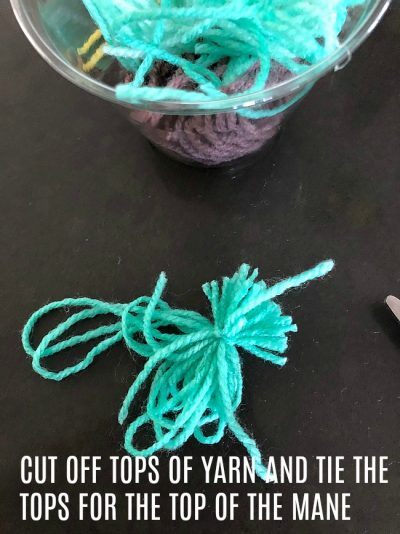
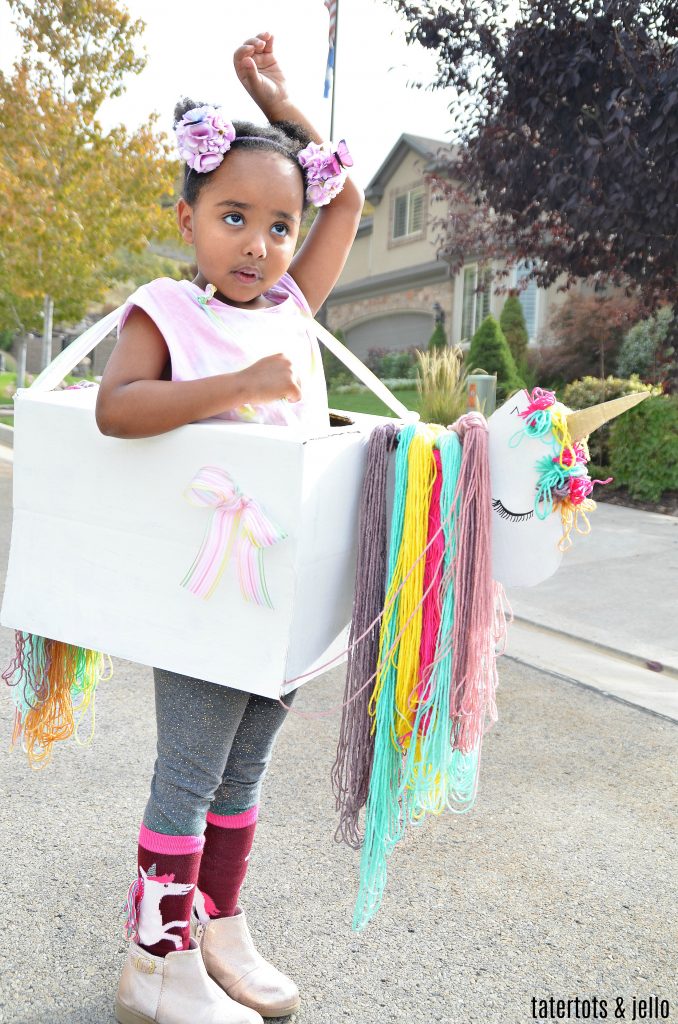
- Then add the yarn hair to the unicorn. I used a hot glue gun to attach the yarn sections. Take two sections of each color of yarn and put them side by side on top of the unicorn head, creating a mane.
- You will hot glue the smaller loops to the very top of the unicorn’s head making “bangs”.
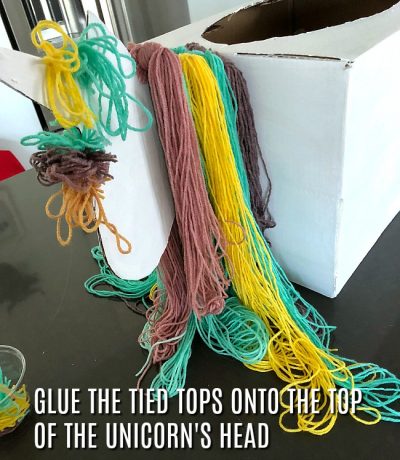
- Once the mane is done, add the remaining sections to the tail. Hot glue the sections together at the top back of your amazon box.
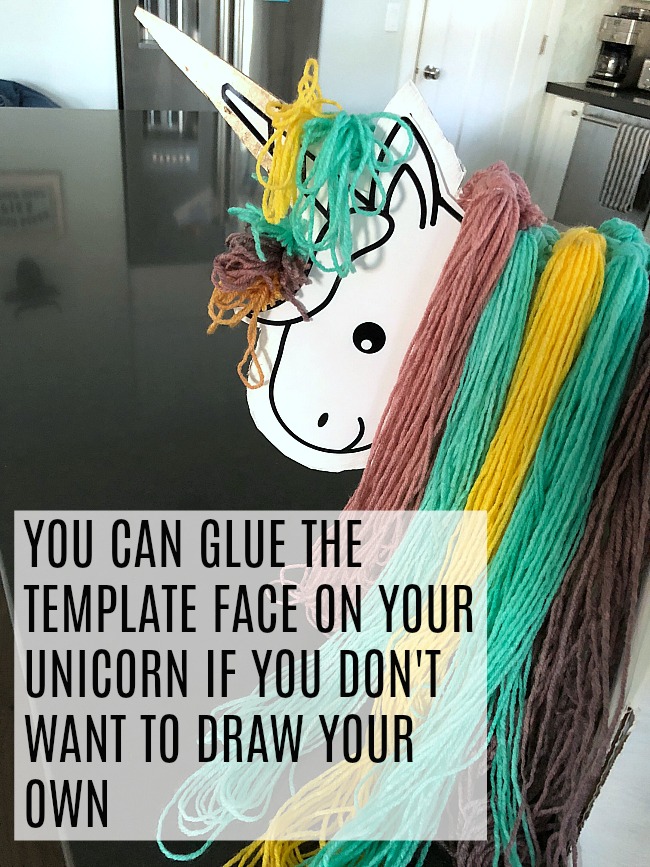
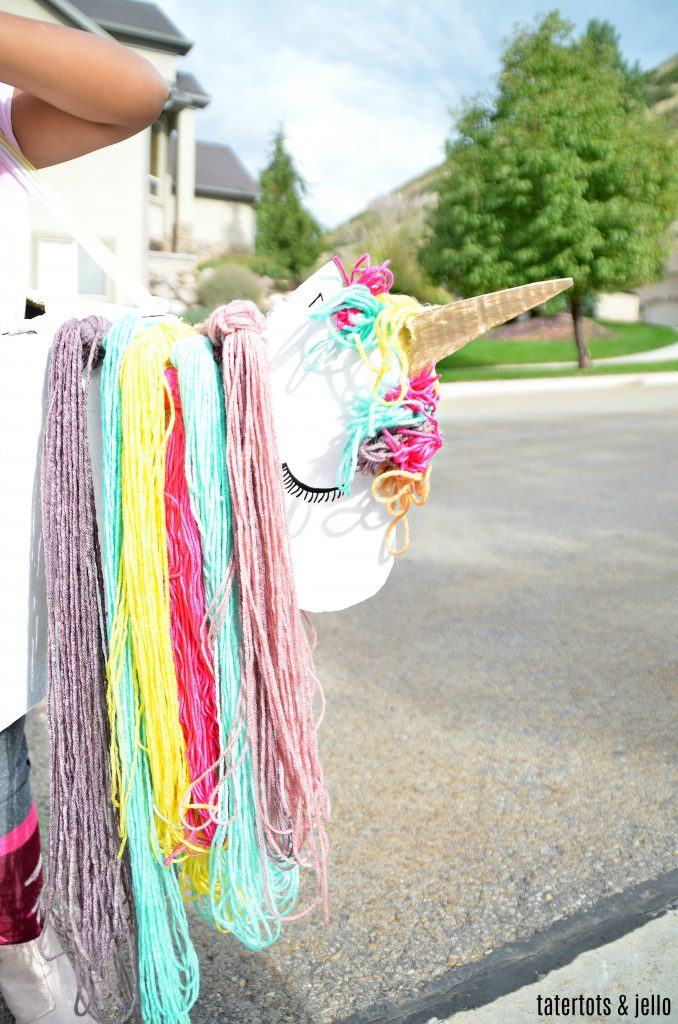
- Now you can add a face to your unicorn if you want. OR you can glue the template face on your unicorn. If you decide to do this you will need to print off TWO unicorn face templates and glue one on each side of the unicorn’s face.
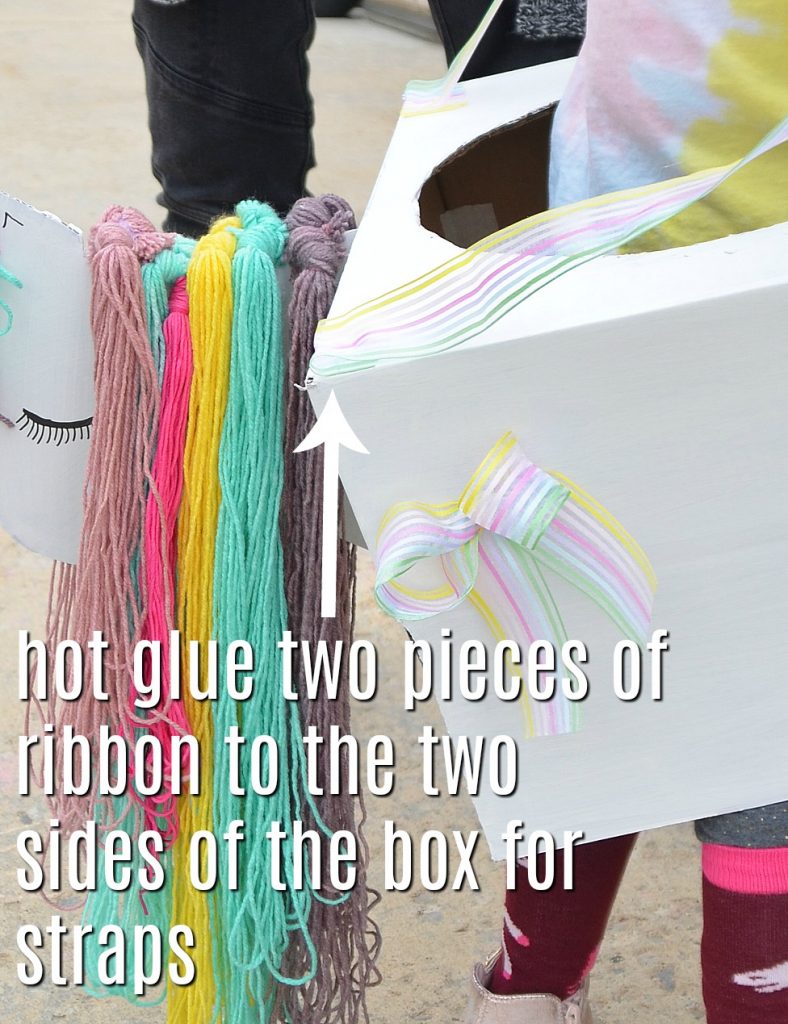
- The last thing to do is add the straps at the top of the box. This is how your unicorn box costume will stay on the child you are making it for. It is helpful to have the child try on the costume and measure how high up you want the box to hang. Once you have measured this, cut the ribbon lengths and hot glue them onto the side of the box. Two on the front and two on the back, creating straps. I also added a couple of box to the sides of my costume.
- It would also be fun to have your child decorate the sides of their unicorn box with rainbows or whatever makes them happy! Get your child involved too!!
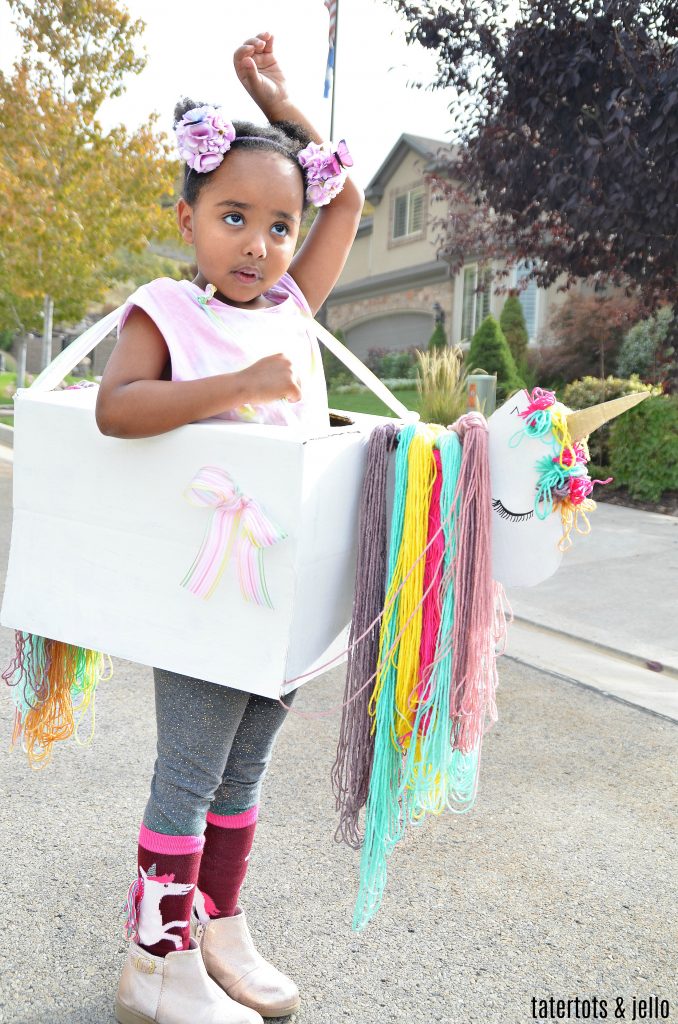
Then have a wonderful time at your Halloween festivities with your EASY Unicorn Box Costume!

You can even make a matching bigger one out of a bigger Amazon box for YOU!
xoxo

This post is sponsored by Amazon. Thanks for inspiring us to turn our Amazon Boxes into cute costumes!


Oh my gosh. This is so stinking cute!! My unicorn obsessed daughter would adore this. I would love for you to stop by diyhshp.blogspot.com and link this up to my More the Merrier link party.
Thanks Jamie!!
xoxoxo
Cute kids Halloween costume and great idea for reuse of boxes instead of just throwing them away!
https://www.bestkidssewingmachine.com
This is by far the cutest costume I have seen this year!
Thank you Liz!!!
xxox
How cute is this! What a fabulous idea!
Thanks Cindy!! It was so fun to make!!
xoxoxo
Omg! What a cool idea. I think I can make one.
Thanks Shelly! It was really fun to make. Send me a picture if you do make one. I would love to see it!
xoxo
Cutest costume I’ve ever seen and I can’t believe it’s made out of a box!
Thanks Amy! It was really fun to make!
xoxo