Over at East Coast Creative, we love a good Upcycle! We totally thrive on taking something junky, that we already owned, and giving it a new (and much cooler) life!
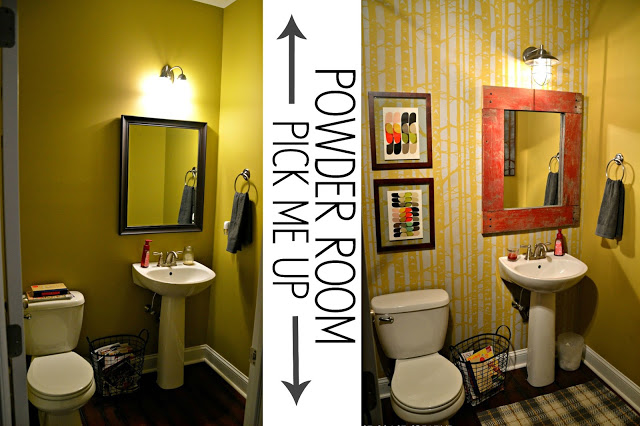
I just finished a bathroom mini-makeover using all old things I already had on hand. Today, I’m going to share one of the projects from the room, but you can check out the full reveal here.
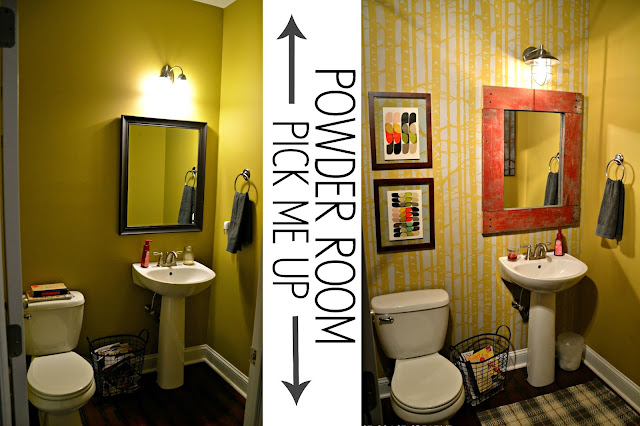
One of my favorite parts of the room was an art upcycle.
Here’s the before and after…
I wanted something graphic, but something that that also had meaning. I like how the words to one of my favorite hymns are subtle, but still make an impact.
Here’s how to upcycle an old piece of art:
#1- Use your Silhouette to cut out the letters for a word or phrase you like. This old school hymn is one of my favs, so I thought it would be a good reminder.
I used a ruler and penciled straight lines so my letters didn’t get wonky. Don’t worry about erasing them, they’ll get covered up later.
#2- Make sure that you’ve pressed your letters down firmly, and then you can cover the entire piece with a coat of spray paint.
I actually used brown and then layered some metallic gold over top.
The art I was upcycling was really old and a bit beat up, but I knew the stencil would help hide the imperfections.
#3- Lightly stencil over top of the piece of art.
I used the same stencil that I had used on my bathroom wall.
#4- After the stencil has dried, remove your vinyl letters. Using a craft knife makes this part a lot easier!
Once it’s removed, you can see the colors of the original art coming through. I wanted my letters to be subtle, but you can definitely make more of an impact if you use colors with more contrast.
So, for no money spent, I was able to create a “new” and unique piece of art for my bathroom!
Here it is hanging on my wall. I really like how the yellow wall color works with the original art colors.
The options for art upcycles are endless, but hopefully this gives you one more idea and encourages you not to toss those old, outdated pieces! Be creative and give them a whole new look!
We hope you’ll come over and visit us at East Coast Creative.
I just revealed my dining room with some funky photo wallpaper

And Friday we’ll be announcing the contestants for Creating with the Stars and Jen will know who her blog partner will be!



Want more EC2? Use the icons below to follow us!
Thanks girls!!
You are SO amazing!!
I am SO excited about Creating With The Stars.
Also – check out these other great ideas:
And I can’t wait to see more projects from East Coast Creative – they are fabulous!!
Have a Creative Day!!
xoxo








What is silouhette for making the letters?
Ruth Fraser » Check out for more info. It’s a craft vinyl cutter so you can cut vinyl (and other stuff) at home.
What kind of paint did you use for the brown. Did you use all spray paint or acyrlics? Any primers?
I love this idea! I always come across really awful canvas art at garage sales and thrift stores and pass it up because I don’t know what to do with it. This really gives me some inspiration. Great post!
love how this art piece turned out!
Love it! Where do you get your stencils?
Fabulous recycle – did you make the stencil or buy it? I really love it!
This could not have come at a better time! I am in the process of redoing our master bathroom and have a canvas print that is UGLY! I love the idea of re-using it!
You know, I can’t tell you how many pieces of Art I have passed up int he thrift store… I certainly will be looking at them with new perspective.. I love how this came out! Great job!
xo
Angelina
That powerder room is amazing! I love it and it’s totally not me but I think I could try that out! : )
Kayla
http://www.lovelucygirl.com
Love those projects! Thanks for the inspiration!
Anne @ circusberry.wordpress.com
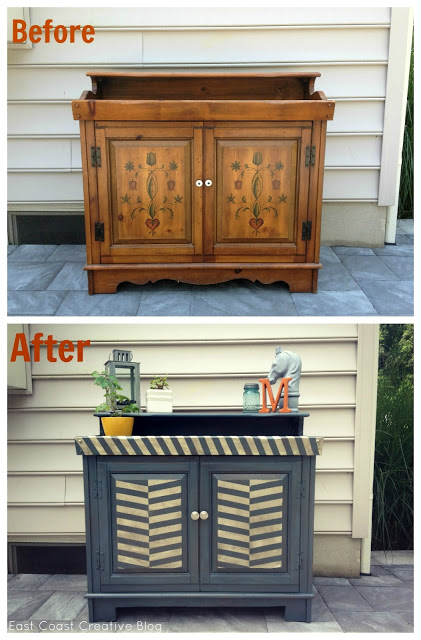
Such cute ideas! I LOVE the piece of furniture at the bottom!!
KK