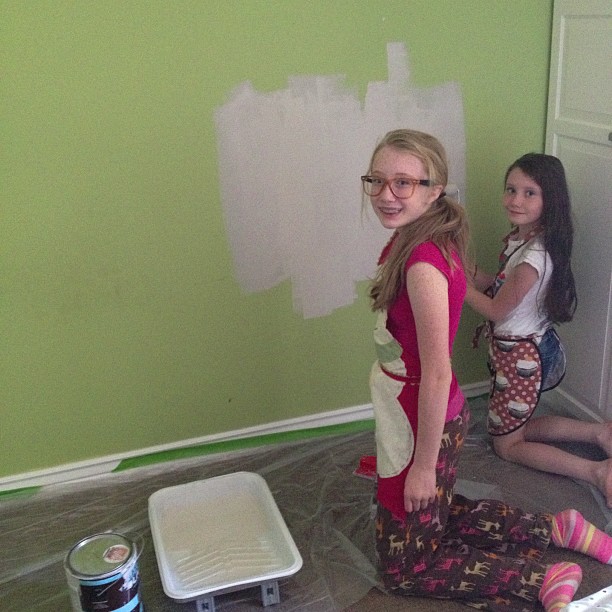
On Friday we started a “spur-of-the-minute” room redo for my daughter Hannah.
Do you ever do those? It seems like a good idea at the time – three days later you start to wonder lol. Seriously, it has turned out to be such a fun project. But DIY ideas seem to take so much longer than you think they will.
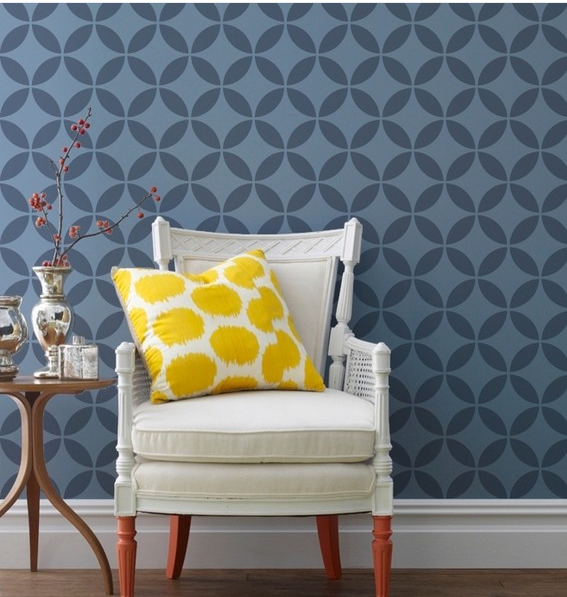
The room is coming along. It’s going to be so cute. We I stenciled one of the walls with a modern design – Endless Moorish Circles from Royal Design Studio.
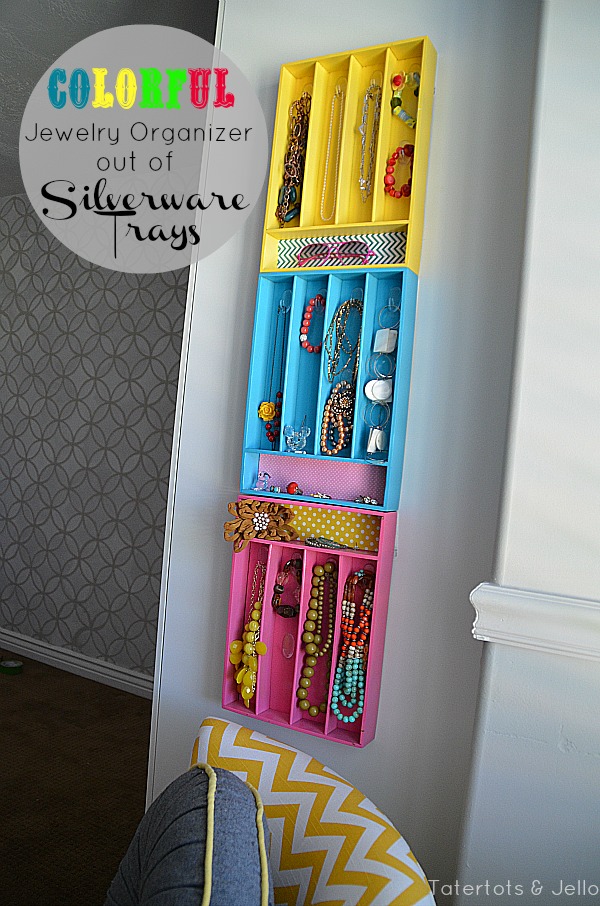
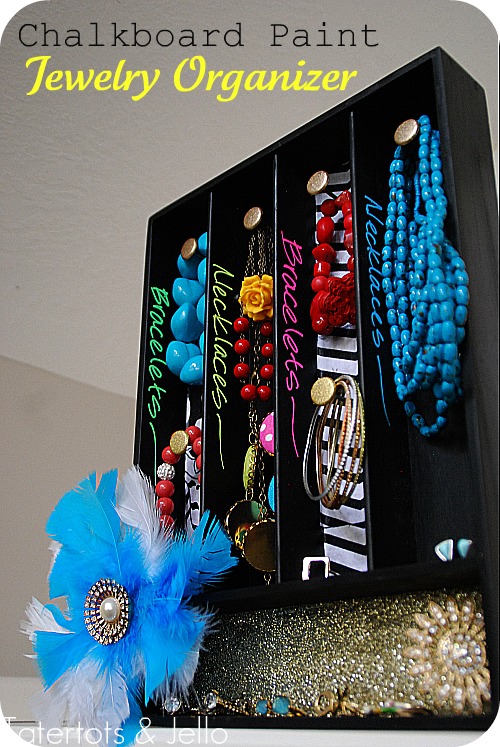
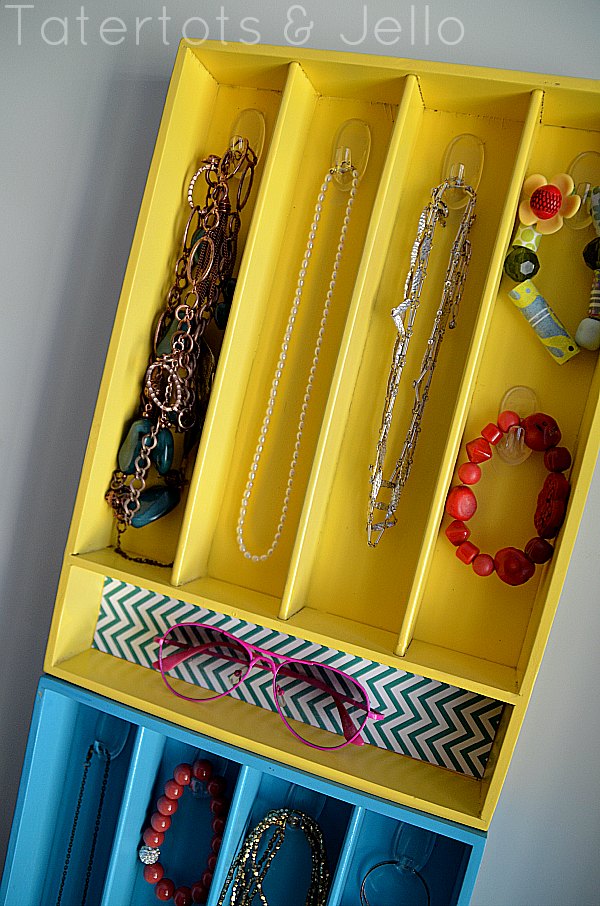
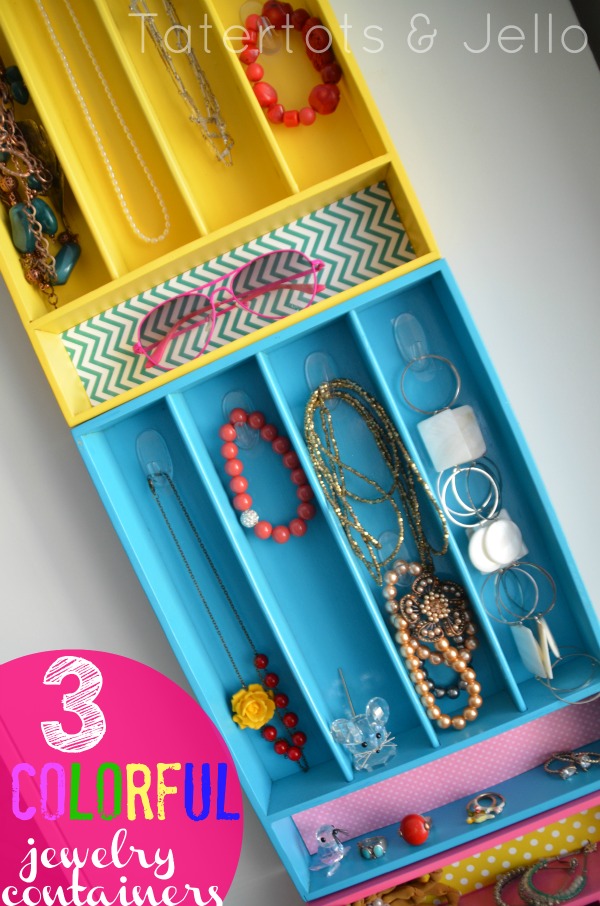
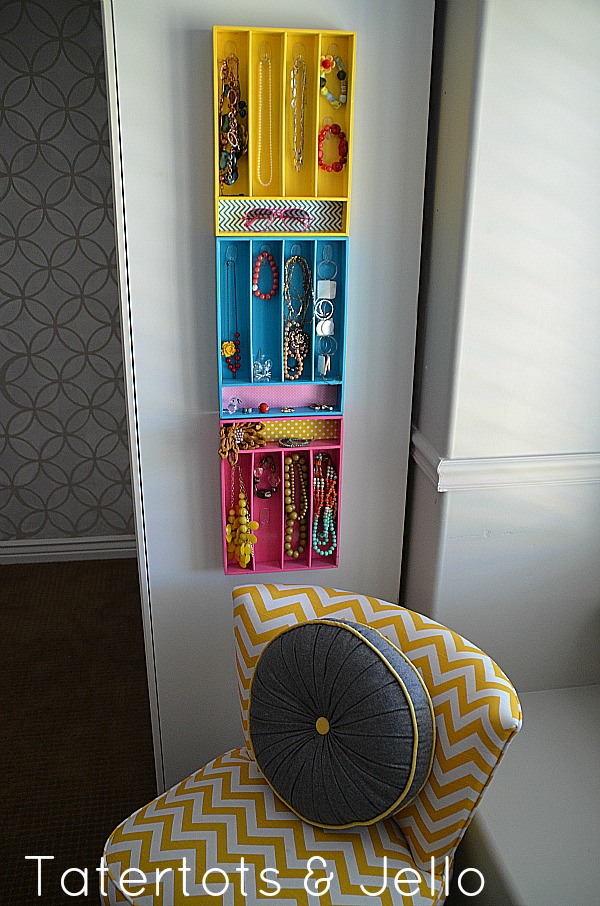
Hannah is almost 14 and she has always been really into fashion and accessories. So I thought it would be fun to make a focal point in her room to display her jewelry. And I had such a fun time making the Chalkboard Jewelry Container out of a Silverware Tray, that I thought it might be fun to make a similar project,also with silverware trays but more colorful for her new space.
And this is such an easy project. All you need is:
3 Silverware Containers (I bought mine at Walmart)
Spray Paint
Command Strip Medium Picture Hangers
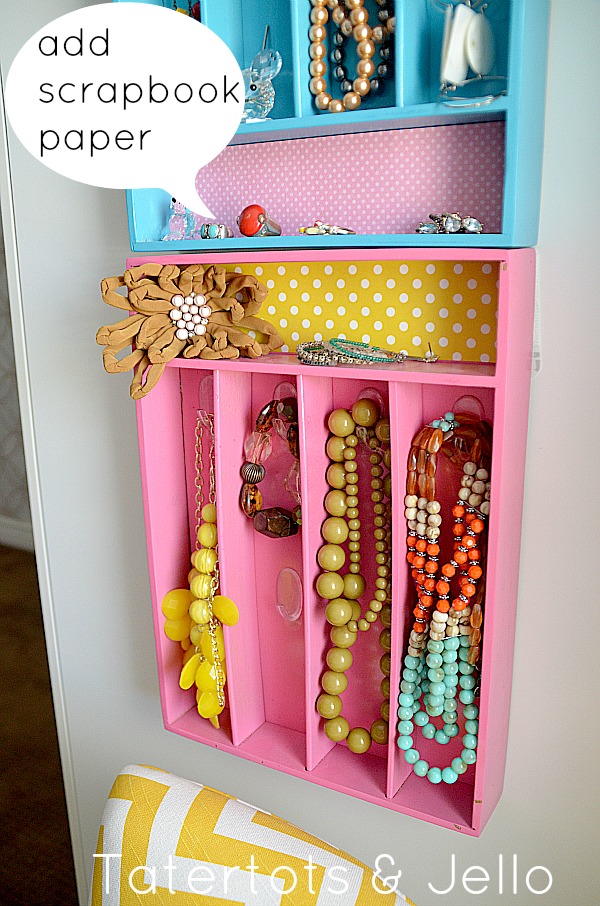
Scrapbook Paper
Here’s What You Do:
- Spray Paint the Silverware Containers
- Once Dry, Attach the Command Clear Hooks
- Then Cut Out Paper for the Long Sections. Attach the Paper with Double-sided Tape
- Attach the Silverware Containers to the Wall with Command Strip Picture Hangers
Hannah loves her new jewelry display.
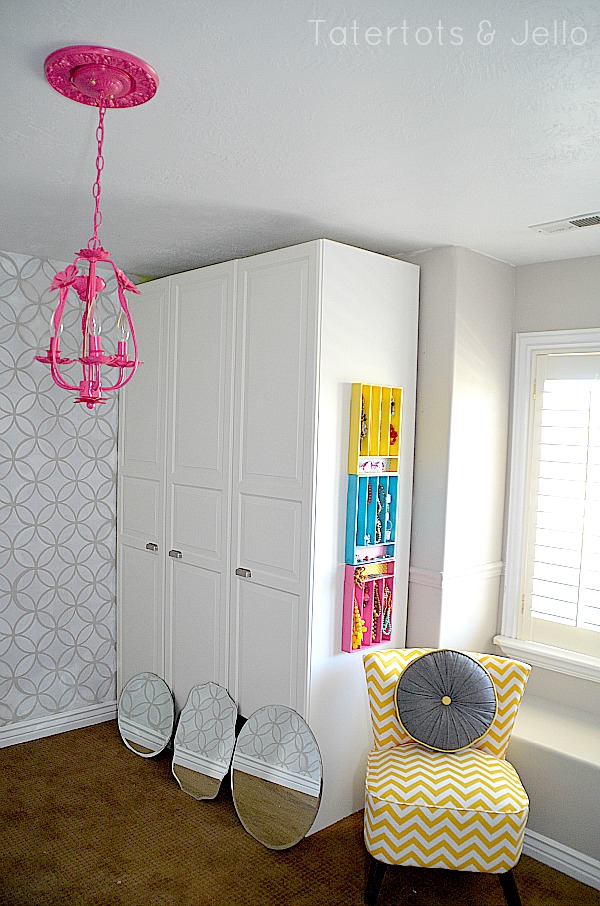
Here’s a shot of a corner of her room in progress. There’s still a bit of work to be done…
And her room is almost done.
I am so excited to show it to you!!
Happy Monday!!
xoxo
PS — Here is another silverware tray, turned jewelry container that someone mentioned to me that is on Pinterest — it’s from Mini Manor Blog. With all-white silverware trays. So pretty.
Here is another idea, using silverware trays horizontally from BlackForest on Etsy.
Here’s another silverware tray to jewelry organizer with mod podged backs from Homemade By Jen.
Three Unpainted Cutlery Trays turned into hanging Jewelry Organizers @ Handstamped Originals
And Six Ways to use Cutlery Trays at Apartment Therapy
Here’s a great post on using silverware containers in drawers to store jewelry at Fox Interiors
Be sure to check them out!!
PS — Coming up This Week
Another DIY Organizational Craft
Hopefully Hannah’s Room Redo
A No-Sew Costume Tutorial
A Halloween Tutorial
And More!
Thanks Command Strips for the awesome products to help make this jewelry organizer!
PS — I’m linking up to The 36th Avenue!!




Hi my dear,
First of all I can’t believe you linked up to my party. I love you!
Anyways, I am stopping by to let you know that you are getting a STICKER tomorrow.
Wait! You came to my PARTY!? I should be the one getting the “Shut The Front Door” Sticker 🙂
Besos!
I love you Desiree!! You are the sweetest person.
xoxoxoxo
Love this idea so much! I can’t wait to make some for my daughter. Do the small items fall out? I’m visiting from OneCreativeMommy.com. (pinning)
Hi Heidi!!
If you hang them on a straight surface nothing will fall out. We have rings and sunglasses sitting on the small shelves on ours and they have had no problem staying inside.
xxo
Clever!!
Thanks June!! They are really fun and such an easy access way to display jewelry and accessories 🙂
I’ve seen this idea on Pinterest from another well known blog and I just think that you should give credit where credit is due. I hate seeing other peoples ideas being used with no credit. Very Disappointing
I really have not seen that post but I would love to give that post a link. Do you know the name of the blog? Please let me know. Thanks!!
This is such a cute project! Are these silverware trays wooden?
Hi Sarah!
Yes, the trays are bamboo – so they are super light 🙂
xoxox
These are awesome! I kept seeing the type tray ones on Etsy, but didn’t want to shell out the money, or have to buy a printer’s tray and refinish it. This looks much easier, and in my budget. So excited to try it!
Yay!! Let me know if you make one Sarah. I would love to feature it!!
xoxox
Okay that is just cute! Love the color and the chair too! Can’t wait to see it all finished. I’d love to have you link this up on Titus 2 Tuesdays. Hope to see you there!
I love the color of the room and the stenciled wall. It looks fabulous!! I can’t wait to see it when it’s finished!
Such a cute idea! Love the colors & I can’t wait to see the end result! I am getting ready to re-do my 9 yr. old daughter’s room & I will keep this idea in mind – she would probably lOVE it!
How fun Laura!! I am excited to see what you do with your daughter’s room. I think redoing kids’ rooms is so fun. They get so excited!!
xox
So super cute! Love how fun and colorful it is. Perfect idea, just love it 🙂 Bet she does too.
I love the colours – they really pop!
I have seen this before but you have definitely made it look so adorable…I love the color selection!!
Thanks denyse!! It is such an easy project but I think the color really makes it pop and makes it fun!
xoxoxox
Please comment on the 3 units that are left of the window. Where purchased? Thanks.
Hi Francis! I bought the silverware trays at Walmart 🙂
oxo
Jen those are so cute! I need something like that in my bathroom! Right now all my jewelry is a jumbled mess! I love the stencil too. I have a stencil that I won in a giveaway a few months ago, but I still haven’t gotten up the nerve to paint anything with it yet!
Hi Kelli!! Thanks!! You should get your stencil out and try it. I think you will love it!!
xoxoxox
Love the jewelry organizers!! Looks darling 🙂
Thanks Katie!! She really loves it and that makes me so happy 🙂
xoxoxo
What a neat idea! And Hannah’s room is looking awesome – can’t wait for the reveal.
Thanks Shannon!!! It is turning out so cute. I can’t wait to see it all finished. Thanks for the sweet comment!!
xoxo
I love it!! I think I may do the chalkboard version for my new bedroom!! I have to ask… Where did you find the amazing chair?
Hi Heather!! You should make the chalkboard version. I love those chalk pens. They look so amazing on the chalkboard paint. I got the chair in the Spring from Urban Outfitters online.
xoxoxo
This is such a great idea! Can’t wait to see her room all finished!
Thanks so much!!! Her room is really coming along. I only have a couple more things to do before I can show it all. It looks so much bigger. It’s amazing what paint can do!!
xoxox