I love covered buttons — maybe it’s the shape? There are so many fun things you can make with those little round disks. When I was at the CHA show last week I found a really cool tool that I fell in love with — the iTop from Imaginisce. I have made covered button projects before with those little sets you can find at your fabric store. The iTop makes things so much easier. And, the best part — you can use paper with the iTop instead of only fabric.
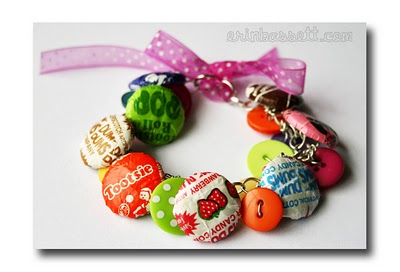 {Candy Wrapper Bracelet from Erin Bassett via the Imaginisce Blog}
So I thought it might be fun to do a little review of the iTop and some of projects you can make with this tool.
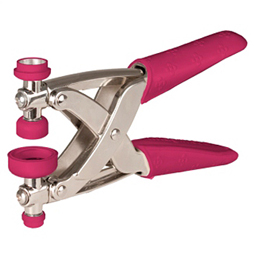
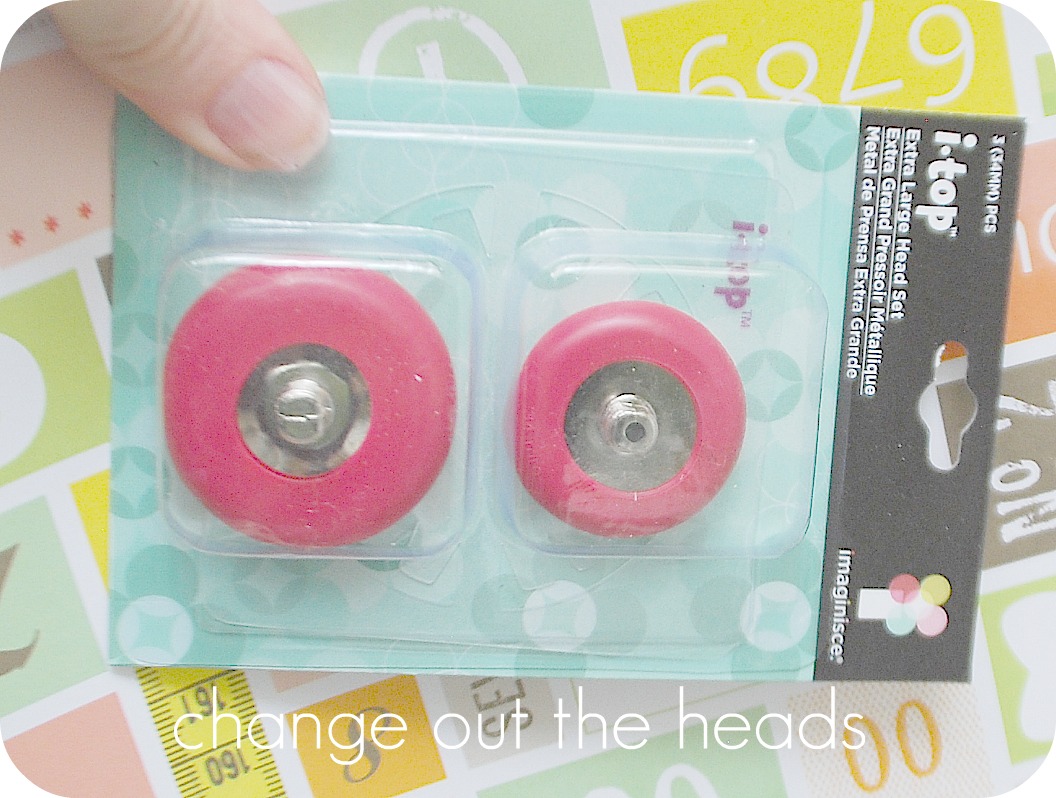
One of my favorite parts of the tool is the fact that the cups on the ends of the iTop rotate AND you can unscrew them and insert new ones. The iTop comes with two different sizes cups that coordinate with the same size buttons tops that they sell. But you can buy the bigger sized cups if you want to make projects with those. All you have to do is unscrew the other cups and put in the new sized ones. They are interchangeable.
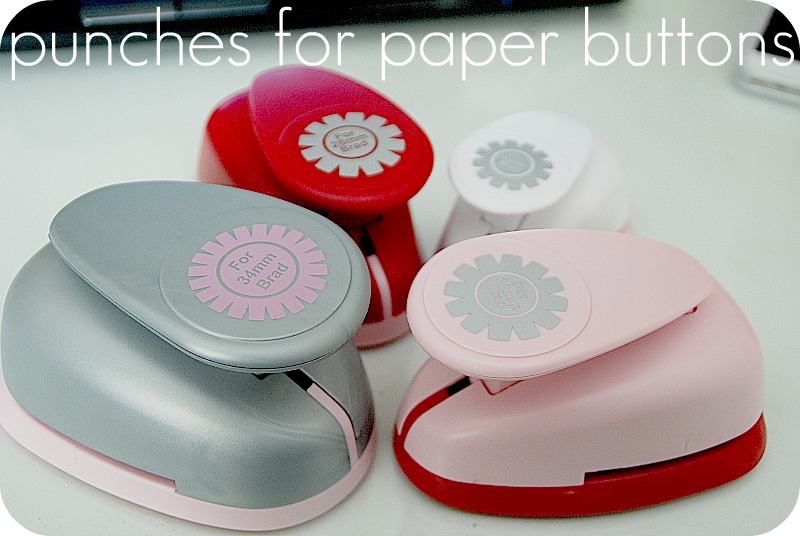
Another thing I love about this iTop system is the punches that Imaginisce sells. They make punching out the paper so easy. The punches have little notched sides that make making the the button tops covered with paper fit perfectly. There are punches that coordinate with all of the sizes of the cups.
In the past, using the button kits from my fabric store, it was hard to get the button covers perfectly smooth, without ridges. The iTop has flexible plastic sides on their cups and those sides hug the fabric or paper and it pushes the material close to the button top so that the button comes out so smooth. And when you are done attaching the back, you can push the flexible plastic side down and pop the button out.
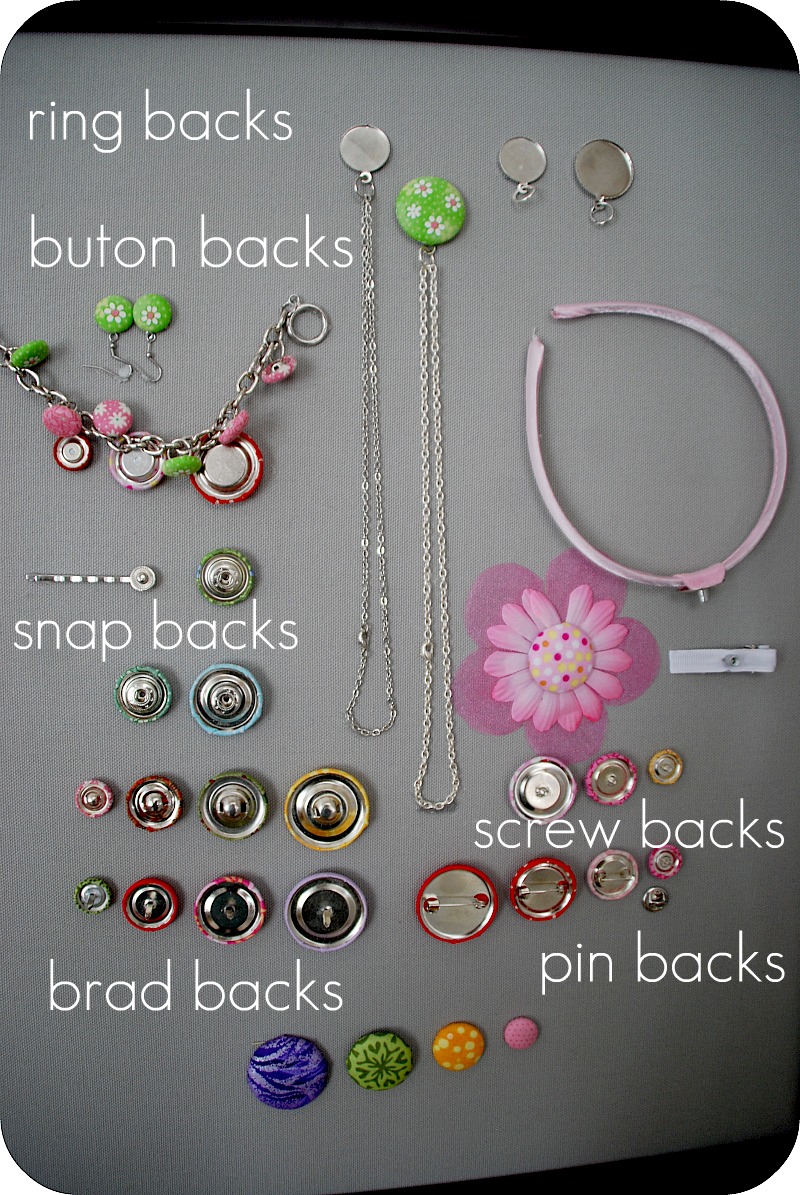
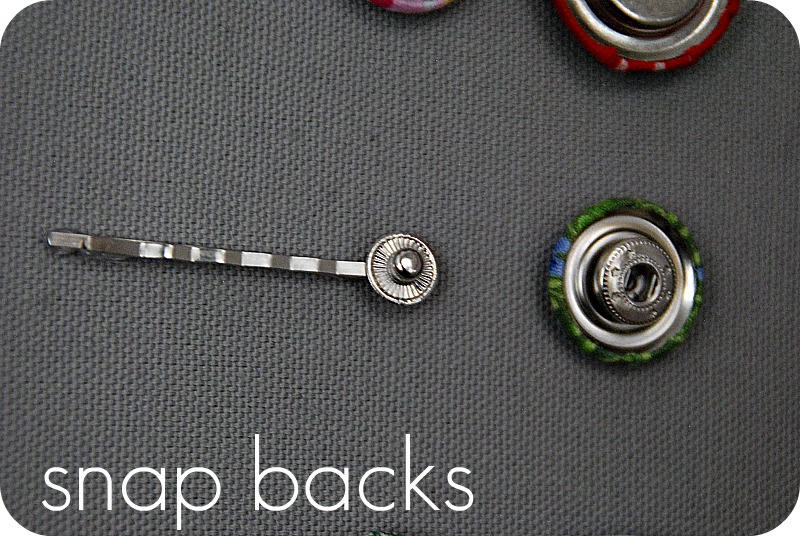
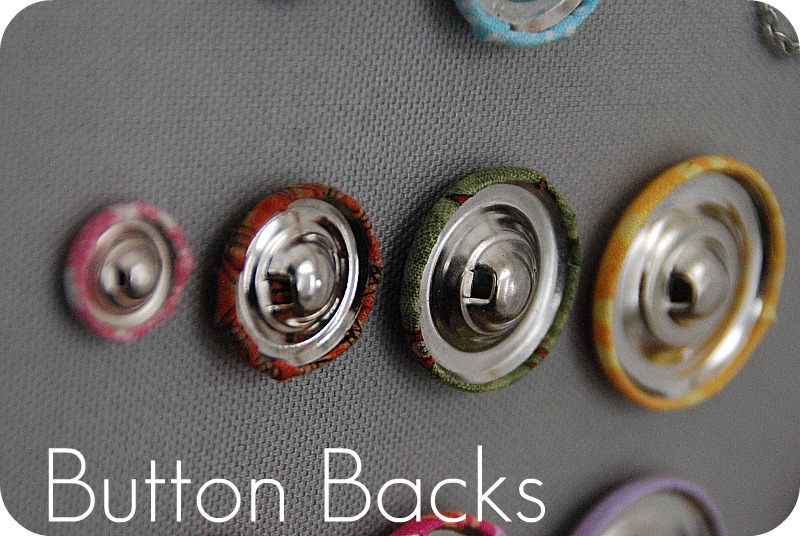
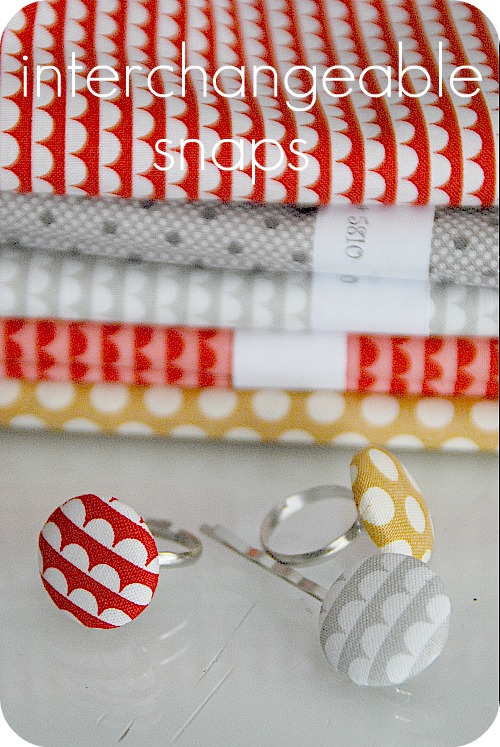
Probably my favorite part of the iTop is all of the different types of button backs you can buy. There are buttons with snaps which coordinate with rings and hair clips. So you can switch out the tops of the rings and clips. The possibilities are endless.
There are also backs with screw in attachments which coordinate with clips and headbands. They work the same way. You can switch out the embellishments. And you can put silk flowers underneath the buttons to make a beautiful focal point.
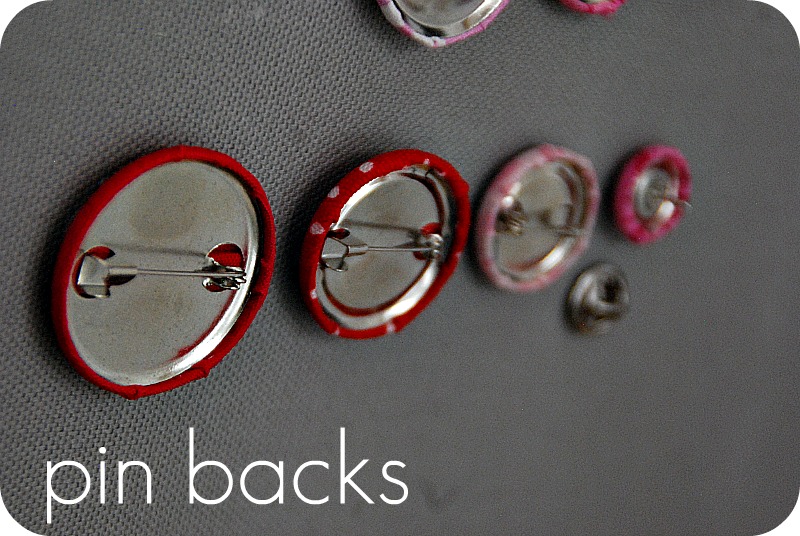
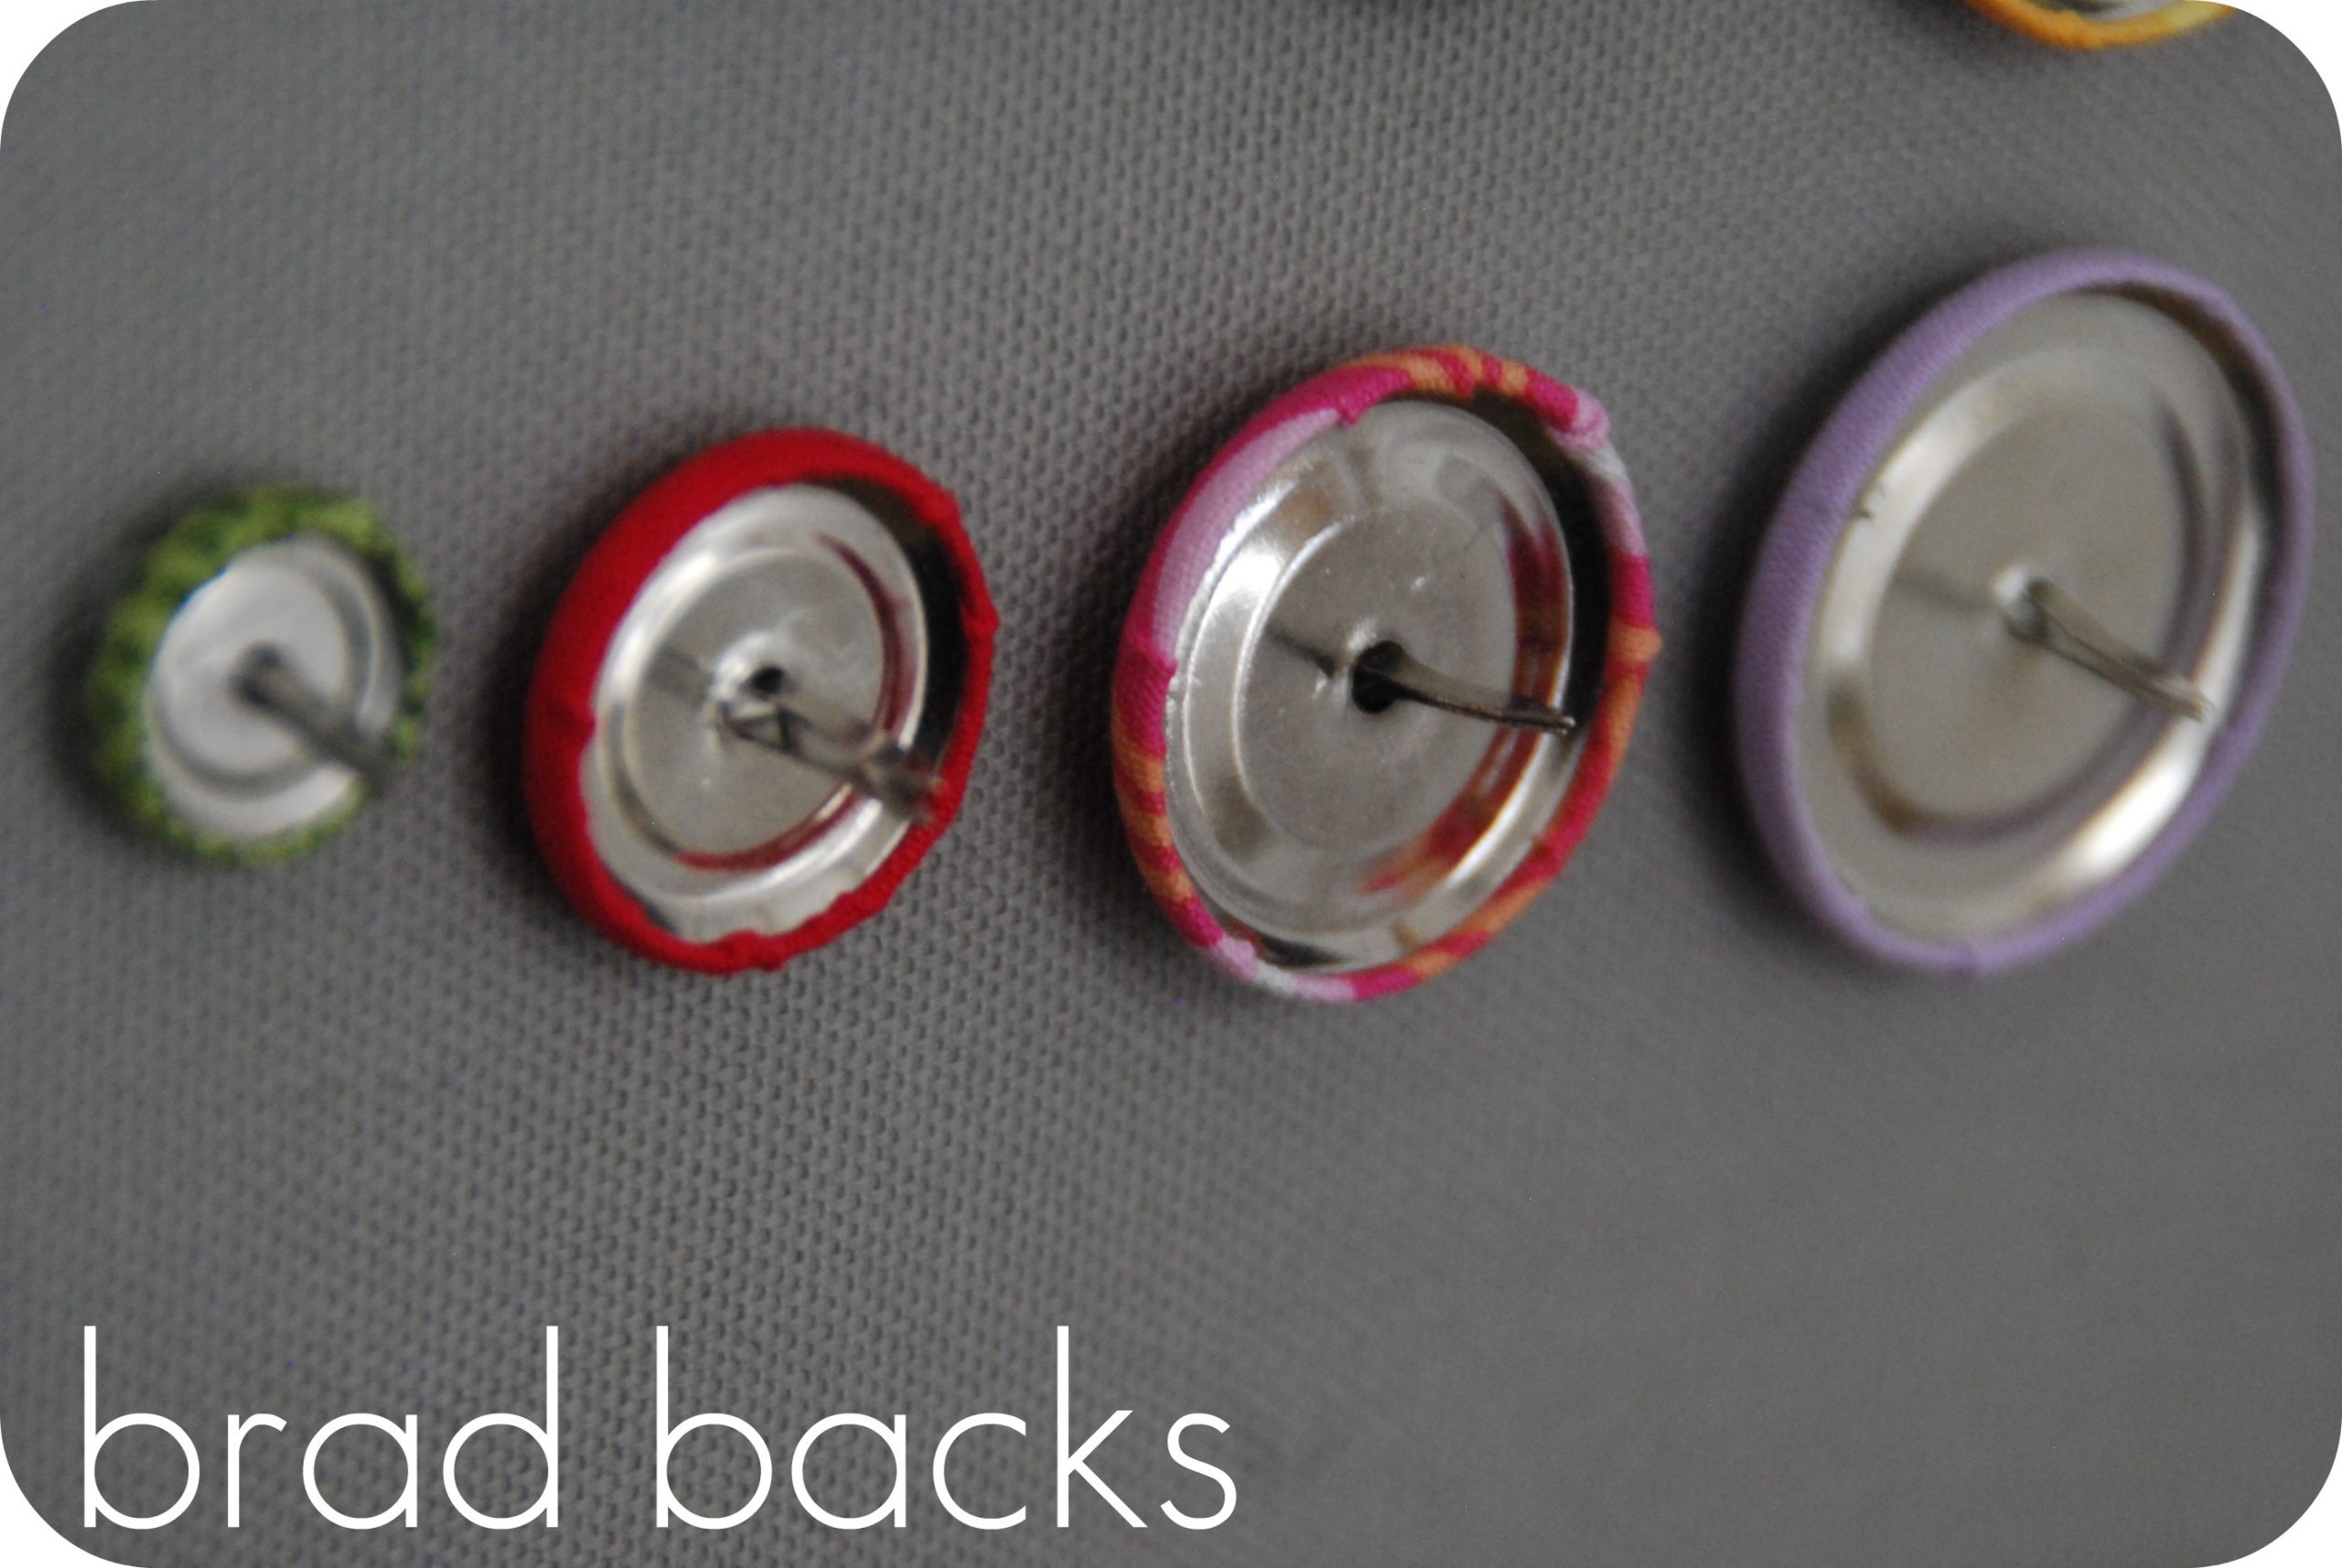
In addition to the snaps and screw backs, there are pins, button backs and brads. You can pretty much make any kind of project your imagination can dream up with these covered buttons. So fun!!
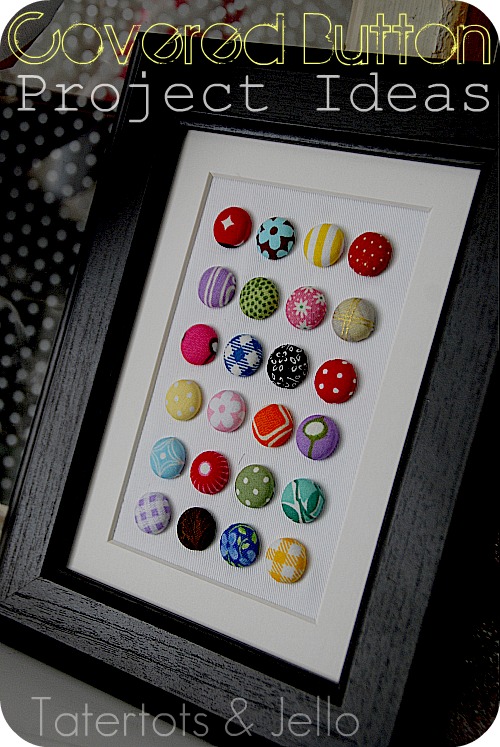
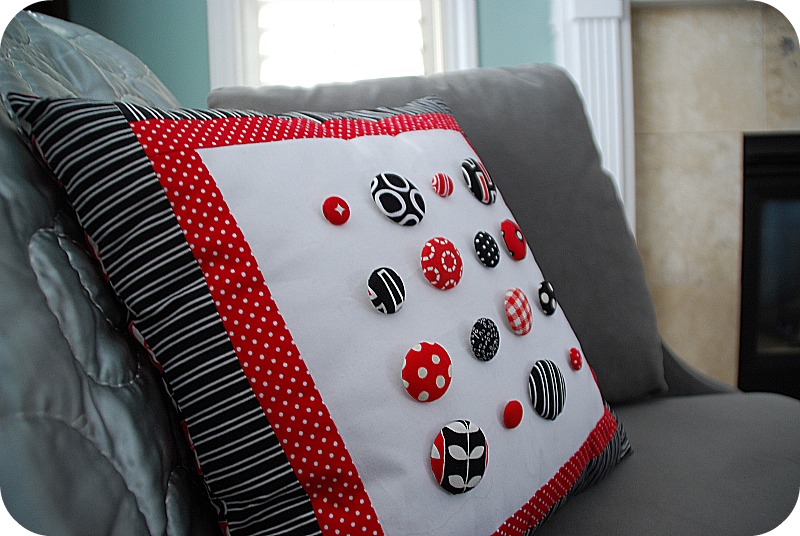
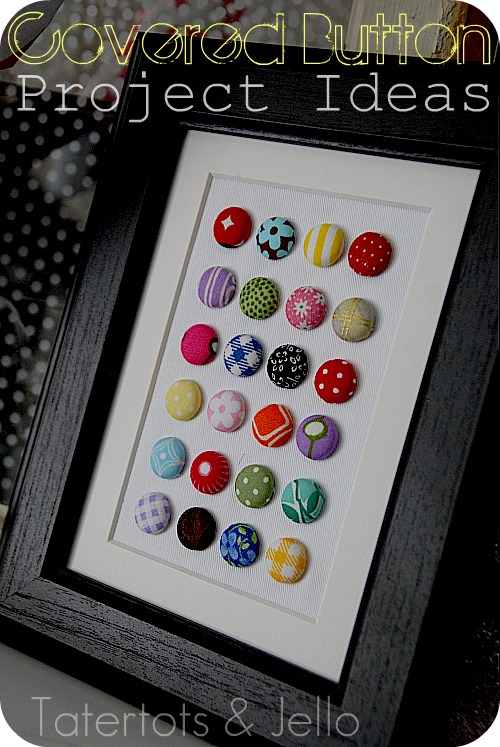
And, don’t limit your self to accessories, you can make all kinds of other projects with covered buttons. I love the idea of making home decor projects with the iTop. How about a button pillow? Or this frame would be such a great gift.
You can take fabric scraps and cover buttons with it, or what about using pieces of clothing form a loved one or from your childhood and making a pretty home decor picture that is meaningful too. It would make a wonderful gift!!
I am excited to make some pretty projects with this tool. It’s so much fun to use!!
I made a little video with the iTop. In case you want to check it out.
You can find more on the imaginisce site.
And, there is going to be an awesome Imaginisce giveaway coming up next week. It’s going to be fun!!!
Happy Thursday!!
xoxo
PS — I’m linking up to:
And 30 Handmade Days Pity Party
This post sponsored by
A brand-new deals site! Check out the new site or visit them on Facebook and Twitter.





Thank you for sharing your thoughts. I really appreciate your efforts and I will be waiting for your next write ups thank
you once again.
When you make the paper covered buttons, do you seal them with anything especially if putting on jewelry? Also, do you think the buttons from the kits that you buy would fit in there? Are they the same size? Do you know? I have tons of those and if I can convert them, that would be even better. Thanks
I want to know where you get all of your lovely fabric!
Hi Rachel!!
I get a lot of my fabric from Fabric.com and a lot from Hobby Lobby 🙂
xoxo
thanks for the sweet tutorial!! i have been making covered button ponytail holders, they are so cute. the best prices/selection i’ve found is at threddies.com – tons of colors. added a link so that your readers can check it out, too – awesome resource!!
i plan on making pushpins for my handmade bulletin boards next… love crafting these little things so darn much! 🙂
I read your review & how to on the iTop & immediately ordered it from Nancy’s Notions’. I can hardly wait & really glad I found your site & all you do, Thank you
I am a new “viewer” and wondered how you go about signing up for the giveaways? Can you help me out? Thanks! I am enjoying your blog….awesome!!
Oh I love this! It would be great if you would share this with our readers for Fun Stuff Fridays. http://www.toysinthedryer.com/2012/02/fun-stuff-fridays-11.html
I was eyin these up at the craft store a few times, but wasn’t sure how to apply it to covered buttons. This is great! A vast variety of uses and a way to use up my TON of scrapbooking papers.
Jen… you’re AMAZING!!!!!!
Would you mind linking up over at The DIY Dreamer again this week?
Dang! At first I was all “wow, that button maker is a lot of money!” which quickly changed to “Must. Buy. Button. Maker.”
What a neat product! I may have to add this to my tools.
Awesome!
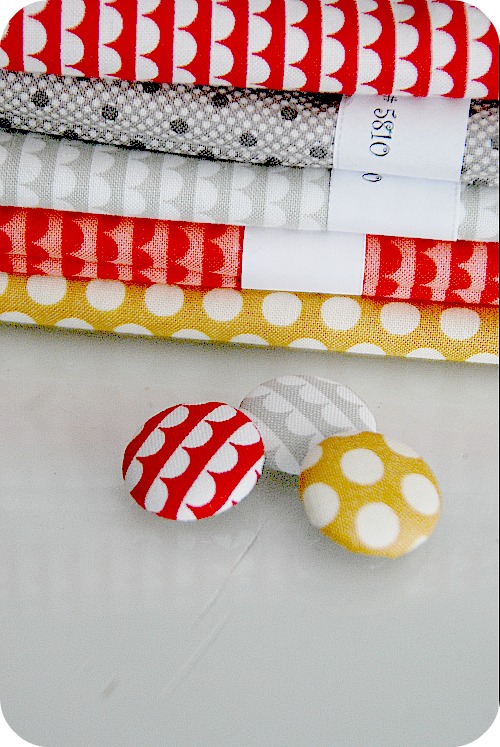
My question is, what is that darling cute fabric with the scallops?! I need to get some of that!
Love Material Girls – do you have the Selvedge with the designer’s name on it?
Love your tutorials and have signed up for your e-mails. I love the I-Top – haven’t seen one before but will be on the lookout.
I want the I-Top tool and all its accessories so much! I’m saving up, and when I have enough to use a coupon……that baby is MINE!
Super cute ideas! Thank you for sharing!!
I made my first covered button the other day, and I loved it! It really is so much fun!
Those are SO cute! I love how many different options for the backs it has. I think I definitely NEED one of those gadgets! xoxo
So cool!! I LOVE the necklace…that is adorable. I would love to win one of those. Great projects, Jen. 🙂
I love this tool and bought it and the punches a couple years ago, but I had no idea there were other backs for the buttons. Must go shopping!
Jen, so awesome! Great job showing the i-top and its families of brad daddies, button daddies and all!
I predict it’s going to get really busy at your site around contest time next week!
OMG I never knew this gadget existed and haven’t seen it in the stores, I need one!!!! I love the pillow with the buttons and also the cushion.
These are all sooooo adorable! I love any sort of button, and there is just a ton you can do with them.
Allyson
http://cupcakescandycanes.blogspot.com/
Ah! These are all so cute. I tried this once before and could never get them smooth. I’ve always wondered how people make them so perfectly! Thanks for the tutorial!
Where did you get the yellow, gray, red-ish fabric???? I LOVE it!
Hi Carrie!
I bought those fat quarters from a store in South Jordan, UT called Material Girls 🙂
xoxo
So neat! I had no idea they made such a gadget and what awesome ideas you shared! Thanks for the intro!
This would be a great summer project for my girls and I . They love making things!
Okay that thing is awesome! I’ve used the cheapo fabric store ones before and they are okay…but how cool are all those different back options!
Oooo…I love all of your projects using the I Top! Thanks for the inspiration!
what a neat tool! i love how stuff is interchangeable-thanks for showing it off!
This looks fantastic. I am new to your blog and can’t wait to dig deep into your archives and all of your tutorials. You really used the buttons in very unique ways. Very creative!
I just started making fabric covered buttons because of our master bedroom project and all the tufting we’ve been doing. I must get this tool–it looks so much easier than doing it manually! 🙂
So excited to see this tool!!! I wonder what the largest size button it will make? Off to check out the website. Thanks for the review!
Hi Samantha!
I think the biggest size is 32mm which is pretty big. I made a necklace pendant using that size and love it 🙂
xoxo
What a neat tool, Jen! I love the piece you did in the frame with all those buttons. What a fun piece to hang on a sewing room wall!
This looks like soo much fun! I am totally gonna have to try this little guy. I can think of so many things to make with it! 🙂
Okay, wow. This little gadget is new to me…..I must have it! What a brilliant idea! Thank you so much for your review.
ps. the covered buttons in a frame? Adorable!
Oh my gracious! How cute is that?!? My girls and I would have hours of fun creating. It looks so simple to use!
This tool is so neat- I would have so much fun using it! I can think of a million things I would do!
-kendall
{songbirdsandbuttons.blogspot.com}
Beautiful. I just found you and (is it too soon to say this?) I think I’m in love! Hah, what a cute little jig. Definitely on the list for when my budget likes me more!
Hi Bethany!!
Thanks!! It’s nice to meet you!!
xoxo