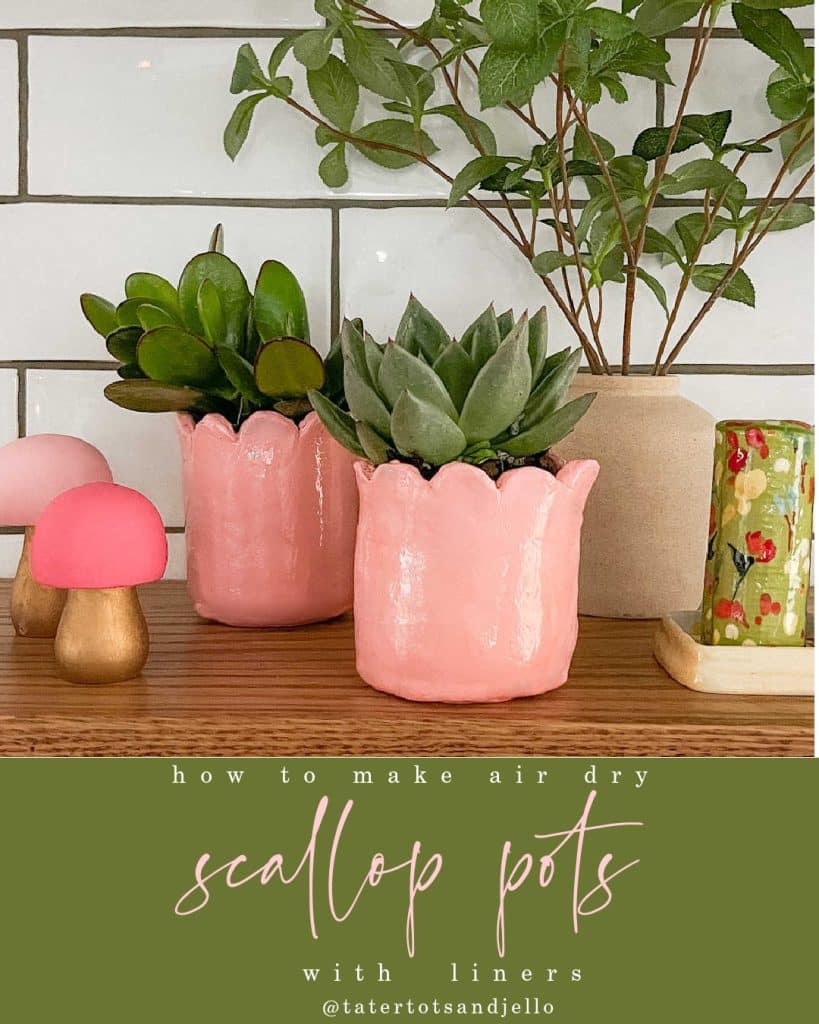
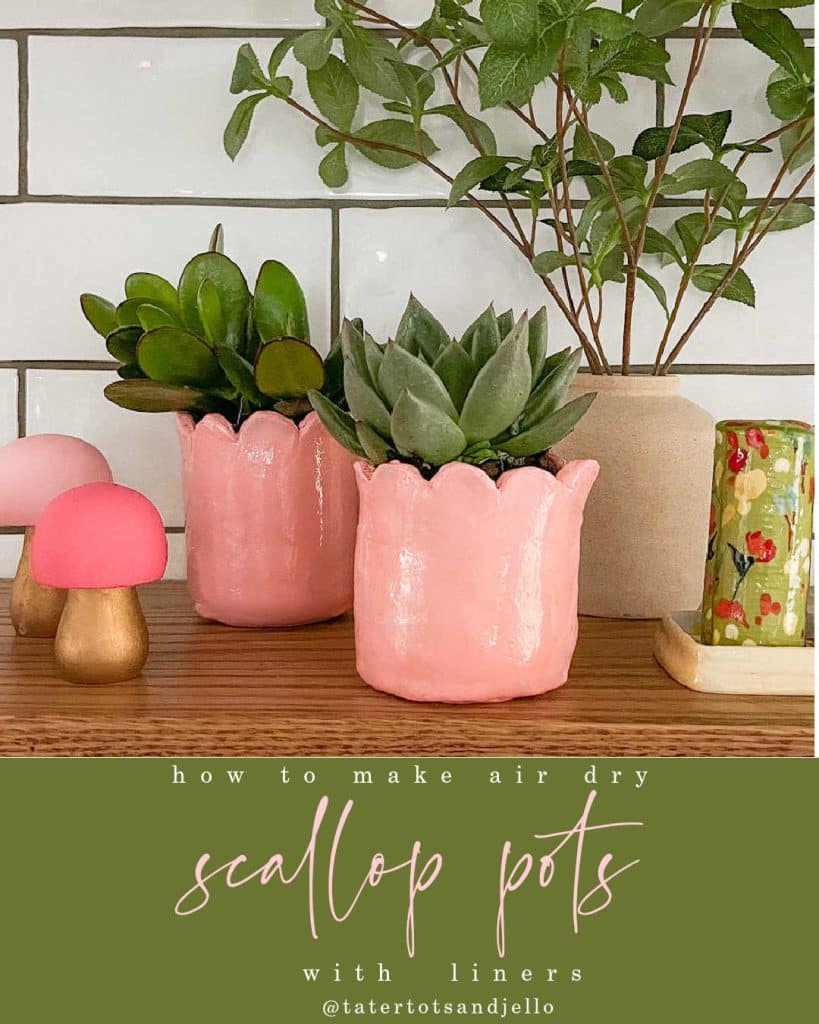
DIY Clay Succulent Scallop Pots. Create happy little pots for Spring using air dry clay with liners inside!
DIY Succulent Scallop Pots
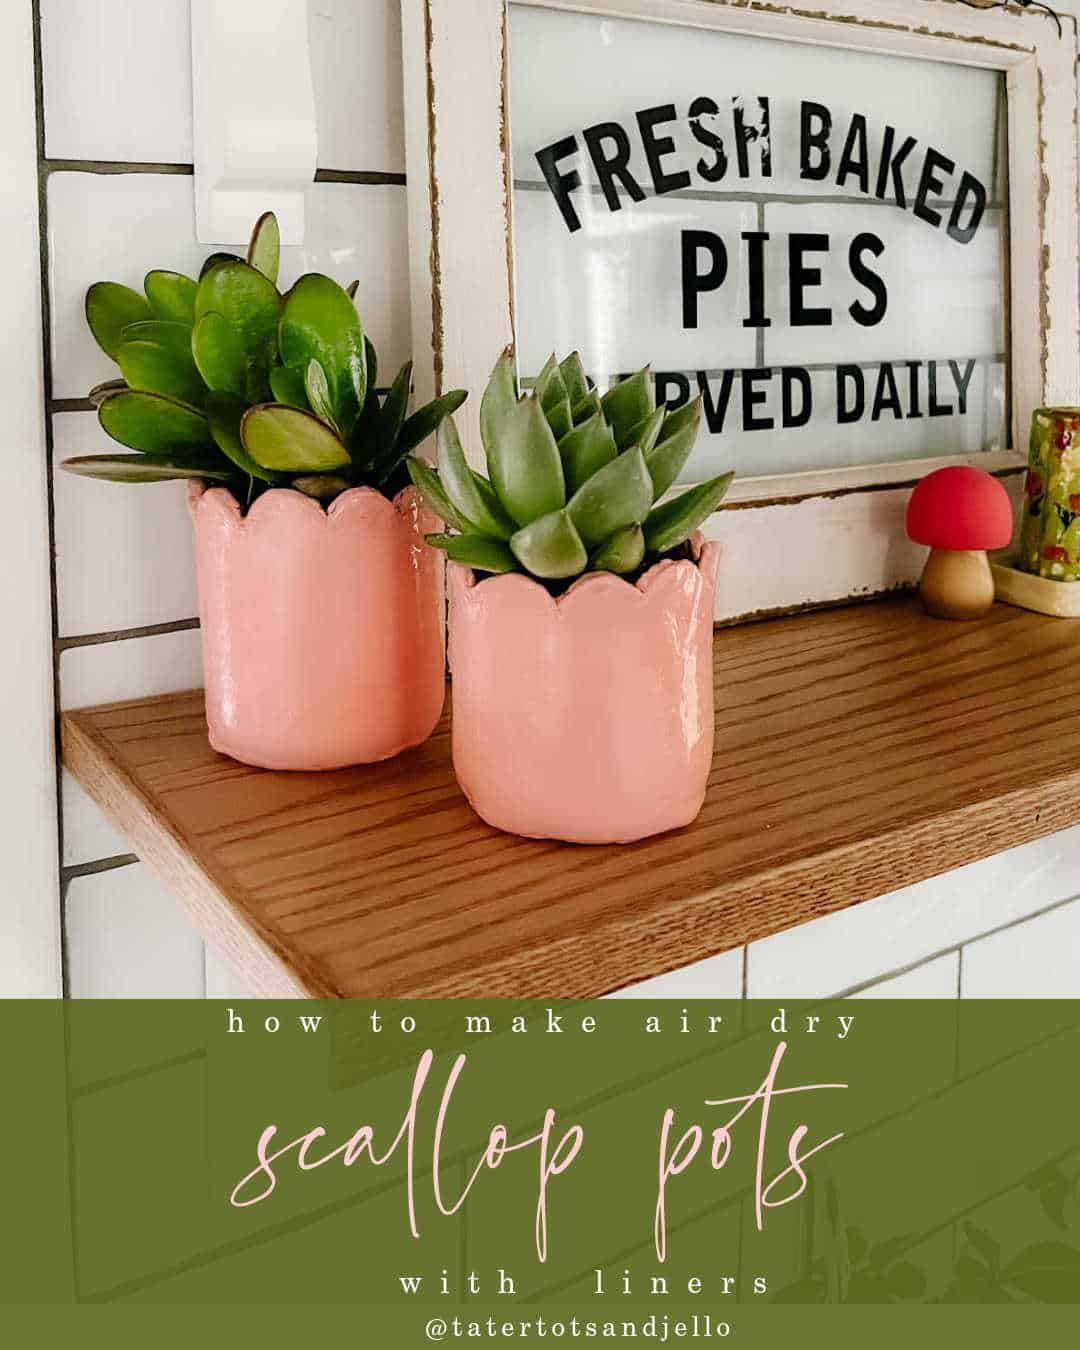
I have a little obsession with air-dry clay! Last month I made the sweetest little mushrooms for my planters. I had some leftover clay and I thought it would be fun to try to make some little pots for succulents in my kitchen. All of the tips and tricks are on this post. I hope you make some!
12 Spring Decorating Ideas!

I’m so excited it’s spring! This time of year I love to spruce up my home for warmer weather and create some happy bright spring projects! I’m sharing my DIY clay succulent scallop pots and I’m joining 11 friends who are also sharing the prettiest spring decorating ideas! Be sure to and hop over to grab these easy ways to create a bright and beautiful spring home! The links are at the end of the post.
How to use air dry clay
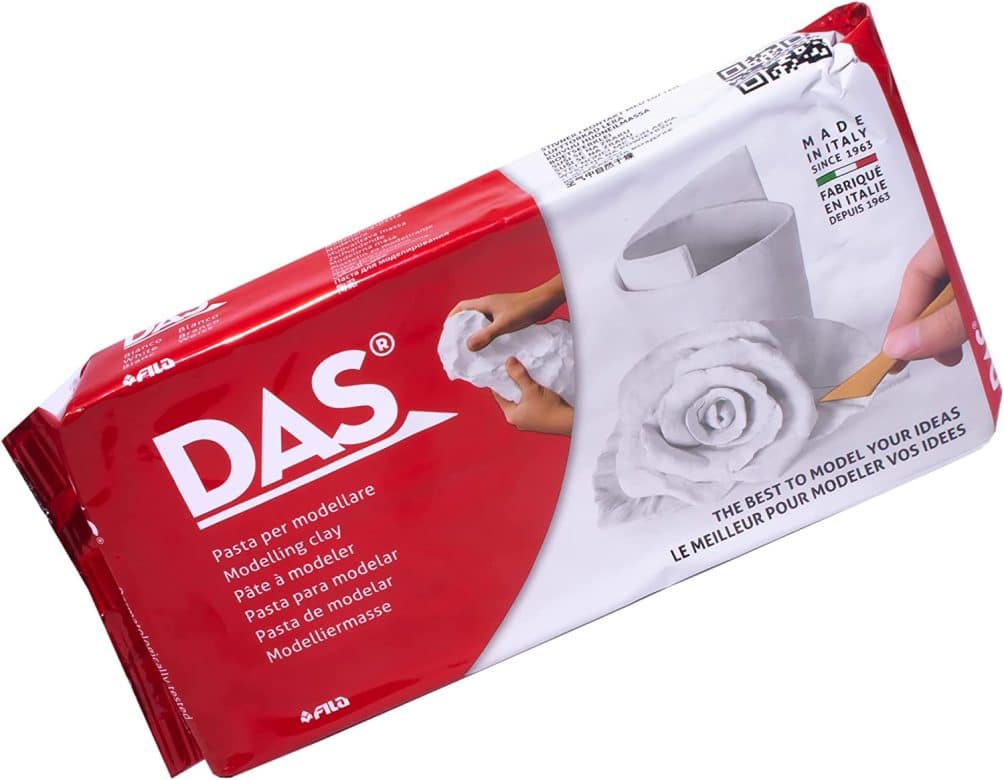
Have you ever made anything with clay? One of my children runs a local pottery School. So I’ve had a chance to work with clay in the past. Last month I learned a lot about air dry clay. The nice thing about air-dry Clay is that you don’t have to bake it. You just create whatever shape you want and leave it overnight to dry. Then the next day you can come and paint the clay any color you want!
Air Dry Clay Tips and Tricks
- One thing you want to do with your dry clay is keep it in an airtight container. Because if you expose air dry clay to air then the clay is not going to be soft the next time you use it.
- Another thing I learned about air-dry clay is that you can use a little bit of water to smooth out the surface. My pots do have imperfections which I love because you can tell that they’re handmade.
- If you want a smoother look you can use a little bit of water and smooth out the imperfections with your fingers before it dries!
- Another tip is you can dip a knife in water to get a smoother edge when you are cutting shapes into air dry clay.
How to Make Air Dry Clay Scallop Pots
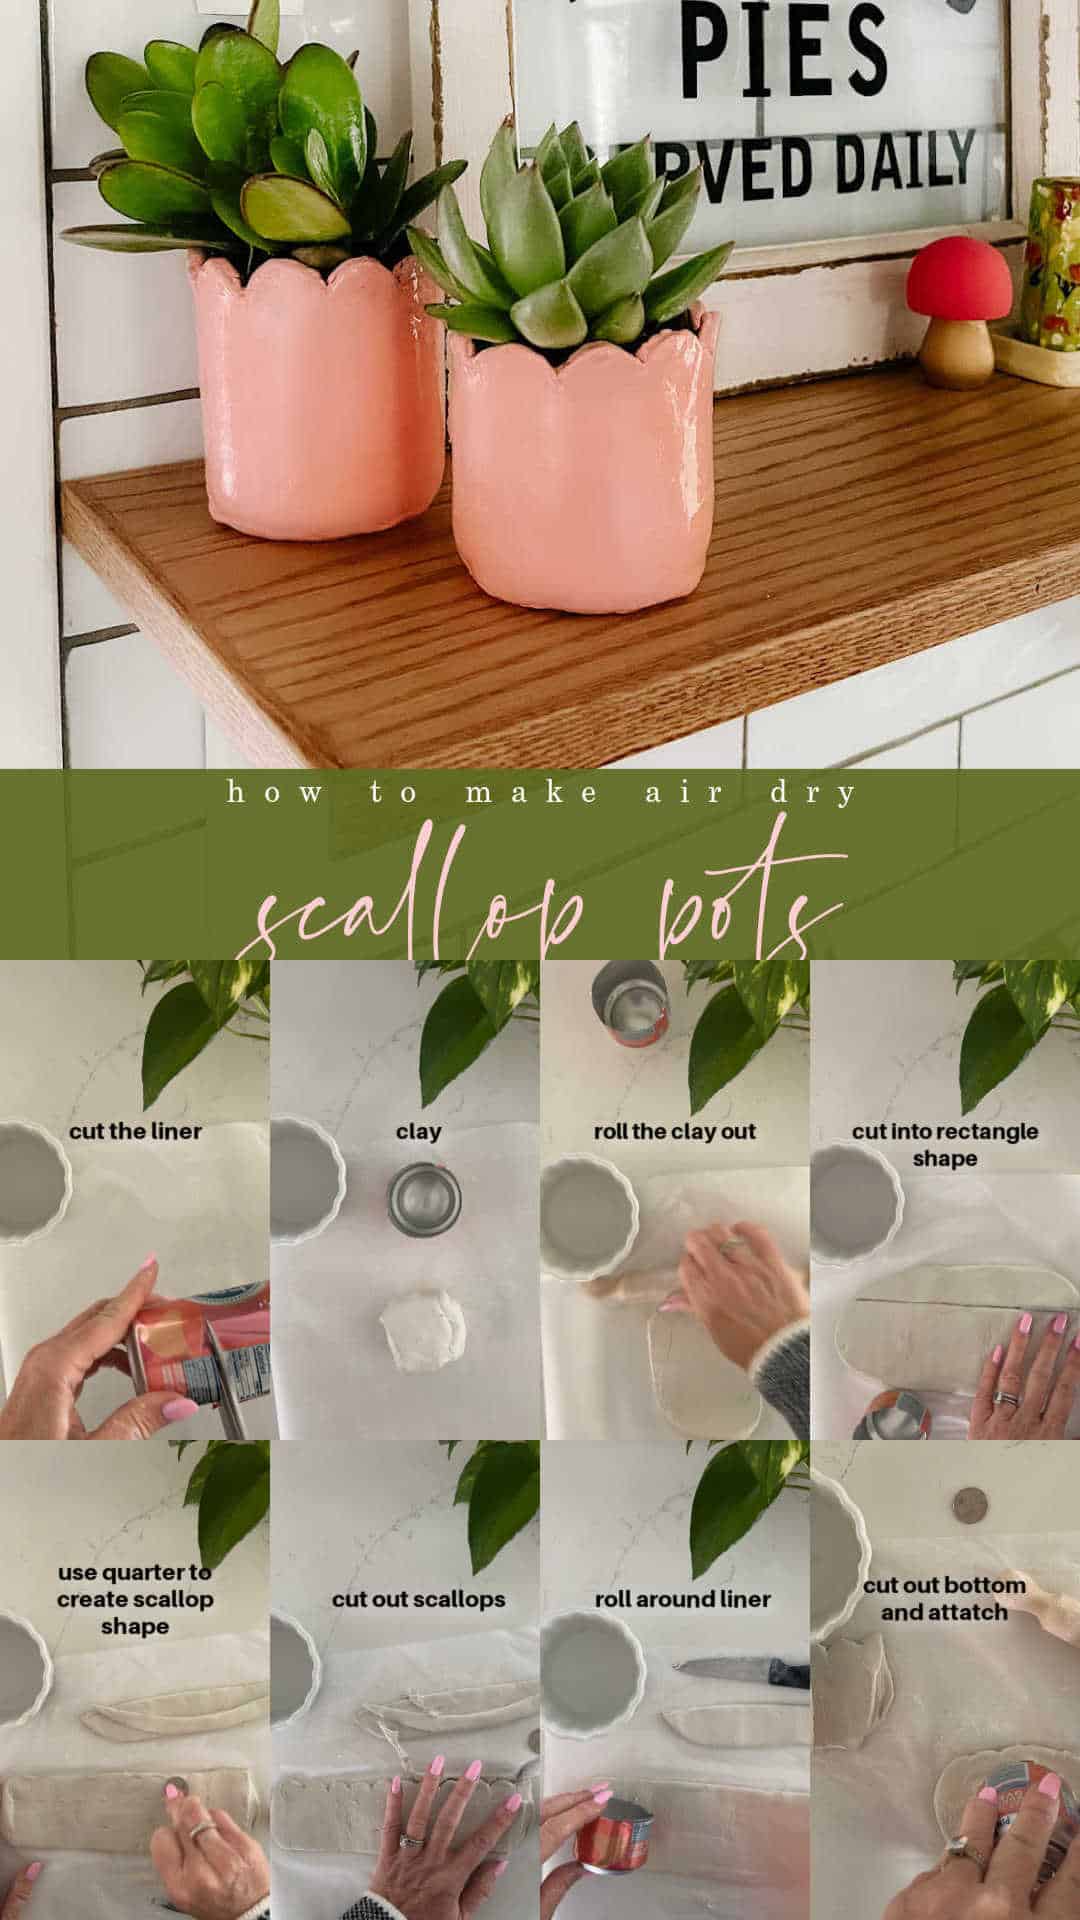
Here’s how I made these sweet air-dry Clay scallop pots!
Use a Liner Inside the Pot
One thing you should know is air dry clay should not be exposed to water. So be sure to use a liner inside of your air dry clay pots. I used the bottom of a aluminum seltzer water can. Another idea is to use the bottom of a plastic water container. This way you can water your soil and the wetness is not sitting against the air dry clay. If you don’t use a liner the air dry clay will become soggy and your pot will fall apart. So before you start this project, decide what liner you want to put inside of your pot.
Cut the Liner
Cut the plastic or aluminum can or container to the height you need for your pot. You don’t want the liner to be as high as the top of your pot. So cut the container about two to three inches the height you want your pot to be.
Roll Out The Air Dry Clay
Now we begin! Take a large piece of air-dry clay and roll it out on your work surface. I used a small rolling pin. I rolled the clay in one direction to create a long piece of clay.
Cut The Clay Into a Rectangular Shape
Once I had rolled the clay out to a long enough piece, I trimmed the top and bottom of the clay . Make sure that the clay is taller than the liner. You don’t want the liner to show above the clay.
How to Add a Scalloped Edge
I love the shape of scallops. You can create a scalloped Edge using a knife free hand Style. I wanted to make sure that my scallop shapes are uniform, so I used a quarter and pressed the quarter into the clay. Then traced around the quarter impressions to create the scallop edge.
Create the Bottom of the Pot
Take a smaller piece of clay and roll it out into a circular shape. Put your liner on can or water bottle on top of the clay and trace around it with a knife. Then, put the bottom of your pot aside, you will need it after the next step.
Roll the Clay into a Pot Shape
Now you are going to put your liner on top of the clay, roll the clay with the liner until you reach the end of the clay. If your rectangular shape is too long you can trim the clay. You want the beginning of the rectangle and the end of the rectangle to line up. Combine the two edges together by pinching the seam. To create a smooth edge, use a little bit of water and smooth the edge until you can’t see the seam anymore.
Attach the Bottom of the Pot
Once you have the clay wrapped around the liner and the seam is smoothed out, you will attach the bottom of the pot. Put the liner pot on top of the circle that you cut out earlier, and gently pinch the seam together to attach the bottom of the pot to the top of the pot. It is attached, you can use water to smooth the seam out and create a seamless pot.
Let the Pot Dry Out
Let the pot dry overnight until the air dry clay is completely dry.
Paint the Pot
Now it’s time to paint the pot. Pick out the color of paint you want to use. I used plain craft paint. I like a shiny surface, so I sealed my pots with polyurethane. But you can also use any type of paint you want and any type of sheen. I also painted the inside of the pot and down onto the liner just in case you might be able to see the liner.
Seal the Pot
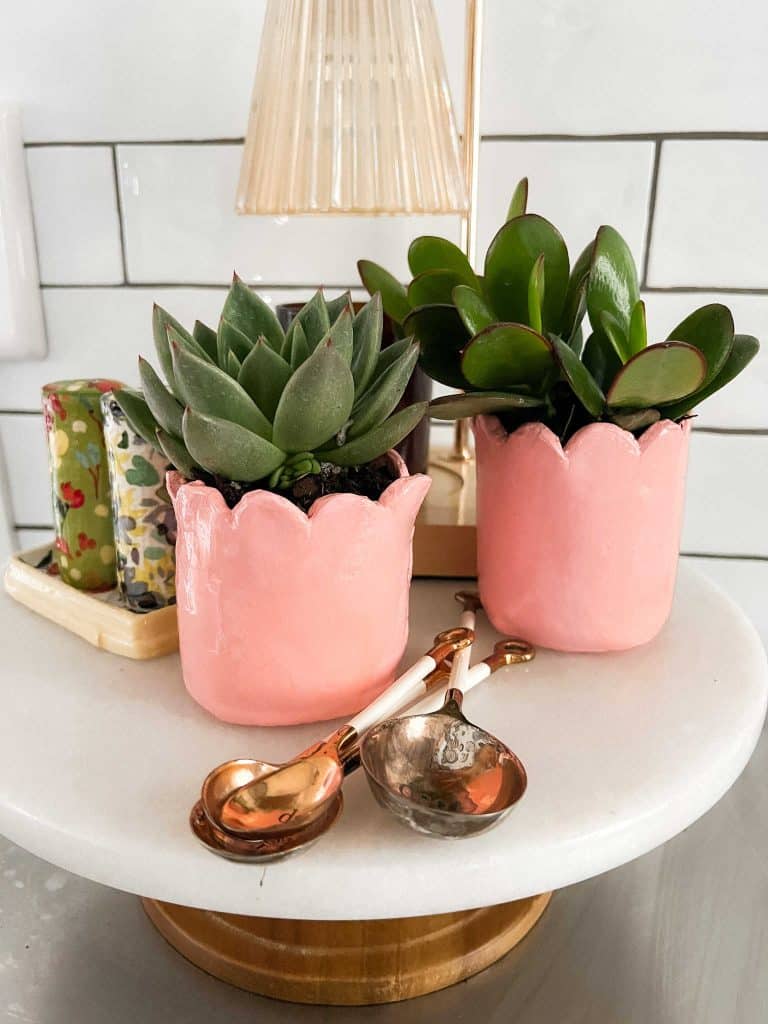
Once the paint has dried, you can seal the pot. Sealing the pot is very important. This will keep moisture from getting inside of the clay, which can make your pot fall Apart. I used a polyurethane spray paint, but you can use any type of polyurethane that you want. You can also use any sheen. I used a shellac sheen on my pots.
Plant Your Pot
Now you can add some soil to the pot and plant a succulent or a small plant inside. Enjoy your spring succulent scallop pots!!

Blogger’s Best Spring Decorating Ideas
- The Best Artificial Flowers for Spring | My Sweet Savannah
- 10 Ways to Update Your House for Spring | Twelve on Main
- Easy Spring Decorating! | Zevy Joy
- Simple Spring Decor To Make You Smile | Classic Casual Home
- Easy DIY Placemats | Happy Happy Nester
- Colorful Throw Pillows for Spring Decorating | My 100 Year Old Home
- Spring Ivy Topiary DIY | Craftberry Bush
- How to Easily Decorate a Mantel for Spring | Robyns French Nest
- Creative Ways to Decorate With Tree Branches | Most Lovely Things
- Spring Decorating Ideas for the Kitchen | Eleanor Rose Home
- DIY Clay Succulent Scallop Pots | Tatertots and Jello
- Easy Floral Spring Door Basket DIY | Inspiration for Moms
More Spring Ideas
Here are more Spring inspiration ideas!
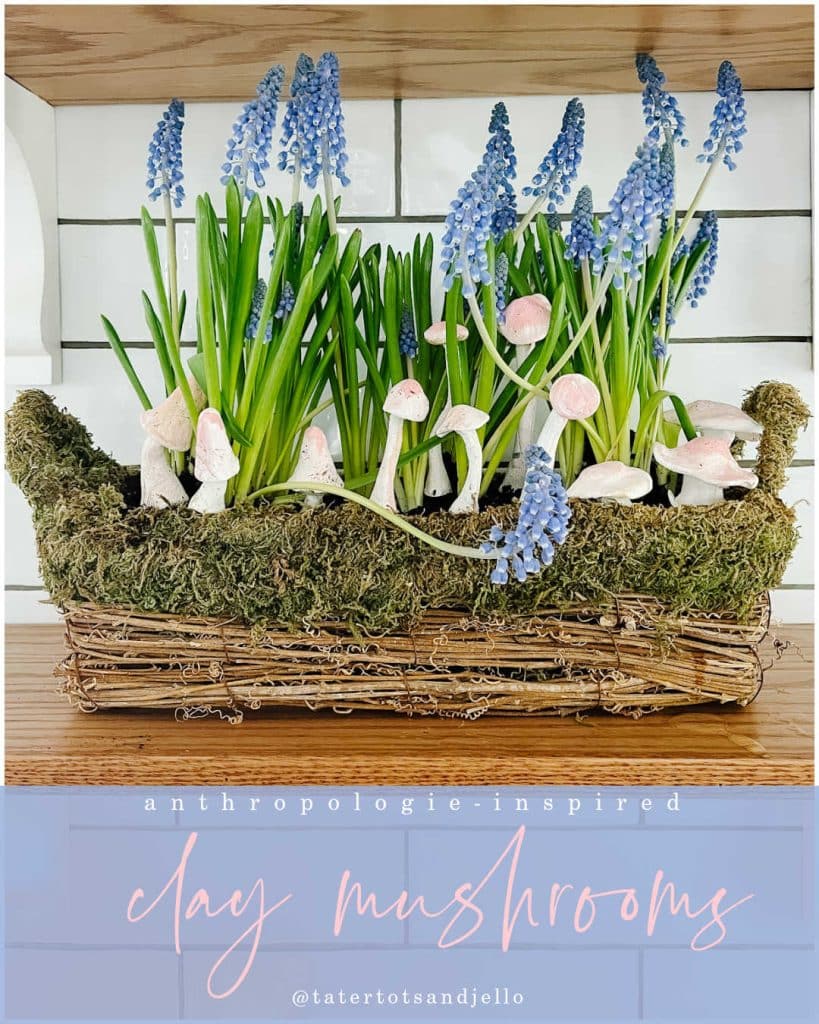
Air Dry Clay Mushroom Stakes
Anthropologie-Inspired Clay Mushroom Plant Stakes. Make these adorable clay mushroom stakes to add to planters and for Spring!
18 DIY Spring Ideas
18 DIY Spring Home Ideas! Refresh your home for Spring with these fresh and easy DIY projects!
Pin These Ideas For Later!

12 spring decorating ideas
Have a Creative Day!
xox




These are so cute! I have not work with the air dry clay. This project makes me want to!
Thanks Kim!
Air-dry Clay is so fun to work with period I think you would love it!
xoxo
Such a fun project! Thank you for sharing!
I love using air dry clay and I love your little pots!
Jen! These are so cute! I use air-dry clay but never thought of painting it!
This is so darling, Jen!!! Perfect for Spring and would make a great and thoughtful gift!
Happy Spring.
Mary Ann