Anthropologie-Inspired Painted Bouquet Holiday Ornaments. Turn plain white ornaments into colorful floral ornaments by using craft paint and glitter for an inexpensive ornament alternative.
Anthropologie-Inspired Painted Bouquet Holiday Ornaments
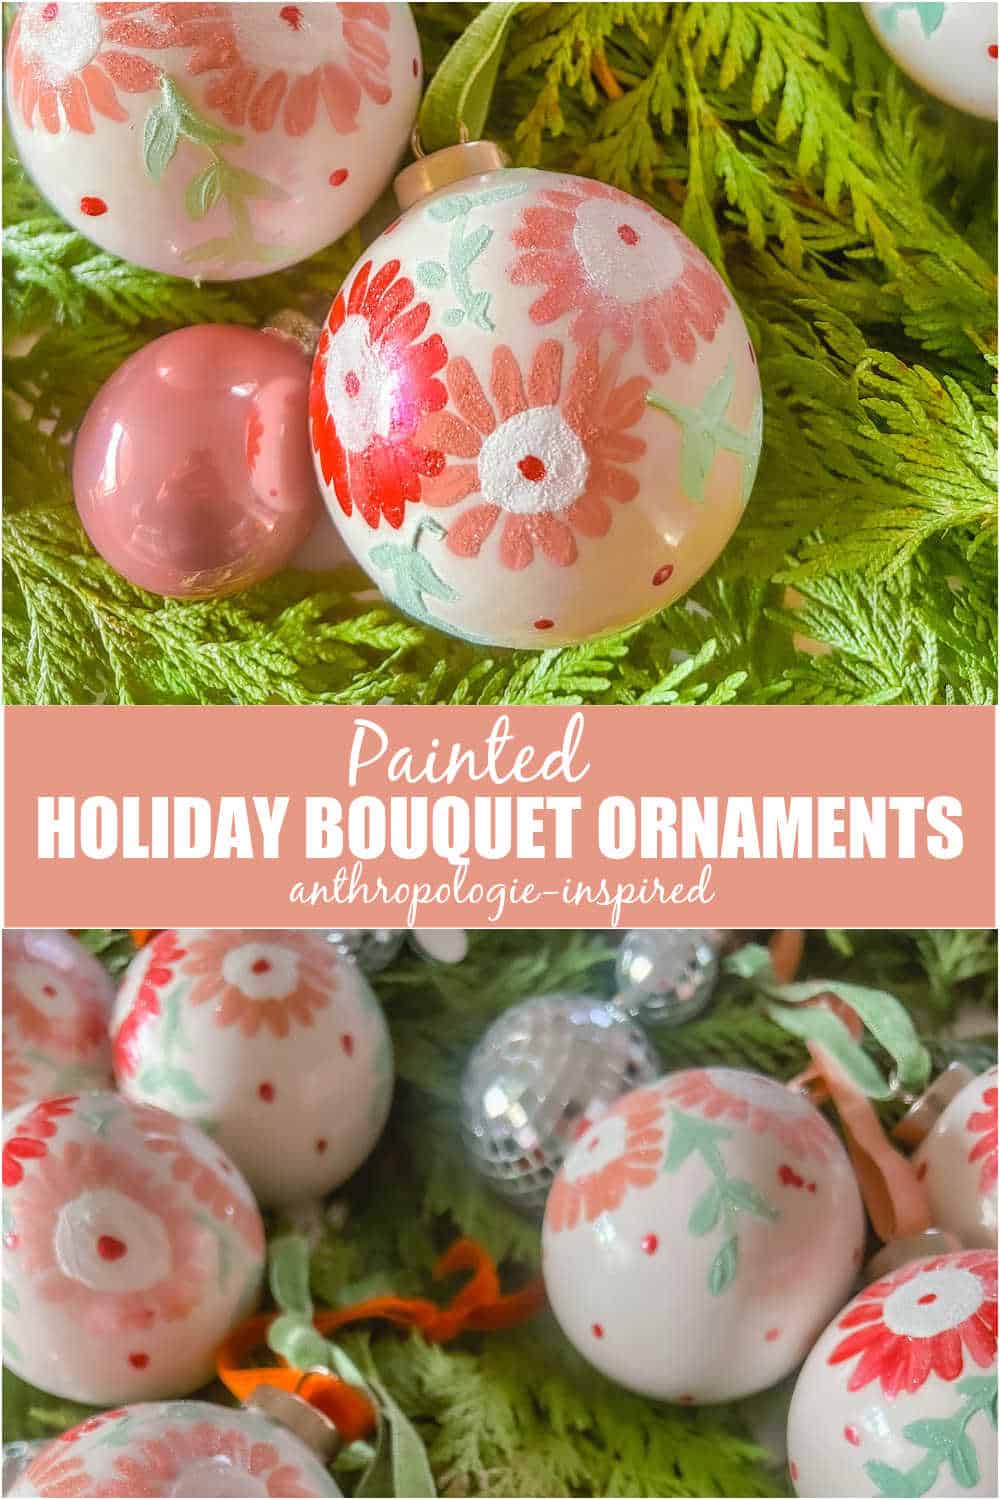
Hi friends!! I adore Anthropologie always, but especially at the holidays. They share my love of COLORFUL holiday decor. So when I saw their Pained Bouquet Ornaments I loved the colors that fit right in with my pink, orange and red holiday decor. I used what I already had for a FREE version of their adorable flower ornaments!
SEVEN Beautiful Ornament Tutorials
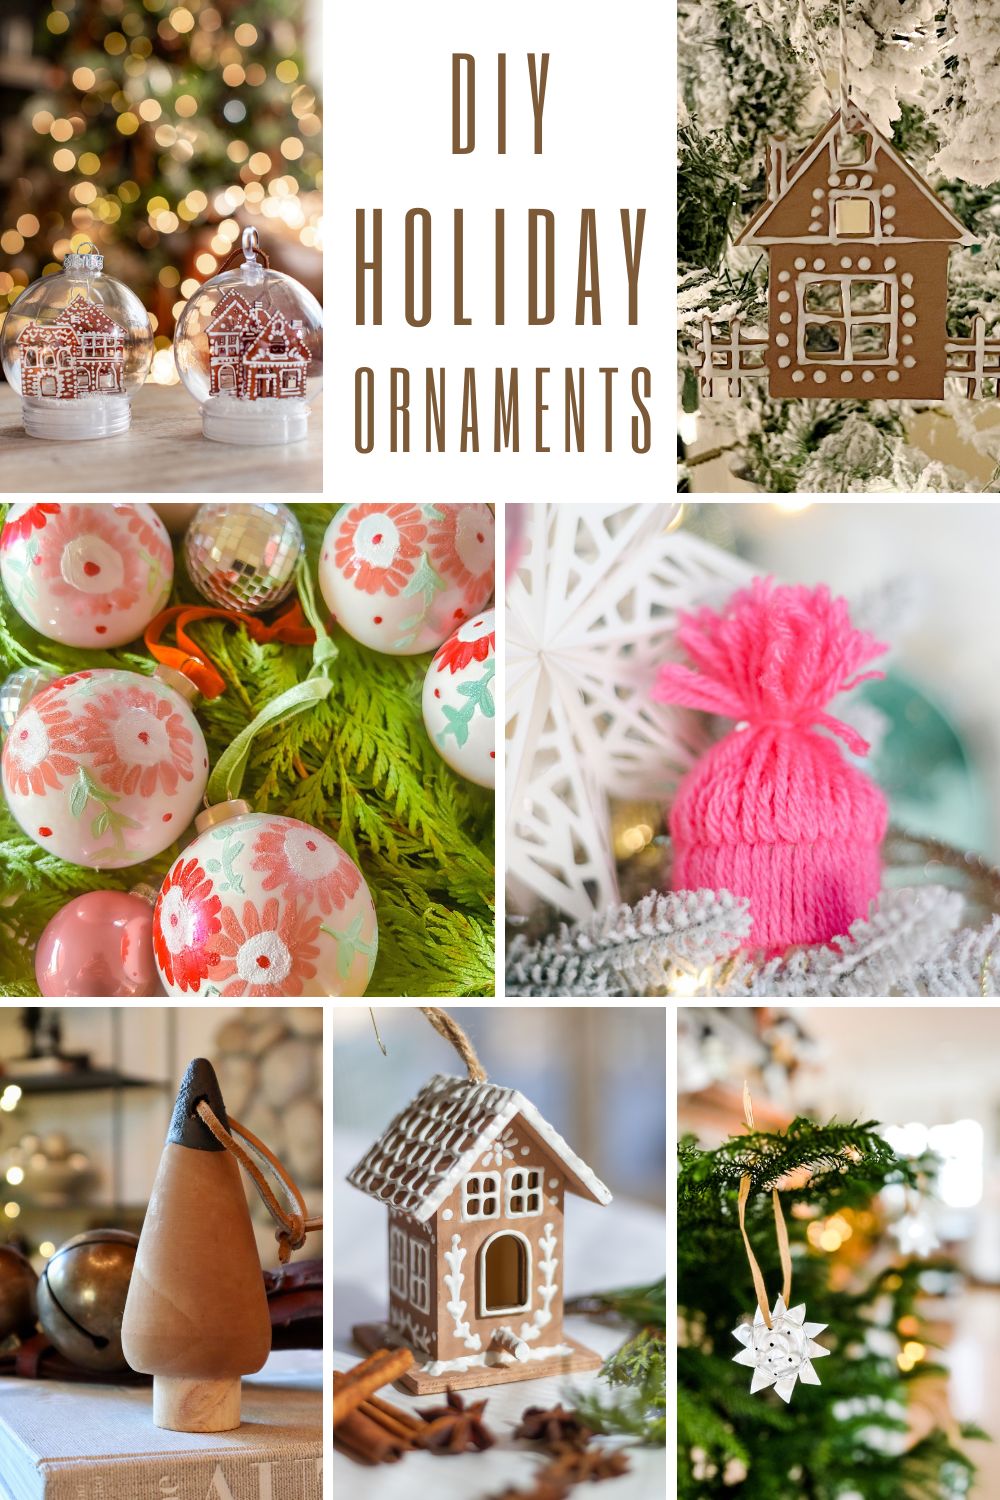
Today I am joining some friends who are sharing the prettiest DIY ornament ideas. Be sure to scroll down and jump over to see their ornament tutorials!
Anthropologie’s Painted Bouquet Ornaments
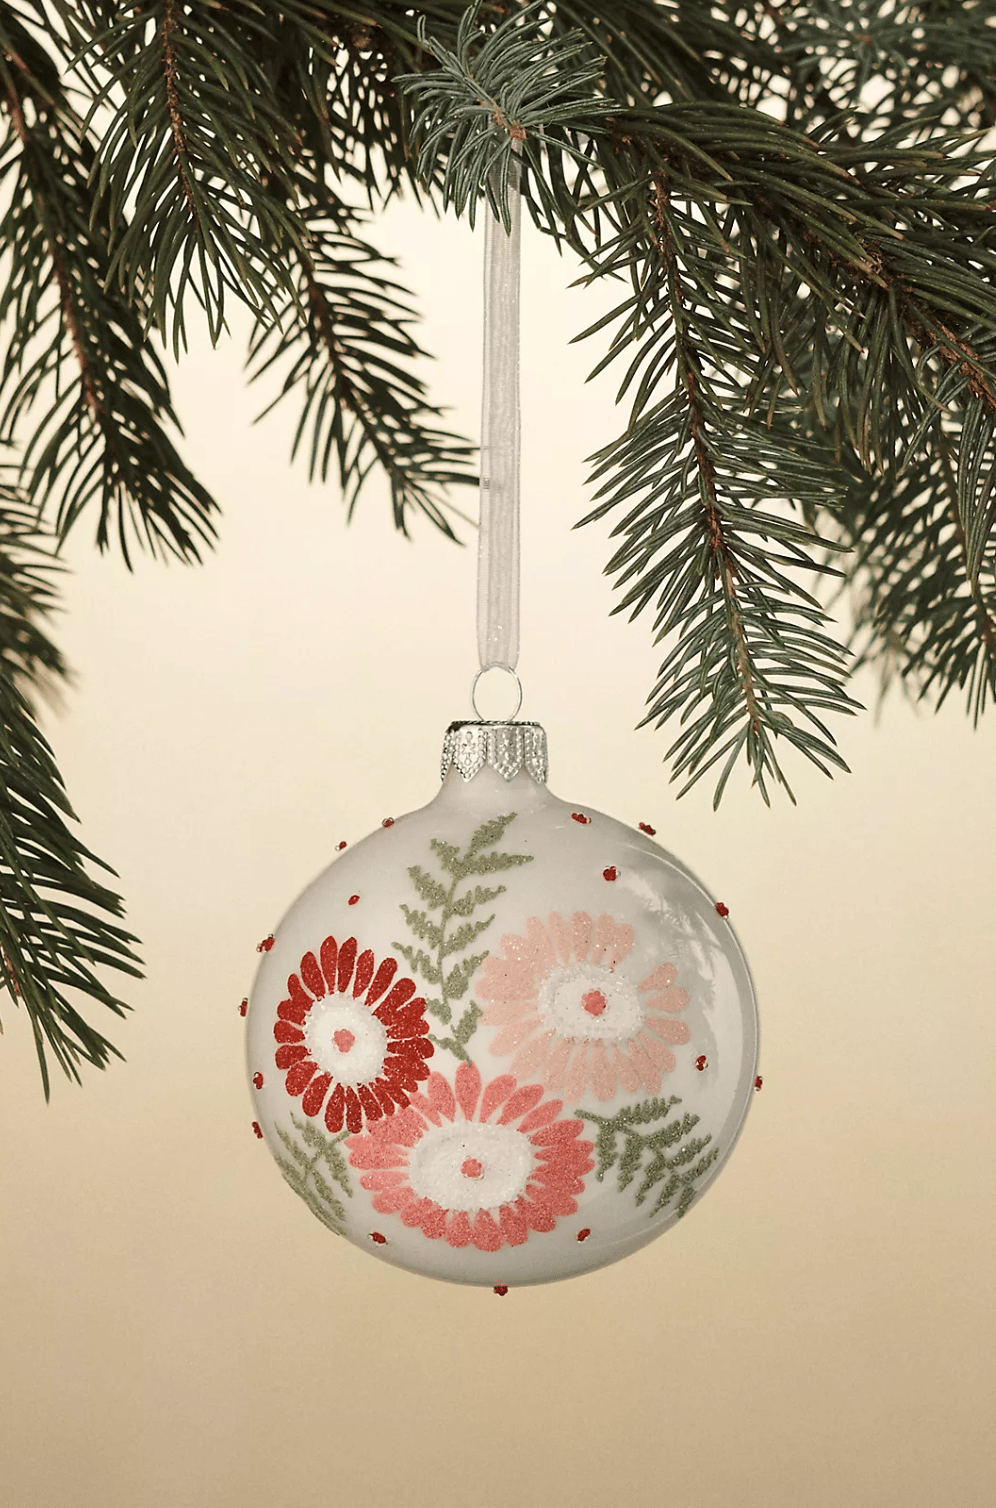
Here’s the inspiration behind my knock-off painted ornaments. They come in three different colors. I decided to use white ornaments since I already had white ornaments from a different project. The flowers are three different colors of pink-red paint and then the stems are a kind of bluish-green. I love the colors and they match the colors in my rainbow rug and tree. So I thought it was the perfect project to create for FREE since I already had all of the supplies.
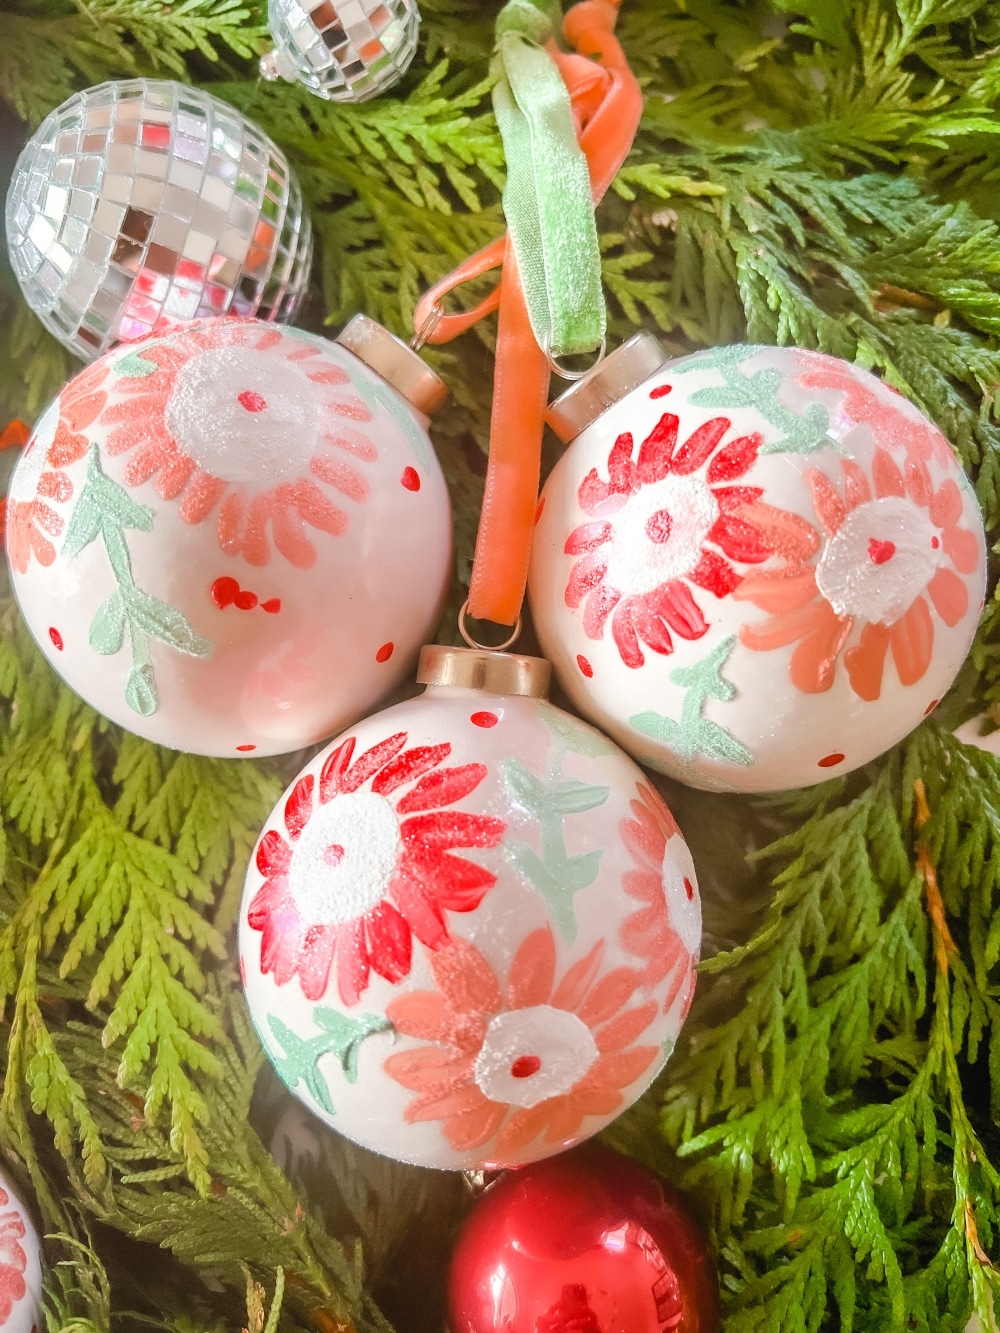
Supplies to Make Painted Flower Ornaments
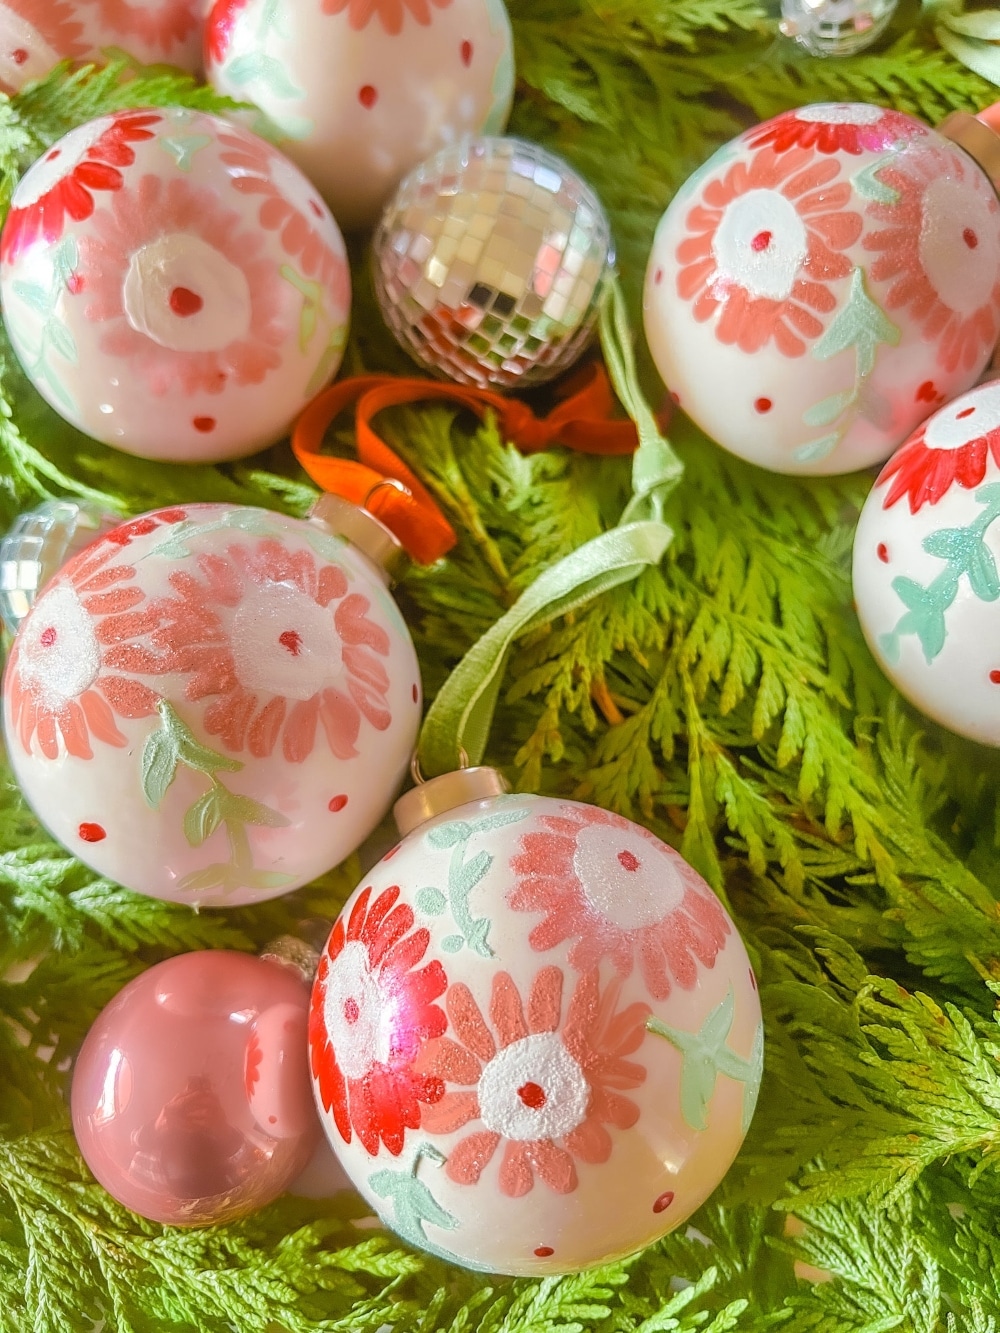
Here are the supplies to make this fun project. You can use ANY color of paint to personalize this project to YOUR decor.
- White Ornaments – I used a very heavy white ceramic ornaments.
- Three colors of craft paint — light pink, an orange-pink and a darker red-pink.
- A green paint for the stems.
- Iridescent glitter – using an iridescent glitter makes the ornaments sparkle without covering up any of the paint with a color.
- Velvet ribbon – I used three different colors of velvet ribbon. I love the way the velvet texture looks with the shiny ornaments.
What Kind of Pain Do You Use to Created DIY Painted Ornaments?
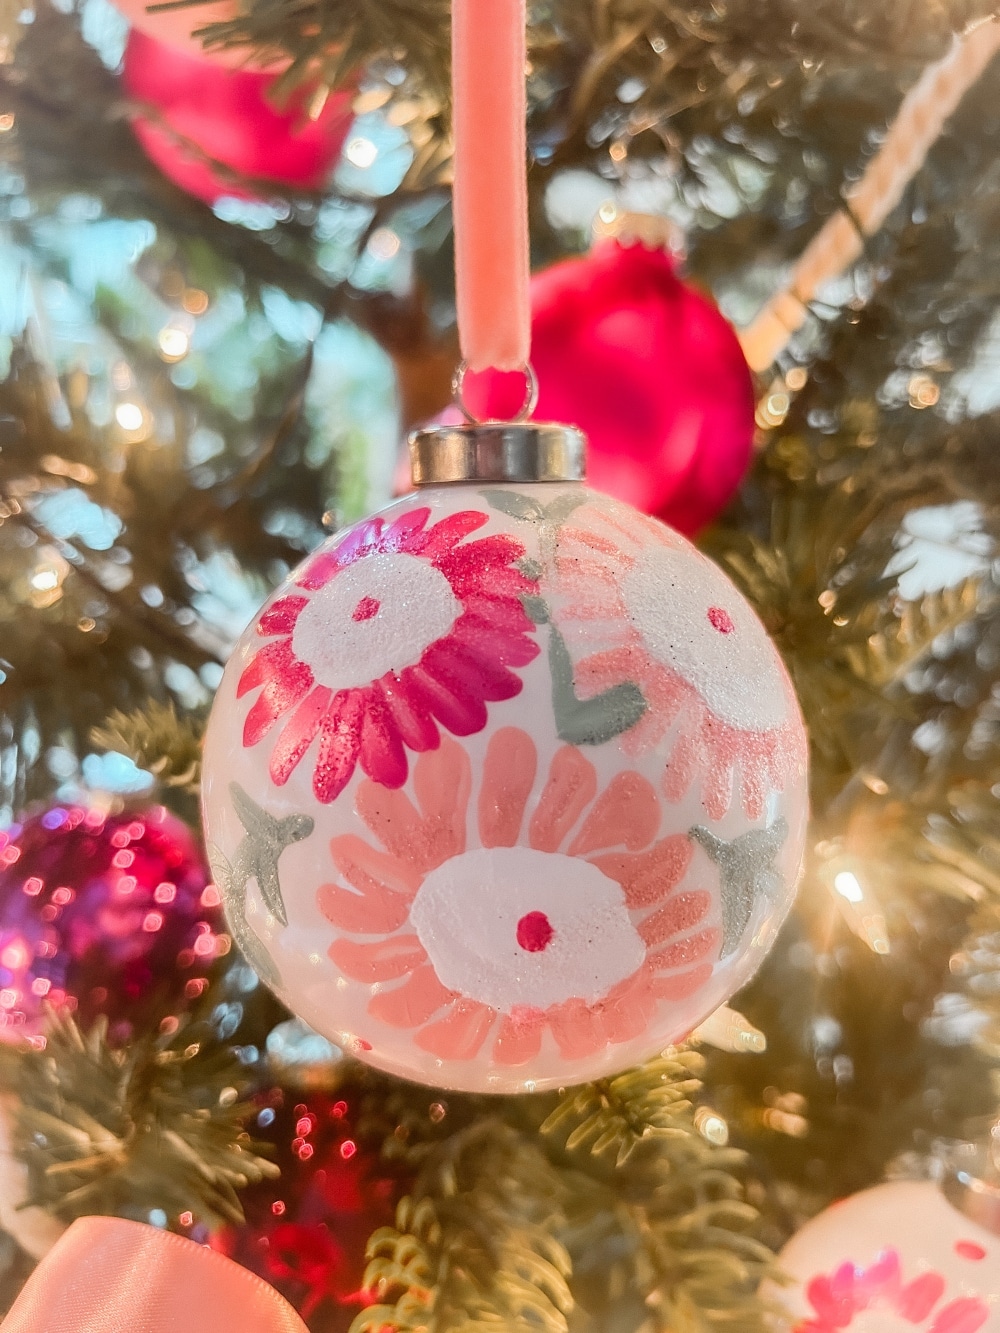
I used plain craft paint for this one. I applied it pretty thick to make sure it was durable on the ornament. The glitter also sticks to the paint and protect the paint. Of course you will need to be careful when you pack the ornaments up after the holidays. I wrap them individually in either toilet paper or paper towels to make sure they don’t rub on anything that can damage the paint. If you are worried about the paint rubbing off you can also spray them with a shiny polyurethane. The polyurethane I’ve linked below will protect the ornaments without yellowing.
- Polyurethane spray paint
Steps to Make Painted Bouquet Ornaments
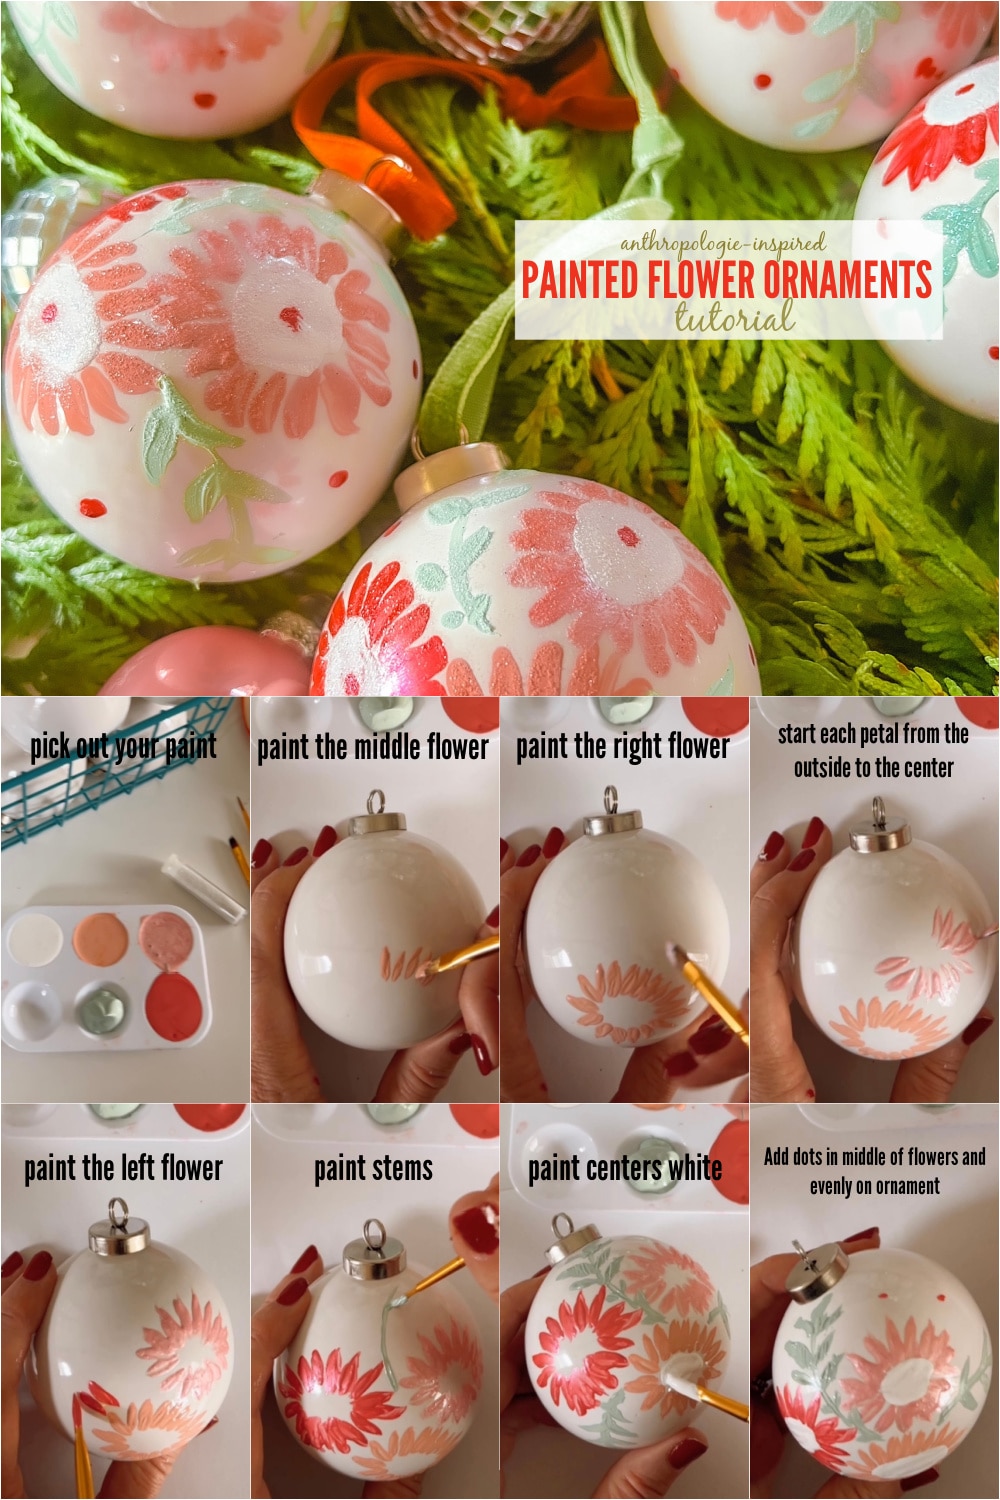
Here’s how to easily make these pretty flower ornaments!
- I painted the middle flower first. It’s quite low on the ornament.
- Begin with the first leaf in the very center of the flower and work your way around, making a slightly wider circle than a round circle. Each leaf is slightly bigger at the top of the leaf. Tip – Start the leaf at the top and go inwards when making them. Don’t worry if it isn’t perfect, this is HANDMADE and it’s supposed to be imperfect. Now you will paint a white center to the flower and you can cover up imperfections in the middle of the flower.
- Next I painted the left flower. The flowers on both sides slightly overlap the middle ornament and there is a space between the top two ornaments where the stem runs through so you will want to leave a space there.
- Next, you have all three flower outsides done, paint the middles white.
- Now make the stems. There is one that runs from the top of the middle flower upwards toward the top of the ornament, one that starts on the outside of the right-side and one on the other left-hand side.
- Sprinkle iridescent glitter over all of the painted elements on the ornament.
- Add a piece of velvet ribbon at the top of the ornament.
- I hung a curtain rod up and hung my ornament on it to dry.
- Now, the ornaments are dry, add the dots. There is a dot in the middle of each flower and small dots along the entire ornament, including the bottom.
- I used the end of a paint brush to add the dots, this keeps the dots uniform.
- Next, Hang the ornaments back on the curtain rod so the dots can dry easier.
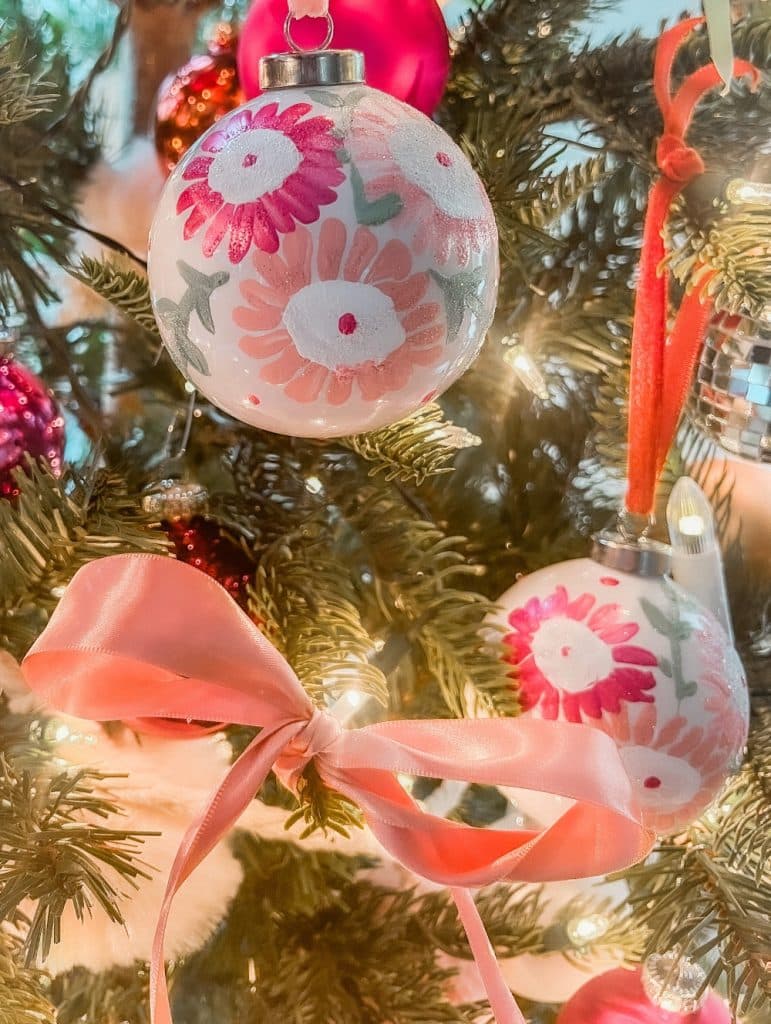
- Now you can hang the ornaments on the tree. This also when you would spray them with polyurethane if you want to do that. If you do decide to spray them with a clear coat, make sure to protect the velvet so it doesn’t get polyurethane. You can wrap the velvet ribbon with tin foil to protect it.
Pin Painted Flower Ornaments
Pin this idea to find later. And I would love to have you share this idea with someone that loves COLORFUL Christmas!

That’s it! I hope you try making them! They’re really fun to create. If you do, I’d love to have you tag me on Instagram at @tatertotsandjello. I would love to share yours!!
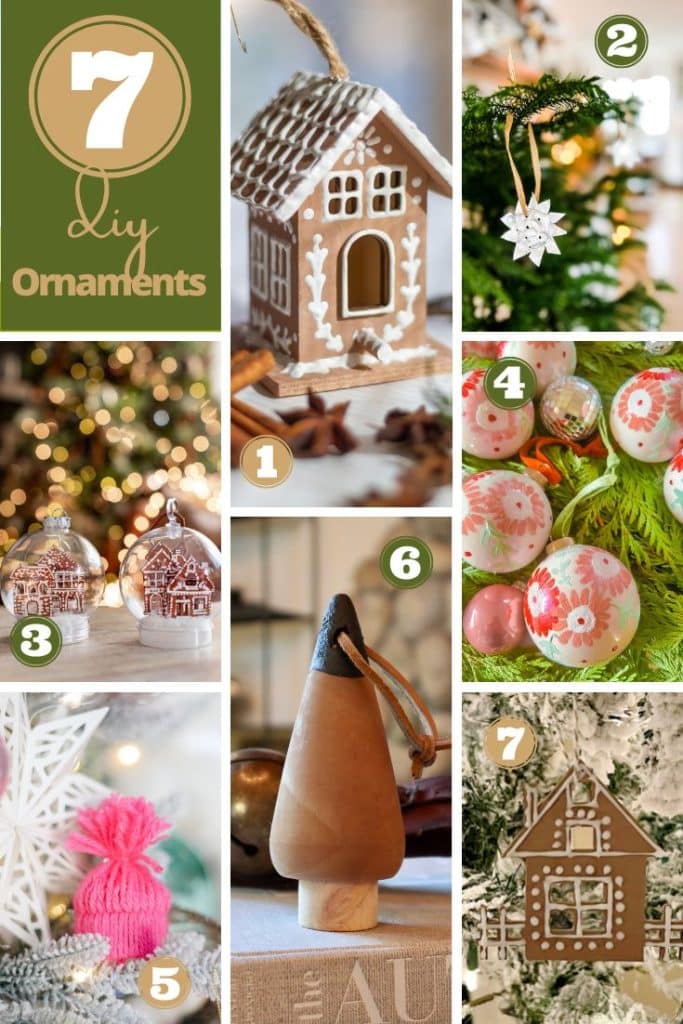
Blogger’s Best DIY Ornaments
- Gingerbread Birdhouse DIY Ornament | Zevy Joy
- Make Ornaments Using Recycled Tea Lights | Most Lovely Things
- Gingerbread House Village Snow Globe Ornament | Craftberry Bush
- Anthropologie-Inspired Painted Bouquet Ornaments | Tatertots and Jello
- Yarn Hat Ornaments Using A Toilet Paper Roll | Modern Glam
- DIY Wooden Christmas Tree Ornament | My Sweet Savannah
- DIY Gingerbread House Wood Christmas Ornaments | My 100 Year Old Home
Which one do you want to try first??
Let us know in the comments!
xoxo



These ornaments are beautiful! I am not a painter, but I would like to try my hand at it, and I like that there is a step by step painting tutorial for the flowers.
Alexandra
EyeLoveKnots.com
OnRockwoodLane.com
Gorgeous, Jen, and I love that they are so doable! I’d love for you to join us over at the Creative Crafts Linky Party every Wednesday through Sunday
https://creativelybeth.com/creative-crafts-linky-party/
Pinned! 🙂
Creatively, Beth
Thanks Beth! I will stop by thanks!
xoxo
Great ornaments! Love your blog
Thanks so much!
xoxo
I love these! They turned out so pretty!
Thanks Ashley! I love that they don’t need to be perfect!
xoxo