Bee Kind Summer Beaded Beehive Wreath. Celebrate summer by creating a beehive wreath with mini skeps and a Bee Kind Banner!
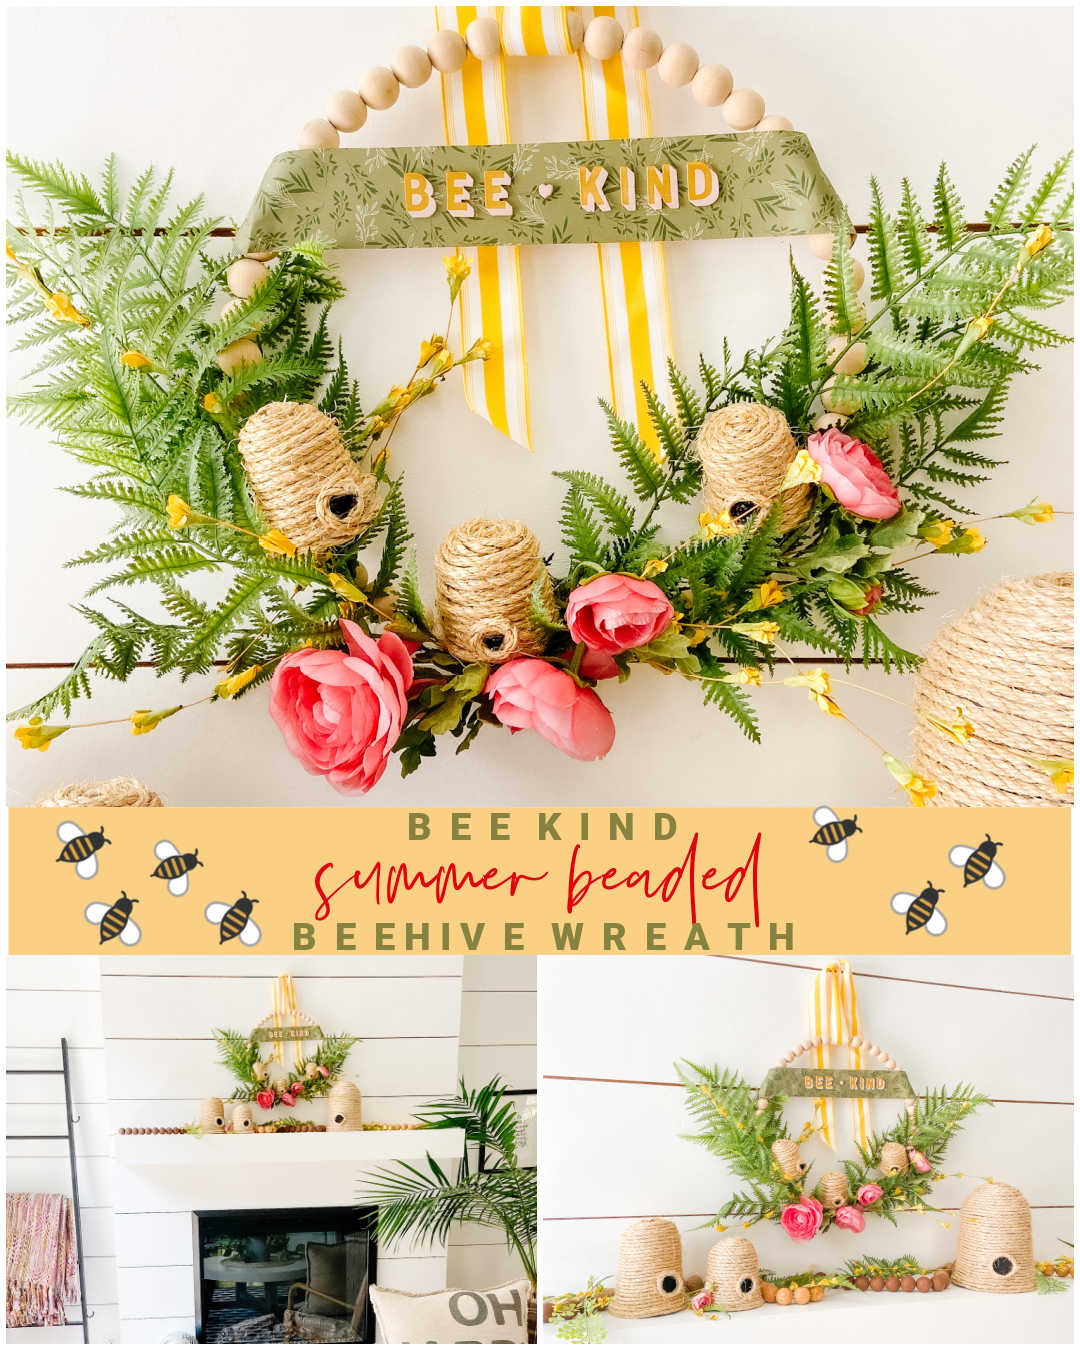
Bee Kind Summer Beaded Beehive Wreath
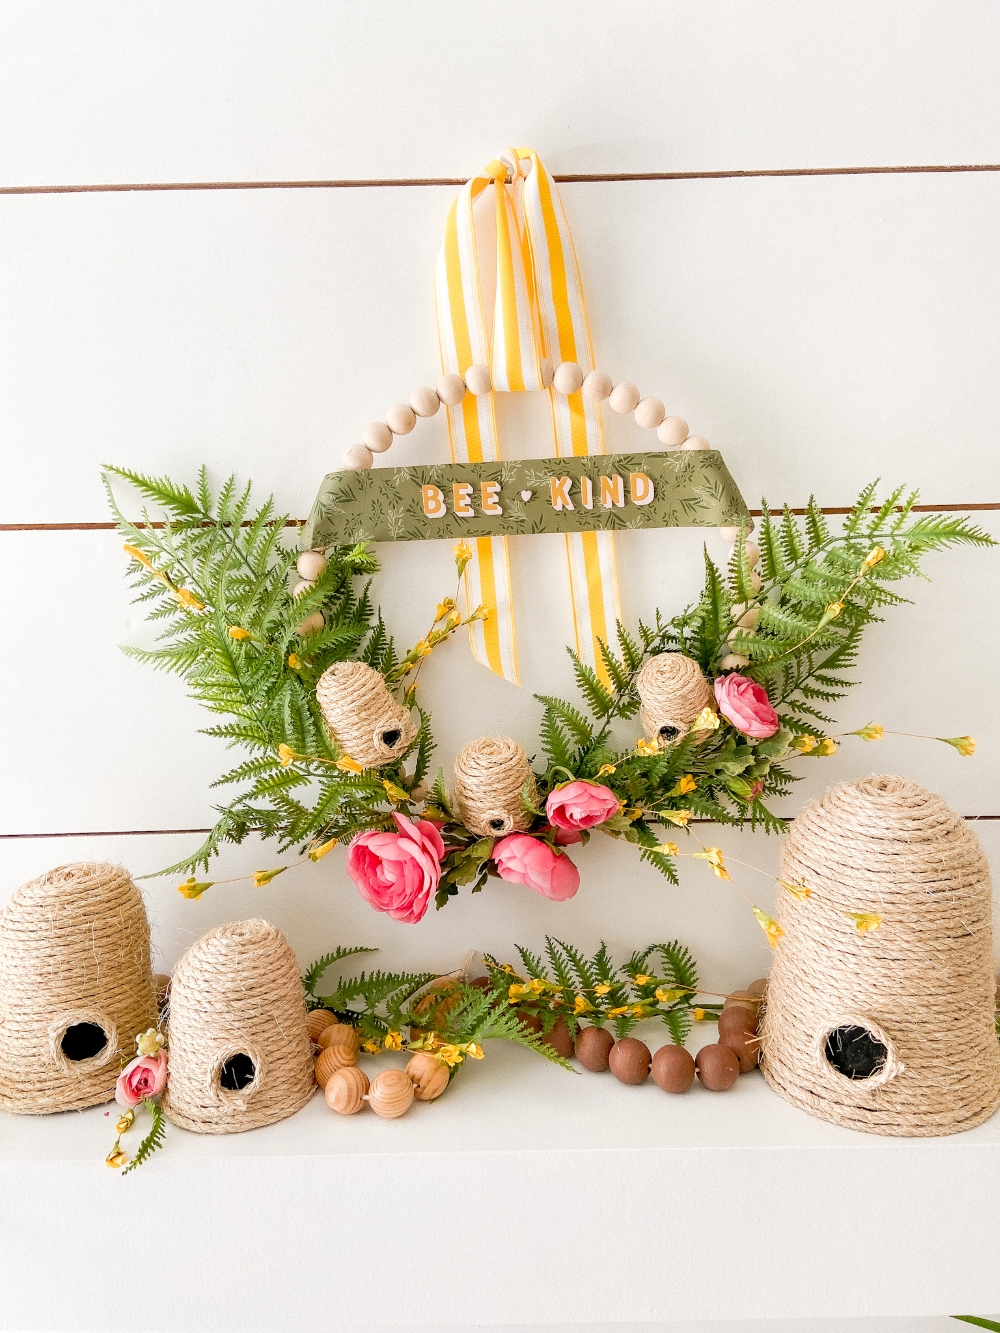
I love seeing the bees in our yard during summer. I know that they are pollinating the plants and flowers so they bloom! I’ve been really fascinated with beehives, also called skepts, this year. I think beehives are the perfect theme for summer! I’ve made a few different sized beehives out of old pots and paper containers this year. I thought It would be fun to create a summer wreath with a beehive theme!
Make Beehives Out of Old Coffee Pods
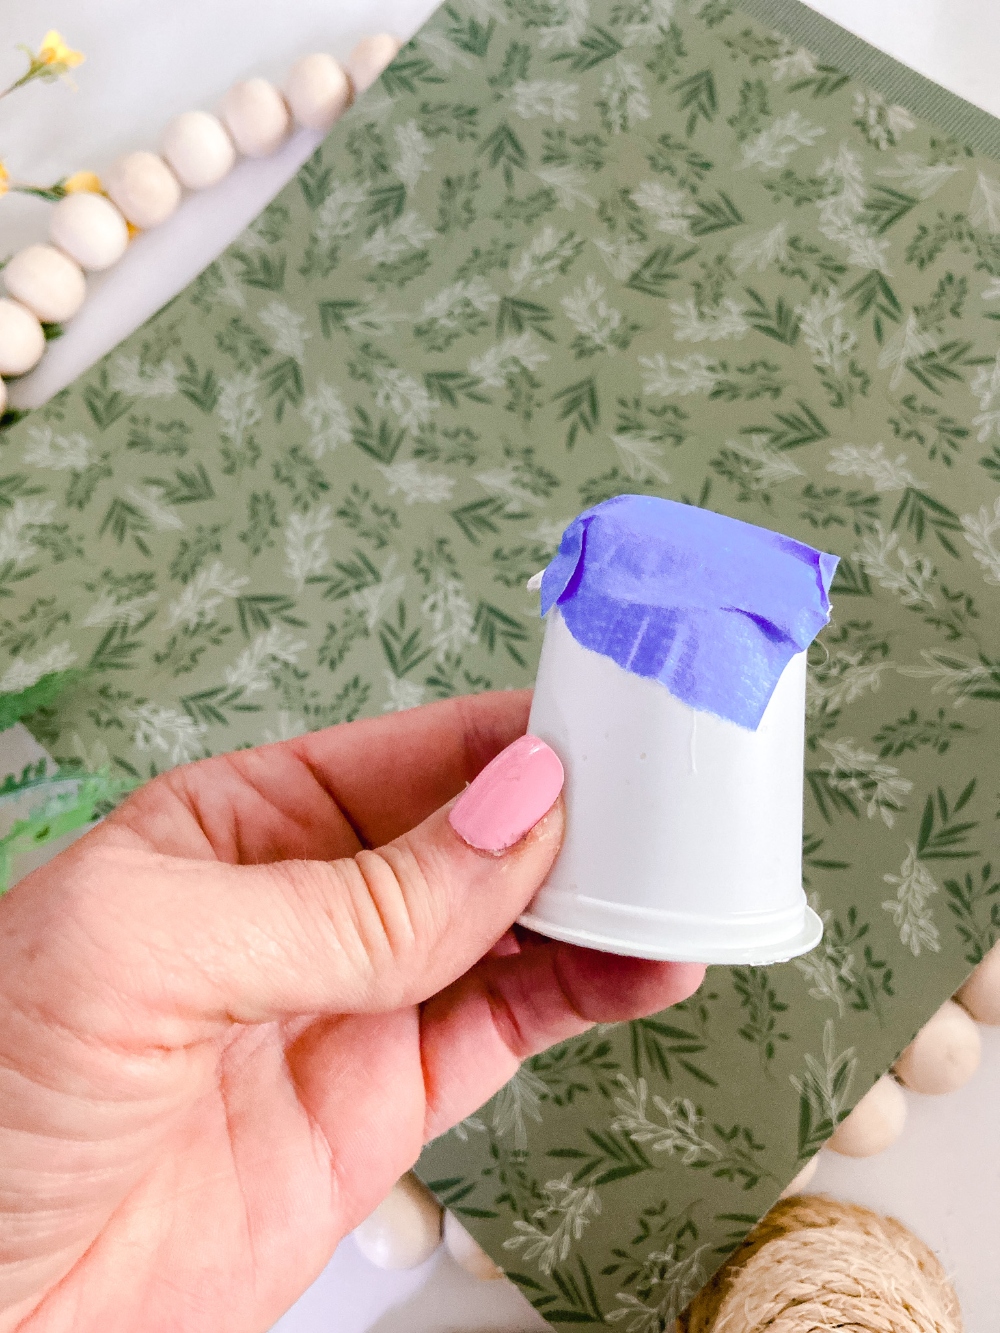
As I was creating the beehives for this wreath I searched around for a very small container that I could wrap in twine that is beehive shaped. I discovered that coffee and hot chocolate pods are the perfect size and shape! I love recycling things to use as I craft.
How Do You Make a Twine Beehive?
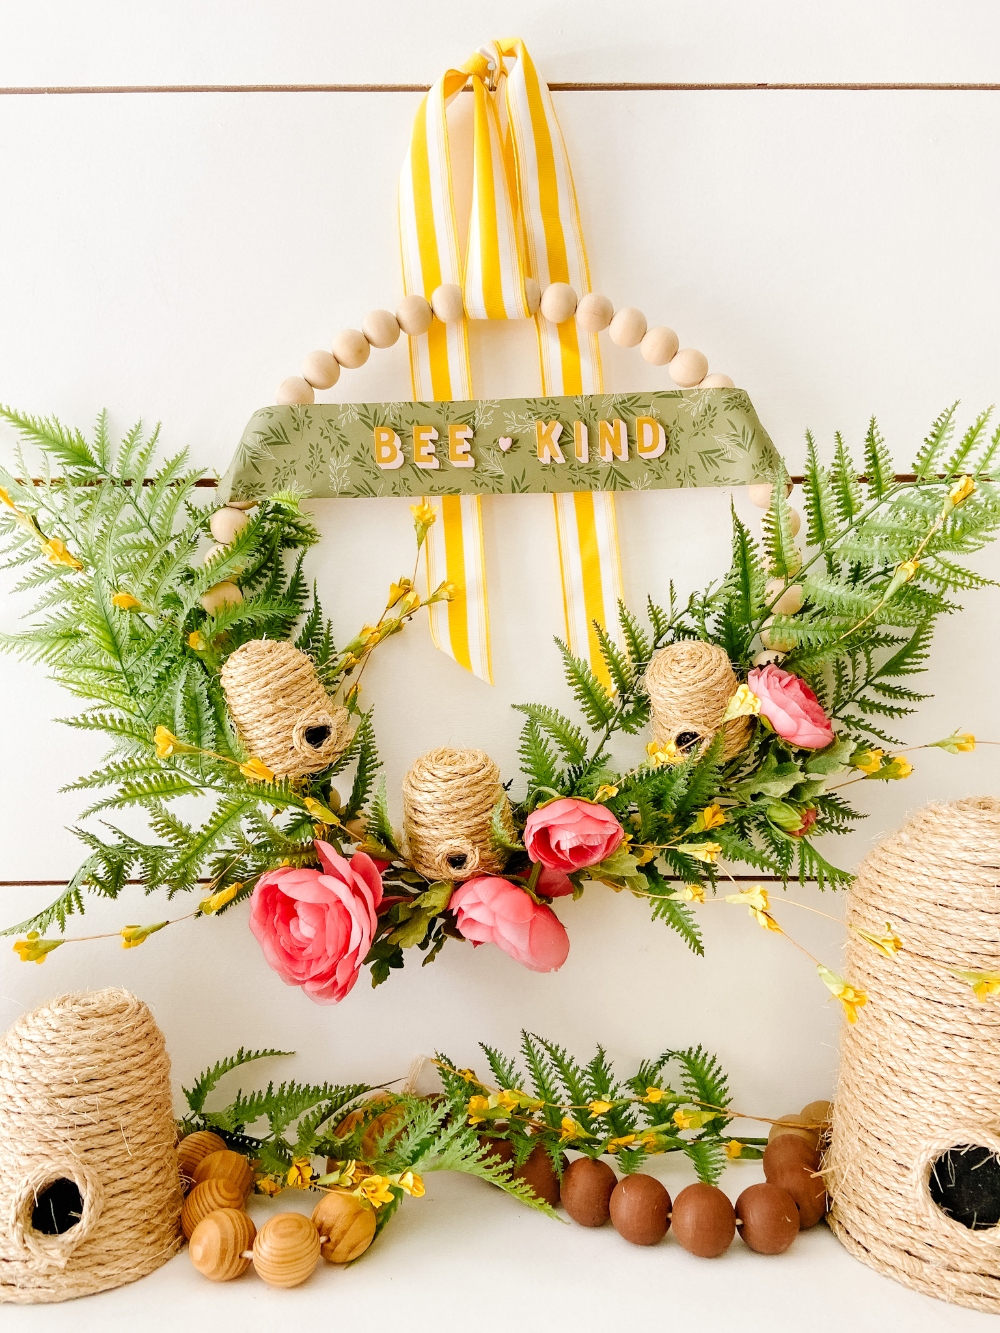
I shared the process of making the beehives in my post about our backyard with DIY Beehive Instructions. So head over there if you want more detailed instructions. But basically you flip the pod over so the bigger size is down. Now add a line of hot glue to the base of the pod and wrap it with twine. Then continue wrapping the pod and glueing it as you go until you get to the top of the pod. Now wrap it along the top, cut the end and glue the end into the center of the circle you have created. To get a more rounded look at the top I folded up half a sheet of paper towel and taped it to the top of the pod.
Supplies to Make a Beaded Beehive Wreath
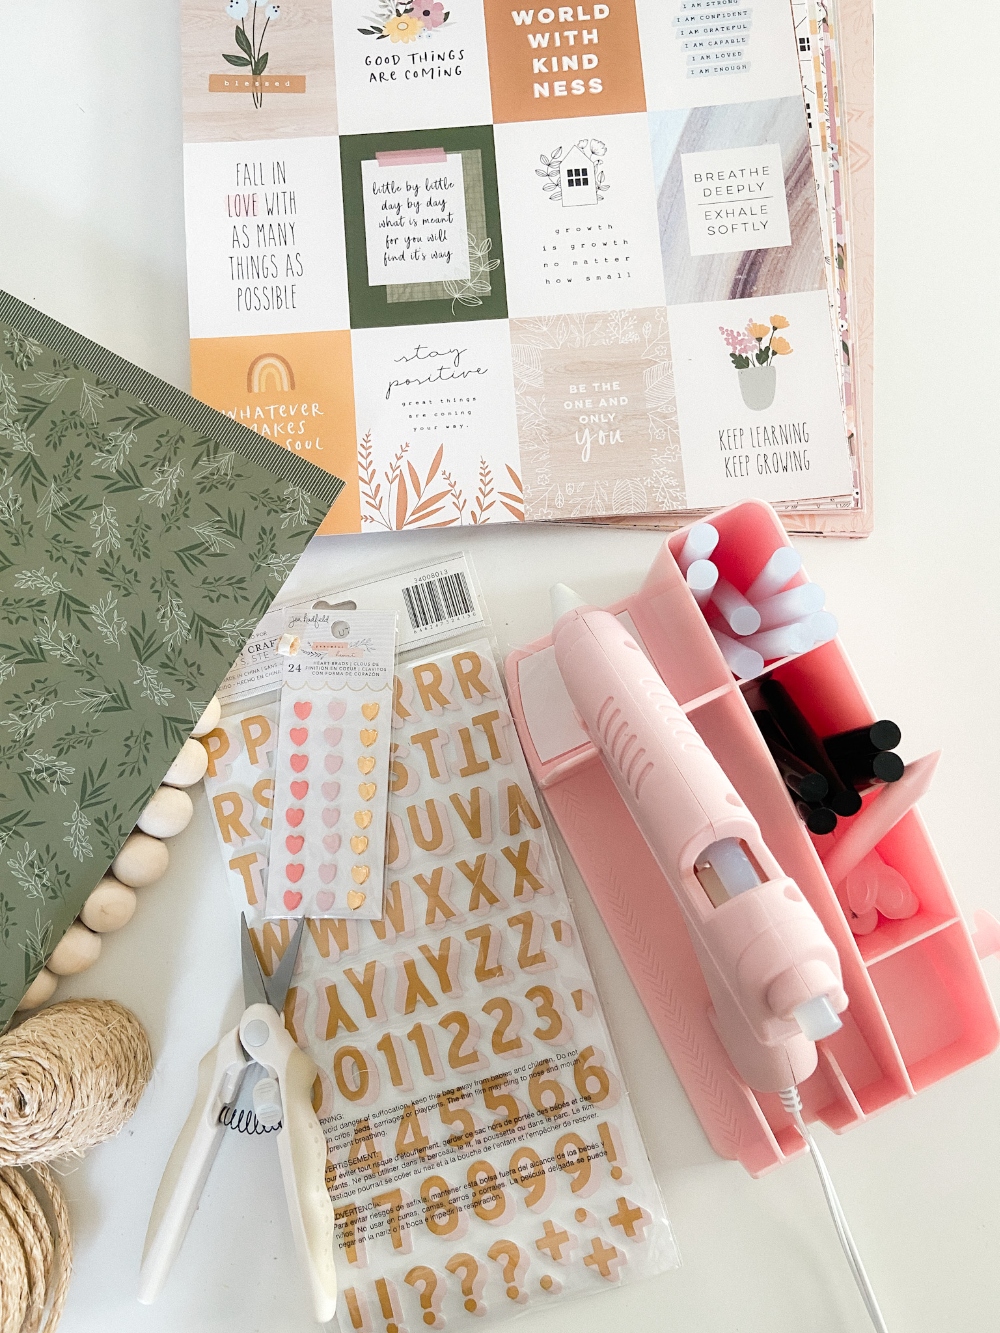
Here are the supplies needed to create this pretty summer wreath. I have links to the supplies to make it even easier!
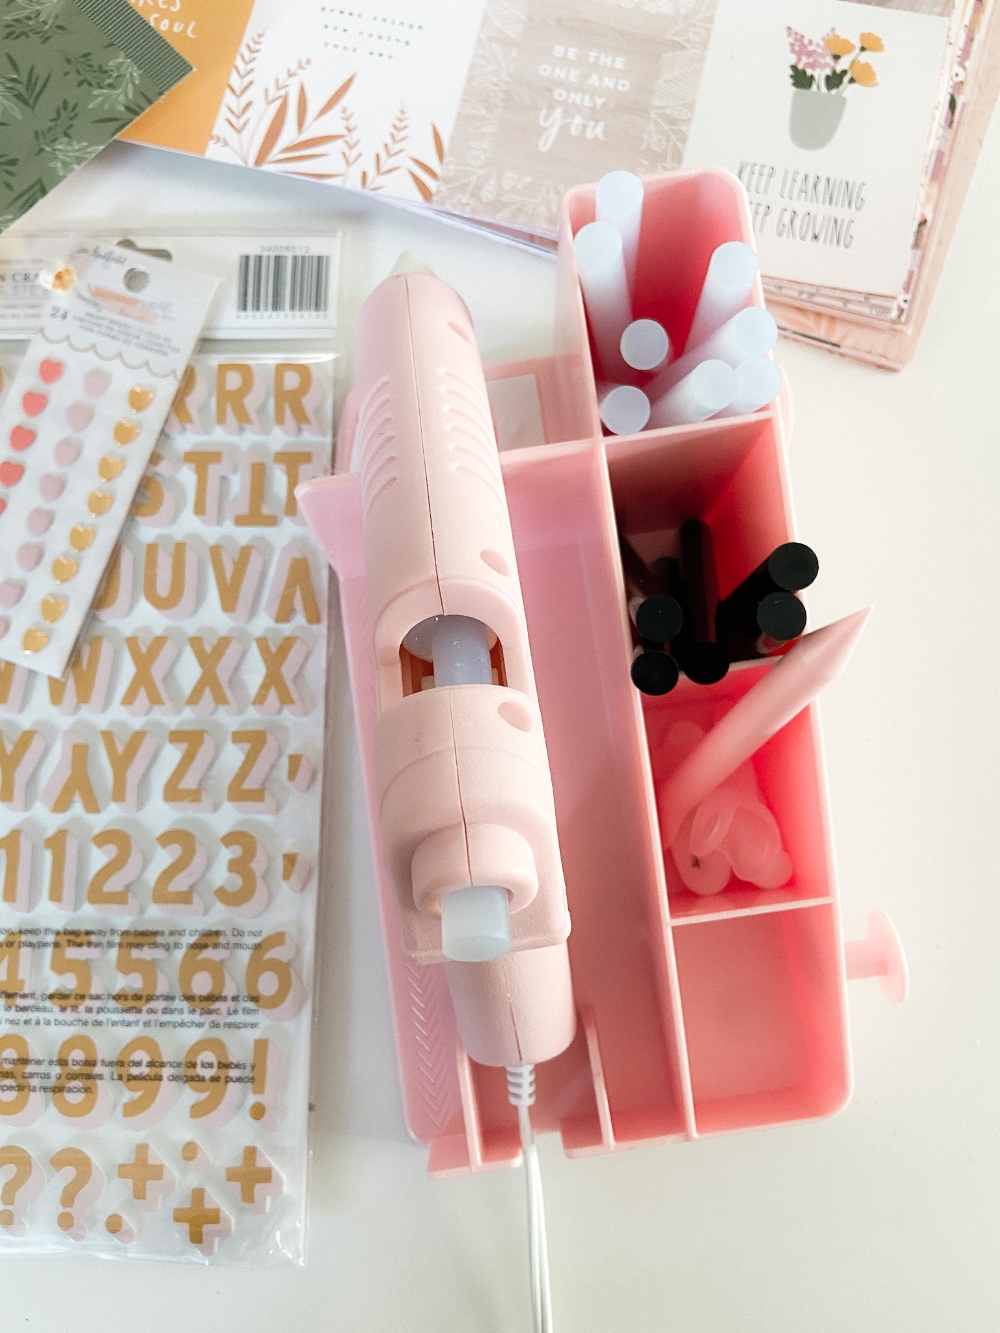
- 14-inch Beaded Wreath Form
- Twine
- Coffee or Hot Chocolate Pods (I figure you can find these and don’t need links LOL)
- Greenery (I used 1 bunch of fern leaves)
- Yellow Flowers
- Pink Flowers
- Scrapbook Paper (I used paper from my new Pebbles Peaceful Heart line – now in JoAnn Stores!)
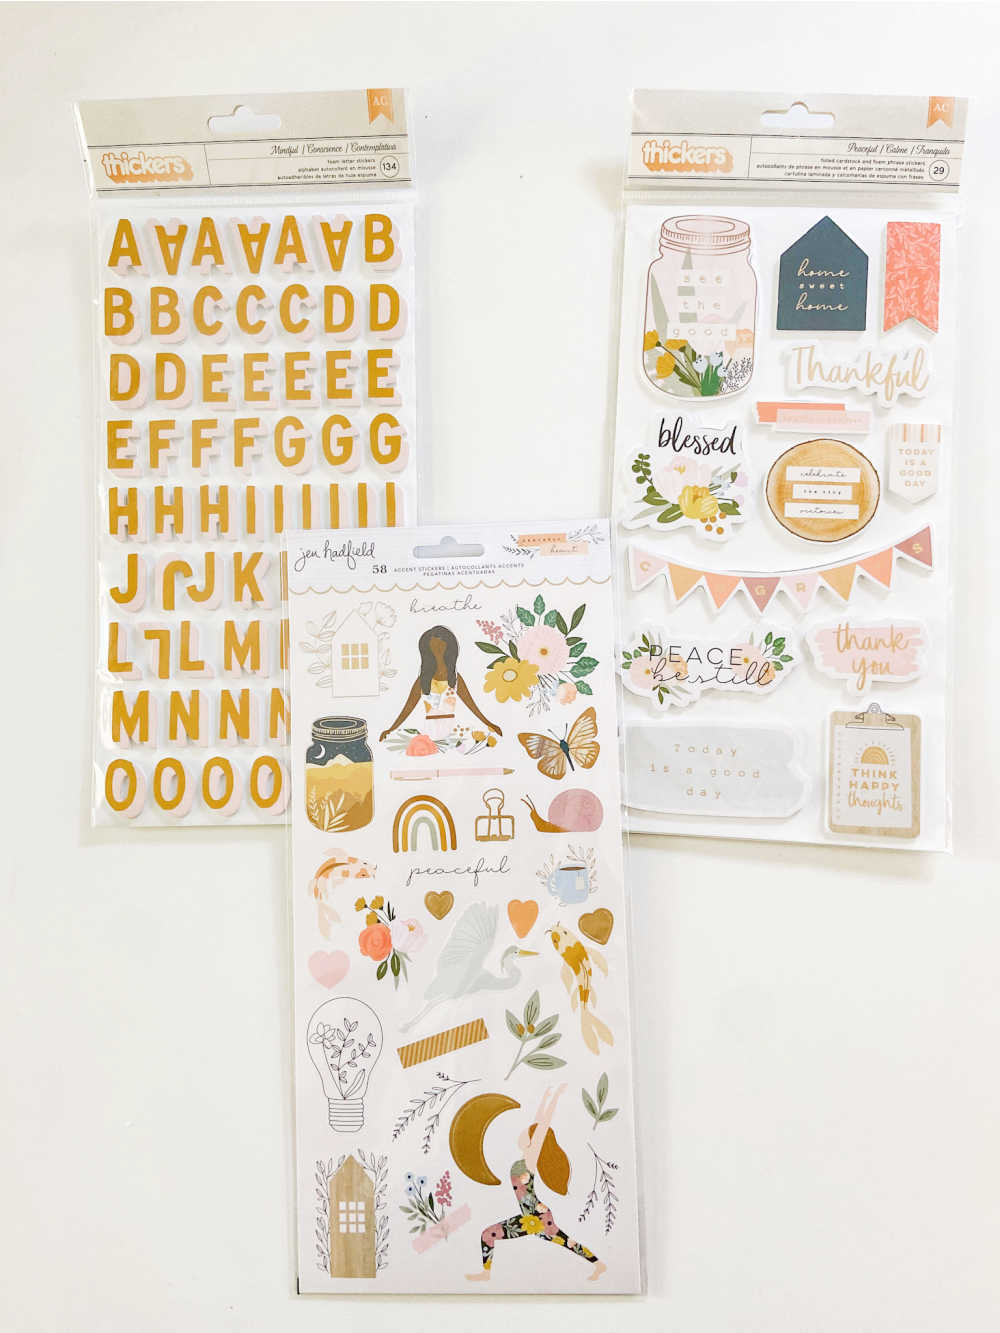
- Thicker Letters to Spell Out Bee Kind (I used the thicker letters from my Peaceful Heart line)
- Heart Embellishment (this is also from my Peaceful Heart line – at JoAnn Stores)
- Ribbon
Peaceful Heart Line at JoAnn Stores
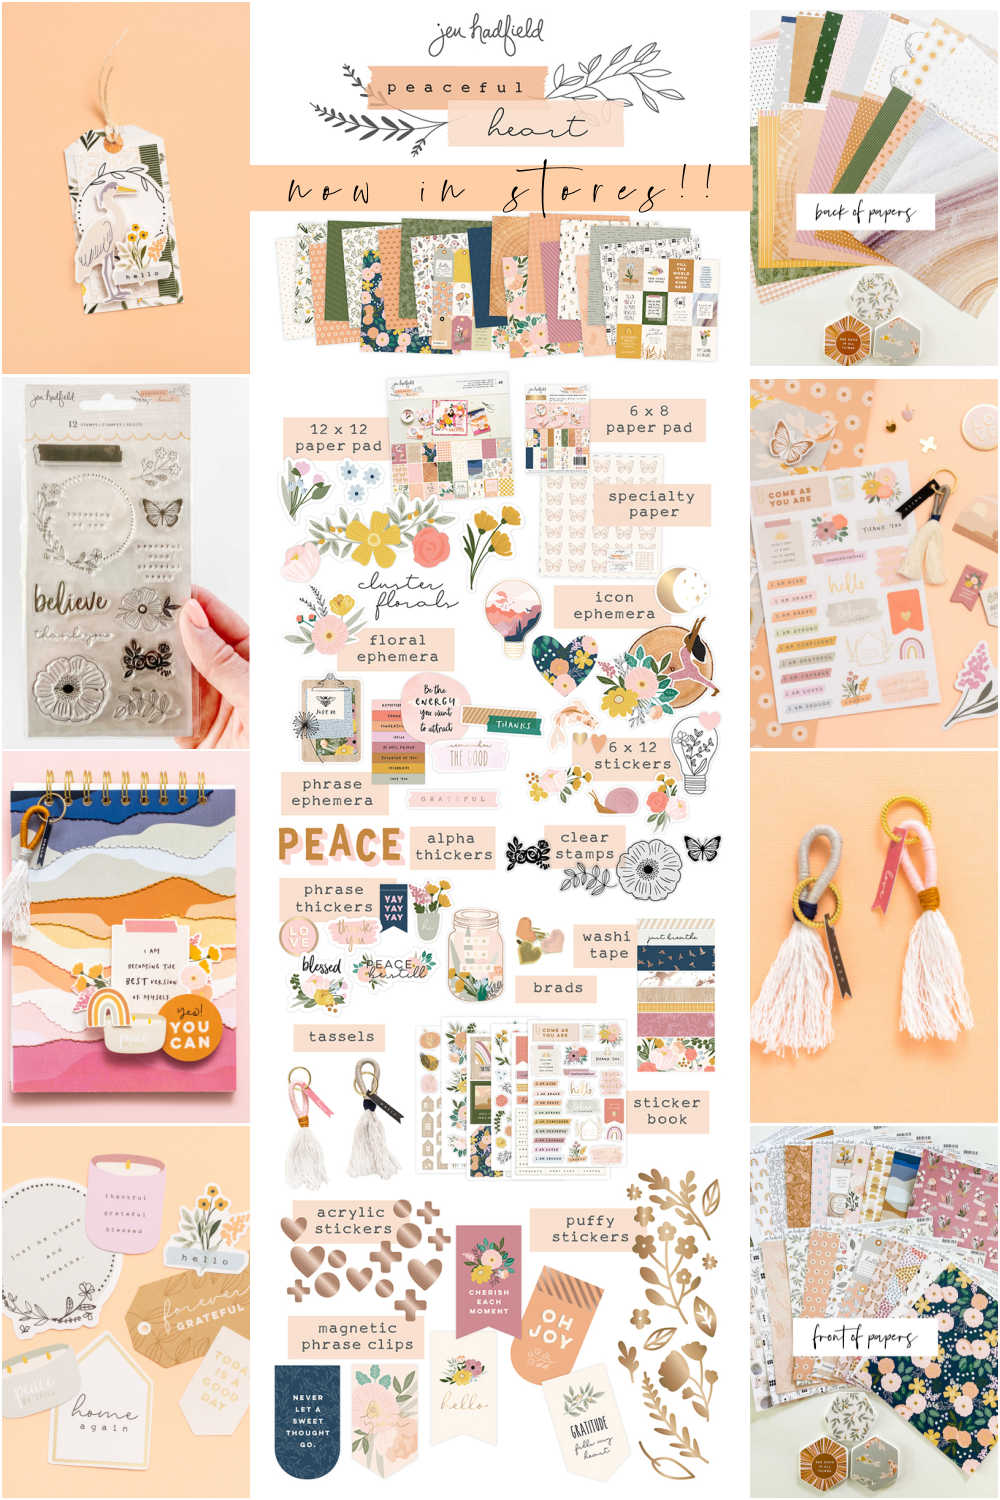
My new Peaceful Heart line is now at JoAnn Stores. I used paper, thickers and a heart brad from the line in this project! The whole line is so pretty! I hope you will check it out when you are at JoAnn Stores and tag me if you see it on Instagram at @tatertotsandjello! I would love to see it!!
How to Make a Summer Beaded Beehive Wreath
Here are the easy instructions on how to make this summer beaded wreath in under an hour!
Make Beehives
Wrap coffee pods with twine, Check out my Beehive Outdoor Post for more detailed instructions on how to do this.
Cut Fern Leaves Apart
Take the fern bundle and use heavy scissors or wire cutters to cut the leaves apart.
Glue Fern Leaves to Beaded Wreath Form
Take 5-6 fern leaves and glue them to one side of the wreath form, the ends will be at the center of the wreath, with the leaves spread outward. Glue the ends of the leaves to the center of the beaded wreath. Then glue the leaves along the beads so the leaves fan out along the wreath. Use as much glue as you need to get them to hold. Do this on both sides of the wreath.
Glue the Beehives onto the Wreath Form
Now place the beehives where you want them to go on the wreath. Use glue to glue them onto the wreath. I centered the beehives on the wreach so the base of the beehive was in the center of the beads to give it more stability.
Use Ferns to Secure Beehives
The beehives are pretty heavy so I also glued the beehive to the fern leaves to give it a little more stability. You can also place flowers under the beehives to give them more stability and help them stay centered. Use a lot of glue. You can also flip the wreath over and glue from the back to get everything to stay.
Add Flowers
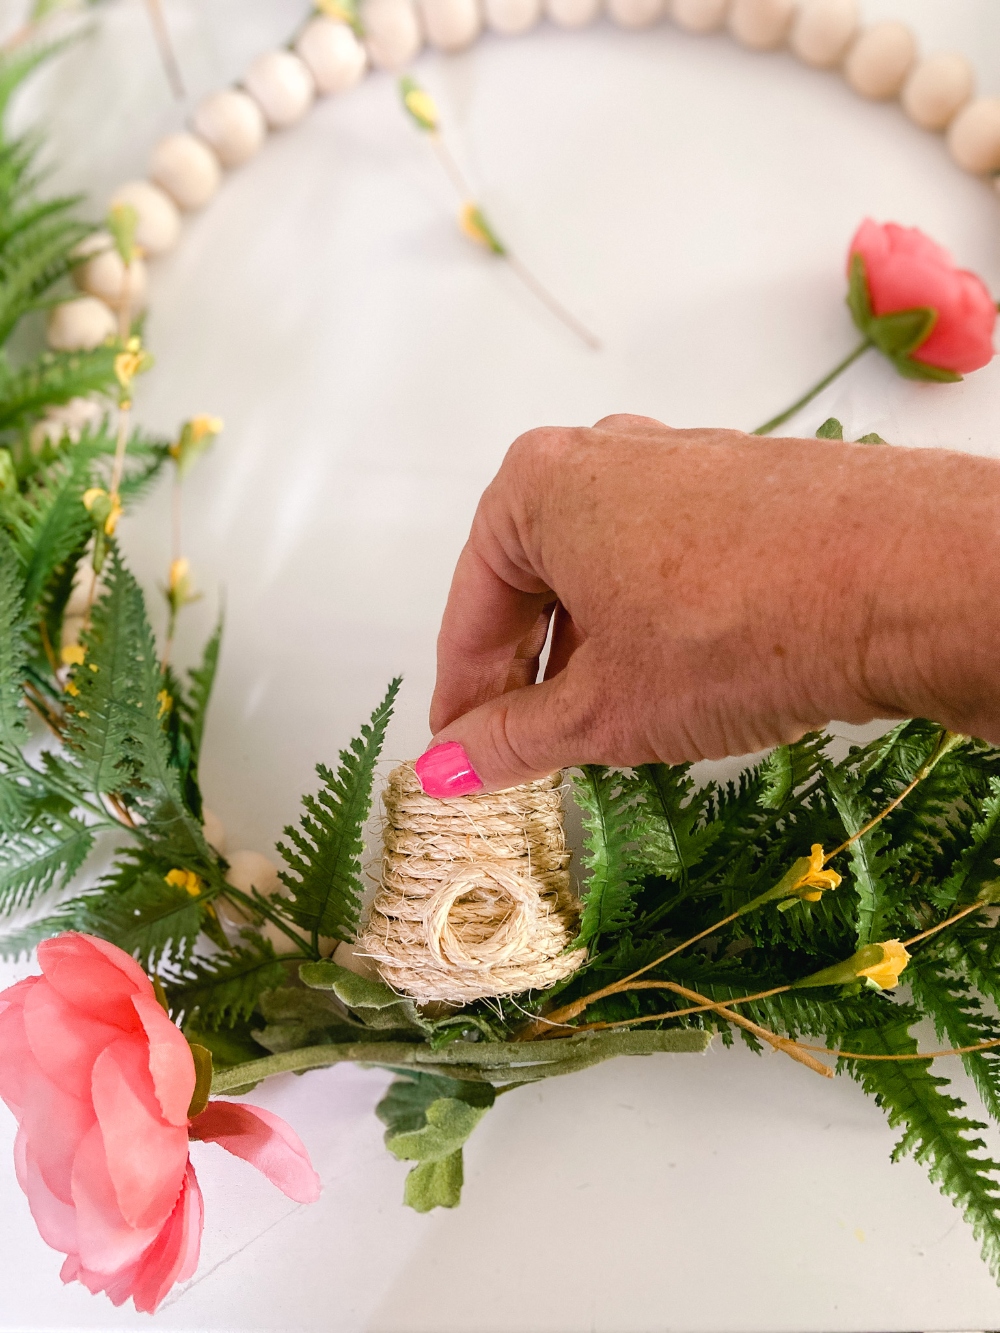
Now fill in the wreath with your flowers. You can use the bigger flowers to attach them to the beehives and to the ferns and beads so that everything is secure.
Make Banner
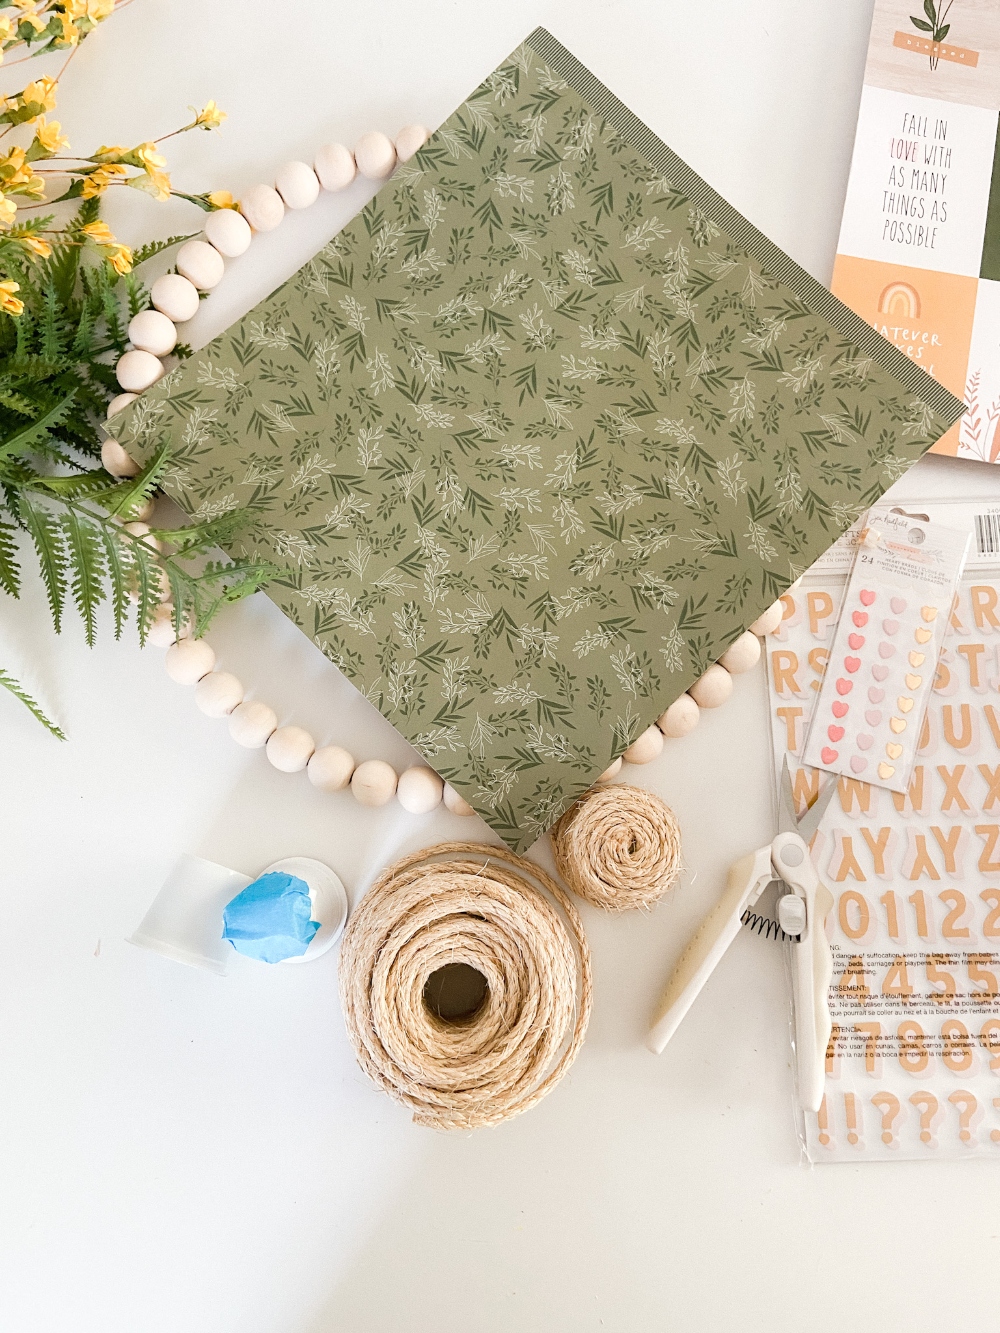
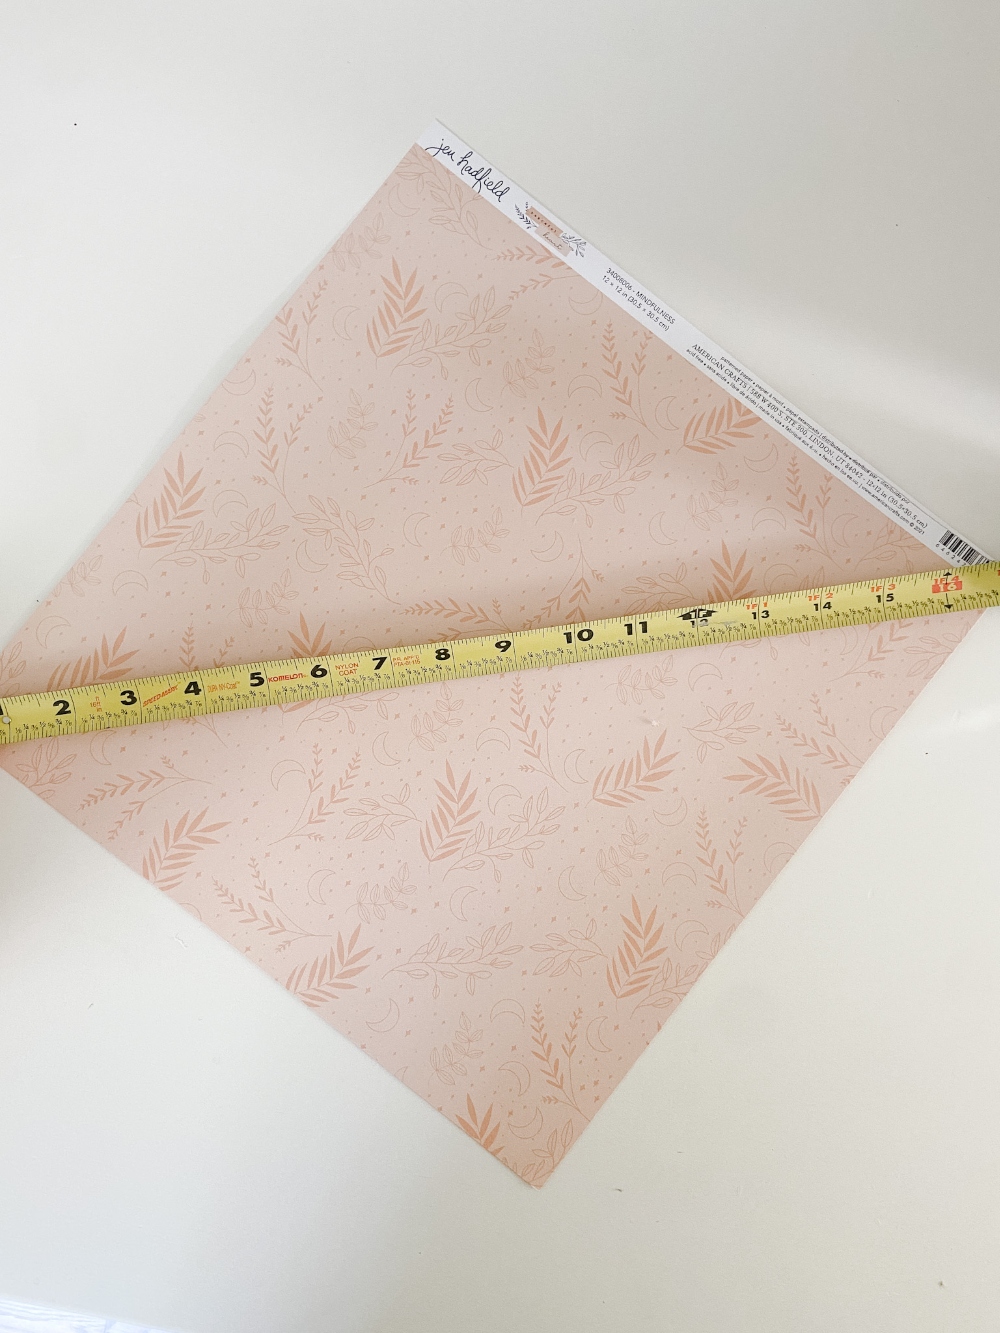
Since my wreath form was 14 inches wide at the biggest point, I flipped my paper sideways to cut the banner wider than 12 inches. I cut the paper into a banner with the widest point at the middle – 3 inches high. Then trimmed the edges square. I placed the banner at the top of the wreath where it was 10 inches in diameter and folded the edges over the beads. But first I added the thickers and heart brad.
Add BEE KIND Thickers and Heart Brad
Then I measured the middle of the banner and added the heart brad. I then added the BEE on the left side of the brad and the KIND on the other side.
Attach Banner to Wreath
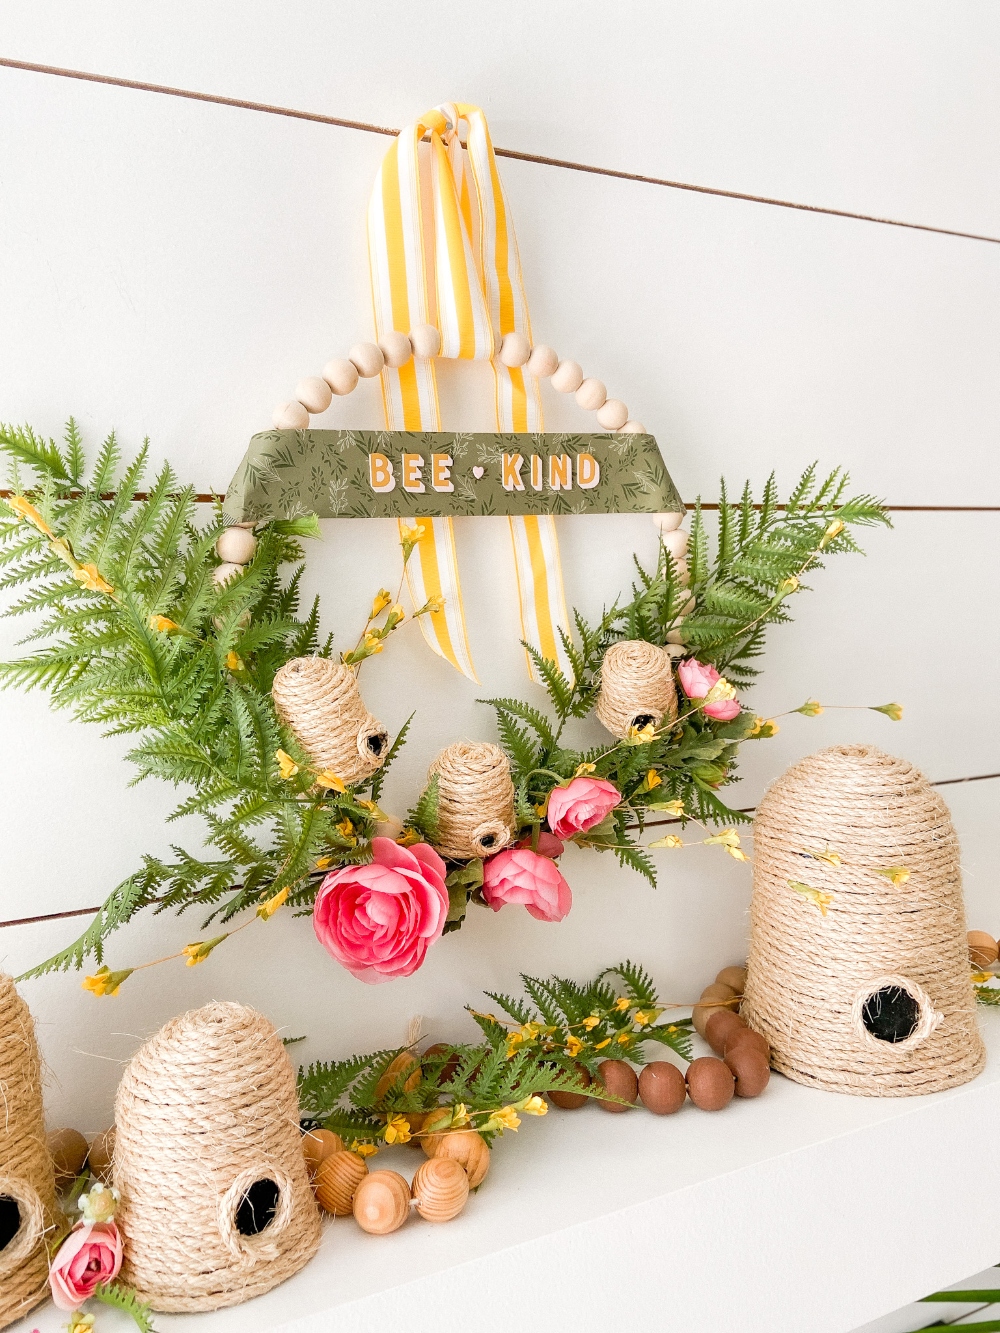
Then I put the banner at the top third of my wreath, folded the edges over the beads and glued both side of the banner to the beads on both sides of the wreath so the banner was taught across the wreath.
Add Ribbon
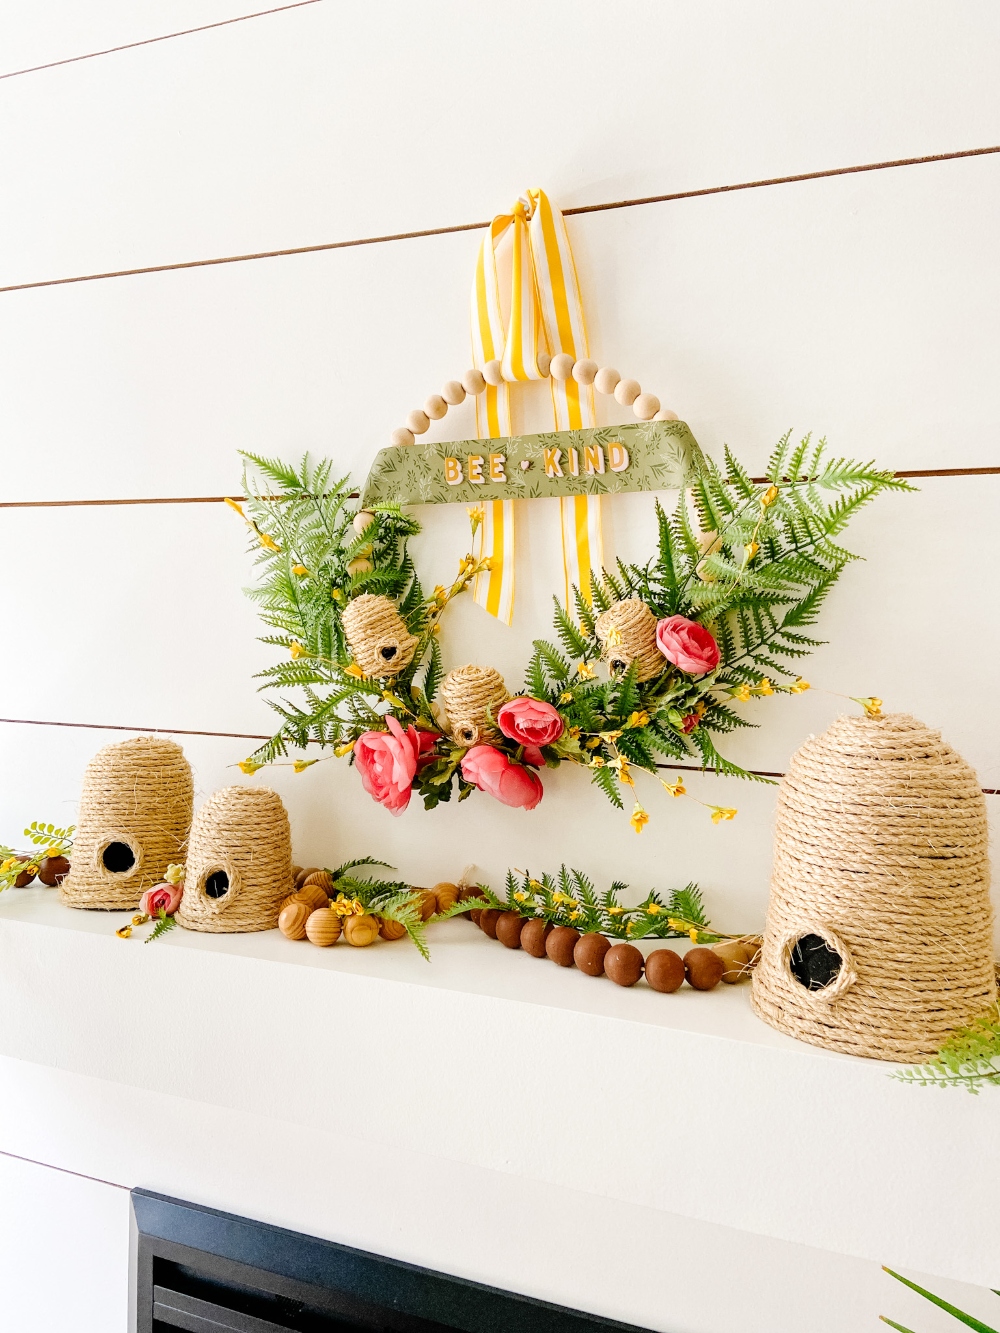
I added some happy yellow ribbon to the top of the wreath, tied it in a knot and hung it up! So Simple!
Hang It Up
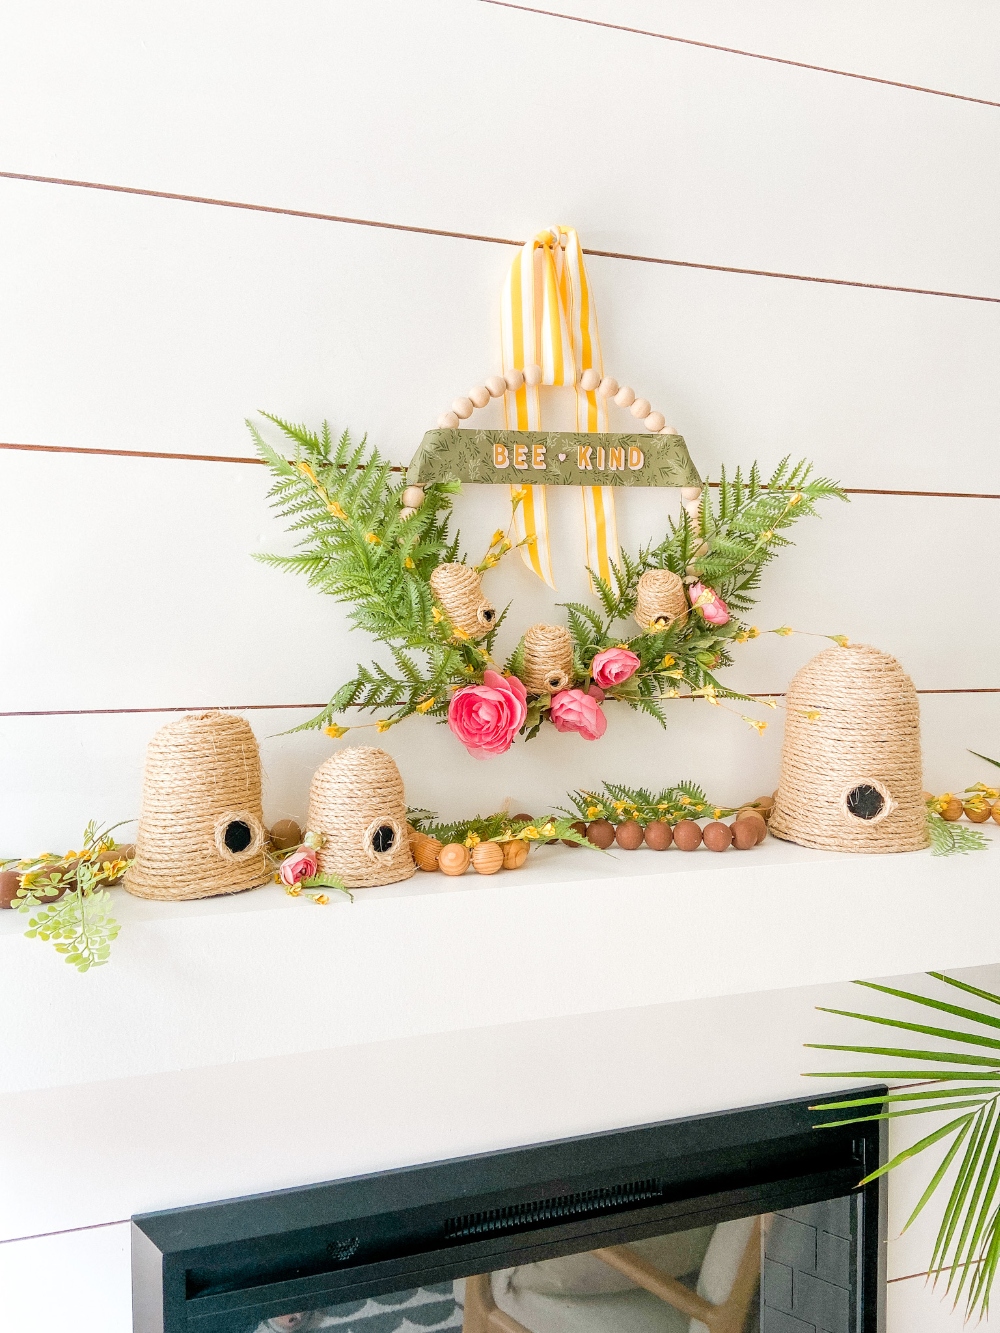
Now you can hang it up on your mantel, on a wall or on your front door! I am going to hang it on my front door this week. I plan on creating a Bee-Themed Summer Porch. So stop by in a few days to see how it turns out!

More Bee Projects
Here are a few other bee projects that would be so cute with this beehive wreath!
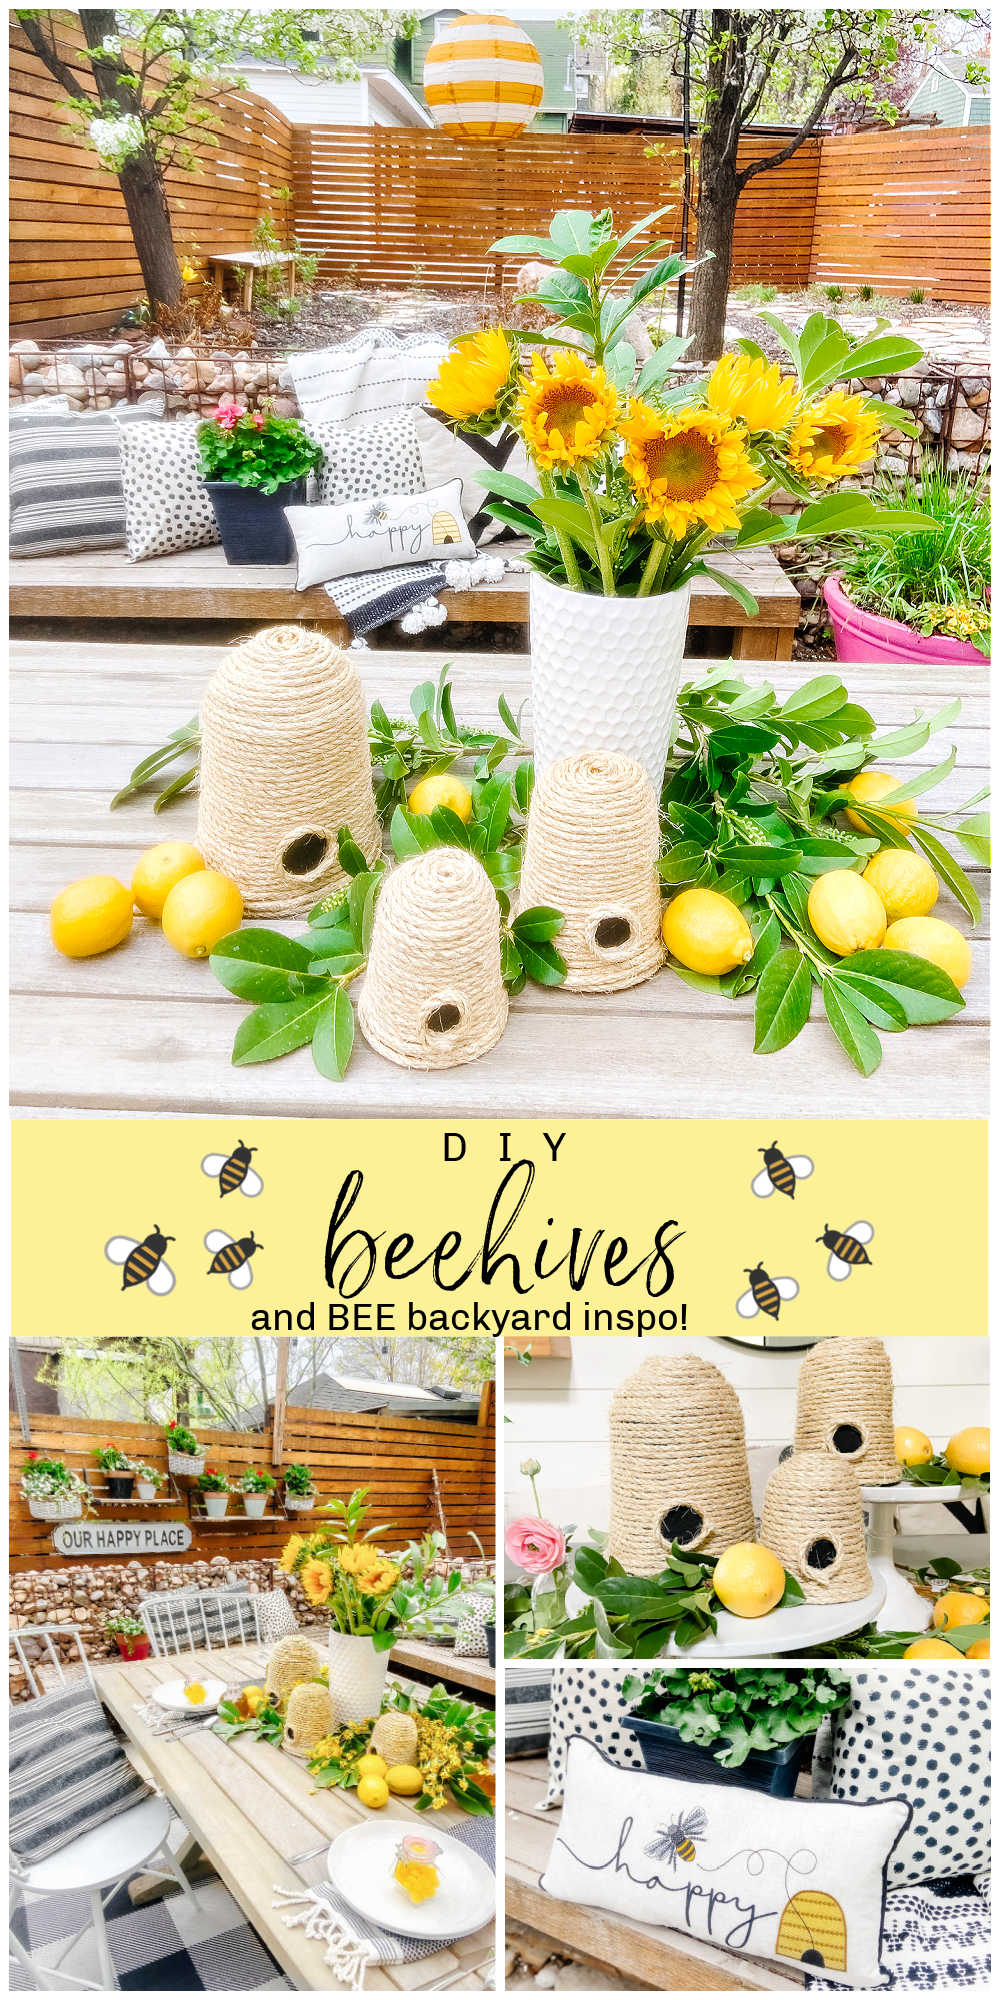
DIY Beehives and Backyard Bee Inspiration
Step-by-step instructions on how to make DIY twine beehives and bee backyard inspiration!
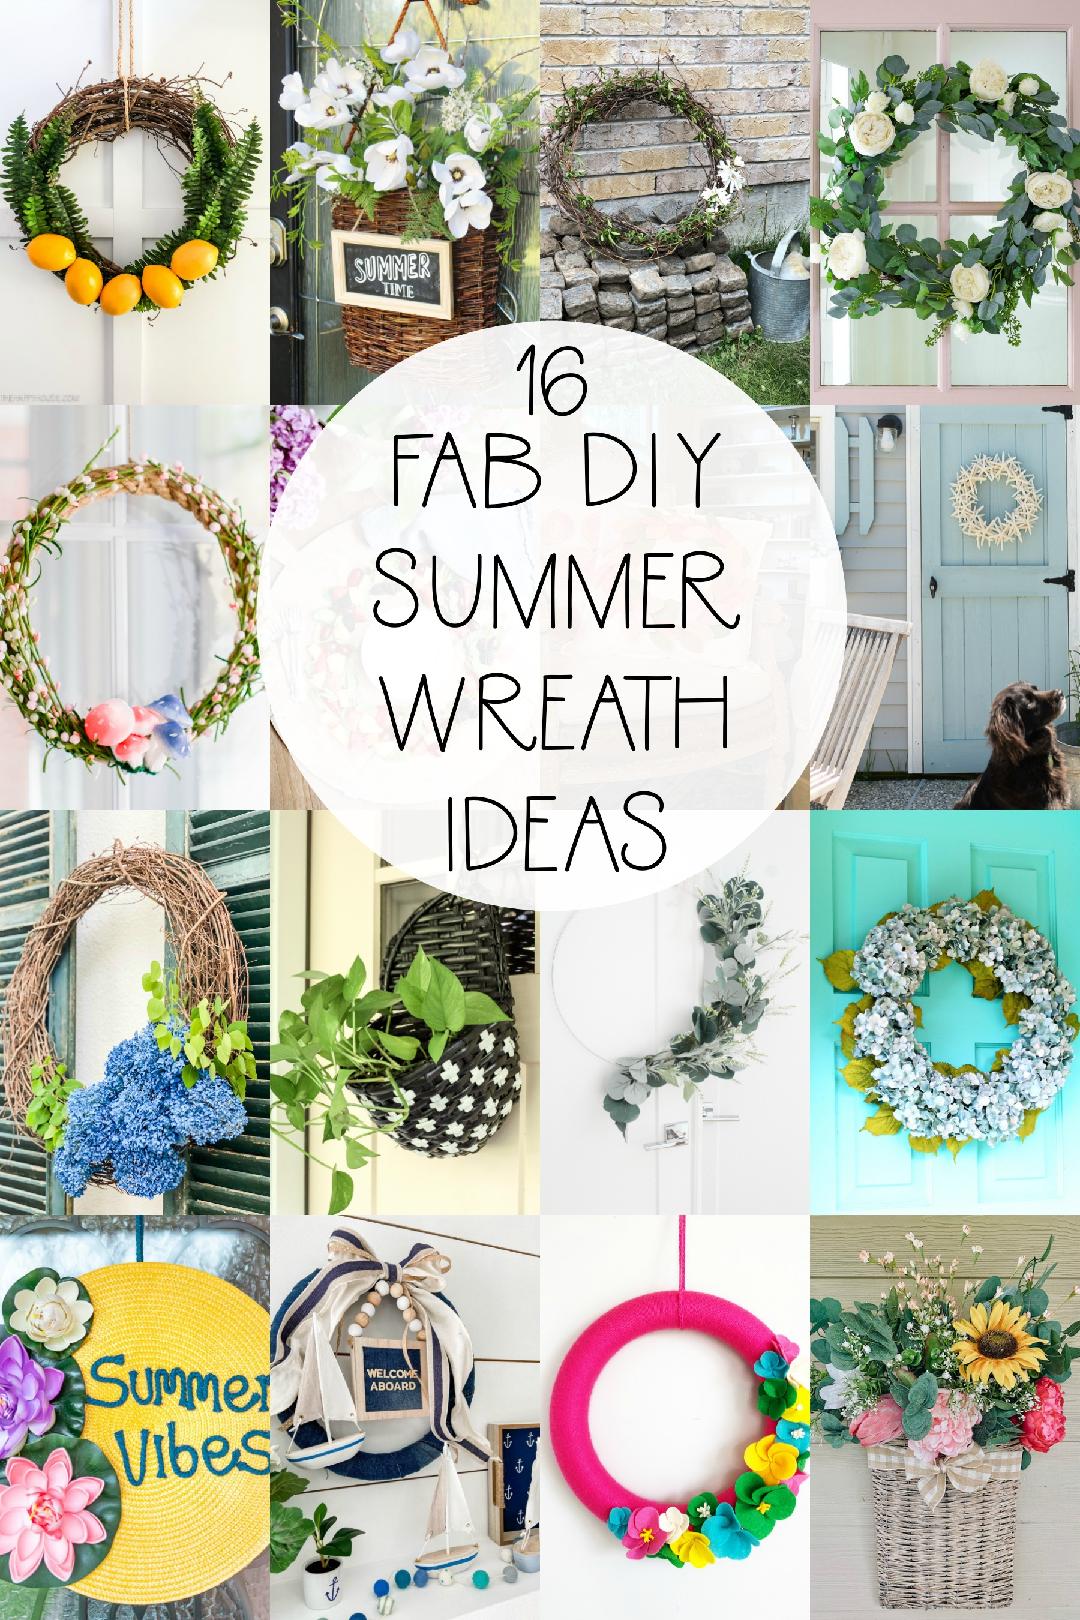
16 Fab Summer Wreaths to Make!
Looking for more summer wreath ideas? Check out these amazing wreaths!!
Have a Beautiful day!
xoxo




So Cute! I love it!
Thanks Rebecca! I hope you make some!
xoxo