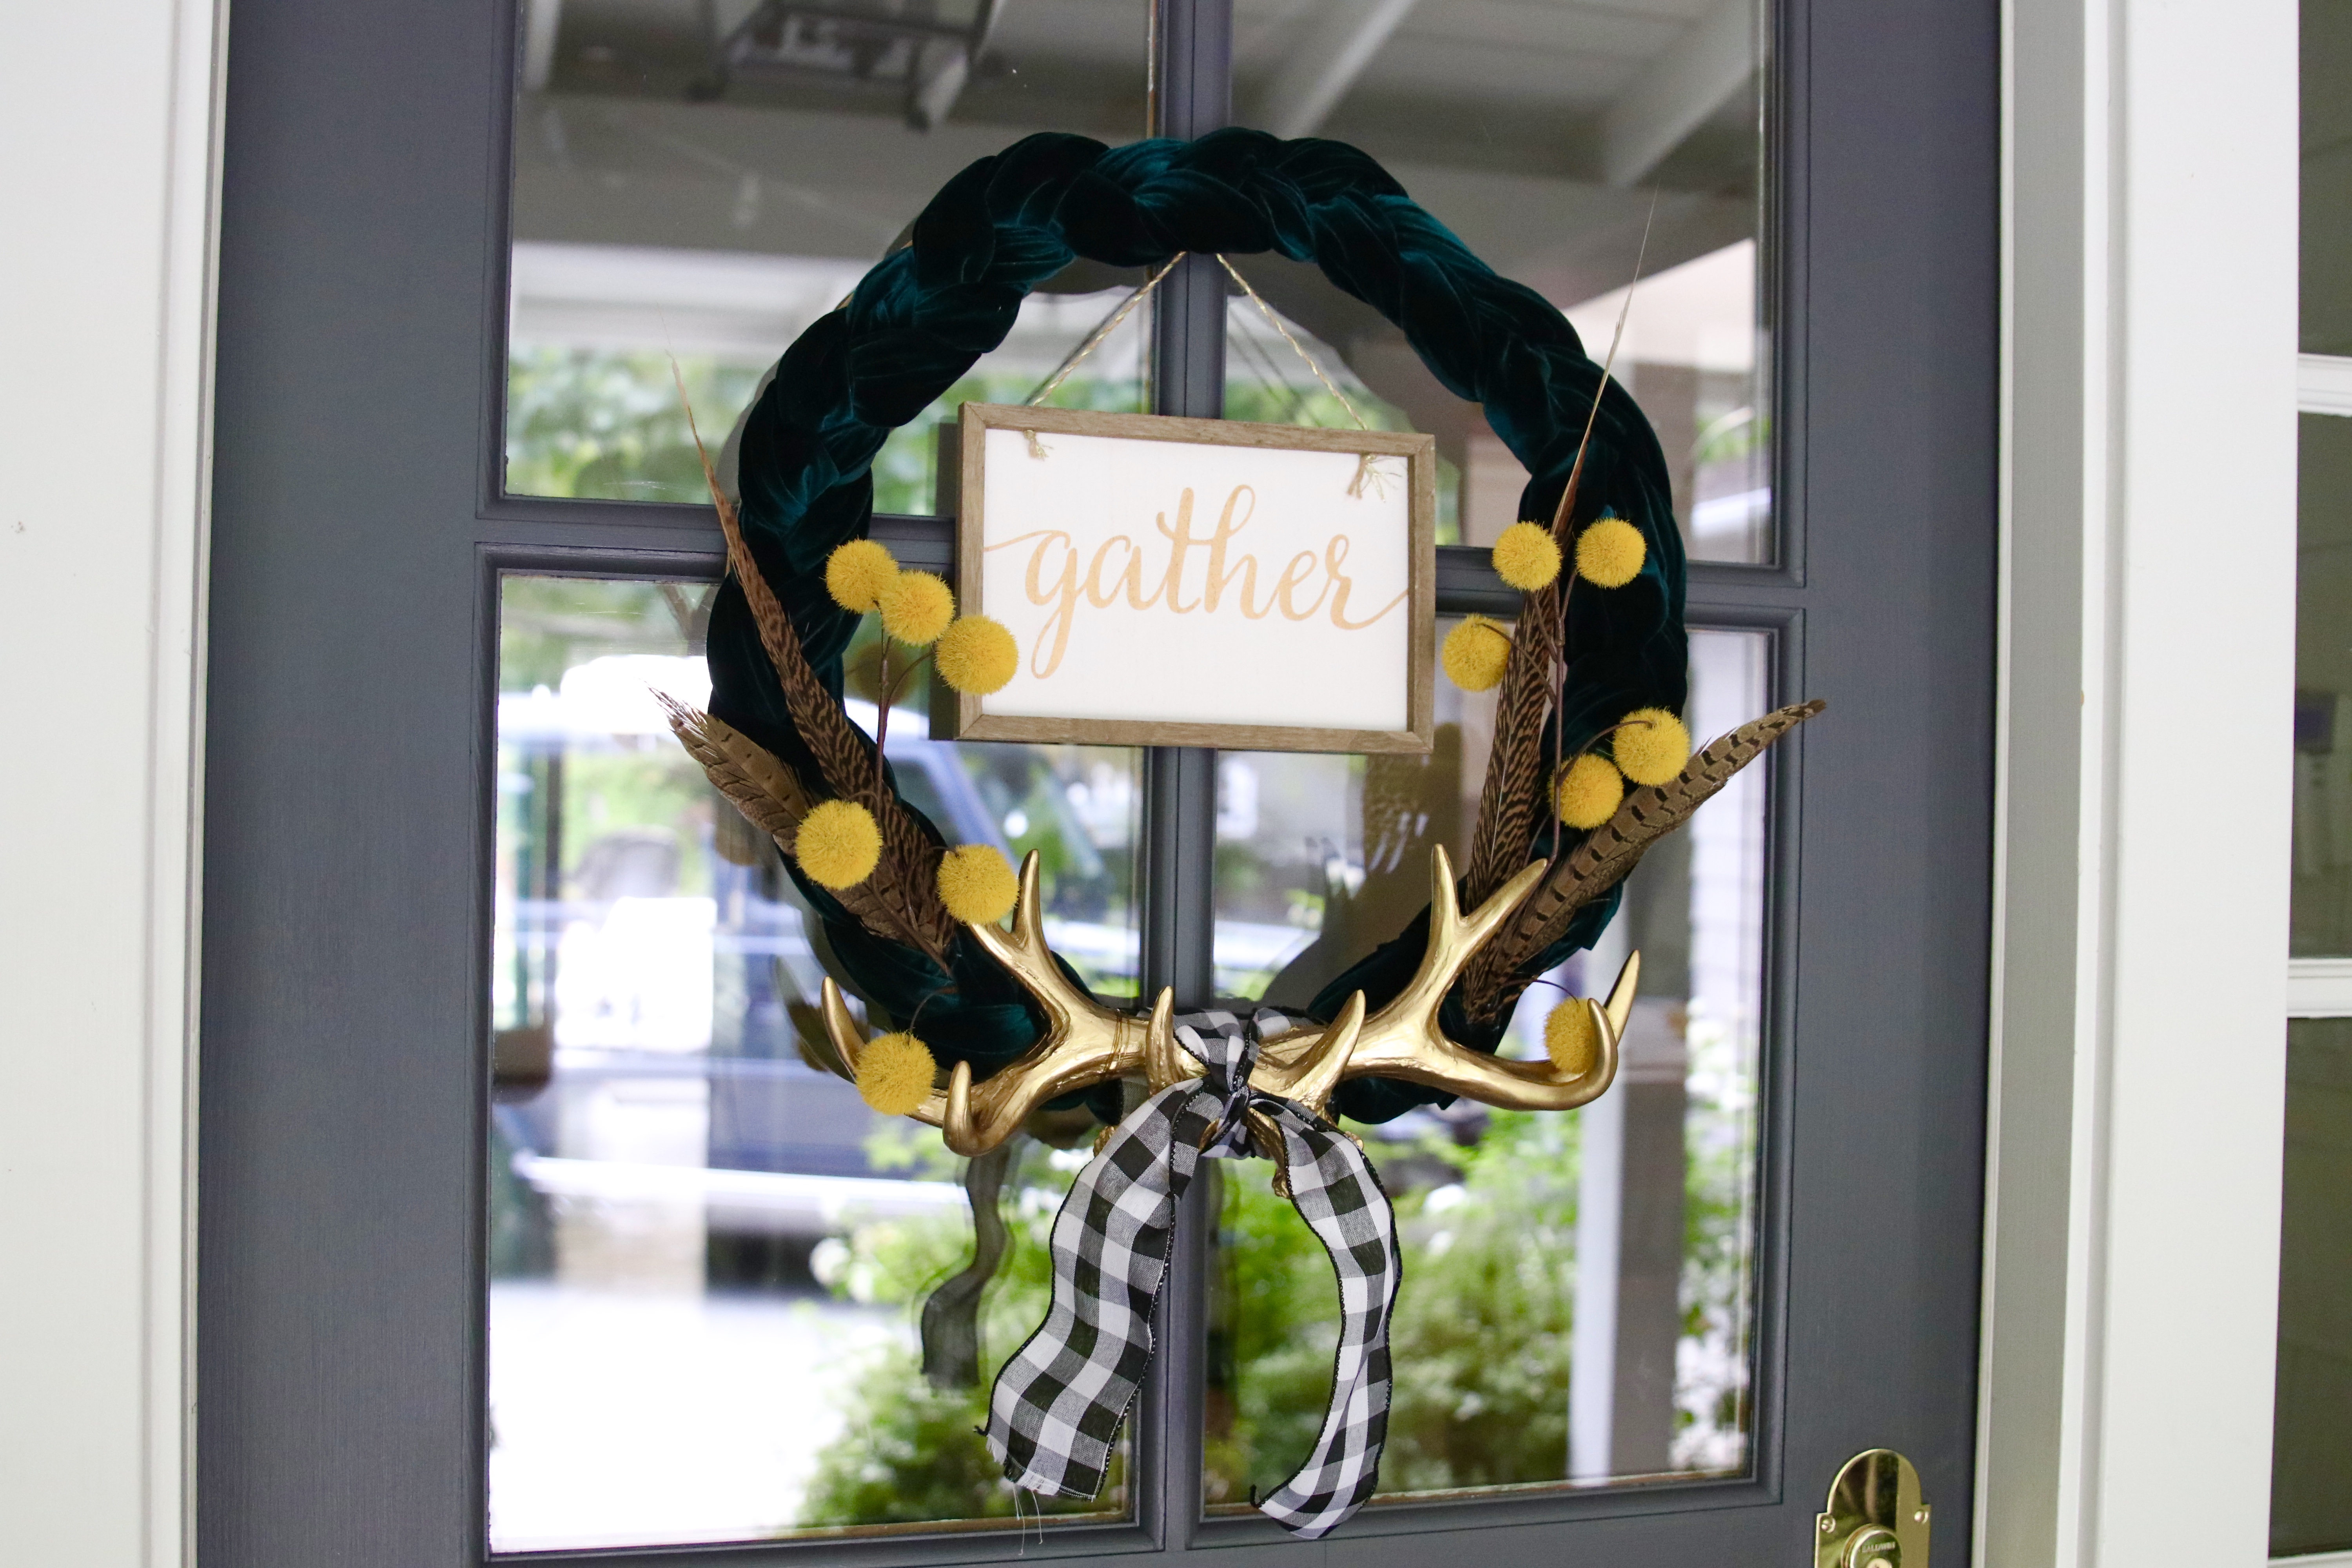
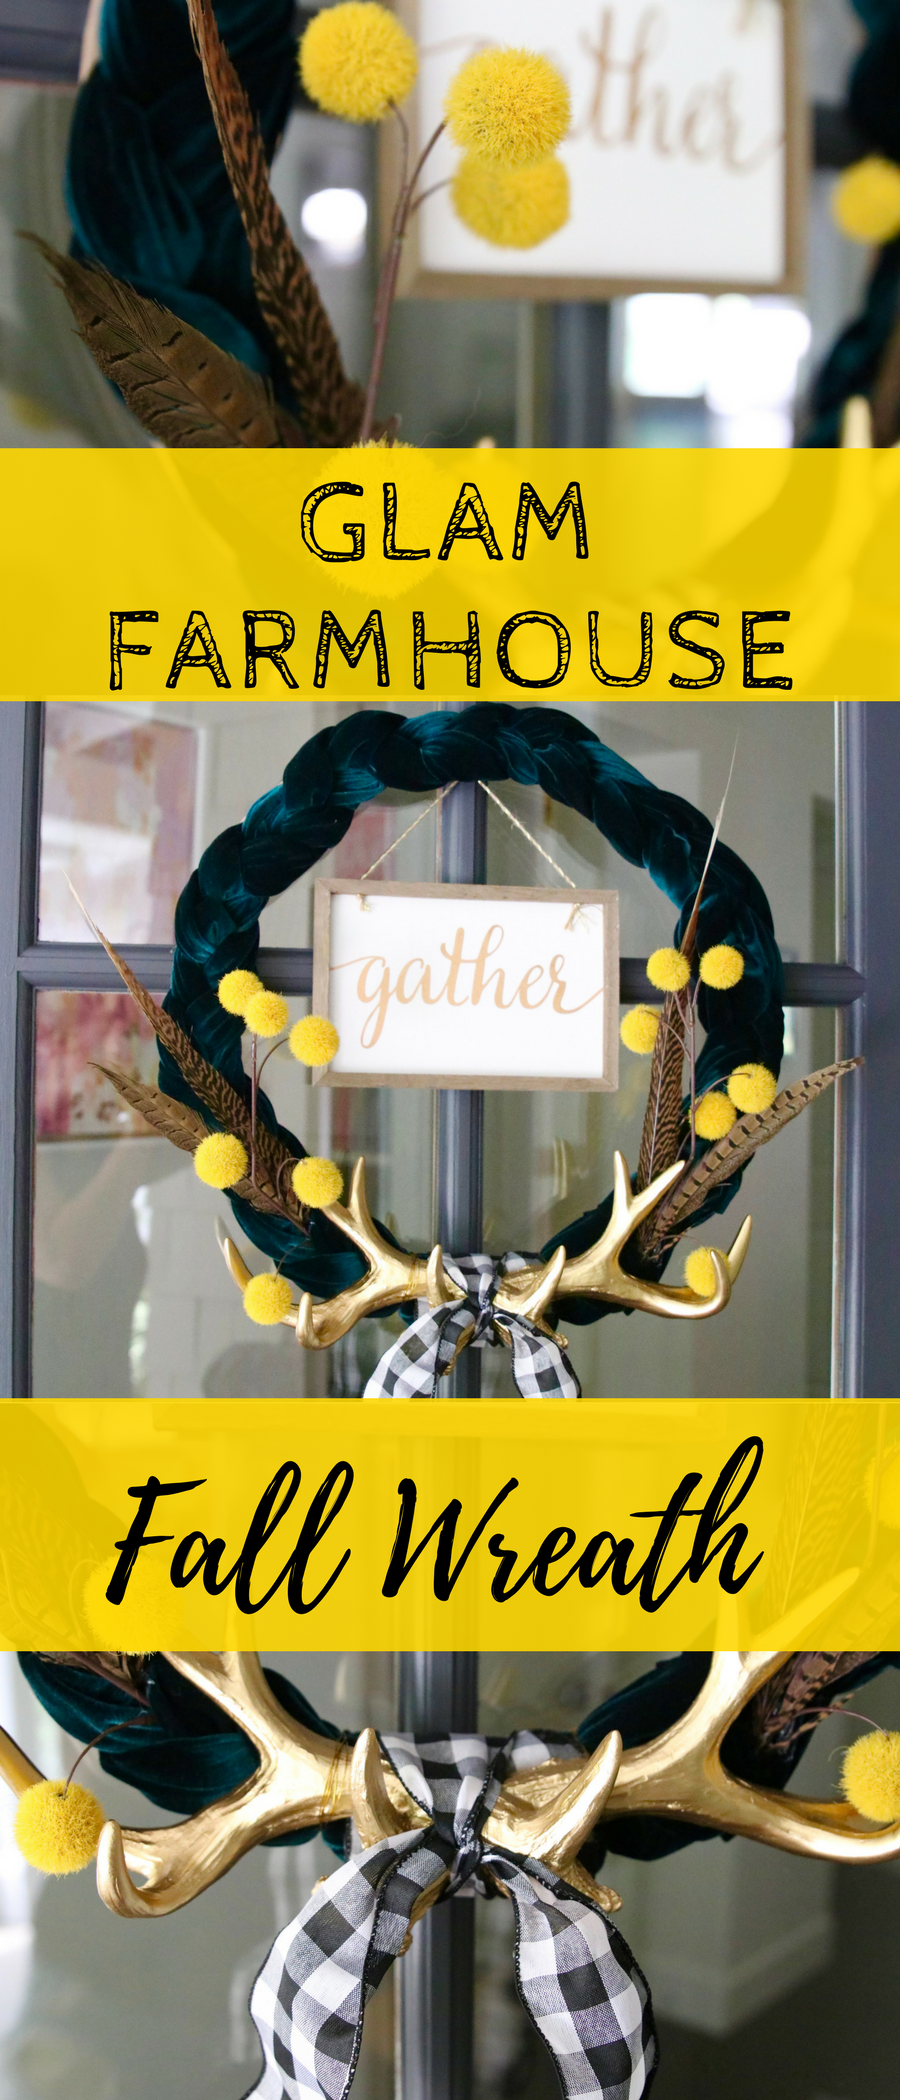
 Hi! I’m Jen’s sister, Ashley from the blog Modern Glam! I”m so excited to be here today and to share with you my Glam Farmhouse Fall Wreath DIY! Fall is my favorite season of all. And I love creating new projects that incorporate all the things that I love! Velvet, feathers, antlers and gold are some of my favorite things that I like to decorate with for fall! So, I wanted to incorporate them all into one simple DIY for you.
What I love about this fall wreath DIY is how simple it is. Not only is braiding together the velvet fabric so easy, it also creates a minimalist background to add all the different decorations to. Because we all know how easy it is to go from eclectic to tacky real quick! It’s a slippery slope my friends!
Materials
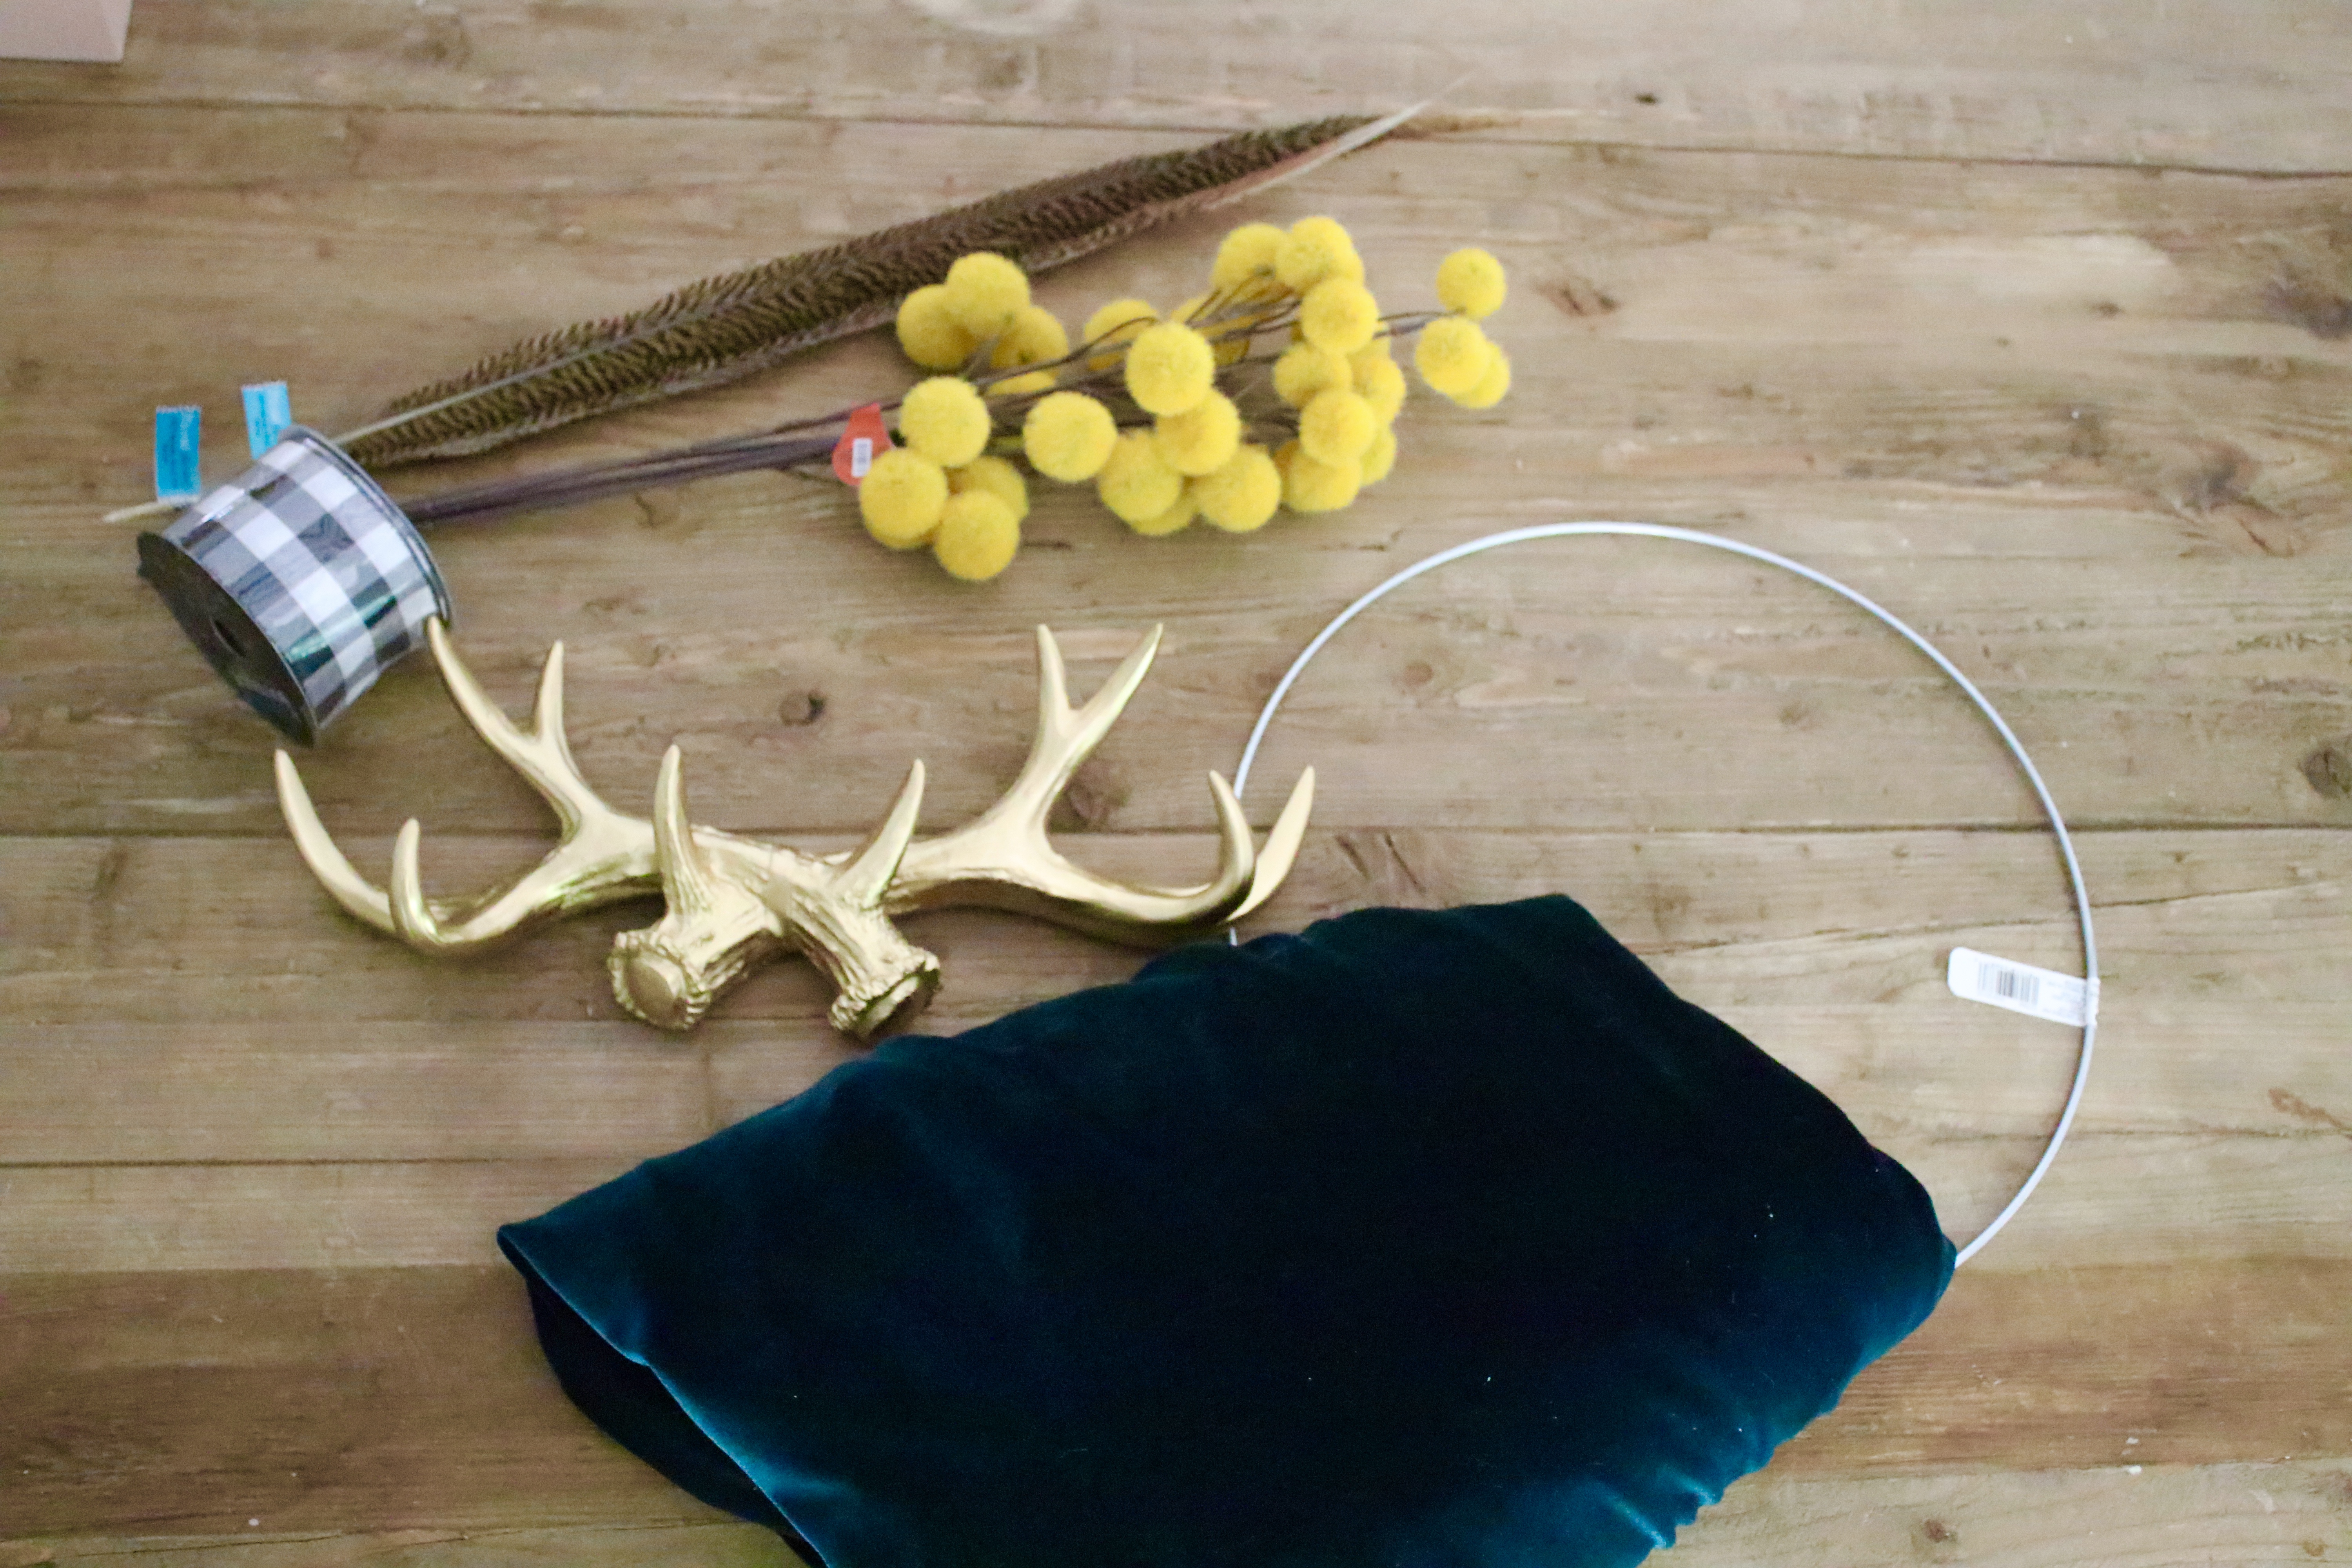
For this project you will need:
- MDF wreath form (you will need a flat wreath form to adhere the braid to. Don’t pay attention to the skinny form in this pic. Trial and error, folks!)
- 2 yards of velvet fabric
- gold antlers or other decoration
- feathers and artificial flowers/twigs (fall leaves would be pretty or some dried florals. I love these Dr. Seuss-like citrine colored puffs)
- some gold floral wire
- hot glue gun and wire snips
- ribbon (I used buffalo check, but you pick your favorite!)
- Note: I was able to get every element needed to make this wreath at Hobby Lobby
step 1
The first step is to cut your velvet fabric into 3 pieces measuring about 8-10 inches wide. Secure one end together with an elastic and braid the pieces together! I made sure that with each overlap of fabric that the right side of the fabric was facing up. You don’t want to end up with a braid that has the back side of the fabric showing! When you are done, secure the end with another elastic. You won’t need anything fancy. I just used my daughters hair ties because we will remove these in a moment.
step 2
Now that you have your braid, place it around the MDF wreath form to get a good idea of how long you will need it. Trim off any unnecessary length and heat up your glue gun! Start at one end and work your way around gluing down sections of the braid to the form. Make sure you are using enough glue that the fabric will stay put when you hang this up. When you get to where the two ends meet, cut off any fabric as needed and secure both ends in place. It doesn’t need to be pretty because we will be covering this up with ribbon.
step 3
Take your ribbon and cut off a piece to wrap around the ugly bit where your braid ends meet up. Hot glue the ribbon to the back of the wreath form to secure. Now, this part will be where you place your antlers and will essentially be the bottom of the wreath.
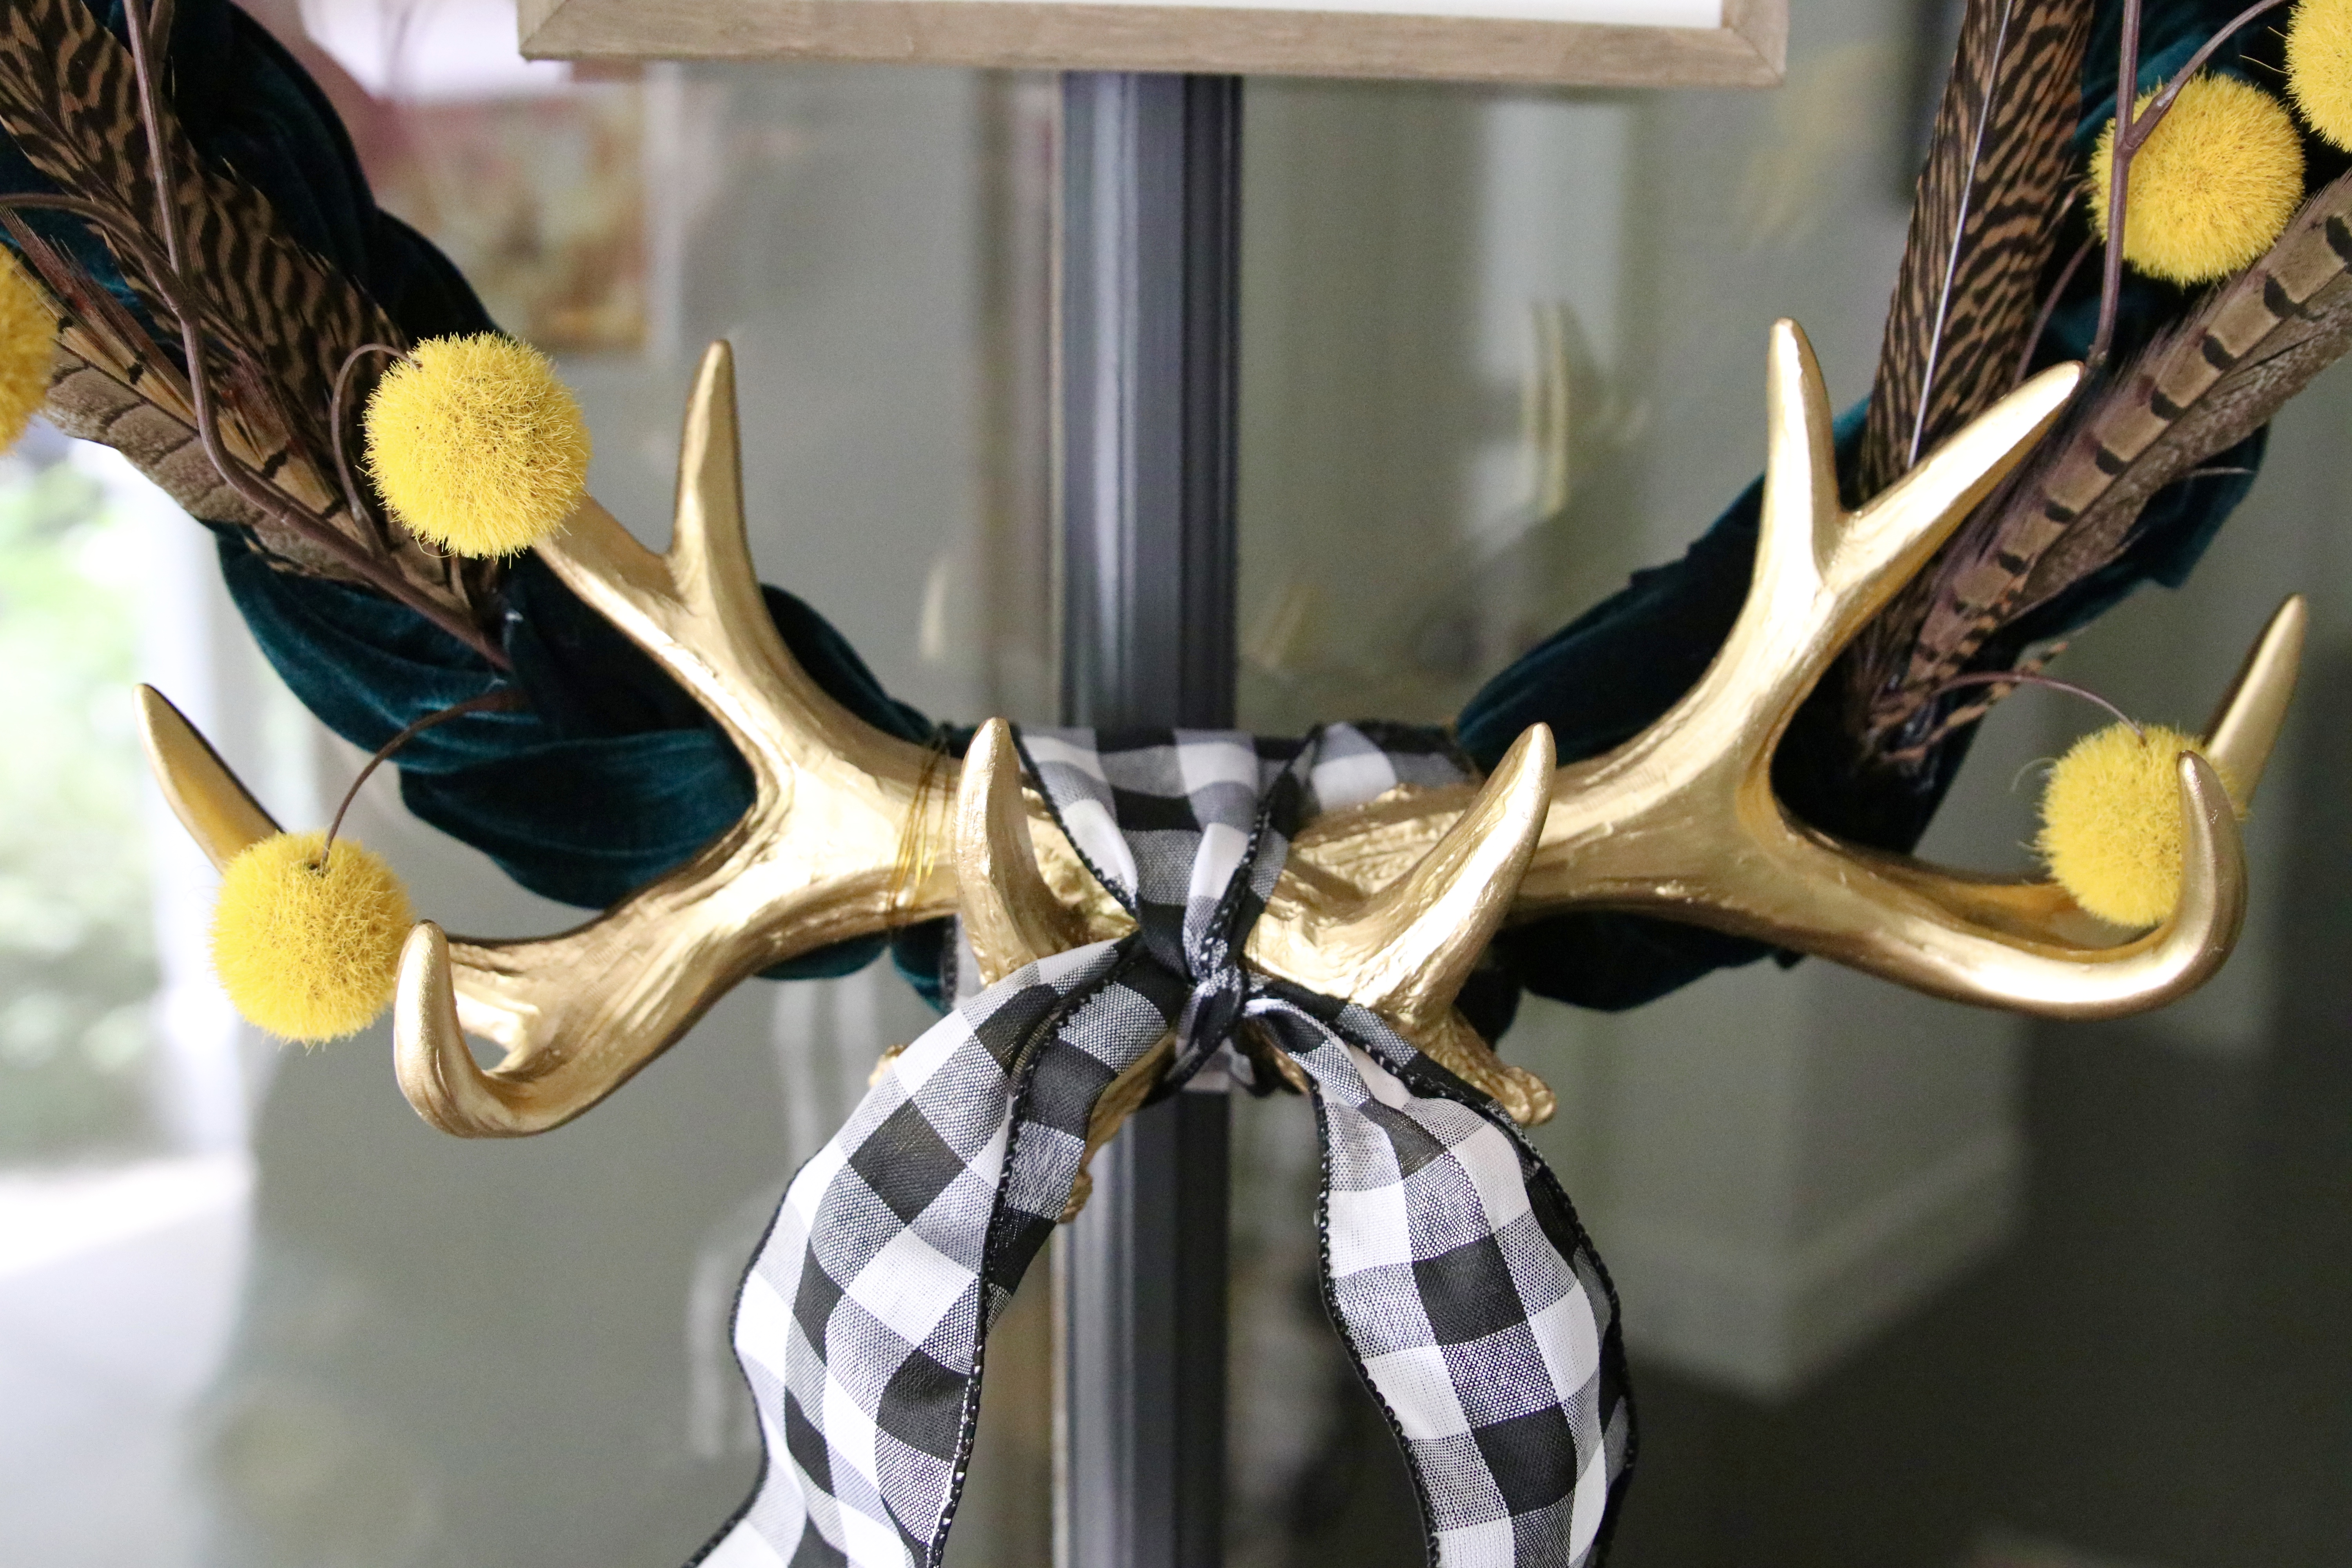
step 4
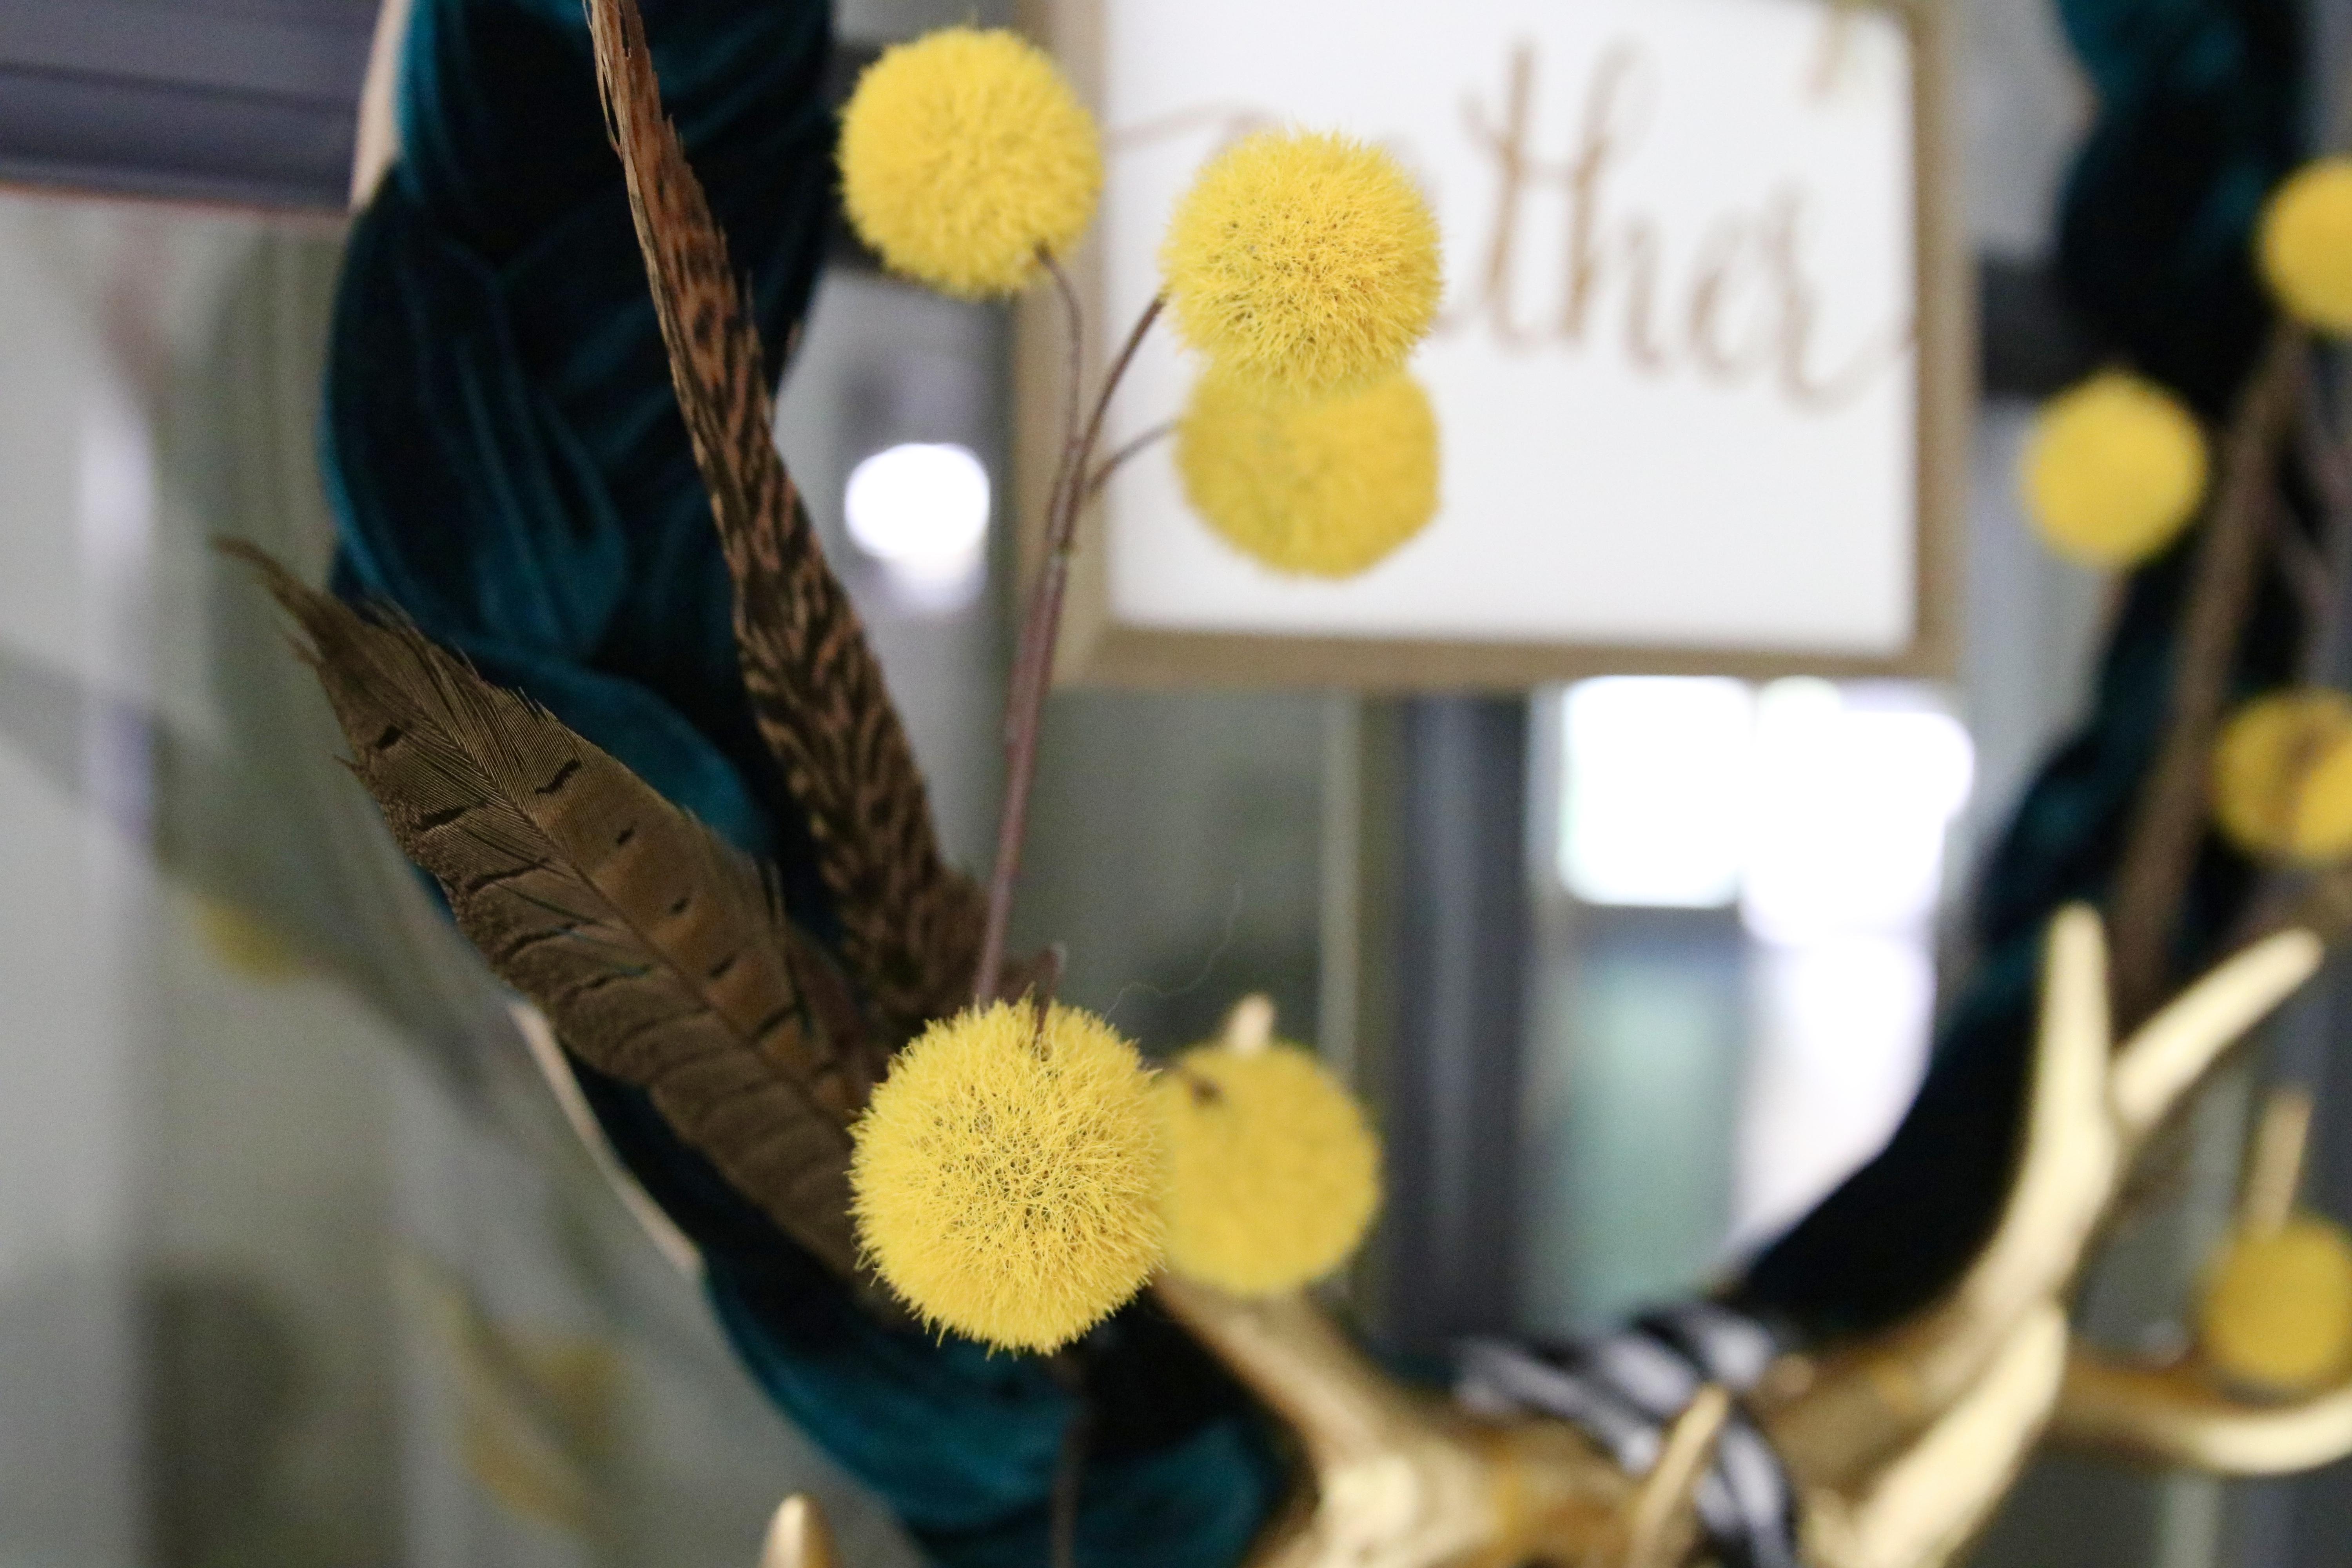
Accessorize! Secure your antlers or whatever decor you are using to the wreath using floral wire. I used gold wire so it would blend with the gold antlers. I also added a piece of of the check ribbon to tie around the antlers here too to finish it off. After this, I played around with the yellow puff balls and feathers. By tucking these elements in-between the braid strands, it was easy to see how it would look without fully committing just yet. Once I was happy with my placement I used a dab of hot glue to secure them in place!
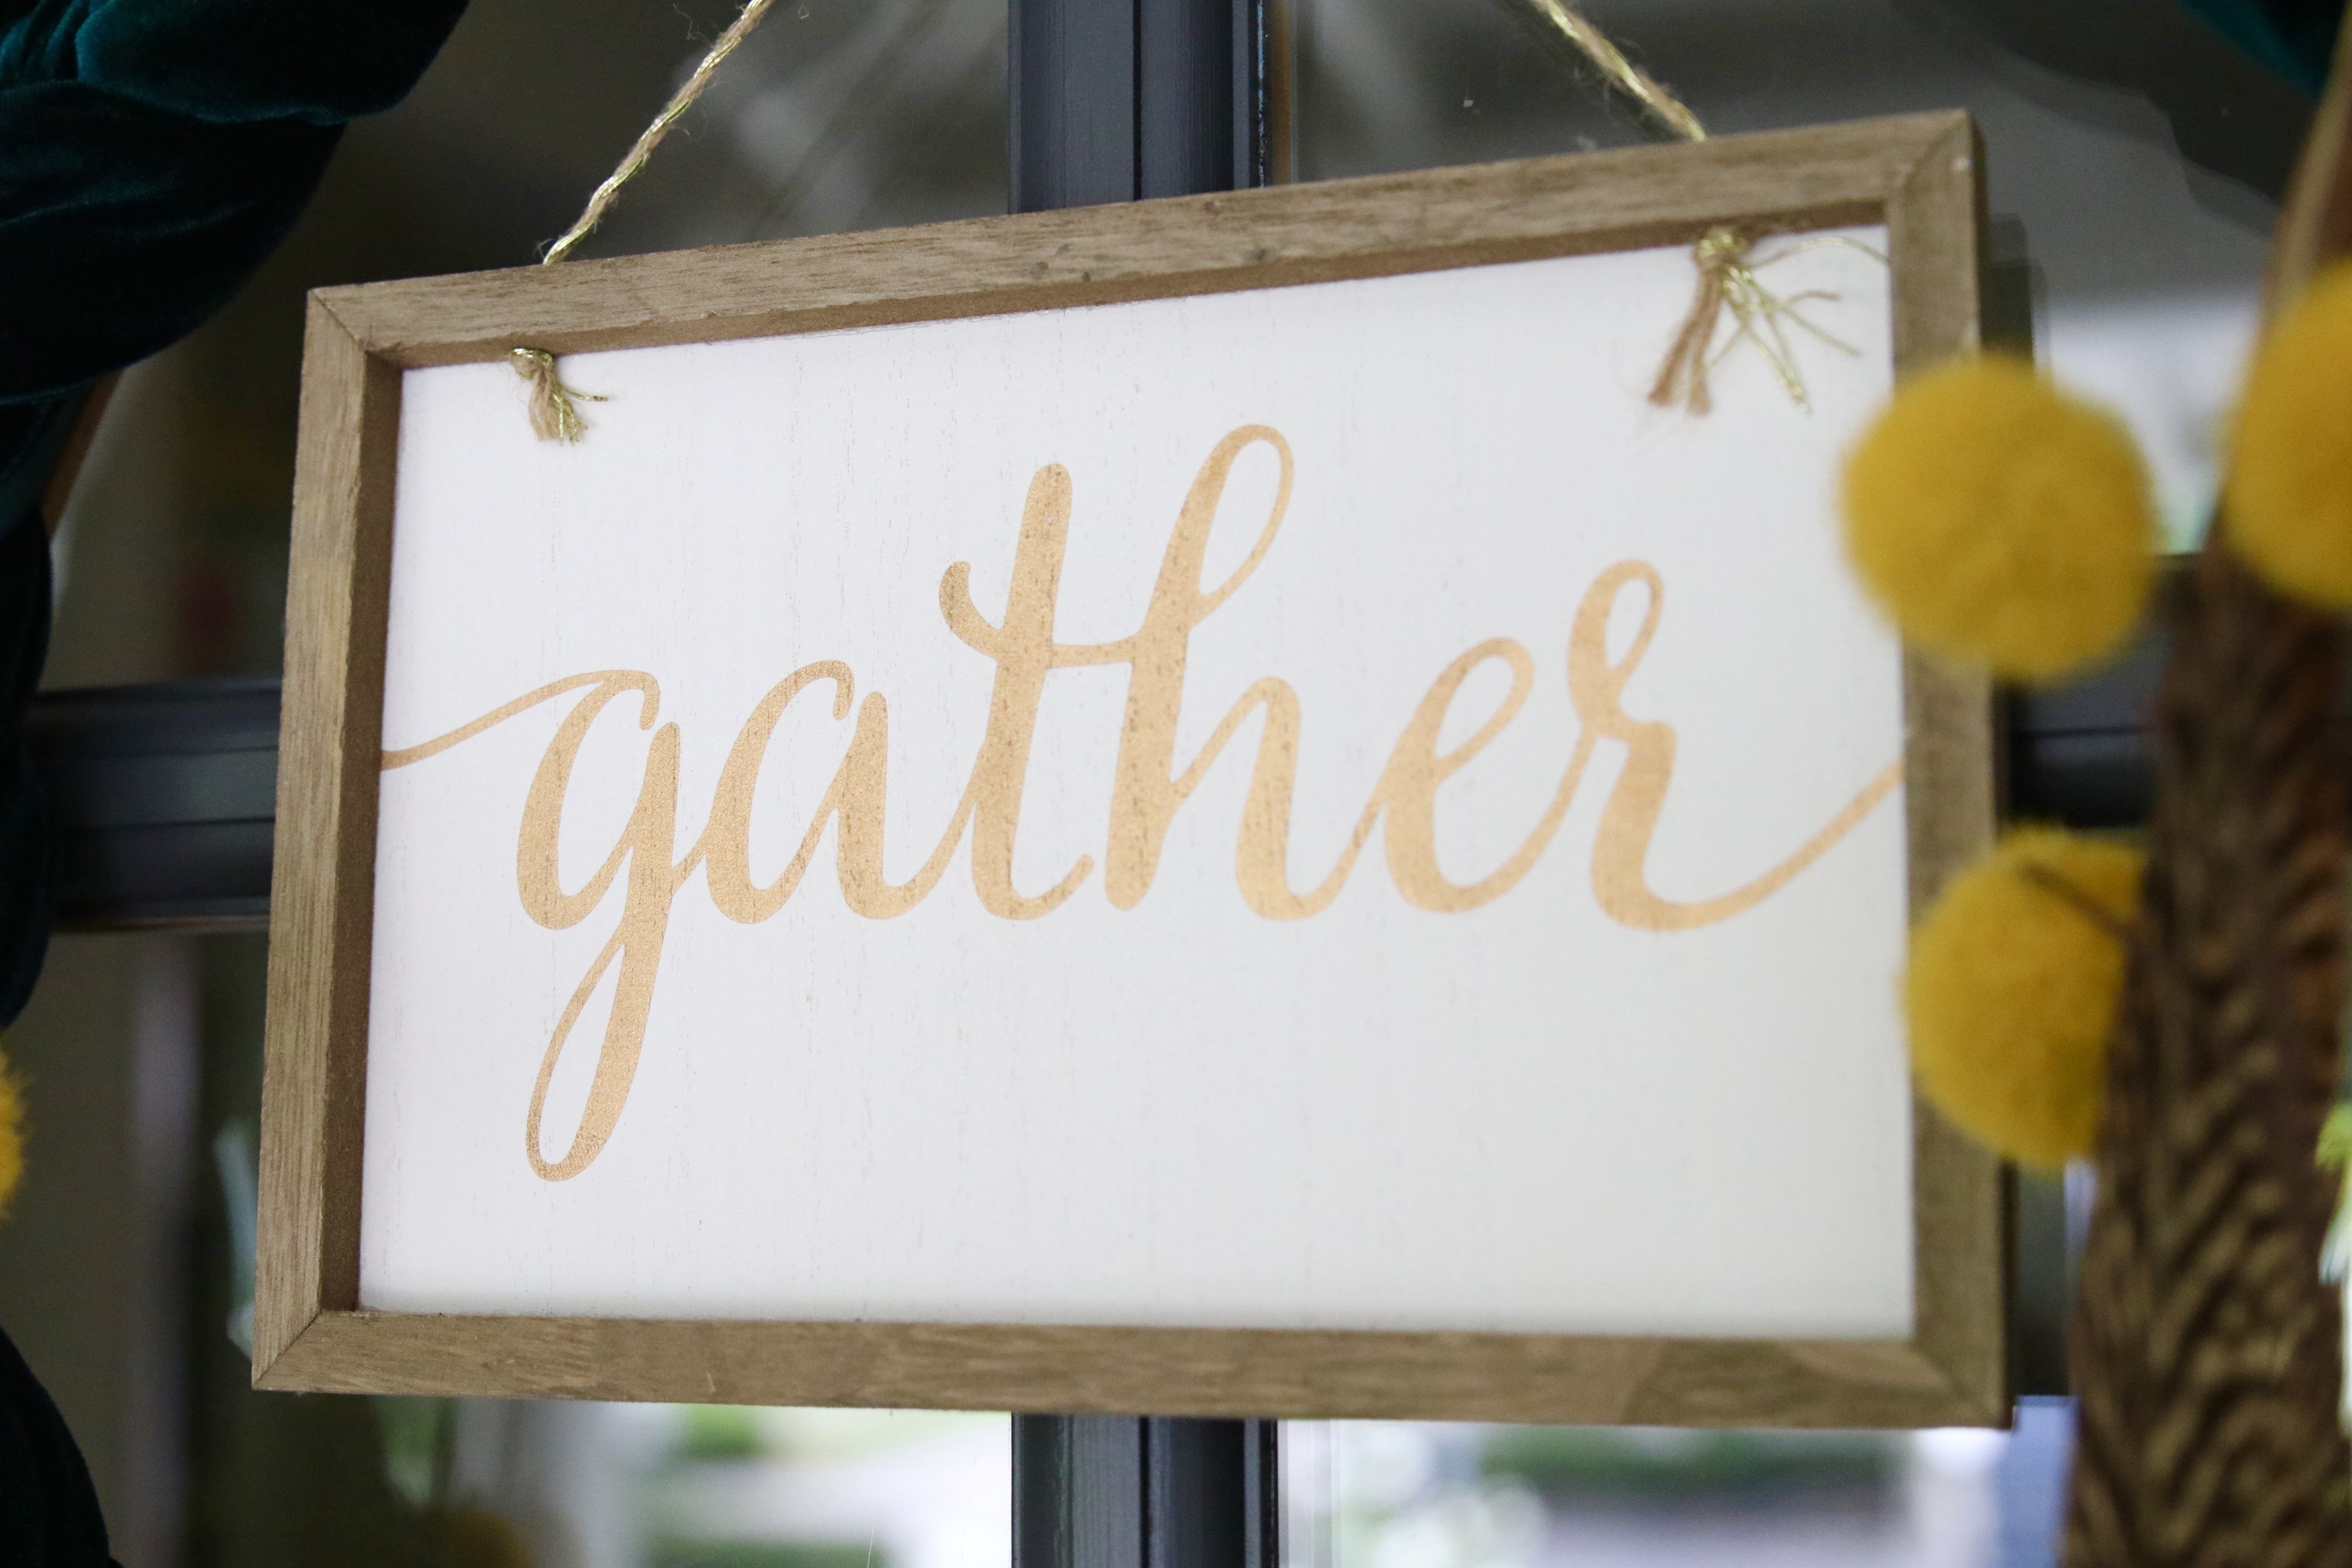
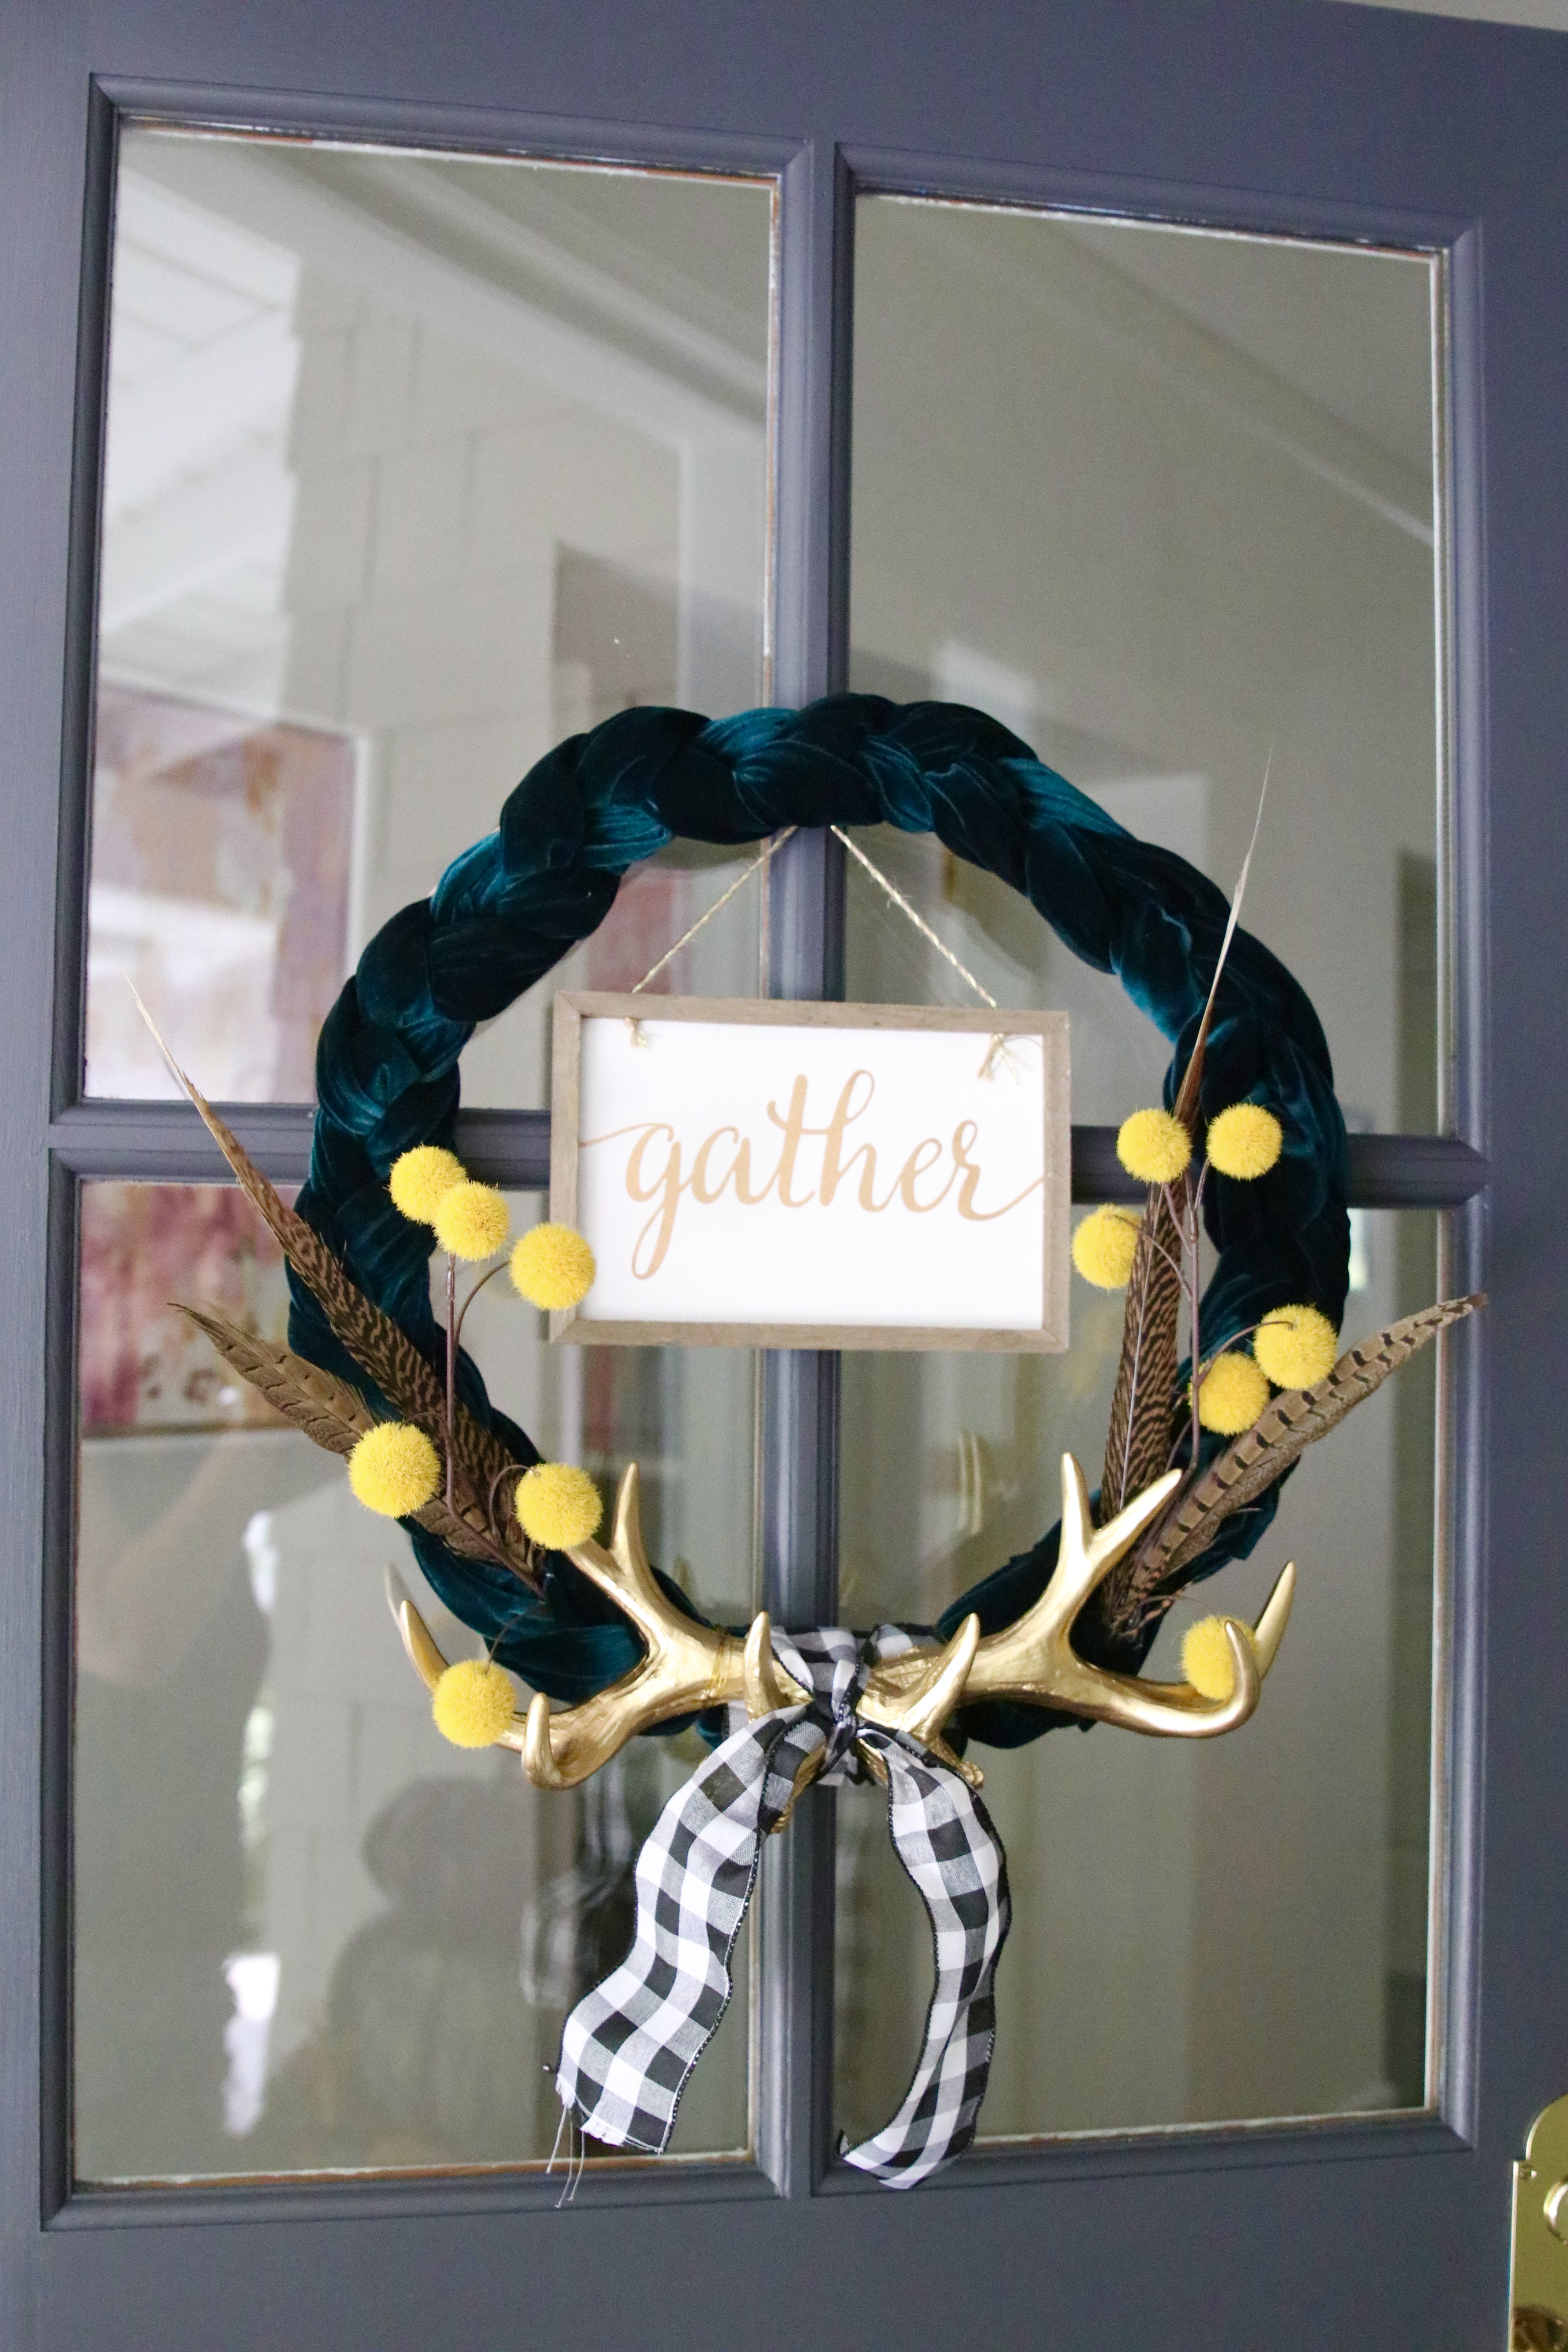
The final touch was this cute Gather sign that I found in the dollar section in Target! I just hung it from the same nail as my wreath and it fits perfectly!
This Glam Farmhouse Fall Wreath DIY took about 20 minutes to do and was so simple! No sewing needed! I love how it adds to my fall front porch!

Be sure to stop by and check out my Glam Farmhouse Fall Tour over on my blog www.modern-glam.com!
Isn’t my sister talented?? Be sure to check out all of her amazing ideas. Her home is GORGEOUS!

xoxo


I thank you very much for your understandable narration. 🙂
Oh, how pretty! I love all the different textures from the velvet, feathers, and antlers. But even though it’s full of texture, it’s not overboard at all. Love that you shared the picture of the original wreath form, even though you didn’t end up using it. Sometimes projects don’t go as we originally planned.
This is adorable. I love the velvet texture. I also love the fact that it is braided, I don’t think I’ve ever seen that. So unique and perfect for Fall!