Welcome to the Summer of Paper series – where we’ve invited fabulous guests to create projects using supplies from my Home + Made paper decor line.

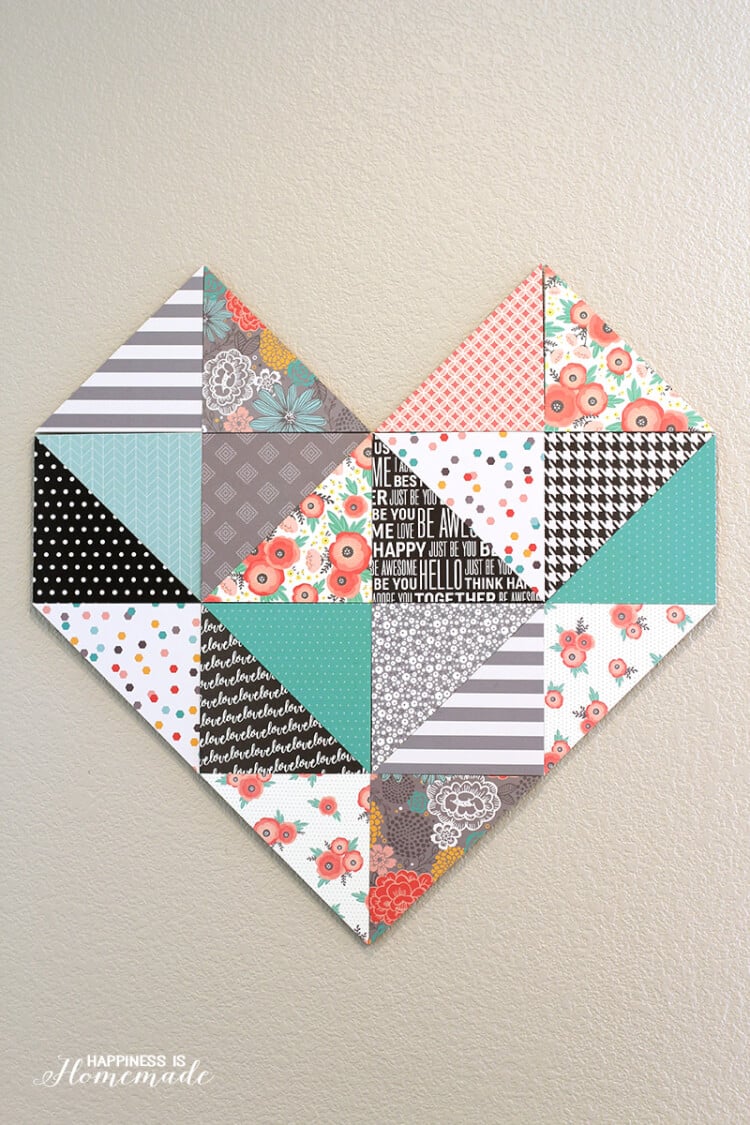
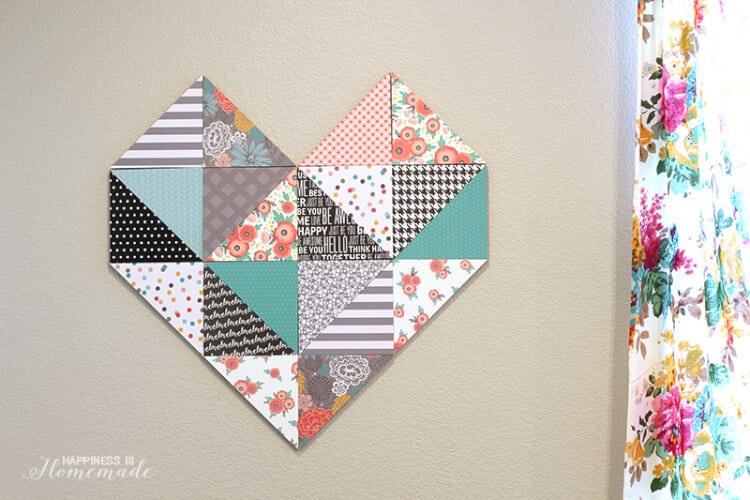
Hi, everyone! Heidi from Happiness is Homemade here, and today I’m sharing how to make this adorable geometric heart home decor piece using papers from Jen Hadfield’s Home+Made collection from Pebbles, Inc.
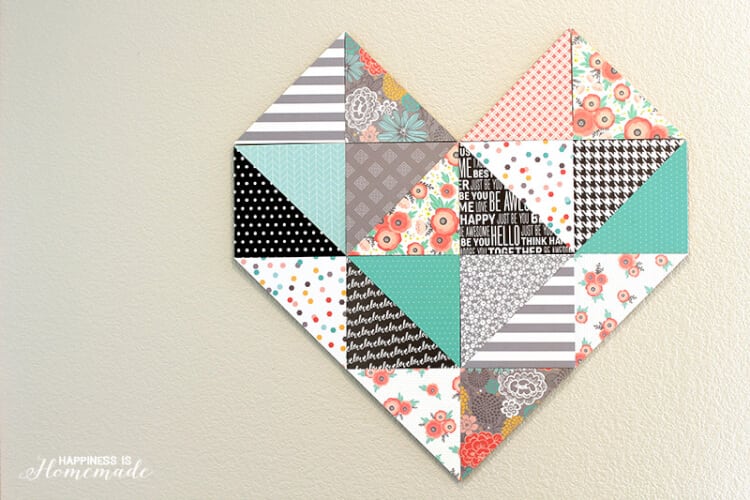
I’m head over heels for everything in Jen’s line of products, but these gorgeous papers won my heart over at first sight. I knew I wanted to use them right away for this large statement decor piece (perfect for showing off all of those lovely patterns) or else they might fall victim to my pretty paper hoarding tendencies!
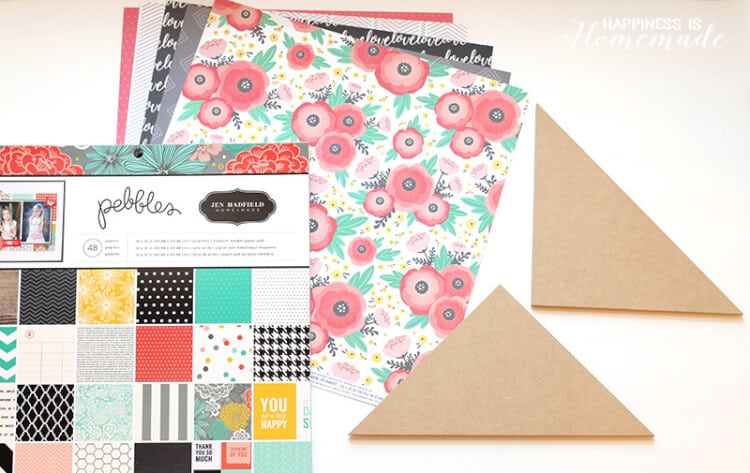
What I Used:
- Jen Hadfield Home+Made Papers
- (20) MDF Triangles
- Mod Podge
- Foam Brush
- Xacto Knife
- Gold Paint (optional)
- Command Picture Hanging Strips
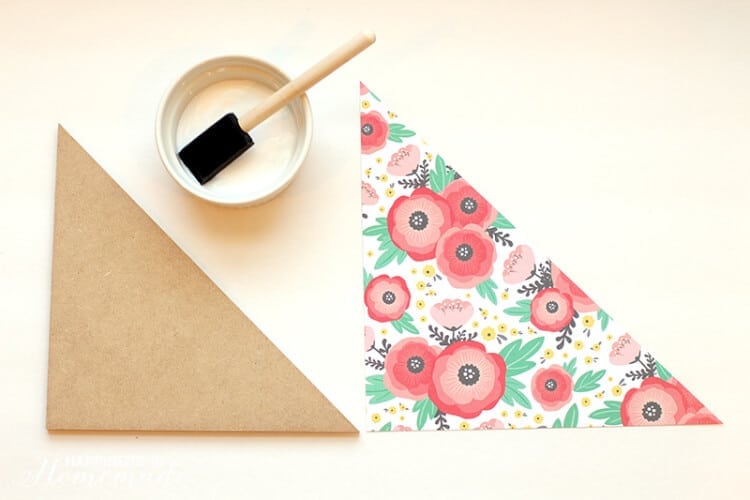 Start by cutting the paper into 8″ squares, and then cutting the squares into two triangles by cutting corner to corner. This will give you a piece of paper that is just slightly larger than the wooden triangles (it’s really handy to have a little bit of excess overhang so that you don’t have to be too precise when placing the paper down.). Brush a thin coat of Mod Podge on to the wooden triangle, place the piece of paper on top, and apply gentle pressure with your fingers to smooth out any air bubbles.
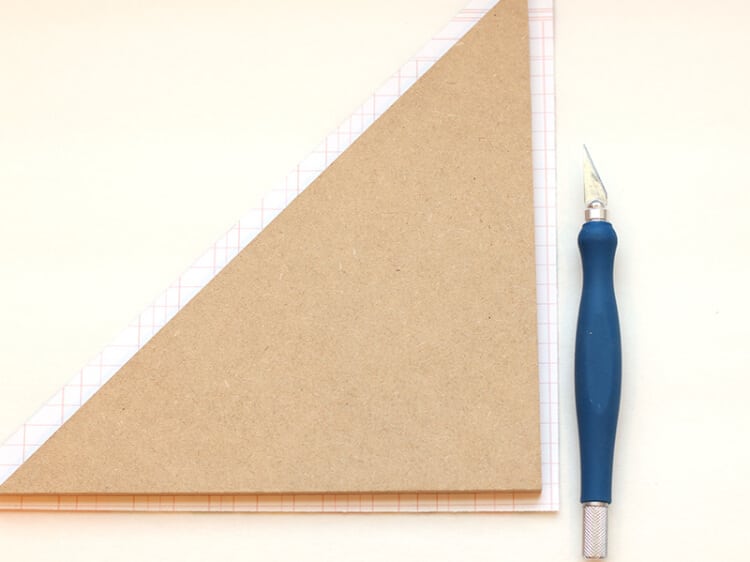 Allow the Mod Podge to dry for a few minutes, and then use an Xacto knife to trim the excess paper.
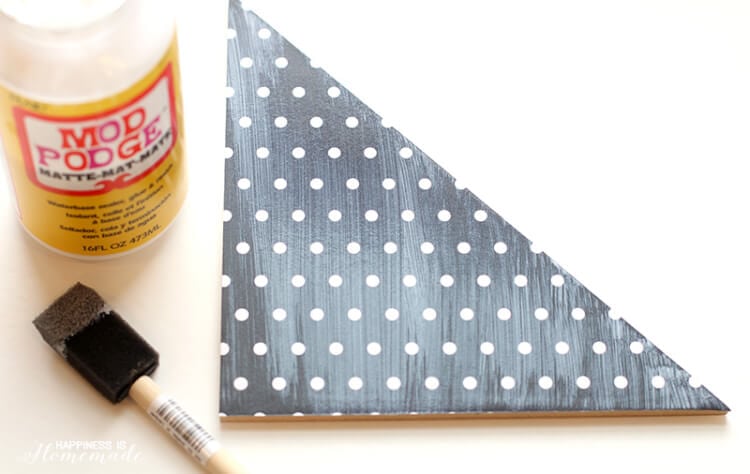 Add another thin layer of Mod Podge on top of the paper to seal the edges and protect the surface of the paper. Allow to dry completely.
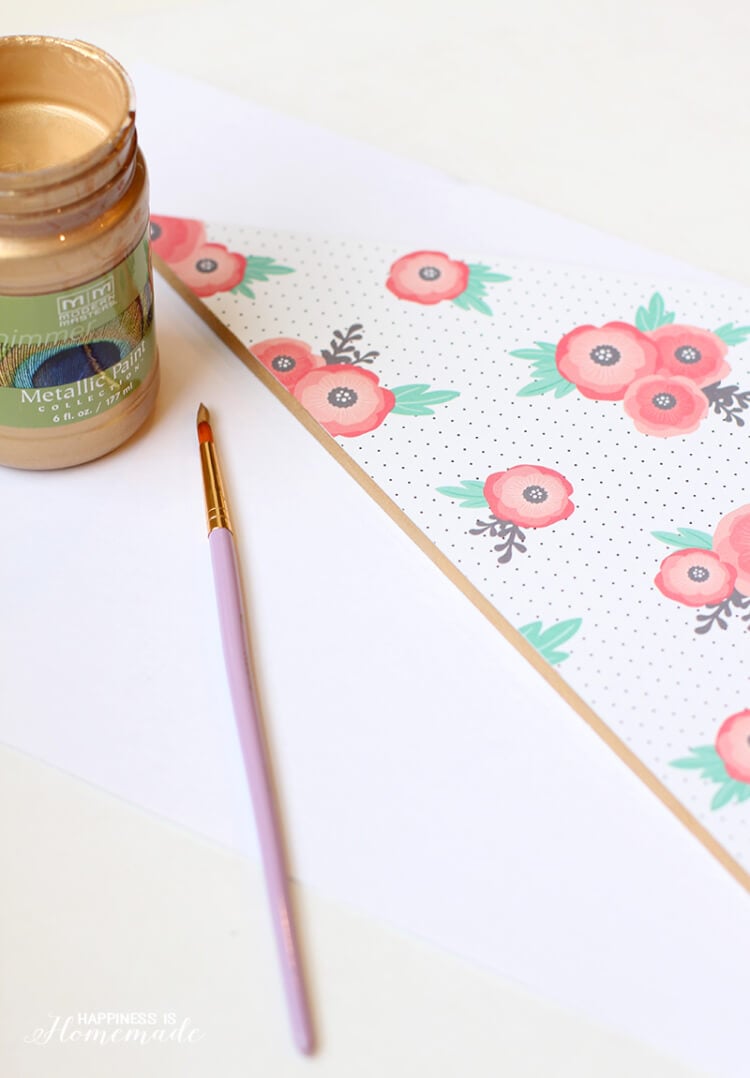 The edges of the triangles were unfinished wood, so I used my favorite Pale Gold Modern Masters Metallic Paint to give them a bit of shimmer and shine.
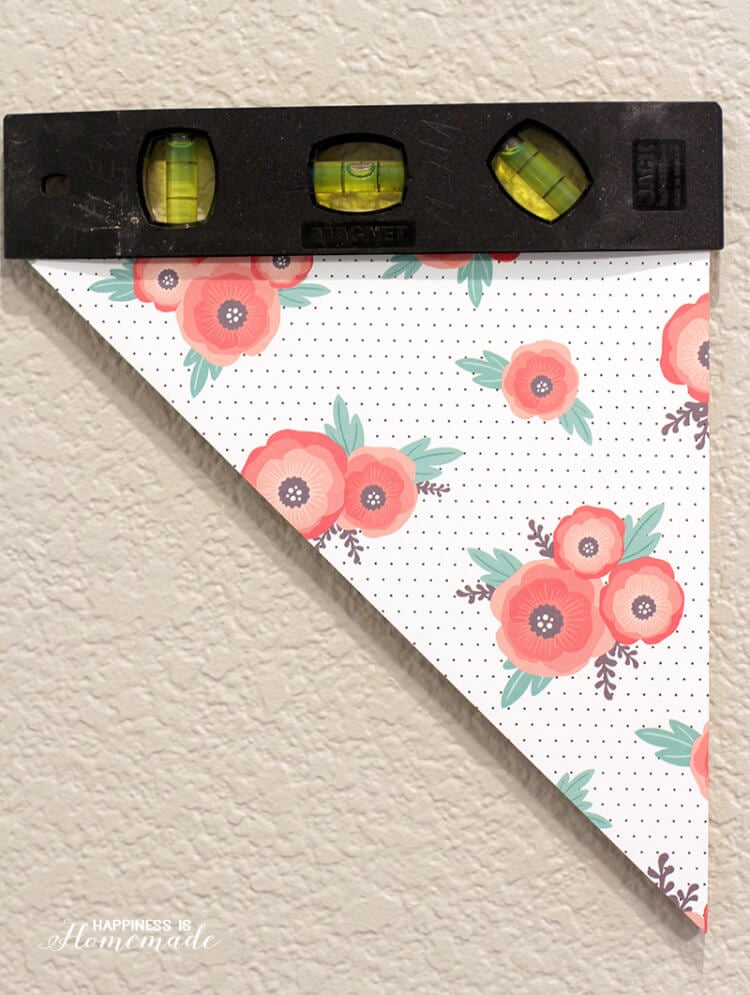 The triangles hang easily on the wall with Command Picture Hanging Strips (one strip per triangle). Use a level to make sure that the two bottom base triangles are level.
 Once the bottom triangles are level, the other pieces will fall easily into place. Just keep sticking them to the wall row-by-row with the Command Strips until you’re finished.
 Easy peasy! I still can’t get over how gorgeous these papers are!
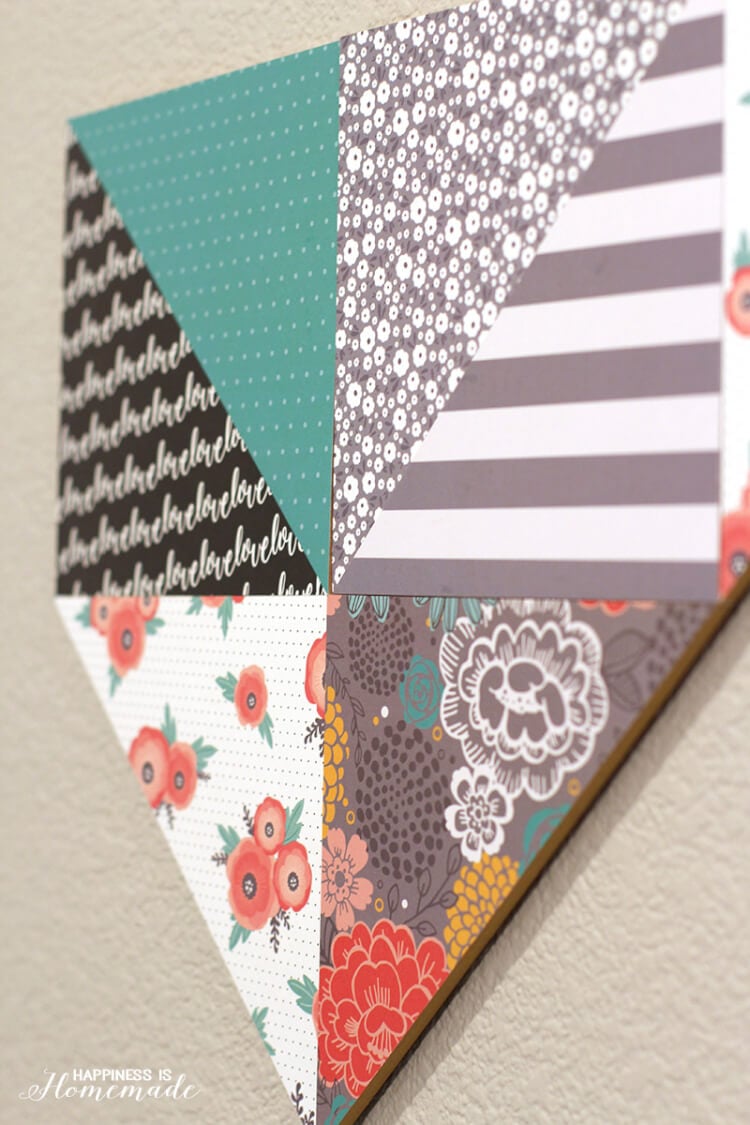
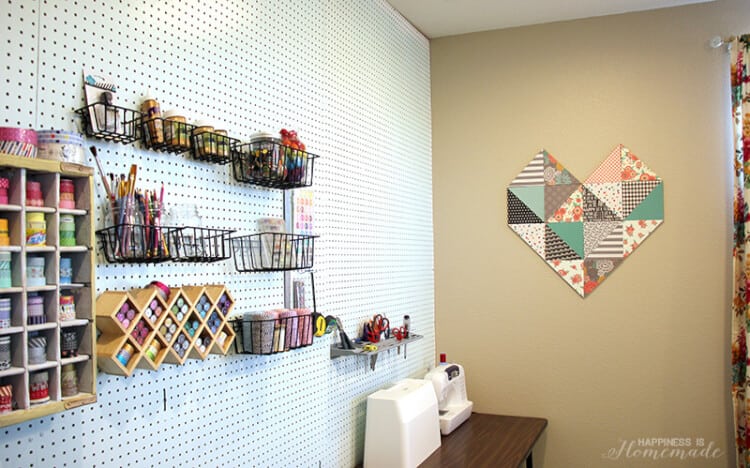 It’s kind of hard to tell in the close-up photos, but the heart takes up about 30″of wall space in my (still-a-work-in-progress) new craft room. The process of making this heart reminded me of piecing together a quilt, so it makes perfect sense that it’s hanging over the sewing corner of the room!
Be sure to stop by Happiness is Homemade to find creative inspiration for the entire family!

**********
Thanks Heidi! I absolutely love that geometric heart. It makes me so happy to see all those patterns together in one project! Heidi has such fun projects on her blog, here are some I know you’ll love:
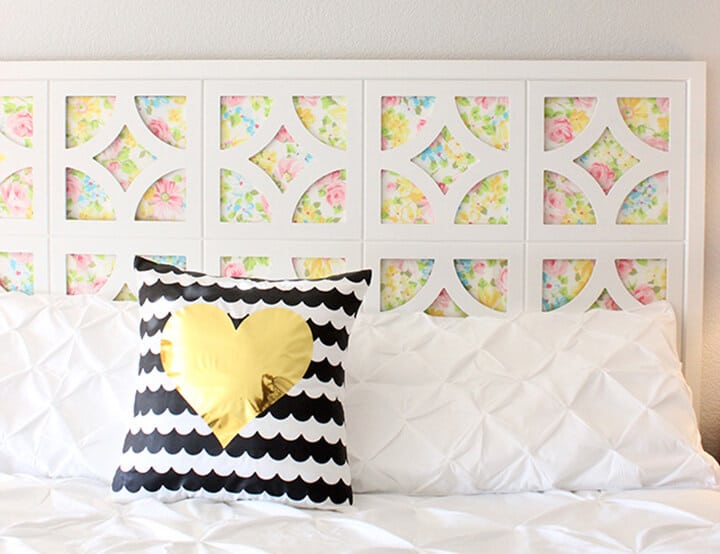 She has this gorgeous DIY Vintage Sheet Headboard that I just love!
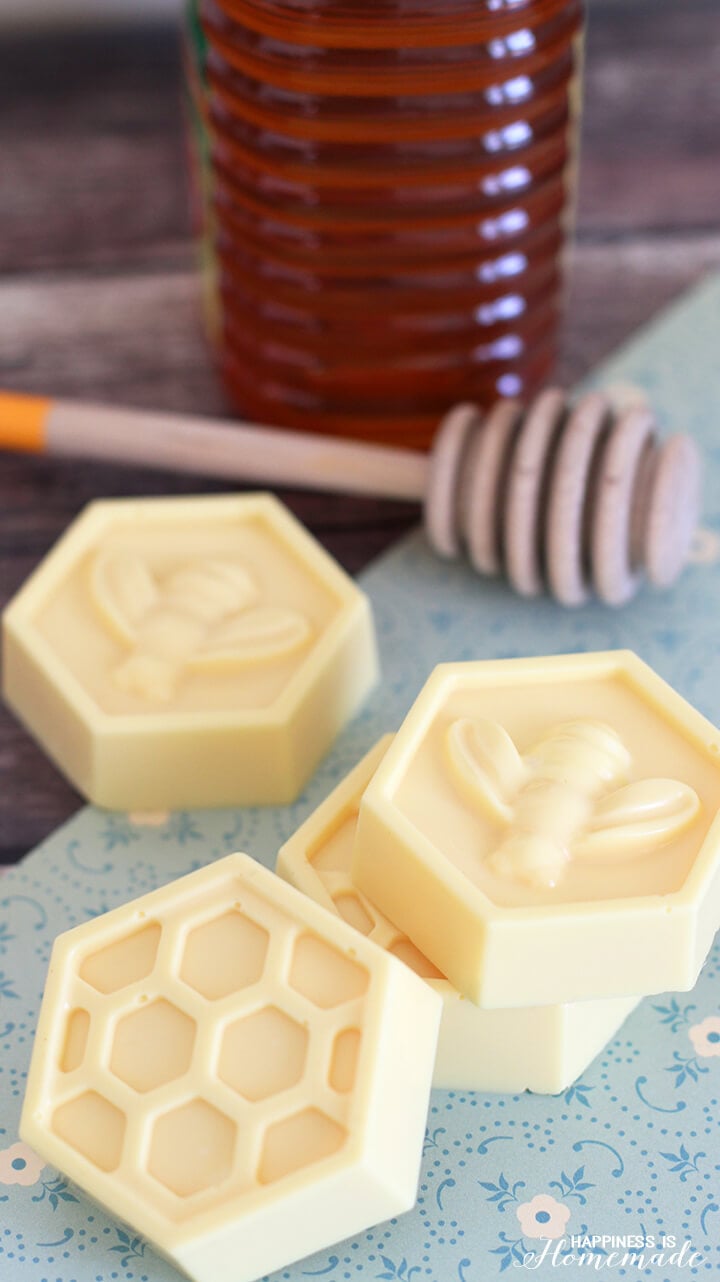 And this 10-Minute Milk & Honey Soap would be such a great gift idea!
 And, I love a good salad recipe so her Fiesta Chicken Taco Salad looks amazing!


http://canadagoosevest.veganroi.com
I love this project. I have some papers that I adore but don’t want to use them up. I could make this and see them every day. Great project!
Love this! So cute…