
I think one of Ikea’s top seller must be their UNG frame. It’s so pretty with it’s scrolly silhouette. And I have seen so many amazing ways to use it in home decor.

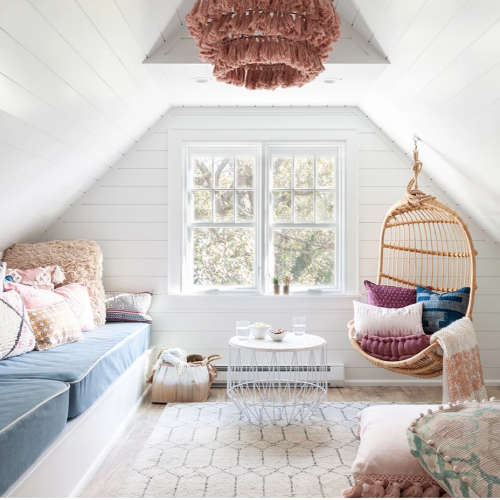
I bought one a few months ago, knowing that I would find a use for it eventually. And when we started Hannah’s “spur-of-the-moment” room makeover this weekend, I knew I wanted to use it in her room. It’s perfect for a girls room.

Hannah loved to collect things, so I thought it would be great to make a little bulletin board for her to display treasures. And she had a wall that was the perfect size – yay!!
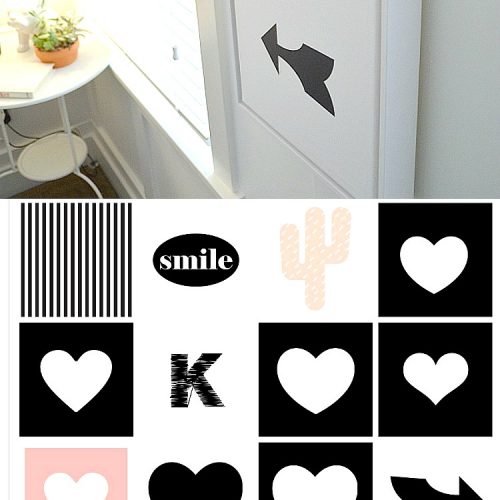
Here’s what we did to transform the plain black Ikea UNG frame into a colorful bulletin board:

- The first thing we did was we took out the mirror and spray painted the frame a bright pink that matches her new chandelier color. Super easy. I LOVE spray paint!!

- Then we took the mirror and attached some cork board tiles. Hannah and I traced the mirror image on the tiles and then but them out with scissors. We left about 1/4″ along the edges of the mirror so it would fit in the frame easier. The cork tiles came with double-sided sticky mounts. We attached them to the cork and the mirror to hold the cork in place.
- Then we added a layer of batting to the top of the cork board.
- The next thing we did was we traced the mirror on the fabric we wanted to use, leaving about 3 inches of fabric on all sides of the mirror.
- We wrapped the fabric around the mirror/cork, taping the material on the back to secure it. As we went around the oval, we pulled the material taught.
- Then we attached the ribbon trim. We cut lengths and criss-crossed them on the fabric, securing them in the back with mailing tape.
- Once the ribbon was attached, we flipped the oval over and fitted it inside the painted frame.

Then we hung it up and added some of Hannah’s favorite things.
Now the colorful bulletin board is the first thing you see when you come in the room. And I love that the bright color instantly adds a happy and friendly vibe to Hannah’s new room. Yay!! The infinity scarf and pin are from the Nest of Posies Shop – one of my favorite places!

I am working on a new cushion for her window seat today, plus a couple little projects to make the room complete. We are so excited to show you the whole room reveal soon!!

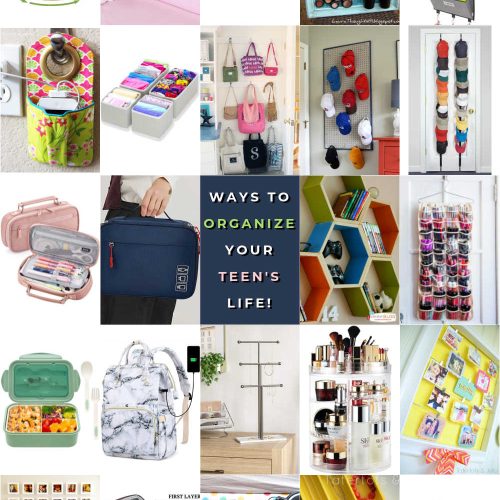
And here are 13 other FUN ways to remake an UNG frame:

Thanks for stopping by!!
xoxo


That’s really smart! 🙂
Hi Jen! this is fantastic! so im a teen, and i really want to make something similar to this and im dying to know what spray paint you used! is it watermelon pink by Krylon because thats one of the colors im think of using but i want to know what this is 😀 thanks xoxo sydney
Would you mind sharing the colors you used for the silverware trays and the Ikea mirror?
I’m a little late on this post but i was wondering how did you spray paint it? Did you sand it down or did you use paint primer then the spray paint? I want to spray paint mine white but I’m afraid to ruin it. Help 🙂
Parabéns pela idéia e combinação de cores, arrasou!
bjs
Paty
I am starting to do this today – I’m really excited about it, and have the perfect place to hang it!
What color and brand of spray paint did use. Looks like a raspberry.
This might be one of my FAV’s yet!!! Love it! Sharing over on my FB!
Hello ADORABLE! Pinning and sharing on my FB page…♥
Thank you my friend. You just made my day. Love you!!
oxxo
JEN! you stinker!!!!
how did i miss this? i love her room. that frame is so fabulous.
thank you so much for the big shout out! my goodness, that was so sweet of you!
XO
kellie
You are so cute!!! I LOVE your pins and wear them all the time. I thought that one looked so cute in her new room 🙂
xoxoxoxo
Holy amazeballs! This turned out amazing. Are the jewelry holders above the chair silverware trays? I just snagged a few and have been brainstorming ideas for them and thought it looked like you had used them in her room for jewelry. If so they look fantastic. If not then whatever you have hanging there is super cute and colorful. Great job on everything. The room looks great so far.
How adorable! Looks like Hannah has your creative genes! There’s nothing more fun than decorating a girl’s bedroom!
So cute! I love the colors you’re using in her room. I can’t wait to see the whole thing.
Thanks Chessa!!
It is really turning out so cute. I am so excited to post the whole reveal!!
oxoxox
I love what you did with it. I did something similar awhile ago for my daughters room as well! http://doubletheblessings-amyh.blogspot.com/2012/09/ung-drill-frame.html
This is fantastic! I still can’t wait to see the whole room!
What a chic and personal accent piece for her room! Perfect for a young lady!
Very cute for a girls room 🙂
Love, Love, Love!
Love it! LOVE the scarf/cowl, too!! Did you make that??
Hi Jennifer!!
No – the scarf and pin are from my friend Kellie’s shop — Nest of Posies. http://nestofposies.bigcartel.com/
There’s a link in the post too. She has the cutest shop!!
xoxox
Love the color! So pretty. I turned ours into a mirror and then last time I was there I saw they were selling them with mirrors in them…..:)
Thanks for sharing with us!
XO
Kristin
Love all your ideas. When I asked about the three units to the left of the window, I wasn’t very clear. I wanted to know about the large, white storage units. I would love these for my granddaughter’s room. Thanks for much. Francis C. Moore
Hi Francis!!
Oh sorry!! Yes, the big cabinet in the corner of her room is from IKEA — it’s really pretty and it makes keeping her clothes organized so easy.
xoxxo
hi!
i love the things you’ve done! can you tell me where you got your
dress form?
keep up the wonderful creative things to share on this blog!
regards,
m
darling! your so creative Jen…I want you to come redo my rooms for me 😉
How fun is that!!! Very cool room so far!
Love this! Such a fun, bright pink color! love the idea 🙂