Hello Tatertots and Jello Friends!
This is Desirée from The 36th AVENUE.
How is everybody enjoying the Summer?
I don’t know about you guys but my kiddos are going back to school in less than a month.
WHAT? Seriously where did time go?
Well, last year school caught me unprepared so this year I decided to try my best to be a little more organized.
Yes I am the mom that takes her daughter to dance class the day where I’m supposed to take my son to Scouts.
As you can see I need help… so this year I made a Back to School Fridge Station.
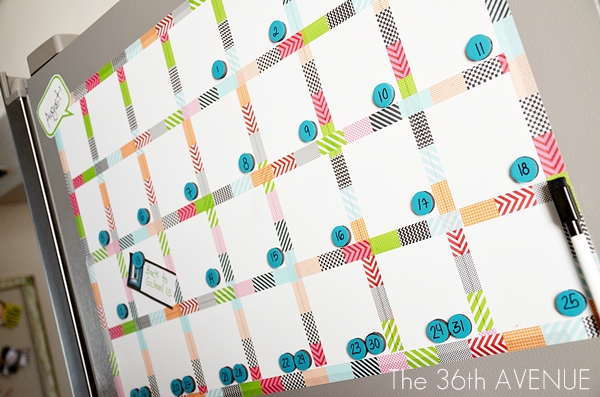
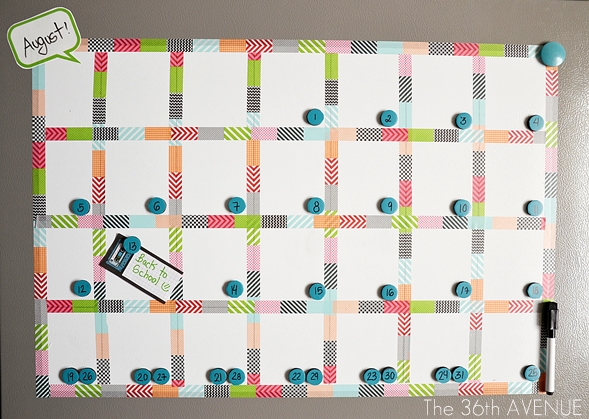
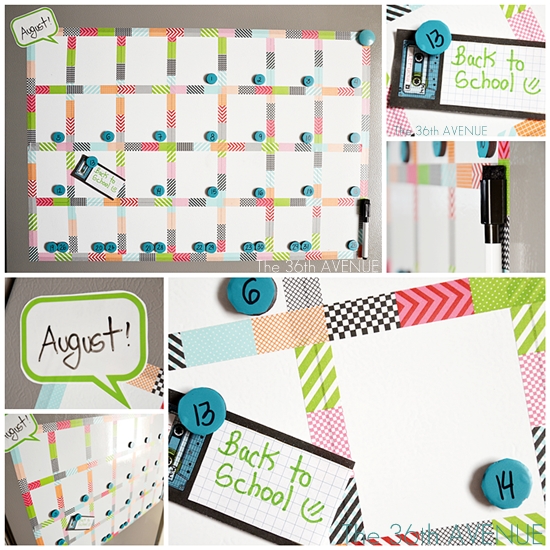
Today’s project is part of it, I made this Vinyl Washi Tape Calendar to get things more organized around here.
MATERIALS
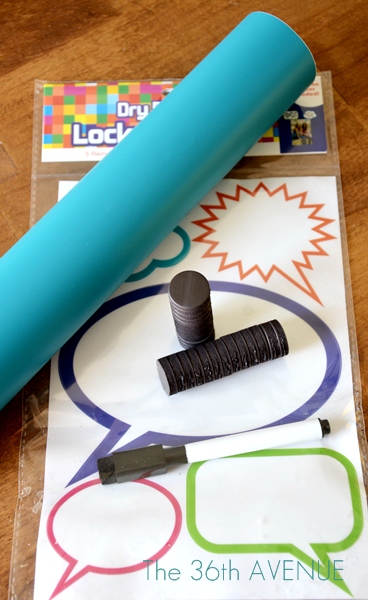
All you need to make this project is vinyl, scissors, a marker, tape measure, ruler and Washi Tape.
NO VINYL MACHINE IS NEEDED!
Let me show you…
TUTORIAL
The first thing you want to do is cut a piece of high-gloss vinyl.
I made mine with just 4 horizontal rows and the dimensions of the vinyl were 24″ w x 16″ h.
I chose to do four rows because I didn’t want to cover a huge area of my fridge.
If you decide to make the traditional 5 week calendar cut your vinyl 24″ x 20″.
Next step is to make the boxes for each day of the week.
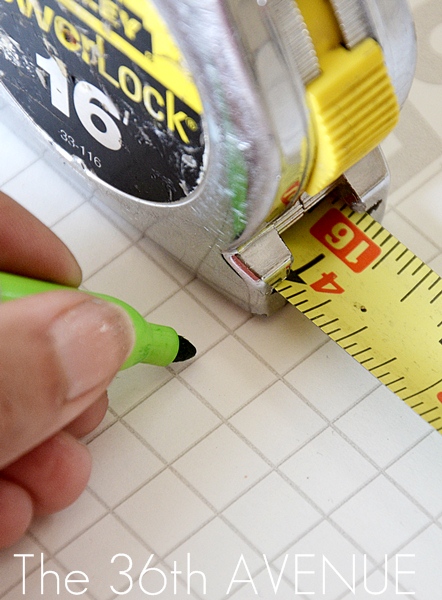
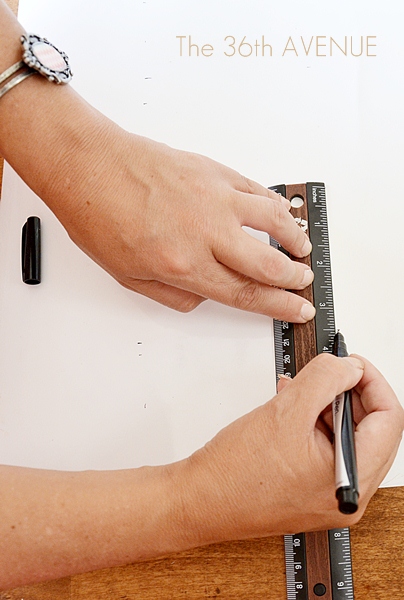
Using a ruler or tape measure, mark, and divide the width of the vinyl in 5 equal 4″ parts,
or 4 equal 4″ parts if you are making your calendar like mine.
When you are done create seven vertical 3.5″ spaces, one for each day of the week.
The Sunday will be slightly longer but you won’t be able to tell after it is all done.
After you have your lines marked it is time to stick the vinyl to the fridge.
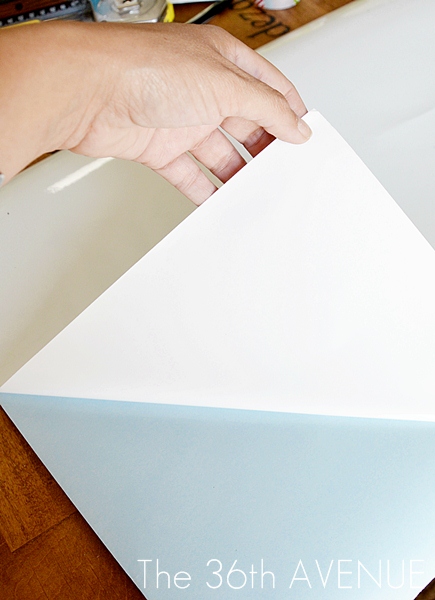
Gently peel off the vinyl as you would do with a sticker.
You may want to get some help at this point.
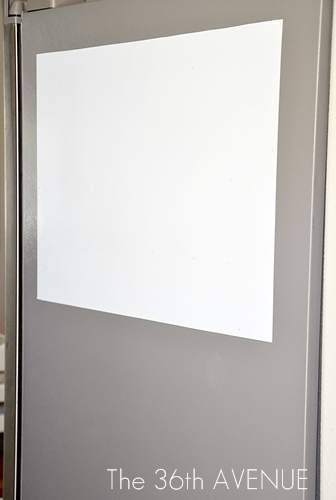
Carefully place the vinyl on the fridge.
You can’t see the marks of the measurements on the picture but they are there.
If you want you can trace the lines… I was too lazy to do so.
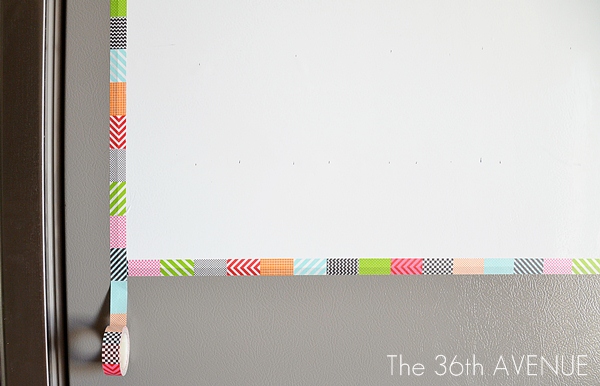
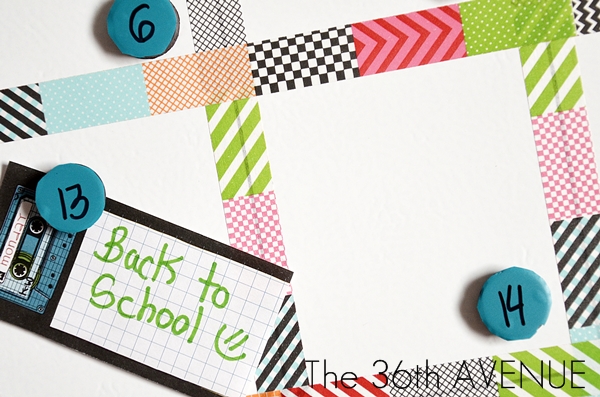
Next it’s time to add the Washi Tape.
I found mine at Wal-Mart by the Scrap-booking area.
The only thing you want to keep in mind is to center the Washi Tape with the lines of the calendar.
That way it would look even.
Repeat this until your calendar is finished…
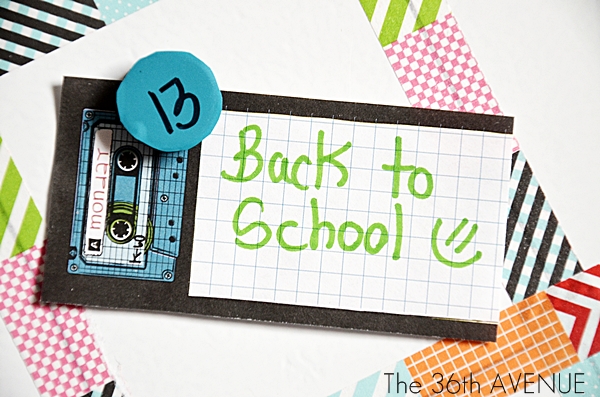
I purchased this cute decals and magnets at Wal-Mart.
I added one of the decals to the top of the calendar for the month.
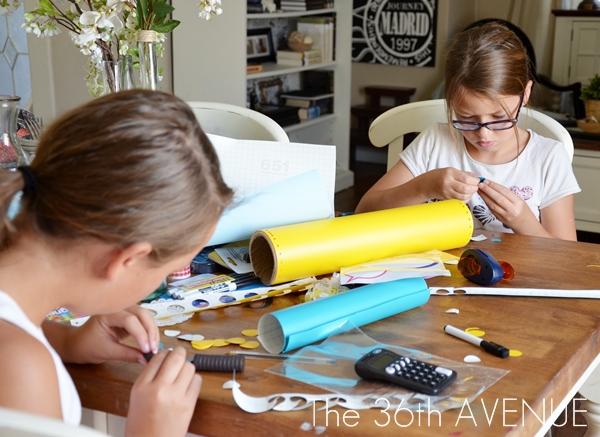
My girls helped me out tracing, cutting and sticking some vinyl to the magnets.
I used a permanent black Sharpie to write the numbers for each day of the month.
I love the fact that my girls made them and that they look perfectly imperfect.
So cute!
Well… at this point we are done!
Because it is on the fridge now it is a magnet board, a white board and a calendar.
Isn’t it cool?
If you have a minute I hope you visit with me so you can see the rest of our
Back To School Fridge Station here.
Even my kids love it!
Thank you Jen so much for having me every month.
I love you, I love your blog and I love your readers…
This is too much fun!
Happy Thursday Everyone!
Desirée
Desiree!! Oh my goodness – that is SUCH a fun idea.
And I am obsessed with that washi tape – I NEED some!!
Thank you so much for the wonderful tutorial.
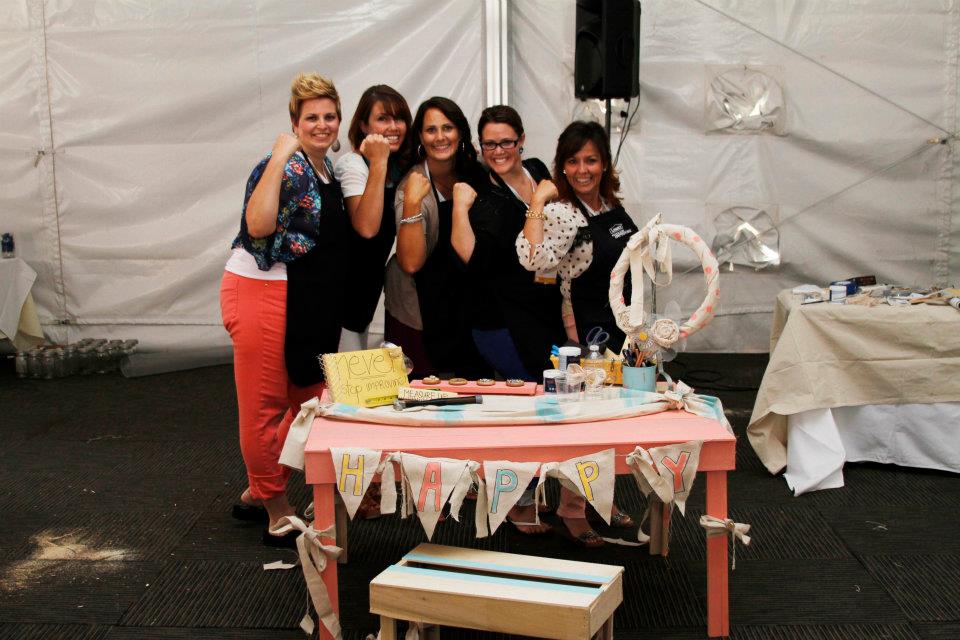
Desiree is ah-mazing. I couldn’t love her more. We had a blast this past weekend crafting it up with Lowes at the Evo Conference.
Here’s what’s new at The 36th AVENUE:
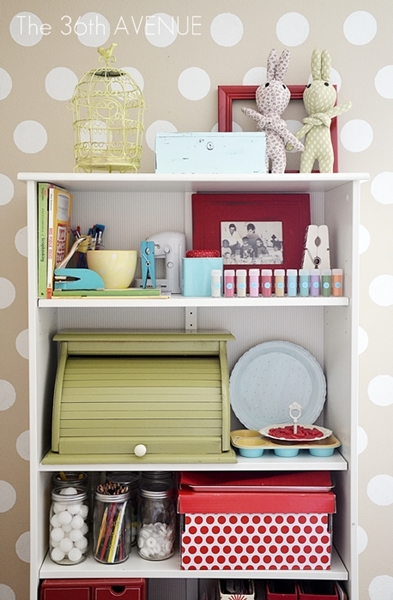
Check out this bread box that Desiree made into a fun craft room storage container. Love it!
And while you are there, be sure to check out Desiree’s home. It is so amazing and pretty!!
xoxo








Has the question about where to find the high-gloss vinyl been answered?
You can get dry erase vinyl at Home Depot 🙂
http://www.homedepot.com/p/WallPOPs-24-in-x-36-in-Dry-Erase-Whiteboard-Wall-Decal-WPE0446/204347833
I love ur calender.. I have been using my white fridge as a whiteboard for years. it does help keep everything organized. I use the whole top half though cause i put my work schedule( i work parttime) kids fieldtrips, their chore schedule, etc. I love using the fridge cause i just use the dry erase makers right on the fridge. I love the idea of the date magnets. Thank you for sharing with us.
Is high-gloss vinyl outdoor vinyl? I love this project and can’t wait to make my own! Thank you
I, too, am wondering where you would find the vinyl????
This might be a silly questions, but where would one find the vinyl?
I didn’t realize it wasn’t a real dry erase board at first. Awesome!
I cannot wait to make one! Cool idea, thanks for sharing!
I need to make this today!
Yes, very cool! I like the colors you chose too.
LOVE IT!
Desiree’s projects are so inspiring!!
Awesome project! Thanks for sharing.
This is so Fun! I really like it, great post!