Make a Whimsical Felt Rug (with template)
I’m just thrilled to share another project with Jen and all her lovely readers! Just about a year ago I shared a tutorial to make dino tails, and this time around I have another kids project.How to make a felt rug.
My name is Jessica and my blog, Running With Scissors, is my outlet to share all the sewing, crafting, painting, and furniture building projects I’ve been running around making.
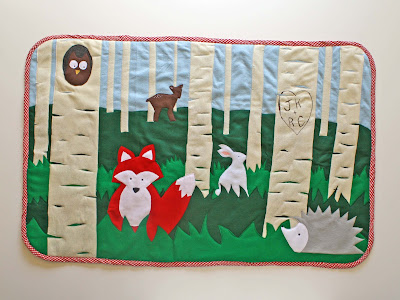
Today I’m excited to share a tutorial to make your own woodland children’s rug!
Rugs can be so expensive, but add such an impact on a room.
I’ve been looking for a smaller, woodland rug for my daughter’s nursery, but couldn’t find one and decided to DIY! I chose to use felt, and waited for the premium felt went on sale. It’s a little bit more expensive than regular craft felt, but it doesn’t stretch or pith as easily. If I had an unlimited craft budget I’d have loved to create an actual wool rug using 100% wool felt, but I stuck with the mid-grade for this project.
It has a woodland scene that includes a fox, hedgehog, bunny, deer, and owl all nestled in a grove of birch trees. My favorite element is the tree carving where I sewed the initials of myself and my husband, (the rug being for my daughter) representing mom and dad.
________________________________________________________________
Here’s the tutorial to make a smaller, simple fox rug.
You can use these steps for any size or shaped rug you’d like to make.
SUPPLIES:
-felt scraps (backing 18″ x 24″)
-invisible thread (found in quilting notions)
-1″ double fold bias tape
-rug backing (foam headliner or rubber grip)
-disappearing ink fabric pen
I sketched some basic animal shapes: fox, hedgehog, bunny, owl and fawn
1. Cut Out Felt
Depending on your scene, you’ll need to configure the layers of the background.
Base: large piece of felt to secure all the other layers (18″x24″)
SKY: light blue 9″ x 24″
Background GRASS: dark green 6″ x 24″
Foreground GRASS: kelly green (strip 6″x 24″ ) and cut with 1-2″ grass spikes
FOX: red, white, gray cut pieces with provided pattern
TREE: ivory and brown, (5″ wide x 18″ tall)
2. Finish Animals
After cutting out your animals, each has details that need to be sewn on. Top-stitch with invisible thread around the added felt features of the animals to attach to the base. You can use a narrow zig-zag or a straight stitch 1/8″ from raw edge.
Next you can add the details by hand embroidery, or using your sewing machine. I chose to use a free motion presser foot to add the eyes, beak of owl, inner ears of the deer and bunny, etc. Sketching features on first with disappearing ink to helps guide as you sew.
This fox has little lashes to look more feminine.
3. Finish Trees
Taking your tree strips, you’ll first cut the birch rings. Fold tree in half and snip out a sliver. Vary the width and location of your birch rings throughout trunks of larger trees.
After layering your brown strip behind your ivory, you’ll need to top stitch the birch rings.
Here is also where you’d top-stitch the owl in the hole.
You can also add the carved tree initials. I used the free motion presser foot with the feed dogs down and brown thread.
*You’ll notice on the large rug, the trees got narrower in the distance and were 2″, 1″ and some only 1/2″ wide to give the depth of distance to the scene. Only the larger trees had the slit details.
4. Assemble Layers
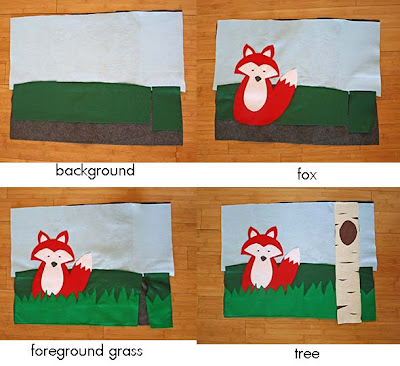
To sew it all together, you’ll work from the top/back to the bottom/front.
I used a regular presser foot, invisible thread and a straight stitch 1/8″ from edge to attach all layers to the felt base.
As you sew the layers on, be sure to keep each layer smooth and even.
–background: Sew the sky and background grass to the felt base layer.
–middleground: top-stitch fox and medium sized trees
–foreground: sew on the foreground grass
-front: the largest tree goes on top of everything
5. Back and Finish Rug
Once the layers are sewn to the base, you’ll probably need to clean up the edges. I also round my corners using a plate.
To give the rug more weight and prevent it from sliding, I added foam headliner (feels like light neoprene) to the large rug and rubber grip backing for the small.
Both rug backings I found a Joann’s in the home decor section on the large rolls.
Cut your backing of choice to fit your rug and zig zag or serge around the edges to sew backing to rug.
To finish around the edge, I added contrasting 1″ double fold bias tape. You can buy packaged solid colors, but I wanted a patterned fabric and made my own using a Clover 2″ bias tape maker you can find in the quilting notion section of most craft stores.
You can hand sew the binding on the rug as you would bind a quilt, but I use my machine.
Fold bias tape around edge and top stitch through all layers. To finish the ends, I fold the raw edge under then overlap about 1/2″ from the original finished edge.
You’re finished!
A cute, affordable rug that is easy to customize for your space!
more details/ tutorials on all the other items in nursery available on my blog: Running With Scissors
Thanks!
Thanks Jessica!! Your rug is adorable – and I love the nursery!!
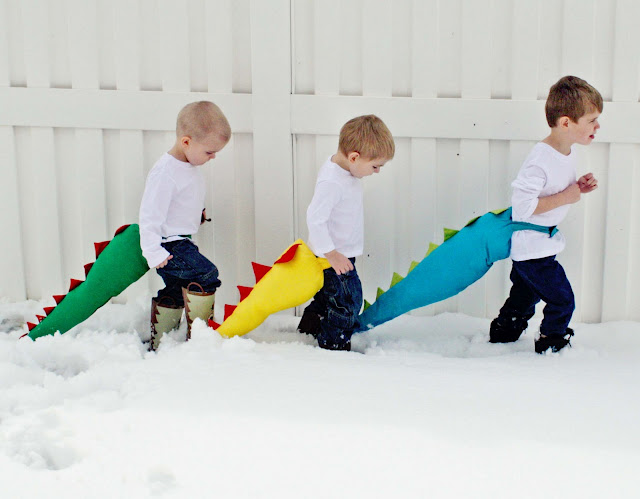
You might remember Jessica from last year’s TT&J guest tutorial — Dragon Tails:
Here are some fun projects that Jessica has made this year:
You will love following along with Jessica at Running With Scissors!!
Have a Happy Day!!
xoxo
I hope you are having a great week! We are having so much fun spending time with our little family for Spring Break!






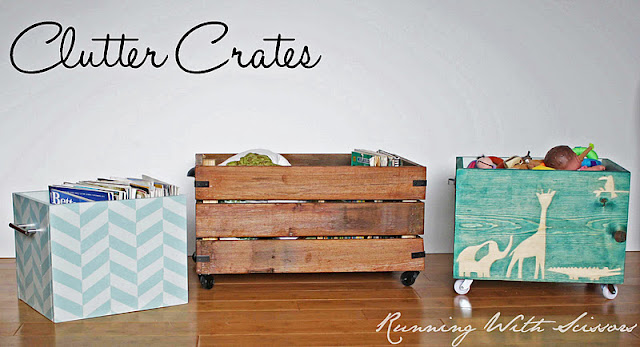
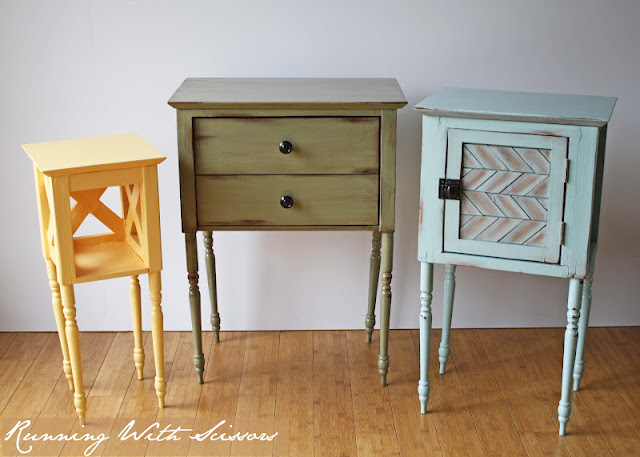




Got to love pinterest!! I made the Dino tails last year, the children loved it, and was linked back to this site tonight via pinterest.
Going to make my son and daughter a rug each, they will like it for sure.
Did you make the mushroom stool too? I would love to know where you got it!
Hehe…never mind about the stool. After actually reading the article I discovered the answer myself.
so cute! love it!
This is great!!! Looks adorable, worth the time and effort that’s for sure!!!
Thanks for sharing!
So creative! I just love this. You did an amazing job.
I love everything from top to bottom. I am reminded that people can be so talented and to support them and not the stuff mass produced at the department stores.
Way to go!
I just love everything Jessica does! The rugs are adorable!!
That’s adorable!!!
Yay for this rug! It’s amazing. I’m pinning it in my woodland section . . . I love woodland inspired projects!!
That rug is adorable! I love the tree carving too….such a great personal touch!
Too Cute…might have to make two one for each of the new babys in the family!! I pinned it to my DIY board for save keeping. 🙂
Denise
Hello Jen,
Thanks for inviting Jessica with Running With Scissors back to visit your blog. She is super creative and this rug is way too cute for words. Love It!
Smiles, Paula
This is so adorable!
Wow! So charming. I’m totally inspired to pull out the sewing machine. I probably won’t get much farther than that, but pulling it out of the closet is a good first step, right? 🙂