I am thrilled to be on the Riley Blake Design Team. And, to tell you the truth, I’m also a little intimidated to be on the team with such talented women. I’ve only been sewing for a couple of years and I’m still learning.
I have a black table in my kitchen that gets used about 1,809,483 times a day. We eat on it. We do homework on it. I catch my kids painting their nails on it. It pretty much gets beat on all the time. So of course the paint is starting to wear off and I think my kids might have spilled things on it and then not wiped it up for awhile, because it has a couple of long cracks in it.
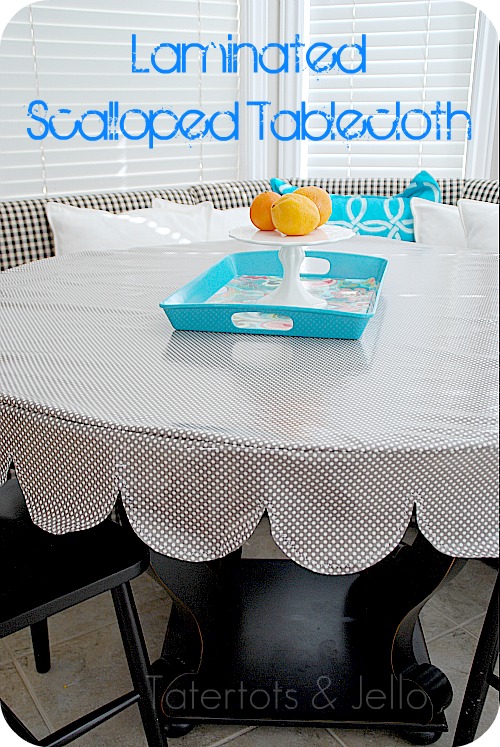
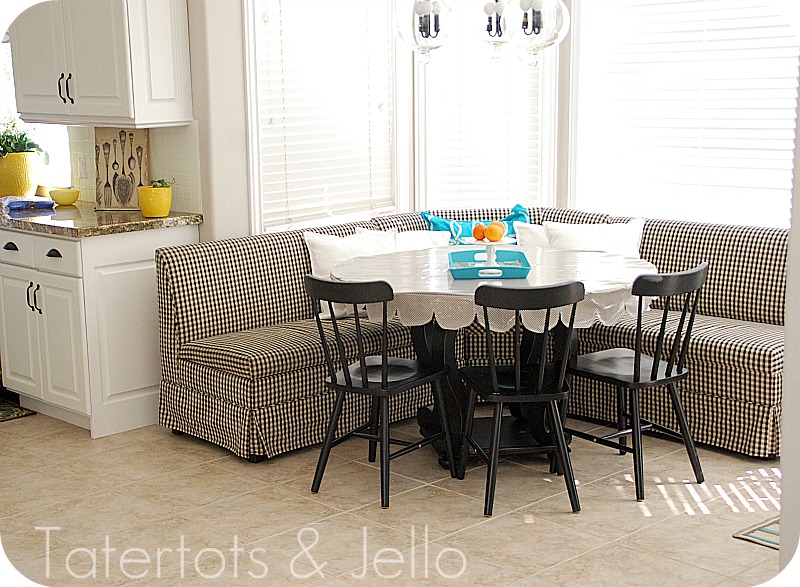
I was thinking it would be a good idea to either paint it or find some other way to protect it a little more. So when I was touring the Riley Blake warehouse a few weeks ago I was so excited to see the rolls of laminated fabric. I thought — how cool would it be to make a laminated tablecloth. I love the idea of laminated fabric for a tablecloth because I can just wipe it down. And I love clean lines, so I wanted to see if I could make a tailored tablecloth that fit the table well.
So that was my challenge in this project. And since I am new to sewing, I was a little intimidated my the project. Luckily my mom happened to be out when I was puzzling this project out. And she helped me — yay for moms!!And we decided that it needed to be as complicated as possible — so we added some scallops to the project. (Just kidding– it turned out to not be as complicated as I thought, although I was glad she helped me)
Here’s what I did.
(warning lots of pictures and steps coming up)
- The first thing was I measured my table. Since it was round, that made it a little easier.
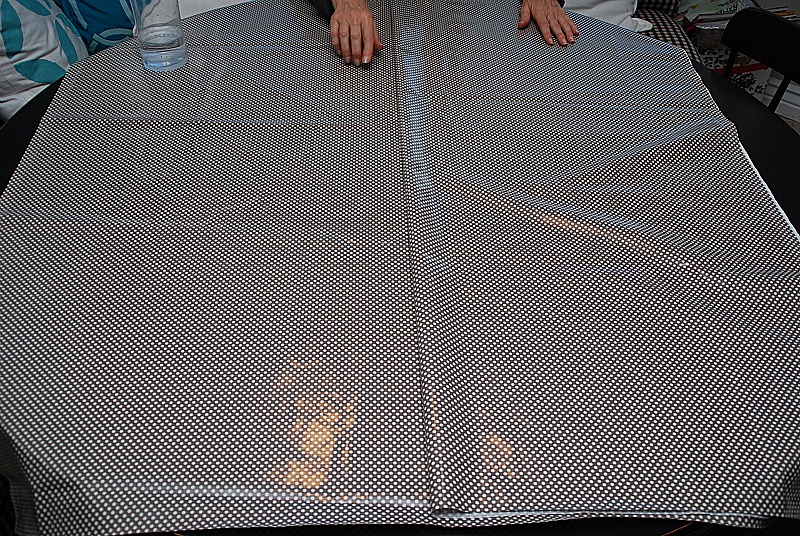
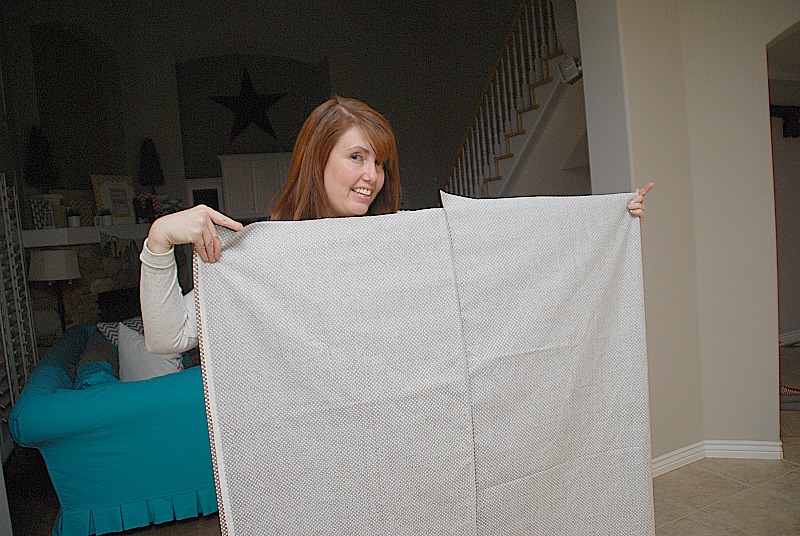
- Then I measured the fabric. My table was wider than the fabric. So if that happens, what you need to do is cut TWO pieces of fabric as long as your table, plus I added 1/2 inch for the seam allowance.
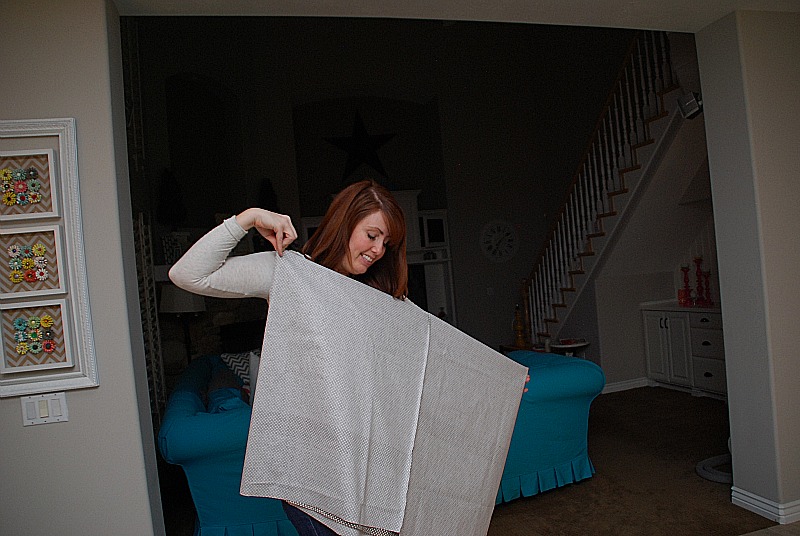
- Then I cut the second piece of fabric in half, width-wise and sewed those two pieces of fabric onto the main piece, which increased the width to the same as the length.
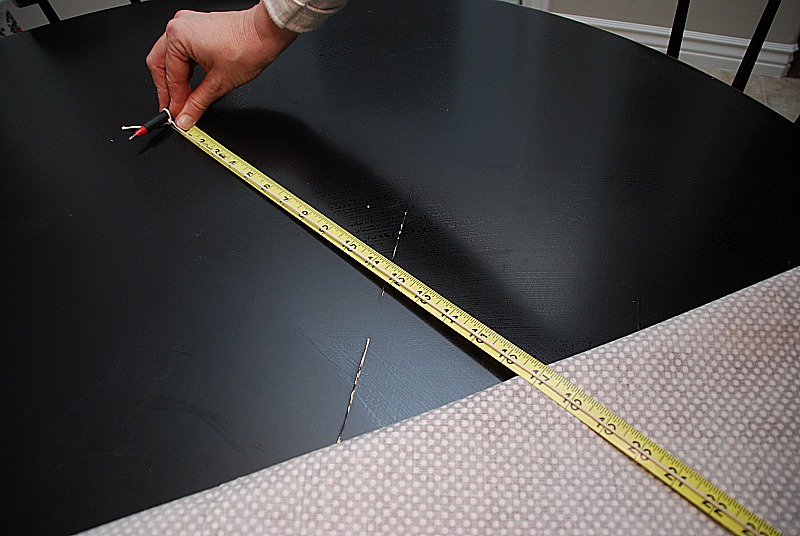
- Once the fabric is the size of the width and length, I had to make it round.
- To make the fabric round, what you do is take the fabric, fold it in half.
- Then fold it in half again, so it’s quartered.
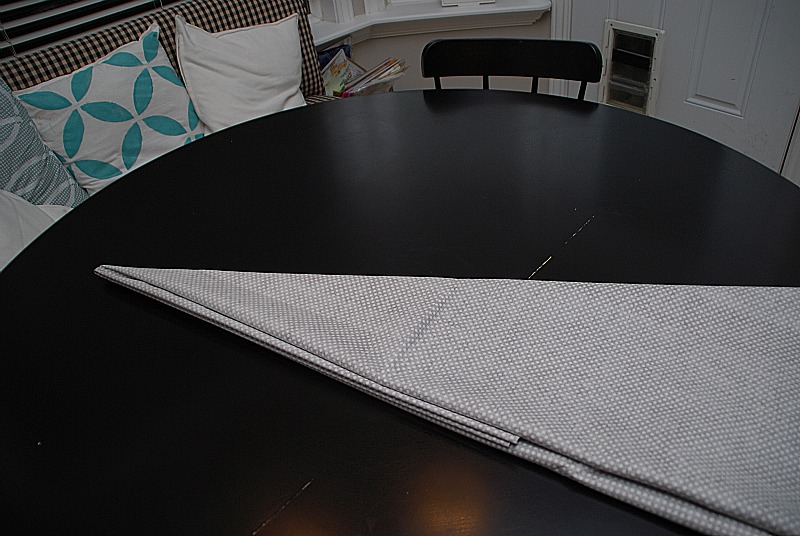
- Then lay it on your cutting surface. Now I folded one edge over to the other edge so the top folded edge was pointed. And then I folded it again. Now the fabric is folded in 1/16ths. The smaller it’s folded, the more evenly the circle will turn out.
- Now I measured the width of my table and then divided that number in half.
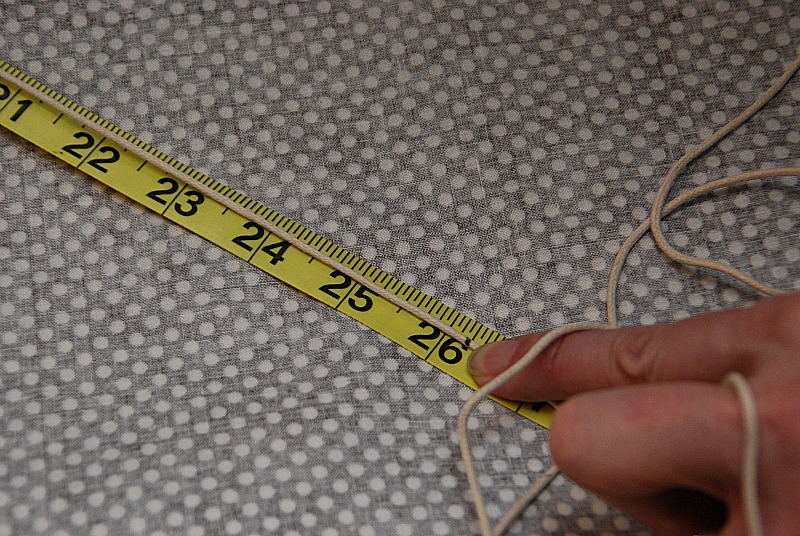
- I took a piece of string and a pen. I tied a loop around the pen with the string and then measured from the knot in the pen 26.25 inches and then cut the string.
- I took the cut edge of the string and places it at the top of the folded point of the fabric and pulled the string taut with the pen at the bottom.
- Then I used the pen to draw an arched line from one side of the fabric to the other. Be sure to mark on the underside of the fabric.
- I remeasured three times to make sure it was correct. And then I cut it.
- That makes a perfect circle.
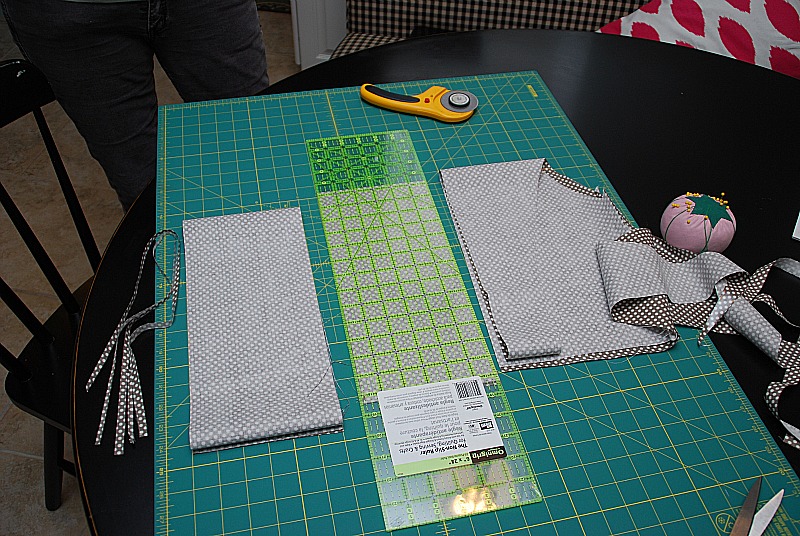
- Now I had to figure out the skirt of the tablecloth. I measured around the circumference of the table and added 1/2 inch for the seam allowance. I also measured the height that I wanted the skirt to be and added 1/2 inch.
- Then I cut the strip. I had to use four pieces of fabric and then sew them together to get a long enough strip to go all the way around the table. I think my total was 164 inches. I added a couple of inches to the total just in case.
- Now this is the tricky math part. I had to figure out how wide to make the scallops so that they would meet evenly. This took a little while to figure out. What you have to do is take your number and then see what number divides into it. I figured out that a 2 or a 3 would divide into my number. So I could make my scallops 6 inches in width.
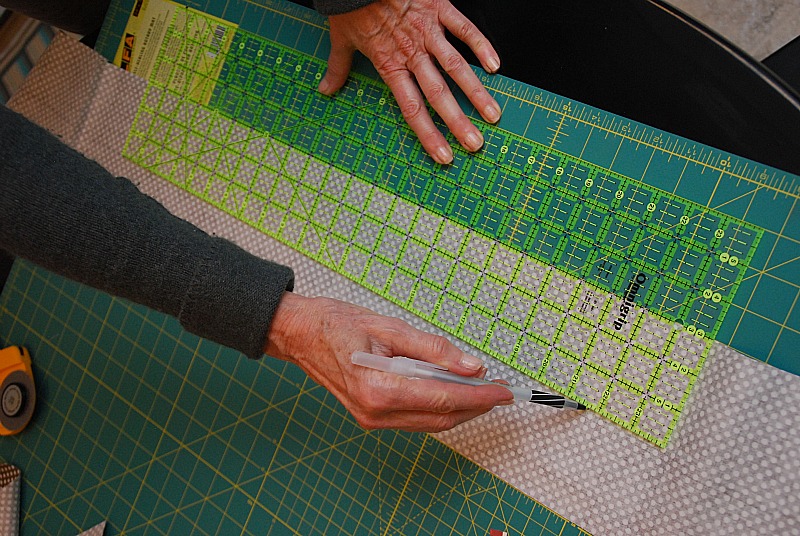
- Then I took a ruler and drew a line in half of the width. That way the scallops only go half way through the skirt.
- To get the scallops perfect you need a protractor OR a bowl that is the right width. I happened to have a cereal bowl that was 6 inches wide – yay!!
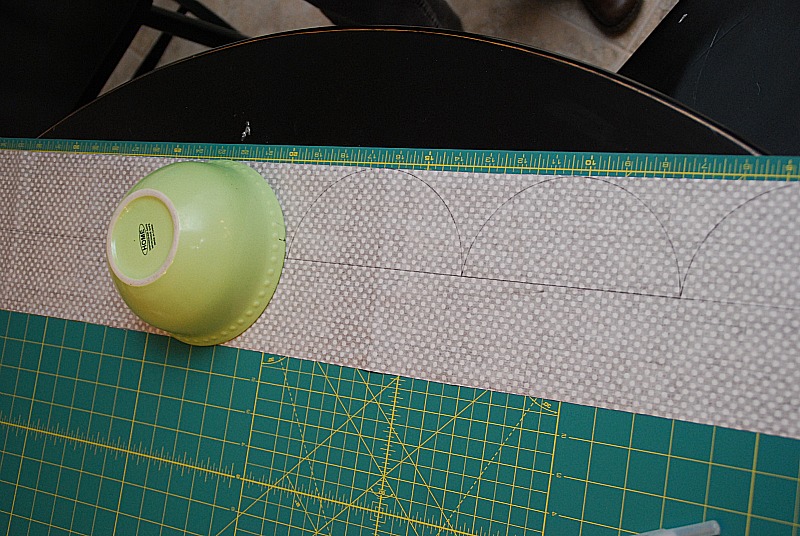
- So then I traced the outline of the bowl onto the backside of the skirt, stopping where the line was.
- Then I folded the fabric in quarters, I had those extra two inches just in case and I left those out. Then I scored those four points. You’ll see why in a minute.
- Then I pinned the skirt to the top of the fabric, making sure that the right side were together and the seam would be underneath.
- To get the skirt lined up perfectly, what you need to do is fold the top of the tablecloth in quarters and score those edges.
- Now line the edges that are scored up and pin them. It might be helpful to even fold both pieces in eights instead of fourths.
- Once they are lined up, I scored the rest of the material in between on the skirt fabric. That makes the skirt fabric stretch a little to match the curved edges of the top of the tablecloth.
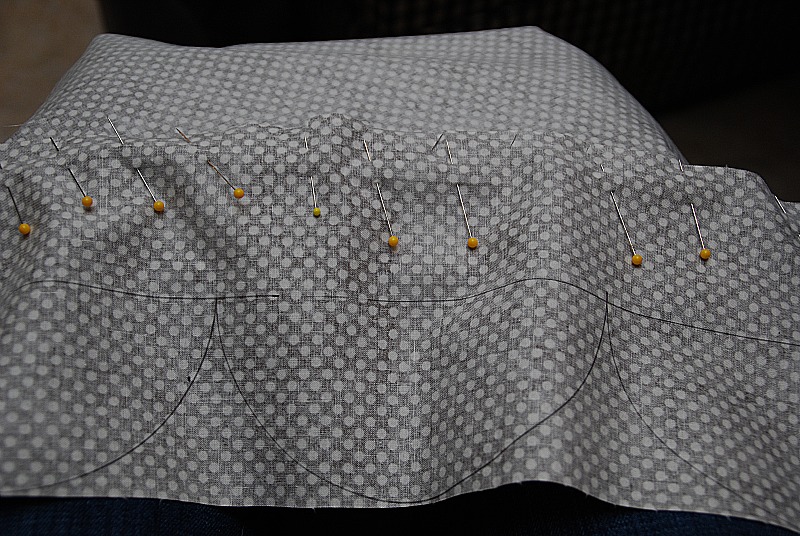
- And I pinned it like crazy. Don’t be afraid to use tons of pins.
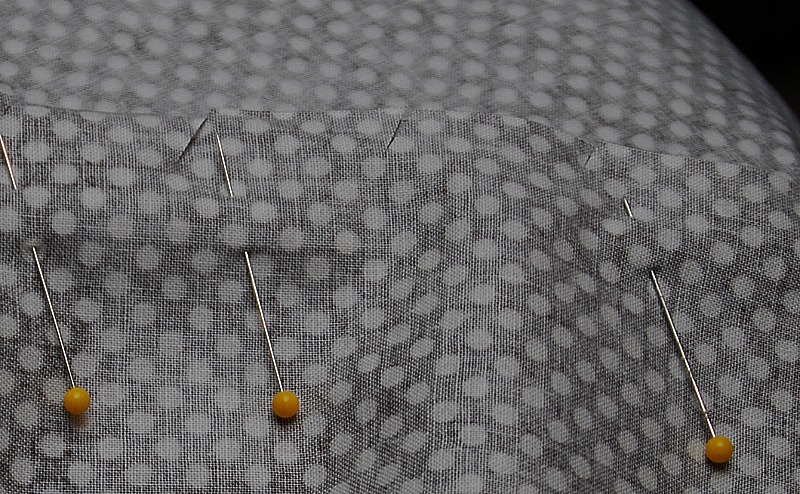
- Once it was all lined up and pinned I discovered that I didn’t need that extra couple of inches that I had left on the end of the skirt material and I cut that off.
- Now I sewed the fabric together. Be sure to sew on the cloth side of the fabric, not the laminated side.
- I sewed all the way around until I got the the seam. I left about 4 inches and stopped sewing.
- I took the material out and matched the skirt seams up and sewed that seam, then I took the material and put it back in and sewed the last 4 inches of the tablecloth top to the skirt.
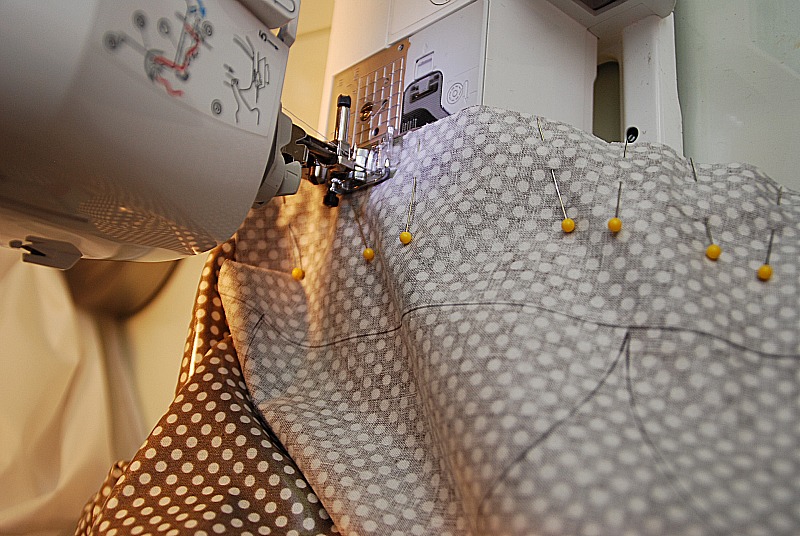
- Then I cut the scallops out.
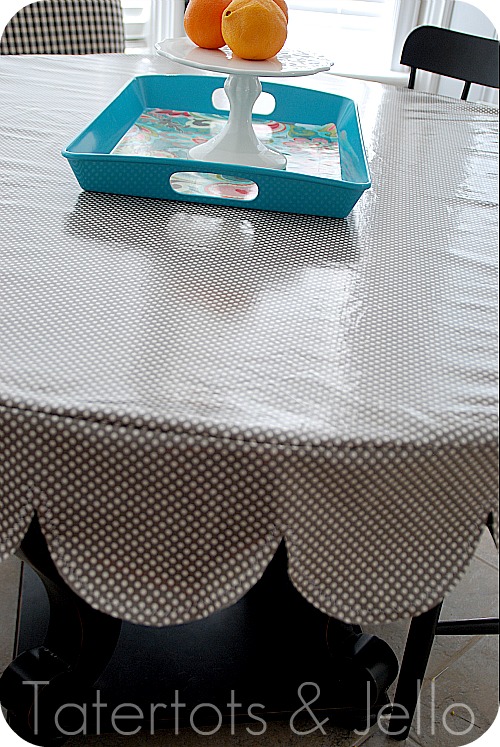
- And the last thing I did was sew around the scallops with a zig zag stitch. This will make the edges wear longer and it’s cute!
Don’t be intimidated by the length and steps in this project. If I can do it, you can too!!
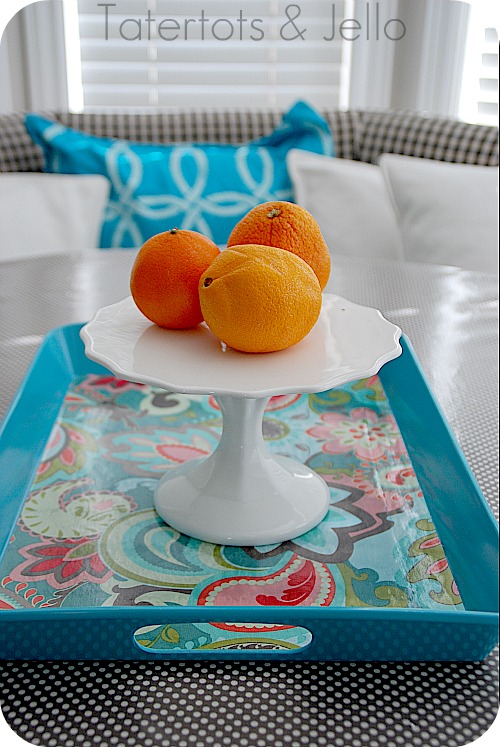
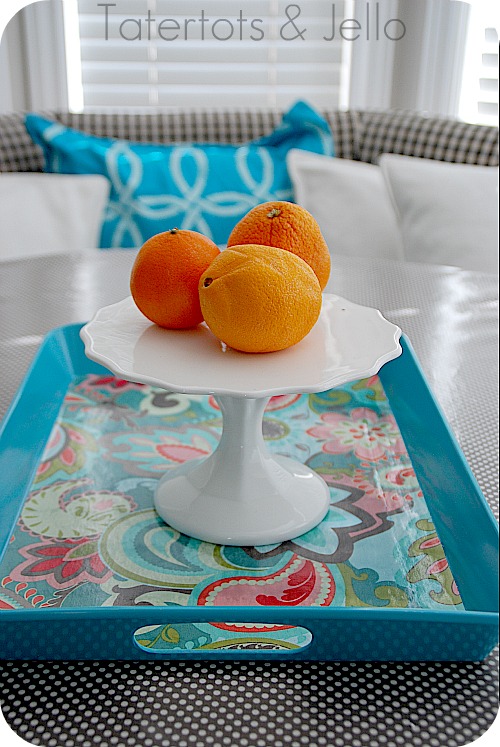
And then I cut a little length of a coordinating fabric and lined a tray with it. All you do is spray a little spray adhesive on the bottom of the fabric and stick it onto your tray!
Be sure to check out the amazing ideas from the talented ladies of the Riley Blake Design Team. You will be amazed at their creativity!!
xoxo
PS — I am on my way back from such a wonderful Spring Break with my little family. I have so many projects coming up. It’s been nice to recharge and connect with those I love. Thank you for reading Tatertots & Jello. I appreciate you so much!!



Love this! My table is big and square. Should be easy 🙂
Thanks Cindy!!
Send me a picture when you are done. I would love to see it!!
xoxoxo
Very cute, I love the bowl trick I may have to use that for a bunting in the future!!
Love the tablecloth!
But I have to ask..Is your sofa banquette from Ballard Designs? And how do you like it? Do you have storage under the seat? I have been going back and forth on getting it as some reviews say that you can feel the wood frame when sitting on it..
Thanks
a.
I so adore it and love it. Plus easy clean up, well done. Xo Jen
There’s not a chance in the gosh darn world I could do this, but yours looks AMAZING!!! You should have seen me trying to sew around the head of a felt peep! You would have thought it was made of zigzags!! Back to you, though… I really do love it and have been wanting something similar for my sunroom table. It might actually be daughter-proof!
That looks great!
I sooooooo need one of these for my table. Great job!
lexmallabooks.com
Impressive for a “beginner” project because I wouldn’t say that is a beginner project. From the circles and the scallops and the math to the laminated fabric you picked a “Not-so-beginer” project but it looks awesome. Great job.
I know!!! I didn;t realize how complex it was until I started making it LOL! It’s a good thing my mom was there to help me. I was so happy because it turned out the way I had it in my mind.
Thanks for the comment Danee!
xoxo
where did you find those kitchen benches around the window side of the table? They look great! Congrats on a very successful sewing project. Moms are the best.
This is such a great idea! I’m thinking I need one for my outdoor table! Love it!
Jo-Anna
Jo-Anna –
I think Laminated tablecloths would be awesome for outdoor tables!! You should do it!
xoxo
Beautiful! I too wanted the a wipeable table cloth, but don’t like what is in the stores. I love how this turned out and the scallops are perfect! Thanks for sharing!
Love how it turned out, and the tray looks great!
That turned out adorable! I absolutely love it.
With laminated fabric, genius! I’m not sure if I’m brave enough for the scallops but they sure are pretty.
It’d be great outdoors for my not so pretty picnic table.
Love, love, love it! I also have a round table and it’s always hard for me to find a durable cover {I have a teenager & two toddlers who love to make a mess} that doesn’t look like it belongs in my grandma’s house. I may have to have my mom help me make one. I’ve asked my husband for a sewing machine for Mother’s Day. Maybe I will wait until then and give it a try myself. Thanks, I’ll be pinning this!
Hey Jen!You did a great job and I love your little breakfast nook area with the couch bench! Why have I never noticed this? Geez, I need to pay more attention! 🙂 I am VERY new to sewing as well and know the basics. I’m getting good at pillow case covers 🙂 Nicely done. Hope you had a great spring break vacation with your family.