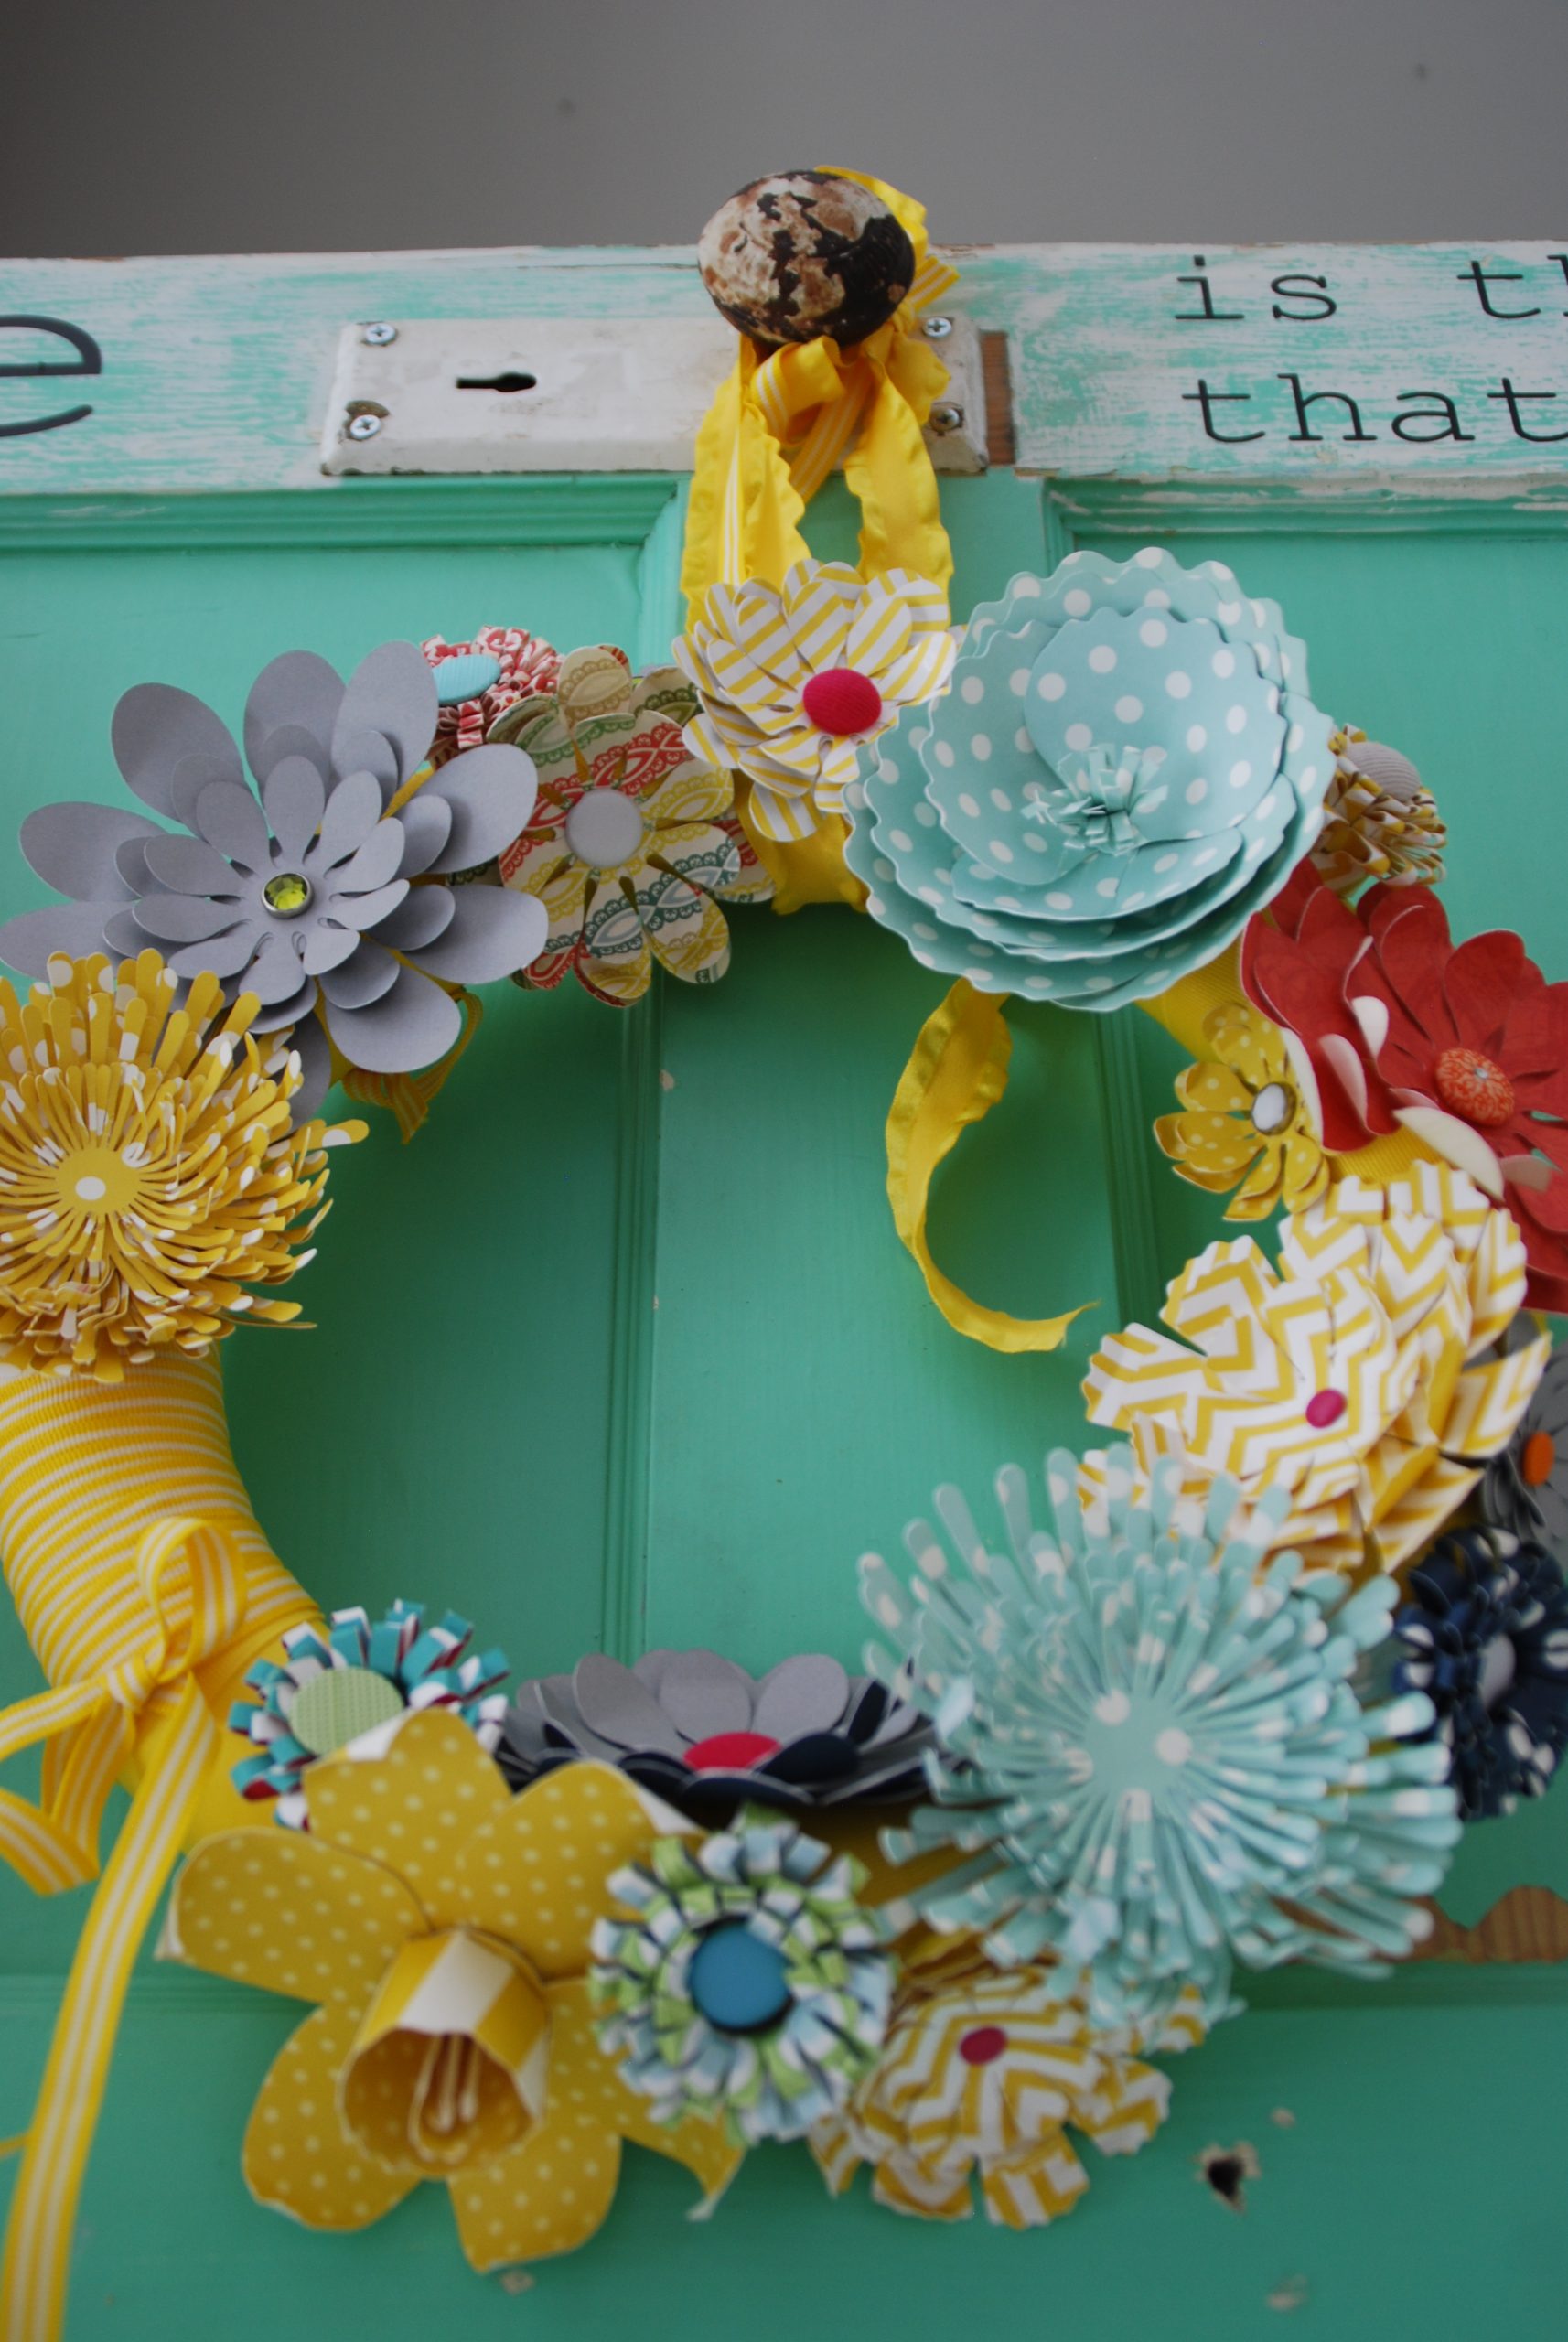
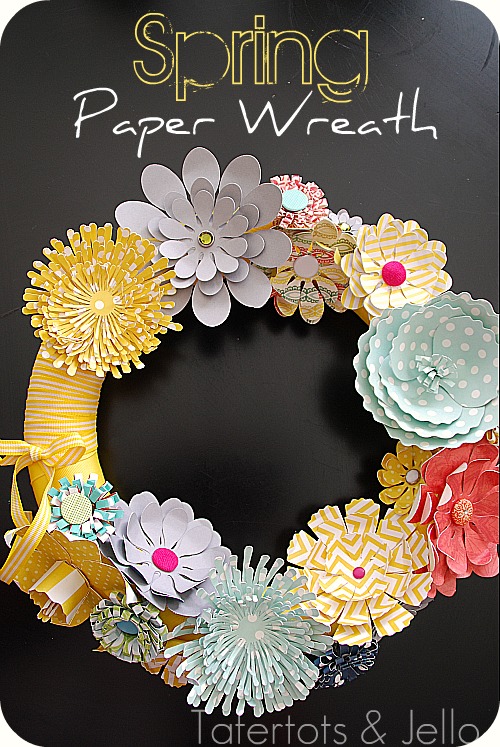
 I have been wanting to make a paper wreath for awhile. I LOVE pretty paper and I thought it would be so fun to make a wreath using some bright and spring-y paper.
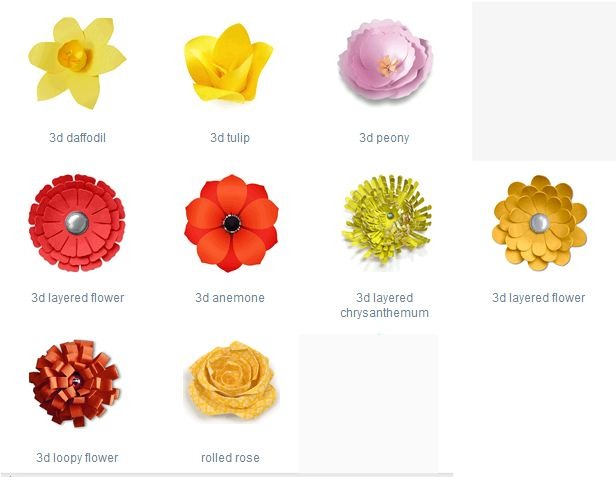
I saw a couple amazing paper wreaths at the CHA show last year. So when I saw the Silhouette online store had some paper flower 3-d images, I decided to try making a wreath with them.
Here’s what I did:
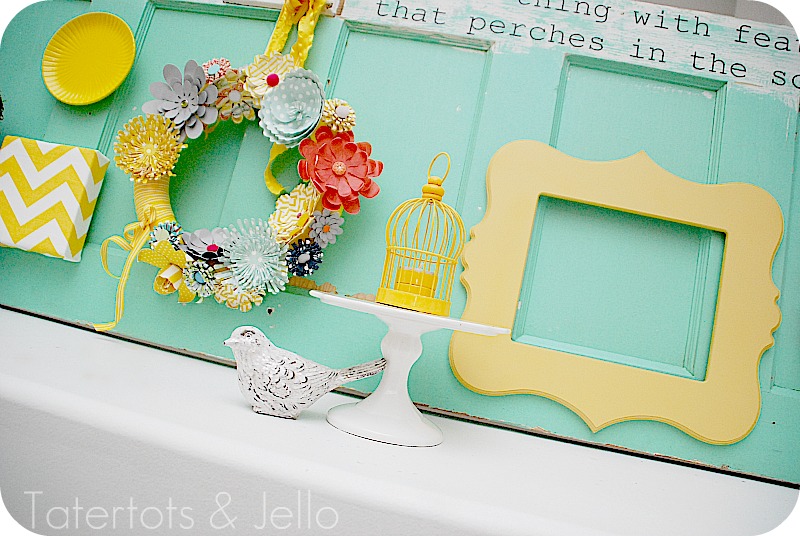
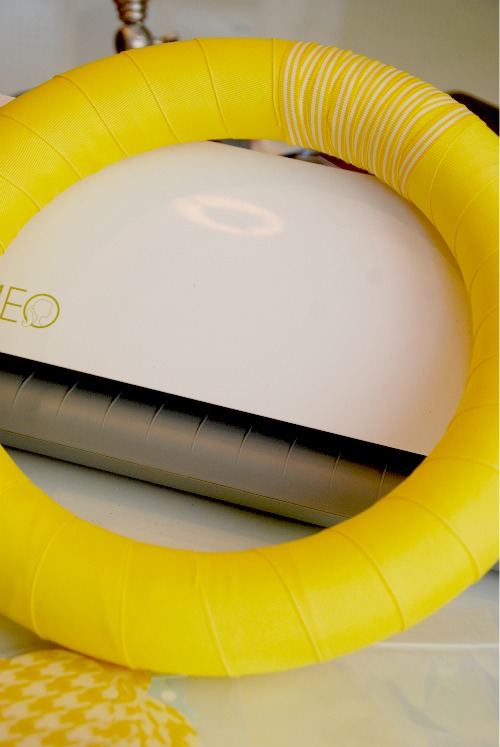
I started off with a plain wreath form. I wrapped it with ribbon. And just keeping it real — I ran out of ribbon. So I took a yellow and white ribbon and wrapped that around the part of the wreath that was bare. It started off as a blooper, but it ended up being one of my favorite parts of the wreath!
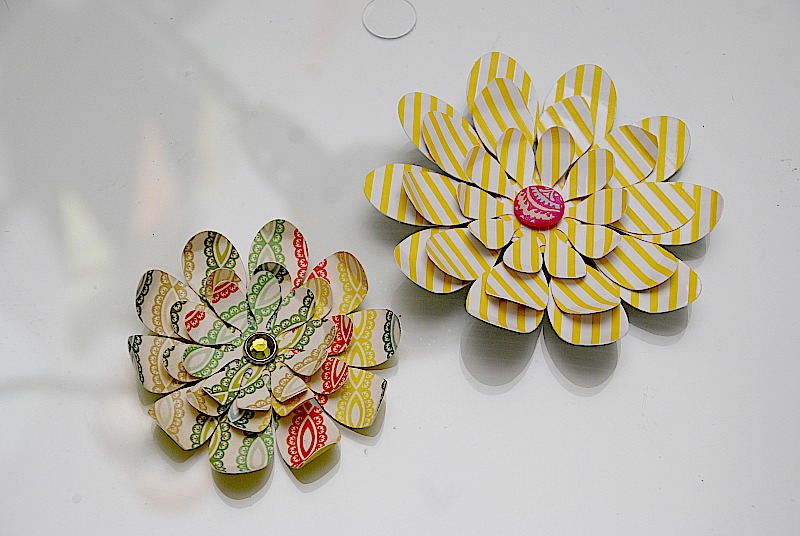
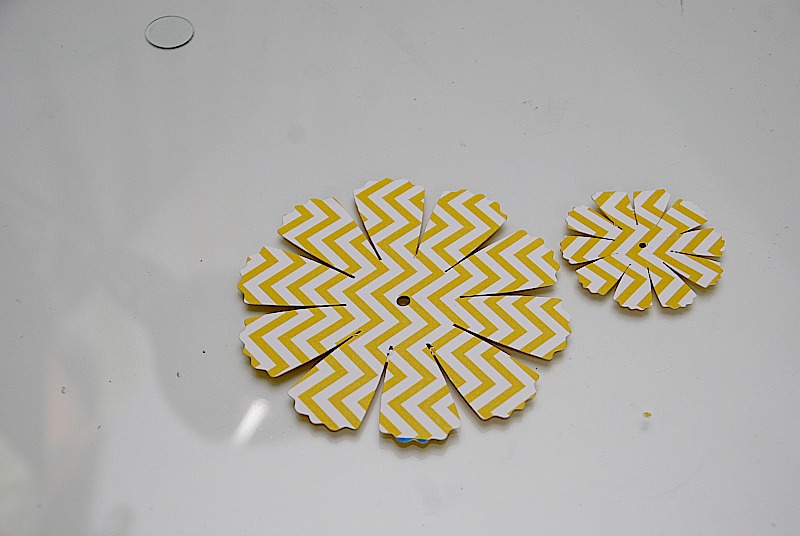
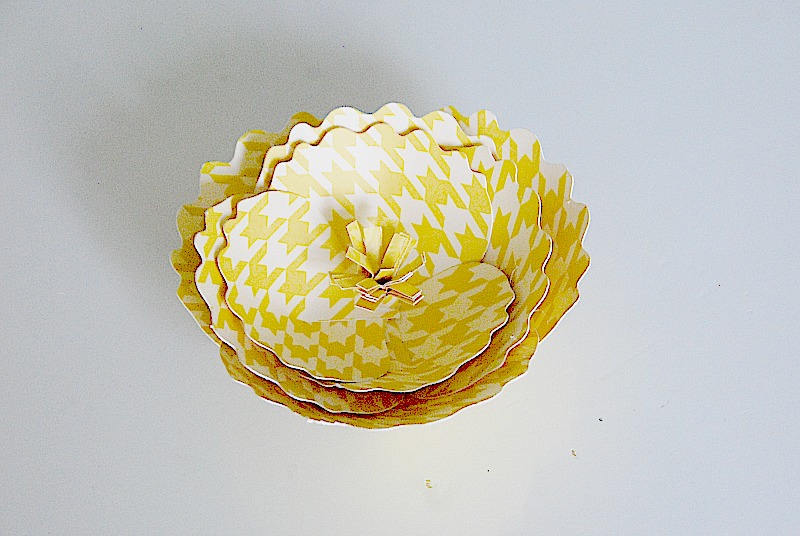
There are a few different flowers I used. Most are pretty straight forward. The 3-d Loopy Flower might be my favorite. I also love the layered Chrysanthemum. Here’s a little more detail on how I made the 3-d Loopy Flowers:
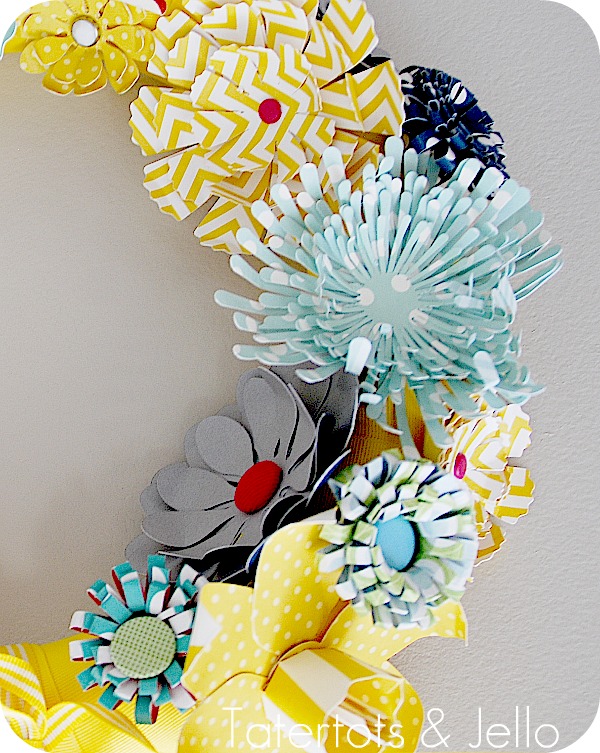 Cut out the strips of paper. Each strip is cut in the center in rows through the center.
- Take the long, skinny strip and wrap it around a pencil. Then hot glue shut.
- Fold the paper in half and hot glue the circle roll to the edge of the inside of the folded paper.
- Roll the folded paper around the glued circle center, creating a flower and glue shut at the end.
- I used one strip per flower and these made small flowers. If you want a larger flower, just use 3-4 of the strips around one of the circle centers.
- Add a button or brad to the center of the flower.
Of course, if you don’t have a Silhouette, you can still make a paper wreath of your own. Here are a few free templates you can use and cut out the flowers with scissors:
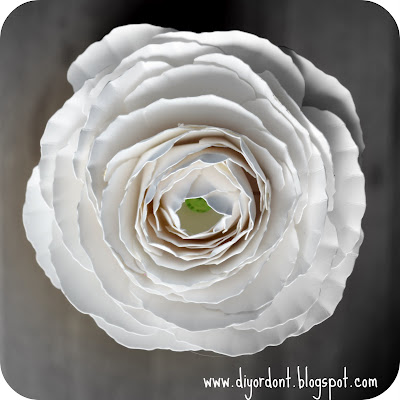 DIY Rununculus Template @ DIY or Don’t
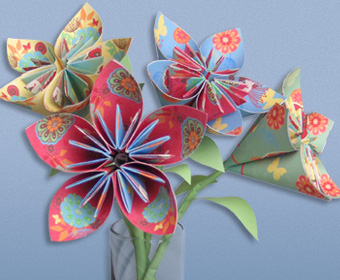 Origami Paper Flower Template @ HP
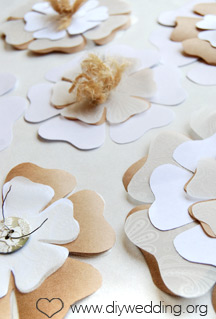 Paper Flower Template @ DIY Wedding
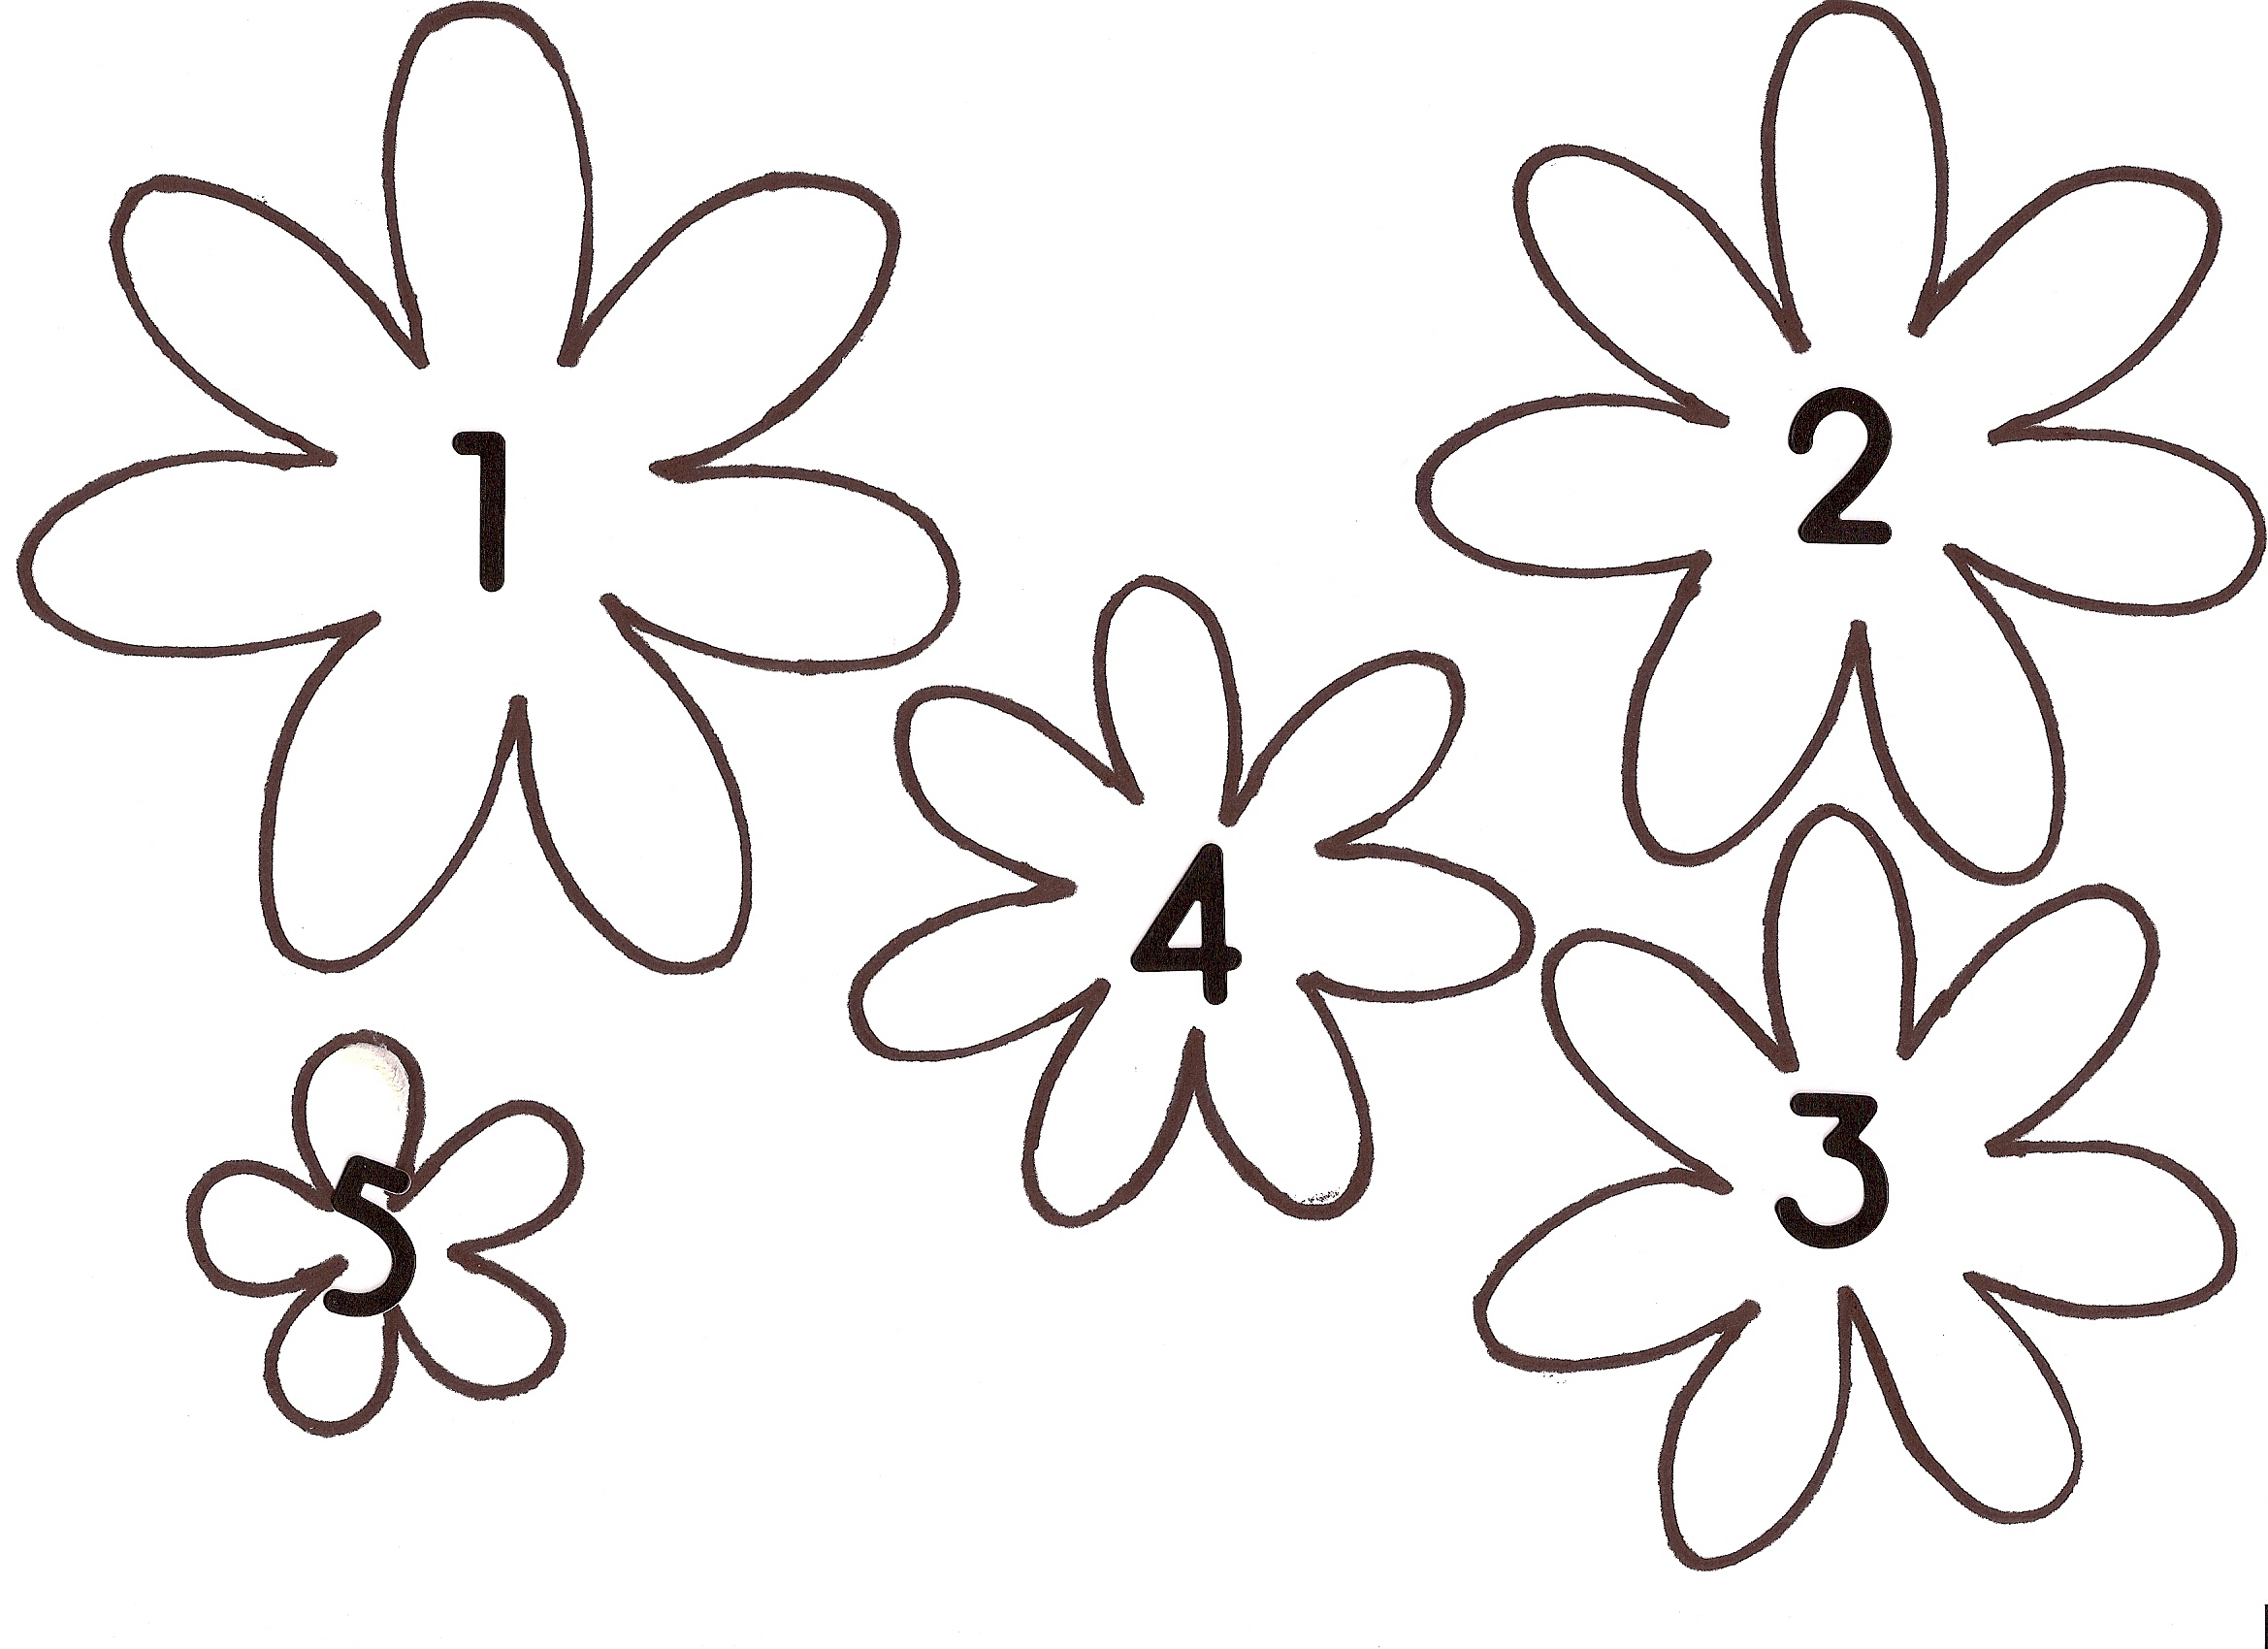 Paper Flower Template @ Paper Pesto
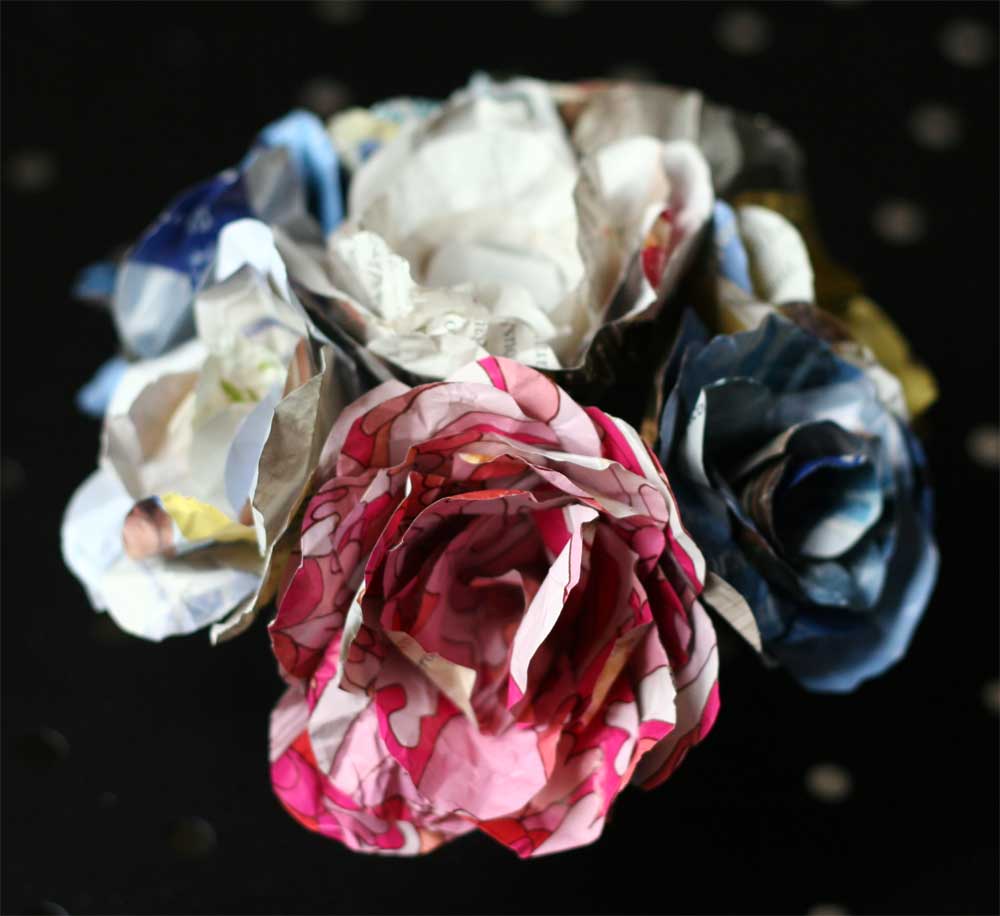 Recycled Paper Flower Template @ Silly Simple Living
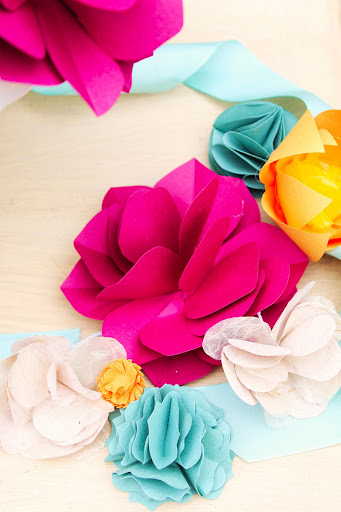 Paper Flowers @ Icing Designs
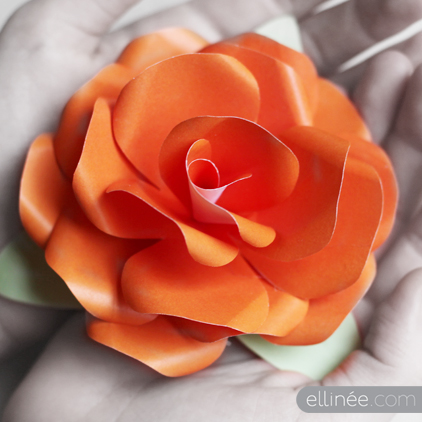 Paper Rose Template @ Ellinee
Have fun making your own paper wreath!! And if you make one, I’d love for you to send me the link so I can feature you!
xxox
PS — It’s FRIDAY!!! My favorite day of the week. I hope you can stop by The Weekend Wrap Up Party. It starts tonight at 6 pm MST. I love seeing YOUR ideas and featuring YOU!!!






Hi!
I just saw your flower wreath and loved it. Thanks for sharing it with us. The flowers are really nice.
I will try to make one with the flower templates I have.
Thanks again.
Gloria
I’m going out to buy a wreath and ribbon today. This is lovely and so much fun. One question – how do you attach the flowers to the wreath. Thanks so much for this beautiful idea.
Thanks Karen! Send me a picture when you are done, I would love to feature it!!
xoxo
Jen, this is absolutely darling! I’m pinning/repinning! Little Bit from http://www.DecorateWithaLittleBit.com
WOW! I absolutely love this! Thanks for sharing: )
Amazing job! I am just starting to work more with paper and it’s great! What paper did you use? I am thinking about thickness since it looks like with the folding that a thinner paper might work better- suggestions?? Thanks!!
I seriously LOVE this wreath! And I love the whole mantel!!! It is so darling and springy!! LOVE IT!!! Great job! 🙂 xoxo
That is the coolest spring wreath! Love it!
I am such a sucker for pretty paper, Jen, and this wreath is to-die-for cute! Great job!
Jen I love all the different kinds of flowers! For some reason paper crafts and I don’t get along very well….but I would love to try a few of those flowers! Happy Friday!
Omgosh I love love love!!! The colors are amazing, and your blooper turned into a hit bc I love that part of the wreath to! I need a silhouette stat!
Pinned! And maybe I’ll even do it sometime. 😉
So pretty…I was mesmerized with the door in the background. Can we get a full on shot of that too?!
Beautiful flowers. I made the 3D daffodils with my students for 30 years! I retired this year. I may do them with the church children this Sunday or on Tuesday night. I had a different 3D tulip pattern. It was a silhouette, you make several and staple down the center. Then you fold them out, like opening the pages of a book.
SO so cute! I am totally inspired! I have been seeing so many beautiful wreaths lately and I have decided I finally need to make my own! Yours really looks pretty!
WOW!!
AMAZINGLY BEAUTIFUL!!
Thank you so much for sharing, PINNING!!
This wreath is so pretty. I love the papers you chose, and I agree that the yellow and white ribbon blooper turned out great! Thanks for sharing this project.
Love this, looks like a lot of love went in to making it!
You can do so much with that machine – it’s amazing!!!!
Wow, wow, wow, Jen!! You did such an amazing job! Love the colors, the fullness of the wreath and of course, the flowers. Such a work of art!!
Great job! I love the 3D flowers with all the colors and textures!
Thanks for including my recycled paper flower pins in your discussion of paper flowers!