Hello Tatertots and Jello Friends!
This is Desirée from The 36th Avenue.
It is so good to be here today and share with you my first Easter Project of this year.
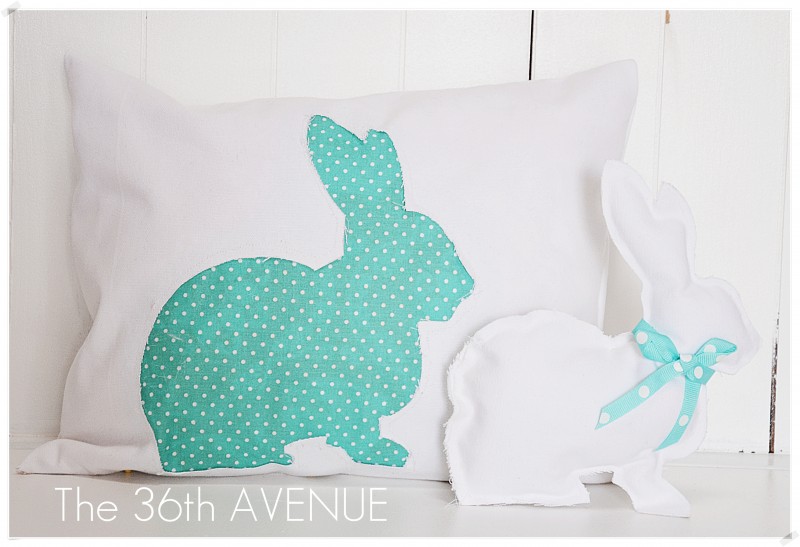
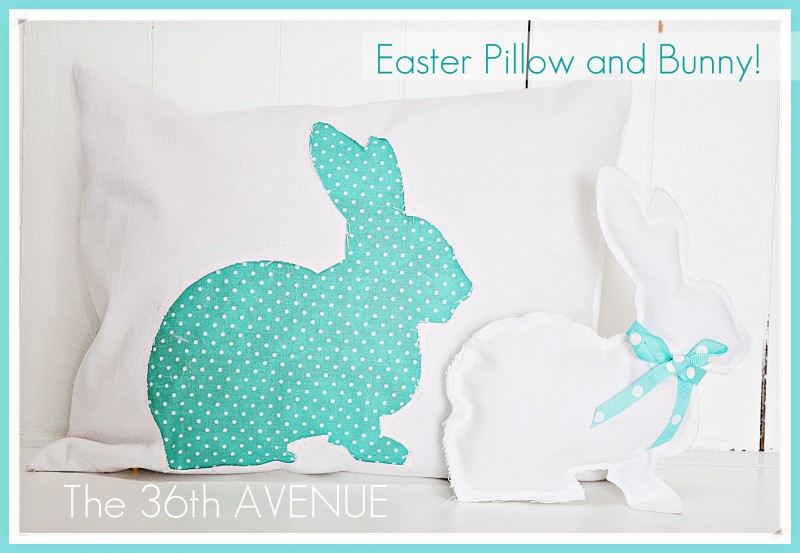
This pillow and little bunny were super easy to make.
I want you to know that I’m not that good when in comes to sewing so if I was able to make this project I am sure you will too.
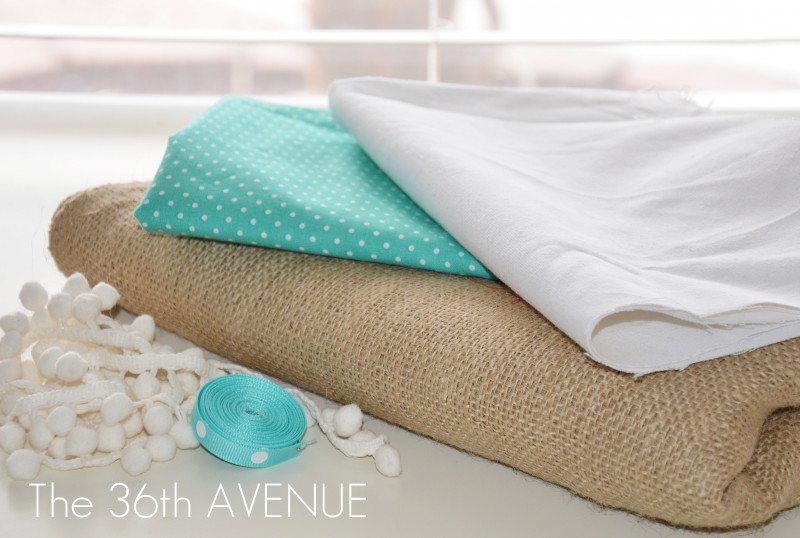
You’ll need fabric and ribbon.
TUTORIAL
1
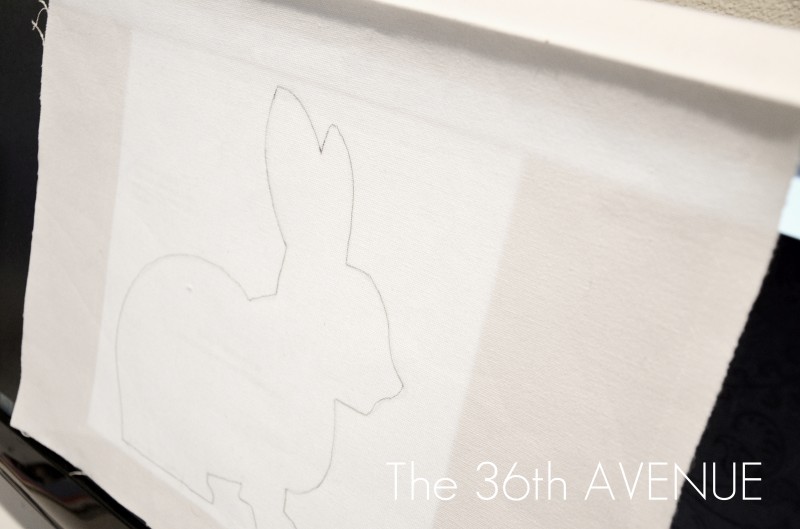
After you cut and iron your fabric the first thing you will need to do is to trace the shape of the bunny.
{ My fabric was 15 x 25 inches and I folded it in half }
I found my template over at Yonnie At Home.
I placed the fabric right on top of my computer screen and with a pencil I traced the shape.
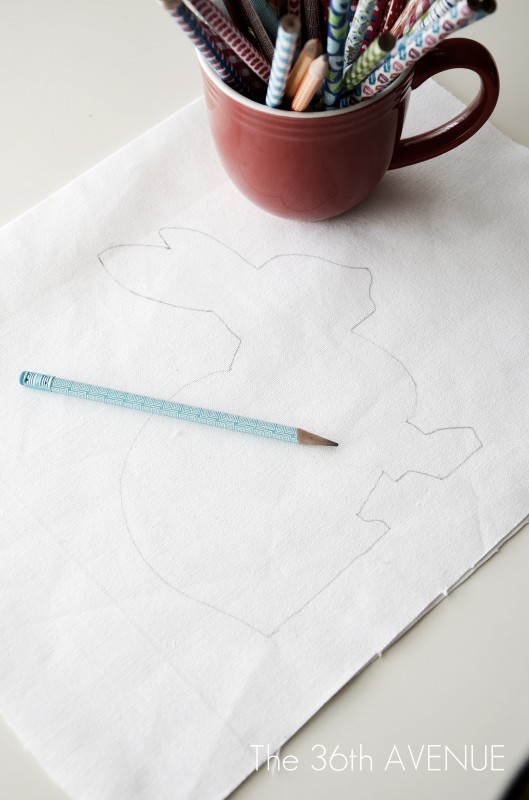
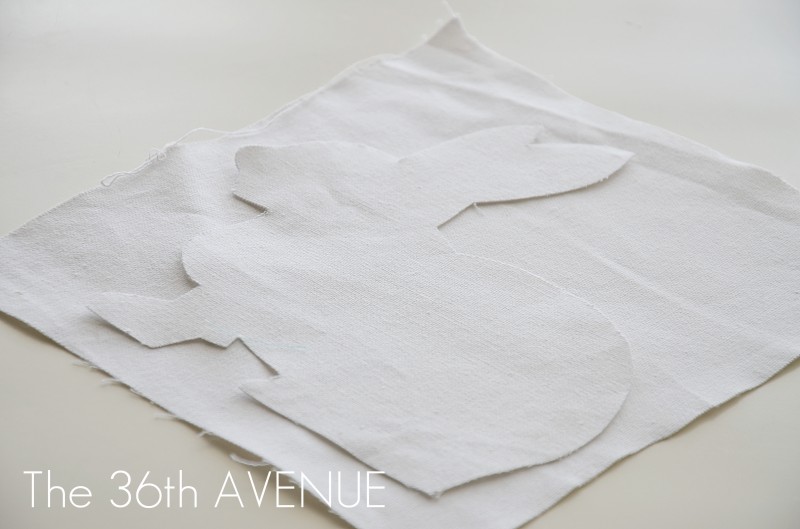
This is how it looked at this point.
2
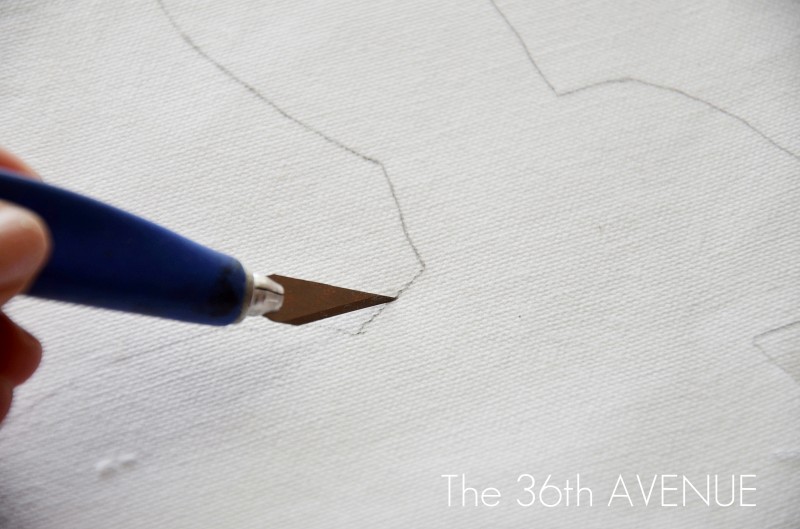
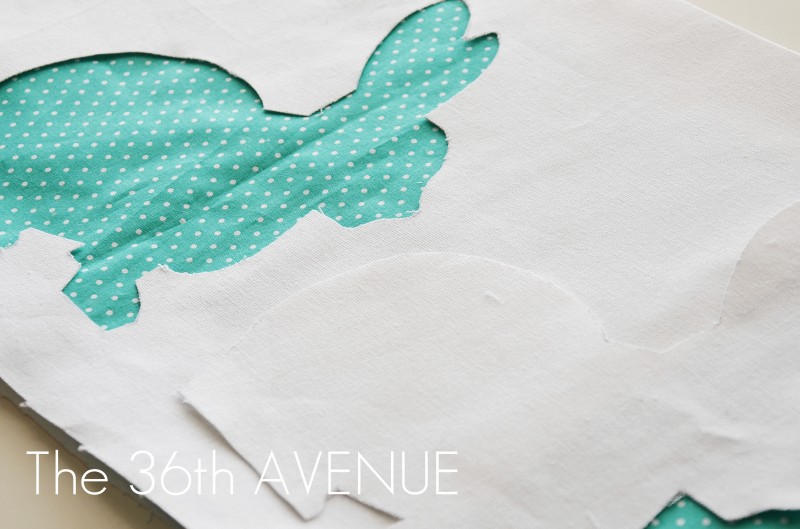
With an exacto knife I carefully cut right on top of the traced shape.
Make sure you put under the fabric a cutting board to protect the surface where you are working on and
please be careful not to cut your fingers.
After you cut out the bunny you will have these two pieces.
3
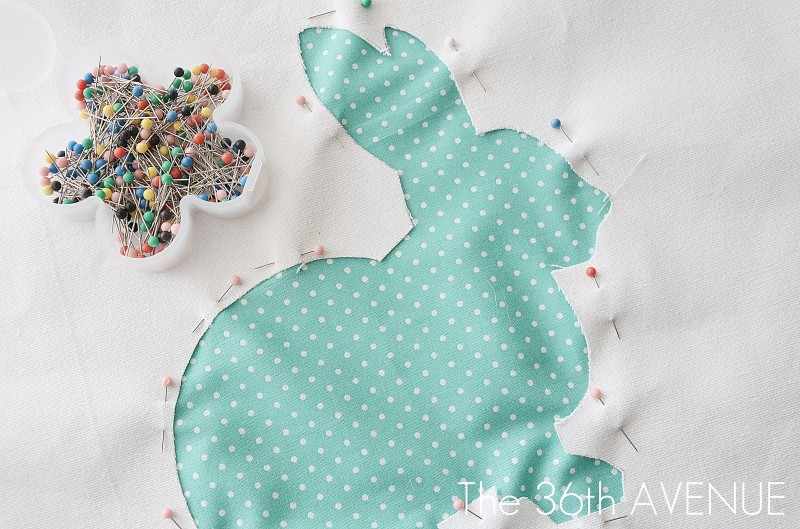
Cut your second fabric and put it under the cut shape.
Pin the two fabric together so it is easier to work with as you sew them.
4
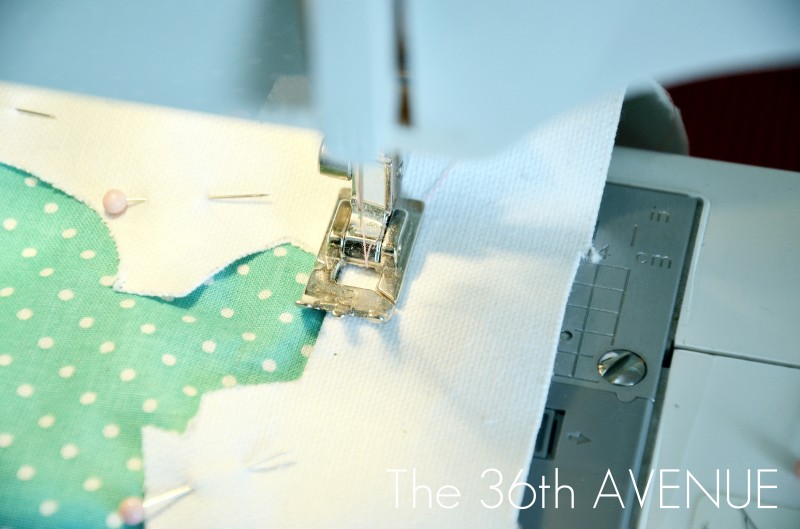
Time to sew!
5
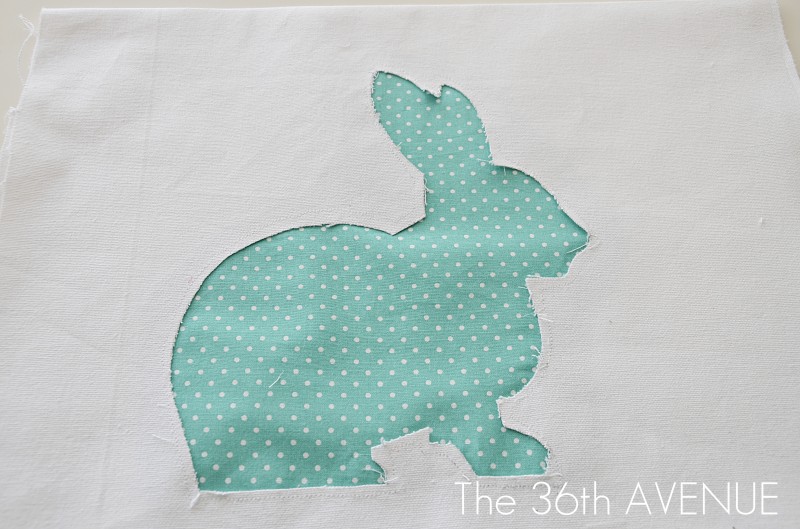
When I was done sewing the two pieces together I turned the pillow around and I cut the excess blue fabric.
I was almost done at this point all I had left was to sew the other sides together and insert the pillow.
Time to Make the Little Bunny!
Then I remembered I had the white fabric bunny cut-out.
I just cut another piece of fabric, sewed it together and after I was done sewing I trimmed the extra fabric matching the shape of the original bunny.
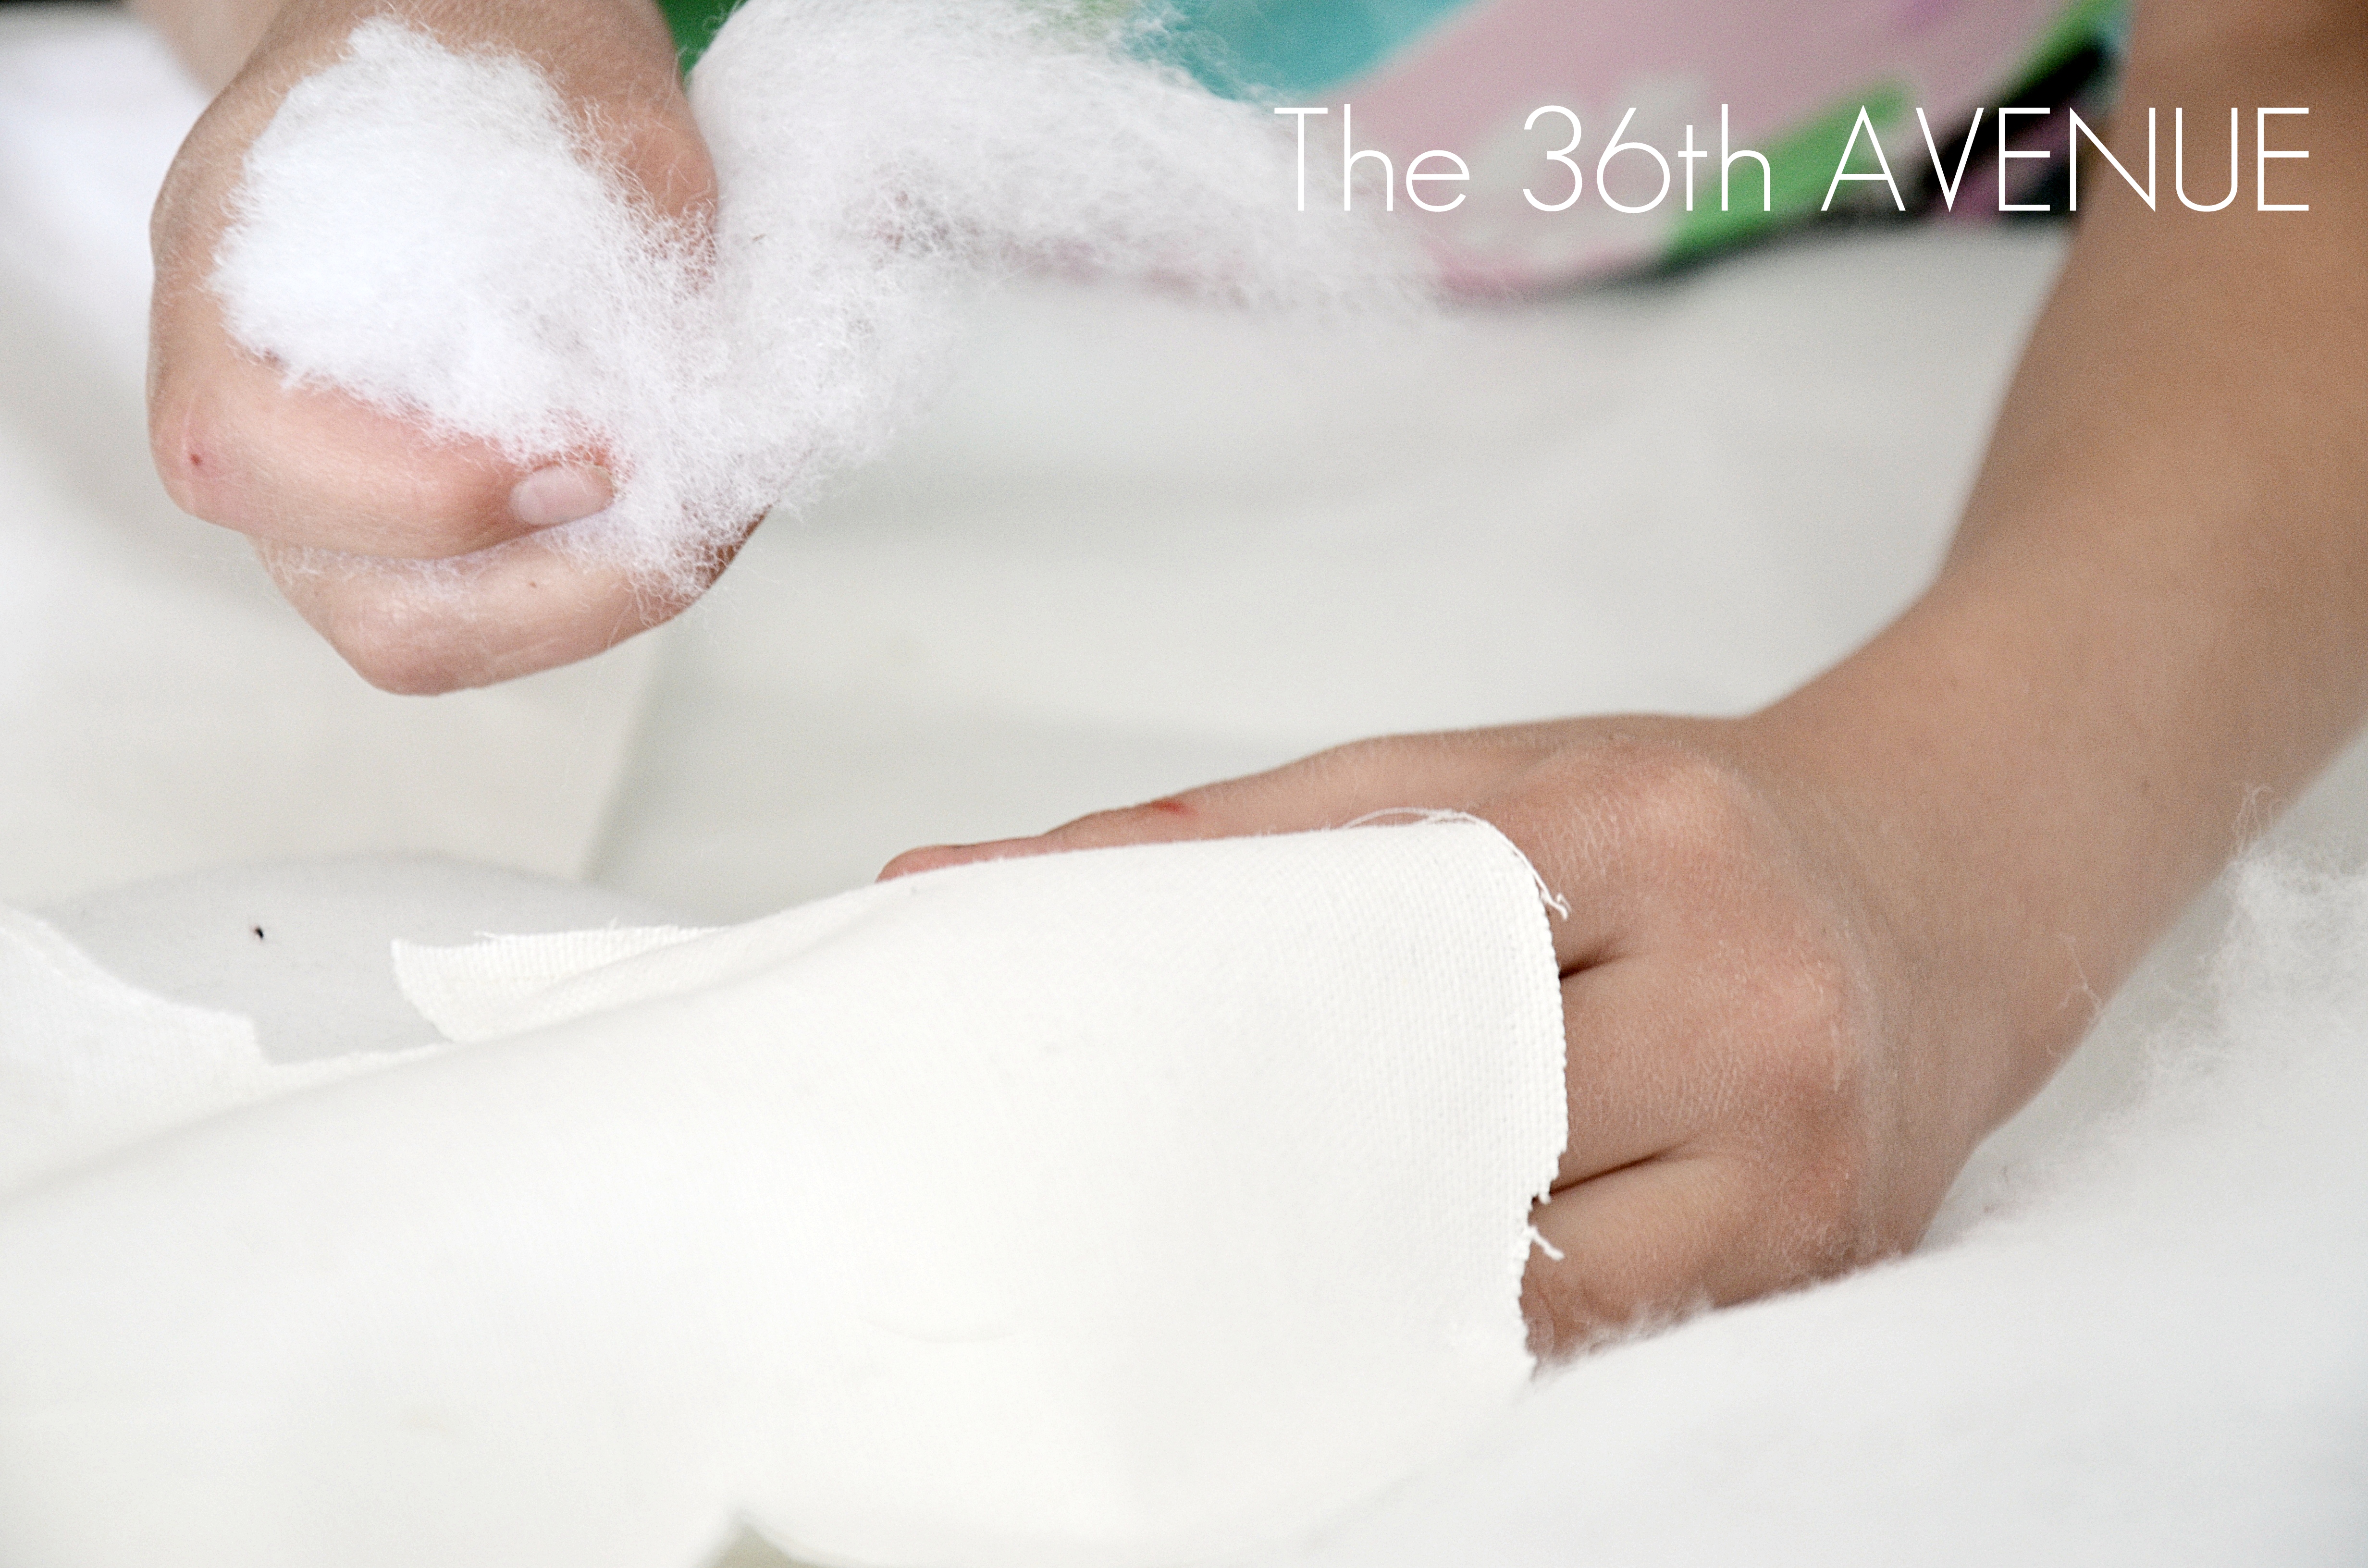
My Anni helped me to fill it up.
After a few final stitches to completely close the bunny I was finished with both projects.
I hope you guys like it!
I displayed them both in the entrance of my home if you have a minute I hope you visit with me and see my little Easter display.
Jen, as always I want to thank you for having me another month.
Have an EXTRAORDINARY Thursday!

Desirée.
Isn’t Desiree fabulous???
Seriously, I adore both Desiree as a person and her style.
Here are a few of Desiree’s recent projects you MUST check out:
 Be sure get some great fashion ideas and this awesome printable
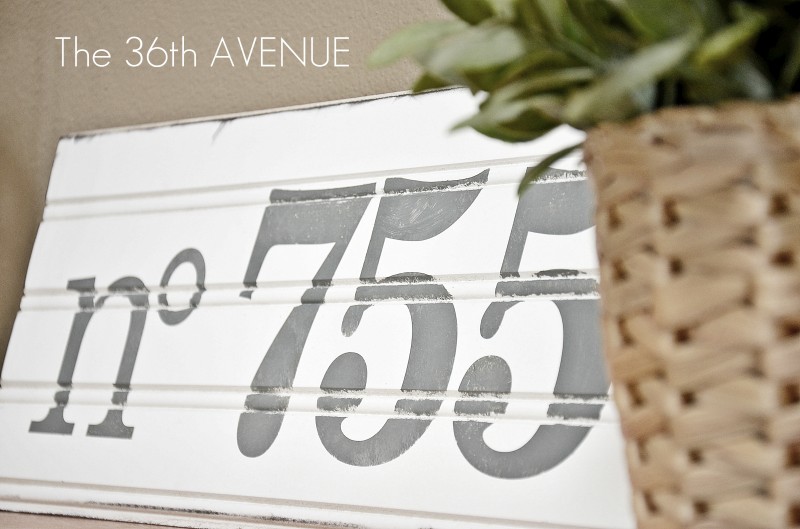 See Desiree’s Beadboard Number Sign
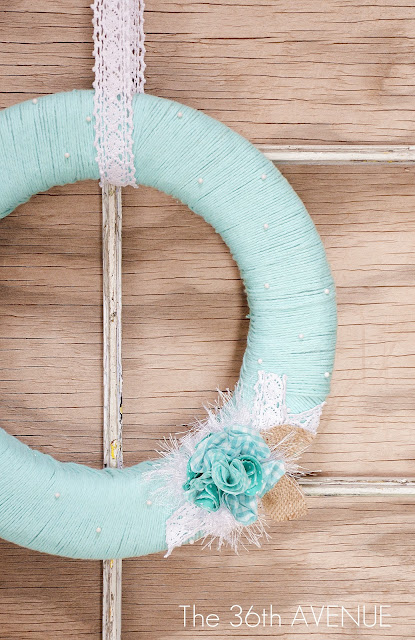 And her Yarn Spring Wreath blows me away — it is GORGEOUS!!
Be sure to stop by The 36th Avenue — a place that will lift your spirits every time you visit!!
xxox




lOVE your awesome projects and your blog. I stumbled upon it tonight from another blog, not sure which one as I’ve been all over the place tonight. My husband wants to know what I do in here for so long at night. I’ve been spending alot of time being inspired by all the wonderful projects you gals put out there. I don’t have enough time to do all I want to.
I’m a paper crafter mostly and am in the middle of finishing up Easter projects to sell or give away.
I have been making alot of new items for our home lately that is freshening up the joint. It needed it. I think I can say that everything I’ve been doing is inspired by wonderful projects like yours and so many of the other talented bloggers.
I can never get over how great it is to be able to meet so many talented people and see what everybody is doing. So many people my age (71) ask me why I like my computer so much, I’m actually the only crafter among my friends. I so enjoy hearing about everybody’s adorable kidlets and their lives. So hurrah for the pc.
very very cute!
Super Cute!! But I am wondering what you used the white pom pom trim and burlap for? I didn’t see those on the pillow or bunny at all.
Very cute idea. I like it very much and festive.
What a great idea! This looks easy enough that I could DO it! And…love the Beadboard Number sign. So cute!
I love these pillows! My daughter would go nuts over the little bunny! I might have to make one to go in her Easter basket! I also love that yarn wreath! I’m so glad they’re all the rage because they’re easy to make and so beautiful! She has a real talent for making them look adorable!
just one more reason i wish i knew how to sew! so darn cute! and i have a very big crush on the yarn wreath. ♡ ♡ ♡
Cute, cute! Just like everything Desiree does! 🙂
SO cute, Desiree! Love the polka-dot! 🙂
XOXO