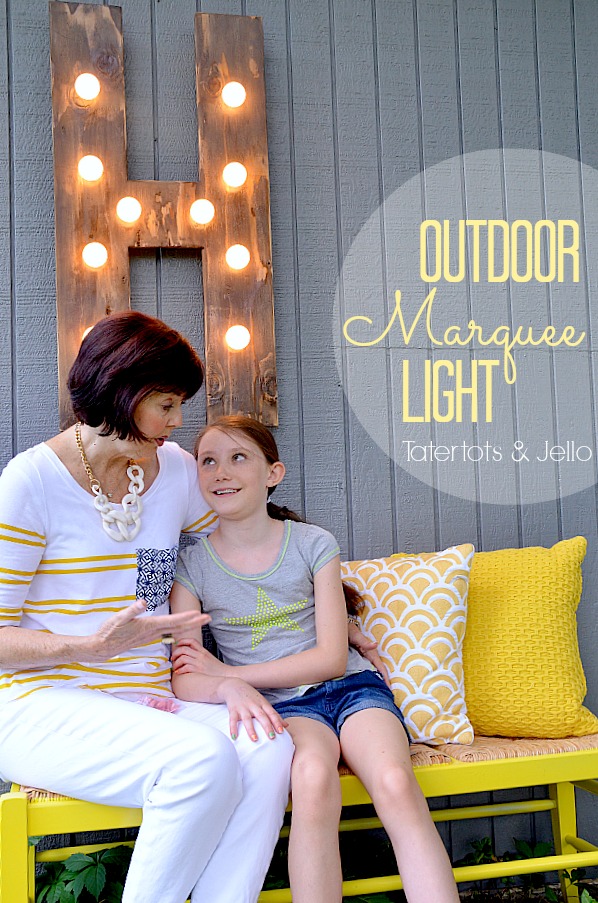
This month for our Lowes project we were challenged to create Outdoor Art for our home. I love these challenges because they really make me get creative. And I’ve been working hard to get my yard fixed up this year, so this was a challenge I was ready to tackle!
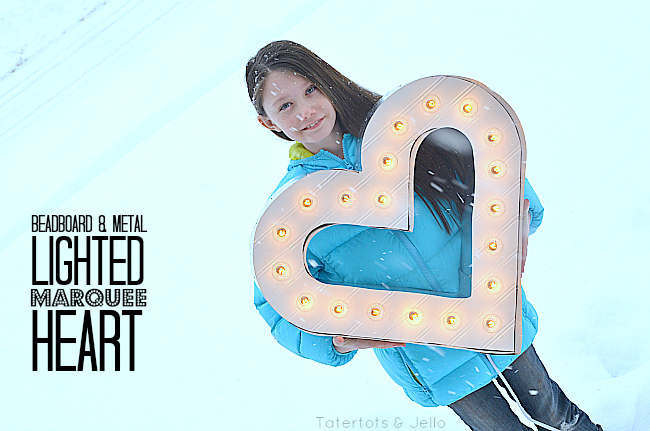
One of my favorite projects I’ve made so far this year was the beadboard marquee heart . I love that project, but I wanted to try doing an outdoor version that was quick to make to add a little light and excitement to my patio area.
Here’s how I made this quick Outdoor Marquee Letter:
- I chose a handy-sized piece of inexpensive plywood from Lowe’s. I wanted a rustic look, so I did not choose a premium grade (you certainly could!). The grade I chose would be the kind you’d use in construction, not in fine furniture.
- I picked up a 10-light strand of outdoor globe lights, and, anticipating that I might want to change the colors, bought 3 4-packs of frosted, 25-watt, small candelabra-based globe bulbs. (They usually have a picture on them of them being used in a bathroom vanity light).
- I laid the strand of lights along the board to get an idea of how big I could make the letter — an H in my case — and still use all of the 10 lights in a row without having to backtrack with the wires. Turns out I could make my letter about 36″ high and about 18″ wide, with the wire making kind of an “N” shape in the back.
- We then cut a 36″ by 18″ rectangle from the larger board using a table saw. I hate table saws; they always scare me.
- Overcoming my fear, we used the table saw a bit more to make the vertical cuts in the middle of the H. To make the horizontal cuts, you could use a jigsaw, but we had a RotoZip handy that we had from a previous project, so we used that. (We attached a straightedge guide board to the piece we were about to remove to help us make a straight(ish) cut.)
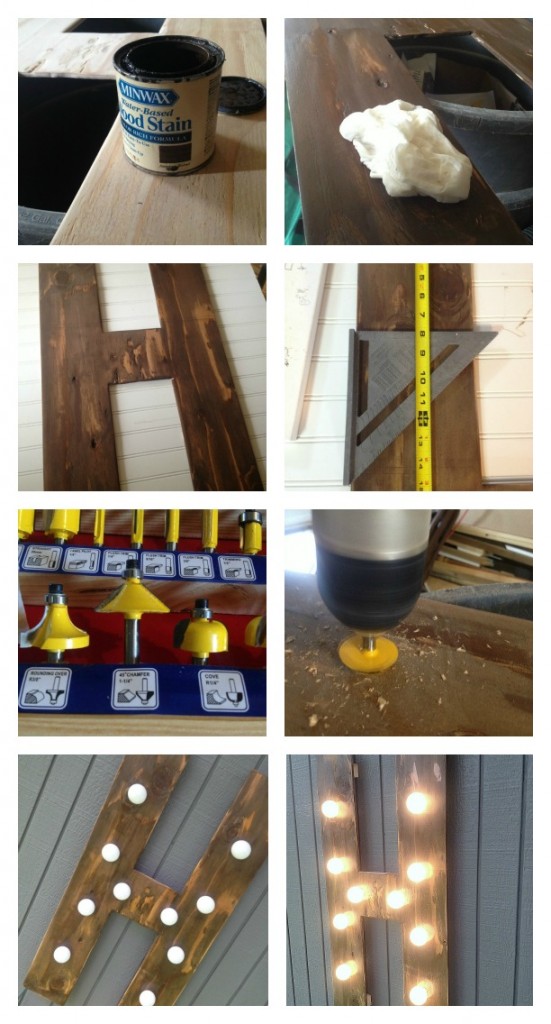
- That left us with a big letter H! At this point, we stained and sprayed polyurethane on the board — but I recommend you don’t do it at this stage. Instead, now it’s time to mark the holes.
- Lay out your lights along the letter again, first estimating their placement and then measuring their placement exactly. In my case, I knew that the holes would be centered horizontally, and then about 7.5″ inches apart on the vertical sides of the H, and centered along the cross bar. I marked these with a pencil.
- Get out your drill bits and hold them up near your lights. Ideally, what you want is to create a tapered hole for each light, larger at the front and smaller at the back. If you are really tricky, you can leave only a thin piece of the plywood that’s big enough for the base of the bulb to pass through and still make electrical contact. From that smaller hole, the hole will have to widen enough to accommodate the bulb. Unlike the more complex way I did the fancier marquee earlier this year, the idea here is to let the bulb and the socket hold the bulb in place. I used a combination of Forstner drill bits and a chamfer bit I stole from my router set. It took some trial and error, and even then it was not perfect. But again, remember the bulb will cover most of the imperfections in your drilling!
- Sand the wood to whatever degree of polish you prefer, stain and apply the spray polyurethane. Let it dry after each stage.
- Attach the bulbs and sockets/wire to your letter, using a shallow staple in the back to hold the wire in place. I used a staple gun, but you can use anything you have handy, even duct tape! Be careful not to staple through the wire. At the end of the wire, use a small piece of electrical tape to cover over the plug holes to keep moisture out.
- As a last step, you’ll want to make your marquee letter stand out from the wall or fence you hang it on, so grab some scrap wood – I grabbed some leftover 2×2 from a previous project – and attach it at strategic places on the back of your letter. In my case, it was easy to put a small, 4-inch piece on the top and bottom of each side of the H. I used both wood glue and screws to hold them in place.
- On top of the top two back brace pieces, I attached picture hanging hooks so that I can easily hang the marquee letter on two nails. (yes, we used a level when we hung it!)
- If you find your marquee letter is too bright, you can attach a dimmable extension cord!
(This is a RotoZip:)
![r36246v25[1]](https://tatertotsandjello.com/wp-content/uploads/2013/07/r36246v251.jpg)
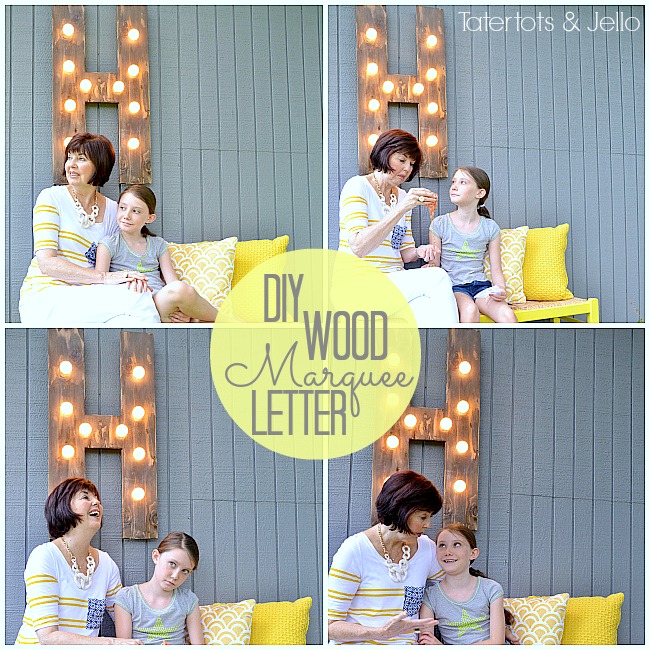
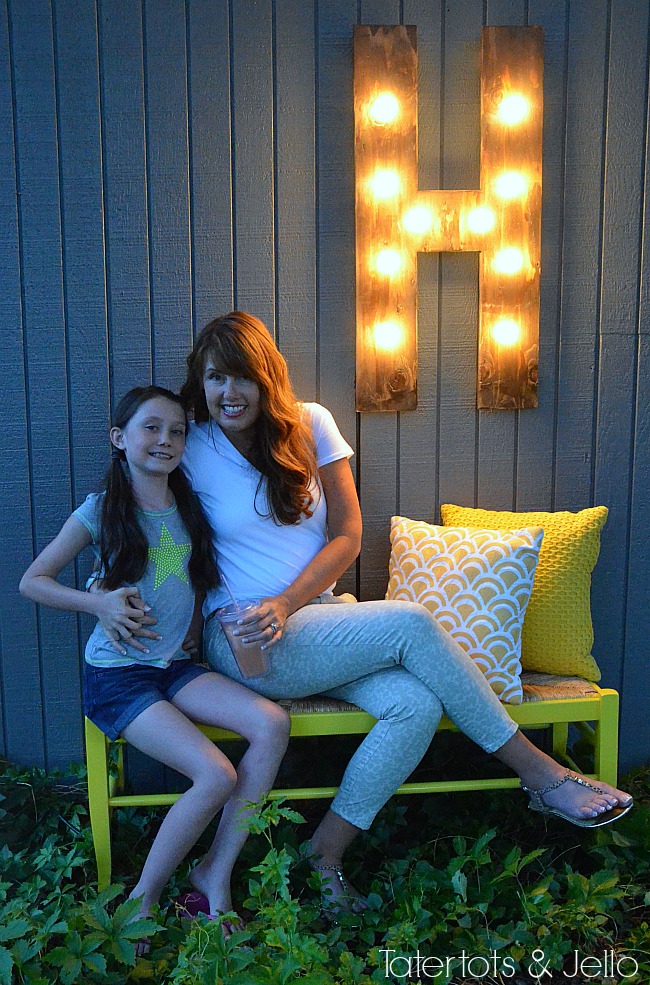
I love the way it turned out! I think it would be fun to make a number too — maybe a 6? And I snapped a few pictures of my cute mom with Ella while she was out visiting this week. So fun!
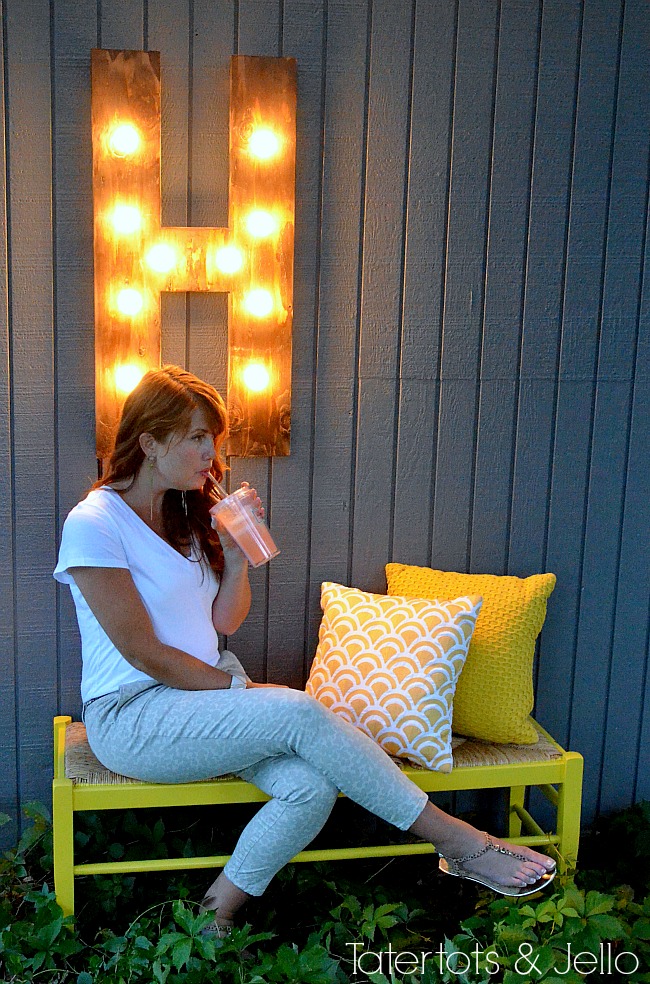
I love the glow it gives my patio at night!
You can follow along with Lowe’s on Facebook for more great ideas and sign up for their FREE Creative Ideas Magazine with TONS of great DIY ideas and instructions!!

Have a CREATIVE Day!
xox

Thanks Lowes for the gift cards to make this project.
Thanks to Lowe’s for the gift cards to make this project.


This is SUCH a neat idea!!! I can’t wait to make one of these fabulous lights for our outdoor space! SO excited to share it with my favorite projects for the Summer tomorrow at http://www.makingitinthemountains.com! Wishing you SUCH a lovely long weekend Jen!!!
Well who doesn’t love a big over sized marquee letter, right. So of course i was drawn to this post. But . . . . what made my heart skip a beat was that RotoZip – hubba hubba!
Where did you find your string lights? I’ve been having trouble finding any that have 10 bulbs, and the ones I’ve found online say for indoor or DRY outdoor use (want to make sure they’re safe to use outside!). Thanks!!
Haley » These are “patio” lights from Target. They were originally green and blue clear — and I didn’t like the way they looked, so I replaced them with hardware-store bulbs in a lower wattage opaque white. Let me know if I can help more!
I love marquees and never thought I could make one myself but you have inspired me.
Man-o-man! I super love this project!!!! How come anything with white lights is so extra cute? Love this so much!! It’s great Jen 🙂
LOVE this! so fun for the evenings! and look at your beautiful mom! such sweet pictures of Ella & your Mom!
What a cool, simple idea! Love the wood. We crafted one with sheet metal for our fireplace mantel.
http://honeybadgerhome.com/2013/04/21/our-diy-light-up-marquee-letter/
Thank you for the inspiration — you’ve got me wanting to make another! 🙂
I really love this project. I may give this a go for my outdoor space. Fun!
Turned out so great!! I love this!!
LOVE this Jen!! So stinkin’ cute!!
Love this Jen! It’s funny because I have 2 strands of outdoor globe lights that I recently pulled out of our basement. I haven’t hung them yet because I wanted to do something different this summer. THIS may just be “that something different” 🙂 Awesome job and thank you for sharing !
Jen I love this idea and you are too cute in your cheetah skinny jeans! You look so much like your mom!
Thanks Kelsey!! You are so sweet!! It has been so fun having my mom visiting. We are having such a great time!
xoxoxo
I love this!!!
Thanks Angie!! I am so happy with how it turned out 🙂
xoxo
Love it! I hope I get busy and make one 😉 pinned for inspiration!
Debbie
Thanks Debbie!! You are so nice! I hope you are having a great summer so far!
xoxo
Hello Jennifer,
Thank you for the post and all your creative ideas. I’m curious where you plugged this in? I don’t see a cord, or was it Photoshopped out?
Thanks.
Lucinda
Hi Lucinda!
I was able to tuck the cord into the groove of the siding and it almost hid it. But the wall that I hung it on is actually my garage, so I could drill a hole behind the letter and put the cord through and plug it into a plug in the garage if I want to.
Thanks for stopping by and leaving a comment!
xoxo
Love this!!! Do you have any pictures of the back… I want to re create!!! Thanks
Hi Stepanie!!
Yes!! Let me dig it out and I will add it to the post.
xoxo
LOVE THIS!!!
Shelly
Hi Shelly!
Thanks so much!! And thanks for stopping by and leaving a comment. I appreciate it!
xoxo
Love what you have made. That is a great size and finish. So creative and fun!
Thanks Lynda!!
I am really enjoying it!! Your S’mores Bar sounds so yummy!
xxo
LOVE it! I so need to jump on the power tools. Your mom is the cutest thing ever!!!!
Thanks Jessica!! We have been having such a fun time together. She is so sweet!
xoxo
I love this Jen!!!! I definitely need to make one of my own. So clever!!
Hi Gina!
Thanks so much my friend!! I hope you had a wonderful Fourth!!
oxo
I LOVE this project! I am definitely pinning!
Hi Bethany!!
Thanks so much!! Happy Summer!!
xoxo
LOVE this Jen!! So much. Can I put my order in for a giant 5? 🙂 xoxo
Thanks Mique!! Yes – I will make you a 5. Love you!
xoxo
SOOO cute Jen!
Thanks Cheryl!!
Happy Monday my friend!
xoxo
Love this Jen!! I’ve been scheming about what I should create for my patio. We have a swing and that’s about it haha I’d love to make something similar…thanks for the inspiration! Great photos, your mom is adorable 🙂
Hi Jacy!!
Thanks so much!! You should make one!! If you do, let me know. I would love to feature it!
xoxo