Changing or adding backsplash tile can be an inexpensive way to change up the entire look of your kitchen. Here are some tips to on How to pick the perfect kitchen backsplash tile for YOUR home!
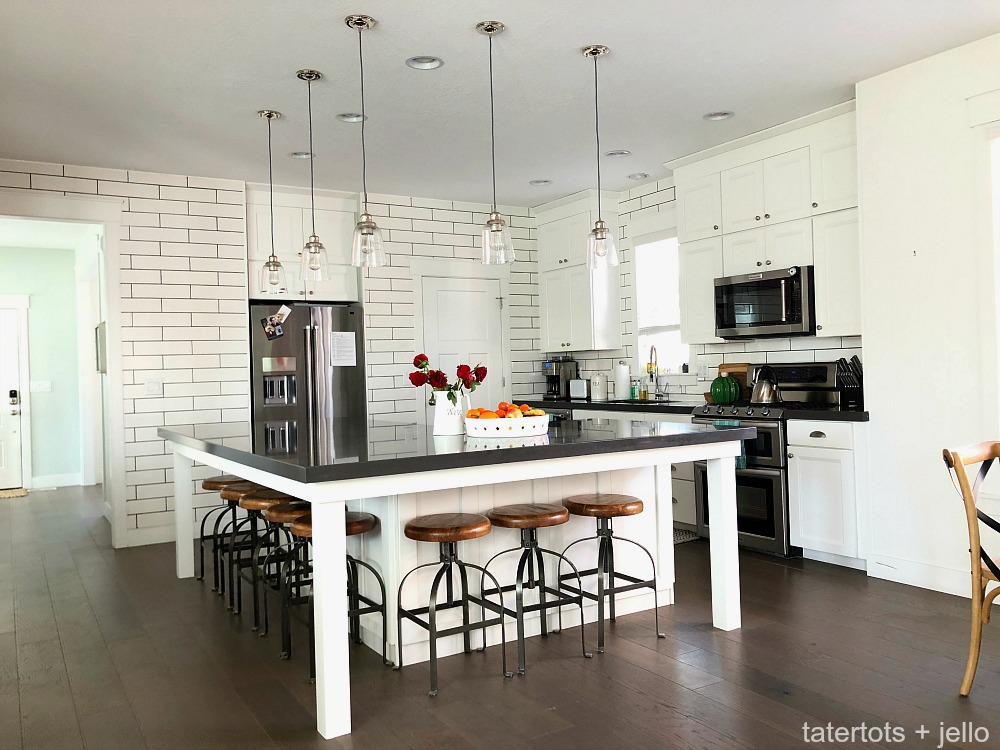
I love the look of tile that goes from wall to ceiling in the kitchen. So when we moved into our new home I knew I wanted to do that. I loved the tile we had but the grout was a tan color and it looked a little dingy to me. Over the months since we have lived here I have been thinking and researching different tile options.
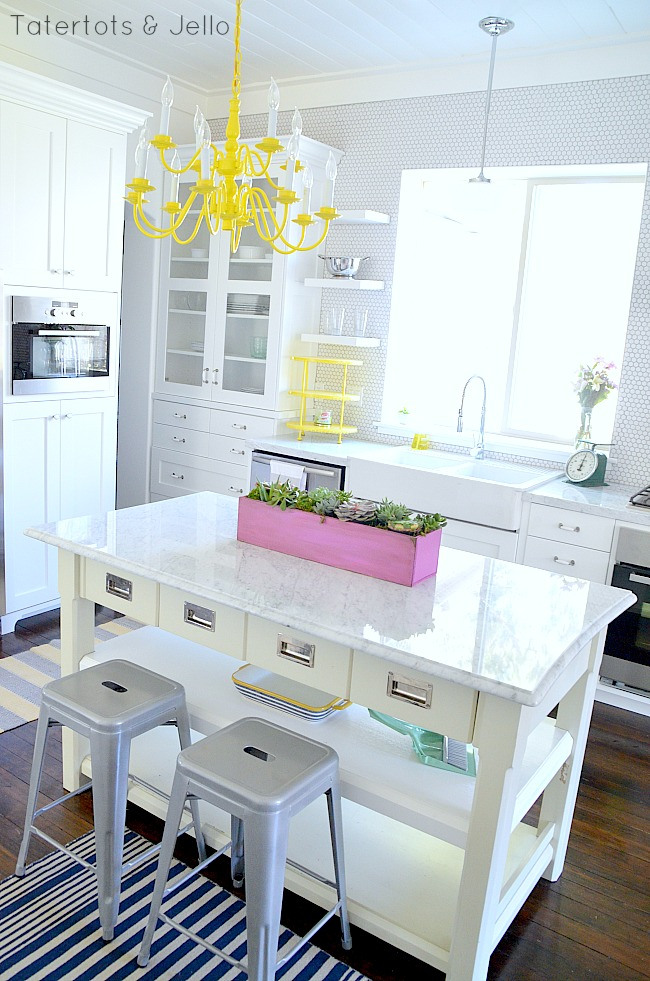
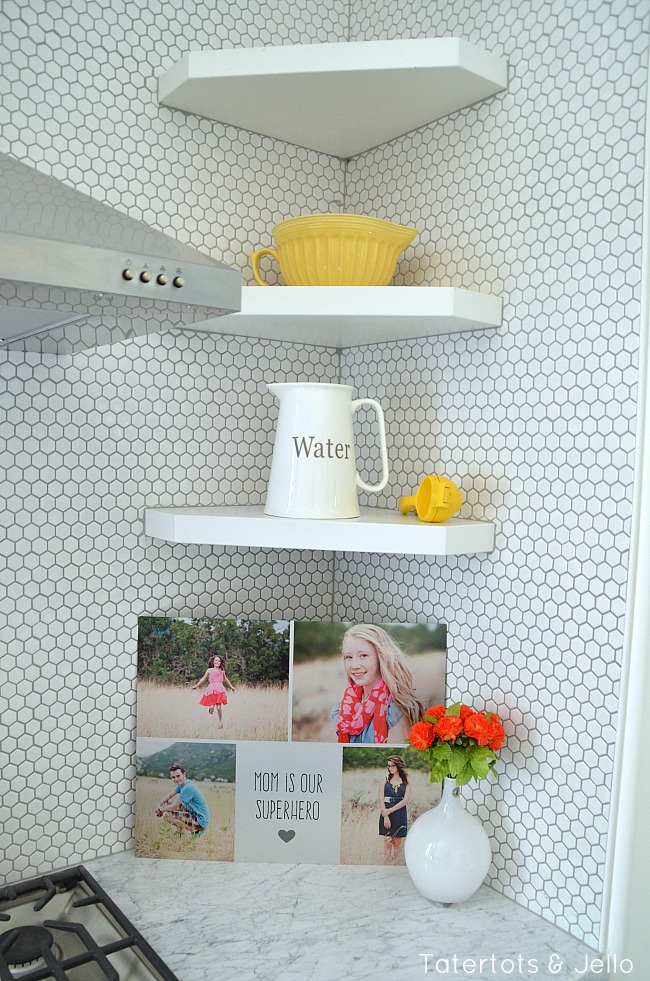
I put small hexagon tiles in the #1905Cottage and I loved the way it looked with the entire wall tiled and the open shelves. It made me happy every single time I walked into that room!
I considered different tile options. Of course subway tile is SO pretty and there are SO many different colors you can do with subway tile – not just white!
Plus all kinds of tile sizes – from tiny subway tiles to extra large subway tile sizes.
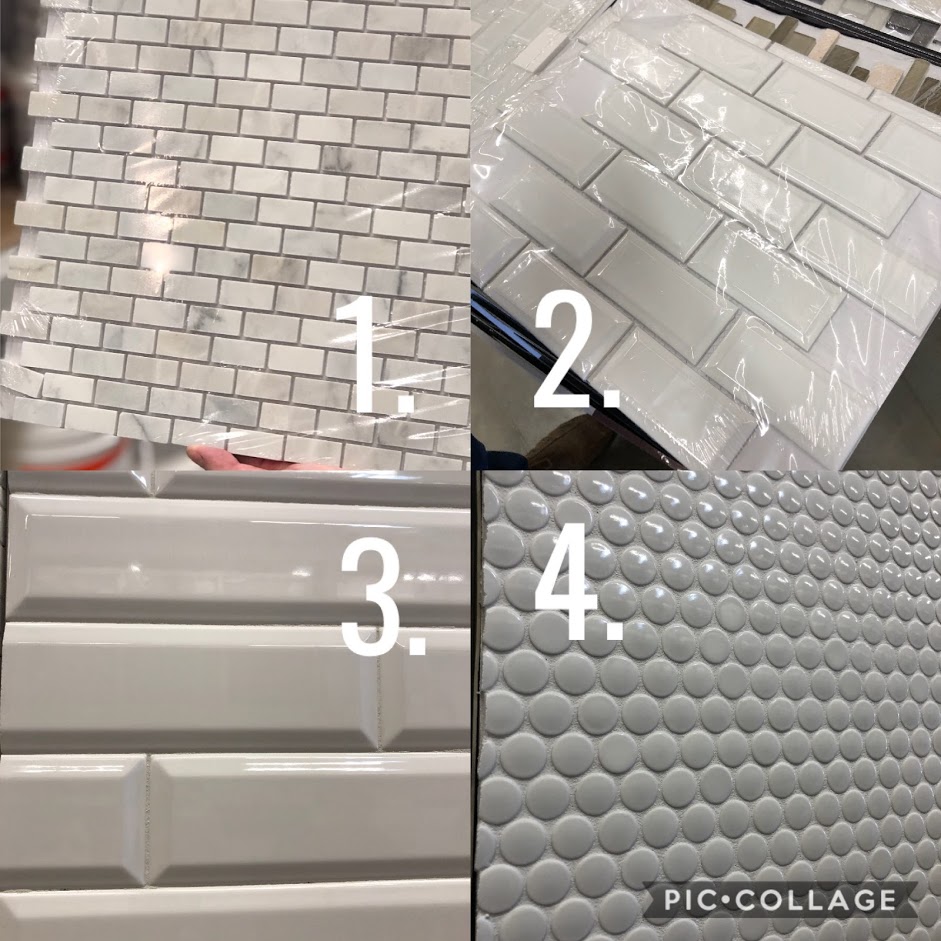
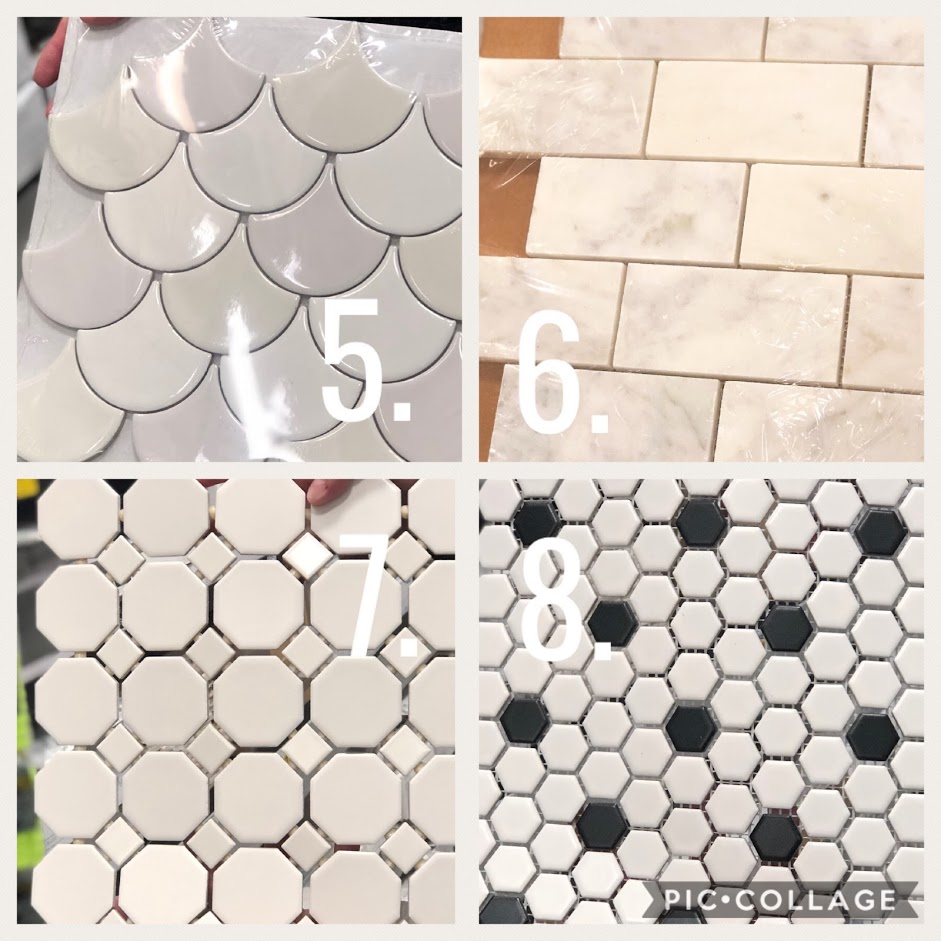
I actually bought THREE different tiles before we got started. I originally bought GIANT, beveled subway tiles. And I loved the way they looked. But when I was laying them out I discovered the the middle of the tile are so thick that the cut middle part of the tile would show and that looked very unfinished to me.
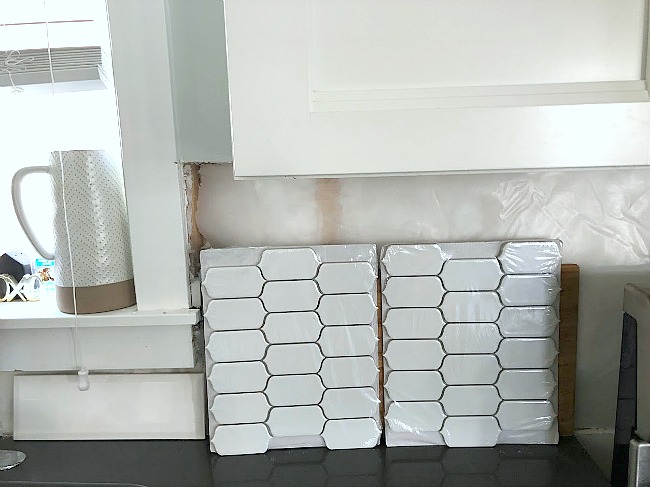
Then I went all over the valley buying ALL of the tiles in these scallop tiles. I loved the way they were similar to subway tile but special because they had a distinct shape. And I loved that they were laid out on a mesh grid so all I would have to do is lay the mesh grids up instead of having to lay every single tile. In the end we got them home and the color white clashed with our creamy cabinets. I was so sad!
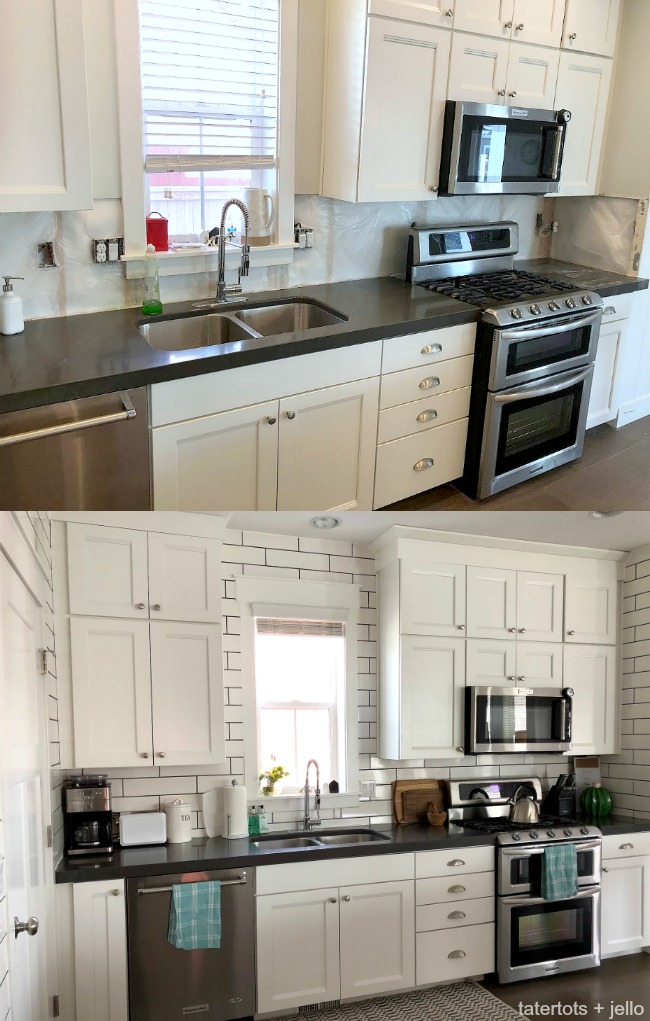
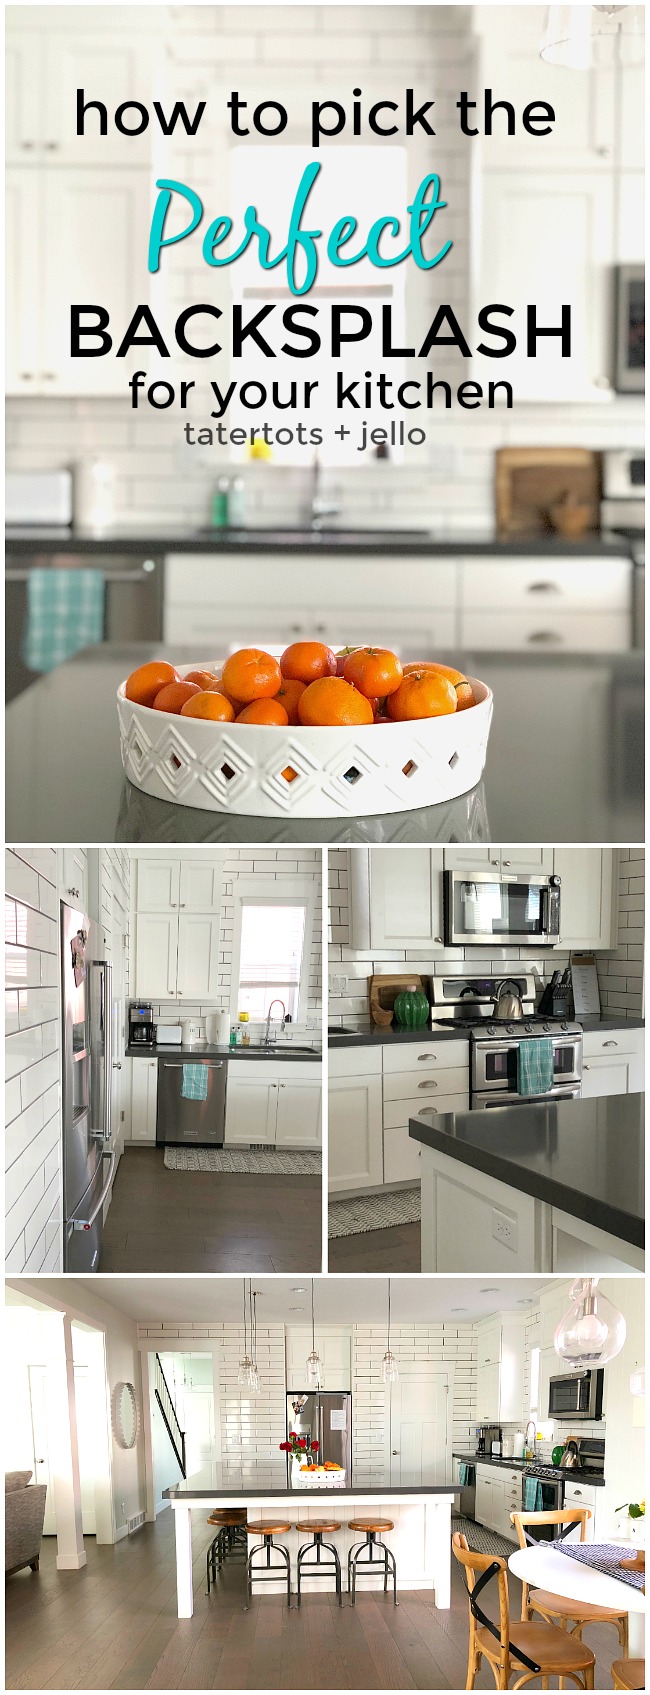
I ended up going for an extra-large size of subway tile. I think of it as subway planks. They are almost like boards. I used a dark grey grout that matches our counters.
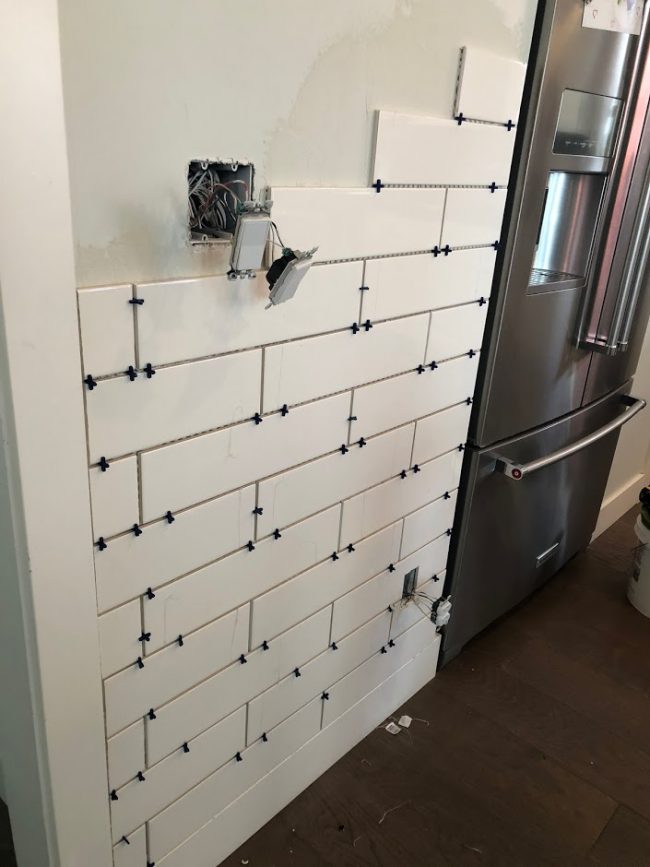
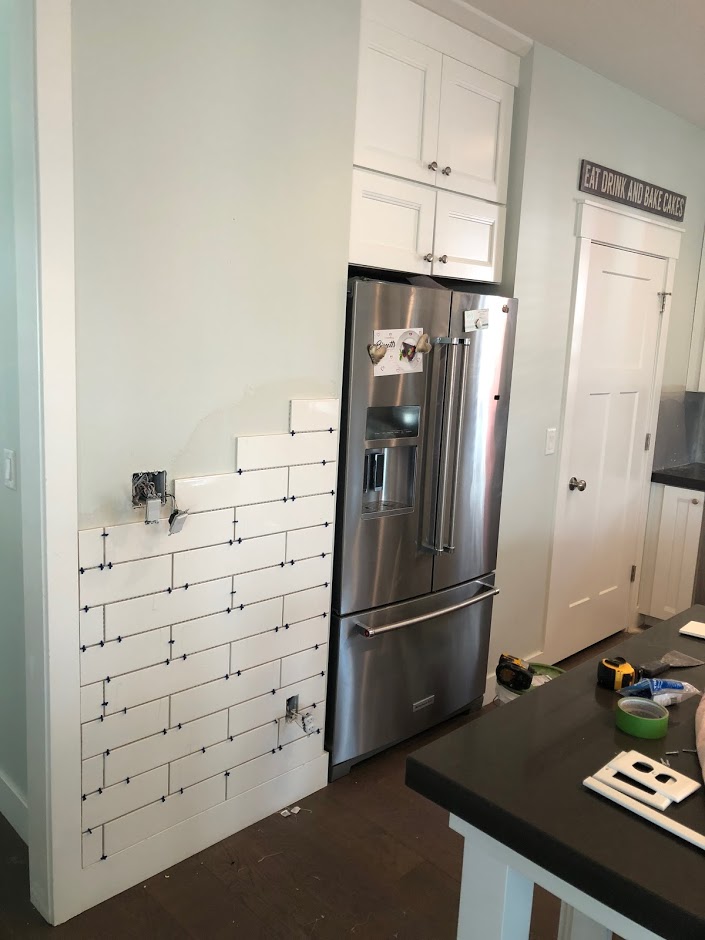
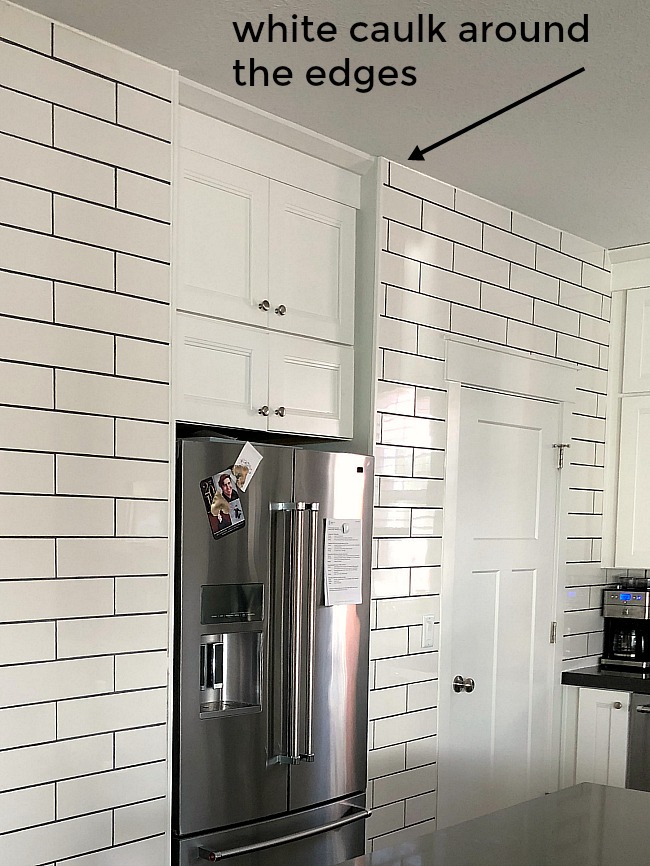
I love the way it turned out. The larger size, combined with the dark grey grout gives the kitchen a little bit of an industrial vibe!
A couple tips that I discovered in laying tile:
I used grey grout, but to make the overall project look more polished, I went over the entire outside and all of the edges with white caulk. That way you can’t tell if there are any imperfections in the cuts of the tile. I like the way that looks. The edges of the tiles flow seamlessly into the white grout and disappear.
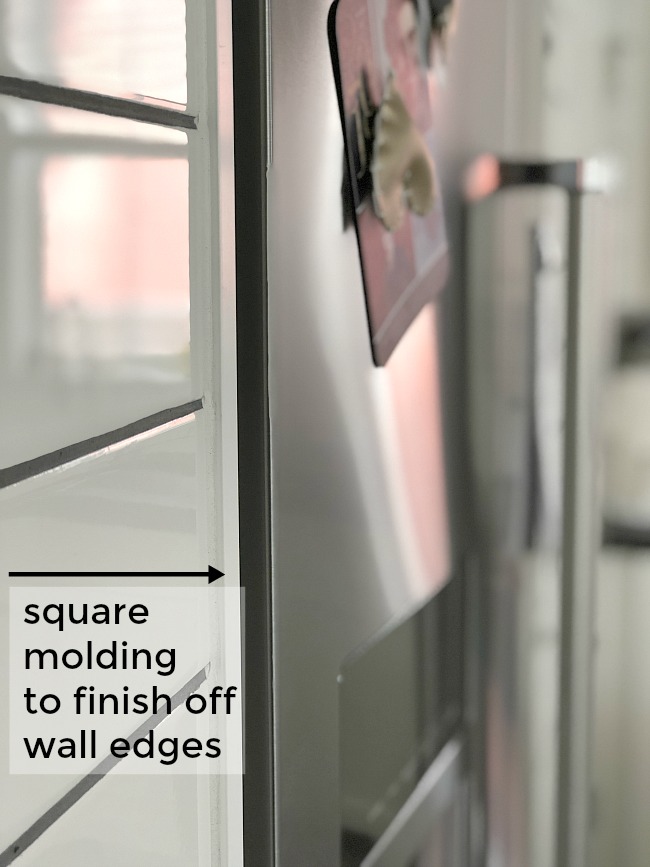
The second thing we did which I love is the finishing edging we put on the walls surrounding the fridge and the other edging walls to finish the project off. Instead of using tile, laid vertically, we used square molding and ran it down the wall. I think this edging gives the finish a more modern, clean look instead of using tile. Another reason we did this was that our fridge door would have hit the outside tiles and could have cracked them which would have been BAD!
There are a lot of awesome options to choose from when picking out tile for your backsplash. Some of my favorites are:
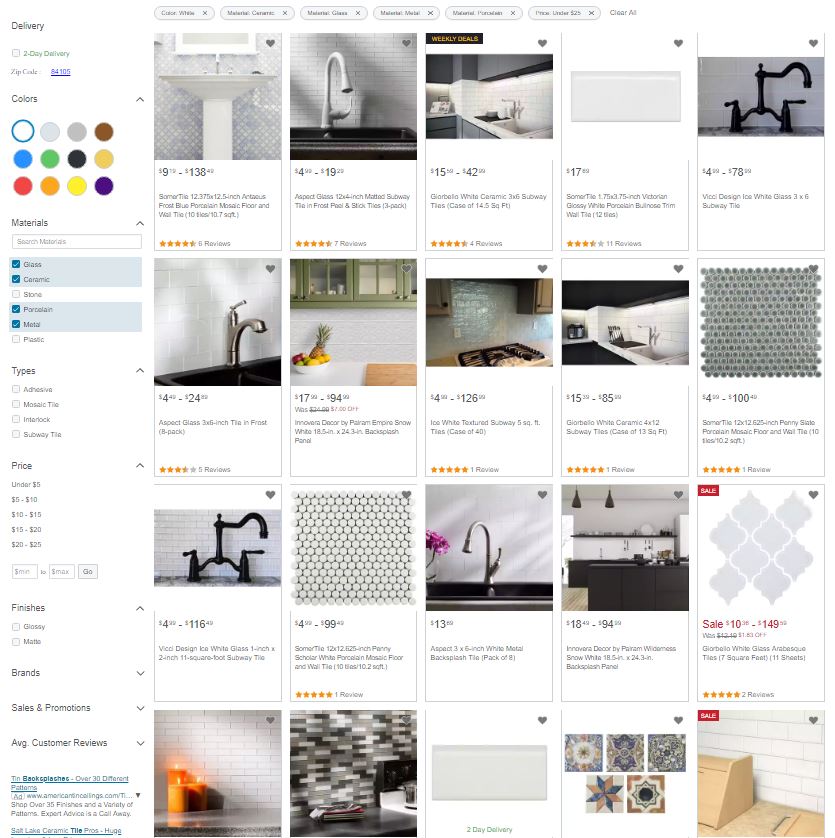
Overstock
(this is where I ordered my #1905Cottage tile from
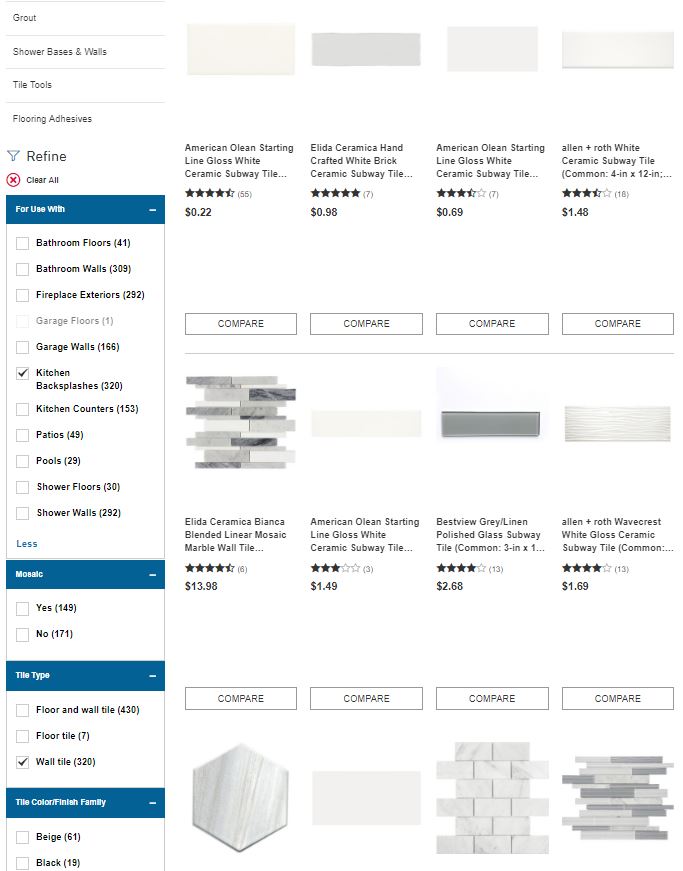
Lowes
(this is where I got my tile for this project)
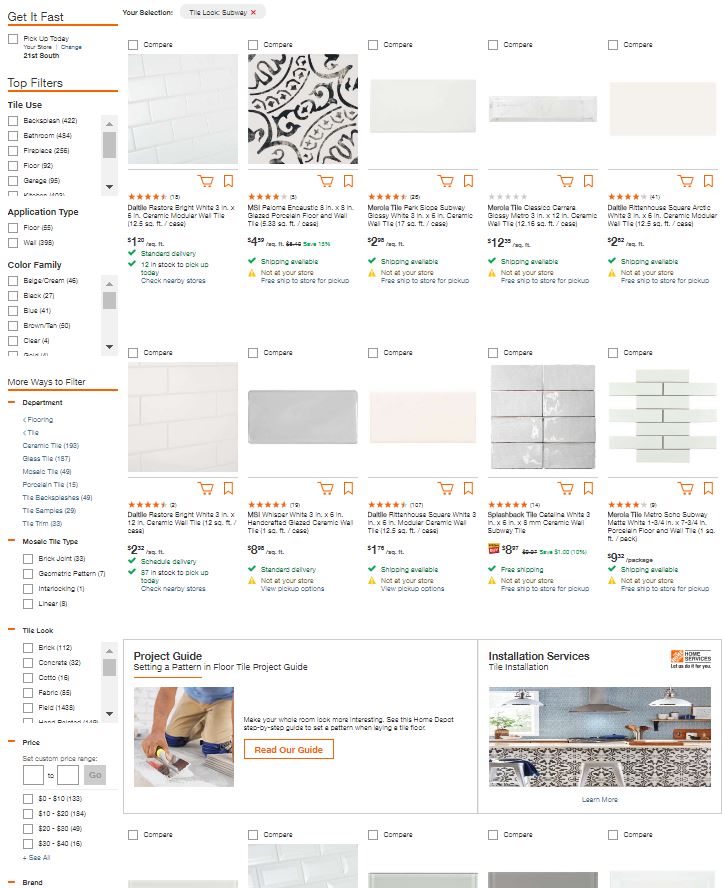
Home Depot
(they have a nice selection)
What kind of tile do you have in your kitchen?
Share a picture of YOUR kitchen with us!
xoxo




I have been having trouble picking out tile I like for my kitchen backsplash. I finally found one I love but they are mosaic glass white 1/2 inch wide and 2 inches long. We are only going to our cabinets. Do you think that size tile will look ok in a kitchen?
Hello, Your kitchen looks beautiful. Can you tell me where you purchased the cute white round tray you had the oranges in?
Hi Kim! Yes!! I got that tray from Target a few years ago. Homegoods would probably have something similar?
xoxo