Tatertots and Jello

COLORFUL HAPPY HOME -- Daily DIY, Decor, Craft and Recipe Tutorial

  • My Home
    • 1905 Cottage
    • Daybreak House
  • DIY
    • DIY Projects and Ideas
    • Organizing
    • Tutorials
    • Printables
  • Decor
    • Spring Projects
    • Summer Projects
    • Fall Projects
  • Crafts
    • Kids Crafts
    • Painting Projects
    • Paper Projects
    • Sewing
    • Wreaths
  • Holidays
    • Valentines Day
    • Easter
    • Halloween
    • Thanksgiving
    • Christmas
    • HAPPY Holidays Series!
  • Recipes

Explore

  • my home
  • diy
  • decor
  • crafts
  • holiday
  • printables
  • recipes

Connect

Home » diy » Make Resin and Ribbon Necklaces with Dimensional Magic and Stickers!

diy, tutorial · February 29, 2012

Make Resin and Ribbon Necklaces with Dimensional Magic and Stickers!

Tatertots & Jello is a participant in the Amazon Services LLC Associates Program, an affiliate advertising program designed to provide a means for sites to earn advertising fees by advertising and linking to amazon.com.

Here’s another Spring Break Kids’ Craft Idea!!

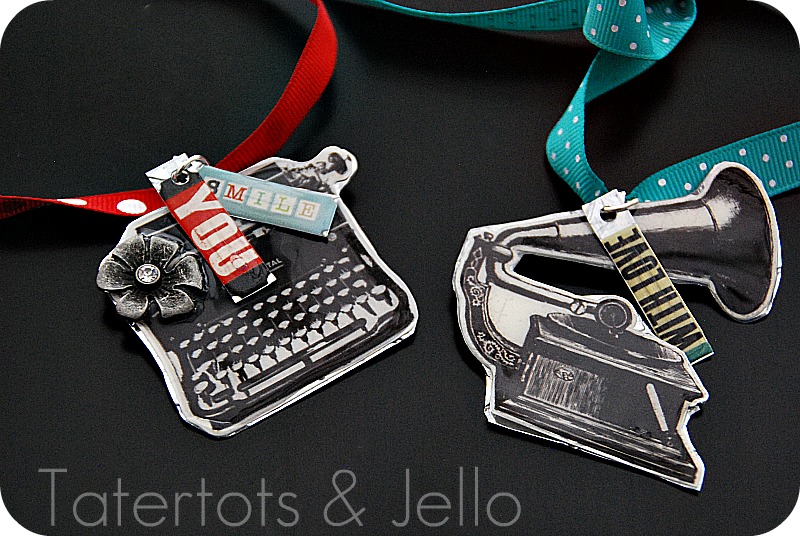
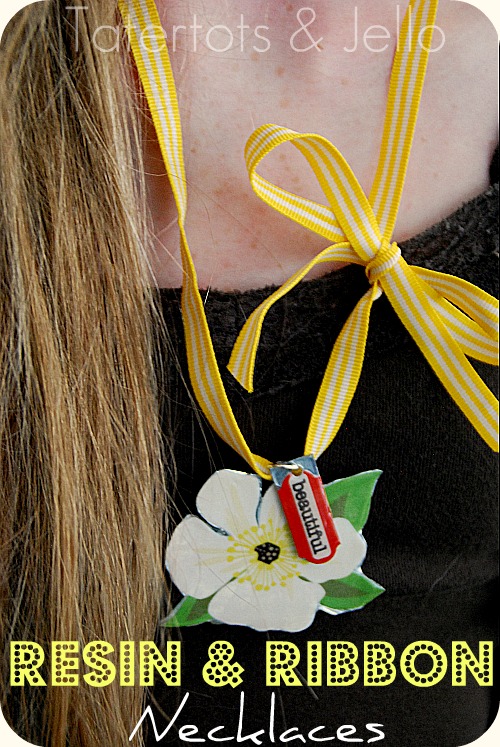
Today I am sharing a little Spring Necklace idea. Can I tell you how excited I am for SPRING???? I can’t wait. In the meantime — here’s a little project I shared at Brassy Apple – that is helping me fight away the winter blues. And it uses Dimensional Magic — which is SUCH a fun medium.

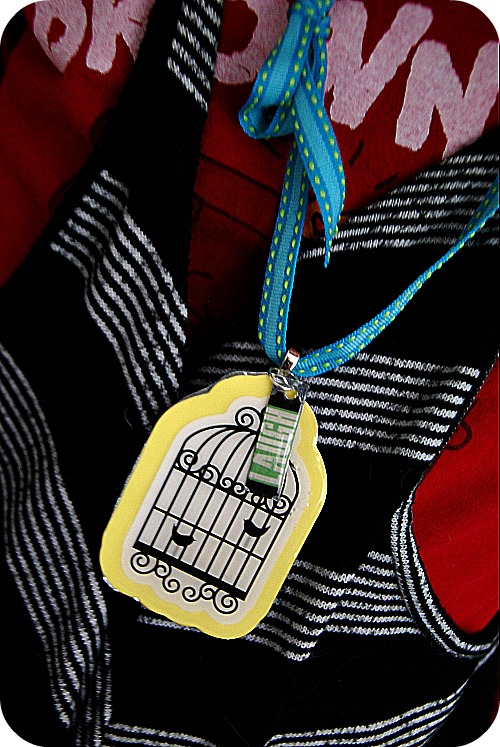
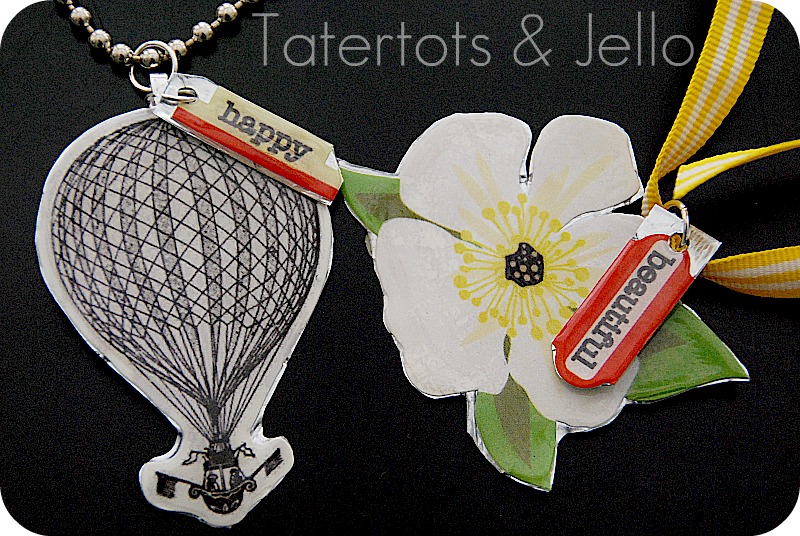
Ribbon and Resin Necklaces

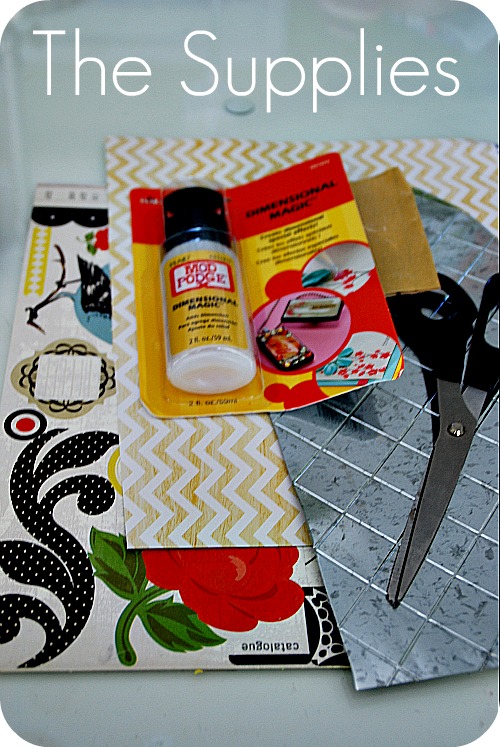
Here’s what you need:

Scrapbook Paper or Stickers

Metal, Wood or Chipboard — for the back of the pendants

Mod Podge

Dimensional Magic

Necklace Bails

Ribbon or Chain

Here’s What You Do:


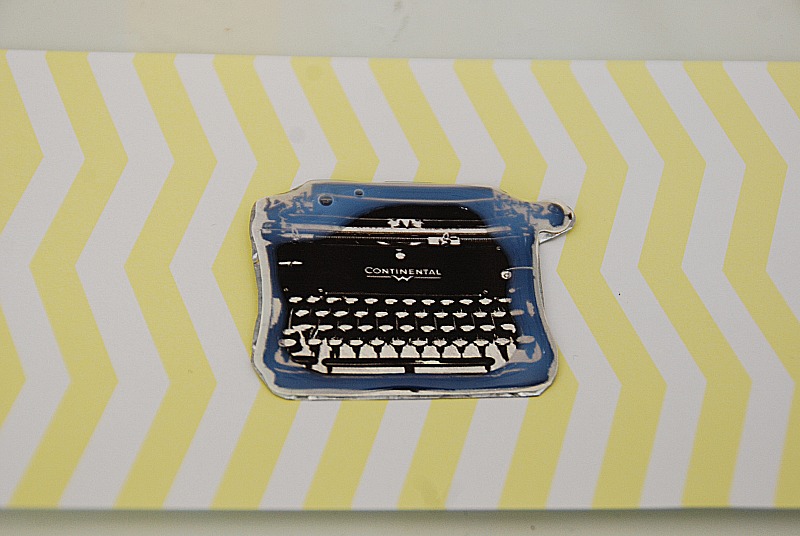
  1. Take a sticker or a piece of scrapbook paper and stick it or Mod Podge it onto your backing. 
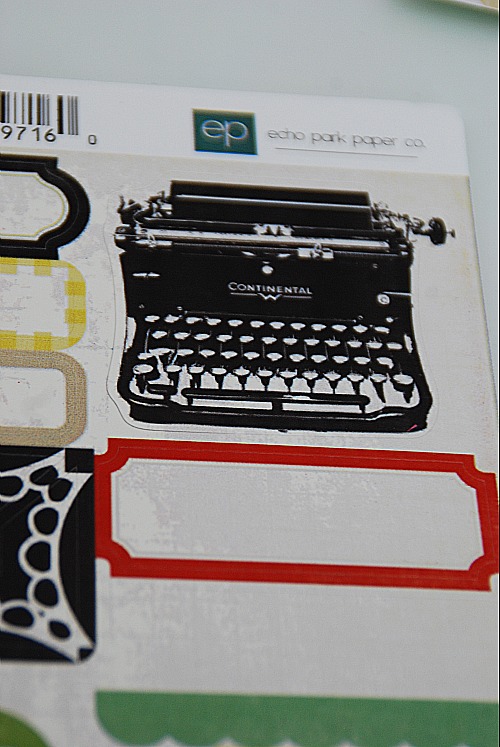
  2. Cut out the shape in your metal, wood or chipboard backing.
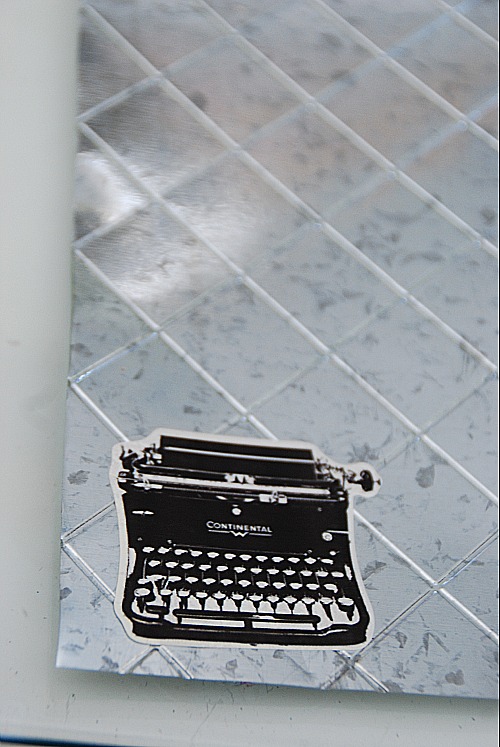
  3. Add a layer of Mod Podge to the top of the paper or sticker.
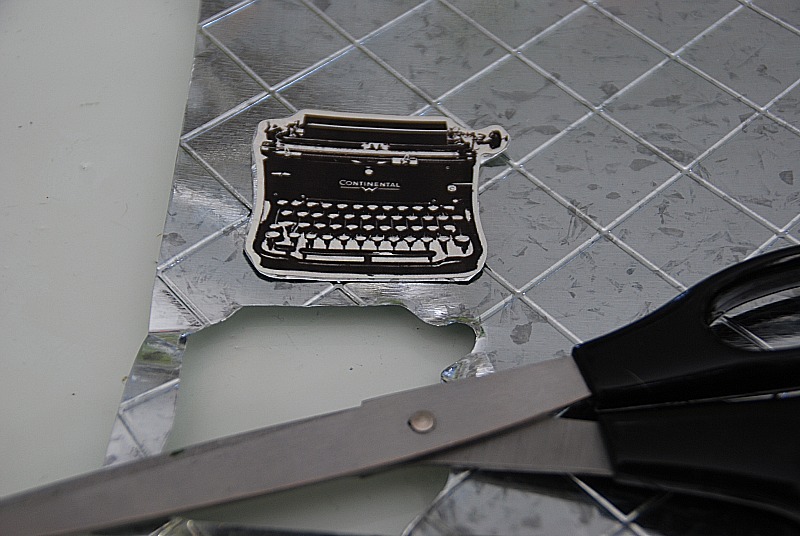
  4. Once dry, outline the paper with Dimensional Magic, and fill it in. 
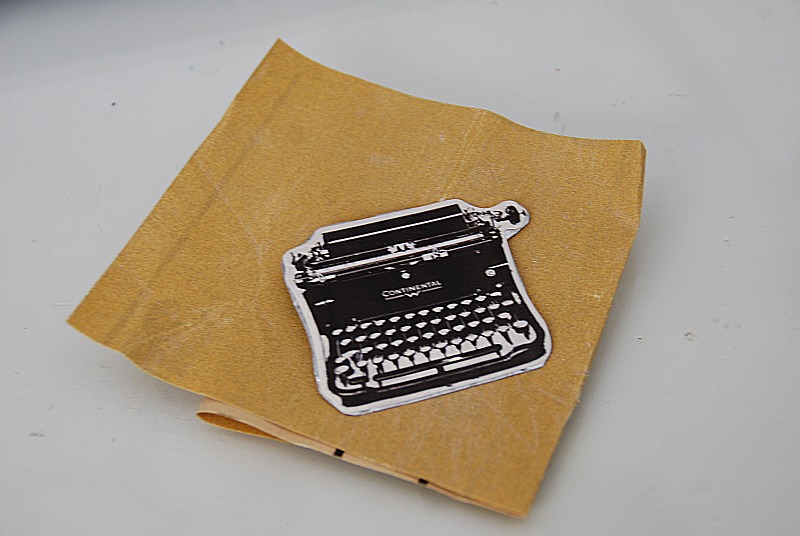
  5. Sand off the edges.

6. Let that dry.

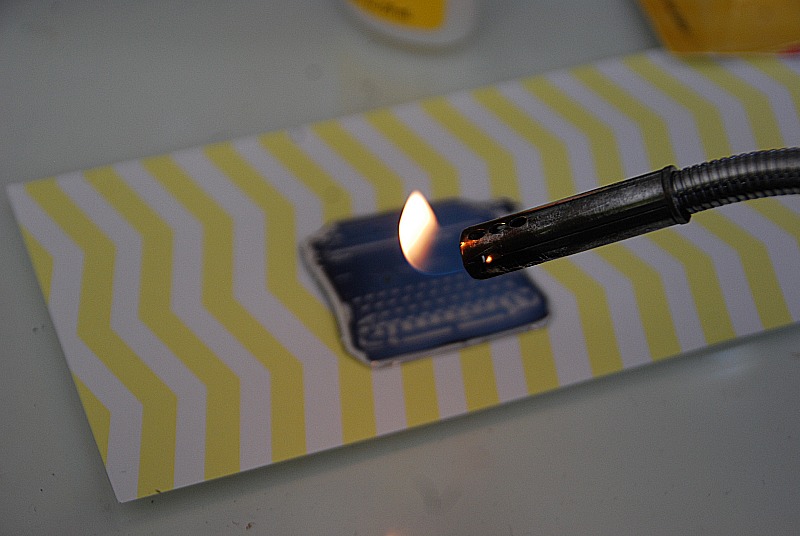
**A tip — if you have bubbles, pop them with a lighter.

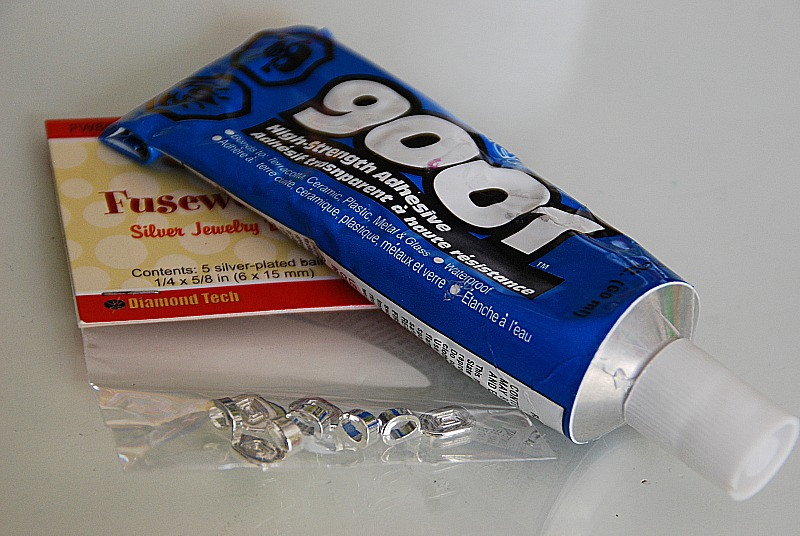
7. Add a Metal Necklace Bail to the back. Adhere it with something like E6000 or 9001.
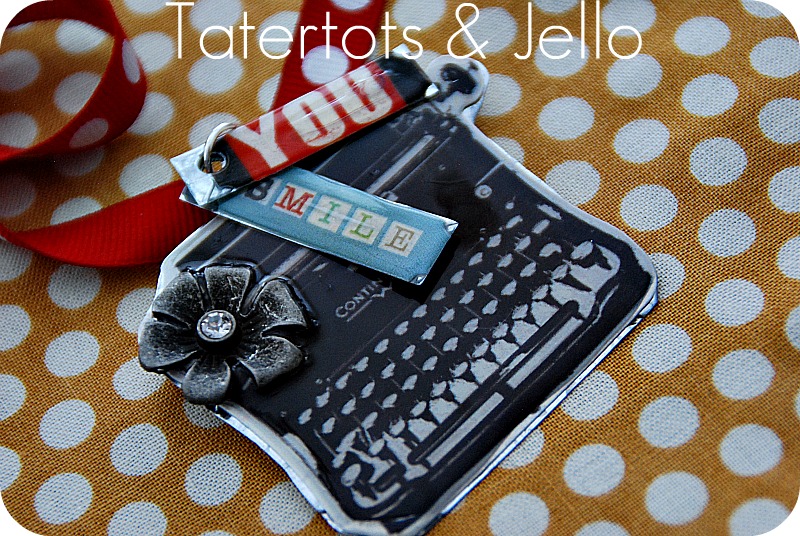
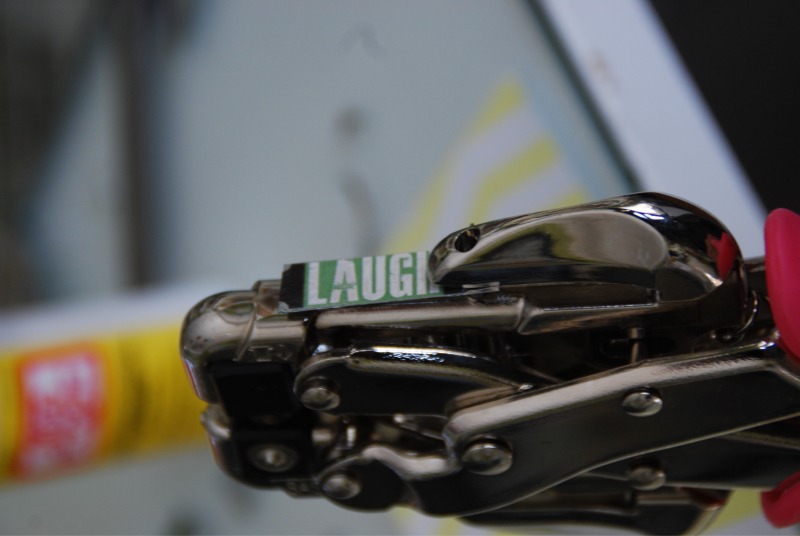
8. Add some tags and cut the holes with a Cropodile.
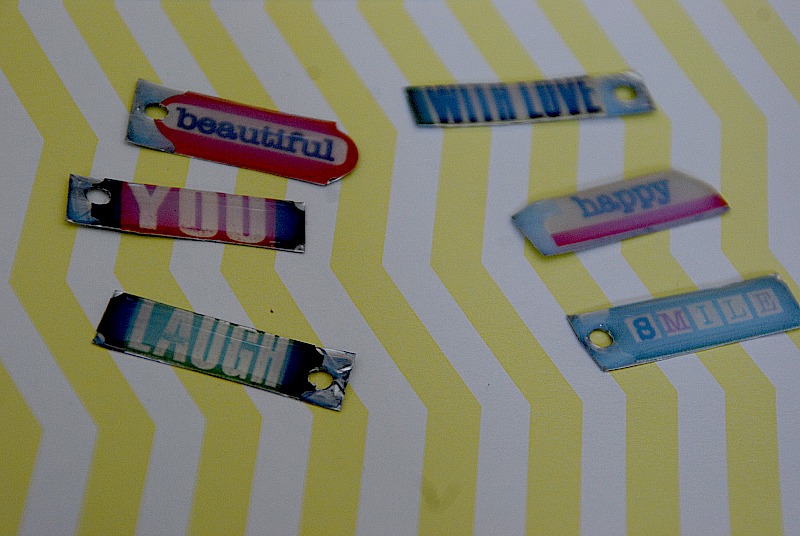
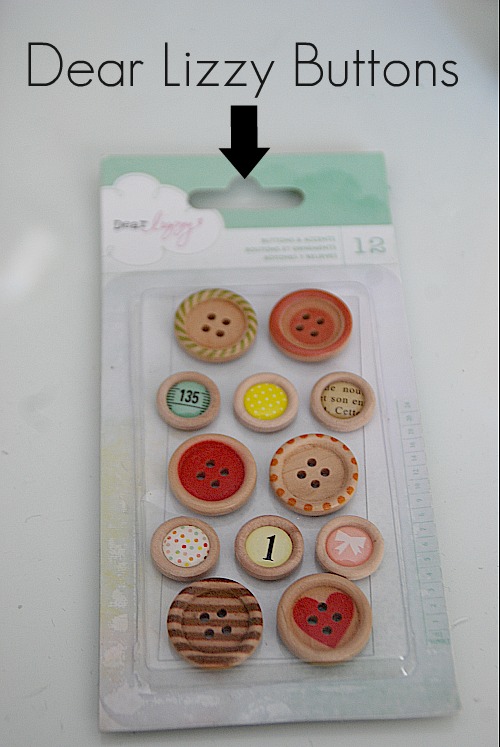
9. Or add some buttons. {these are from the Dear Lizzy line from American Crafts.
10. Add a length of ribbon or chain and tie in a bow at the side.
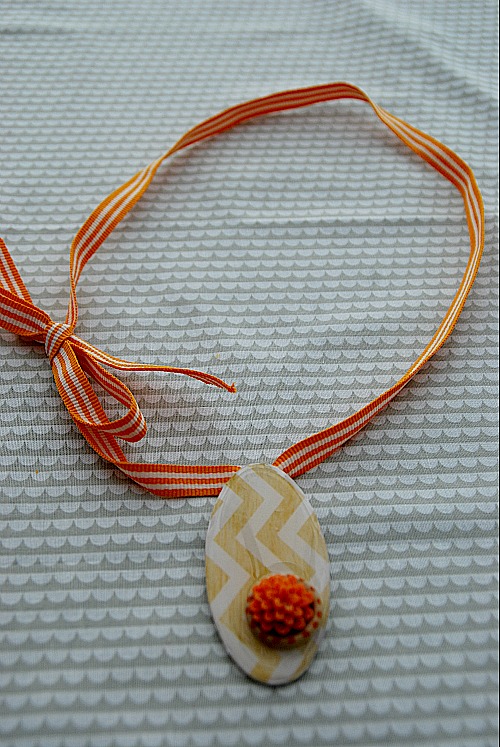
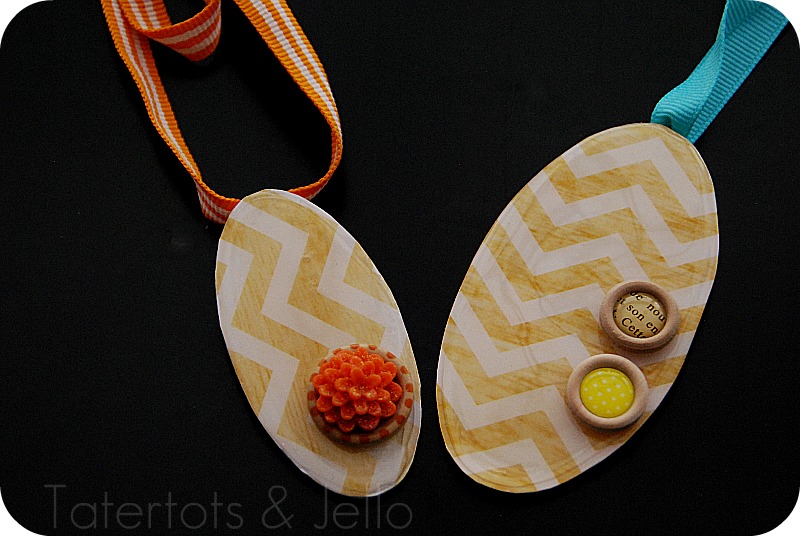
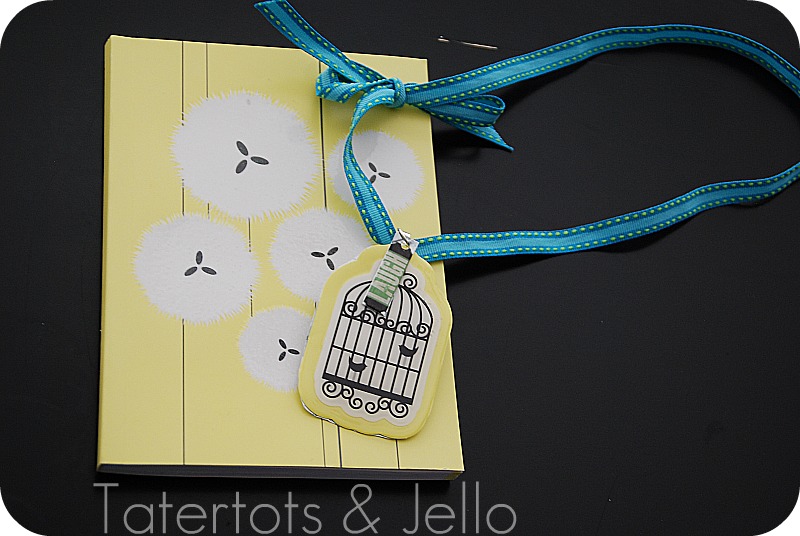
And I bought a little $1 scrapbooking kit from Target and made a little necklace out of it.

I think it would be fun to give as a gift. The notebook and the necklace together.
This would be a fun idea if you wanted to make a necklace with a special picture, or even small pictures of your kids’ faces.

Thanks for letting me share it with you!!

xoxo

And be sure to check out the FUN jewelry tutorials over at Brassy Apple this month — so fun!!
Posted By: Jen · In: diy, tutorial

Google Friend Connect and new TT&J Newsletter!!
Make a “Be Lucky” Bud Vase!! (St. Patrick’s Day project)

You’ll Also Love

How To Replace Sliding Closet Doors with Standard Doors (tutorial)
Easy Holiday DIY Pillow Covers6 Tips to Make Easy Halloween Pillow Covers [And three Free Designs!]
DIY Gold Leafed Hanging Insulator Succulent Garden

Comments

  1. Lisa says

    March 17, 2012 at 4:18 AM

    So cute! I definitely need to get my hands on some Dimensional Magic, it looks like great stuff

  2. MiMi says

    March 1, 2012 at 2:37 PM

    I still want to try that dimensional magic stuff!

  3. Donna @ EdibleCreations says

    March 1, 2012 at 11:42 AM

    Really beautiful. When you say – pop the bubbles with the lighter. what do you mean exactly? I’m afraid that I’ll be damaging the surface if I get the lighter too close.

    • Jen says

      March 1, 2012 at 11:47 AM

      Hi donna!!
      If you have bubbles that rise to the surface of the resin (Dimensional Magic) it’s hard to pop them. There’s something in a flame that pops the bubbles. So you can use a lighter or matches and if you hold it above the surface, the bubbles will pop. Don’t let the flame touch the surface or it can scorch it.

      xoxoxo

      • Donna @ EdibleCreations says

        March 2, 2012 at 3:33 AM

        Thank you! I’ll surely give it a try

  4. Kelli says

    March 1, 2012 at 11:41 AM

    Jen those are so cute! I LOVE the one your daughter is wearing. The ribbons make them so much fun! What kind of metal is that and did you cut it with plain scissors?

    • Jen says

      March 1, 2012 at 11:45 AM

      Thanks Kelli!! It’s metal sheet I found at the craft store. They are thinner than regular metal sheets at the Hardware store. But if you can’t find metal sheets, you could use plastic to back the stickers or decoupage paper onto before you put the Dimensional Magic on top.

      I love ribbons. I think they are so Spring-ish. Have a great day my friend!!

      xoxoxo

  5. northern cottage says

    March 1, 2012 at 8:16 AM

    these are so darling! that lighter you have looks kinda big & scary though – ha! soooo gonna add this to my crafty to do list! cute cute!

    • Jen says

      March 1, 2012 at 9:27 AM

      Thanks so much!! I know my lighter is a little scary LOL. You can also use matches, they will also make the bubbles in the resin pop.

      xoxo

  6. Megan says

    March 1, 2012 at 7:17 AM

    I just wanted to say I am a GFC follower and your post today showed up in my reader along with many other non-blogger blogs.

    • Jen says

      March 1, 2012 at 9:28 AM

      Oh yay!! I am glad to hear that. Will you let me know when my blog doesn’t show up. Maybe it’s all a big bluff LOL!!

      xoxo
      Jen

  7. Sherry says

    March 1, 2012 at 6:49 AM

    Good Morning Jen Sweetie…
    What a gorgeous share this morning. I am definintely going to have to give this
    tutorial a try. I love making necklaces and have used the dominos, and the Mod
    Podge products, so this looks great as well. Many thanks for sharing.

    I am your newest follower, and found you through a friend. I can’t wait to spend
    some time here and scroll through your tutorials. A beautiful blog home.

    Country hugs, Sherry

    • Jen says

      March 1, 2012 at 9:31 AM

      Hi Sherry!!

      Thanks for the nice comment!! Let me know if you make the necklaces, I would love to see and feature them.

      have a wonderful day!

      xoxoxo

  8. Jennifer says

    March 1, 2012 at 5:00 AM

    Love these…so clever! What I especially like is that you can use things that you may already have…the yellow ribbon looks so pretty for spring too!

    • Jen says

      March 1, 2012 at 9:32 AM

      Thanks Jennifer!!

      I am loving yellow for Spring. Its so happy!!

      Have a great day!!

      xoxoxox

Hi! I'm Jen Hadfield. I'm a mom of 5 restoring an 1891 home in the heart of Salt Lake City. I love being creative and sharing simple ideas to make your life easier and more beautiful!

Receive the Latest Crafts, DIY, Recipes and More in your INBOX!

Follow us on Pinterest! It's awesome!

Top Posts & Pages

Copycat Panera Spinach and Artichoke Egg Soufflés - SO good!
DIY Secret: How to Print on Post-It Notes (and Free Printable Template)
DIY Black Painted Window Frames
Spruce up Your Outdoor Space with a DIY Recirculating Fountain! (tutorial)
How to Change a Recessed Can Light into a Pendant Light with No Remodeling!
12 Must-Have Items to Pack on an Alaskan Cruise!


Popular Posts

  • Copycat Panera Spinach and Artichoke Egg Soufflés - SO good!
    Copycat Panera Spinach and Artichoke Egg Soufflés - SO good!
  • DIY Secret: How to Print on Post-It Notes (and Free Printable Template)
    DIY Secret: How to Print on Post-It Notes (and Free Printable Template)
  • DIY Black Painted Window Frames
    DIY Black Painted Window Frames
  • Spruce up Your Outdoor Space with a DIY Recirculating Fountain! (tutorial)
    Spruce up Your Outdoor Space with a DIY Recirculating Fountain! (tutorial)
  • How to Change a Recessed Can Light into a Pendant Light with No Remodeling!
    How to Change a Recessed Can Light into a Pendant Light with No Remodeling!
  • 12 Must-Have Items to Pack on an Alaskan Cruise!
    12 Must-Have Items to Pack on an Alaskan Cruise!
  • How to Make a Simple Garden Planter Box
    How to Make a Simple Garden Planter Box

As seen in


Amazon Affiliate

Tatertots & Jello is a participant in the Amazon Services LLC Associates Program, an affiliate advertising program designed to provide a means for sites to earn advertising fees by advertising and linking to amazon.com.
  • About Me
  • Advertising
  • Get Featured

Copyright © 2023 Tatertots and Jello · Privacy
This site is a place for positive discussion and ideas. Negative talk, comments that disparage others, and similar are not welcome and may be removed.