DIY “reclaimed” modern/industrial look bench!
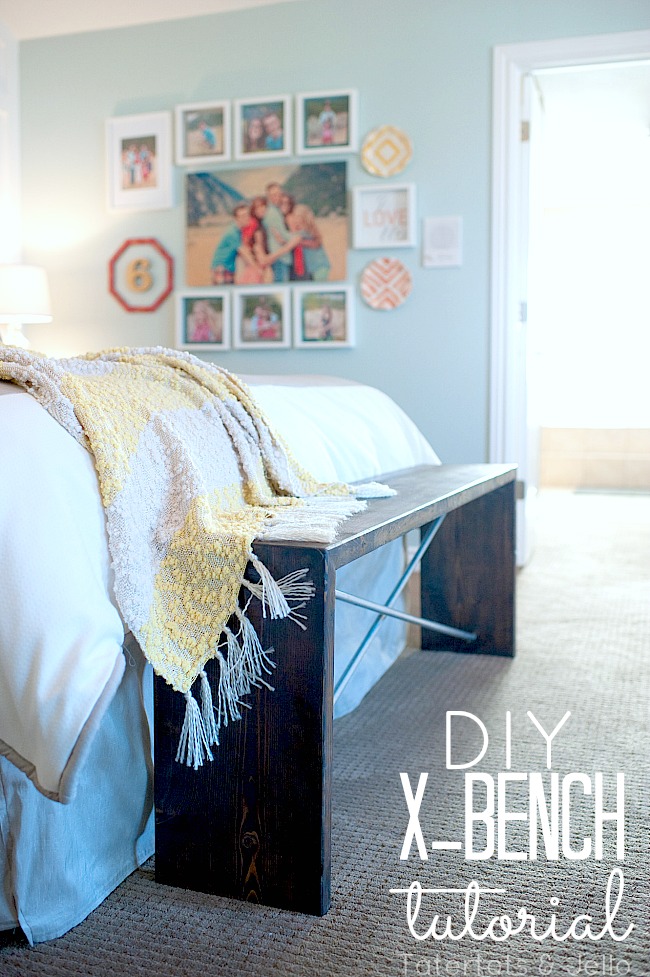
As I was working on our master bedroom redo, I knew I wanted a bench at the end of the bed. The wrought iron bench I had there was fine, but it didn’t fit the look of my bedroom (and I kept stubbing my toes on it). So I needed to look for something different. And it’s the perfect place to put shoes on in the morning and stack pillows up at night.
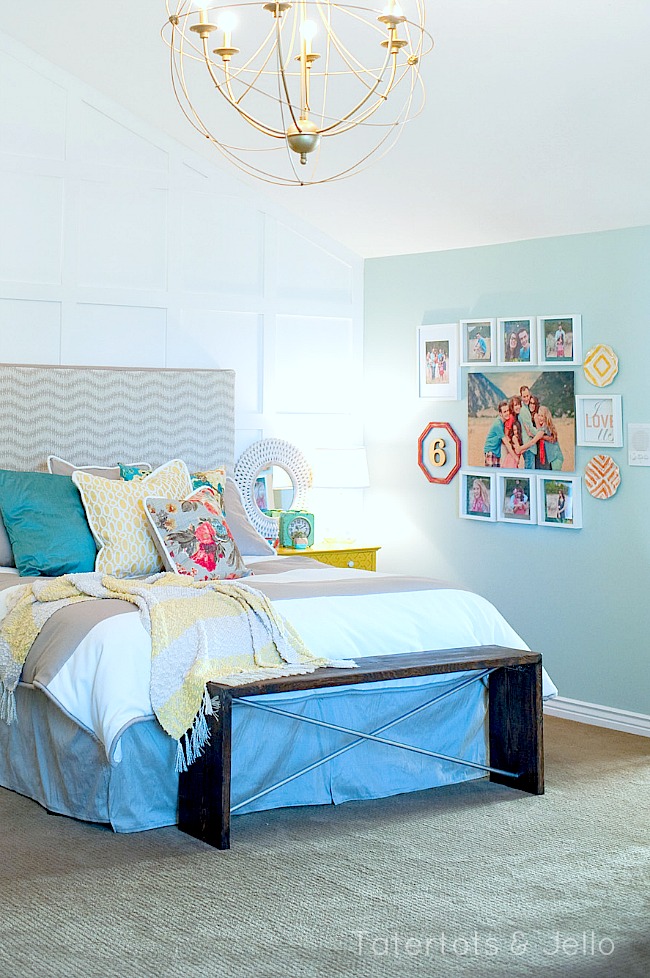
I wanted something modern but with a touch of wood and metal … Finally, I found this “reclaimed look” bench at Overstock that I liked:
But … turned out it was only 10 inches deep! Iit was just a bit too shallow — so it would be awkward to sit on to put your shoes on, etc. But I fell in love with the simple, clean lines of that bench and I decided to make one on my own. So off to Lowe’s I went!
I’ll tell you what mistakes I made and how I finally ended up with this bench — which I love — and tell you how you can make one of your own (without making the same mistakes!)
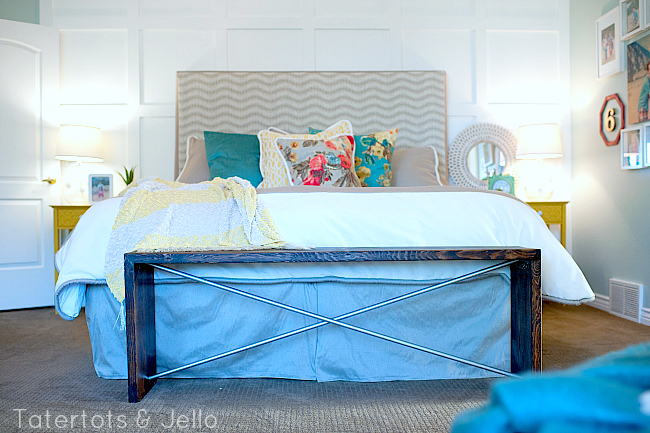
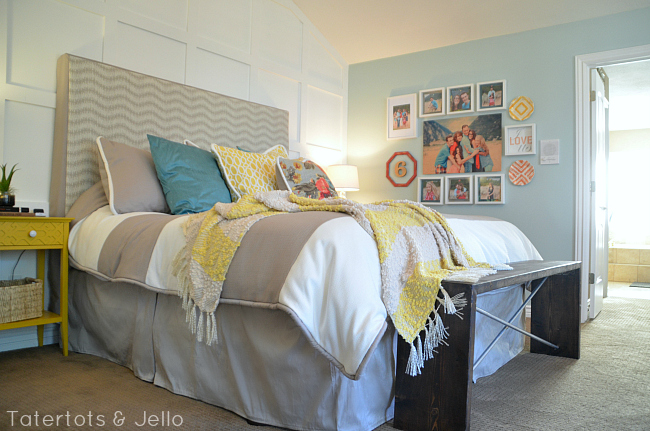
Here’s the short version of the story. I built the bench the first time hoping I could imitate the clean lines and nearly invisible seams of the Overstock bench. But the heavier, thicker and wider wood didn’t agree with that plan (and neither did my carpentry skills)! So the first time I tried to put it together with nails in the corners — but they didn’t hold enough and the bench wobbled from side to side. I tried adding Liquid Nails adhesive to the joints but that didn’t hold and was thick enough that the joints didn’t fit well. So I took the nails out, sanded the Liquid Nails off and started again. I could see that I needed better reinforcements at the joints and probably something else to hold the legs in place.
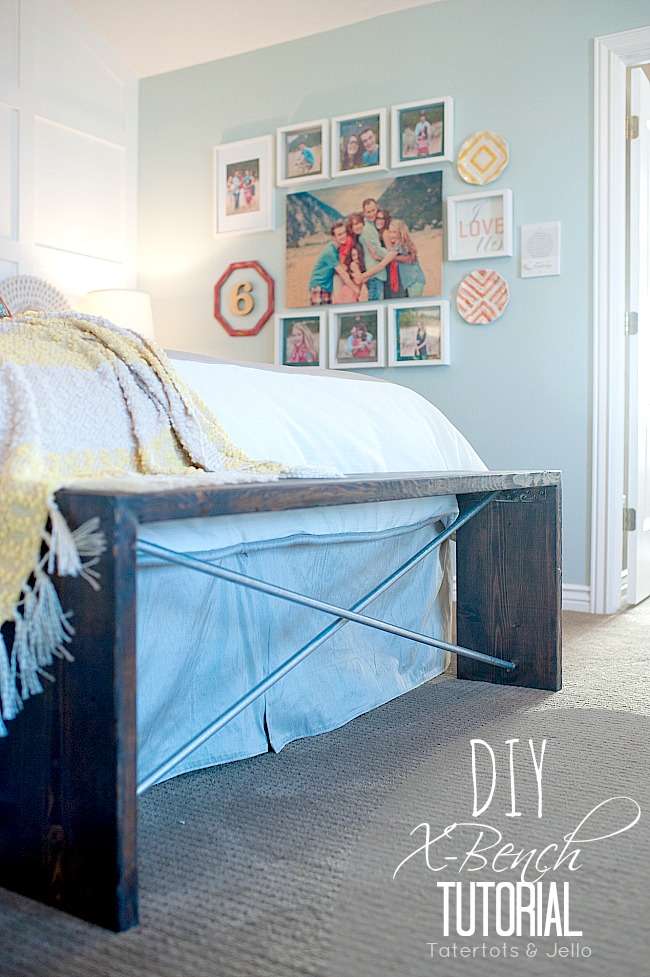
While I liked the look of an “X” bench, I wanted to try something a little different. So with that in mind, I wandered the aisles at Lowe’s seeking inspiration. It finally struck in the electrical section … and yielded the bench you see in the pictures!
Supplies (estimated total cost about $40)
- Standard tools like paintbrush, sandpaper, chocolate, power drill, drill bits, saw. You may need a hacksaw if you have to trim the galvanized pipe.
- about 20 2″ wood screws
- around 25 3/8″ or 1/2″ wood screws
- four 3/4″ wood screws
- Standard corner brackets (like these) — probably four to six, depending on the size you buy
- two five-foot lengths of 2×12 select lumber (when I measure mine it’s actually about 1 1/2 inches thick and 11 inches wide). Make sure it’s free of defects like warps, cracks, etc. I bought fir.
- Wood stain (I just used some I had left over from another project … my #1905 Cottage floors!)
- Polyurethane or other non-yellowing sealant
- two five- or six-foot lengths of 1/2″ galvanized pipe (you can find it in the electrical section of the hardware store – that’s the cheaper grade and just fine for our purposes)
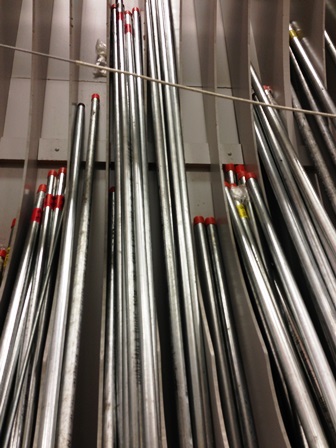
Building the Main Bench
My bench is 60″ long and 22″ high. I tested the height I wanted by using books on top of an existing chair to see what was comfortable.
Here’s the diagram to give you an idea of the overall construction:
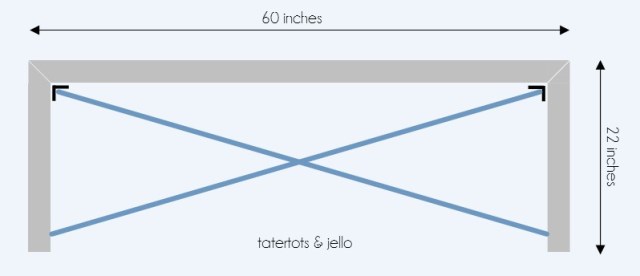
First, use your power saw (I used my compound miter saw) to cut the legs. Cut the bottom ends first so you’re sure you have a nice clean end there, then cut the tops at a 45 degree angle so that the longest point is 22″ long.
Cut the top, 45 degree angles in opposite directions. (see diagram)
Get someone to help hold the boards in place and and pre-drill some holes to go alternating side and top into the other board. Chamfer if you can. (Chamfer is a fancy word, as Fancy Nancy would say, that means making the top of the pre-drilled hole just a bit bigger so the head of the screw will be lower than the surface of the wood.) (like this:)
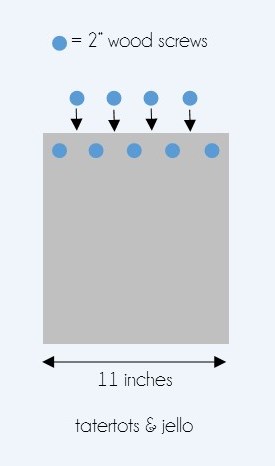
Screw in the long screws — 2″ screws (or thereabouts). These will help hold your bench together. You don’t have to use 9 screws on each side like in the diagram — just use what makes sense.
To be safe, you might want to use a tiny tiny bit of wood glue too, but not enough that it will ruin the tight seam in the wood. Get the seam as tight as you can.
Flip your bench over, gently. Keep an eye on the legs; they’re not ready to support much weight.
Get your corner brackets and attach those. Use the shorter screws. Predrill to avoid splitting the wood. In my bench, I had room for three brackets on each leg.
There will likely still be a bit of give in your bench — it will still be a bit wobbly.
Galvanized Supports
This is the tricky part. Keep in mind: The galvanized pipe will cross in the middle, one in front of the other.
Gently flip your bench upside down (on something soft). With a helper, place one end of each pipe against the brackets in each corner about where you think you want it to be. You can probably just “eyeball” it, but to be careful, you could measure. Mark center with a pencil, and place one pipe on the closer side of the center line to you and the other on the far side of the center line. holding them in place, mark a spot on each bench leg where you want the other end to go. In my case, the lowest end of the pipes were at 2″ up from the bottom of the leg. If you followed the same measurements, yours may be the same.
Move your pipes (for now), and mark the center of the leg and your “bottom of pipe” measurements on the legs. For me, this was 5 1/2″ from the front and back of the legs and 2″ from the bottom.
Get your drill — if you bought 1/2-inch galvanized pipe you should be able to use a 1/2 drill bit; you may have to use a 9/16″ or 5/8″ bit. Take your drill bit so that the edge of the hole will be on the spot you marked — so the bottom of the pipe will be where you want. Drill just a tiny bit of a hole to get started and then shift the drill at the 45-degree angle your pipe will be at — towards the seat of the bench. Drill so the top of the hole goes in about 1/4″ or so. Do this on both legs.
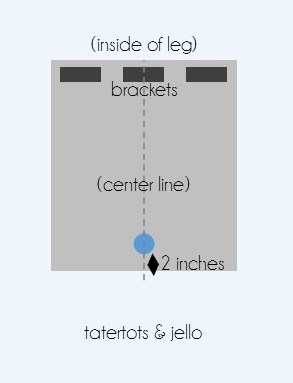
Test your pipes and see if they fit where you want them to. If not, just drill/adjust until they behave.
Get out a smaller drill bit to pre-drill holes for your four 3/4″ screws. On each pipe, about 1/4″ from the end, drill a pilot hole for the screws.
Put your pipes in place. If your pipe ended up on top of the corner brackets like mine, you may want to use that same drill bit to drill a pilot hole into the corner bracket as well. This will be a pain.
Put a 3/4″ screw in each end of the pipe into the wood to hold the pipes in place.
Finish Work
Get out your wood filler and fill in the screw holes and the gaps between the boards on the top and sides. No matter how good you think you are, you’ll probably need to do this.
Let the wood filler dry; sand it smooth.
If you want to distress your bench, now’s the time.
Take it outside and do the first layer of stain. If you get some on the galvanized pipe you will probably want to wipe it off, but the l brackets don’t matter because you want them a bit less bright anyway. As with any stain, pick the stain you like and let it stay on just long enough to get the color you want, then wipe off the excess stain. Let dry.
Put on as many coats of polyurethane to make the look you want. You want to protect the bench; but too many coats will make it look glossy.
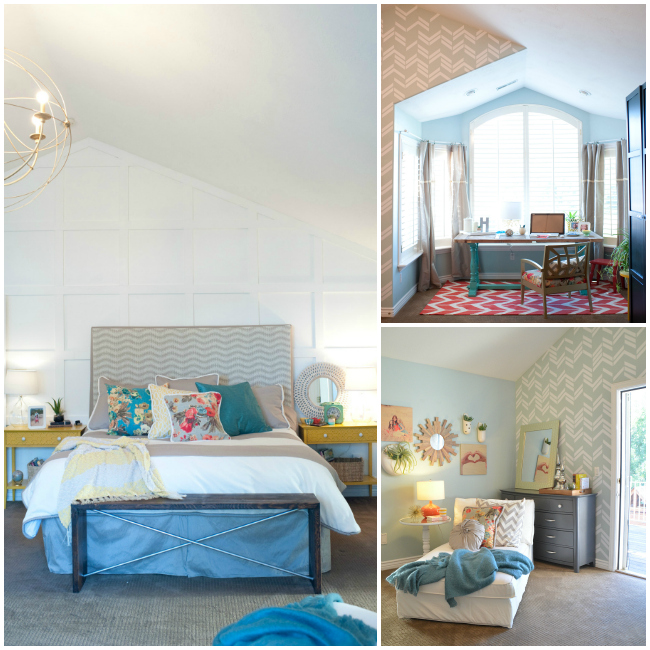
And I would be so thrilled if you checked out the FULL Master Bedroom remodel. It’s my favorite room in our home!
Have a Creative Day!!!
xxoxo

![60-Weathered-Reclaimed-look-Bench-L13506139[1]](https://tatertotsandjello.com/wp-content/uploads/2013/10/60-Weathered-Reclaimed-look-Bench-L135061391.jpg)


Cool bench! This is very easy to make. I love the color of the room too. So refreshing and soft color. Thanks for sharing on how to make the bench.
I love this. I was also wondering about the weight. I think I’d like to try something like this for my son’s room.
I love this bench, I think I want to try to make it taller and use as a hallway table. I will let you know how it turns out. Thanks for the encouragement.
The way you finished that wood is beautiful. I am taking notes. The dark grainy look is just so nice.
I love the metal and wood combo that creates an industrial look. We have been looking for a bench for our dining room table. I’m going to show this to my husband!
You listed one of my favorite tools, chocolate 🙂 Love the bench!
Debbie
I simply ADORE this bench!
I absolutely LOVE this so much! Love the metal with the wood, you have inspired me!!
Thanks Dria! It was a fun project to brainstorm and create. I love sitting on it every morning and putting my shoes on 🙂
Have a great day!!
xoxo
I like the simplicity of this bench and it’s not a difficult or time consuming project either. I wonder how much weight it can hold. It seems like a good bench to put by my front door and could be used as a spot to sit to put on and take off shoes for the kids.
Hi Jim!
I don’t have a way of measuring how much weight it can take, but my husband and I have both sat on it together and it has been fine. The metal x pipes also give it support.
Thanks for stopping by!
xoxo