I love the look of industrial-inspired kitchen and home shelving! I am really enjoying the shelves I put in the pantry of the #1905Cottage. Check out this Industrial Spice Rack.
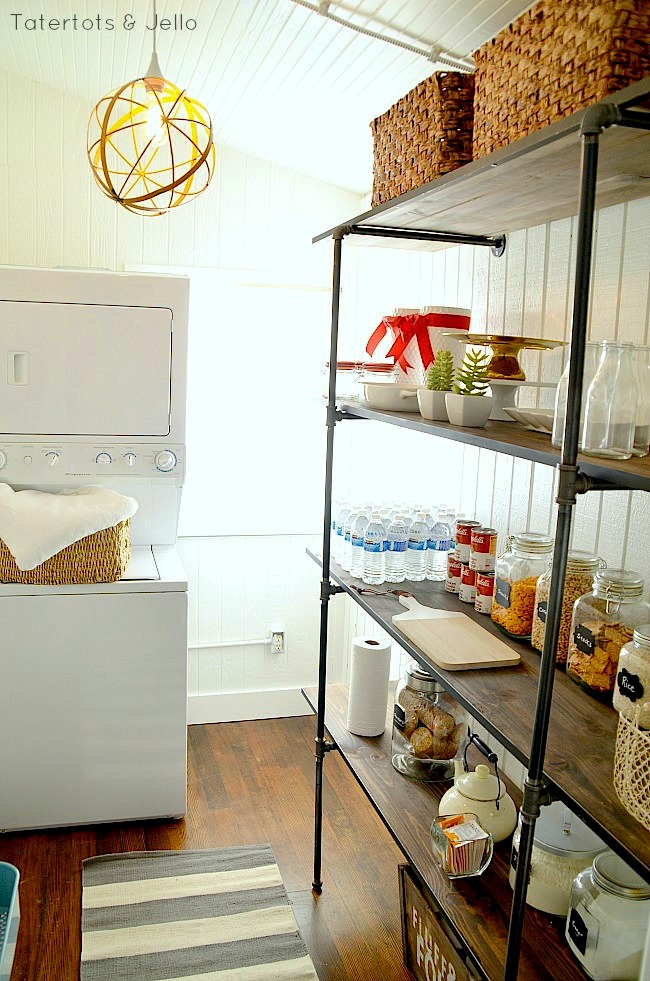
This month one of the themes we could choose from was Kitchen Organization. I knew I wanted to make a spice rack that goes along with the industrial feel of the shelves.
As I’ve spent more time there, I’ve realized that I need some different storage solutions in this space … but I wanted to keep the industrial look. I searched for options and none fit exactly what I had in mind — so after trial and error I created this Easy Industrial Spice Rack.
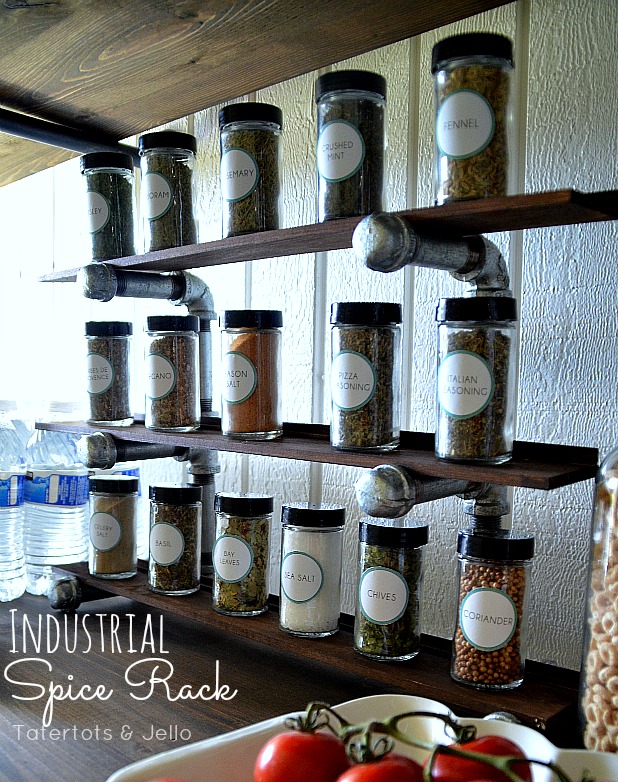
And today I’m sharing with you this super easy industrial spice rack.
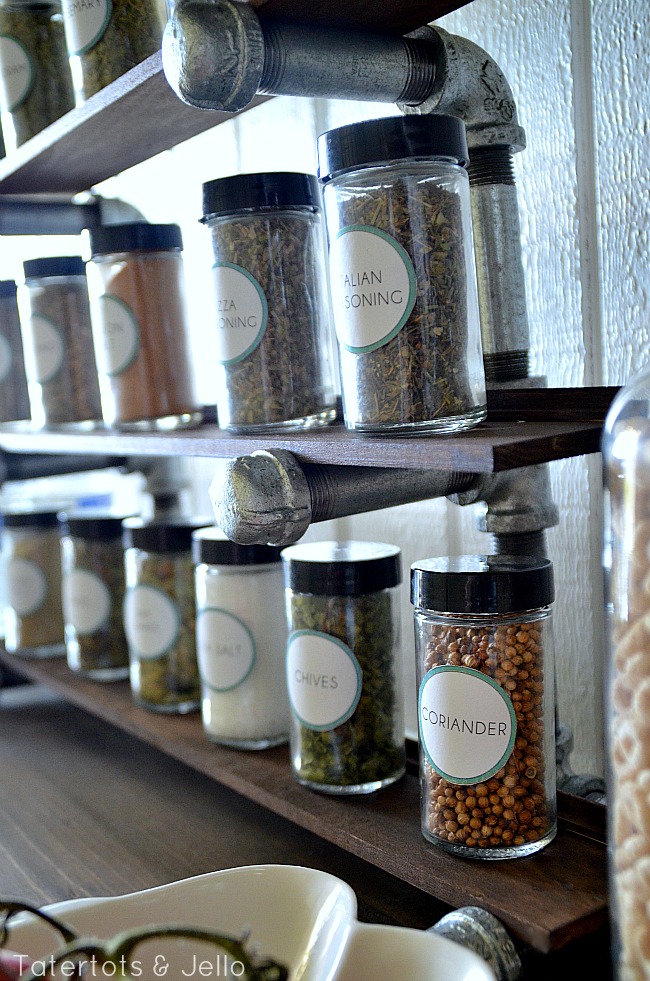
You’ll love the look, and you can modify this to work with your shelves and your spices!
Here’s your Lowe’s shopping list:
- 16-spice kit from somewhere like Target or Wal-Mart – inexpensive!
- 3-in-1 oil or other general purpose oil
- wood stain (whatever color you prefer; I used the same walnut stain I used on the pantry shelves)
- shop rags or brush for stain
- wood glue
- hot glue gun (tool of the professionals!)
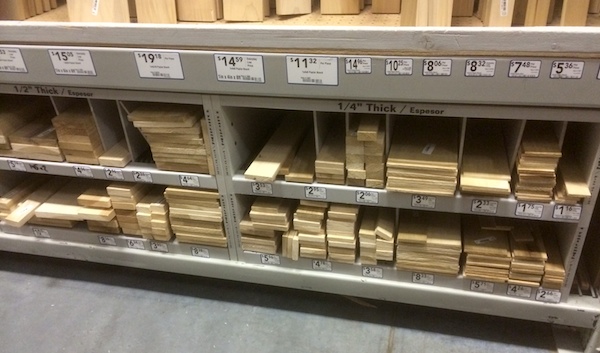
- mini finish molding (about 6 feet long total) – I chose some shaped like an L, 1/4″ x 1/4″. You may want to use another shape, even a basic square. You’ll be placing this at the back of the shelves to keep jars from sliding off the back.
- craft wood (by the molding)
- 1 piece 1/2 x 3 x 2 poplar (1/2″ thick, 3″ wide (actually about 2 1/2″ finished), and 2 feet long)
- 1 piece 1/2 x 3 x 4 poplar (1/2″ thick, 3″ wide (actually about 2 1/2″ finished), and 4 feet long)
- (here’s where you can find the craft wood: this is what it looks like in my Lowe’s:)
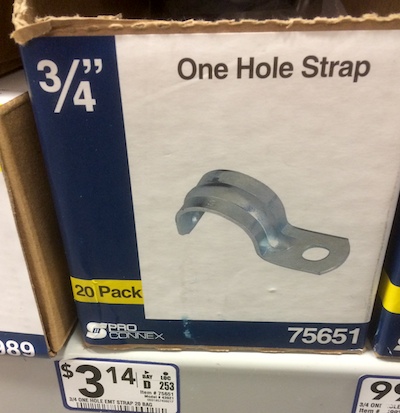
- 3/4″ one-hole conduit straps (electrical section) [I bought the 20-pack because I also built another project I’ll show you later]
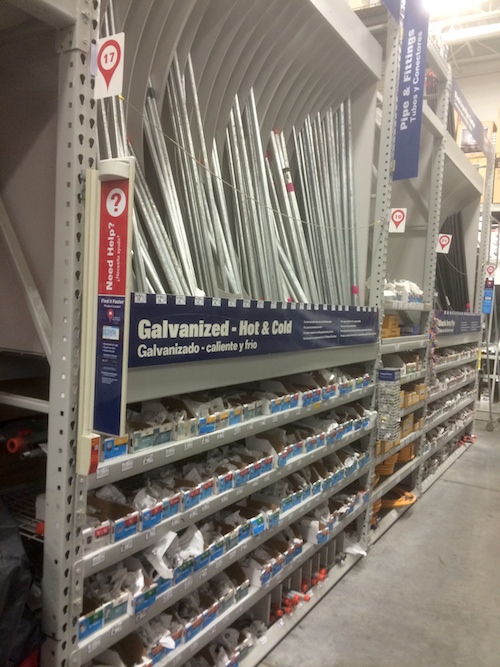
- 1/2″ threaded galvanized pipe and fittings (plumbing section) in these lengths and sizes:
- 2 of 1.5″ long “nipple fitting” [yes, they’re really called that] [Lowe’s #24025]
- 4 of 3.5″ long “nipple fitting” [Lowe’s 24029]
- 2 of 4″ long “nipple fitting”(or you can just buy 6 of the 3.5”) [Lowe’s 24030]
- 1 of 10″ long “nipple fitting” [Lowe’s #24035]
- 6 threaded caps [Lowe’s #22460]
- 4 tee connectors [Lowe’s #22210]
- 4 L (“elbow” or “L”) connectors [Lowe’s #21970]
(for the pipe, look in the plumbing section of your Lowe’s for this:)
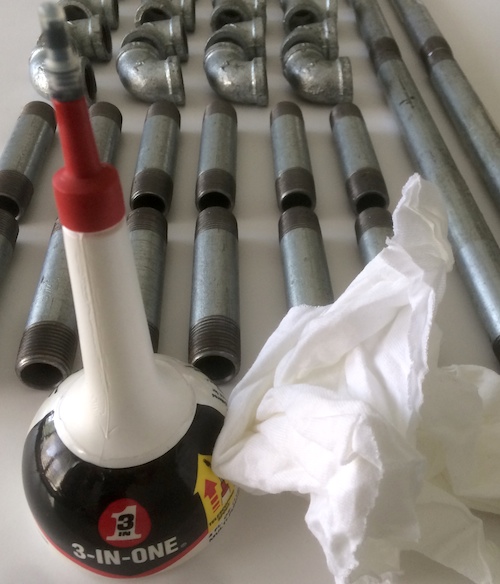
Prep tip: after you’ve unwrapped all of the pipe and fittings, put a few drops of 3-in-1 oil inside each of the threaded fittings along the threads. Use a shop rag to evenly distribute and remove excess oil. Trust me on this one; you’ll be grateful later you did; they will go together and come apart much easier.
Let’s get started!
1. Lay out your pipe fittings and make sure you have everything ready.
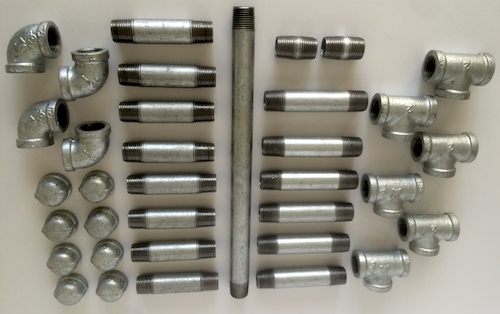
These images are for a four-shelf version: yours will have one shelf less (as does mine!), but I left them in to show you that you can modify this idea to fit any storage need!
Next, arrange your pipe in the shape you expect to assemble it:
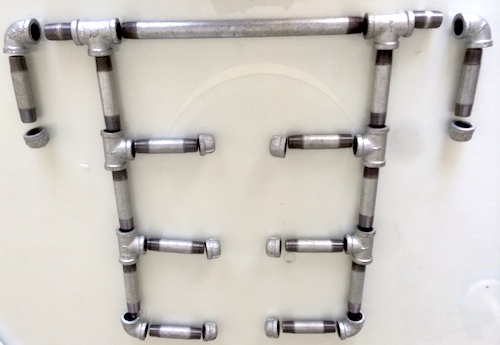
(Again, this version has one shelf more than you’ll need, but you get the idea.)
2. Assemble your pipe shelf, tightening the connections just enough to hold them fast, no more. You’ll be making adjustments as you go, so don’t over tighten. Even oiled, the connections like to hold fast.
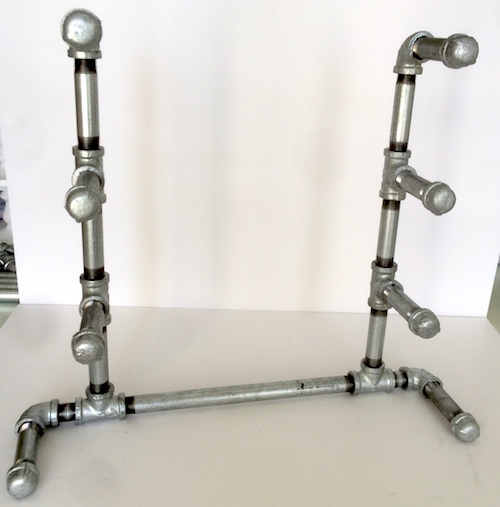
(one extra shelf in this image!)
3. measure the length of your shelves. I made mine all the same length, measuring about an inch longer on both sides of the bottom shelf. Mine was 20″.
4. Using a handsaw, chop saw or cut wood and molding into three 20″ lengths each – or whatever your proper shelf length was; sand edges
5. Glue (with wood glue) molding to the rear side of each shelf so the back edge is flush with the back edge of the shelf. If you have them, use clamps to hold the there shelves as they dry.
6. Once the glue has dried, use your wood stain and rags or brush to stain the wood. Let dry.
7. Lay the shelves on the pipe frame; place one-hole straps underneath and affix with hot glue. (Why hot glue? It’s hard to find a screw shallow enough to work in the 1/4″ poplar, and even when you do, this craft wood has a tendency to split even if you pre-drill.)
8. Place your spice jars on the shelves and enjoy!
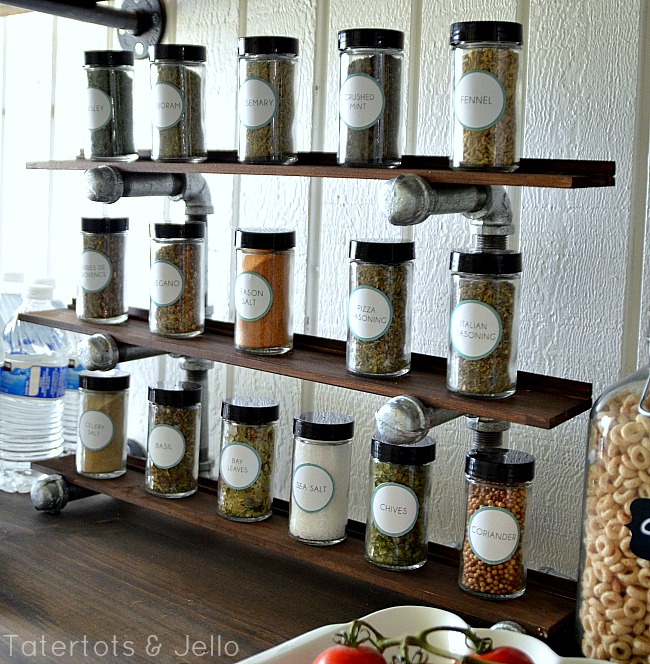
Yes – I made custom labels for the spice jars, and I’ll be sharing the free printables soon!!
One of the things I love about this project is that you can make it to fit any shelf or storage need. I tried about three or four different ideas for building the pipe frame, and this was the only one that worked well. I have thought of a few other ways to do it … but I think this works the best!
* * * * *

You can also follow Lowe’s on Facebook for more great ideas and sign up for their FREE Creative Ideas Magazine with TONS of great DIY ideas and instructions!!
Easiest industrial shelf project ever, right? How could you do it — or adapt it for your kitchen?
xoxo

I received materials from Lowe’s to create this project; however, the ideas, instructions and contents are all mine. See my disclosures.
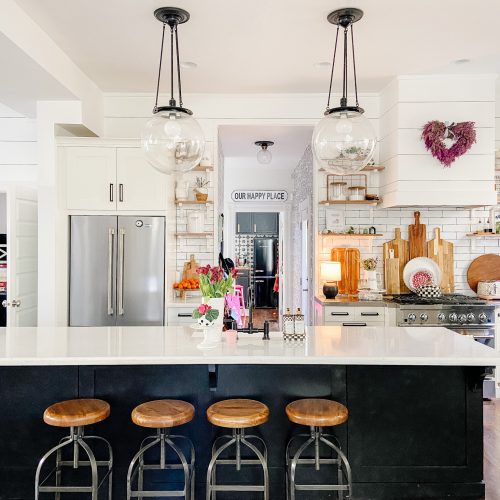


That is awesome Jen! I love the industrial shelving and yours looks fabulous!