How to make DIY Embroidered Shirts! A fun teen or tween craft!
Embroider special words or sayings on a shirt for a one-of-a-kind statement piece. You can embroider any type of clothing – tank tops, shirts, sweatshirts, even shorts or pants! Give it a try!
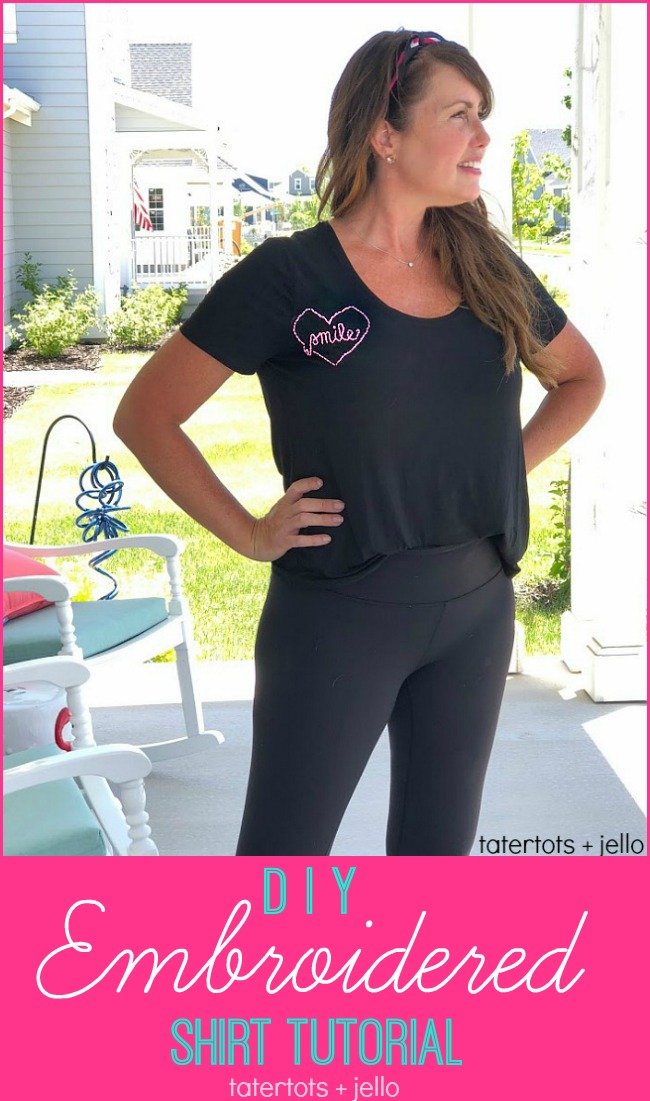
Embroidered Shirts are Cute!
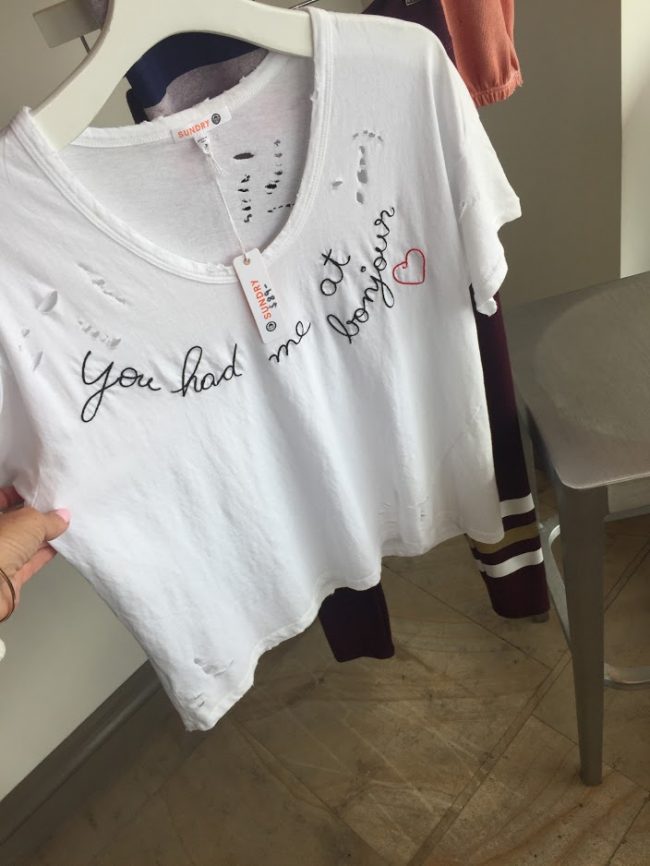
Have you seen those shirts with the hand-embroidered words and/or images? Over a year ago I spotted a shirt idea in a boutique in Newport Beach. And it’s been on my mind ever since. So the other day I was feeling inspired and I made a couple of DIY embroidered shirts! It’s really easy. The trick it to have the supplies to be successful!
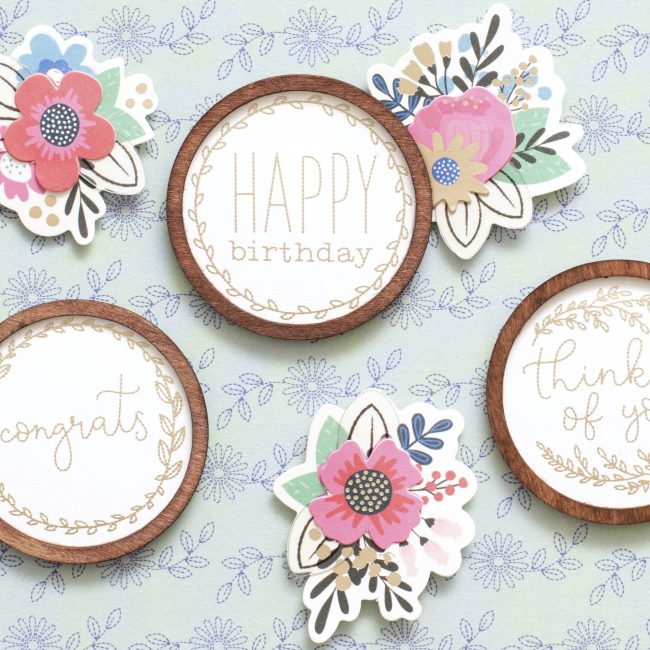
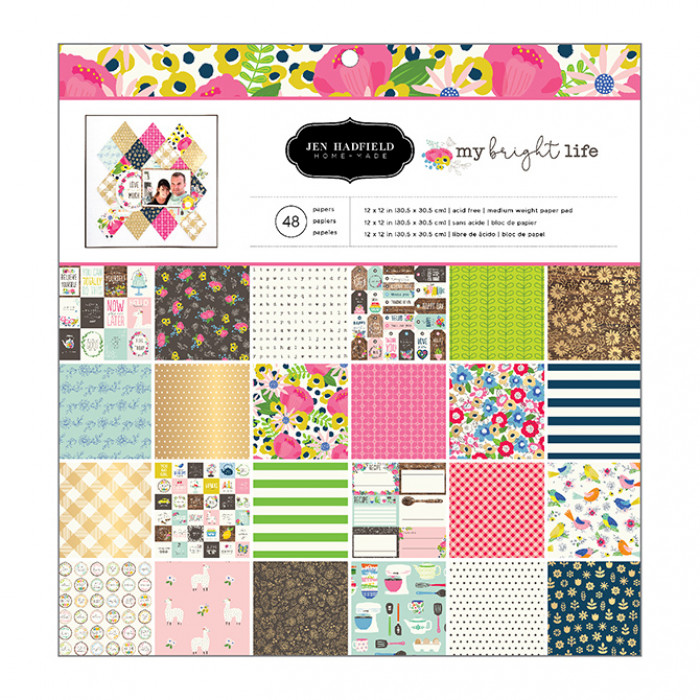
I have a new line out with American Crafts + Pebbles Inc. It’s called My Bright Life and I LOVE it so much!! One of my favorite elements about the line are the embroidery hoops elements. We have stickers that are embroidery hoops as well as some papers. I used the embroidery hoop paper as inspiration for the floral embellishments that I stitched on my shirt!!
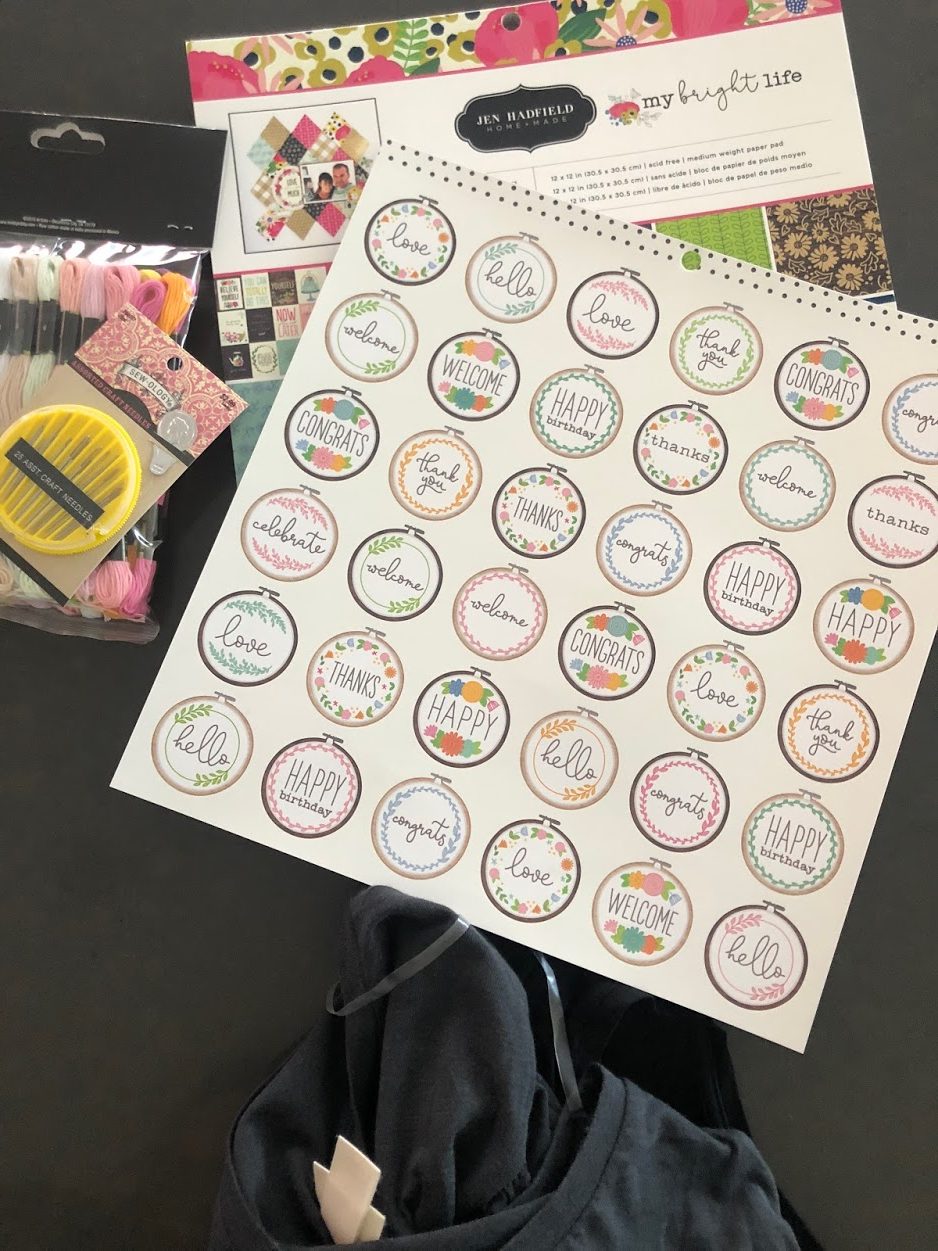
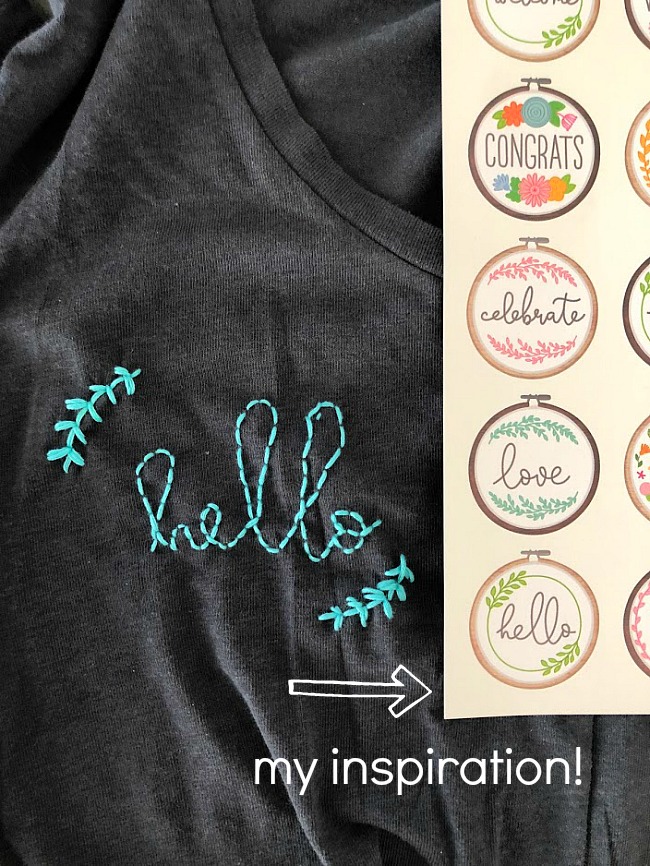
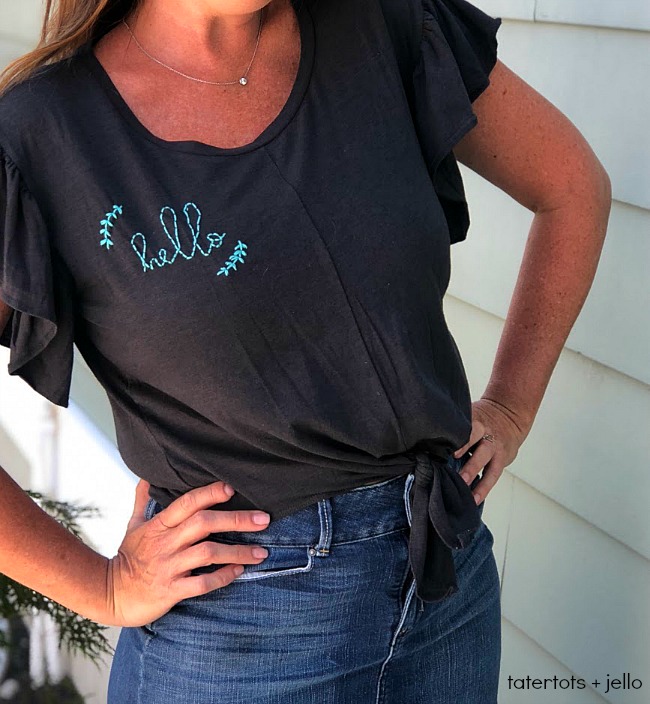
Supplies you need to make a DIY Embroidered Shirt
Shirt(s)
Embroidery Hoop
Embroidery thread
Needles
Washable fabric pen or chalk
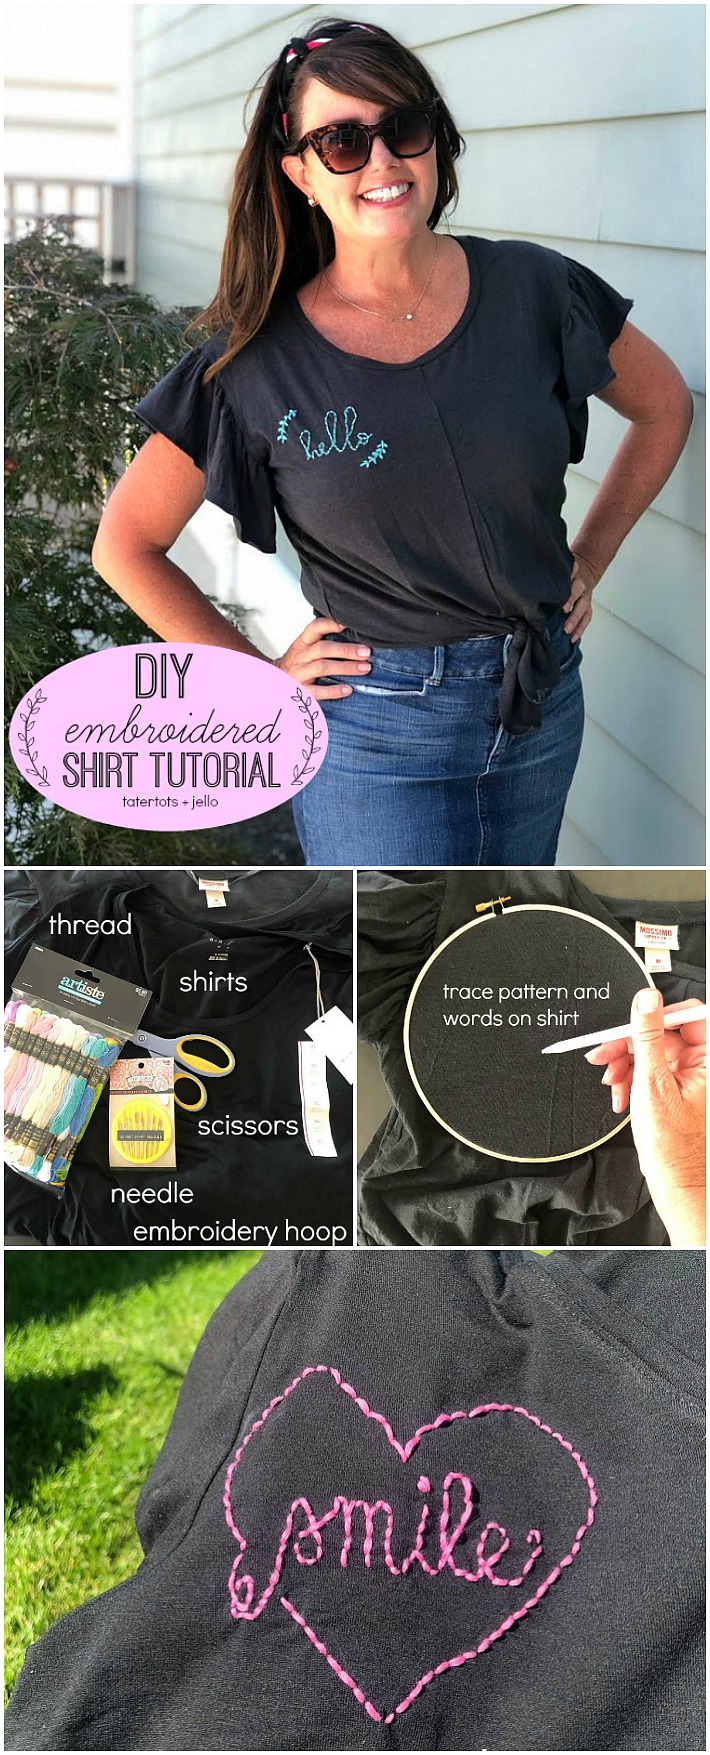
Here’s how to make DIY embroidery shirts!
Directions:
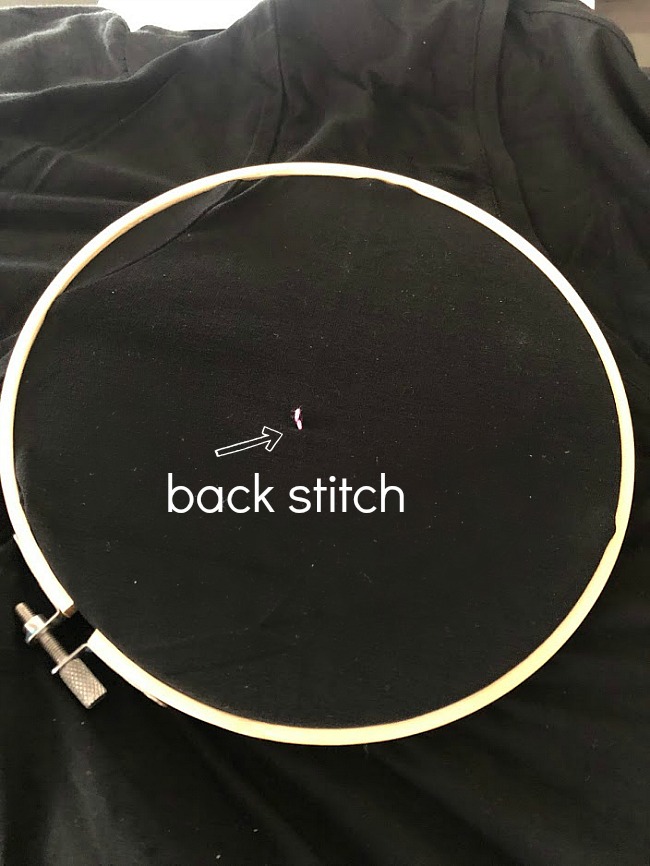
Decide on a shirt design
Print or sketch out the design you want for your shirt
Placement
Decide where you want your embroidery embellishment
Embroidery hoop
Secure your embroidery hoop to the shirt with the place you want your design in the center
White marker or chalk
Sketch your design on your shirt with your washable pen or chalk
Thread and needle
Thread your needle and start stitching
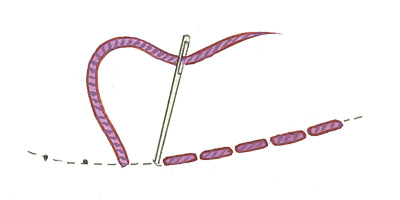
Back stitch
Use a back stitch to create your design (see the image below)
Tip for sketching your design
You can either free hand your design on your shirt, or another trick is to hold the shirt up to a window and slip the image you want to sketch under the shirt so that it shows through the shirt.
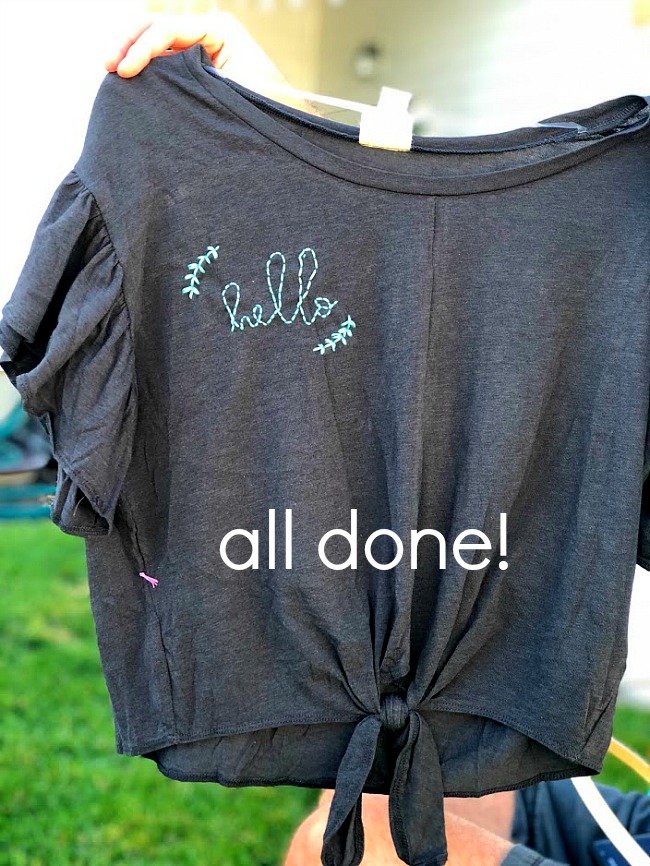
And don’t worry, if you TOTALLY mess up you can cut the stitches and start over. I used a stretchy cotton fabric for my shirts. A 100% cotton shirt will be the easiest to stitch on, but stretchy works too. You just need to be patient.
In about 20 minutes I was done.
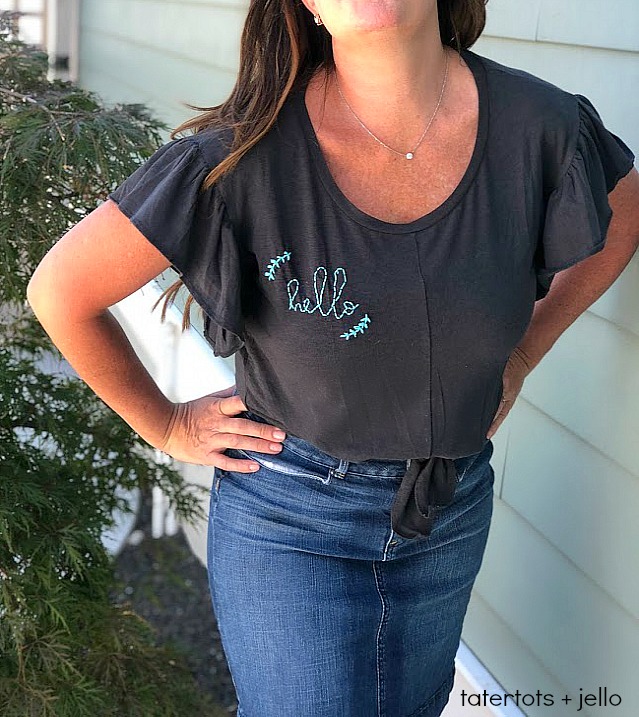
And I love my shirts!!
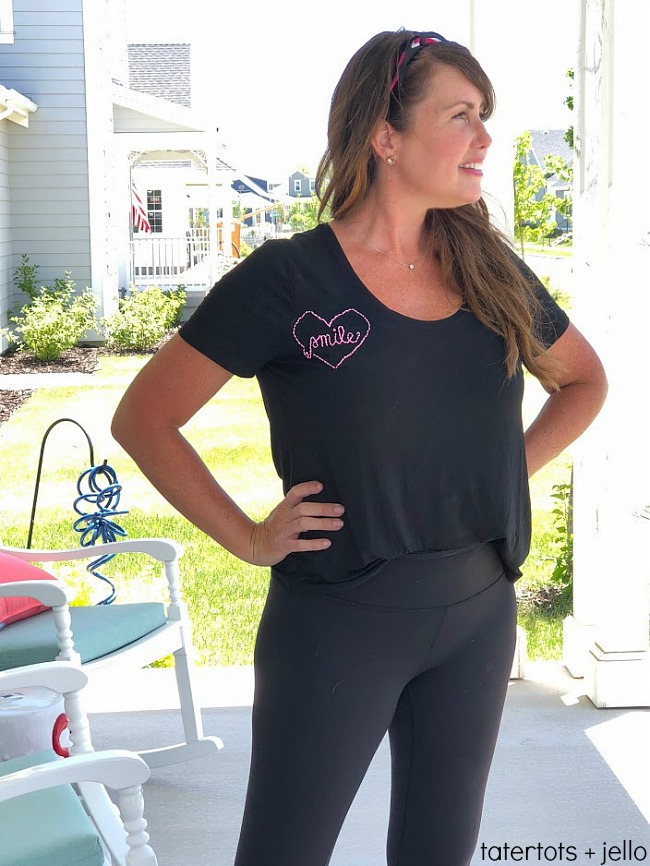
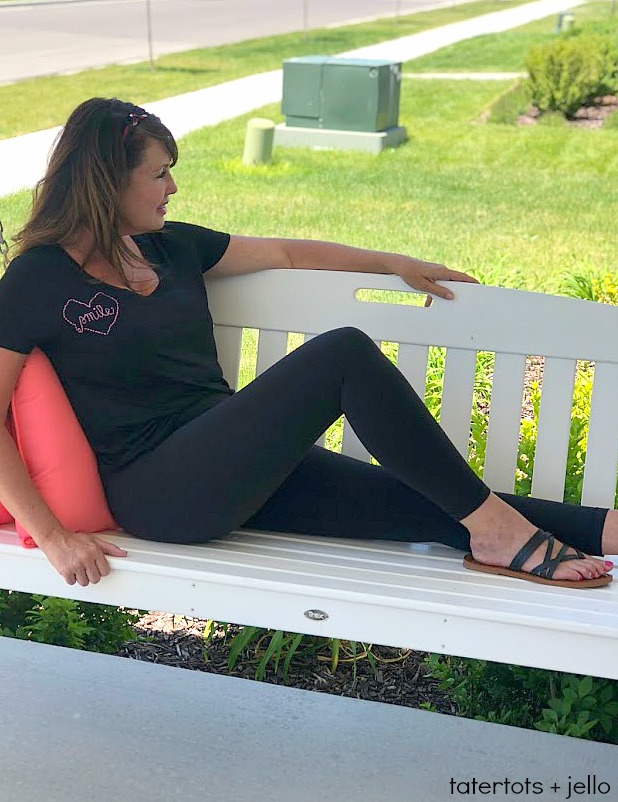
The other design I created was a heart with a word in the middle.
I’ve had so many compliments on my DIY embroidered shirts!
Give it a try!! It’s fun to make with your teens and tweens!
And check out my Bright Life line. I love how happy it is. It’s also filled with other vintage images like pyrex bowls, beautiful florals AND lamas!! You can find the line at Pebbles in My Pocket online!!

Thanks to American Crafts for letting my dreams of being a designer come true. I love working with them!!
Have a CREATIVE day!
xoxo

I am a designer with American Crafts. It’s a dream come true!


I Like for article, Thank you so much
Very cute, but you didn’t say how to trace the pattern onto the shirt
You trace the pattern on the shirt with the fabric pencil. There’s a picture of it on the post. You can trace your image onto the shirt using the fabric pencil by printing off the image and then putting it behind the shirt against a window so the sunlight goes through the paper and shows through the shirt.
xoxo