Make DIY Christmas Gingerbread Gift Bags. Transform plain paper bags into festive gingerbread house gift bags which are adorable under the tree or Christmas gatherings.
Make DIY Christmas Gingerbread Gift Bags
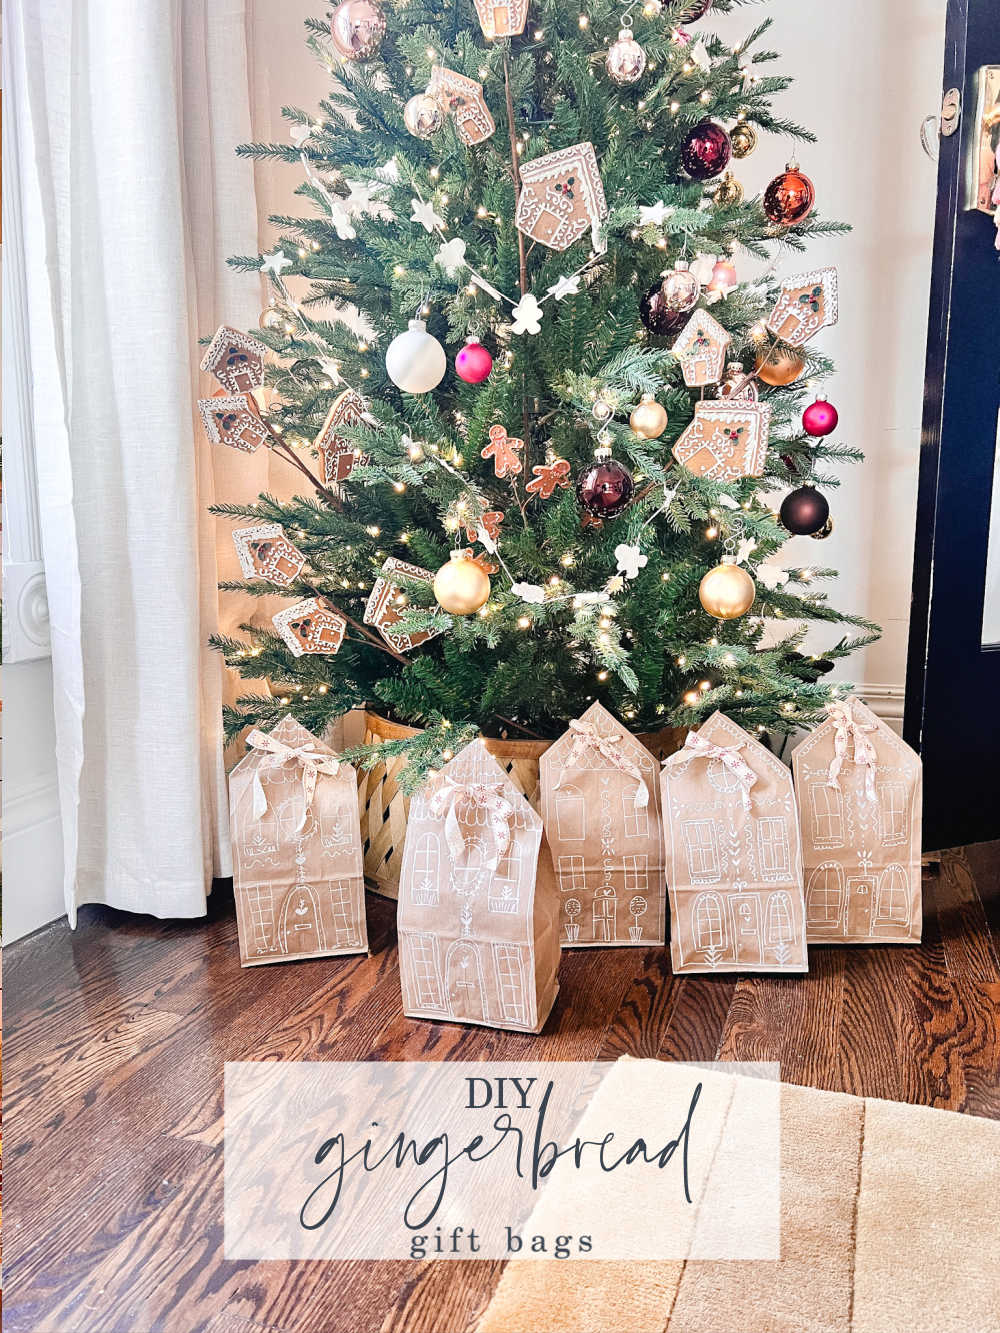
Gingerbread Gift Bags
‘Tis the season of giving, and what better way to spread holiday cheer than with personalized, handmade gifts? This Christmas, I’ve been on a DIY gingerbread-themed kick, and I’m excited to share a simple and budget-friendly idea: transforming plain paper bags into adorable gingerbread house gift bags. The best part? You don’t need advanced crafting skills or an extensive budget to pull off this festive project. Let’s dive into the supplies and easy-to-follow directions to create your own gingerbread-themed gift bags.
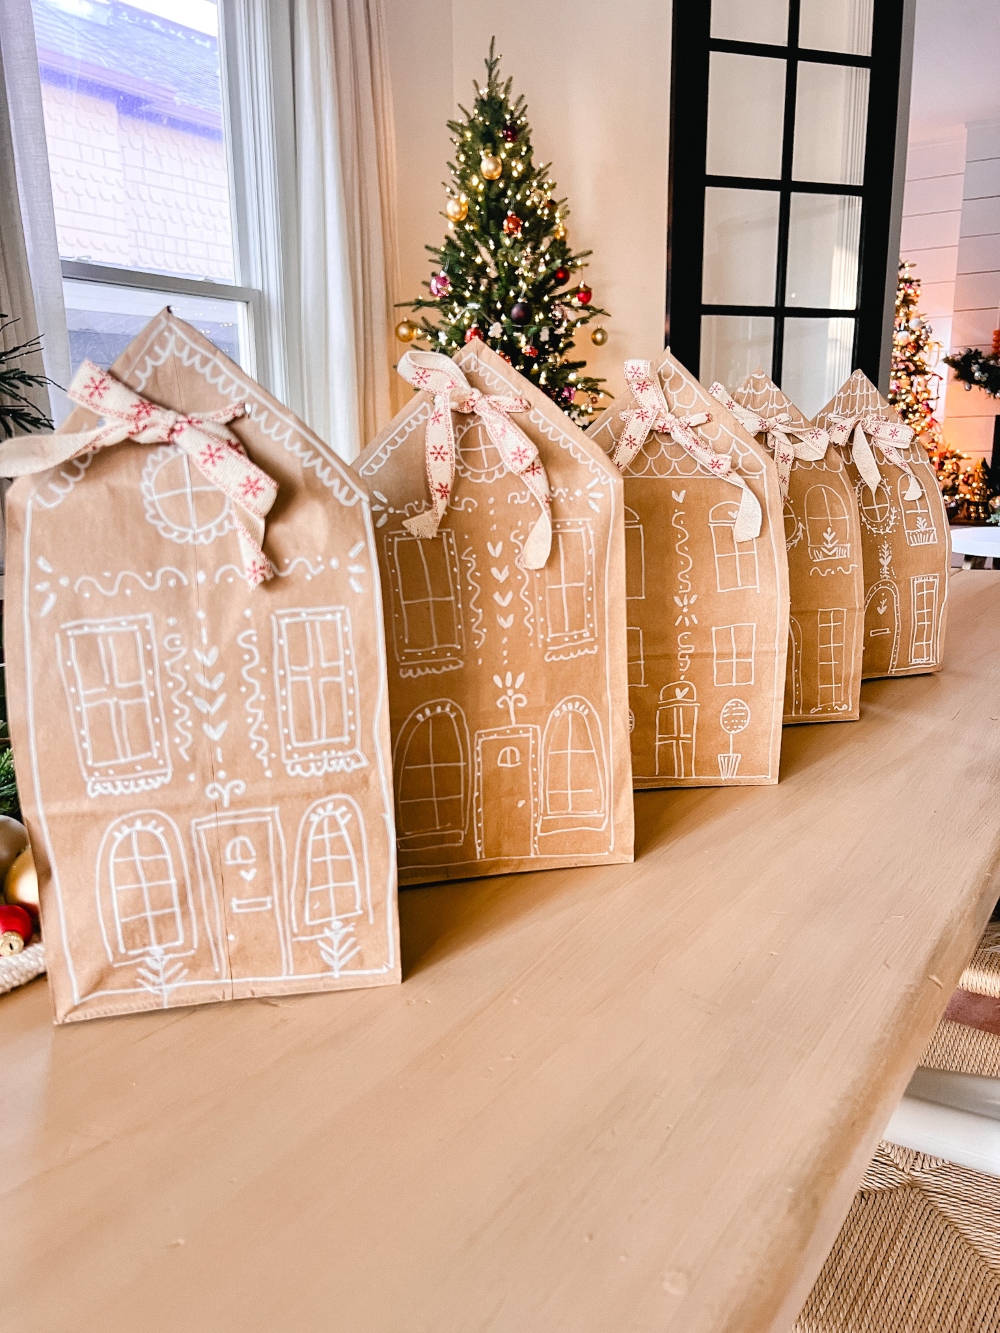
DIY Gingerbread Gift Bag Supplies:
DIY Gingerbread Gift Bag Directions:
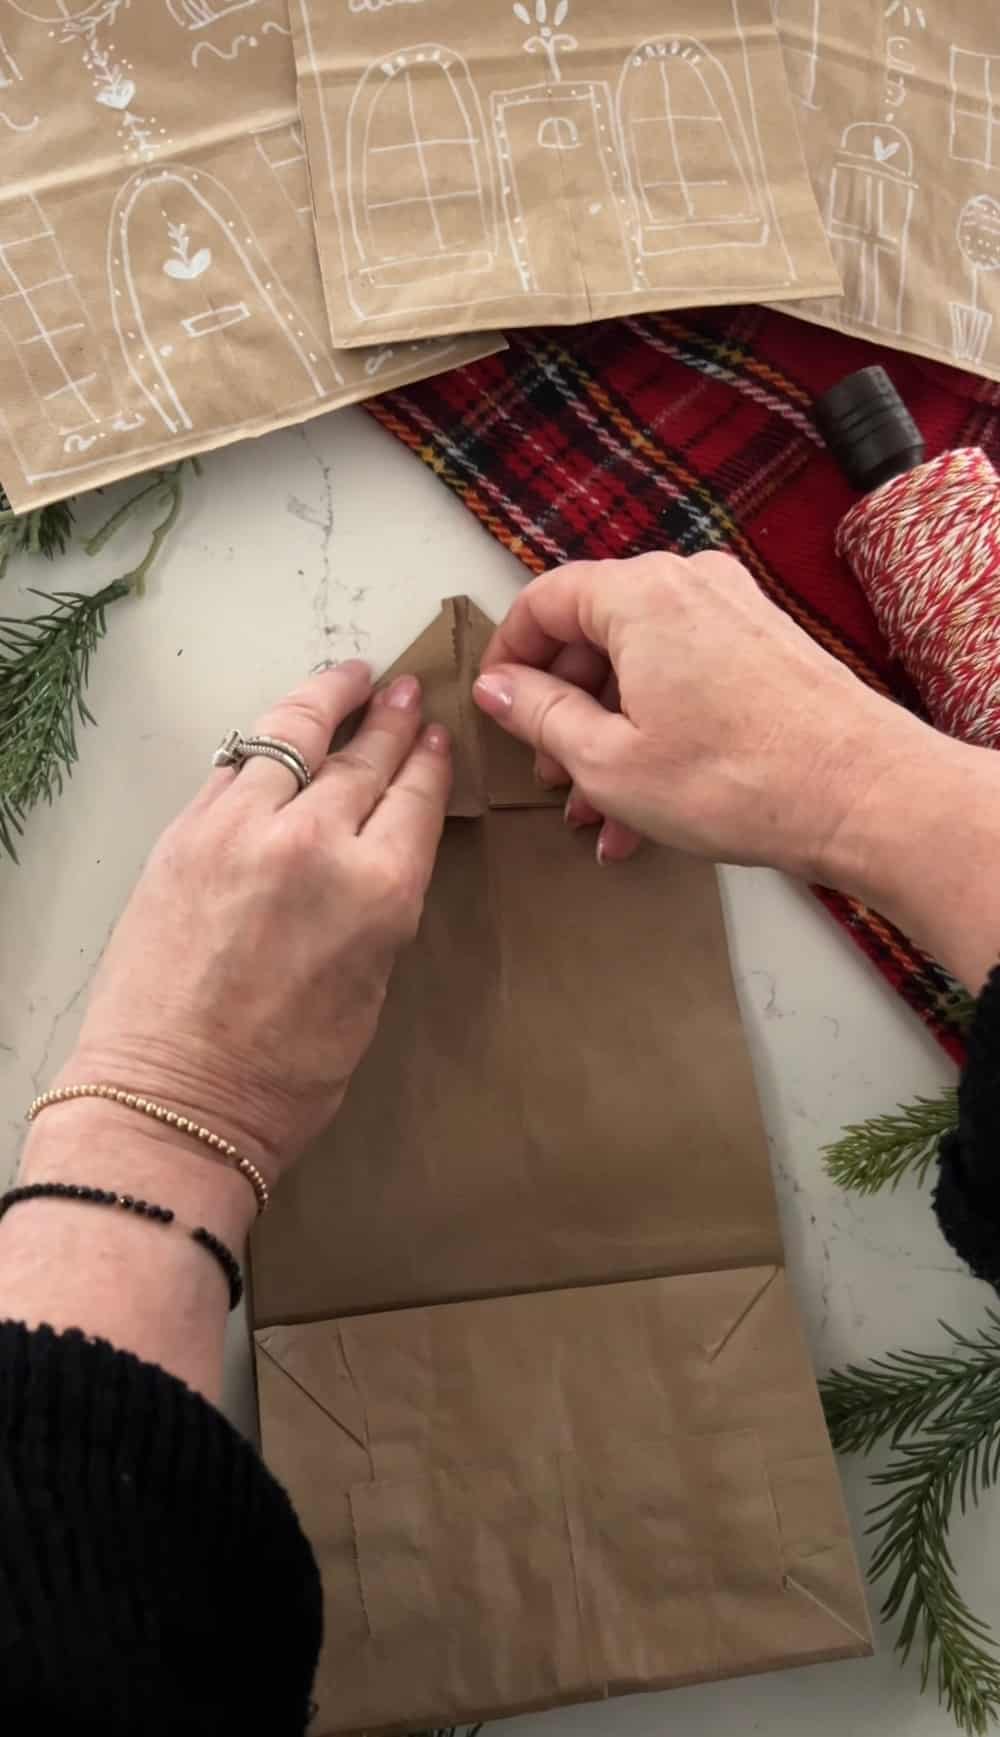
Identify the front of the bag: Look for the side without a seam running up the front. This will be the front of your gingerbread house.
Fold the top of the bag: Flip the bag over and fold the top so that the two sides meet, creating a triangular shape with the point at the top. This fold will become the roof of your gingerbread house.
Flip it back over: Once folded, flip the bag back over so that the front is facing up. This is where the magic begins.
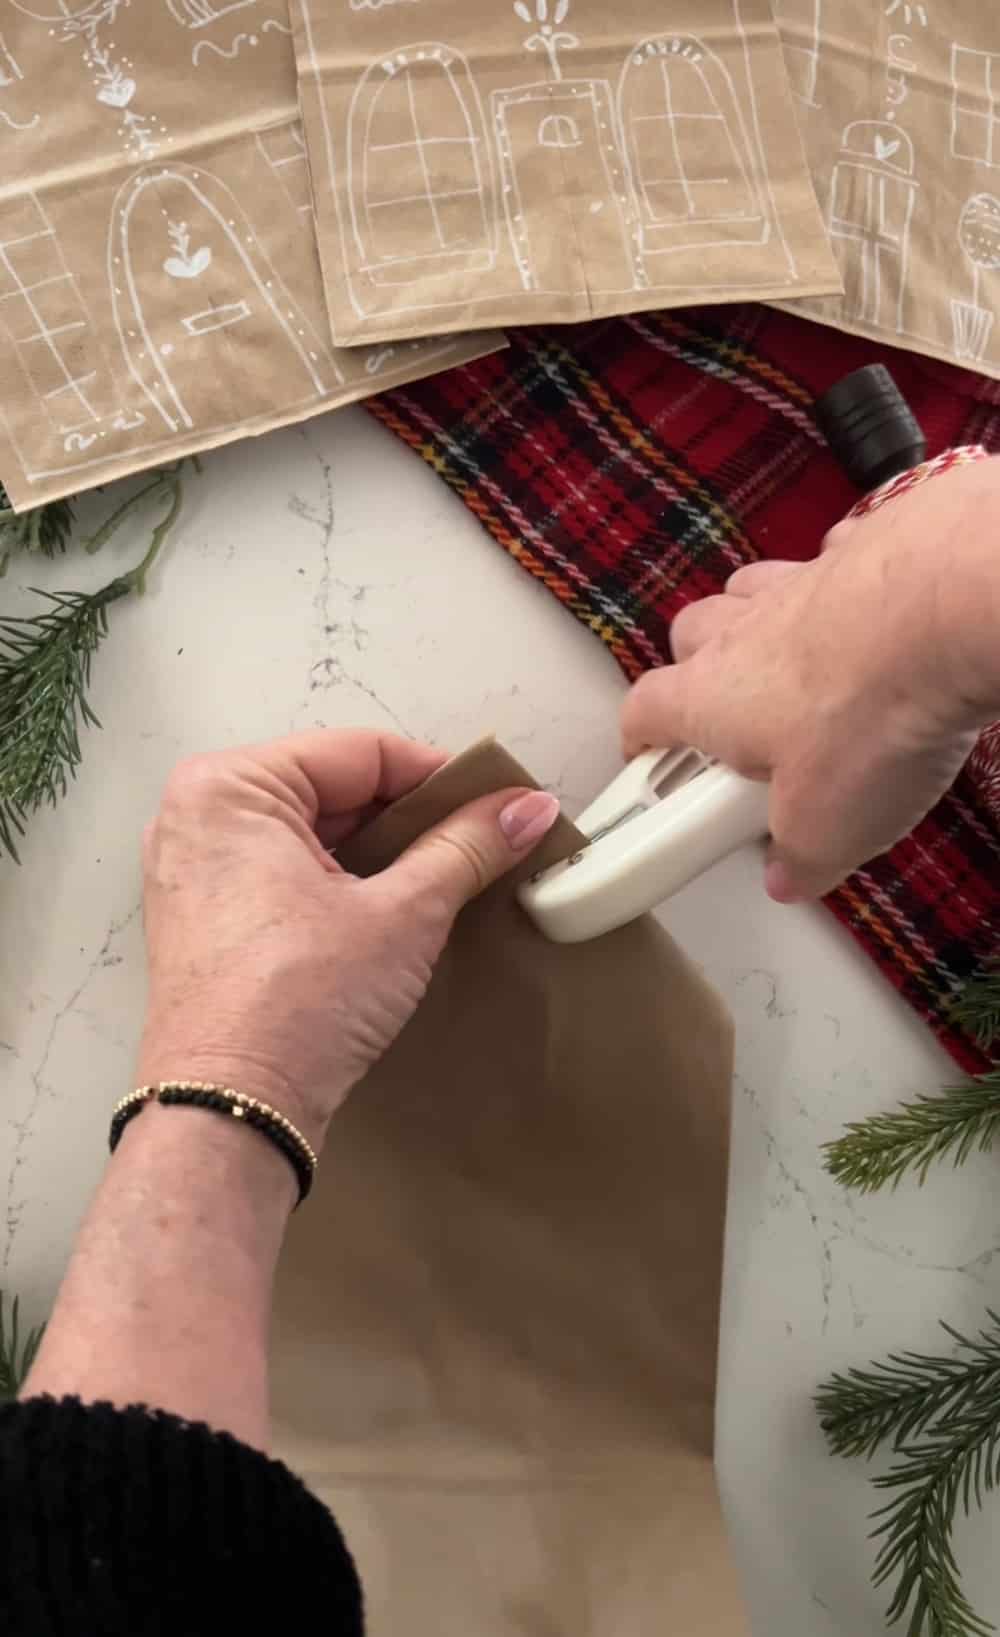
Punch holes in the triangle: Use a hole punch to create openings in the middle of each side of the triangular fold. These holes will later be used to thread the ribbon and tie everything together.
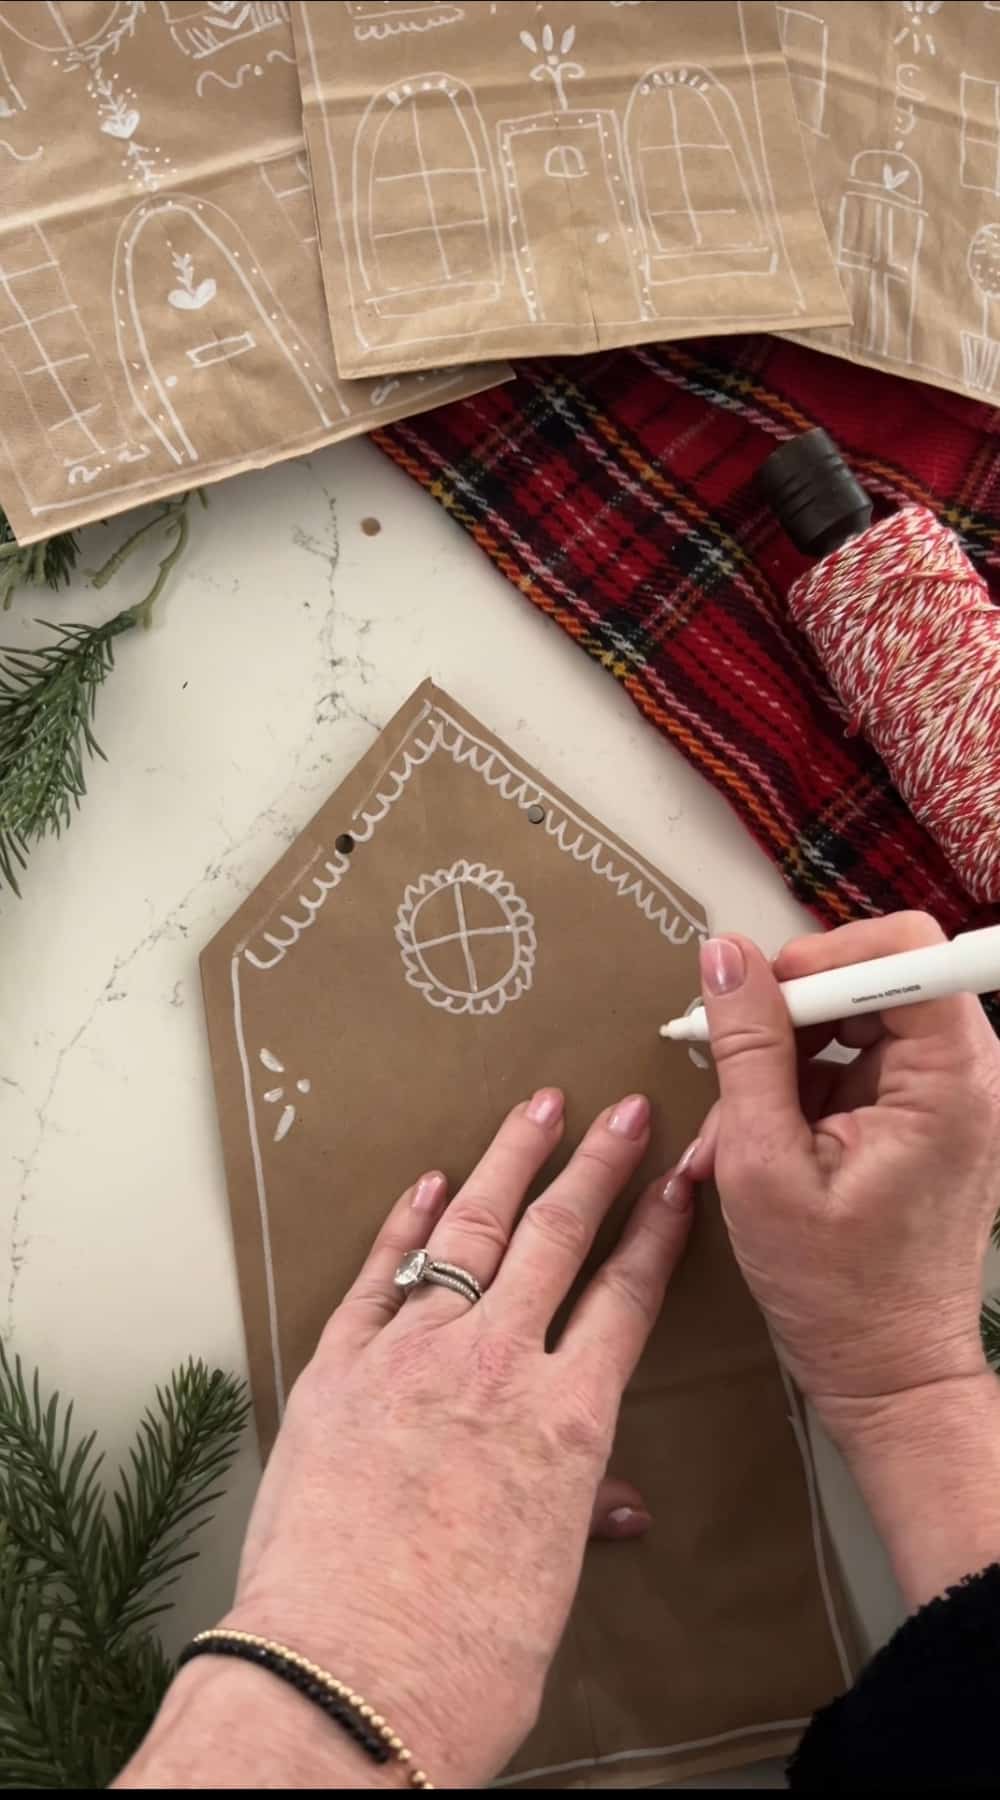
Time to paint: Grab your white paint pen and unleash your creativity. Trace around the house shape, then add roof details, windows, doors, and classic gingerbread designs. Don’t be afraid to experiment with different patterns and styles—it’s all about making it uniquely yours.
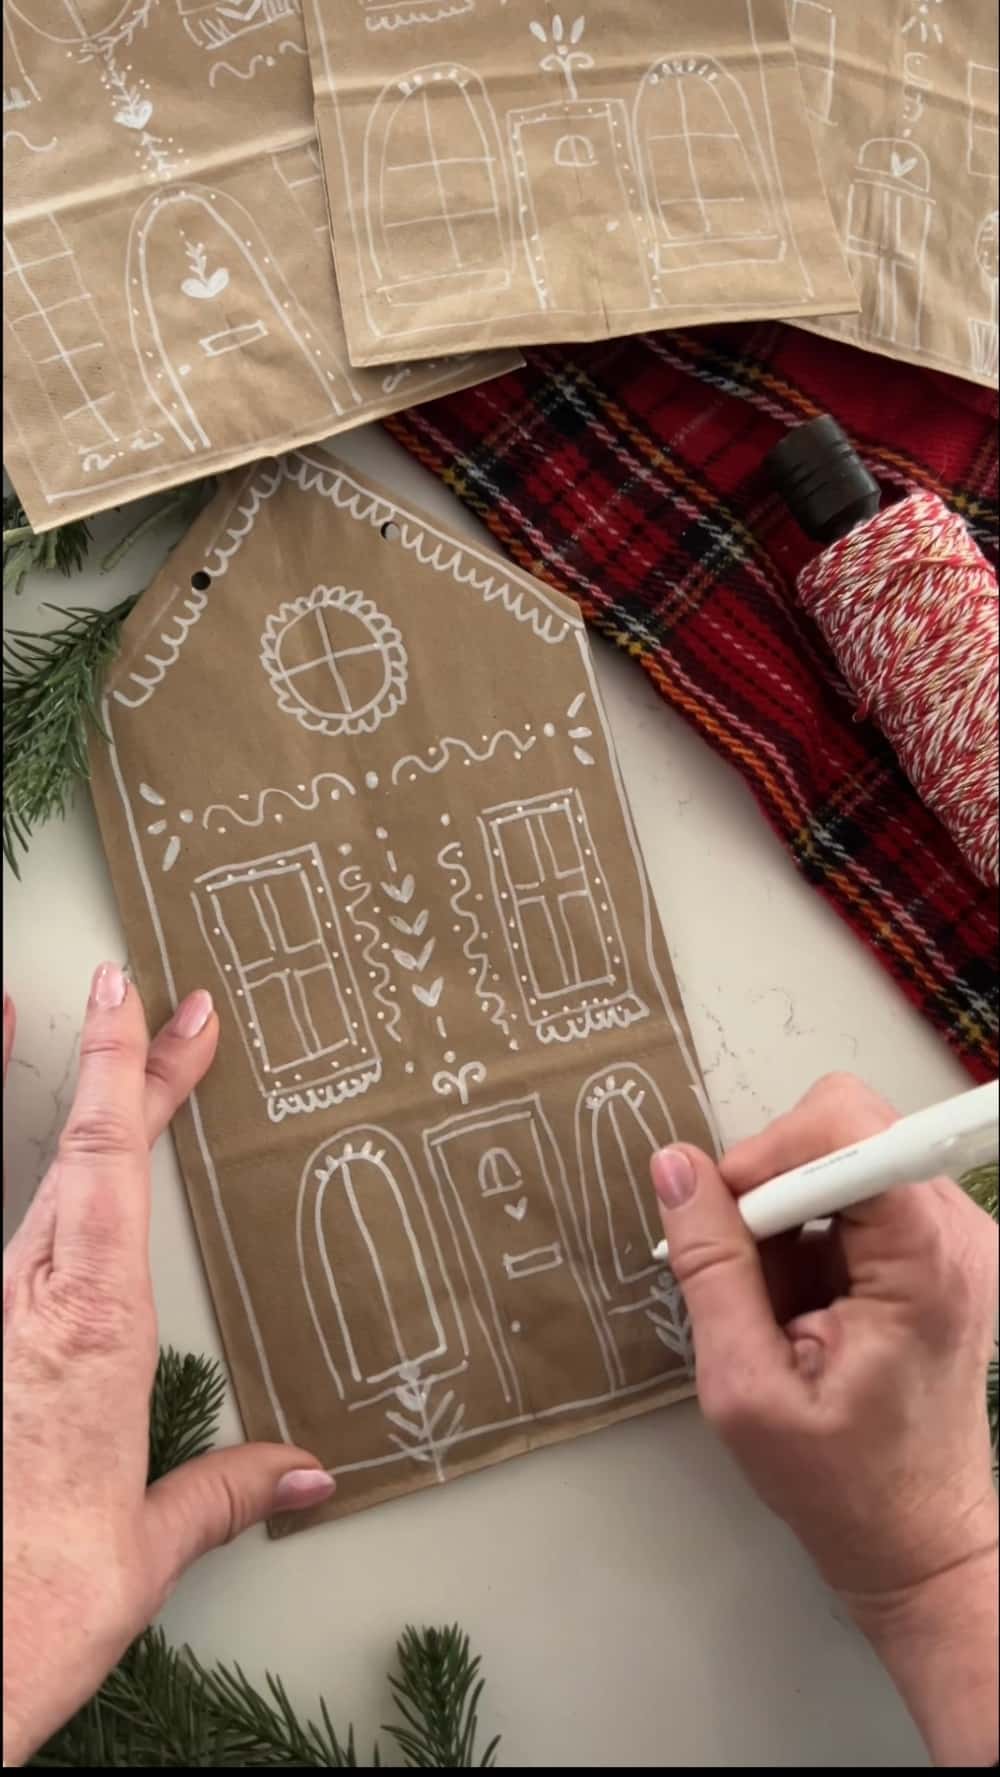
Insert the gift: Once you’ve finished your artistic endeavors, carefully place your gift inside the bag. It could be a small trinket, homemade treats, or anything that brings joy to the recipient.
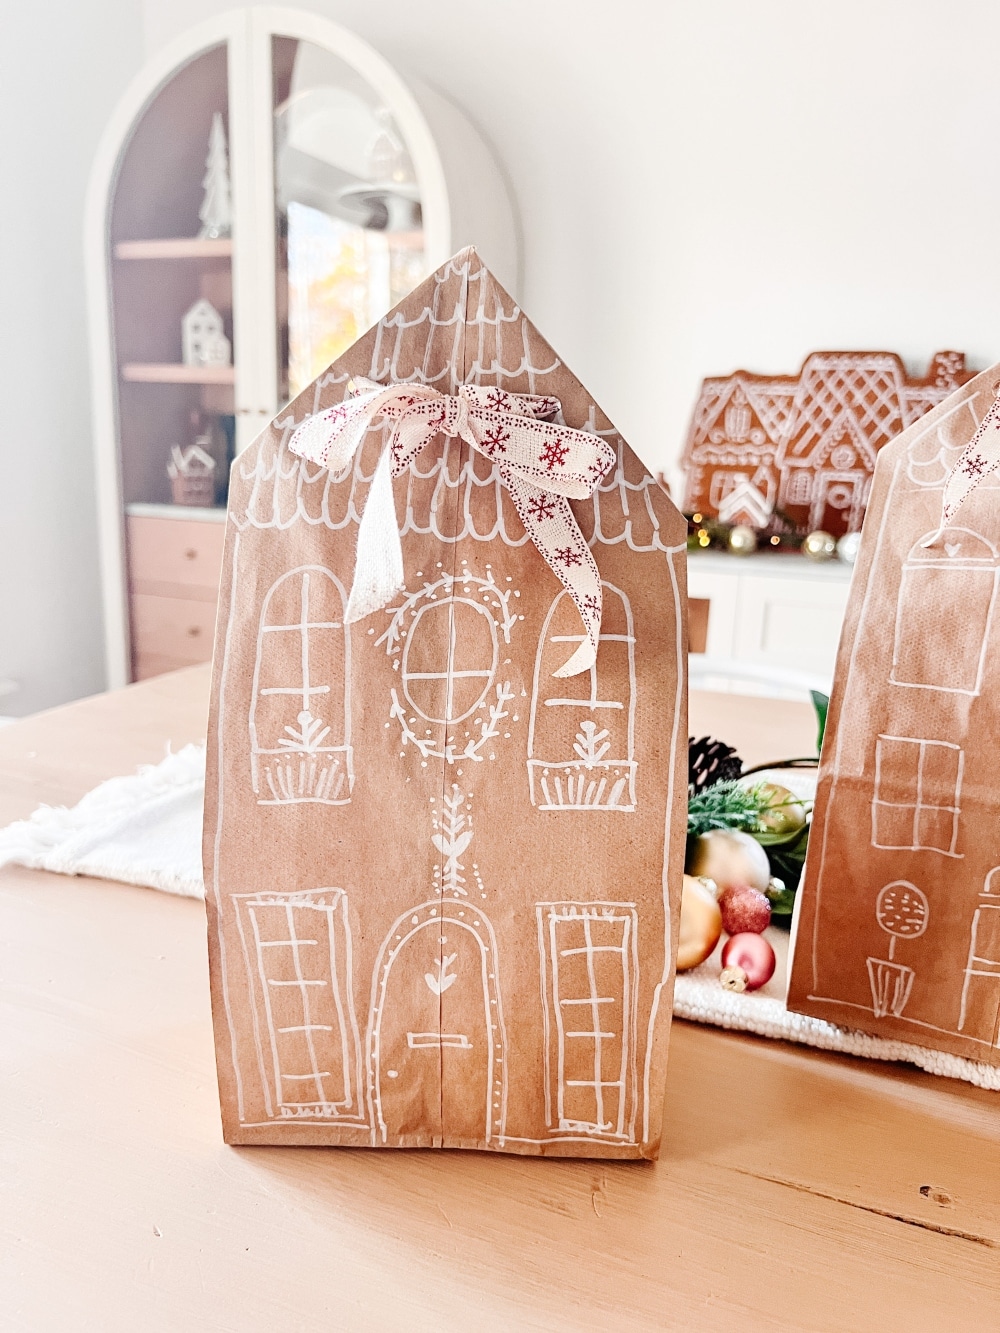
Refold the top: Gently refold the top of the bag, ensuring that the holes you punched earlier align perfectly.
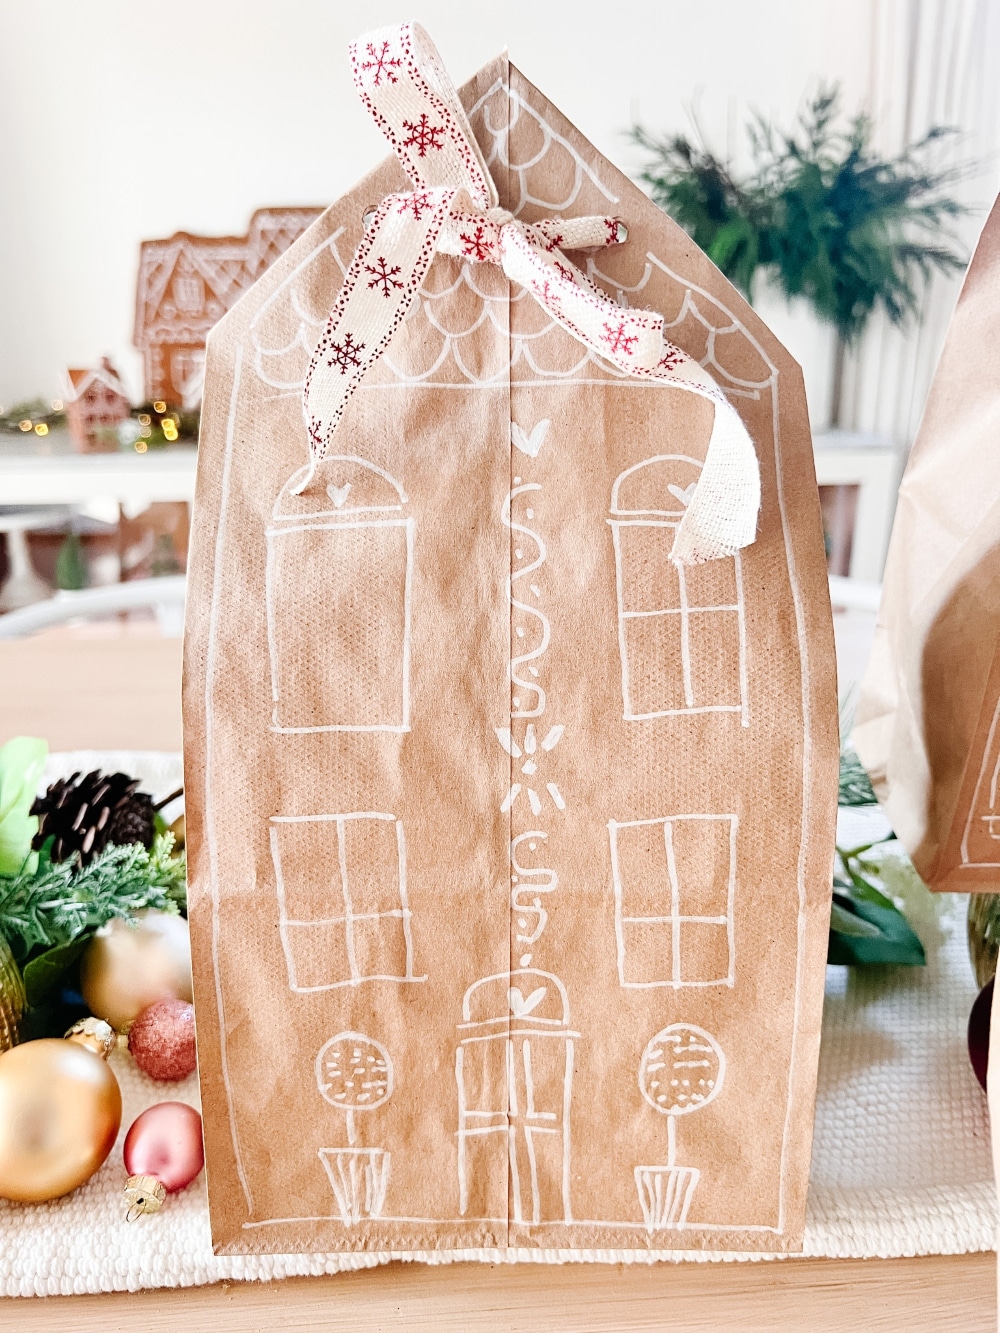
Thread the ribbon: Now comes the final touch. Thread the ribbon through the holes, starting from one side and weaving it across to the other. Once threaded, tie a ribbon at the top to secure the gingerbread house gift bag in all its festive glory.
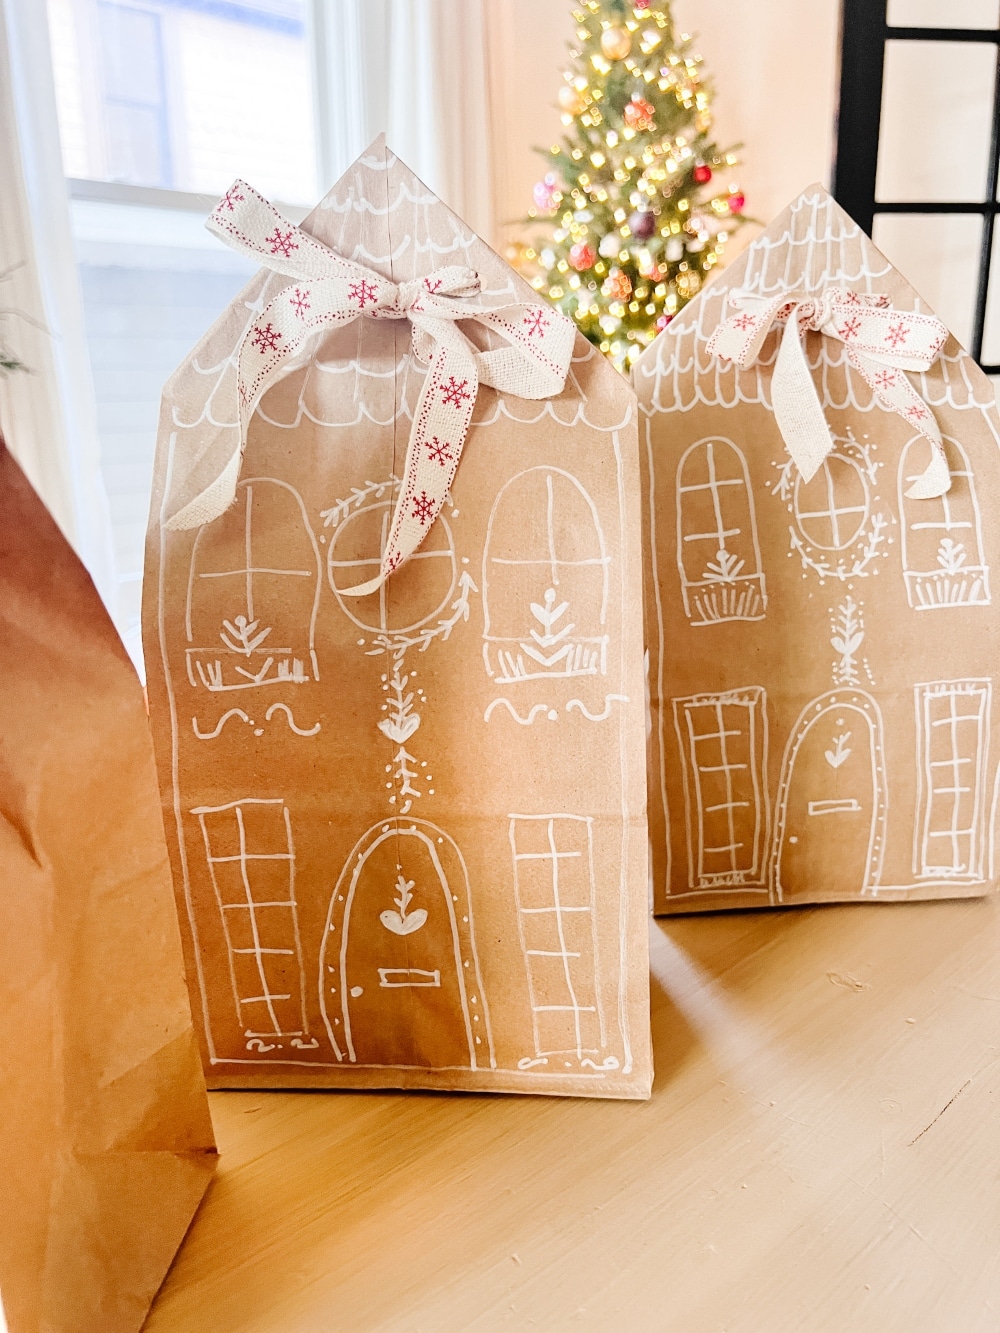
Use Gingerbread Gift Bags Throughout the Season
Voilà! You’ve just created an adorable and personalized Christmas gift bag that adds a touch of handmade charm to your holiday presents. These gingerbread house gift bags not only look fantastic under the tree but also make delightful placeholders for Christmas Eve dinner or a gingerbread decorating party.
Gingerbread Gift Bags Are a Fun Family Craft
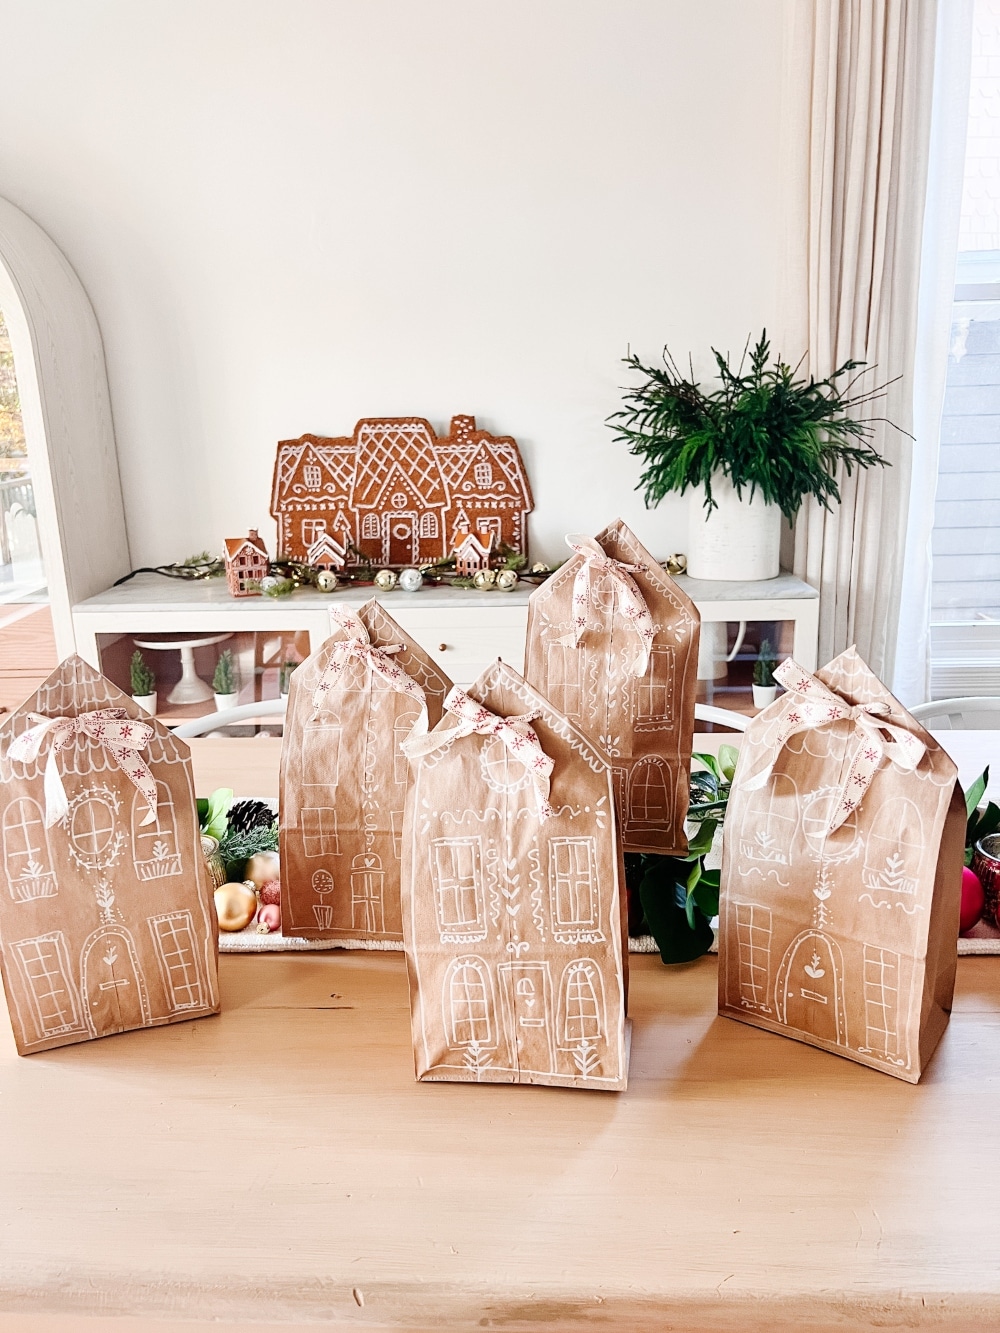
This DIY project is not only easy but also incredibly versatile. You can play around with different-sized bags, ribbon colors, and paint pen designs to suit your preferences. Get the whole family involved in the creative process—it’s a fantastic way to spend quality time together during the holiday season.
An Alternative to Expensive Wrapping Paper
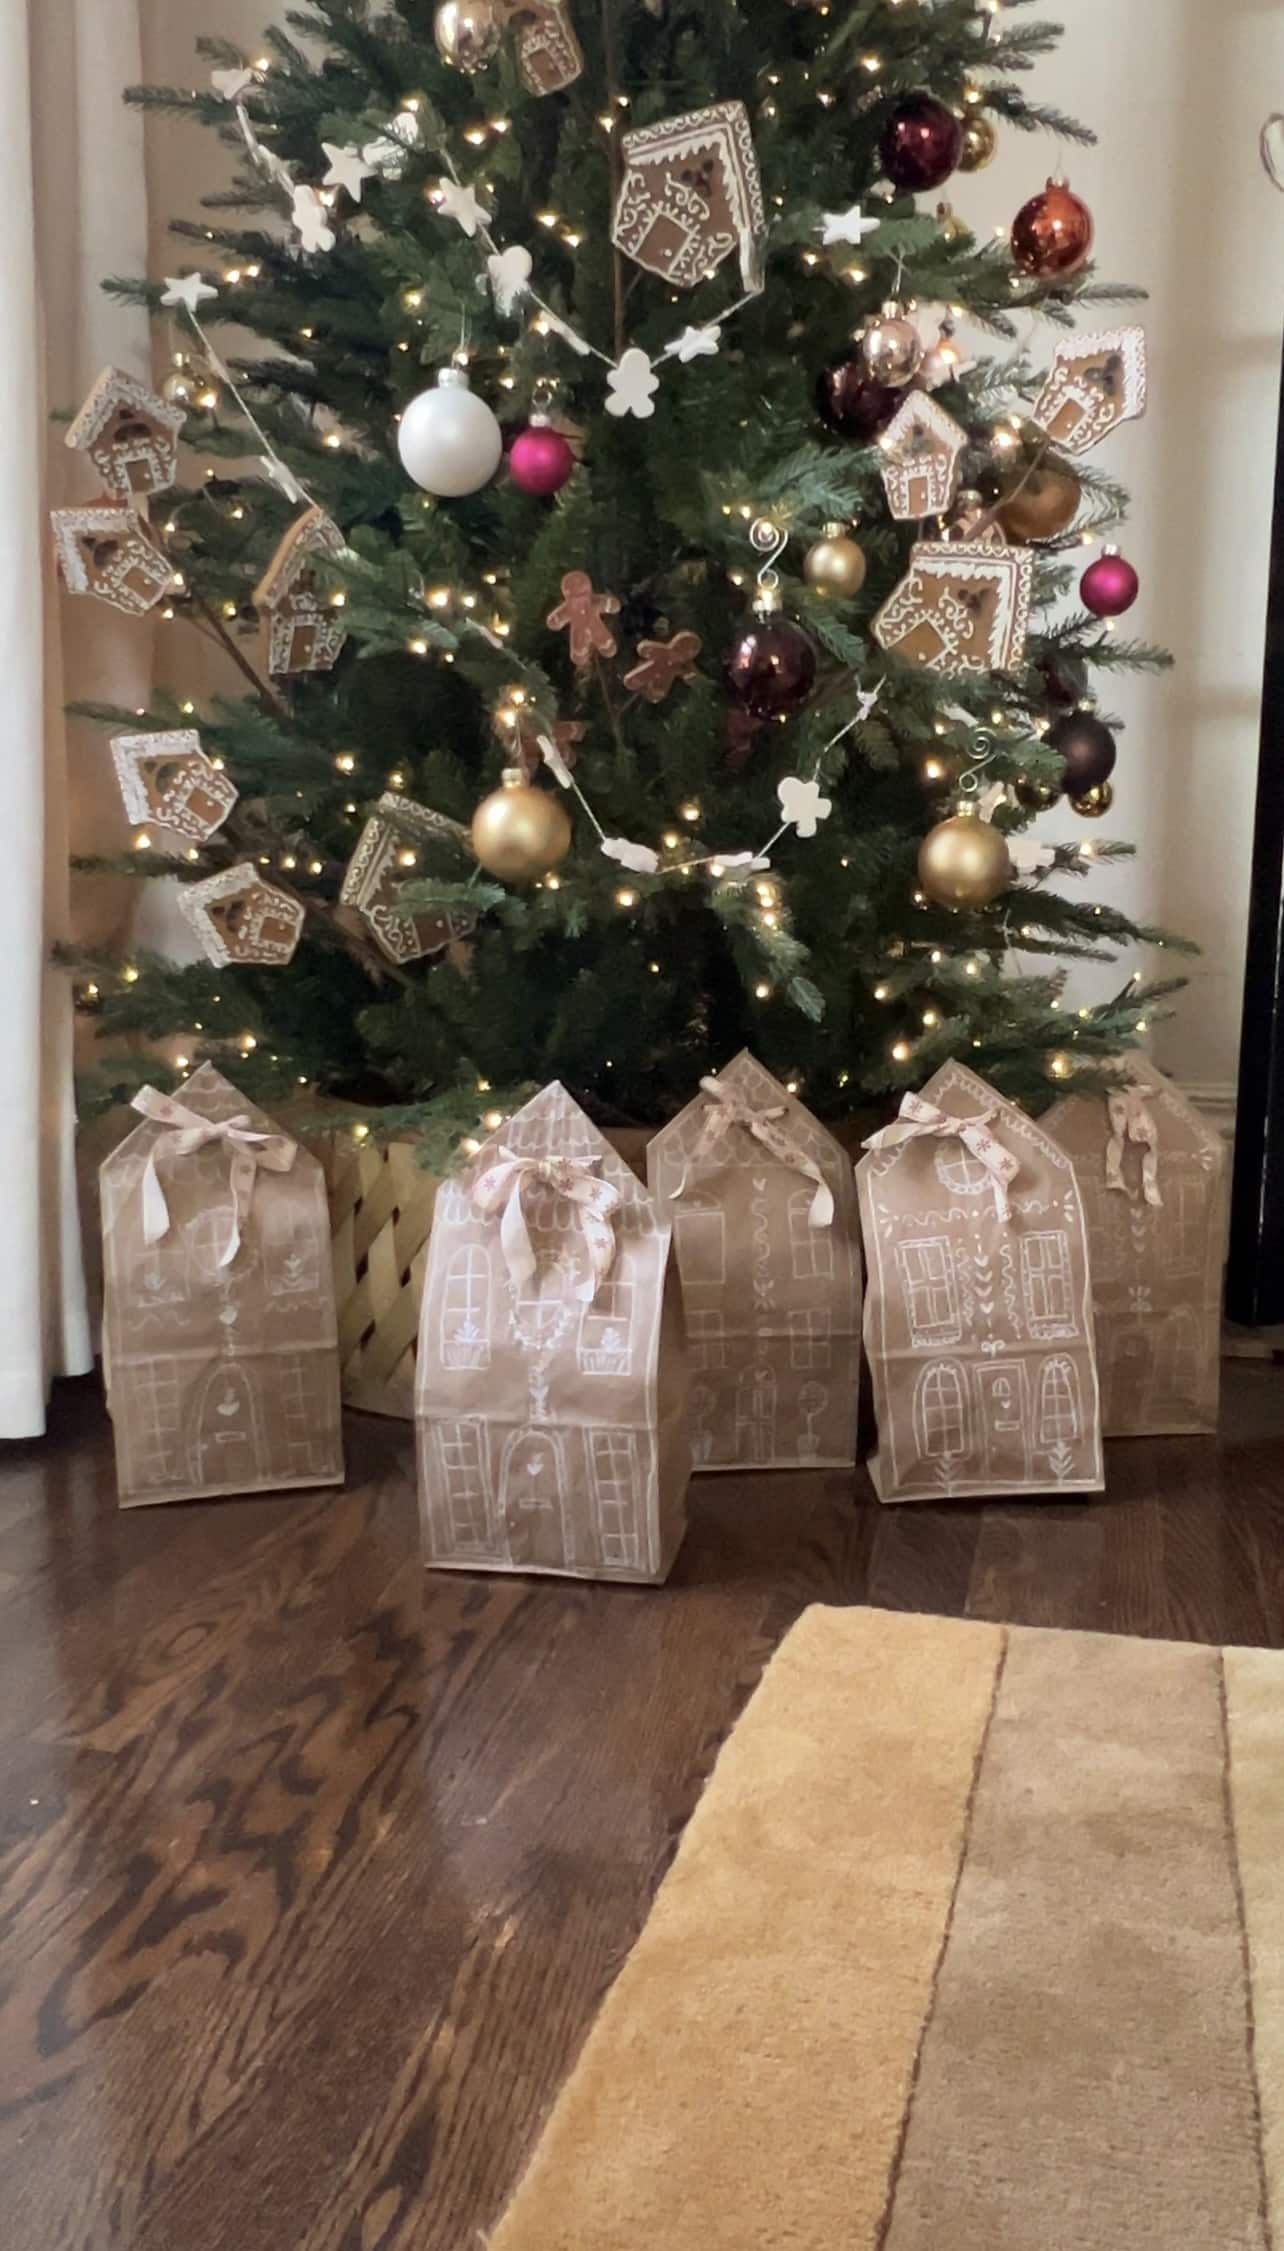
Imagine the joy on your loved ones’ faces as they receive a thoughtful and uniquely crafted gift. The effort you put into making these gingerbread-themed gift bags adds a personal touch that can’t be replicated by store-bought wrapping paper.
Add Your Own Designs
So, this Christmas, skip the generic gift wrap and opt for a more meaningful and budget-friendly approach. With just a few simple supplies, you can turn ordinary paper bags into charming gingerbread houses that reflect the spirit of the season. Happy crafting, and may your holidays be filled with warmth, joy, and the sweet scent of gingerbread!
More DIY Christmas Gingerbread Ideas
Here are a few other DIY gingerbread ideas I’ve shared this year! Follow along on my Instagram channel at @tatertotsandjello to see everything!
- Gingerbread houses wreath
- Galvanized Gingerbread Village
- White Christmas village to gingerbread village
- Gingerbread Cookie Ornaments
Have a creative day!
xoxo



Loving ALL of your little gingerbread creations. :o) Merry Merry
Thanks Karen!!