Tatertots and Jello

COLORFUL HAPPY HOME -- Daily DIY, Decor, Craft and Recipe Tutorial

  • My Home
    • 1905 Cottage
    • Daybreak House
  • DIY
    • DIY Projects and Ideas
    • Organizing
    • Tutorials
    • Printables
  • Decor
    • Spring Projects
    • Summer Projects
    • Fall Projects
  • Crafts
    • Kids Crafts
    • Painting Projects
    • Paper Projects
    • Sewing
    • Wreaths
  • Holidays
    • Valentines Day
    • Easter
    • Halloween
    • Thanksgiving
    • Christmas
    • HAPPY Holidays Series!
  • Recipes

Explore

  • my home
  • diy
  • decor
  • crafts
  • holiday
  • printables
  • recipes

Connect

Home » diy » Make a Scrappy Bunny Wall Hanging with Free Template!!

diy, easter, holiday, sewing projects, spring, spring project, tutorial · March 28, 2012

Make a Scrappy Bunny Wall Hanging with Free Template!!

Tatertots & Jello is a participant in the Amazon Services LLC Associates Program, an affiliate advertising program designed to provide a means for sites to earn advertising fees by advertising and linking to amazon.com.

Good Morning, Tatertots and Jello Fans.  I’m Stacie from The Three Sweet Peas and I am excited to be back for my monthly tutorial!

It is a BEAUTIFUL spring day and I am so EXCITED to be sharing a “hoppy” little project!  Can you believe it is ALMOST Easter?  Just a week and half left before the Easter Bunny arrives and hopefully this little 3-D Easter Bunny will bring some Spring and Easter spirit to your life!

To RE-Create this sweet little creation you will need:

  • fabric scraps.
  • square piece of fabric to sew the fabric scraps on.
  • needle & thread.
  • sewing machine (optional)
  • bunny template (scribd download available)

Gather any fabric scraps that you have available and cut into long strips.  Neatness is definitely not a factor here.  We are going for a rough vintage look.  The colors do not need to match up exactly, it gives the piece so much more character.

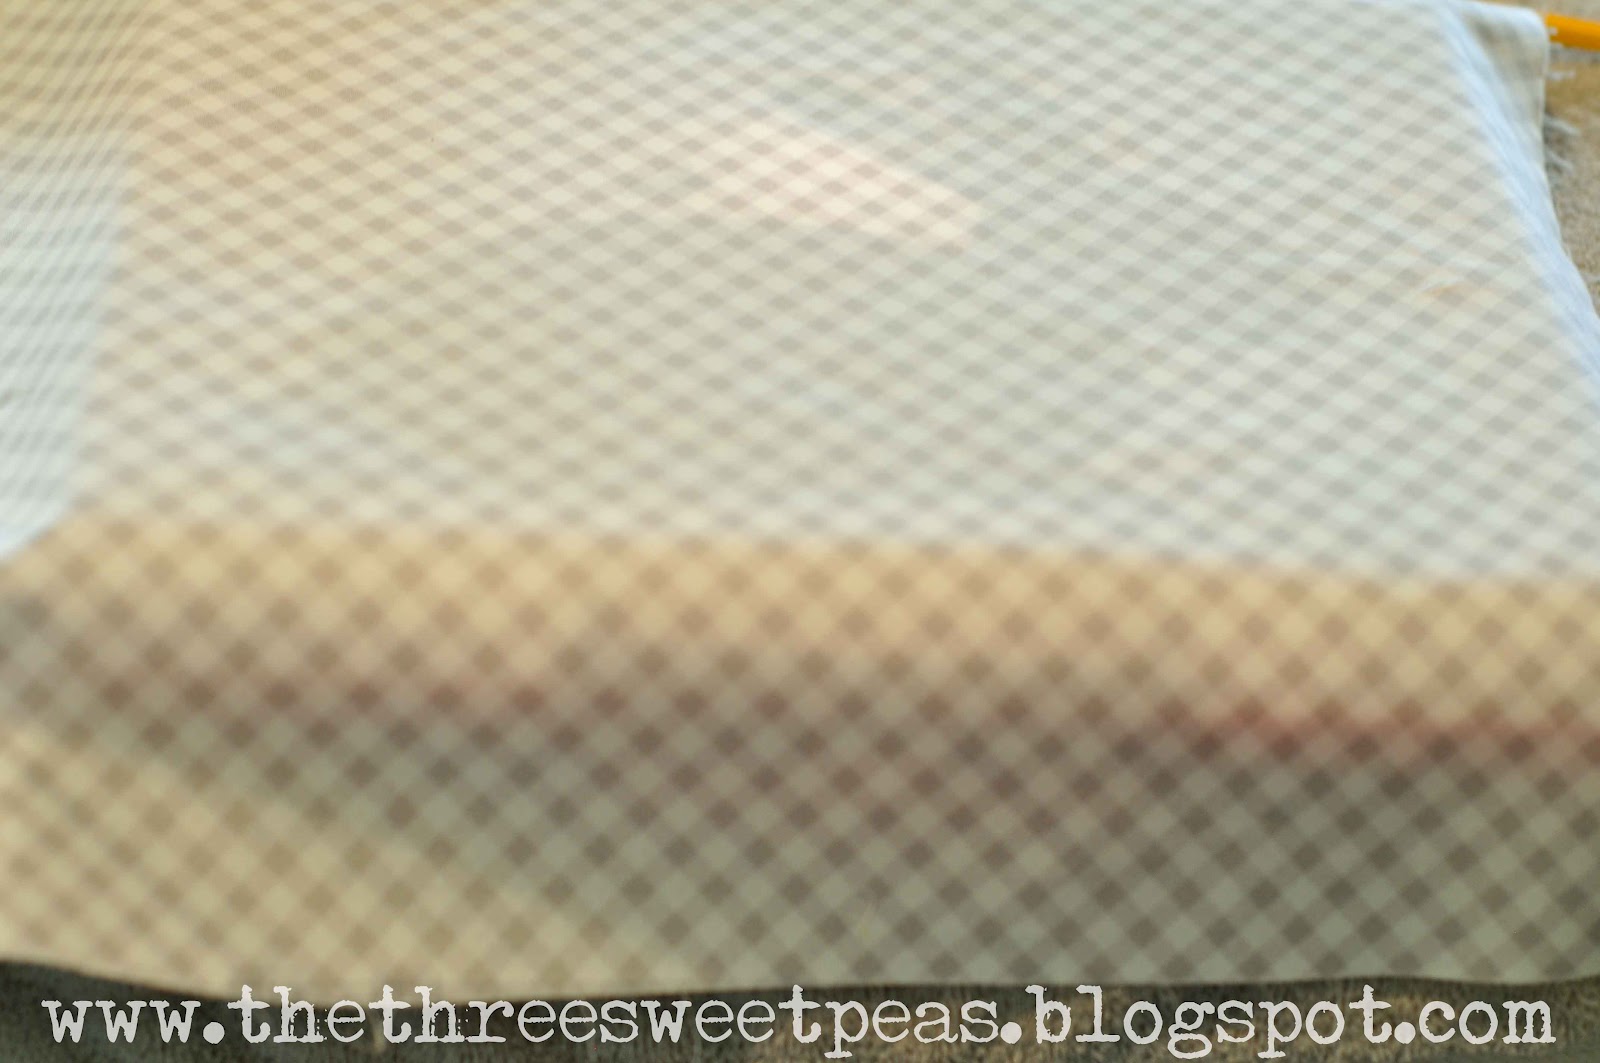
 Decide on what square fabric piece will be your background.  I choose this light gray gingham.  It was the perfect backdrop.

Trace the bunny onto the background fabric, the template is included in the post.  This picture is hard to see but yes the bunny is on the fabric.

 Sew directly down the fabric strips to create a ruffle.

 This is the tip of the century:  To create EASY ruffles take the thread that hangs at the back and bring it to the front so the sewing foot will run over it.  

  Your ruffle will automatically be created.  If you do not have a sewing machine you will just create a basting stitch through the fabric strips and pull until they ruffle.   Repeat until you have enough ruffles to cover the bunny template.  

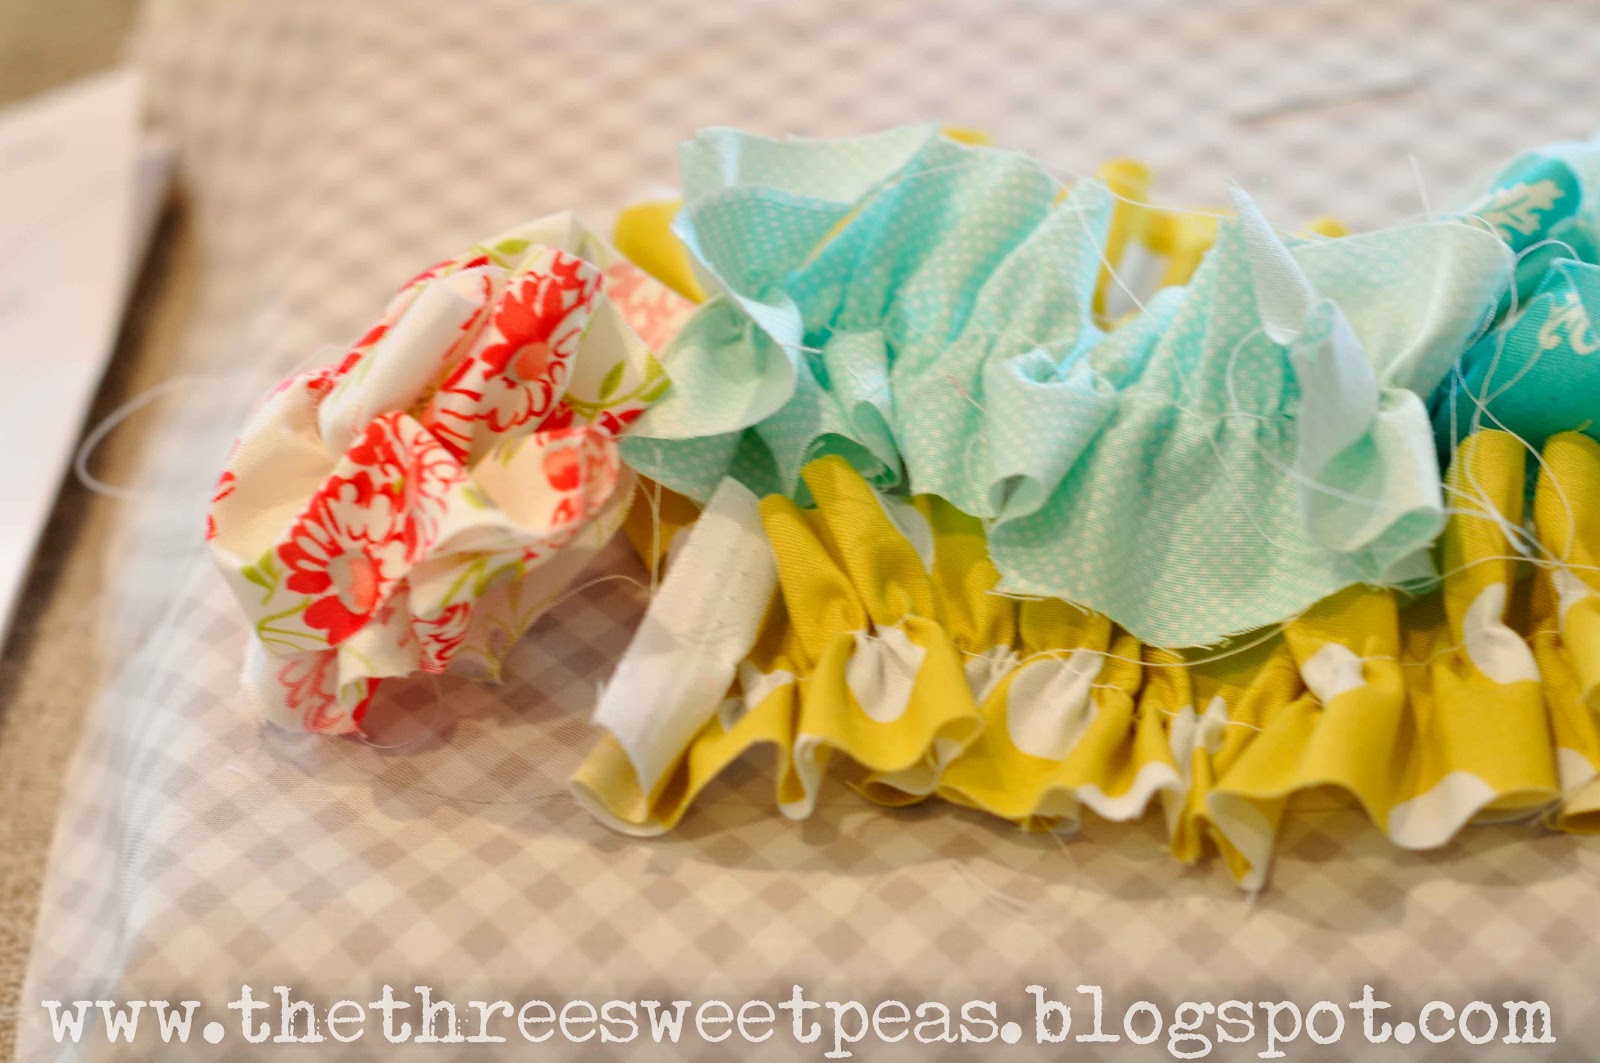
 Start arranging the fabric and decide which pieces fit in the best area.

 This piece deserved to be the bunny tail.  Arrange the fabric and with thread and needle, do a running stitch around the fabric until it is attached to the background.

 Repeat until the entire bunny is filled in with all of the different fabric.

As you can see the fabric is starting to somewhat resemble the cute little bunny.

 I then completed the bunny and it was frame appropriate.  Super cute spring project that has found a “hoppy”  home on my wall.

A couple of helpful hints:

  • You do NOT have to be neat with this project.  The imperfections are what give this piece character.
  • I pressed the bunny with an iron to smash it a little to fit inside the frame.
  • GET creative.  You can create anything you want with this technique.  I think for my next one I will work on the flag.  Can you imagine how cute the stars and strips would be with ruffles?

Love, Stacie

Comp

Easter Bunny


What a fun project Stacie!!

Thanks for sharing it with us.

Here are some of the great things that Stacie has been up to this month:

Remove Dried Paint from Brushes Tip

Counter Stools Redo

Board and Batten Technique

Be sure to follow along with Stacie at The Three Sweet Peas!!
xoxo
PS — I announced the winner of the Cameo. Was it you? And there is only 1 more day to get the great Cameo bundle price —

Posted By: Jen · In: diy, easter, holiday, sewing projects, spring, spring project, tutorial

Mirror, Mirror Subway Art: A Snow White-Inspired Project, plus a Mirror Mirror Movie Giveaway!!
Vintage Door Spring Mantel 2012!

You’ll Also Love

Easter Photo Scavenger Hunt game and printable checklist. Teens love easter fun too! Have them find clues on their phones in the neighborhood with this fun idea and printable!Easter Teen Photo Scavenger Hunt Game and Printable Checklist
Kids Outdoor Easter Scavenger Egg HuntKids Outdoor Easter Scavenger Hunt – with printable clues!
Simple Easter Bunny Treat Bags

Comments

  1. Mary says

    March 29, 2012 at 1:31 PM

    I think that I could tackle this project. thanks for this idea.

  2. Jessica @ Mom 4 Real says

    March 28, 2012 at 1:28 PM

    I love it! I am going to have to wrangle up all of my scrap fabric, but I think I will do a flower! That way it can stay up for a while! I am going to visit The Three Sweet Peas now!

    Jessica @ Mom 4 Real

Hi! I'm Jen Hadfield. I'm a mom of 5 restoring an 1891 home in the heart of Salt Lake City. I love being creative and sharing simple ideas to make your life easier and more beautiful!

Receive the Latest Crafts, DIY, Recipes and More in your INBOX!

Follow us on Pinterest! It's awesome!

Top Posts & Pages

Copycat Panera Spinach and Artichoke Egg Soufflés - SO good!
Spruce up Your Outdoor Space with a DIY Recirculating Fountain! (tutorial)
12 Must-Have Items to Pack on an Alaskan Cruise!
A New Deck in Under 30 Minutes!
DIY Fountains to Make Your Yard Amazing!
How to Change a Recessed Can Light into a Pendant Light with No Remodeling!


Popular Posts

  • Copycat Panera Spinach and Artichoke Egg Soufflés - SO good!
    Copycat Panera Spinach and Artichoke Egg Soufflés - SO good!
  • Spruce up Your Outdoor Space with a DIY Recirculating Fountain! (tutorial)
    Spruce up Your Outdoor Space with a DIY Recirculating Fountain! (tutorial)
  • 12 Must-Have Items to Pack on an Alaskan Cruise!
    12 Must-Have Items to Pack on an Alaskan Cruise!
  • A New Deck in Under 30 Minutes!
    A New Deck in Under 30 Minutes!
  • DIY Fountains to Make Your Yard Amazing!
    DIY Fountains to Make Your Yard Amazing!
  • How to Change a Recessed Can Light into a Pendant Light with No Remodeling!
    How to Change a Recessed Can Light into a Pendant Light with No Remodeling!
  • DIY Secret: How to Print on Post-It Notes (and Free Printable Template)
    DIY Secret: How to Print on Post-It Notes (and Free Printable Template)

As seen in


Amazon Affiliate

Tatertots & Jello is a participant in the Amazon Services LLC Associates Program, an affiliate advertising program designed to provide a means for sites to earn advertising fees by advertising and linking to amazon.com.
  • About Me
  • Advertising
  • Get Featured

Copyright © 2025 Tatertots and Jello · Privacy
This site is a place for positive discussion and ideas. Negative talk, comments that disparage others, and similar are not welcome and may be removed.