Hi Jen, and a special hello to the amazing Tatertots and Jello readers!! I am completely thrilled and honored to be here and I’d like to extend a HUGE “Thank you!” to Jen (and all her lovely followers) for inviting me into your fold. My name is Nicole from Shabby Beach Nest, a blog that is wholly dedicated to the casual beach lifestyle.
The one thing you should know about me is that I like to spend oodles and oodles of money on home decor (pfff… Um, no. I wish.) In all honesty, I’m extremely passionate about handmade DIY – on a budget. I love being able to enjoy beautiful things, but in my eyes they are even more beautiful when I got a lot of bang for my buck. I’m really excited about the project I will be sharing today, because not only is it something that we’ll be able to enjoy for a long (long) time, but it also cost less than $20 to make! ^_^ Talk about bang for your buck!!
Would you like to learn how to make this living (but totally easy to maintain) succulent and shell wreath? Great!! Here’s what you need:
I know it looks like a lot, but I promise all of this is extremely easy to obtain. One quick trip to your local craft and hardware/garden store should do the trick! And if you want to save yourself even more money, don’t bother buying your succulents; collect them from the park (or ask your neighbor for a small cuttings) instead! VIOLA! Money in your pocket. ^_-
step 1: Grab your drill (or dremel tool) and drill a hole at the base of each shell. If you’re like me and terrified that you’re going to put someone’s eye out if you even go within ten feet of a power tool, get your hubby to do it for you. =]
step 2: Put your dried sphagnum moss into the bucket of water (I used about half the bag). Make sure to submerge all of it so it’s nice and wet.
step 3: Get your wreath form and stuff the front side nice and tight with moss, squeezing the water out as you go along.
step 4: Wrap your wreath with your clear thread (or fishing line) to keep the moss in place. Don’t worry, the thread completely disappears against the moss and you won’t even know it’s there. By the way, this particular job is definitely easier with two pairs of hands. (“Oh Honey… I need you again.”) =}
step 5: Once it’s all wrapped, flip your wreath over and stuff the back side with moss. And tell your hubby to stick around; you’re going to need those strong, helpful hands again. ^_-
**NOTE: This is what happens when you try to complete your tutorial late at night after a really long day: you accidentally erase pictures of some steps thinking they are duplicates. Working bloggers, take it from me: tone that excited creative energy down a few notches, and take a nap first. lol =P
step 6: Have the hubs help you wrap your wreath with the clear thread once again.
step 7: In order to make it easier to mentally plan your design, lay your succulent cuttings out in groupings so you can clearly see what you’ve got.
I had kind of a lot…
step 8: Using your pencil, poke a hole in the wet moss.
step 9: Dip your succulent cutting into the powdery rooting hormone.
step 10: Place your freshly-dipped succulent into the hole you created with your pencil. Continue this process until all your succulents are planted, but be sure to leave some space for your shells.
**NOTE: If the succulents feel a little loose in their perspective places, use bobby pins or straightened paperclips to secure them in place.
step 11: Gather your nails…
step 12: And start placing your shells!! Don’t worry, the nails aren’t permanent – they simply act as a place holder until they’re stuck on for good.
step 13: Continue laying your shells in place until you have covered the entire wreath.
step 14: Prop your wreath on two objects (chairs, step ladders, children, whatever). ^_^
**NOTE: I waited a day in between step 13 and 14 because the moss on my wreath was sopping wet, but that’s totally your decision. It would probably work out just fine if you didn’t wait, but just be sure to work in an area you don’t mind getting wet.
step 15: Gather your scissors, jute, and a small bit of water.
step 16: Cut a 12-18” length of jute (just eyeball it, it doesn’t have to be exact).
step 17: Dip one end of the jute in the water and twist to temporarily prevent fraying.
step 18: Remove the nail keeping one of your shells in place.
step 19: Thread your jute through the hole.
step 20: Place the shell back in place and tie the length of jute tightly around the wreath, then knot it in place. (I was originally going to use clear thread for this, but I really liked the subtle visual texture the jute added.)
step 21: Cut off the excess jute, and continue tying shells onto your wreath until they’re all attached.
step 22: (Feel free to skip this step if you’d prefer your wreath to be a table decoration.) Once everything is in place, push the moss aside on the back and tie a longer length of jute directly onto the metal of the wreath form. Make this jute as long or as short as you’d like, as this will be the piece used for hanging.
And that’s it!! You’ve just created an incredibly beachy-beautiful, versatile wreath that can be laid on a table as a decoration, hung on the wall to bring the outside in, or draped over a door as a lovely welcome wreath.
Thank you so much again Jen for allowing me to share this with you and all your amazing readers! I’ve enjoyed my time with all of you SO much!! Until next time, Lovlies. ^_^
I have been wanting to make a succulent wreath. I love yours!!
Here are a few other fabulous things I love from Shabby Beach Nest:
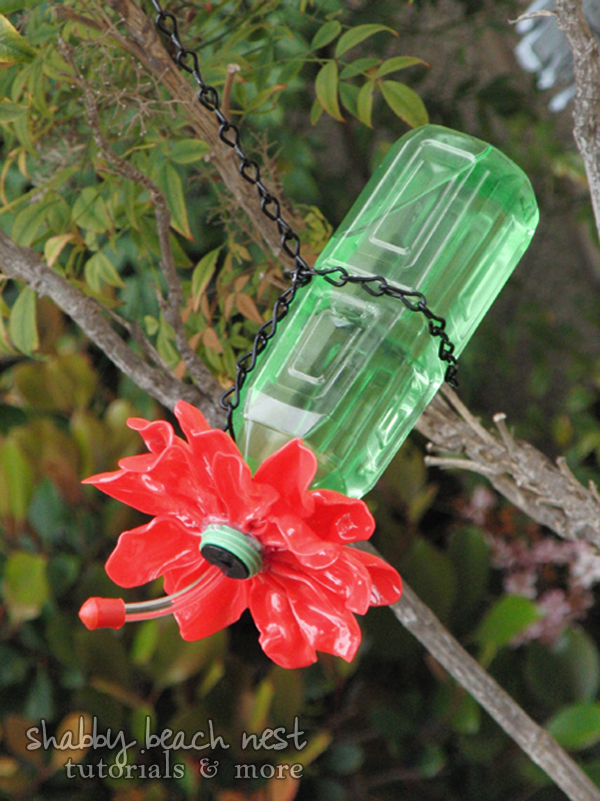 Upcycled Plastic Spoon and Bottle Bird Feeder
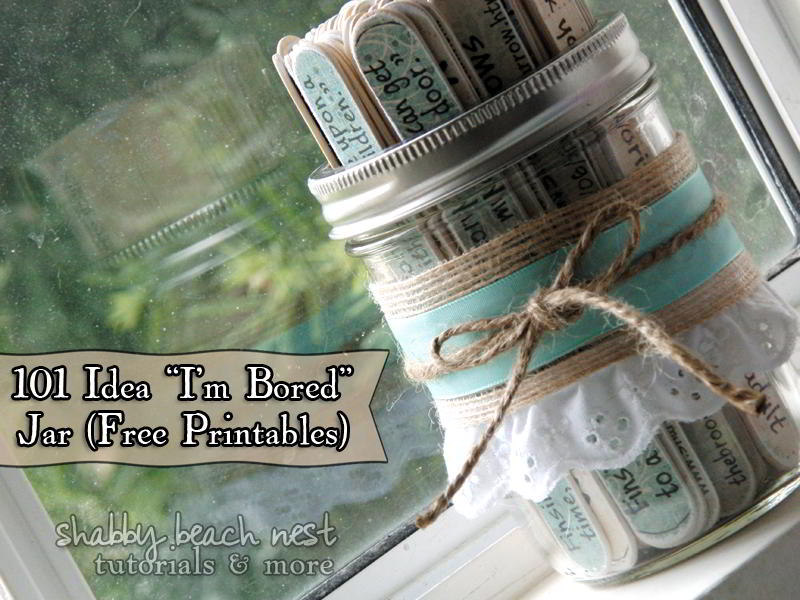 101 I’m Bored Summer Ideas and Printable Jar Ideas
Be sure to check out all of Nicole’s ideas at Shabby Beach Nest!!
xoxo
PS — It’s Friday!!!! How did this happen?
Are the weeks speeding up??
I LOVE Fridays!!
Its the day I get to see YOUR ideas and feature YOU!!
I hope you can stop by for the fun.
It starts TONIGHT at 6 pm MST.
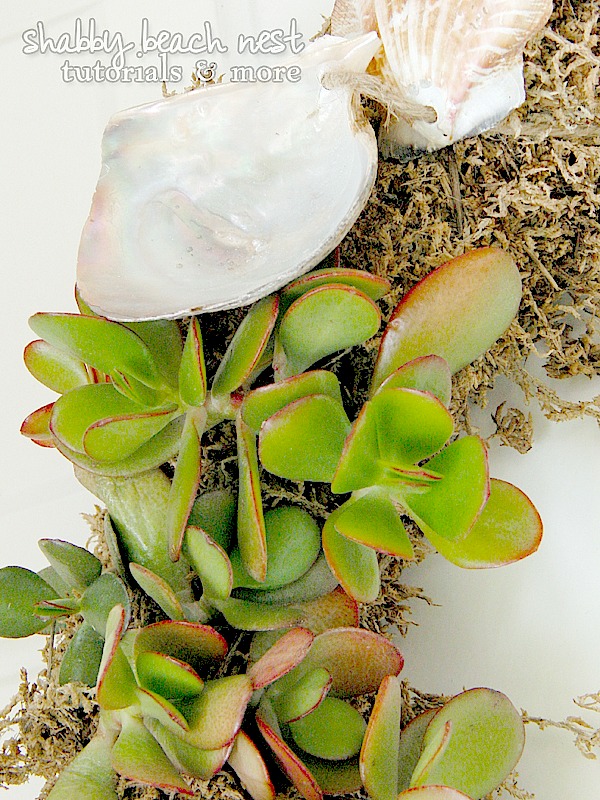

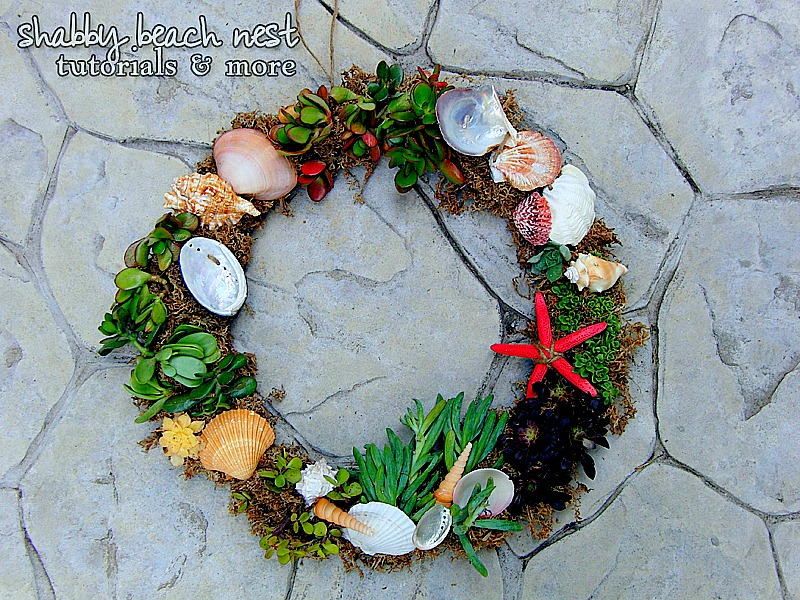





These are the most straight forward instructions on basic succulent wreath making I’ve been able to find. the shells are an added bonus and they will be my next non holiday season wreath.
I love this! Thanks for sharing the tute!
Where did you purchase the wire wreath form? I tried Michael’s, garden nurseries and floral supply stores with no luck.
That is such a fun wreath! I love succulents…they remind me of my great grandmother. She always had succulents on her porch when I was going up:)
Oh my gosh, this is DIVINE!!!! What a great idea! Also, the tutorial is PERFECT! I love the clear images and description, well done! 🙂
-Lindsay
I love this beachy wreath. Thanks for the tutorial!
I really love this wreath and think it would be a great present for my mom who lives in a lake house. However can you PLEASE answer a few questions? How do you water this? And how often does it need water? And how much sun does this need? Thanks in advance for your help!
Warmly,
Nancy
Very pretty!