I partnered with Paramount Pictures to bring you this fun Kids Craft! All opinions are my own.
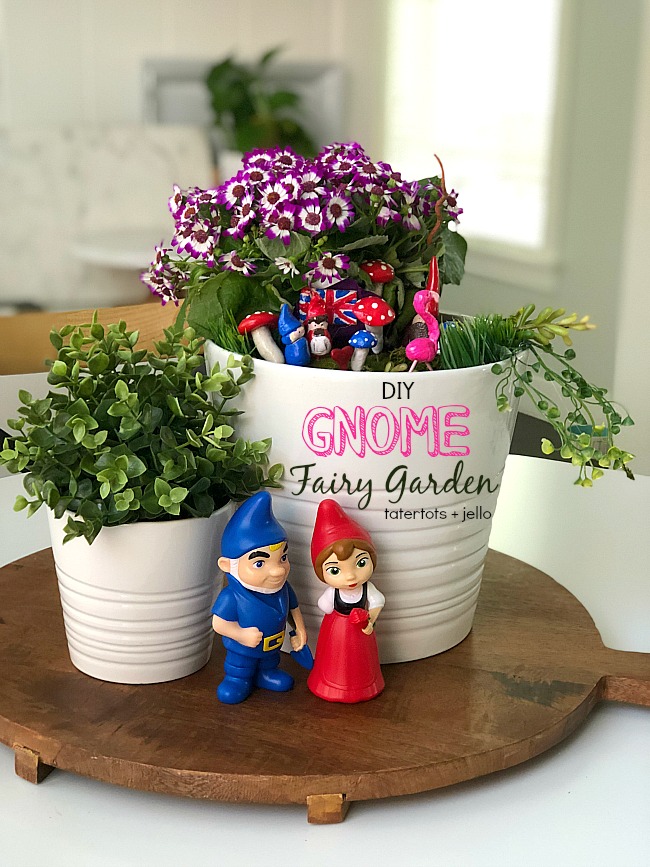
I am SO ready for Spring! One of my favorite fall projects was a Fall fairy garden I shared and ever since I have wanted to make one! And I love gnomes, they are so cute! So when Paramount Pictures contacted me about making a project for the new Sherlock Gnomes movie that’s coming out I knew I wanted to make a Gnome Fairy Garden for Spring!! We have Gnomeo + Juliet when it came out a few years ago. They are so cute.
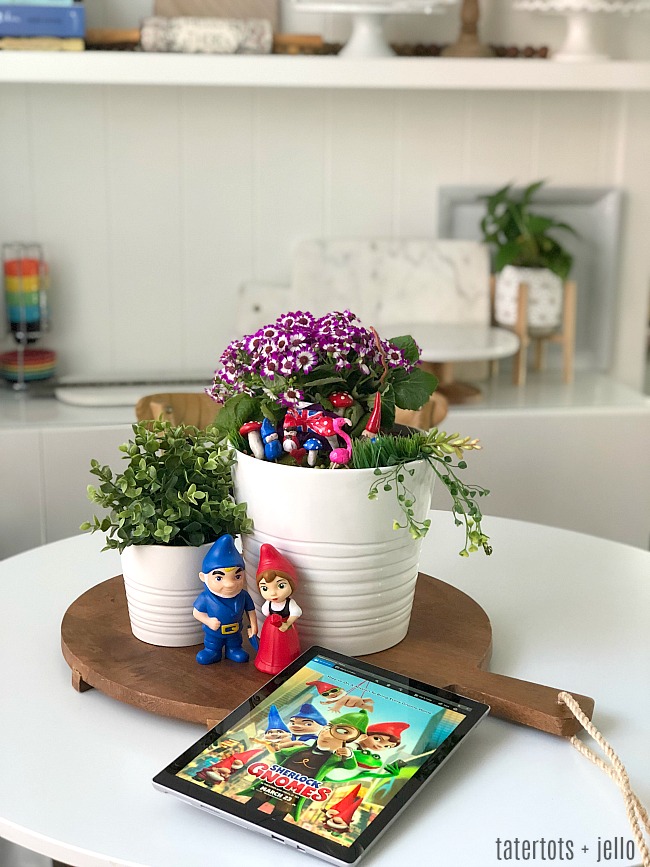
In the newest installment – due in theaters March 23rd, Gnomeo and Juliet recruit detective Sherlock Gnomes and his sidekick, Gnome Watson to help investigate the mysterious disappearance of the other garden gnomes in London. I love the film’s emphasis on team work AND family! We love the Gnomeo and Juliet movies because they are fun, friendly movies that our kids of all ages love. We can’t wait to see this one!

Here’s the trailer:
Celebrate this cute movie with your kids by making a Gnome Fairy Garden. This is a fun craft because kids will love to make the characters. We used air-dry clay which is so simple to use. All your kids do is make their characters and let it air dry! If you don’t want to wait for the clay to air dry, you can also put the pieces on a baking sheet and bake the clay at 200-degrees for an hour and it’s ready to be painted!

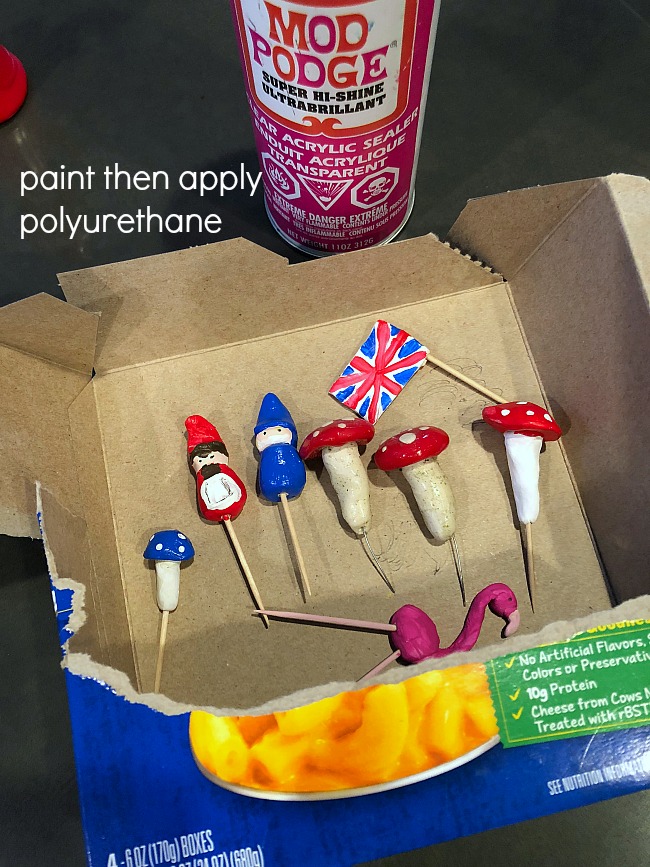
We made the main characters – Gnomeo and Juliet, plus mushrooms AND the flamingo character from the movie!
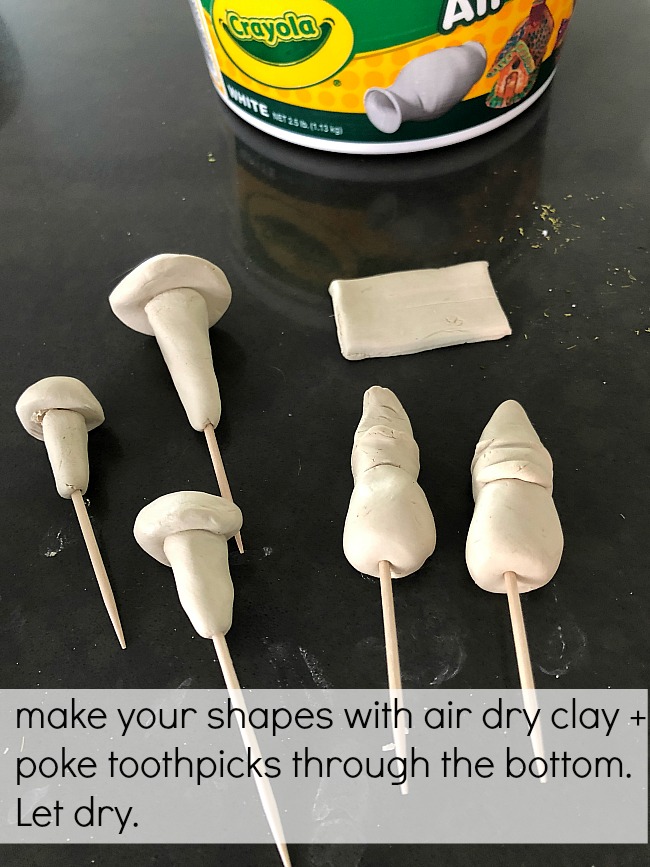
The great thing about using clay is it’s SO forgiving. Mess up? Just roll it back up into a ball and start over!
Once you and the kids have all of the characters made, you just insert a toothpick into the bottom of the character and let it dry. OR bake it (see instructions above).
After the clay is dry, the kids can paint the characters.
To make the fairy garden this what you will need:
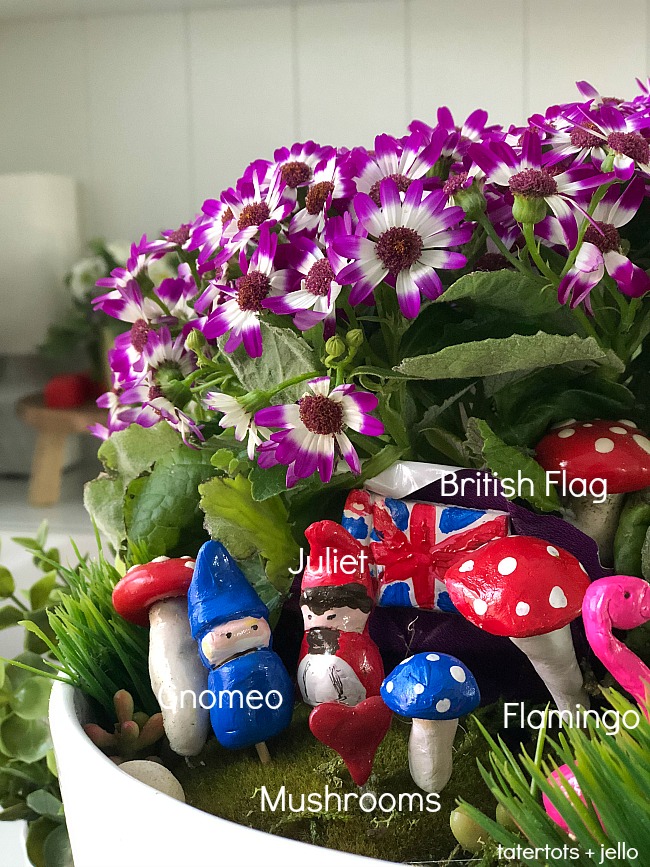
A pot
Filling for the pot. You can use dirt, or if you want most of the pot to be “faux” like I did, you can insert some paper bags in the bottom.
Foam moss covered stones (found at the crafts store) and/or foam bricks and moss.
Pebbles or little stones
Faux succulents and/or real plants. I used one big real plant and a few little faux succulents to fill in the space.
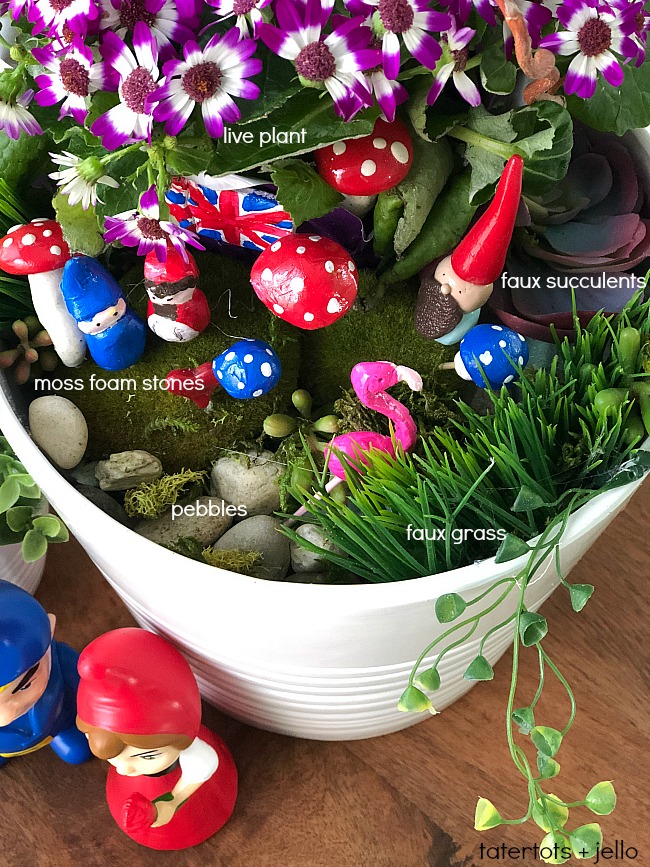
Directions:
Make your clay figures. Let the clay dry and paint your figures (see instructions above)
Gather your materials for the garden.
Insert dirt or paper bags in the bottom of the pot. Fill until about 3 inches under the rim of the pot.
Insert your plants. I left my real plant in the pot it came in and inserted it in the pot and filled in around the plant’s pot with paper bags. If you are using dirt at the bottom of your pot you can plant your real plant inside of the dirt.
Arrange your foam stones or bricks where you want your figures to stand.
Cover the foam stones or bricks with moss.
Lay your stones and faux little plants around the pot. I made a little path at the front of the pot with the stones.
Insert your figures into the moss covered foam.
Now you have a cute gnome fairy garden.
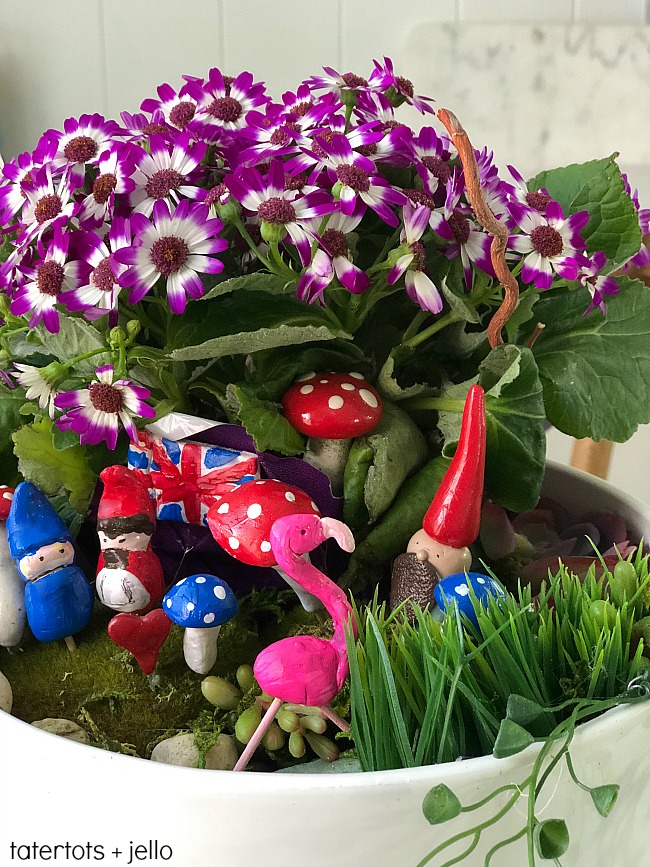
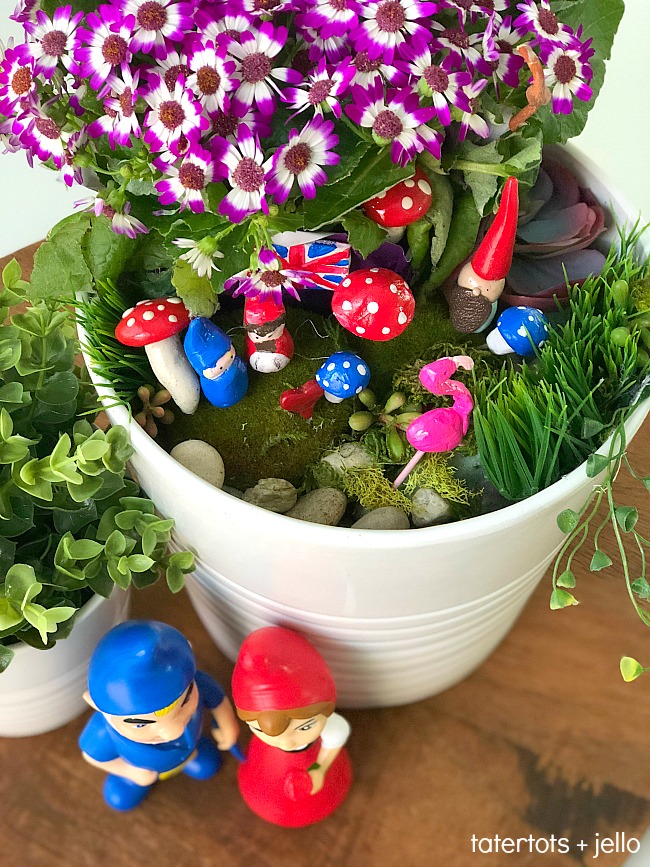
Just remember to water your real plant(s) and your garden should stay alive indefinitely. You can use your garden as a centerpiece like I did on a table, or on a shelf OR even outside (if it’s not too cold)!
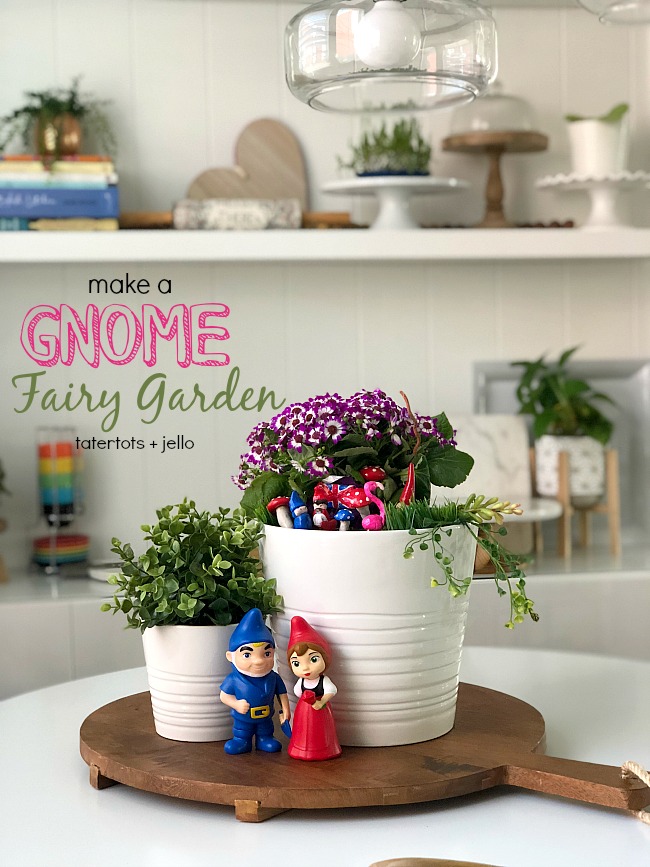
And be sure to check out the super cute Sherlock Gnomes movie with your family, in theaters March 23rd! See you at the movies!!

Follow along with Gnomeo + Juliet:
Visit the Official Site
Like on Facebook
Follow on Twitter and Instagram
Have a Creative Day!
xoxo

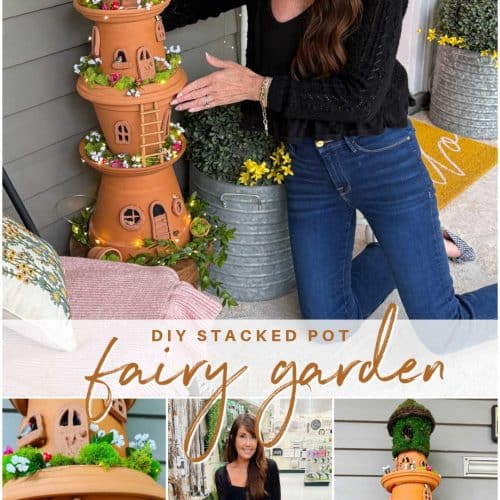



It’s true that you can display your houseplants in ordinary planters. This craft project, however, is far from ordinary and absolutely perfect for the kids. You can easily put your own spin on this project, too, by changing the colors and buying different plants.
Your home made gnomes are really cute but I absolutely love the figurines… where did you find those?
Thanks Sara! The figurines are going to be in the kids meals at burger king!
xoxo
How fun! We will watch for them! Thank you!